20 Scrap Wood Christmas Project Ideas
Did you know that nearly 60% of all waste generated in woodworking comes from scrap pieces? Instead of tossing those leftover planks, why not transform them into festive creations? In this article, we’re excited to share 20 Scrap Wood Christmas Project Ideas that will not only beautify your holiday decor but also add a personal touch to your celebrations. From charming wooden ornaments to a delightful nativity scene, get ready to dive into a world of creativity and sustainability this Christmas!
Shop Our Must-Haves
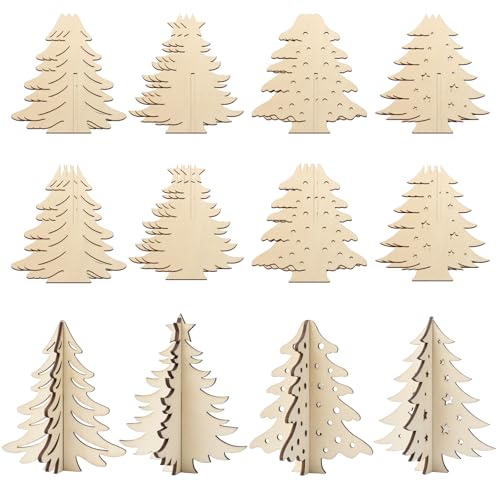
Scrap Wood Christmas Tree
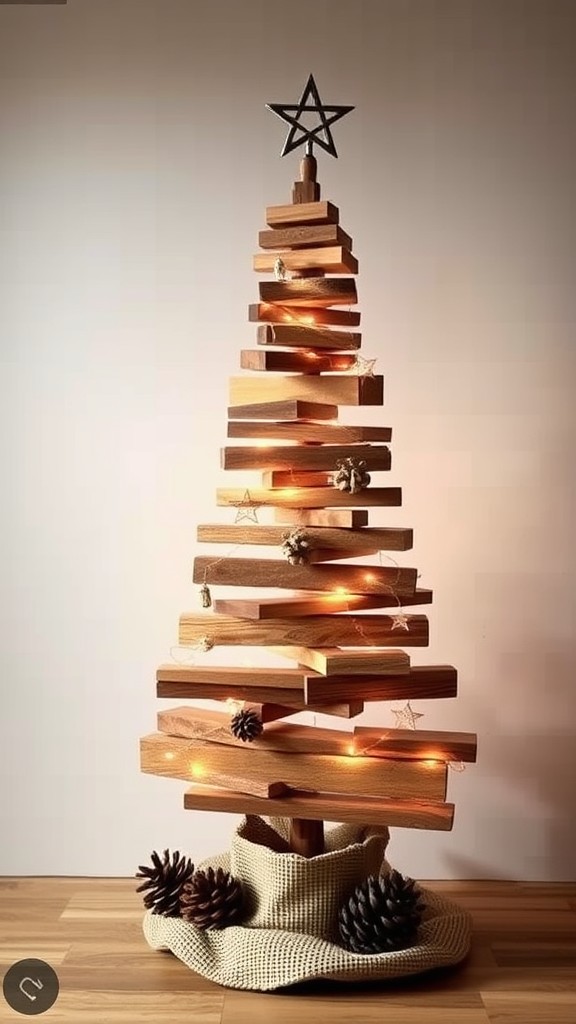
Transforming scrap wood into a festive Christmas tree is an eco-friendly and creative way to decorate your home. Start by gathering various pieces of wood, such as pallets, old fence boards, or leftover planks. These can be cut into triangular shapes to mimic the classic Christmas tree silhouette.
Once you have your pieces, stack them from largest at the bottom to smallest at the top. To add charm, consider painting them in festive colors like green, red, or white, or leave them natural for a rustic look. You can also embellish your tree with lights, ornaments, or even some DIY decorations made from additional scrap materials.
Rustic Wooden Ornaments

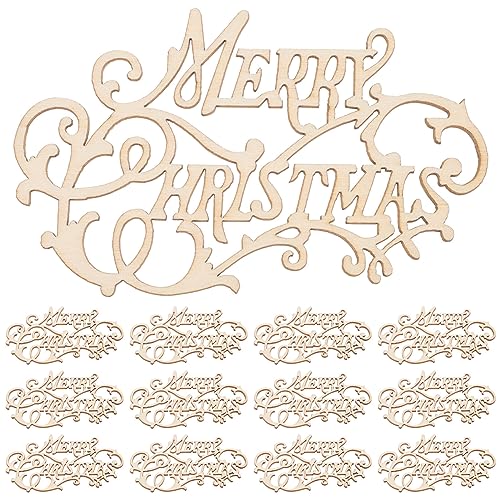
Transform your scrap wood into beautiful rustic wooden ornaments that can add a warm touch to your holiday decor. Start by selecting various pieces of scrap wood, ideally with different textures and shades. Cut them into shapes like stars, trees, or snowflakes for a classic holiday look. Sand the edges to create a smooth finish, enhancing the rustic charm.
Once your shapes are ready, personalize them by using techniques such as wood burning to etch names or designs. You can also apply a coat of paint or stain to enrich their appearance. To hang your ornaments, drill a small hole at the top and thread through twine or ribbon, making them perfect for the tree or as gift tags.
Wooden Advent Calendar
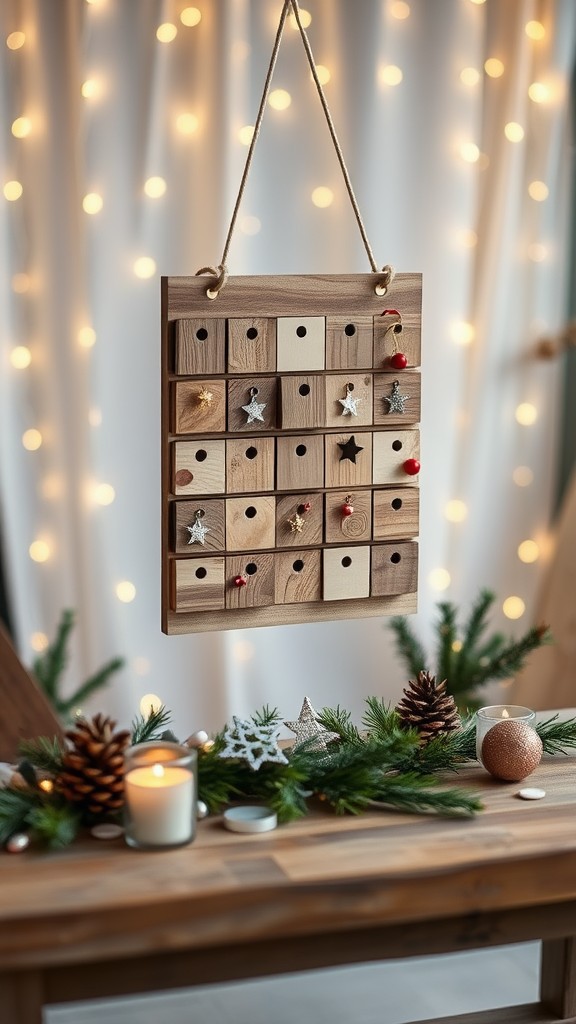
Creating a wooden advent calendar is a charming way to count down to Christmas while adding a unique, handcrafted touch to your holiday decor. Use leftover scrap wood to cut out small boxes or drawers, which can be stacked or arranged on a board. Each compartment can be filled with sweet treats, tiny gifts, or holiday-themed notes.
To personalize your calendar, consider decorating each drawer with festive paint, stencils, or even wood-burning designs. You can also label them with numbers from 1 to 24 for the days leading up to Christmas. For added creativity, use different colors or themes for each week!
A simple structure idea is to create a large wooden frame, with small cubbies attached. This not only looks visually appealing but also allows for easy access to the surprises inside. Enjoy crafting this meaningful piece and make your holiday season a little more special!
Scrap Wood Wreath
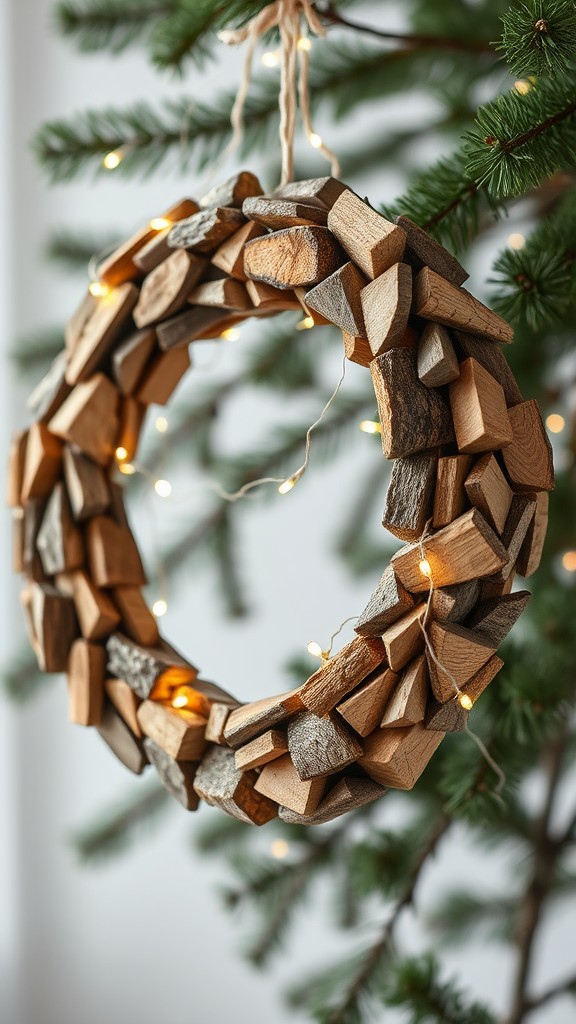
Create a unique and festive scrap wood wreath that showcases your creativity while utilizing leftover materials. Start by gathering various pieces of wood, such as old pallets, trim, or even branches. Make sure to cut them into uniform sizes for a polished look.
Next, form a circular base using a sturdy piece of plywood or a wire frame. Attach your wood pieces by gluing or nailing them onto the base, layering them for a three-dimensional effect. You can paint the wood in seasonal colors or leave them in their natural finish for a rustic charm.
To add an extra touch, consider embellishing your wreath with elements like pinecones, holly, or even twinkling lights. Hang your completed wreath on your front door or above your mantelpiece to spread holiday cheer!
Holiday Signage

Creating holiday signage from scrap wood can add a personal touch to your festive decor. Start by selecting various pieces of wood, ensuring they are well-sanded and free of splinters. You can use leftover fence boards, pallets, or even wooden crates for unique styles.
Consider making signs like “North Pole” or “Let It Snow.” Use outdoor paint to ensure longevity, and stencils can help achieve clean lettering. For a rustic look, try incorporating natural elements such as holly or pine cones around the edges.
Displaying your signage at entries, patios, or near the fireplace instantly elevates the holiday spirit. This simple project allows for creativity while being a great way to recycle materials!
Wooden Reindeer Decorations
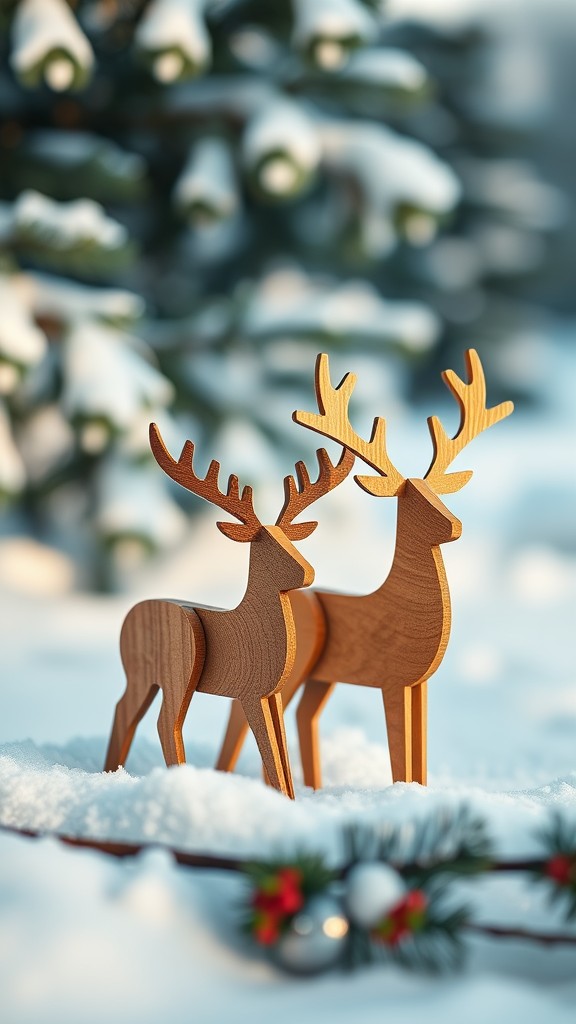
Creating wooden reindeer decorations from scrap wood is a delightful way to add a festive touch to your holiday decor. You can easily cut shapes from leftover wood and assemble them to form charming reindeer figures. Use a jigsaw or scroll saw for precise cuts and consider different wood finishes to give each piece unique character.
For a simple project, try using two pieces of wood: one for the body and another for the head. Attach the head with wood glue, then add twigs for antlers and painted rocks or buttons for eyes. You can also enhance them with holiday-themed paints or embellishments like ribbons and bells to make them pop.
Mini Wooden Gift Boxes
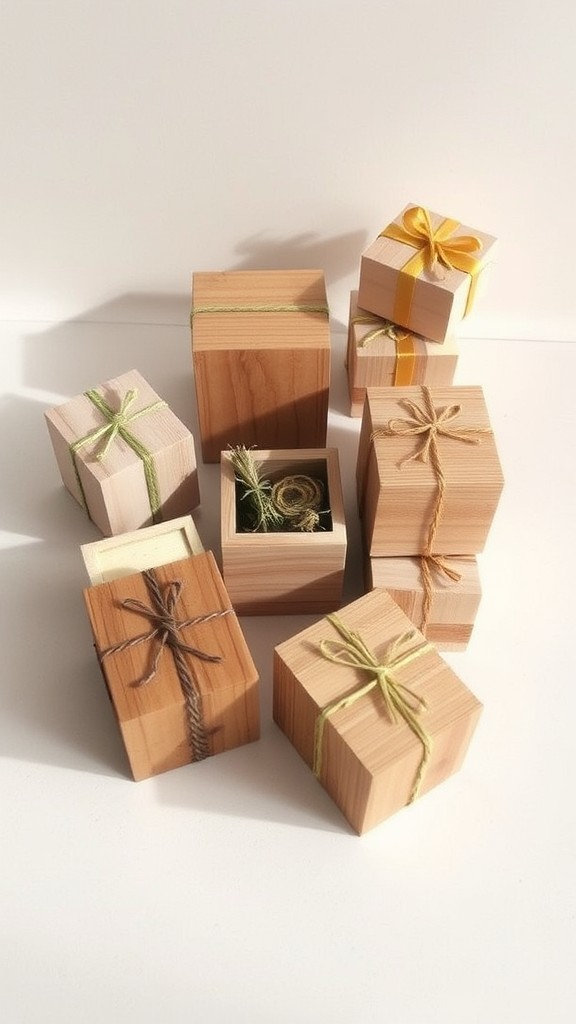
Mini wooden gift boxes are a charming way to present small gifts or trinkets this holiday season. Crafted from scrap wood, these boxes add a personal touch to your presents and can be designed to match your decor. Choose pine, birch, or any leftover hardwood for unique textures and finishes.
To create your mini boxes, start by cutting wood pieces to your desired size. A typical dimension is about 4×4 inches for the base, and you can adjust the height as needed. Assemble the pieces with wood glue or small nails, then sand the edges for a smooth finish. Consider painting or staining the boxes, and for an extra flair, add decorative embellishments like stencils or wood burning designs.
These boxes can also serve multiple purposes. Use them for gift wrapping, as ornaments on your tree, or even as storage organizers around the house. Their versatility makes them a perfect project for DIY enthusiasts looking to repurpose scrap wood creatively!
Scrap Wood Nativity Scene
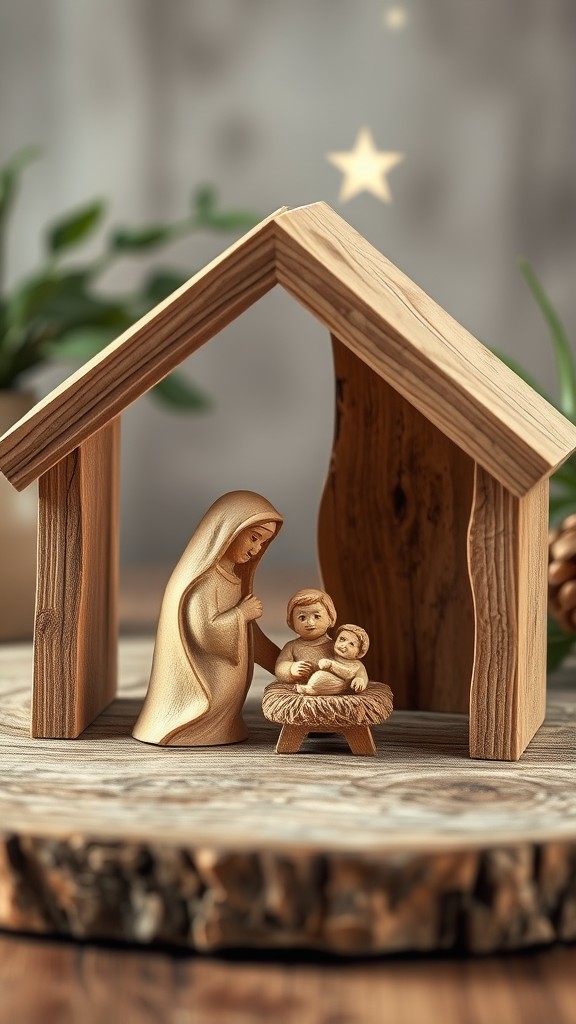
Creating a scrap wood nativity scene is a beautiful way to celebrate the holiday season while utilizing leftover materials. Start by gathering assorted wood pieces such as pallet scraps or old fence boards. You can cut these into various shapes to represent key figures: Mary, Joseph, and baby Jesus can be simplified into blocks or silhouettes.
For added character, consider painting or staining the wood in earthy tones. Use a wood burner or a paintbrush to add details like facial features or decorative elements. Don’t forget to create a stable ambiance by adding a star made from twigs or a piece of scrap wood for a rustic touch!
Wooden Sleigh Decor

Creating wooden sleigh decor is a charming addition to your holiday decorations. Start by gathering scrap wood pieces and cutting them into sleek, curved shapes to mimic a sleigh. Use a jigsaw for intricate cuts, ensuring each piece fits snugly together.
To enhance your design, consider painting the sleigh in festive colors such as red or green, or keep it rustic with a natural wood finish. Add embellishments like small pinecones, faux presents, or even a tiny Santa figure for added charm. Finish with a protective sealer to ensure your masterpiece withstands the winter elements.
Christmas Countdown Board
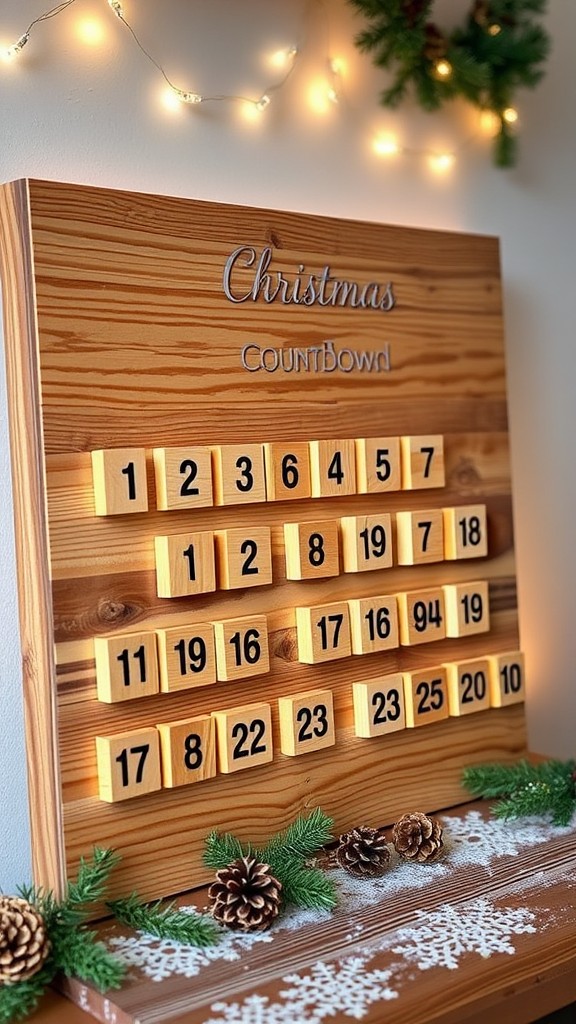
Create a festive Christmas Countdown Board using scrap wood to keep track of the days until Christmas. This DIY project not only adds a charming touch to your holiday decor but also builds excitement for the season.
Start by selecting a piece of wood and sanding it down for a smooth finish. Then, paint or stain the board in your preferred color. Use stencils or a vinyl cutter to add the numbers representing the countdown, ensuring they are clearly visible. You can also decorate it with festive embellishments like small pinecones, ribbons, or a burlap bow for added flair.
For practicality, attach small hooks or clips to highlight the countdown number, which you can easily change daily. This interactive element involves the whole family, making it a delightful addition to your holiday traditions.
Wooden Stocking Holders
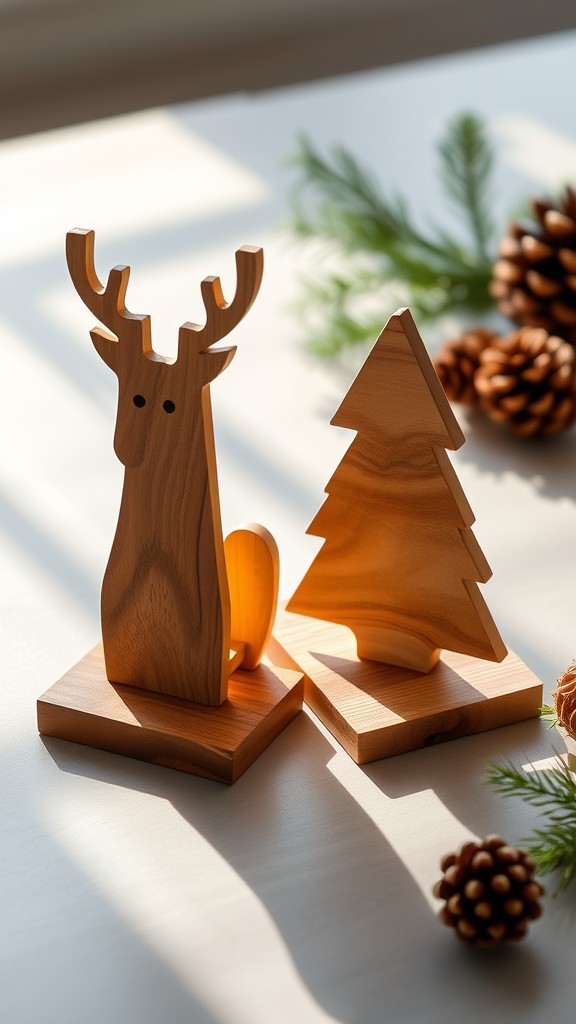
Creating wooden stocking holders is a charming way to add a personal touch to your holiday decor. Using scrap wood, you can easily construct unique designs that fit your home’s style. Choose planks from old furniture or pallets and cut them to your desired size. A simple square or rectangle serves as the base to ensure stability.
For a delightful finish, consider embellishing the holders with seasonal elements. You might want to paint them in festive colors, or attach holiday-themed decorations like ornaments, snowflakes, or even family names. Using screws or hooks, you can conveniently secure your stockings, making it both functional and attractive.
Scrap Wood Candle Holders

Scrap wood candle holders add a rustic charm to your holiday décor and can be easily crafted with minimal tools. Start by gathering leftover wood pieces like 2x4s or pallets, as these provide sturdy bases. Cut the wood into various lengths for different-sized holders; think tall and short for a visually appealing arrangement.
Next, create holes in the center of each piece to securely fit tea lights or votive candles. You can also sand the edges for a polished finish. For an extra festive touch, paint or stain the holders in seasonal colors like red, green, or white, and add decorative elements such as twine, pinecones, or holly.
These DIY candle holders not only make great gifts but also serve as beautiful centerpieces for festive gatherings!
Decorative Wood Sled
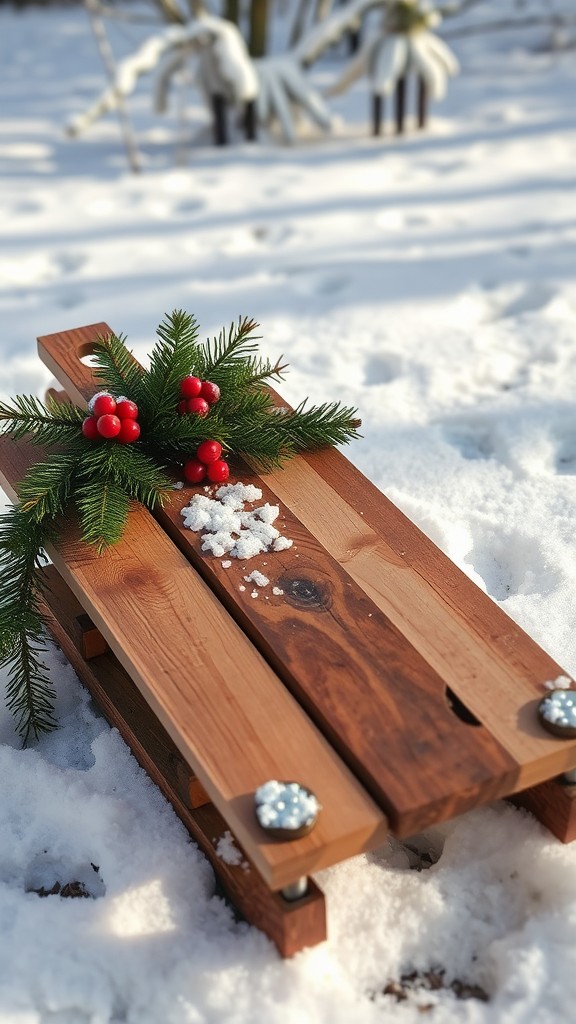
Create a charming decorative wood sled to enhance your holiday decor. This simple project can be made from leftover wood, making it both an eco-friendly and budget-friendly option for your home. Start by cutting two pieces of wood for the base and two for the runners, ensuring they are proportional to each other for stability and aesthetics.
Once your pieces are cut, sand them down to avoid splinters. Assemble the sled using wood glue or screws for a sturdy finish. You can enhance the design by painting it in vibrant holiday colors or by applying a rustic stain. Consider adding festive embellishments like pine garlands or small ornaments to give it a personalized touch.
Pallet Wood Christmas Tree Stand
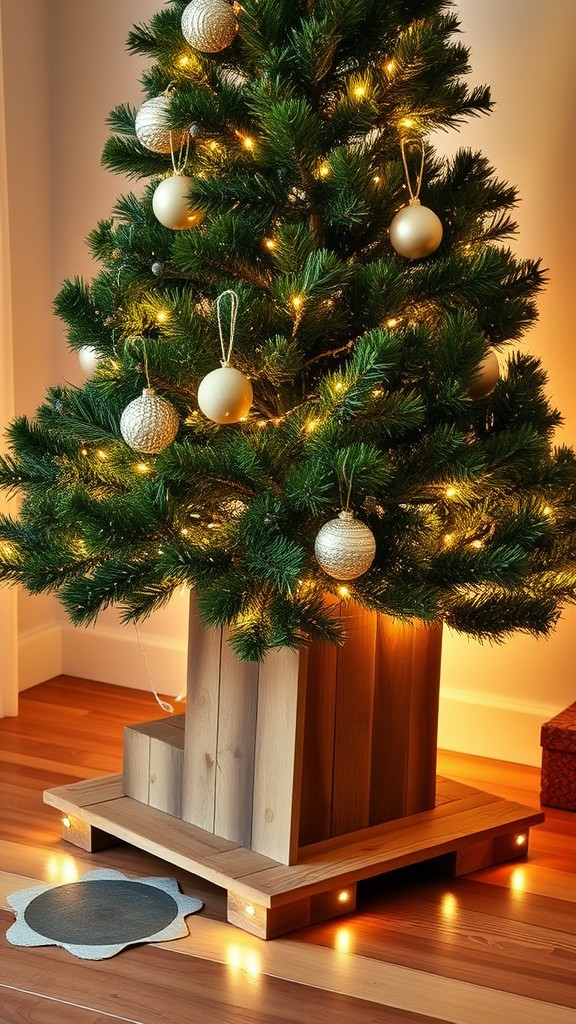
Creating a Pallet Wood Christmas Tree Stand is an excellent way to repurpose scrap materials while adding charm to your holiday decor. Start by selecting a few sturdy pallet boards, which can often be sourced for free from local stores or warehouses. Cut the boards to your desired length, typically around 2 feet for a stable base.
Assemble the boards in a square or rectangular configuration to form the base, using screws for a secure hold. For added stability, consider adding a central support structure to hold the trunk of the tree. You can also customize the design with paint or stain to match your holiday theme. Finish it off with a protective sealant to keep it looking great year after year.
Wooden Snowman Figurines

Creating wooden snowman figurines is a charming way to add a rustic touch to your holiday decor. These figurines are not only easy to make, but they also allow for plenty of creativity in design and finish.
Start with scrap wood pieces of varying sizes to form the body and head of your snowman. Use a saw to cut out circles or rounded shapes, then paint them with white acrylic paint for a snowy effect. Add features like buttons, a scarf, and a hat using scrap fabric or other materials to give each snowman a unique character.
For durability, consider sealing your snowmen with a clear coat. You can also use wood burning tools to add facial details or snowflakes, enhancing their charm. Display them on your mantel or give them as gifts for a personal touch this holiday season.
Holiday Centerpiece

Create a stunning holiday centerpiece using scrap wood to add a rustic charm to your table. Start by selecting a few pieces of varying lengths, ideally 1×4 or 1×6 boards, to build a layered look. Sand them down to remove any splinters and give a smooth finish.
To achieve a festive vibe, consider painting the wood in seasonal colors such as red, green, or gold. Once dried, arrange the pieces in a staggered pattern and enhance with holly, pinecones, or even candle holders to bring warmth and illumination. For added flair, incorporate fairy lights within the design.
Wooden Angel Decorations

Create beautiful wooden angel decorations from scrap wood to add a charming touch to your Christmas decor. Start with a simple block of wood or reclaimed pallet pieces. Cut the wood into different shapes to create the body, wings, and halo of the angel. You can use a jigsaw or bandsaw for the cuts.
Once your pieces are ready, sand them down to ensure a smooth finish. Then, paint or stain the wood in festive colors such as white, gold, or silver. For added detail, consider using stencils to add intricate designs or even glitter to enhance their beauty.
Finish by sealing with a clear varnish for durability. Hang your handcrafted wooden angels on your Christmas tree, or use them as tabletop decorations to spread holiday cheer!
Scrap Wood Garland
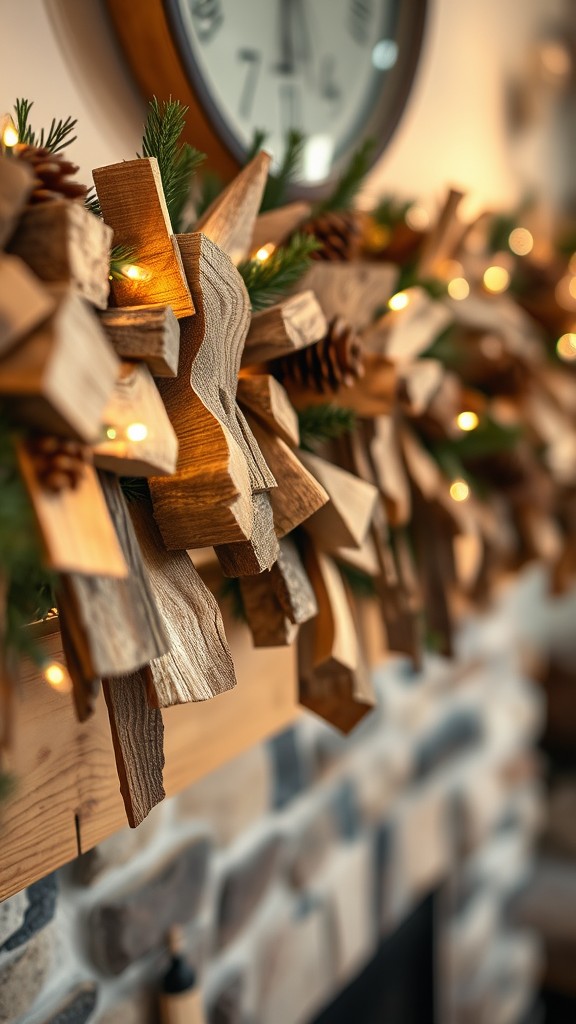
A scrap wood garland adds a rustic charm to your holiday decor while allowing you to utilize leftover wood pieces. Begin by cutting your scrap wood into uniform shapes, such as triangles or simple rectangles, to resemble Christmas trees or gift boxes. You can also mix different sizes for added interest.
Once your pieces are prepared, consider painting or staining them in holiday-themed colors like red, green, or gold. Attach a sturdy jute twine or string through drilled holes or by using small eye hooks. Hang the garland over a mantel, door frame, or along your staircase to create a cozy, festive atmosphere.
Wooden Christmas Village

Create a charming Wooden Christmas Village using scrap wood pieces to add a whimsical touch to your holiday decor. This project allows you to get creative while utilizing leftover wood, making it both eco-friendly and budget-friendly.
Begin by cutting various shapes for your village buildings, such as houses, churches, and shops. Use simple designs with different heights to create visual interest. Paint the structures in festive colors like red, green, and white, or opt for a rustic finish by leaving the wood natural.
To enhance the village, add small details like windows and doors using scrap wood or paint. Consider including a base made from larger wood pieces to connect your buildings, along with figurines or lights to bring your Wooden Christmas Village to life and create a cozy ambiance.
DIY Wood Plank Wall Art
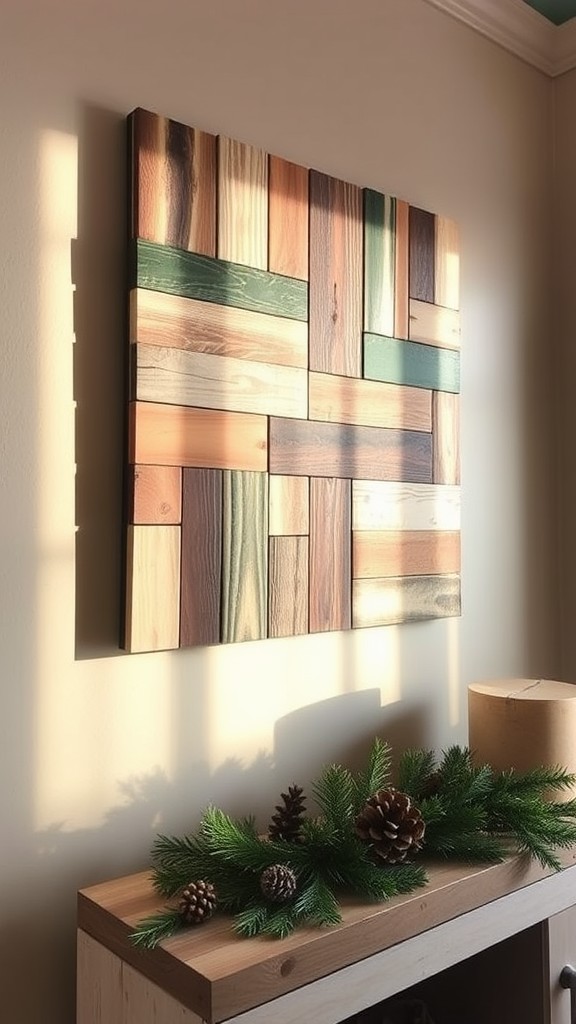
Creating DIY wood plank wall art is a fantastic way to repurpose scrap wood while adding a personal touch to your holiday décor. Start by gathering wood planks of varying sizes; old pallets work perfectly for this project. Choose a design that complements your space—be it a festive tree silhouette, snowflakes, or a simple geometric pattern.
To assemble your art, use wood glue or nails to secure the planks in your desired arrangement. Once the structure is complete, sand the edges for a smooth finish. You can paint or stain the wood to match your Christmas color scheme. For added charm, consider attaching fairy lights or greenery for a stunning display that brightens your home this season.

