How to Make a Gourd Birdhouse
Did you know that gourd birdhouses not only provide a cozy home for various bird species but also add a unique touch to your garden? In this blog, we’ll explore the step-by-step process of crafting your own gourd birdhouse, including tips on selecting the perfect gourd, essential tools you’ll need, and creative ideas for decorating. By the end, you’ll be equipped with everything necessary to attract birds to your outdoor space and enjoy the beauty of nature right from your own backyard!
Shop Our Must-Haves
Understanding the Benefits of Gourd Birdhouses
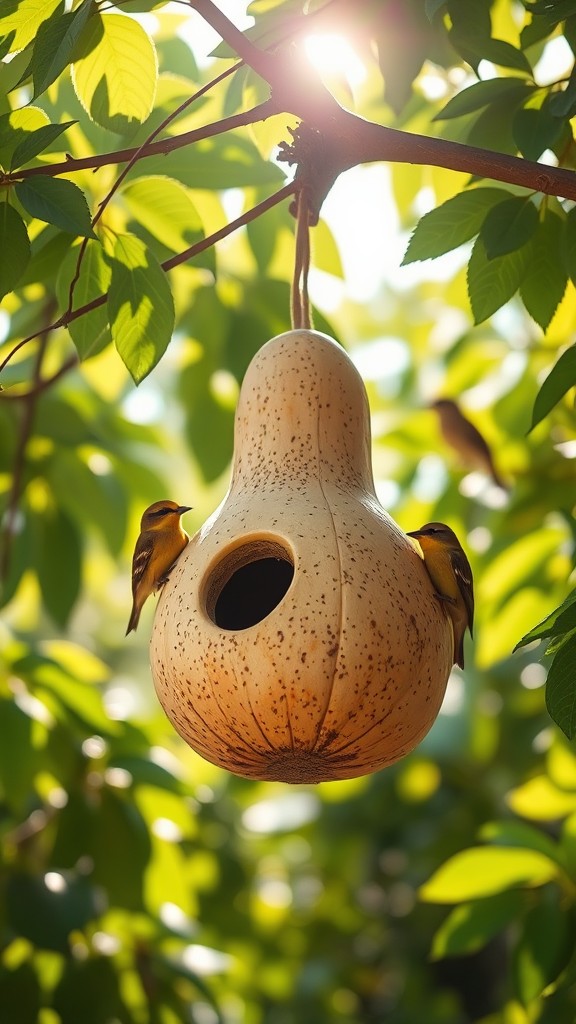
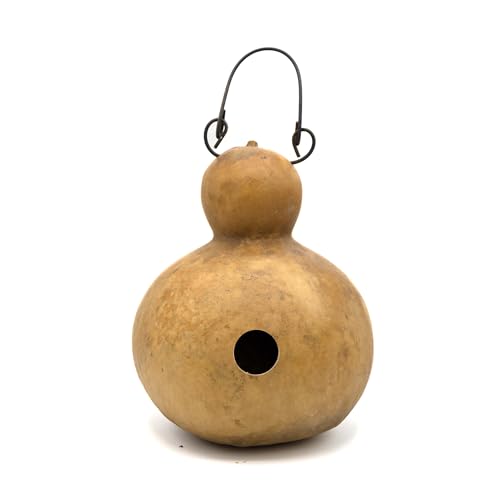
Gourd birdhouses offer a unique blend of aesthetic appeal and practicality for both birds and gardeners. Crafted from naturally hollowed-out gourds, these homes blend seamlessly into outdoor environments. Their organic shape and earthy tones provide shelter that attracts various bird species while enhancing your garden’s beauty.
The insulating properties of gourd walls help maintain a suitable temperature for nesting birds, protecting them from extreme weather conditions. Additionally, the durability of gourds means they can withstand different elements, providing a long-lasting home.
Creating gourd birdhouses also promotes sustainability. Utilizing natural materials not only reduces waste but also encourages local wildlife. By offering a nurturing environment, you contribute to the preservation of bird populations and enhance biodiversity in your surroundings.
Choosing the Right Gourd
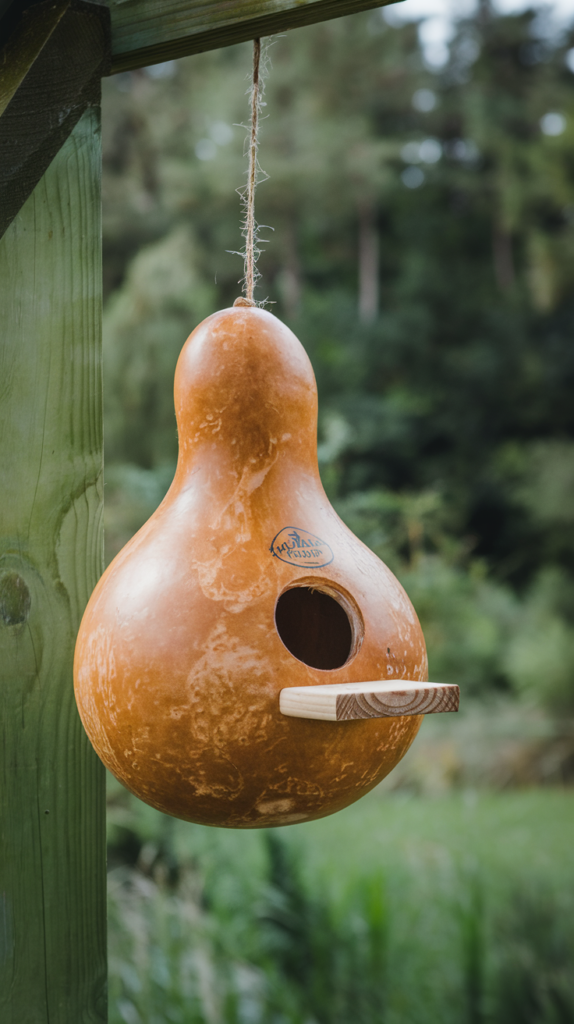
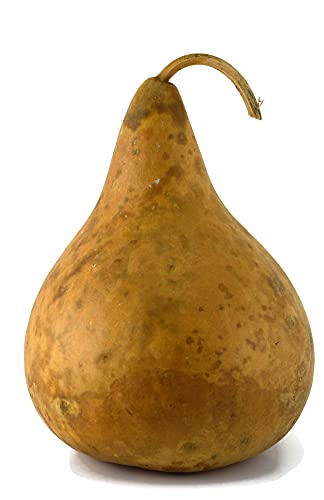
Selecting the right gourd is essential for creating a successful birdhouse. Look for hard-shelled gourds like the larger bottle gourd or the luffa gourd. These varieties are sturdy and provide a suitable living space for birds. Ensure the gourd is free from cracks and has a smooth surface for ease of cleaning and maintenance.
Size matters! Aim for gourds that are at least 10-12 inches tall and 6-8 inches in diameter. This size accommodates most bird species comfortably. Additionally, consider the opening size—a hole around 1.5 to 2 inches in diameter works well for attracting various birds.
Finally, choose mature gourds with a hard exterior. Shake them gently; if you hear seeds rattling inside, they’re ready for crafting! These factors will ensure a durable and inviting birdhouse.
Tools and Materials Needed
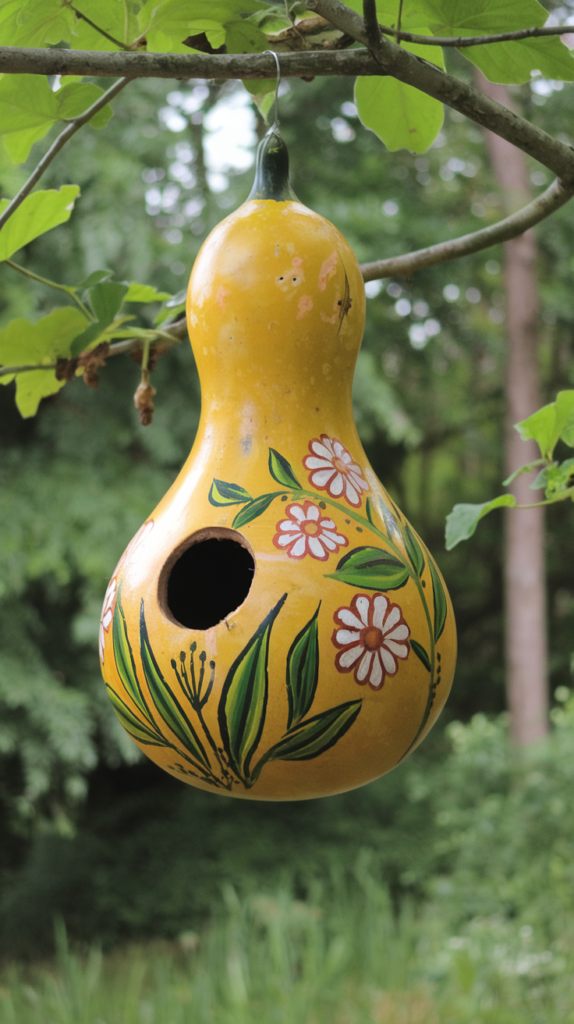
To create a gourd birdhouse, gathering the right tools and materials is key to a successful project. Here’s a list of essentials you’ll need:
- Gourd: Select a mature, hard-shelled gourd, ideally 8-10 inches in length, for durability.
- Drill: A power drill with a variety of bits for creating holes for ventilation and the entrance.
- Saw: A small hand saw or a jigsaw is perfect for cutting the gourd in half.
- Sandpaper: Use fine-grit sandpaper to smooth any rough edges.
Additional materials include non-toxic paint or sealer for protection against weather elements. You may also want to use twine or wire for hanging your birdhouse securely. Keeping these tools handy ensures a smoother crafting process.
Preparing the Gourd
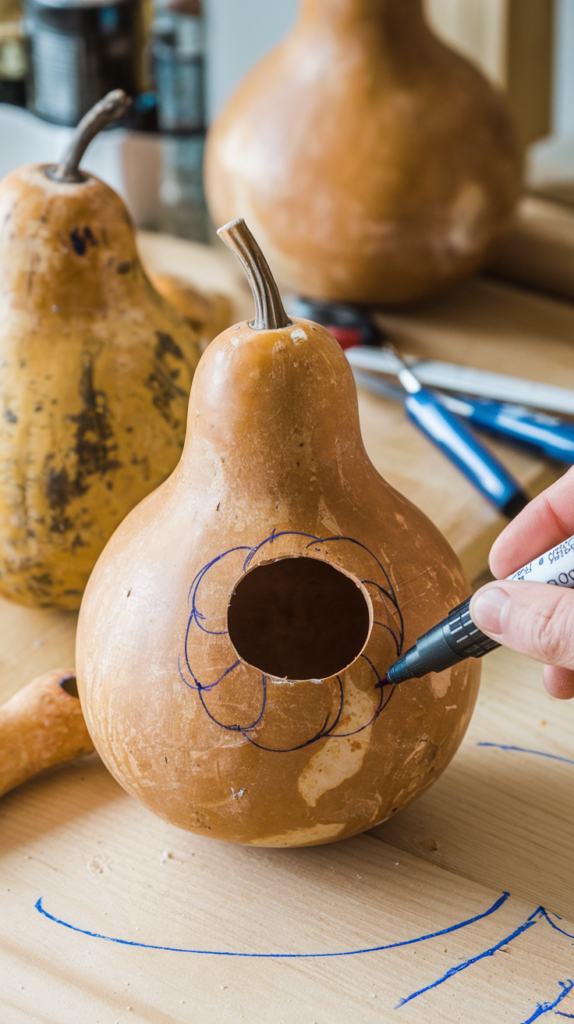
To prepare the gourd for your birdhouse, start by selecting a mature hard-shell gourd. Look for one that is heavy, has a smooth surface, and is free of blemishes. The gourd should feel solid and not yield to pressure.
Clean the gourd thoroughly by rinsing it with warm soap and water. Scrub the exterior to remove any dirt or debris. After washing, let it dry completely in a well-ventilated area.
Once dry, use a marker to trace a circular opening for the bird entry. The size should be about 1.5 inches in diameter, which is suitable for most small bird species. Carefully cut the opening with a jigsaw or a sharp knife, ensuring smooth edges. After cutting, sand the edges gently to prevent any sharp bits that could hurt visiting birds.
Designing the Birdhouse Entrance
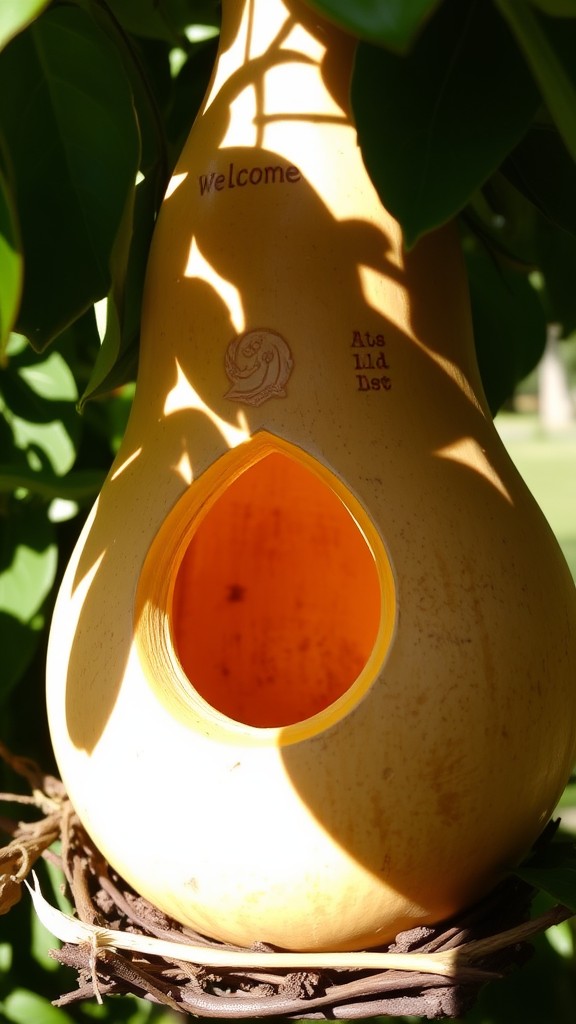
Designing the entrance to your gourd birdhouse is crucial for attracting the right birds and ensuring their safety. Aim for an entrance hole that is appropriate for the bird species you want to attract. A hole around 1-1.5 inches in diameter is ideal for small birds such as wrens and chickadees.
Consider placing the entrance on the side of the gourd that faces away from prevailing winds. This orientation not only protects the nest from harsh weather but also provides a sense of security for the birds inside. Using a saw or drill, carefully cut the entrance to avoid splinters; smooth any rough edges with sandpaper to make it safe for the birds.
Lastly, think about adding an overhang above the entrance to shield it from rain. Using a piece of wood or a small ledge will create a natural awning, making your birdhouse more inviting while maintaining comfort for nesting birds.
Drilling and Hollowing Out the Gourd
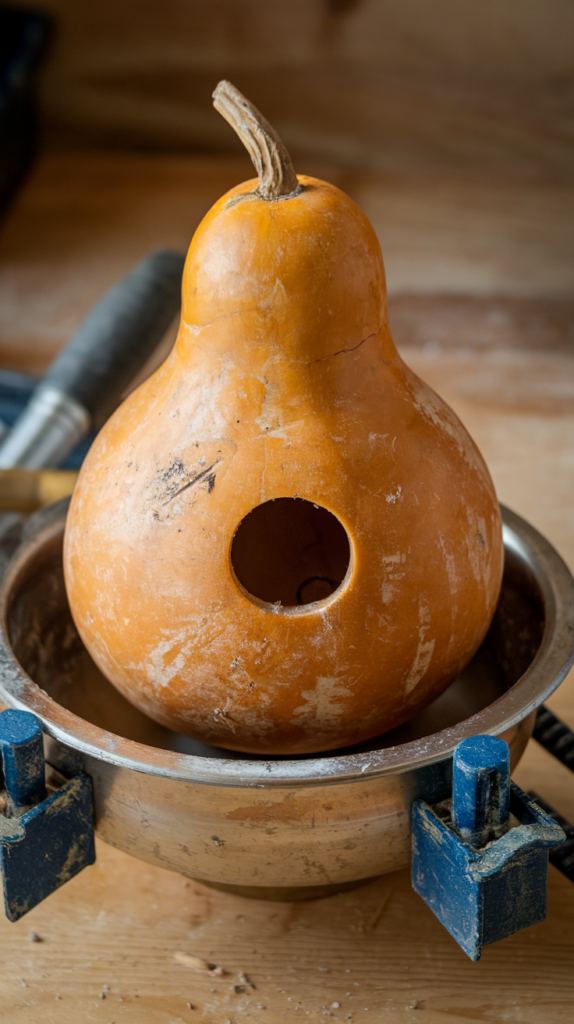
To begin drilling your gourd, secure it in a sturdy position using a clamp or by placing it in a bowl. Use a 3/4-inch hole saw for the entrance. Aim to position the hole about 6 to 8 inches from the bottom. This height provides safety for the birds and ensures stability.
Once the entrance is established, it’s time to hollow out the inside. Use a long, flexible scraper or a spoon to remove the seeds and any stringy pulp. This process can be messy, so consider wearing gloves and an apron. Ensure the interior is thoroughly cleaned, as this helps in prolonging the lifespan of your birdhouse and makes it more inviting for nesting birds.
Creating Ventilation and Drainage Holes
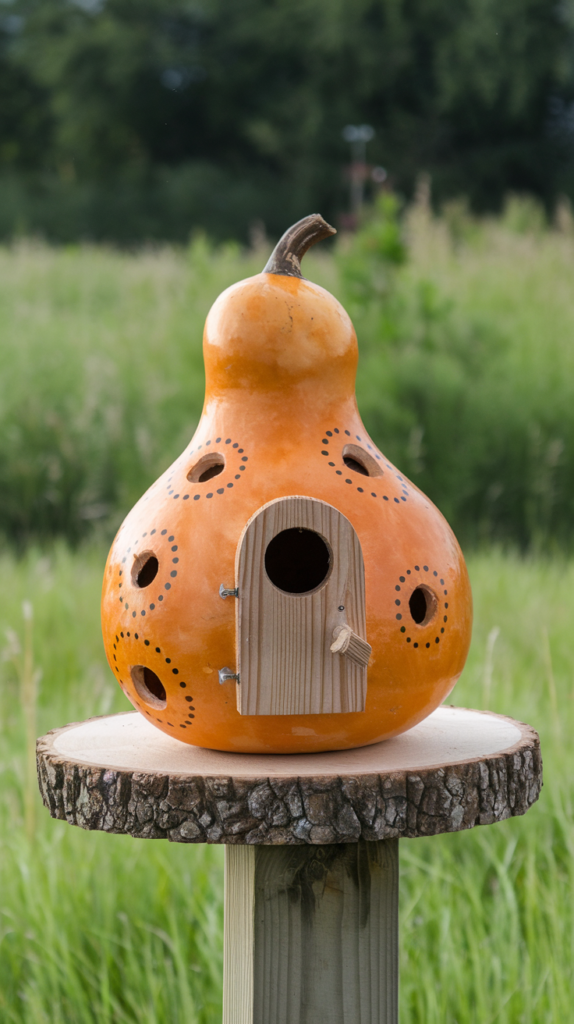
To ensure your gourd birdhouse is habitable and safe, it’s crucial to create adequate ventilation and drainage holes. Start by drilling small holes near the top of the gourd. These will allow warm air to escape and keep the interior cool during hot days. Aim for three to five holes, each about 1/4 inch in diameter, spaced evenly around the top edge.
For proper drainage, add four to six holes at the bottom of the gourd. This prevents water from accumulating inside, which can lead to mold and deter birds from nesting. Each hole should also be approximately 1/4 inch wide.
Using a drill or a wood-burning tool can help you achieve clean, precise holes. Be sure to smooth any rough edges with sandpaper to protect your feathered friends from injury.
Painting and Decorating the Gourd (Optional)
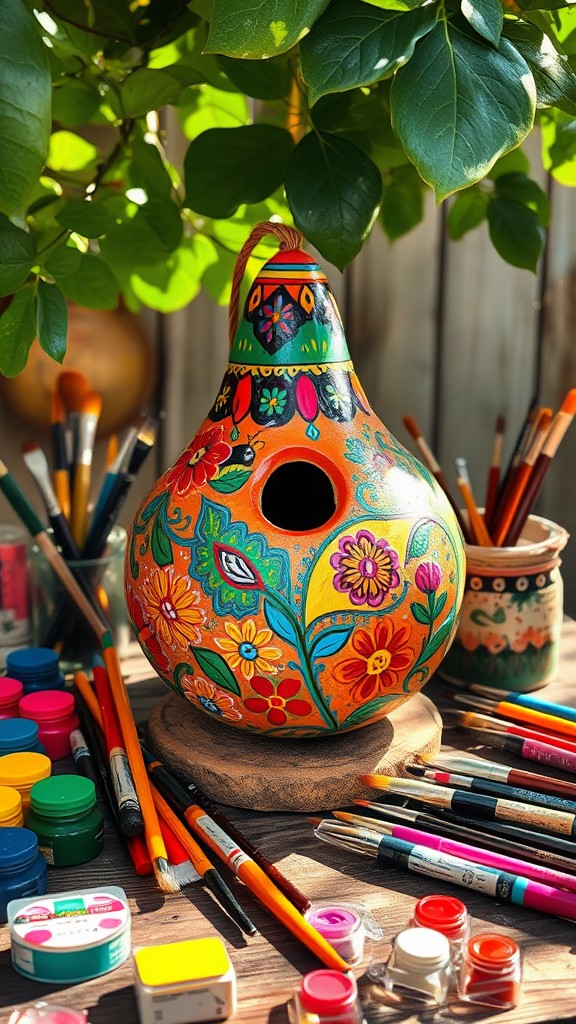
Painting and decorating your gourd can add a personal touch and enhance its aesthetic appeal. Start by cleaning the surface with mild soap and water, ensuring it’s completely dry before you begin. Use acrylic paints for vibrant colors that will withstand the elements.
Consider the design you want to achieve. Simple patterns like stripes or dots can be applied with sponges or brushes. For a more detailed design, try using stencils or freehand painting. After the paint dries, it’s wise to seal your artwork with a clear varnish to protect it from moisture and UV exposure.
Additionally, embellishments like natural twine, buttons, or beads can be glued onto the gourd to create texture and interest. These enhancements make your birdhouse not just functional, but also a charming garden decor piece.
Sealing the Gourd for Longevity
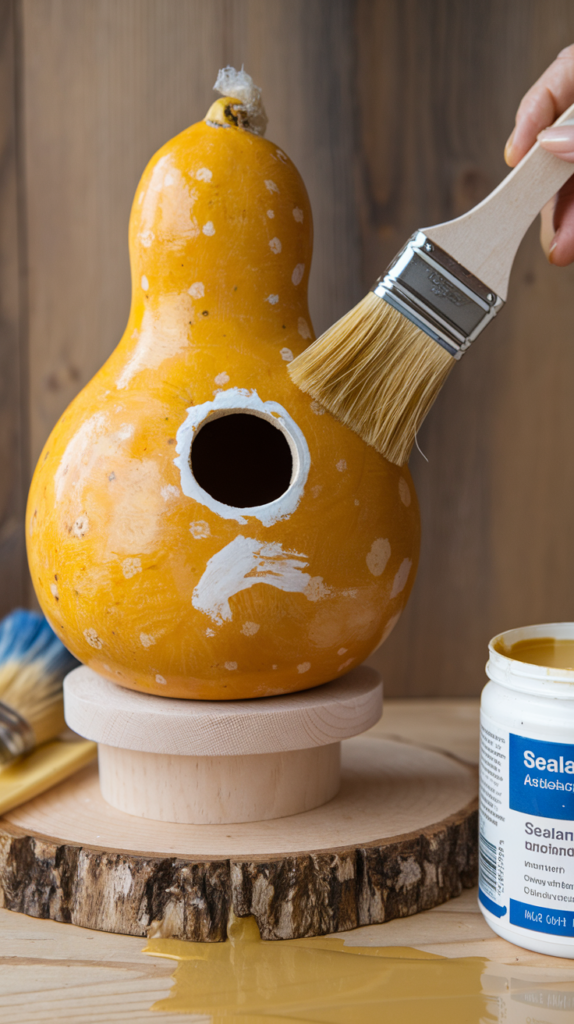
To ensure the longevity of your gourd birdhouse, sealing it is essential. Start by cleaning the gourd thoroughly to remove any dirt or residual seeds. Use a mild soap solution for this step, rinsing well afterward. Once dry, select a sealant that is non-toxic and suitable for outdoor use, such as a water-resistant outdoor varnish or an eco-friendly wood sealant.
Apply the sealant evenly to both the interior and exterior surfaces. This will help protect against moisture and prevent cracking. For optimal protection, consider applying two coats, allowing each coat to dry completely before adding the next. Regular maintenance, such as reapplication every few years, will also extend your birdhouse’s lifespan and keep it looking vibrant.
Mounting Your Gourd Birdhouse
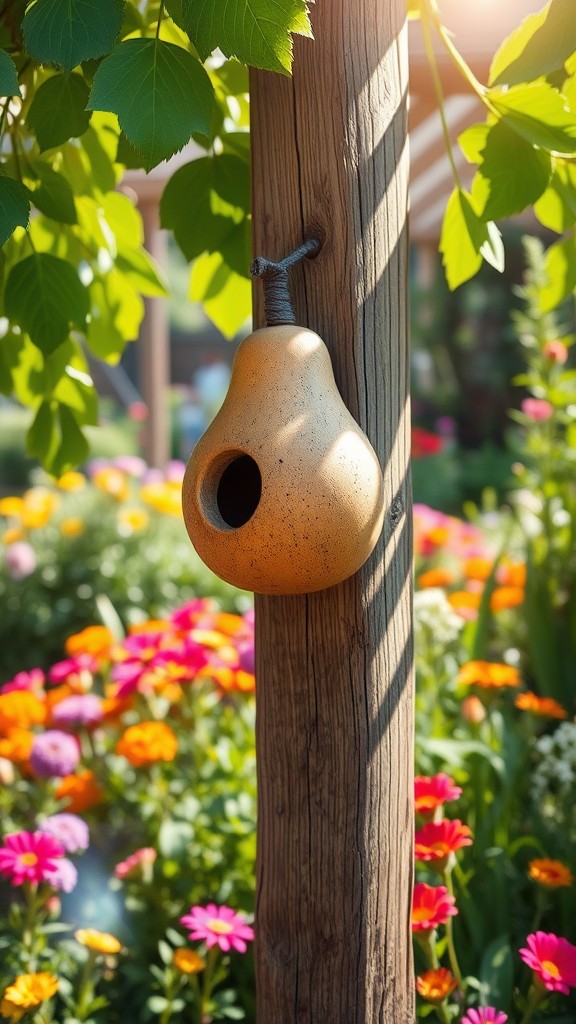
Mounting your gourd birdhouse correctly ensures safety and accessibility for the birds while providing a sturdy home. Choose a location that is quiet and sheltered from strong winds, ideally 5 to 10 feet above the ground, on a pole or tree. Avoid placing it too close to bird feeders to reduce disturbances.
Use a metal post or a wooden stake to mount the gourd securely. Drill a hole in the bottom of the gourd and a corresponding hole in the post for drainage. Insert a strong screw or bolt through both holes. For added stability, consider using brackets to attach the gourd to the mounting surface, especially in windy areas.
Monitor the birdhouse for visitors. Regularly check for signs of birds settling in and clean it out at the end of the nesting season to prepare for next year. This will help keep the environment healthy for future tenants.
Tips for Attracting Birds to Your Birdhouse
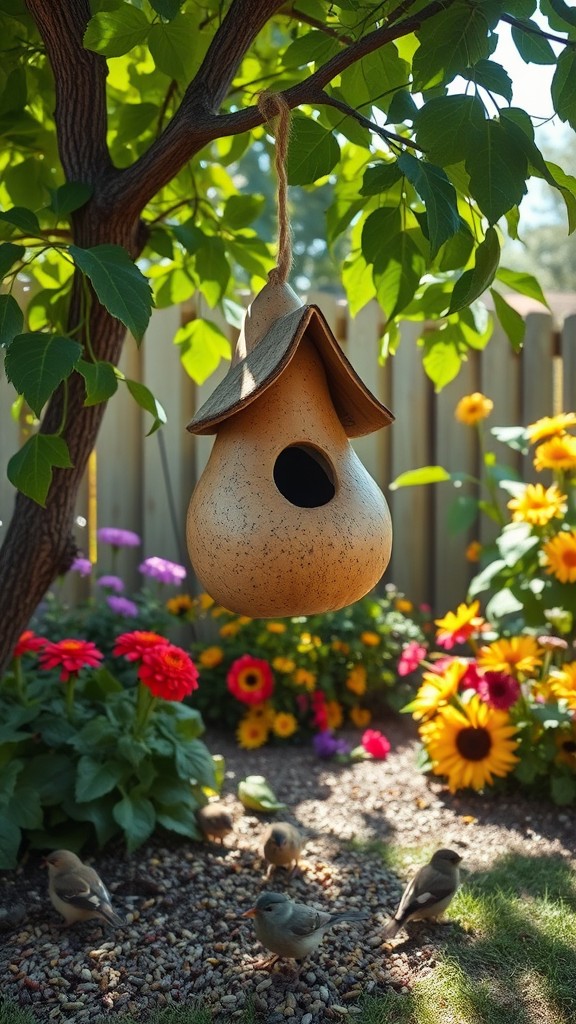
To attract birds to your gourd birdhouse, position it in an ideal location. Choose a spot that receives partial sunlight and is sheltered from strong winds. Placing the birdhouse between 3 to 10 feet high in a tree or on a pole can make it more appealing to potential avian visitors.
Create a welcoming environment by planting native flowers and shrubs nearby. These plants provide natural food sources and shelter. Consider using bird feeders filled with seeds, as they can draw in birds that might later nest in your gourd house. Regularly check and maintain the birdhouse, ensuring it remains clean and free from pests, which can discourage birds from returning.
Last update on 2025-11-21 / Affiliate links / Images from Amazon Product Advertising API


