15 Fun Letter F Crafts for Preschool Farm Theme Learning
Little hands love to explore the farm through play and art. These letter F crafts bring familiar farm friends to life with simple materials you likely already have at home or in your classroom. Each one builds fine motor skills while making learning joyful and memorable.
From fluffy sheep to crunchy corn, every craft connects the sound of 'F' with something tangible and fun. You'll find paint, paper, glue, and a few surprises like cotton balls and pasta as we dive into farmyard creativity together.
1. Fluffy Farm Sheep
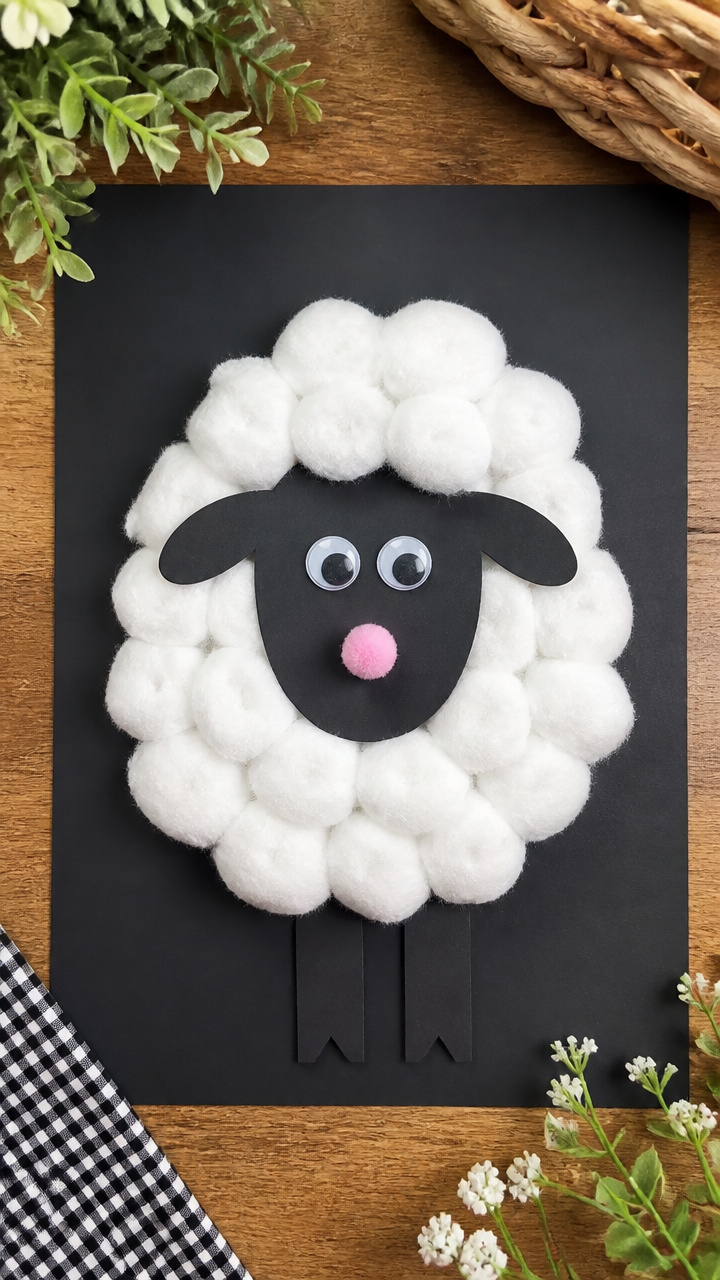
Soft cotton ball sheep teach texture and counting while reinforcing the 'F' sound. This tactile favorite sticks around on the wall for weeks.
Materials Needed
- A4 black cardstock
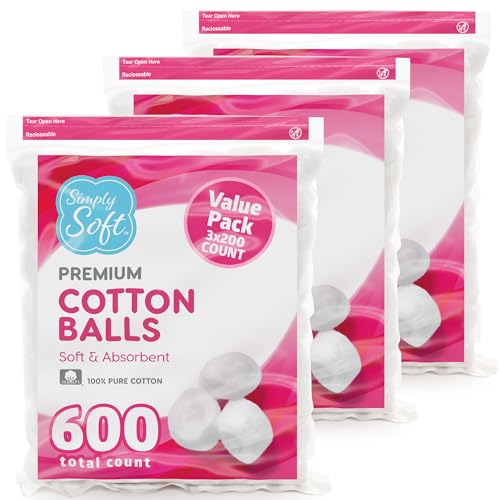
- 20 white cotton balls
- White school glue
- Googly eyes (12mm, 2 per sheep)
- Small pink pom-pom (1 per sheep)
- Scissors
- Pencil
How to Make It
- Draw a large sheep body shape like a sideways raindrop in the center of the black paper using a pencil.
- Apply a thin line of glue along the outline and stick cotton balls edge-to-edge to form the wool, covering the entire shape.
- Glue two googly eyes near the top and a pink pom-pom below for the nose.
- Let dry completely for 30 minutes before displaying.

![McKesson Cotton Balls [2000 Count] Bulk, 100% Pure Cotton Balls for Face, Nail Polish Remover, Makeup, Medium](https://m.media-amazon.com/images/I/312YQNHbahL._SL500_.jpg)
2. Fingerprint Foxy Foxes
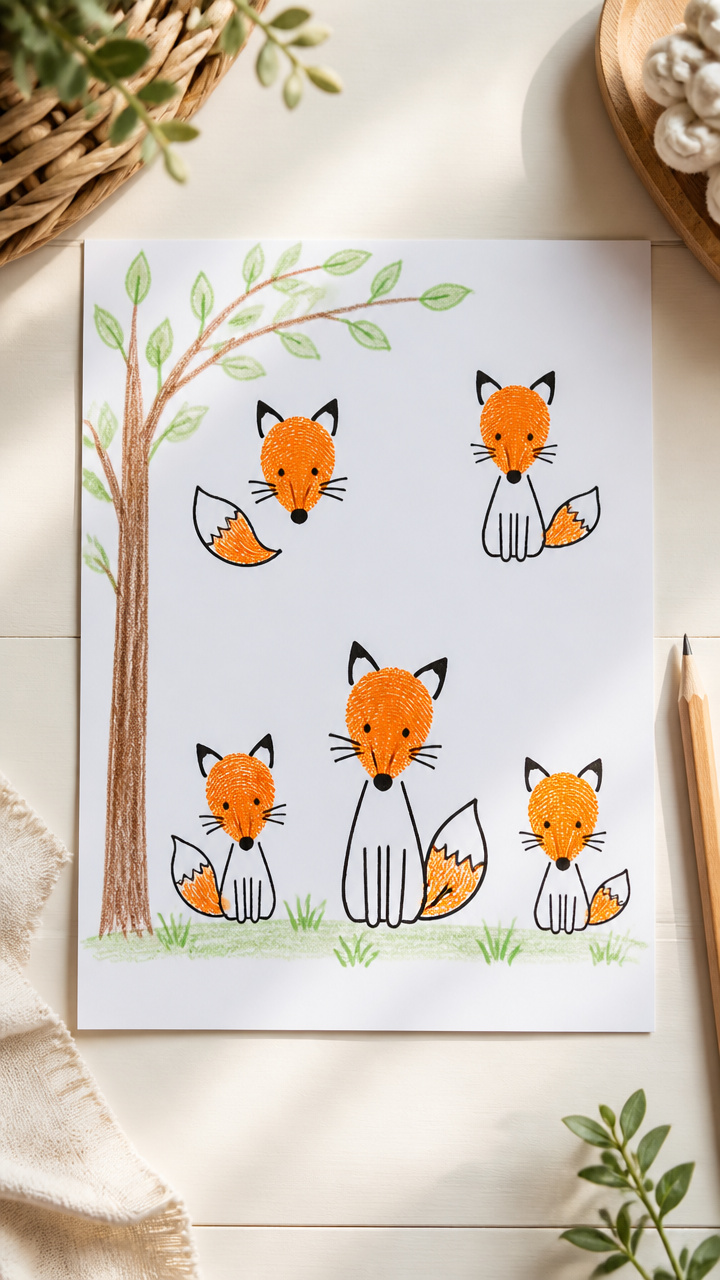
Bright orange fingerprints bloom into clever little foxes with just a few marker details. It's quick, washable, and full of personality.
Materials Needed
- A4 white drawing paper
- Orange washable ink pad
- Black fine-tip marker
- Green crayon
- Brown colored pencil
How to Make It
- Press your child’s fingertip into the orange ink pad and make three fingerprint ovals in a triangle shape on the paper.
- Add two smaller side prints for ears beside the top two main prints.
- Use the black marker to draw sharp snouts, whiskers, and inner ear lines.
- Color a grassy patch below with green crayon and add tree trunks with brown pencil.


3. Farmhouse from Cereal Boxes

Sturdy cardboard becomes a red barn with real window flaps. Kids love opening and closing the doors during storytelling.
Materials Needed
- Empty cereal box (single serving size)
- Red acrylic paint
- Paintbrush (1/2 inch flat)
- White glue
- Scissors
- Ruler
- Black marker
How to Make It
- Cut the cereal box open and lay it flat, then cut a rectangle 4×6 inches from the panel.
- Paint the entire piece red and let dry for 20 minutes.
- Use the ruler to mark a diagonal roof line from top corners to center peak, then cut along it.
- Draw windows and doors with the black marker, then cut along two sides of each to create flaps that lift up.


4. Feathered Chick Hats
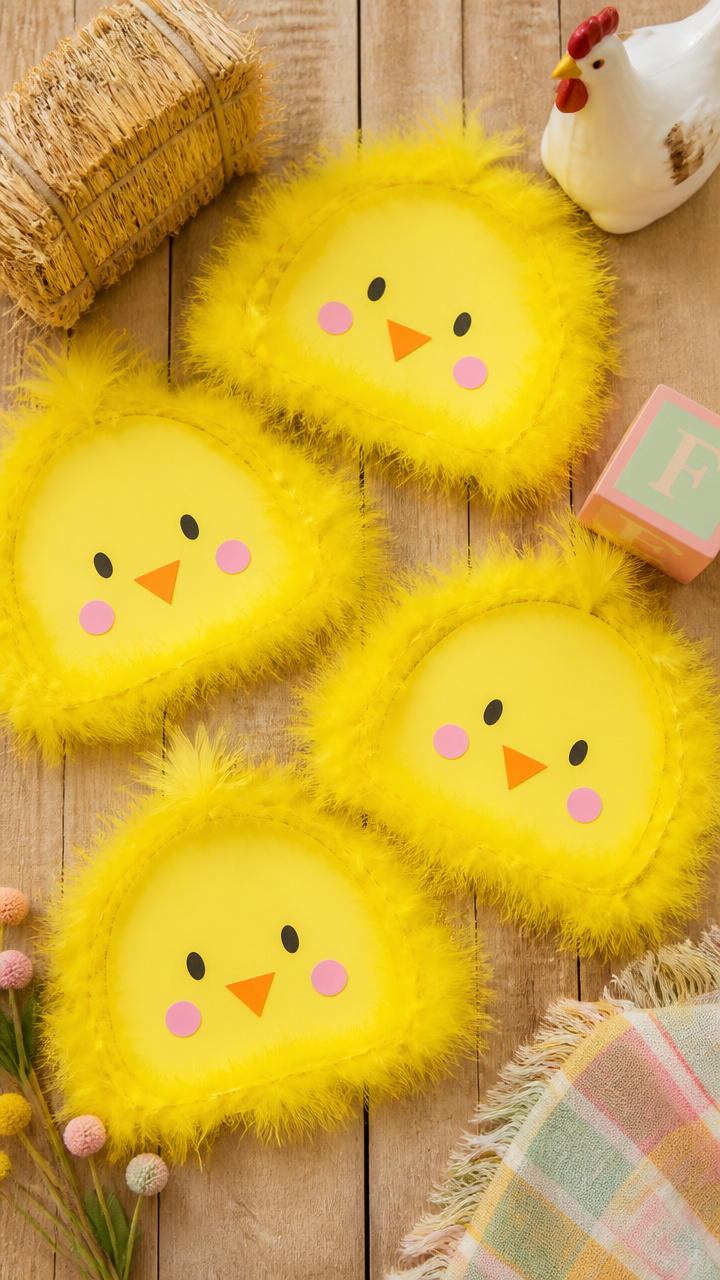
Bright yellow hats with fluffy tails turn kids into baby chicks. Wear them during story time or a farm parade.
Materials Needed
- Yellow construction paper (8.5×11 inches)
- Hot glue gun and glue sticks
- 10 yellow feather boas (cut into 2-inch strips)
- Measuring tape
- Pencil
- Scissors
How to Make It
- Measure the child’s head and cut the paper to fit with a 1-inch overlap, forming a ring.
- Glue one end of each feather strip along the back half of the ring using hot glue, layering slightly for fullness.
- Let the glue cool completely before placing on the head.
- Draw two small black eyes and an orange beak with markers on the front.


5. Frog Pond Splash Art
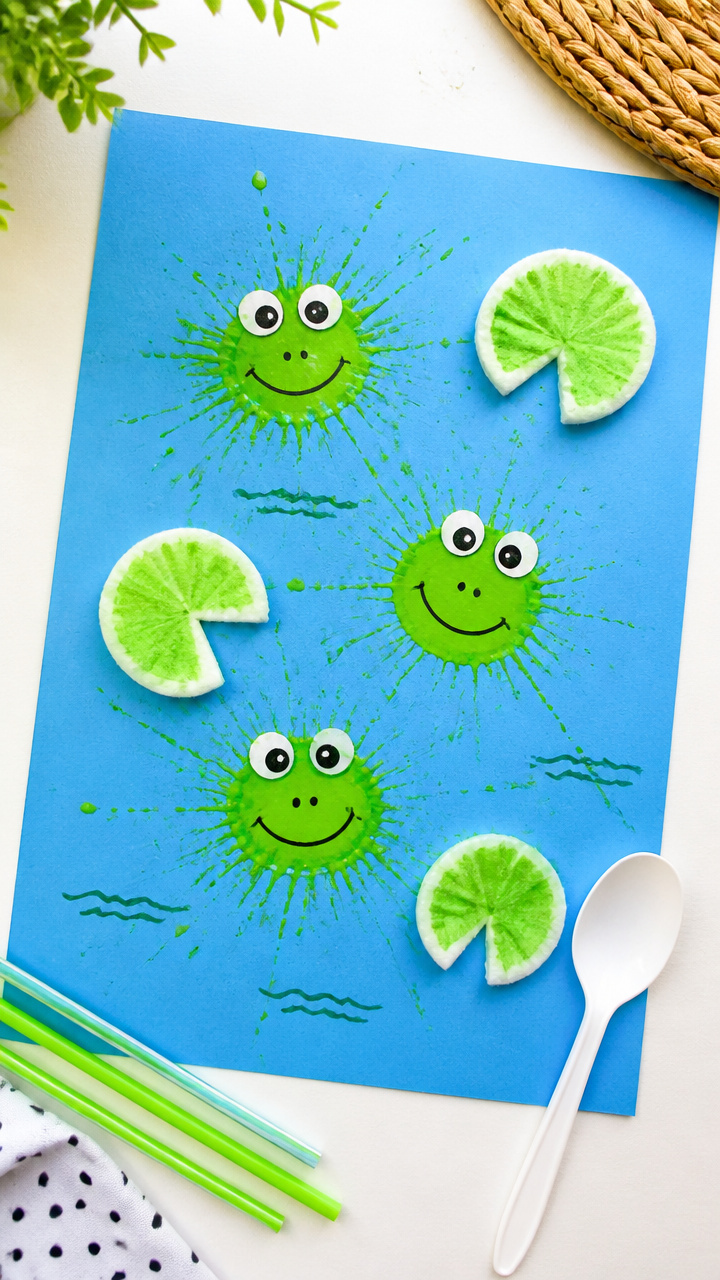
Green droplets leap into a watery scene made with straws and paint. It feels like magic when they blow their first lily pad rings.
Materials Needed
- A4 blue cardstock
- Green tempera paint (diluted with 1 tsp water)
- Drinking straws (5 per child)
- Cotton swabs (3 per pond)
- Plastic spoon
How to Make It
- Place a plastic spoonful of green paint in the center of the blue paper.
- Have the child blow gently through a straw into the paint pool to spread it outward in ripples.
- Dip a cotton swab in clean water and dab the edges to soften splatter.
- Set aside to dry flat for 25 minutes.

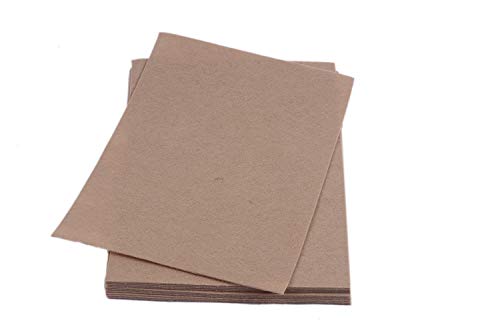
6. Fuzzy Felt Farmer
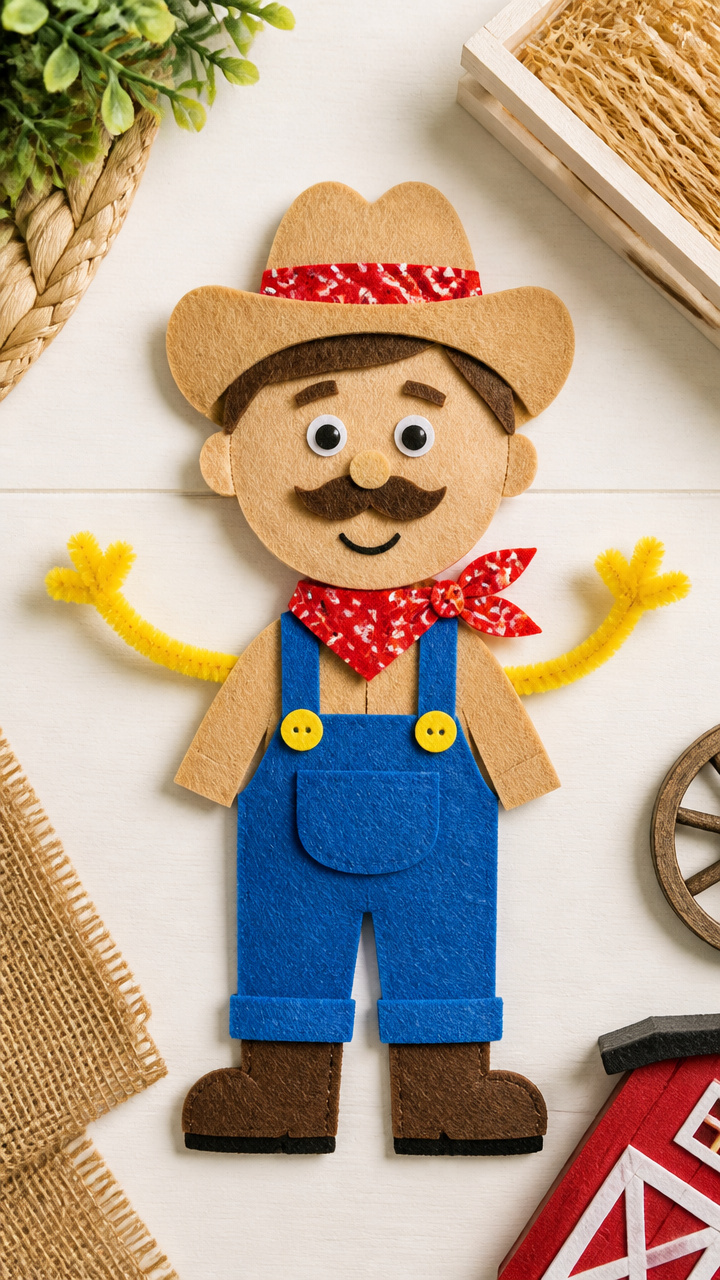
A tiny farmer with a denim vest and straw hat stands ready for play. The felt pieces stay put on flannel boards or walls.
Materials Needed
- Tan felt sheet (9×12 inches)
- Blue felt sheet (9×12 inches)
- Red bandana fabric scrap (4×4 inches)
- Yellow chenille stem (pipe cleaner)
- Fabric scissors
- Fabric glue
- Black embroidery floss and needle
How to Make It
- Cut a farmer body: 3-inch oval for head, 5-inch rectangle for body, 2 arms, and 2 legs from tan felt.
- Glue a small blue vest onto the body piece and attach limbs with fabric glue.
- Wrap the red fabric around the head for a bandana and secure with a stitch at the back.
- Twist the chenille stem into a brim and glue to the top of a small tan circle for the hat, then attach to head.


7. Foam Fence Lines
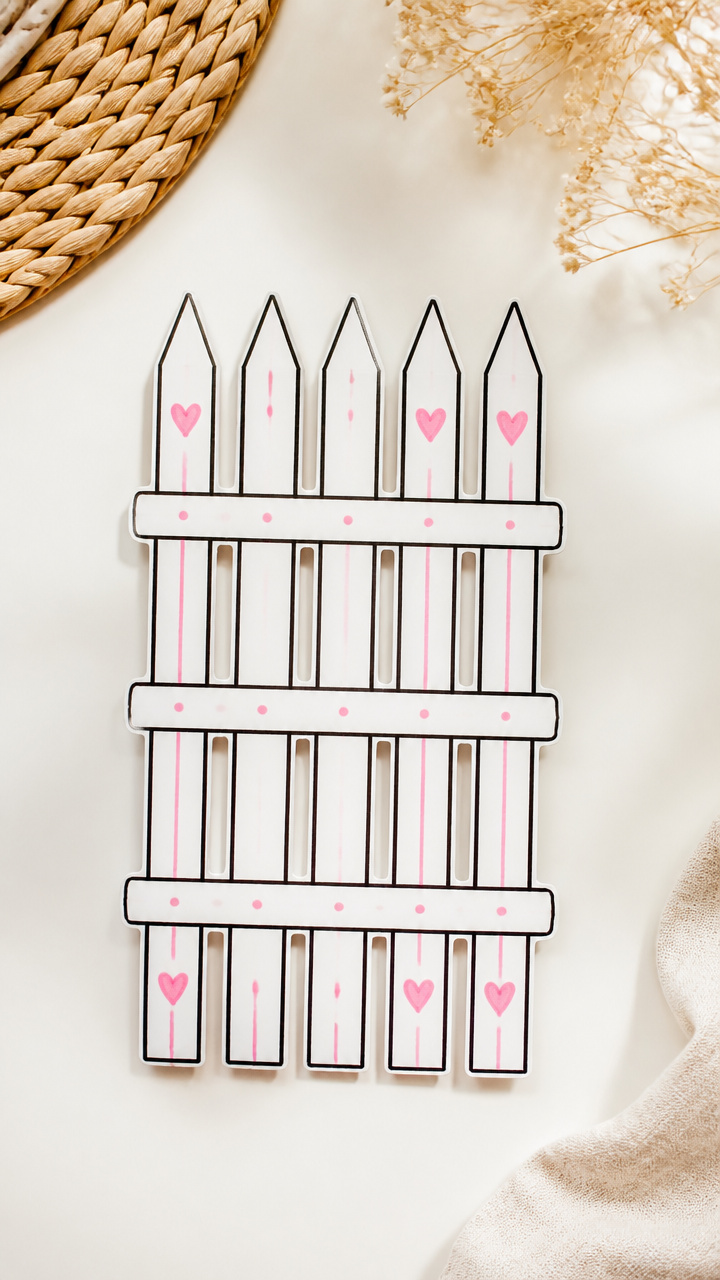
Interlocking foam strips make a zigzag fence perfect for toy farm animals. It doubles as a name-writing practice board.
Materials Needed
- White foam sheets (pack of 6)
- Pink chalk marker
- Ruler
- Black permanent marker
- Scissors
How to Make It
- Cut each foam sheet into 1-inch wide strips lengthwise, yielding 6 strips per sheet.
- Make a diagonal cut at each end of every other strip so they interlock at angles.
- Alternate the direction of cuts and snap strips together into a long zigzag line.
- Label sections with animal names using the chalk marker so kids can match toys.


8. Fish Bowl Fish Friends
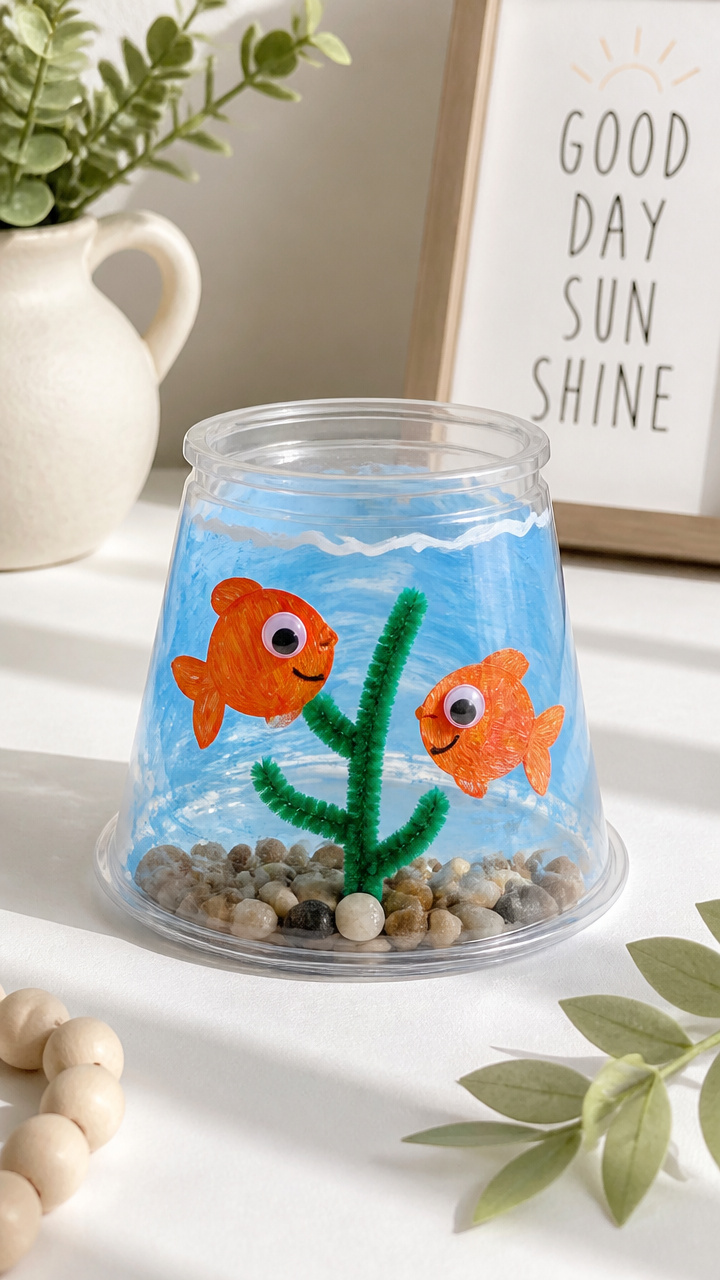
Clear plastic cups become underwater homes for handprint fish. They wiggle on springs when touched.
Materials Needed
- Clear plastic cup (9 oz)
- Orange finger paint
- Googly eyes (8mm)
- White school glue
- Pipe cleaner (green, 12 inch)
- Hole punch
How to Make It
- Press fingers into orange paint and press four fan-shaped fins around the lower half of the cup.
- Glue two googly eyes near the rim and let dry for 15 minutes.
- Cut a 3-inch pipe cleaner spring by coiling it tightly around a pencil and stretching slightly.
- Punch a hole in the cup bottom, thread the spring through, and tape securely inside.


9. Fruit Basket Collage
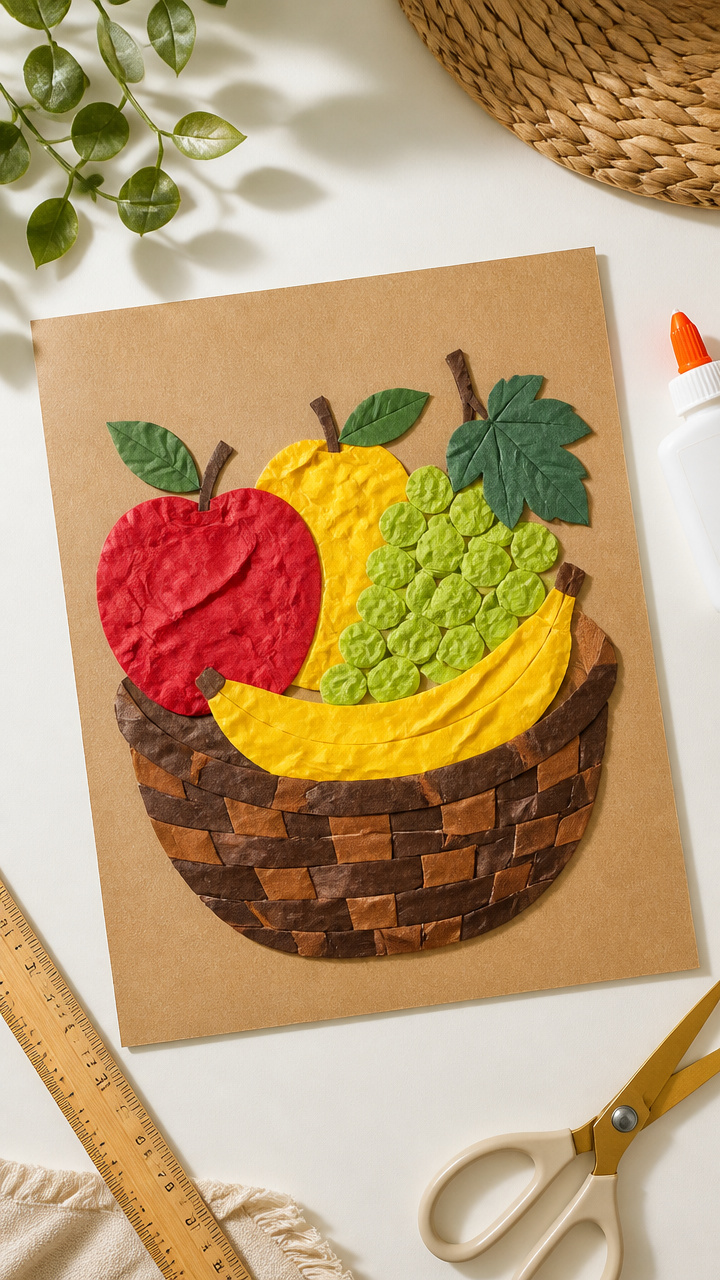
Sliced fruit shapes in glossy paper fill a woven basket. It teaches sorting and makes a sweet bulletin board display.
Materials Needed
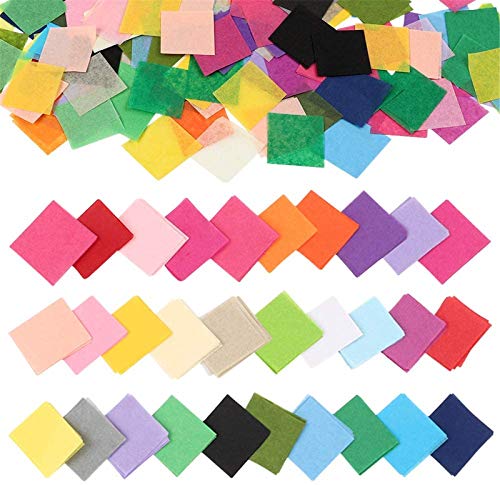
- Brown kraft paper (8.5×11 inches)
- Red, yellow, and green tissue paper
- White school glue
- Scissors
- Pencil
- Ruler
How to Make It
- Draw a rectangular basket with handles on the kraft paper using pencil and ruler.
- Cut tissue paper into 1-inch squares and crumple into tiny balls.
- Glue red balls in clusters for apples, yellow for bananas, green for pears inside the basket outline.
- Outline the basket and handles with a black crayon after drying for 20 minutes.


10. Flying Flannel Kites
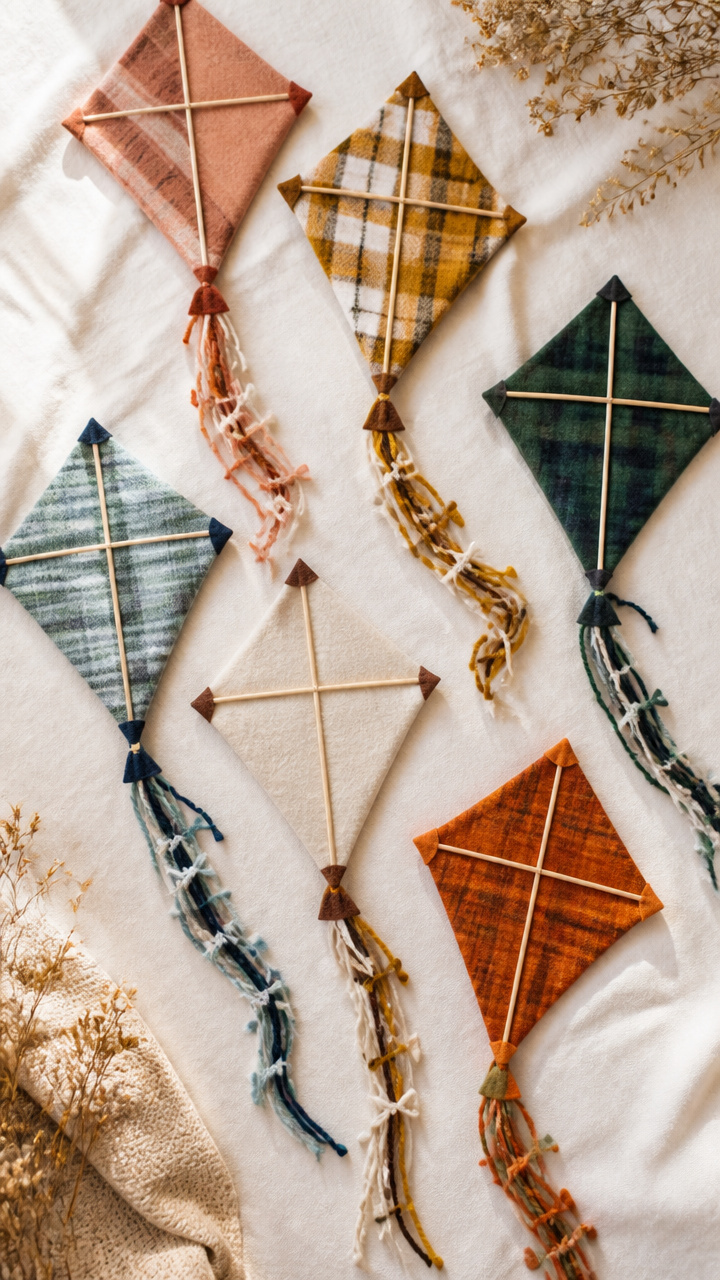
Bold diamond kites with fluttery tails dance on strings taped to the wall. They respond to air currents from walking by.
Materials Needed
- Colored flannel scraps (assorted)
- Yarn (24 inches per kite)
- White school glue
- Cardboard stencil (diamond, 4×4 inches)
- Pencil
- Scissors
How to Make It
- Trace the diamond shape onto flannel and cut out two per kite.
- Glue the layers together around the edges, leaving the top open.
- Cut four 6-inch yarn strands and knot them at one end, then glue the knotted end inside the bottom point.
- Tape a 24-inch yarn string to the top point so it hangs from the ceiling or wall.


11. Frosted Flower Pots
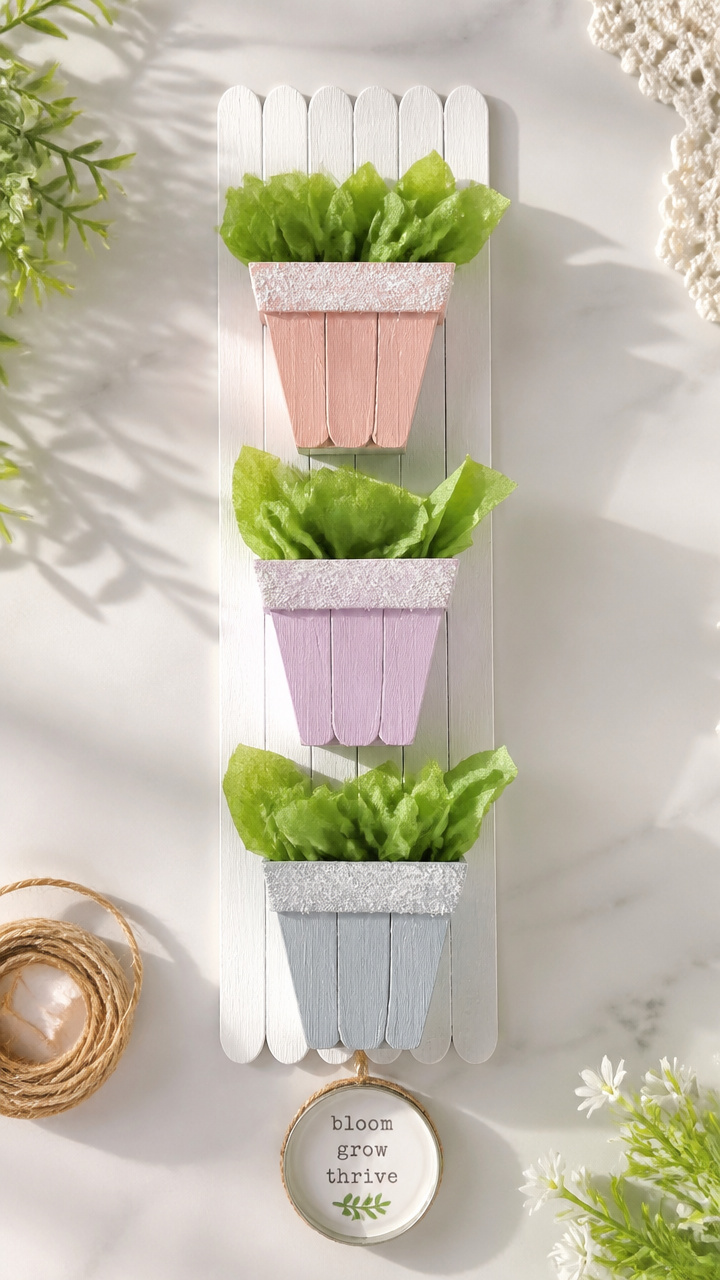
Popsicle sticks edged in white paint become miniature flowerpots. Kids tuck tissue blooms inside for spring gardens.
Materials Needed
- Flat wooden popsicle sticks (10 per pot)
- White acrylic paint
- Paintbrush (1/4 inch)
- Green tissue paper
- White school glue
- Small jar lid (for tracing)
How to Make It
- Paint both sides of each popsicle stick with white paint and let dry for 15 minutes.
- Arrange five sticks in a circle standing upright around the jar lid, gluing ends together at seams.
- Cut fringe strips from green tissue paper and glue around the top rim for grass.
- Crumple colorful tissue paper into small buds and tuck inside the pot.


12. Flashlight Fireflies
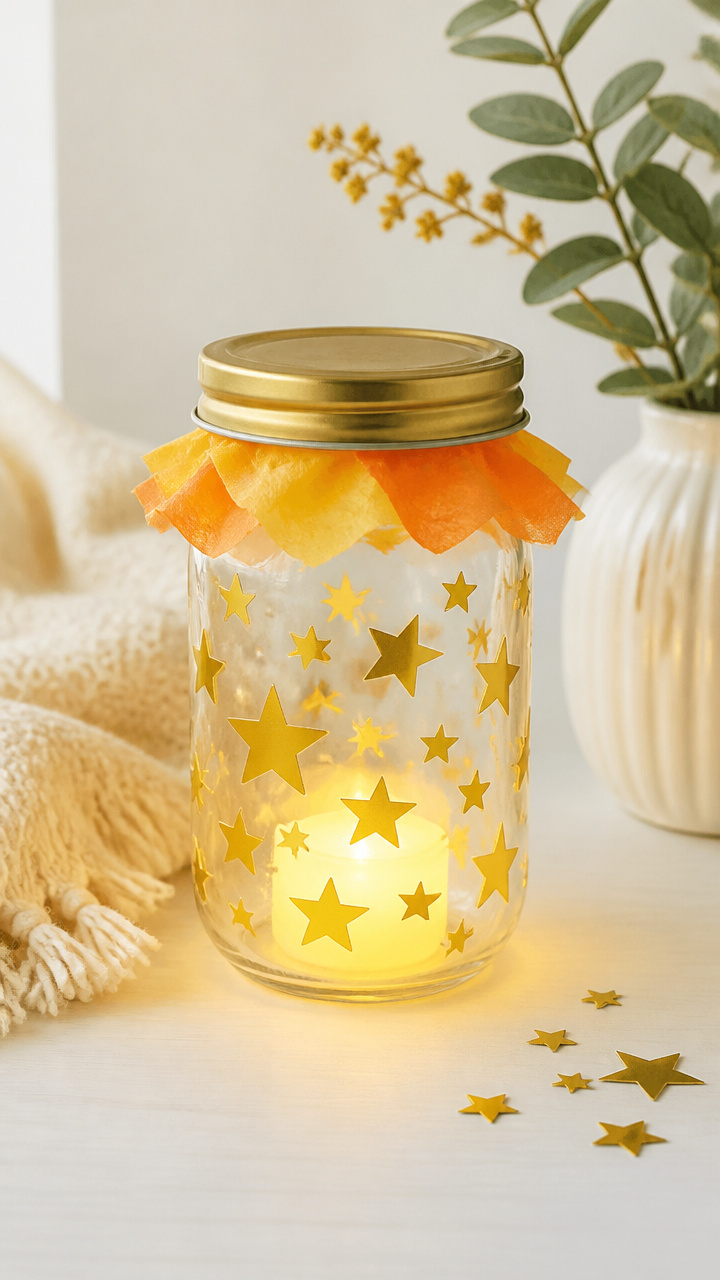
Glowing jars filled with golden dots float like fireflies at dusk. Use them for quiet time or pretend camping.
Materials Needed
- Clear plastic jar with lid (baby food size)
- Gold star stickers (various sizes)
- Scissors
- LED tea light (battery operated)
- Tissue paper (yellow and orange)
How to Make It
- Cut yellow and orange tissue paper into 1-inch squares and line the inside of the jar.
- Stick gold stars randomly on the outside of the jar, overlapping slightly.
- Place the LED tea light inside and screw the lid shut.
- Turn off the lights and watch the glow dance on the walls.


13. Footprint Frogs
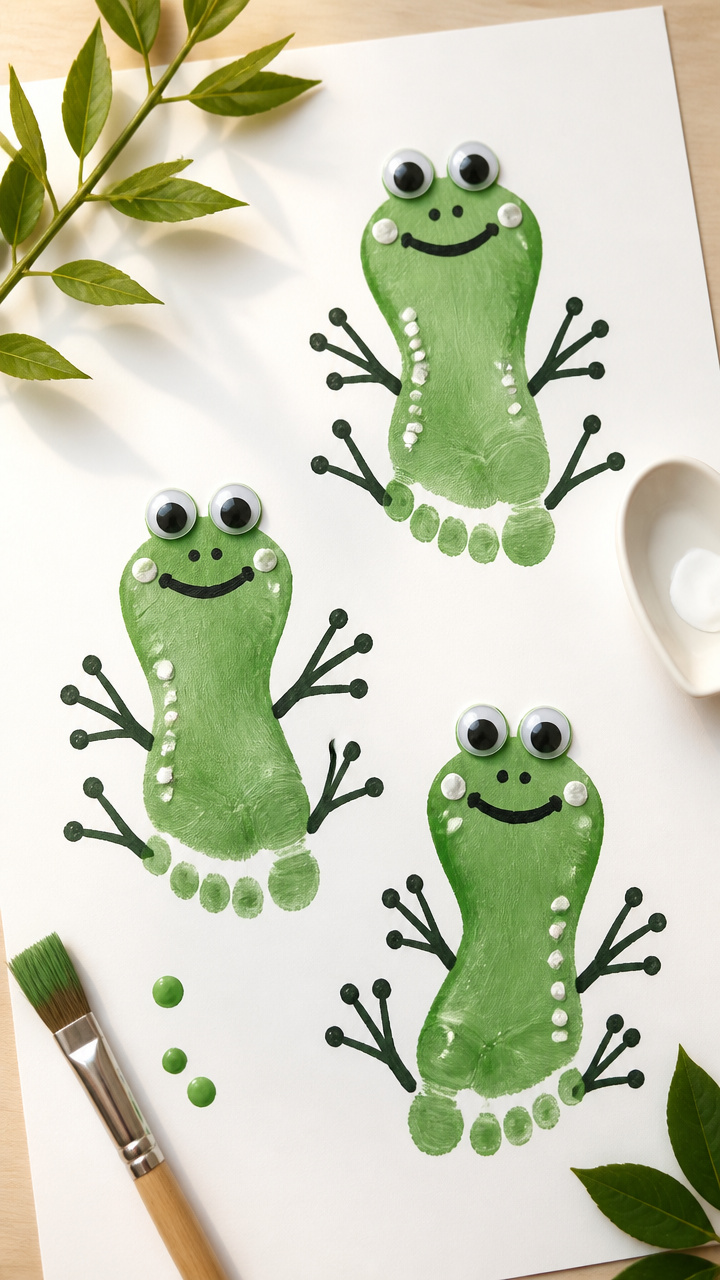
Two green footprints hop into frog bodies with googly eyes and spots. It captures their size at this sweet age.
Materials Needed
- Green washable paint
- Large white paper (12×18 inches)
- Black washable paint
- Paintbrush (1 inch)
- Googly eyes (10mm)
- White school glue
How to Make It
- Have the child step into green paint and stamp both feet side by side near the bottom of the paper.
- Use the brush to connect the heels with a curved line to form the frog body.
- Paint a large black eye ring around each footprint toe area and let dry for 10 minutes.
- Glue on googly eyes above the rings and add black spots on the body with paint.


14. Funnel Cake Prints
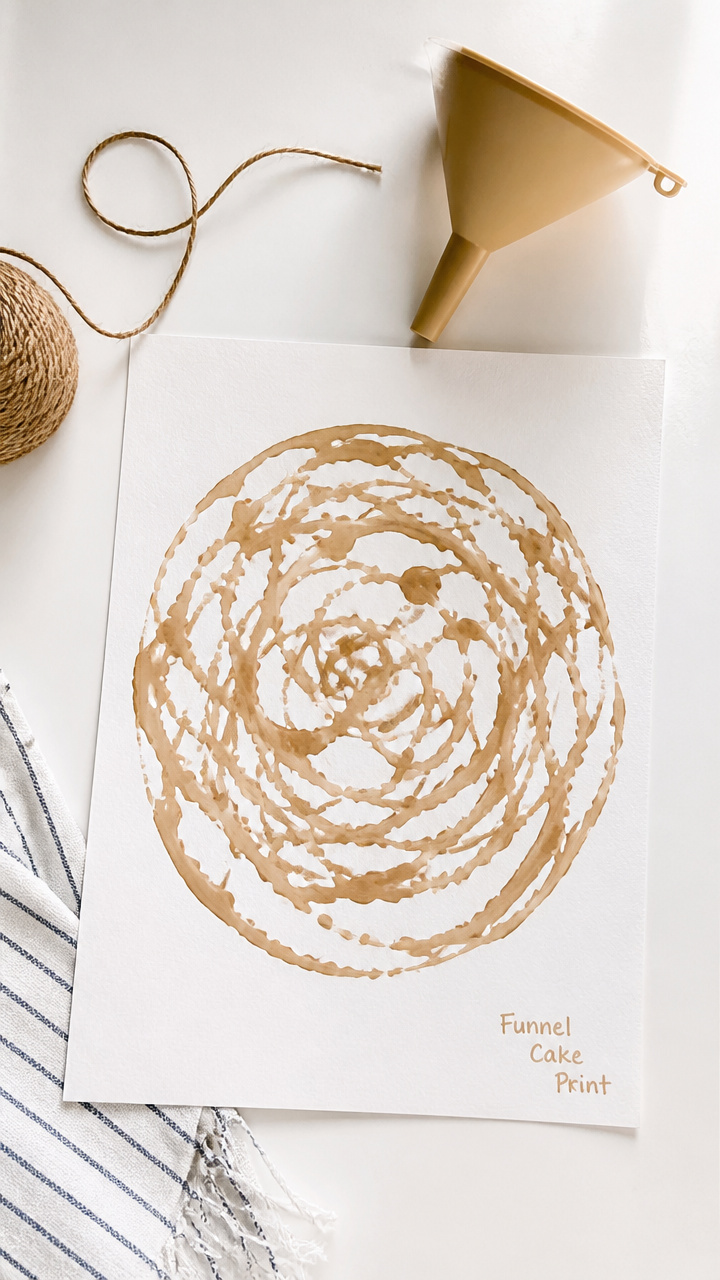
Swirled paint pressed under paper mimics golden funnel cakes. The technique surprises even adults with its detail.
Materials Needed
- Light brown tempera paint
- Heavy white paper (9×12 inches)
- Plastic funnel (small, 4 inch)
- String (12 inch)
- Push pin
- Shallow tray
How to Make It
- Pin the string through the wide end of the funnel and tie it off to hang slightly above the tray.
- Pour paint into the funnel and swirl it in tight circles over the tray to coat the tip.
- Place paper under the funnel and move it slowly in spirals to transfer the pattern.
- Lift carefully and let dry flat for 30 minutes.


15. Farm Field Rows
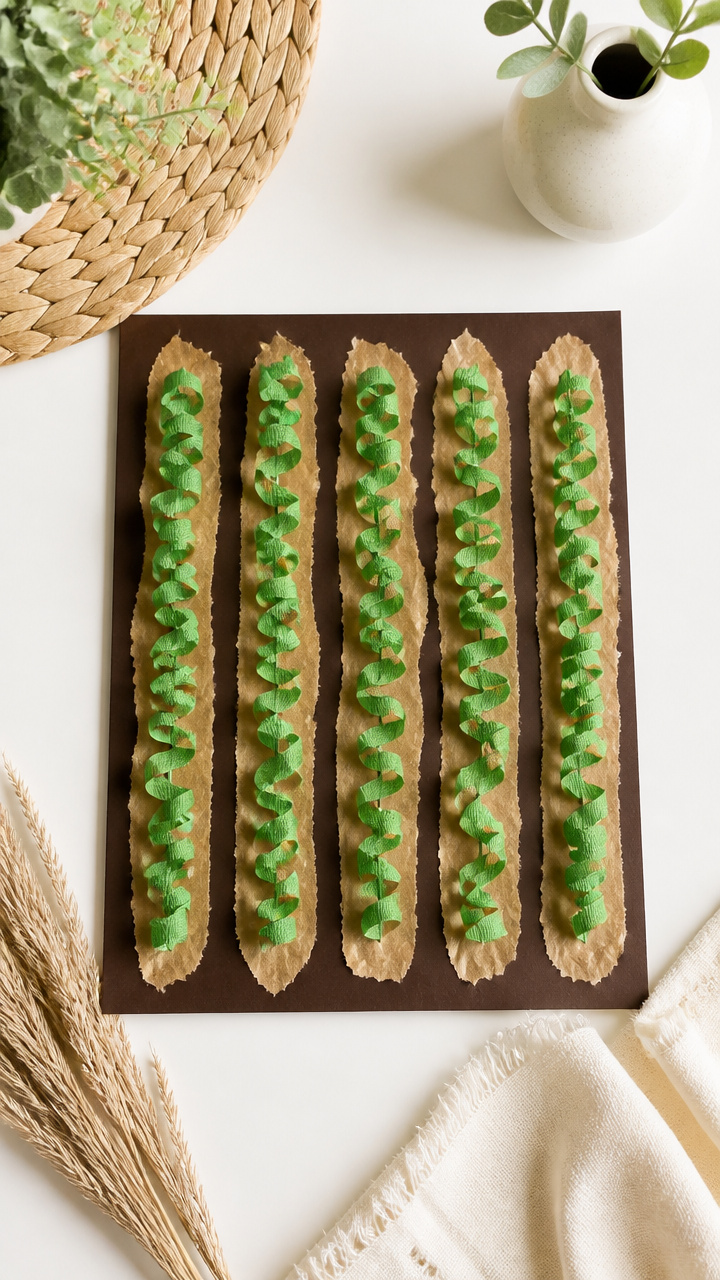
Parallel lines of torn paper mimic plowed fields. Layered textures invite conversations about planting and growth.
Materials Needed
- Dark brown construction paper (8.5×11 inches)
- Light brown tissue paper
- Green crepe paper streamer
- White school glue
- Scissors
How to Make It
- Cut the dark brown paper into seven 1.5-inch horizontal strips, keeping edges straight.
- Tear light brown tissue paper into 1-inch strips and glue them diagonally across each brown strip.
- Cut the green crepe paper into 2-inch lengths and fringe one end with scissors.
- Glue the fringed pieces at the top of every other row to look like young crops growing.


Each of these crafts brings the 'F' sound to life in a way that feels like play but builds real skills. Grab your supplies and let the farm adventures begin right at your table.