15 Simple Letter H Crafts for Preschoolers with Hands-On Activities
Little hands love to explore and create, especially when letters turn into playful adventures. These hands-on activities make learning the letter H joyful, with textures, colors, and movement that keep preschoolers engaged and proud of their work.
Each craft uses simple supplies you likely have at home and focuses on fine motor skills, creativity, and letter recognition. These are not just crafts, they are moments of connection and discovery you can share with your child.
1. Handprint Hedgehog
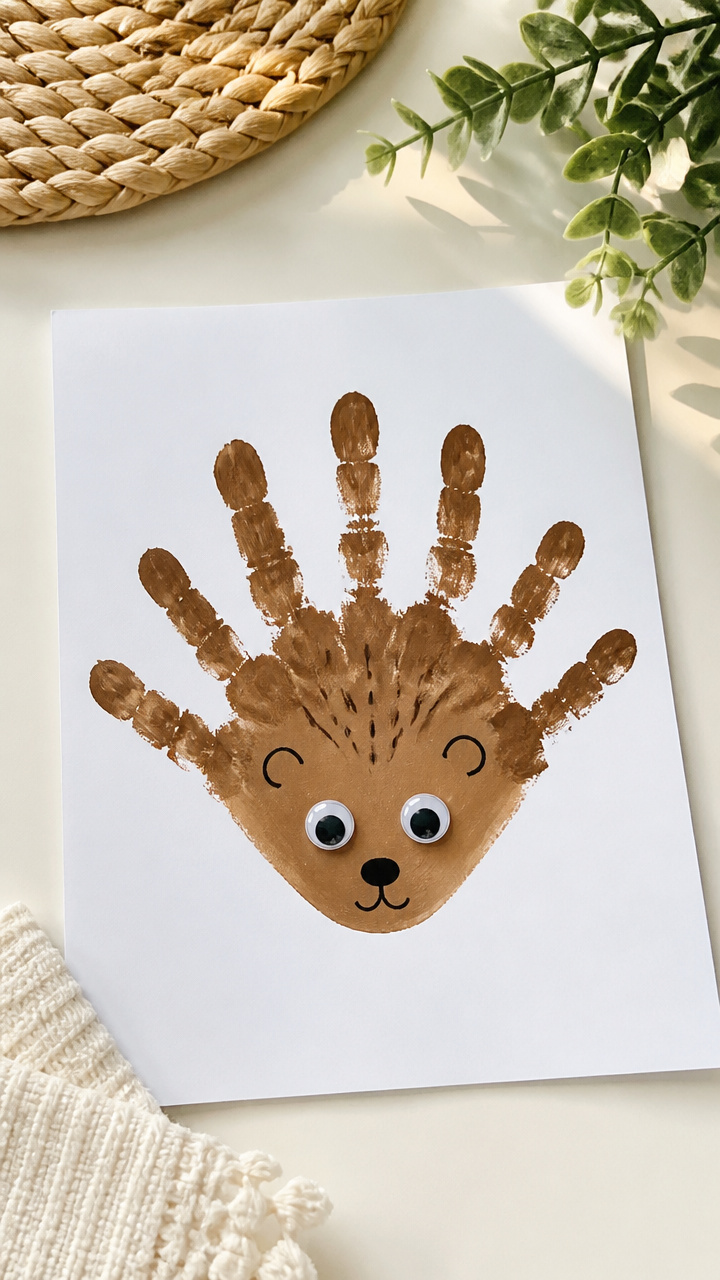
A fuzzy hedgehog made from your child’s handprint gives a sweet keepsake with a surprise letter H shape. The paint dries fast and the googly eyes add instant charm.
Materials Needed
- Brown washable paint, 2 tablespoons
- A4 white cardstock, 1 sheet
- Black marker
- 8 small googly eyes, 6mm
- Glue stick
- Scissors
How to Make It
- Press your child’s open hand into the brown paint, making sure the palm and fingers are lightly coated.
- Press the painted hand firmly onto the cardstock with fingers pointing down to form spines.
- Let the paint dry for 10 minutes, then use the black marker to draw a small face above the palm and glue on the googly eyes.


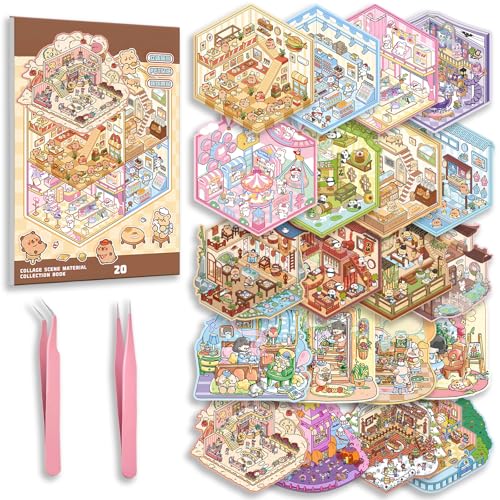
2. H is for Honeycomb
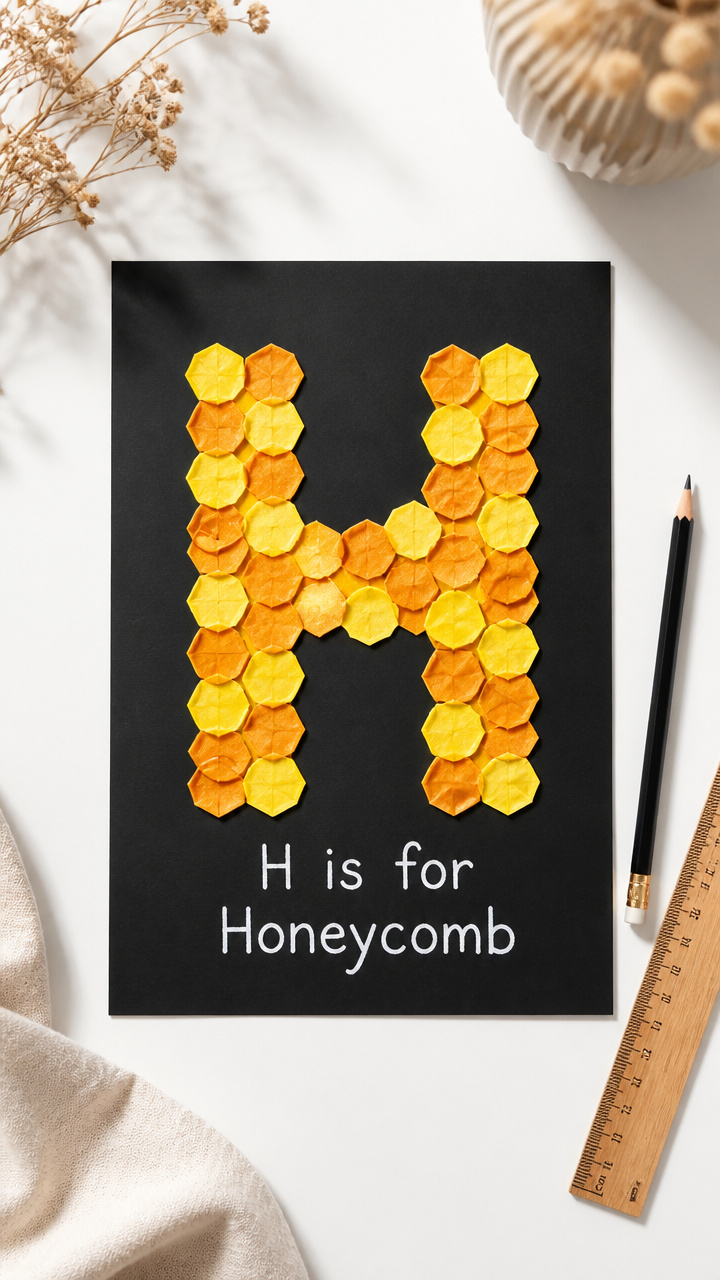
Hexagons come together in a textured honeycomb collage that teaches shape and letter connection. The torn paper adds a soft, layered look.
Materials Needed
- Yellow tissue paper, 1 sheet
- Orange tissue paper, 1 sheet
- A4 black construction paper, 1 sheet
- White glue
- Pencil
- Ruler
How to Make It
- Use the pencil and ruler to lightly draw six connected hexagons in a cluster on the black paper.
- Tear the yellow and orange tissue paper into 1-inch pieces.
- Glue the pieces inside each hexagon, overlapping slightly to fill the shape completely, then let dry for 15 minutes.


3. Hanger H Sculpture
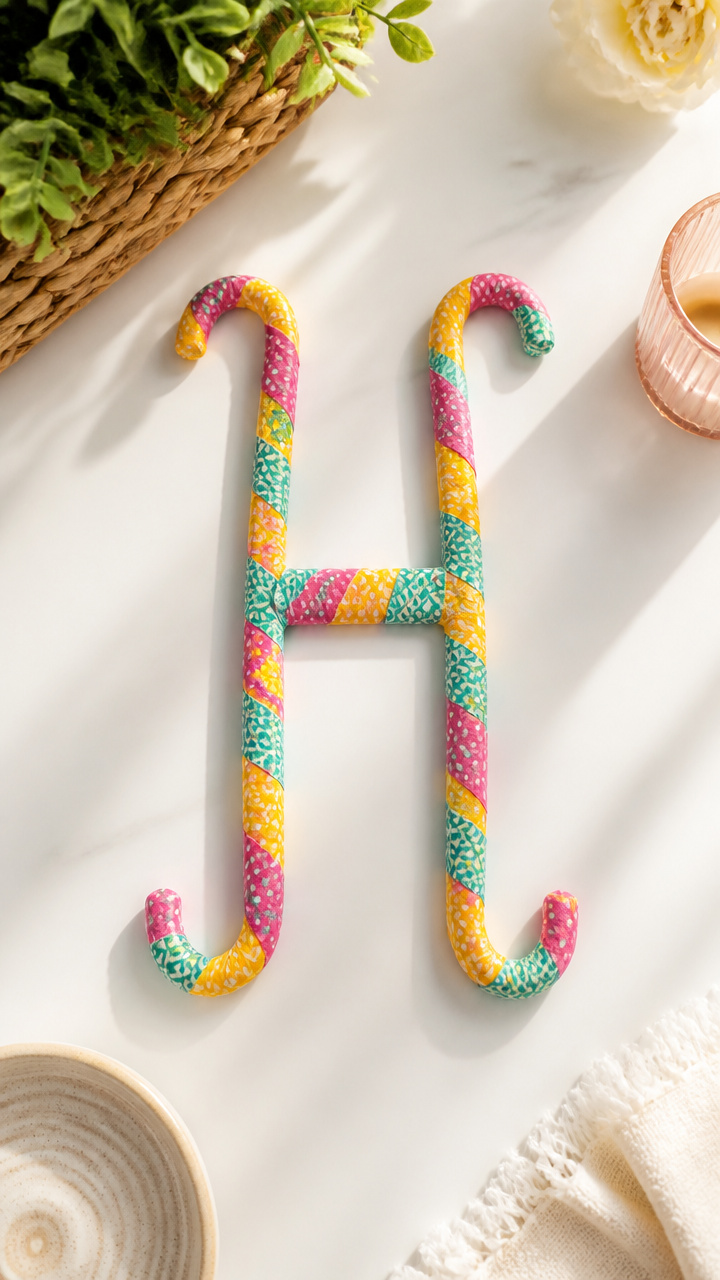
A bent wire clothes hanger becomes a 3D letter H with colorful tape wrapping. This sturdy piece stands on its own and invites touch.
Materials Needed
- Plastic clothes hanger, 1
- Washi tape in 3 colors, 1 roll each
- Wire cutters
- Ruler
How to Make It
- Use wire cutters to remove the hook from the hanger, leaving a straight wire with two ends.
- Bend the wire into an H shape using the ruler to keep the sides straight and parallel.
- Wrap each vertical and horizontal bar with washi tape, overlapping slightly until fully covered.


4. Hole-Punch H
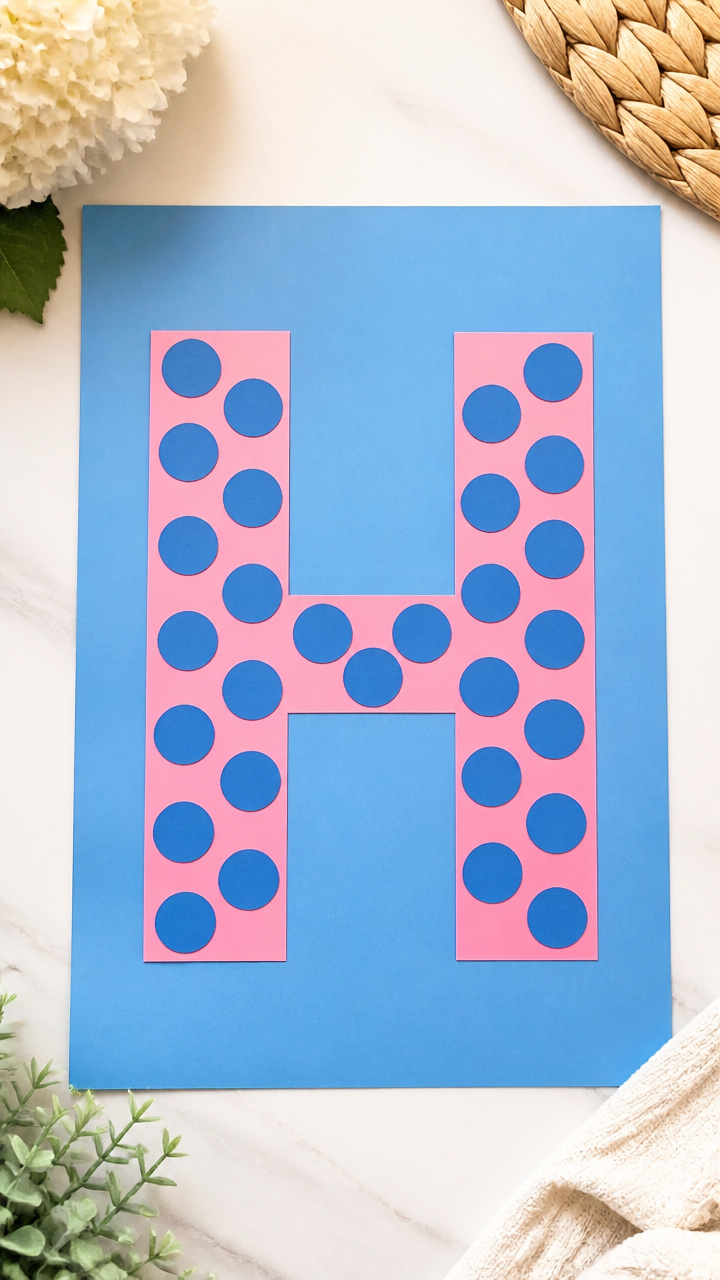
Tiny paper circles from a hole punch form a soft cloud of H shape. This builds hand strength and focus with a satisfying result.
Materials Needed
- Pink construction paper, 1 sheet
- A4 blue cardstock, 1 sheet
- Circle hole punch, 3/4 inch
- Glue stick
How to Make It
- Use the hole punch to make 20 pink circles from the construction paper.
- Draw a large block letter H on the blue cardstock with a pencil.
- Glue the circles close together along the pencil lines to fill the shape, then let dry for 10 minutes.


5. Haystack Playdough H
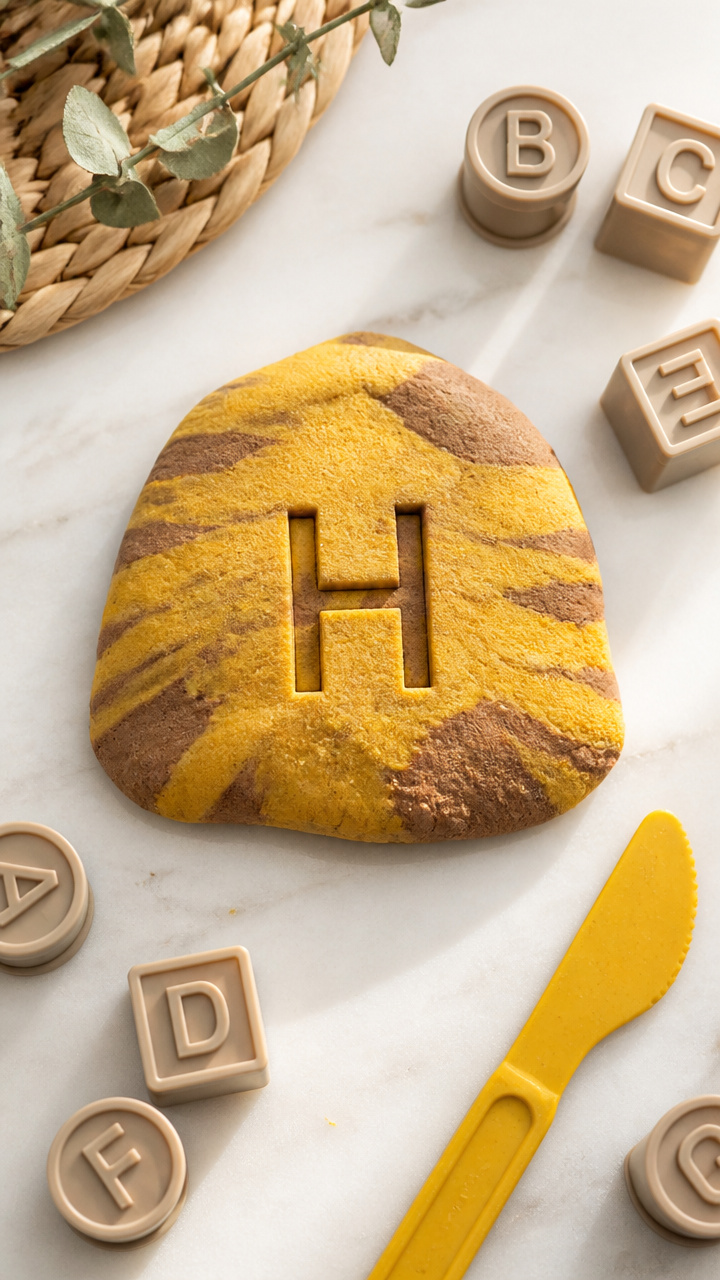
Golden playdough strands twist into a haystack with a hidden letter H. The tactile roll and pinch builds finger dexterity.
Materials Needed
- Yellow playdough, 1/2 cup
- Brown playdough, 1/4 cup
- Plastic knife
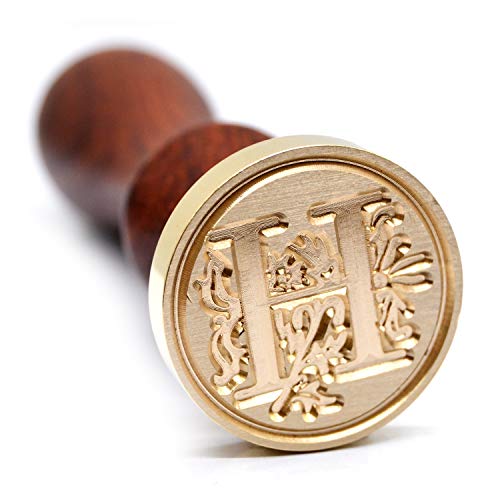
- Alphabet stamp, letter H
How to Make It
- Roll the yellow playdough into 10 thin 4-inch ropes.
- Press the ropes together in a loose pile to form a haystack shape on a flat surface.
- Press the brown playdough flat, then stamp the letter H into it and place it near the haystack.


6. H is for Heart Garland
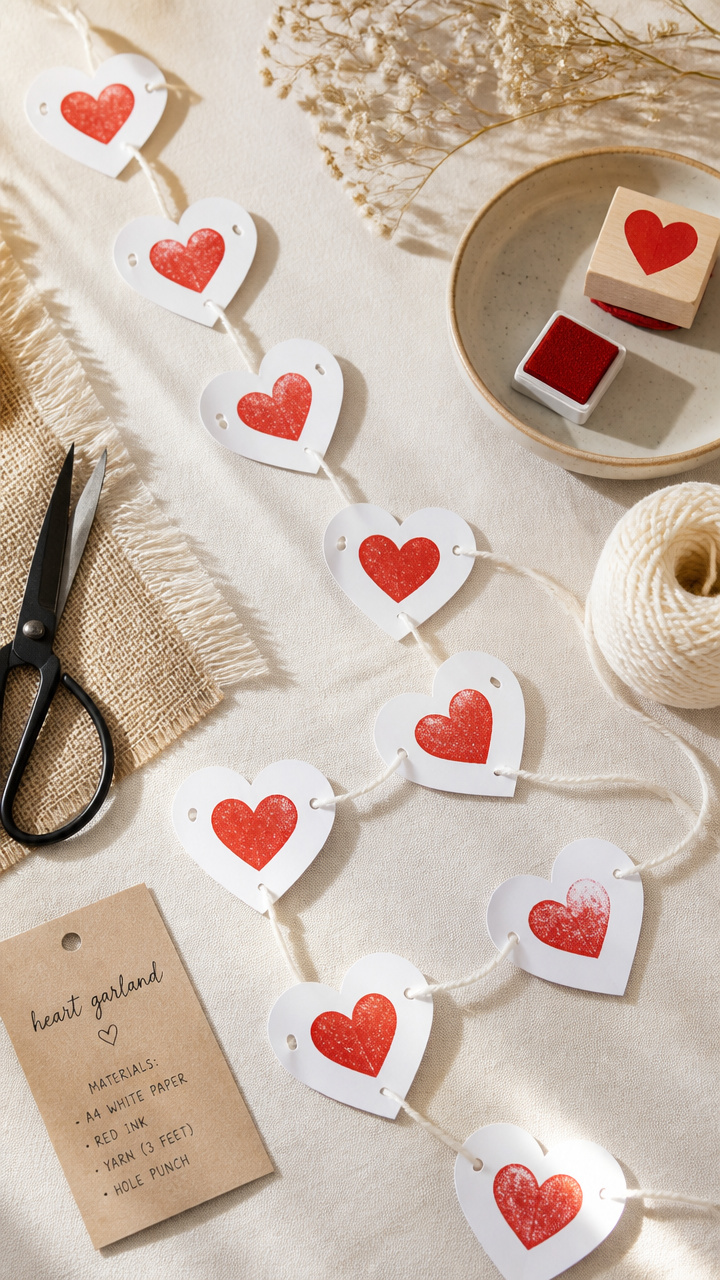
Mini red hearts strung on yarn make a festive H-themed garland. Each heart is stamped, not cut, for easy prep.
Materials Needed
- Red rubber stamp, heart shape
- Ink pad, black
- A4 white paper, 1 sheet
- Yarn, 3 feet
- Hole punch
- Glue dot, 5
How to Make It
- Press the heart stamp onto the ink pad, then stamp 10 hearts onto the white paper.
- Use scissors to cut out each heart.
- Punch a hole in the top of each heart and thread them onto the yarn, securing with glue dots between each.


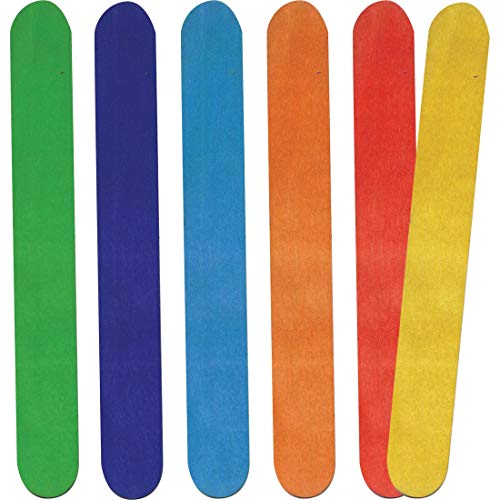
7. Hammock Stick Craft
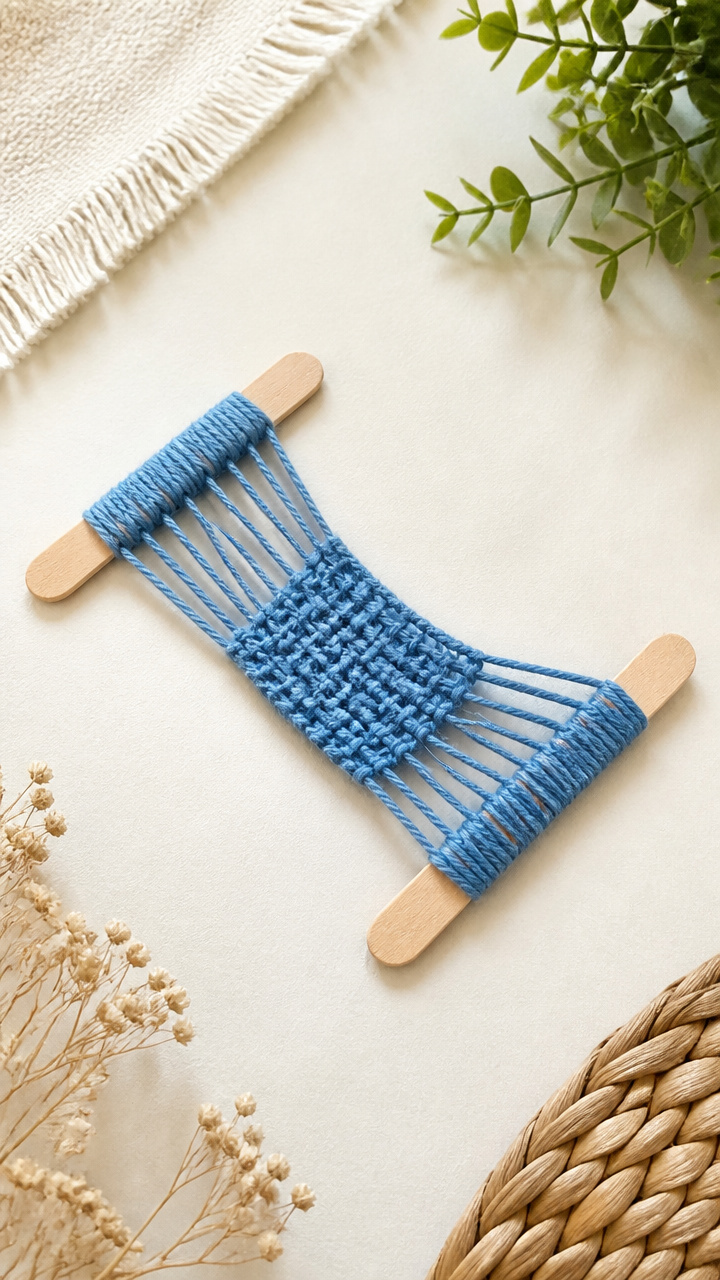
Two craft sticks and yarn form a tiny hammock shaped like an H. The weaving motion is simple and calming.
Materials Needed
- 2 jumbo craft sticks, 6 inches
- Blue yarn, 2 feet
- Glue
- Scissors
How to Make It
- Lay one craft stick horizontally and tie the yarn around its center with a double knot.
- Place the second stick vertically and weave the yarn over and under it 4 times to form the crossbar.
- Tie off the yarn at the back and trim the ends, then add a dot of glue to secure the knot.


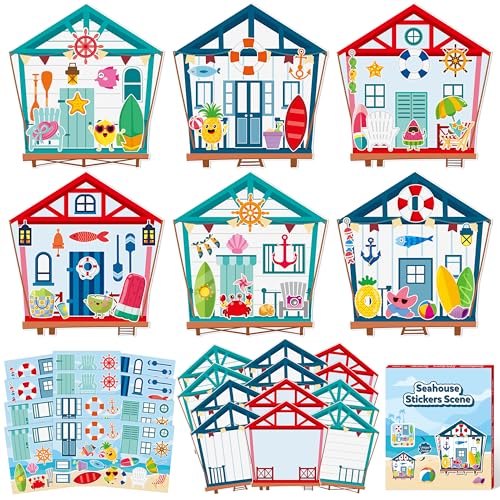
8. H is for House Sticker Scene
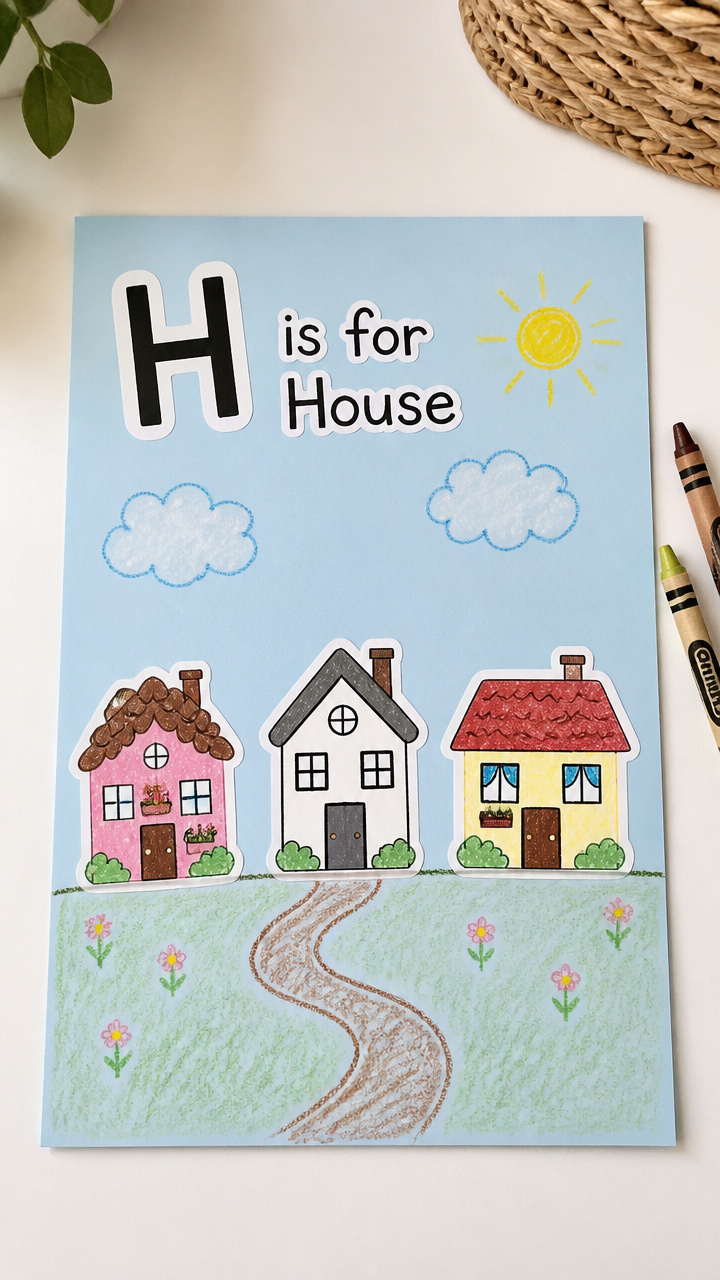
Stickers and crayons build a cheerful house scene where the roof lines form a clear letter H. It’s quick and full of creative choices.
Materials Needed
- A4 light blue construction paper, 1 sheet
- House stickers, 3
- Brown crayon
- Green crayon
- Clear sticker paper, 1 sheet
How to Make It
- Draw a simple house outline with a peaked roof on the clear sticker paper using the brown crayon.
- Cut out the house and stick it on the blue paper.
- Add 2 more house stickers beside it, then draw grass with the green crayon to complete the scene.

9. H with Pipe Cleaner Bends
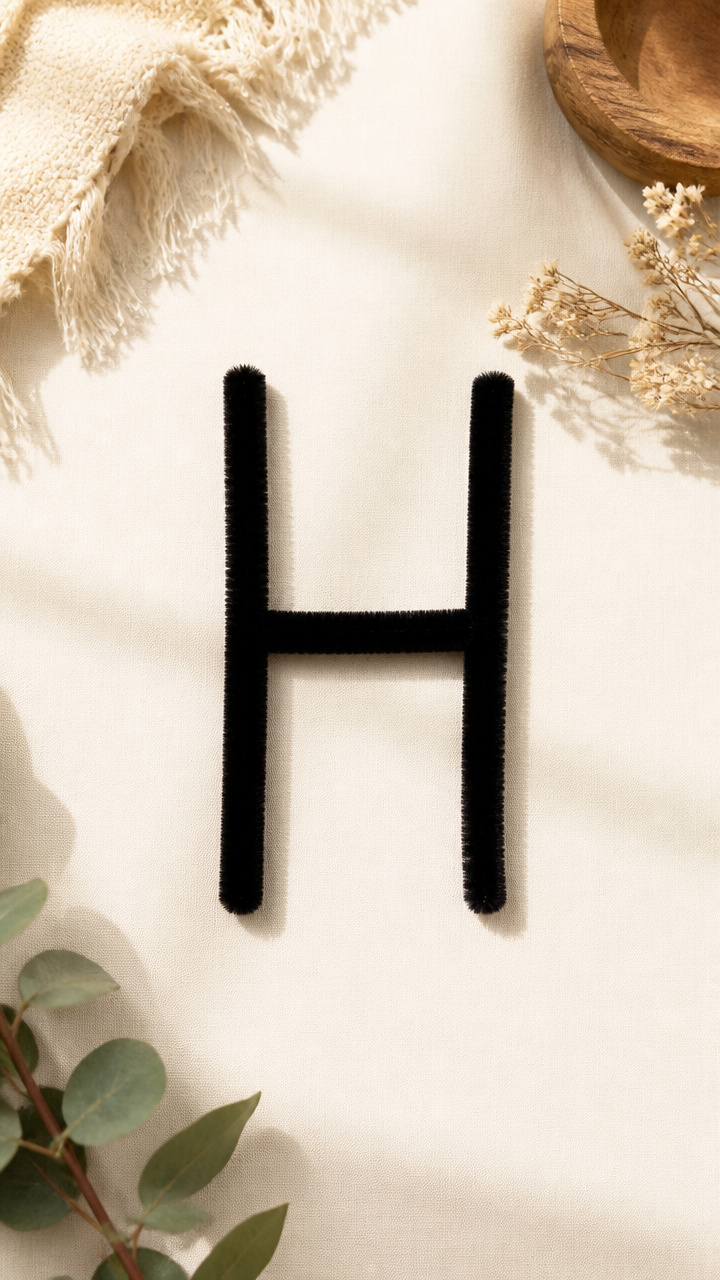
Shiny pipe cleaners bend into a stiff letter H that stands on its own. The twisting action strengthens little fingers.
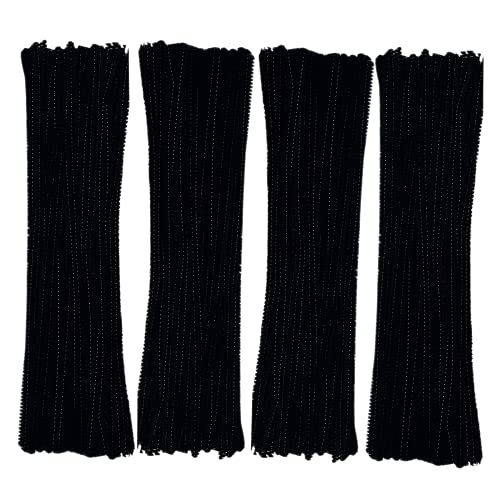
Materials Needed
- 2 black pipe cleaners, 12 inches each
- Ruler
- Pliers (optional)
How to Make It
- Lay one pipe cleaner vertically on a flat surface.
- Bend the second pipe cleaner in half and twist the center around the middle of the first to form the crossbar.
- Adjust the angles to make straight lines, using the ruler as a guide for alignment.


10. Hatching Chick Craft
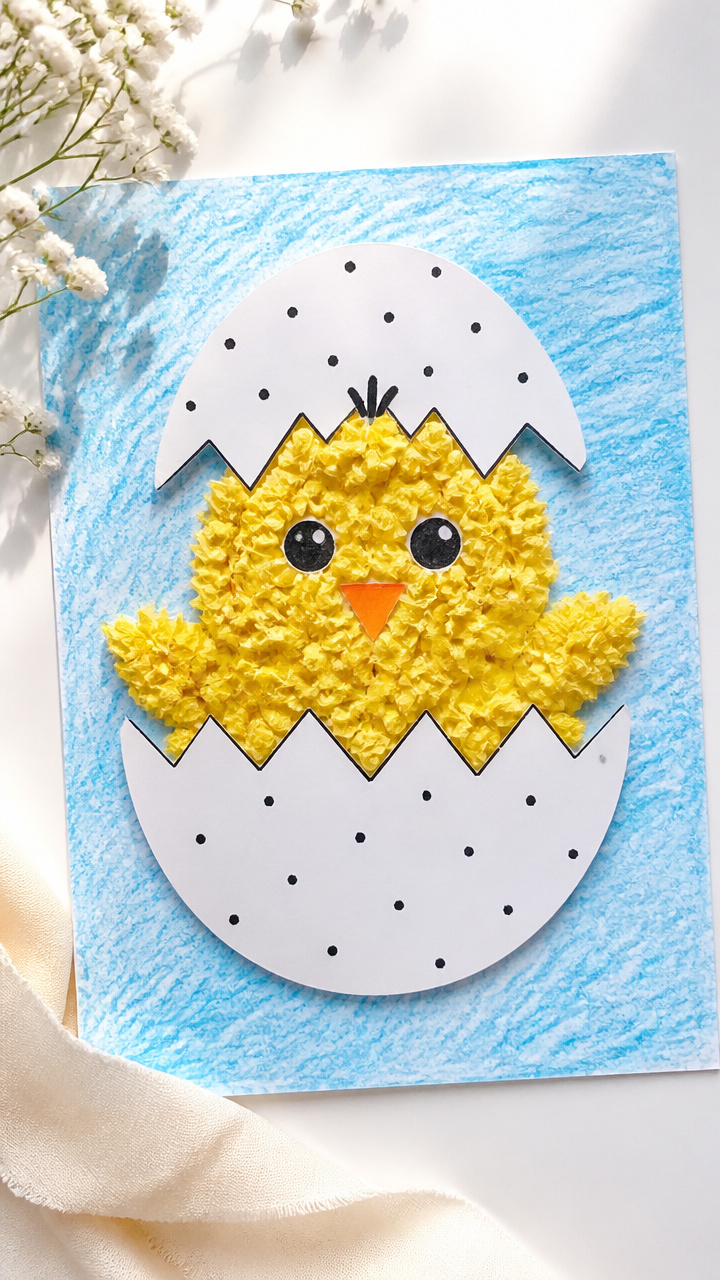
A torn-paper chick peeks from a cracked egg, forming the letter H in the shell lines. The texture feels soft and inviting.
Materials Needed
- Yellow tissue paper, 1/2 sheet
- White paper, 1 sheet
- Blue crayon
- Glue stick
- Black marker
How to Make It
- Draw a large egg shape on the white paper and outline it with the blue crayon.
- Tear yellow tissue paper into small pieces and glue them inside the egg, leaving two white H-shaped cracks.
- Use the black marker to draw a tiny chick face peeking from one crack.


11. H is for Hot Air Balloon
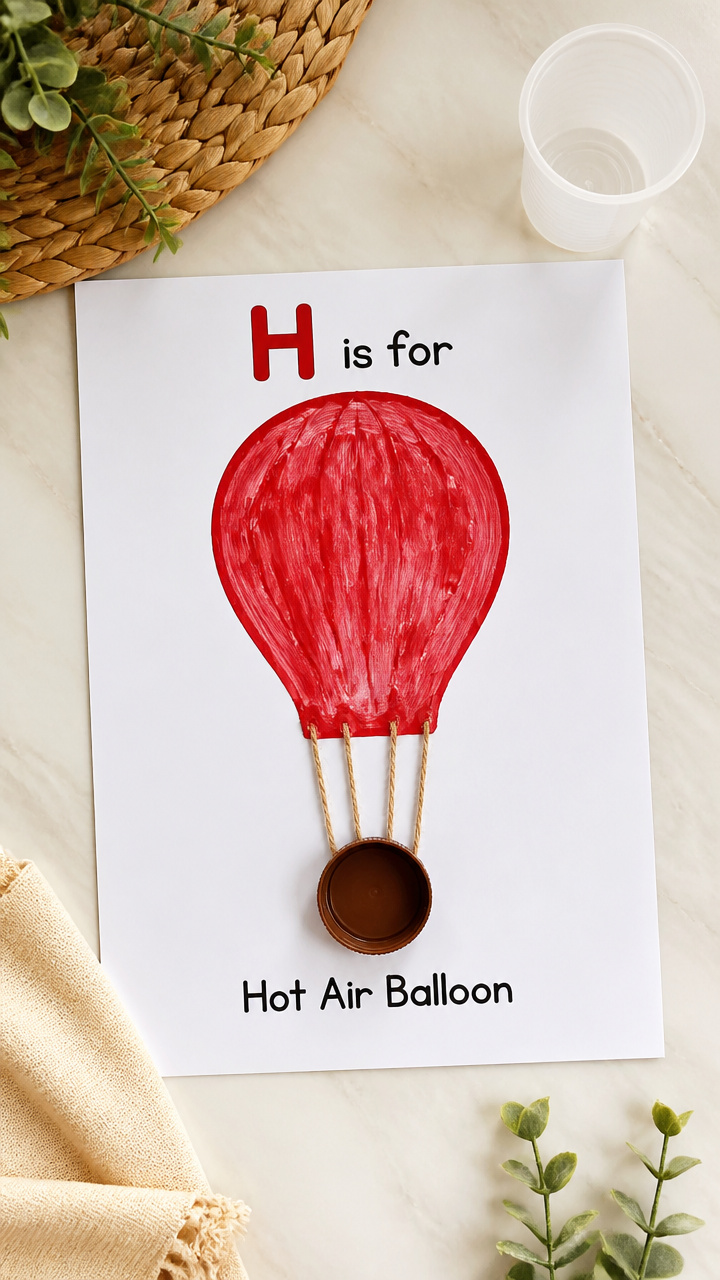
A cup-bottom balloon print floats above a basket made from a bottle cap. The paint press is clean and fun.
Materials Needed
- Red paint, 1 tablespoon
- Plastic cup, 8 oz
- A4 white paper, 1 sheet
- Brown bottle cap, 1
- Glue
- Yarn, 6 inches
How to Make It
- Dip the rim of the cup into the red paint and press it onto the paper to make a balloon shape.
- Glue the bottle cap below the print for the basket.
- Tie two 3-inch yarn pieces to the sides of the cap and tape the ends to the paper to hold it in place.


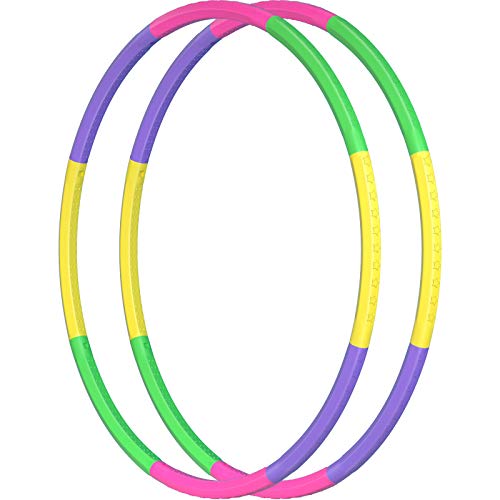
12. Hula Hoop Tracing
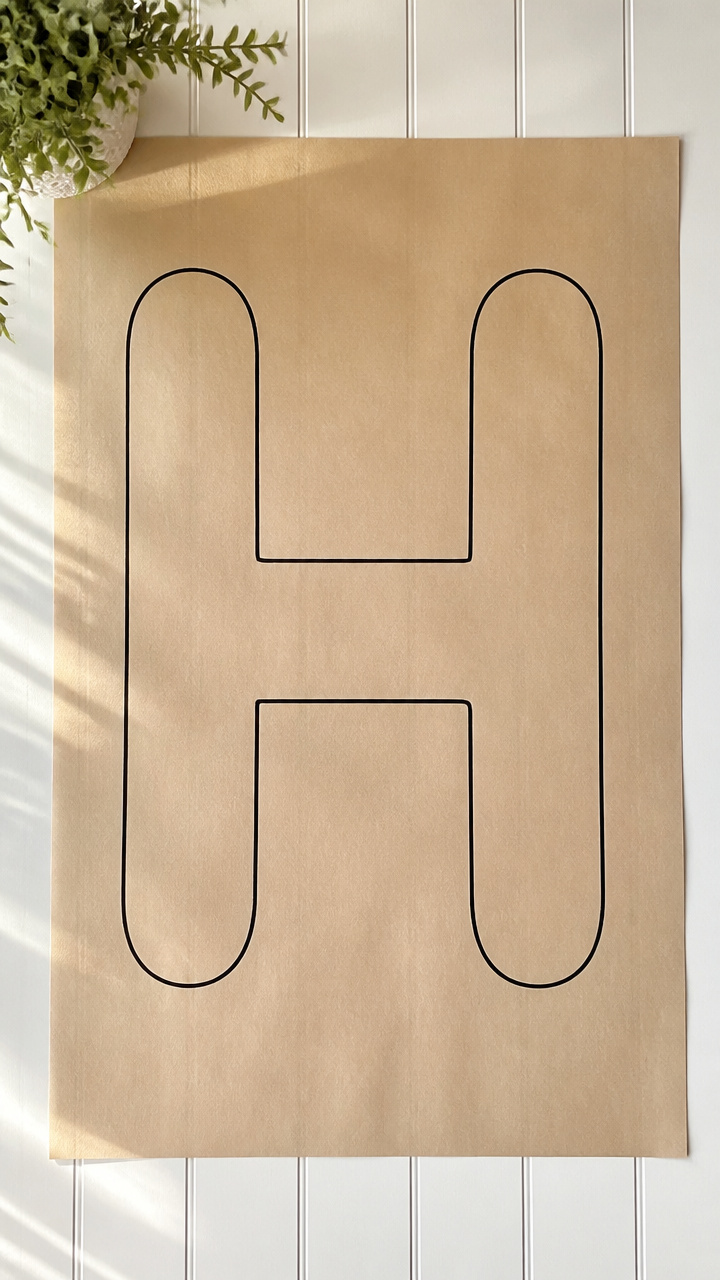
A hula hoop becomes a giant letter H frame when traced and cut. The large scale invites full-arm movement.
Materials Needed
- Child-sized hula hoop
- Butcher paper, 24 x 36 inches
- Black marker
- Scissors
- Ruler
How to Make It
- Lay the hula hoop on the butcher paper and trace the bottom half to make a curve.
- Move the hoop and trace a second curve overlapping the first to form an hourglass shape.
- Use the ruler to draw two straight lines connecting the top and bottom, then cut out the H shape.


13. H is for Hat Stamp
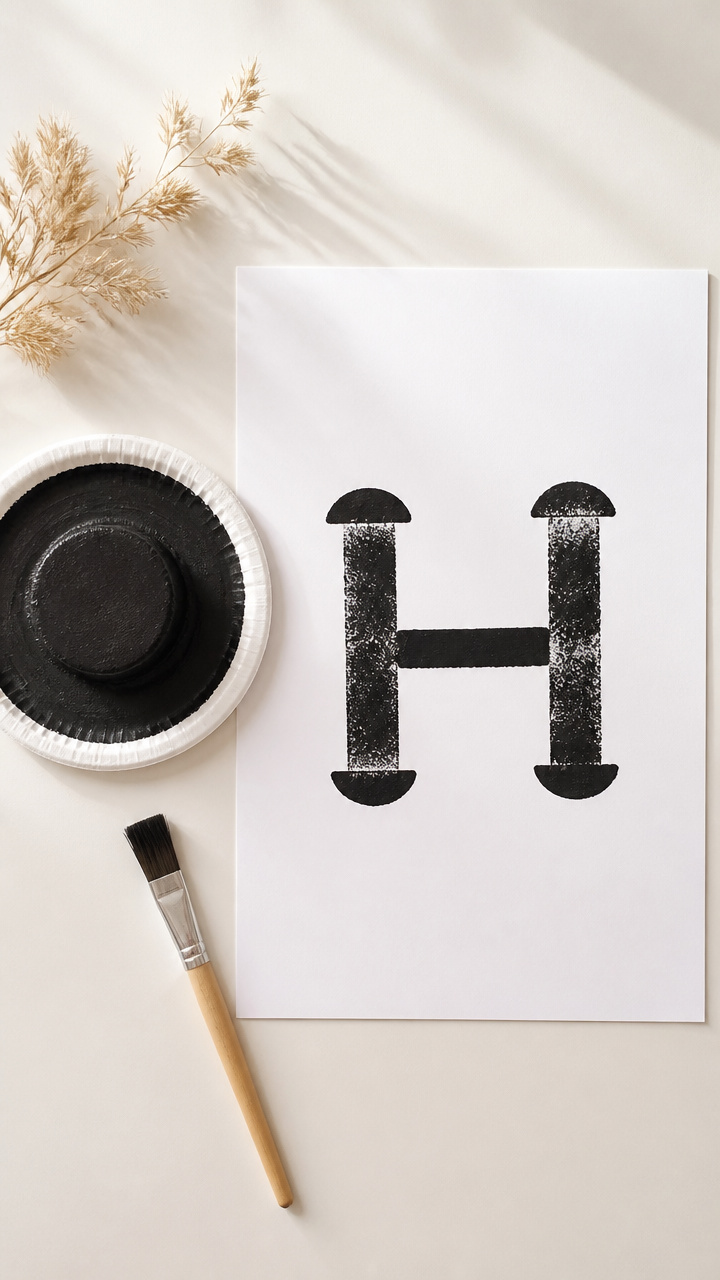
A foam plate and paint make a top hat that doubles as the letter H. The stamp prints clean and bold every time.
Materials Needed
- White foam plate, 1
- Black paint, 2 tablespoons
- A4 white paper, 1 sheet
- Scissors
- Paintbrush
How to Make It
- Cut the rim off the foam plate and set aside. Cut the center into a 2-inch wide rectangle.
- Glue the rectangle vertically to the rim to form a top hat shape, then let dry for 5 minutes.
- Paint the foam shape with black paint and press it firmly onto the paper to make a hat print.


14. H is for Hammered Nail Art
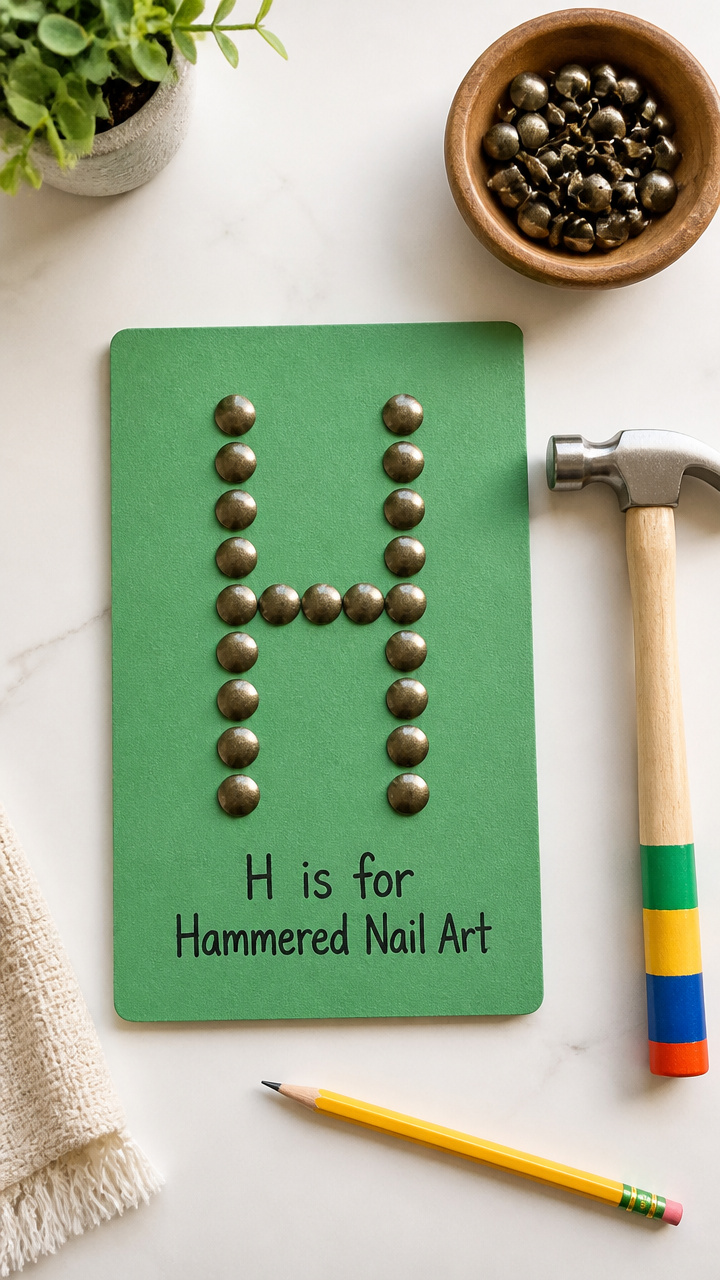
Soft upholstery nails tap into foam to form a safe, tactile letter H. The rhythmic tapping is soothing and empowering.
Materials Needed
- Green craft foam, 9×12 inches
- Blunt upholstery nails, 10
- Toy hammer, 1
- Pencil
How to Make It
- Draw a large block letter H on the foam with the pencil.
- Place a nail at each corner and at the ends of the crossbar.
- Use the toy hammer to gently tap each nail into the foam along the lines until secure.
15. H is for Helicopter Spin
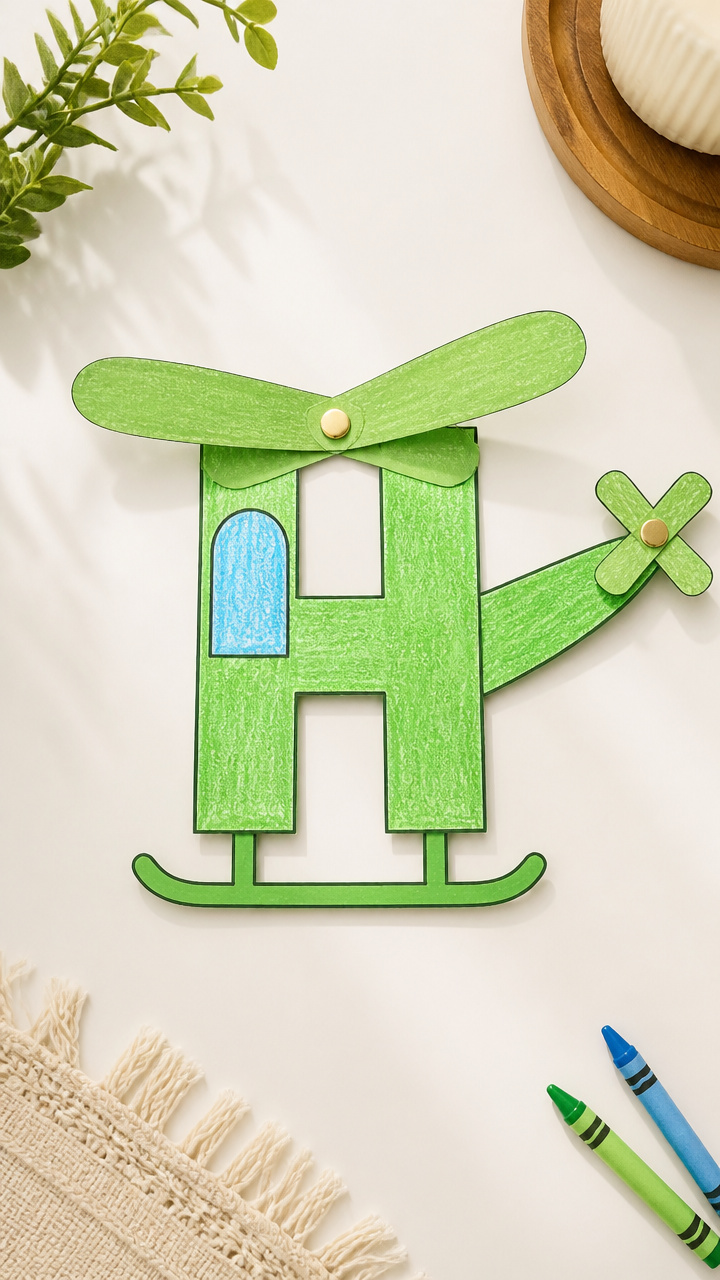
A paper helicopter with H-decorated blades twirls when dropped. The folding is simple and the flight is magical.
Materials Needed
- A4 green paper, 1 sheet
- Crayons
- Scissors
- Pencil
How to Make It
- Draw a 6-inch vertical line down the center of the paper and write H on both sides of the top half.
- Cut along the line from the bottom to 3 inches up, then fold the two flaps outward to form blades.
- Fold the bottom 2 inches upward to make a weight, then drop from overhead to watch it spin.


You’ve got everything you need to turn a simple letter into a week of joyful learning. Grab your supplies and let your child’s hands lead the way.