15 Easy Letter R Crafts for Preschool Alphabet Learning Activities
Teaching the letter R can be joyful and hands on with these simple crafts made for little learners. Each project uses everyday materials and builds fine motor skills while reinforcing letter recognition.
You’ll find playful textures, bold colors, and clever ways to make the shape of R stick. These are classroom tested and parent approved for fun and ease.
1. R is for Rainbow Collage
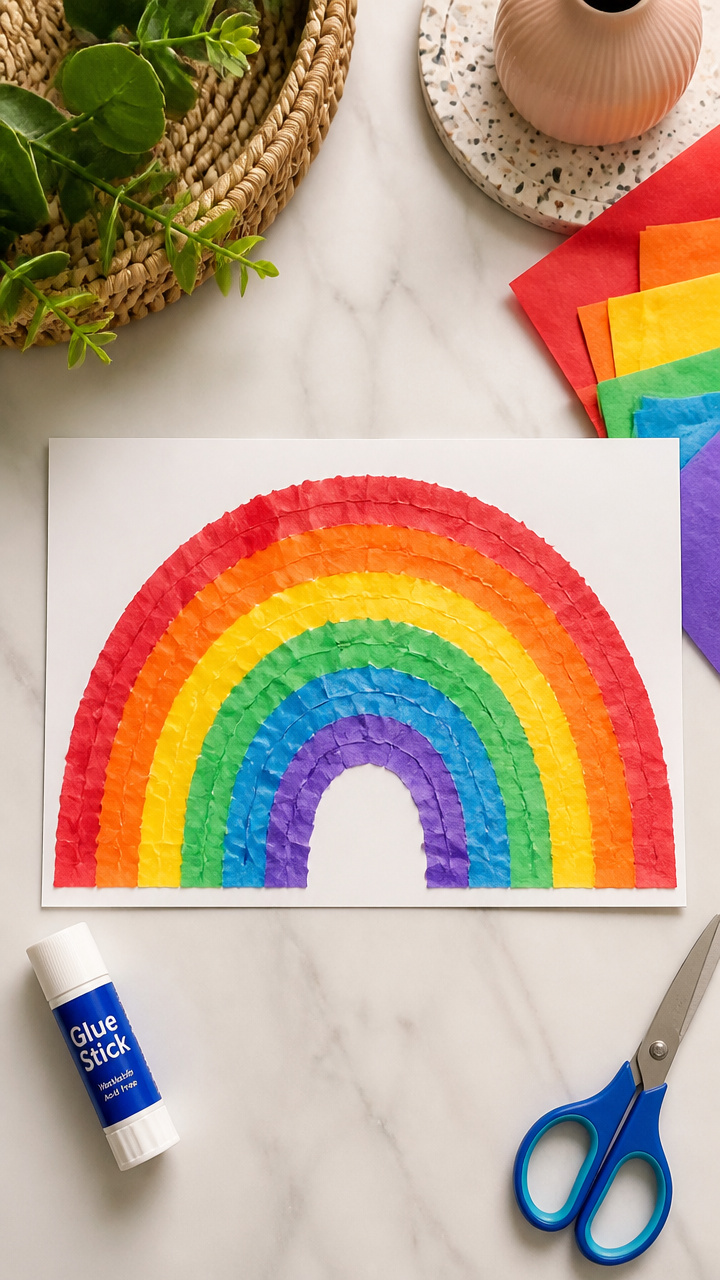
Bright strips of tissue paper form a rainbow that doubles as a letter R shape. This soft, layered craft teaches color order and letter form at the same time.
Materials Needed
- 1 sheet A4 white cardstock
- Red, orange, yellow, green, blue, and purple tissue paper, 2 sheets each
- Child-safe glue stick
- Scissors
- Pencil
- Ruler
How to Make It
- Draw a large letter R on the cardstock using the pencil and ruler for straight lines.
- Cut tissue paper into 1 inch wide strips about 4 inches long.
- Glue red strips along the curved part of the R, then layer orange, yellow, green, blue, and purple above it like a rainbow.
- Let the glue dry completely before displaying.


2. Rope Letter R Tracing

A thick rope glued into the shape of R gives fingers a clear path to trace. This tactile version helps kids feel the curves and lines of the letter.
Materials Needed
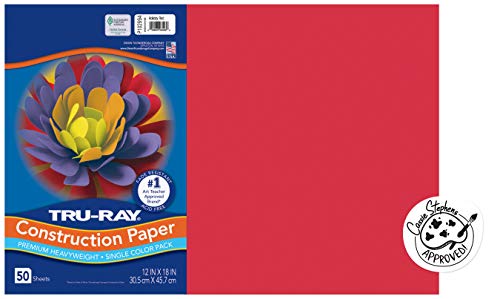
- 1 sheet 9×12 inch construction paper, red
- Cotton clothesline rope, 12 inches
- White school glue
- Scissors
- Black marker
How to Make It
- Draw a large R on the red paper with the black marker, about 6 inches tall.
- Cut the rope into one 12 inch piece.
- Apply glue along the outline of the R and press the rope into place.
- Let dry overnight before using for finger tracing.


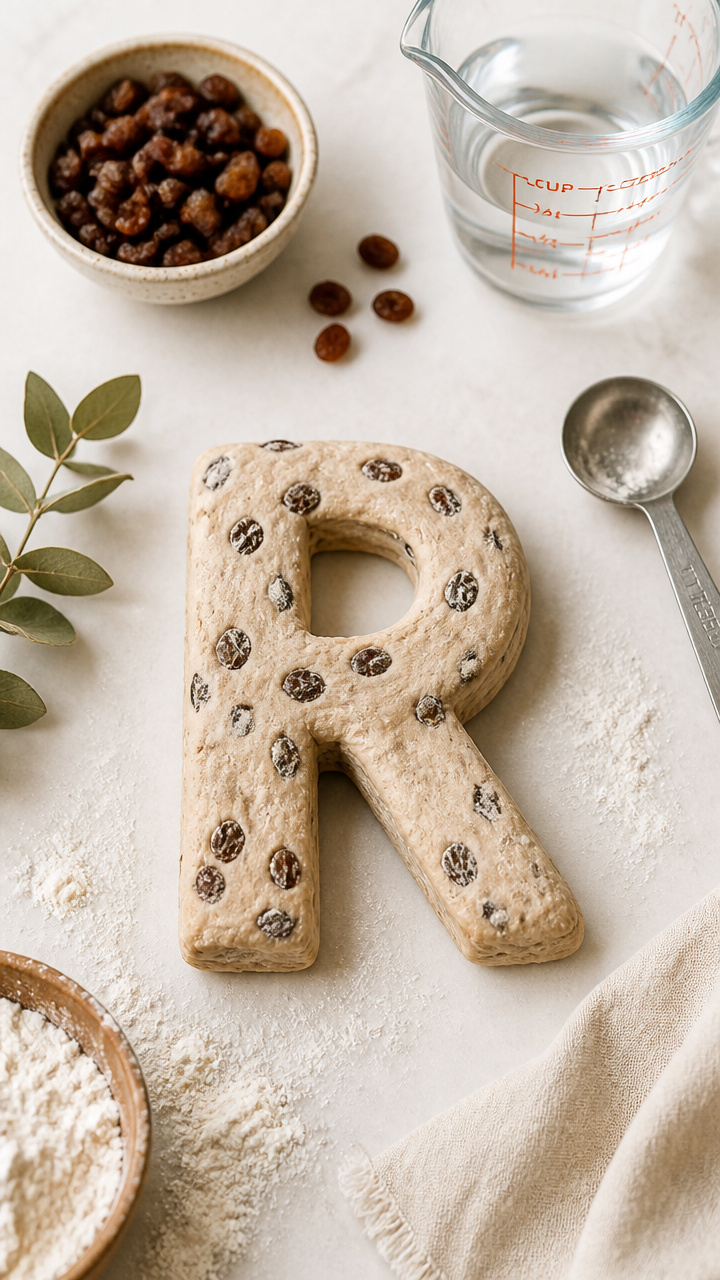
3. Raisin Mosaic Art
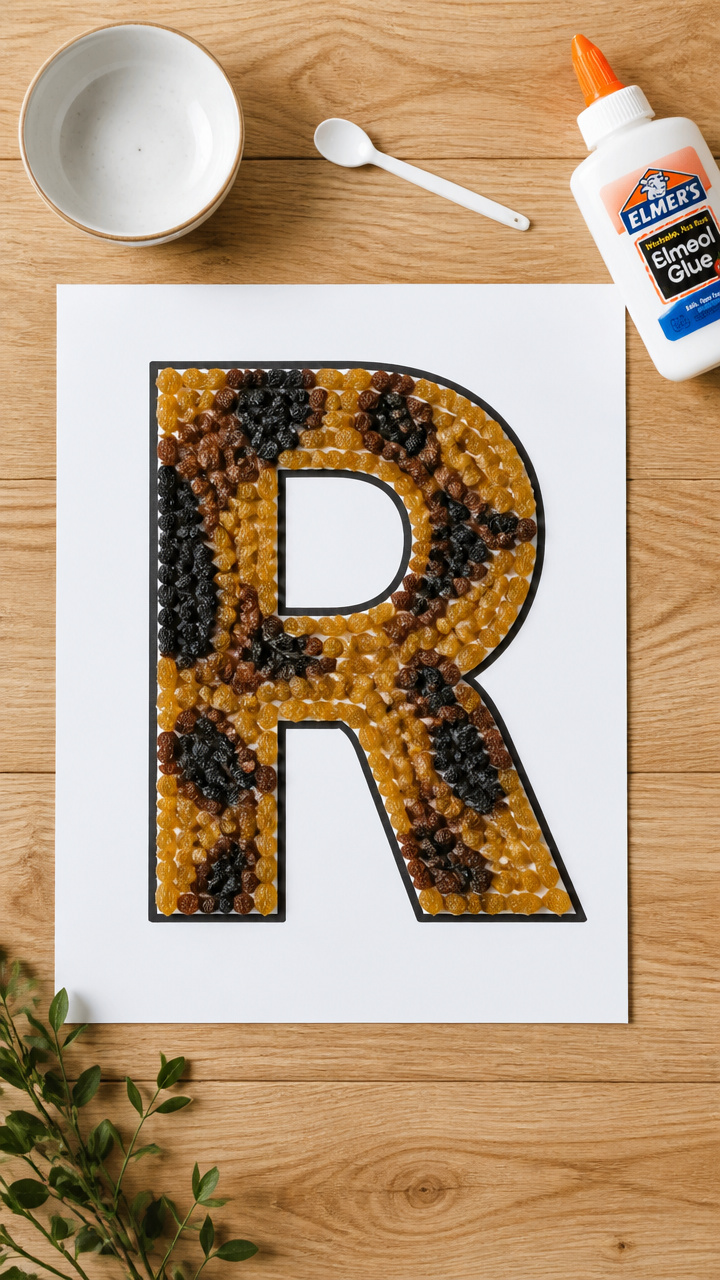
Tiny raisins stick to glue to form a textured letter R. This sensory craft uses real food to build letter shape memory.
Materials Needed
- 1 sheet A4 white drawing paper
- White school glue
- Small bowl of raisins, about 1/4 cup
- Plastic spoon
- Black marker
How to Make It
- Draw a large R in the center of the paper with the black marker.
- Trace over the line with glue using the tip of the glue bottle or the spoon.
- Use fingers or the spoon to place raisins end to end along the glued line.
- Let dry flat for 2 hours before handling.


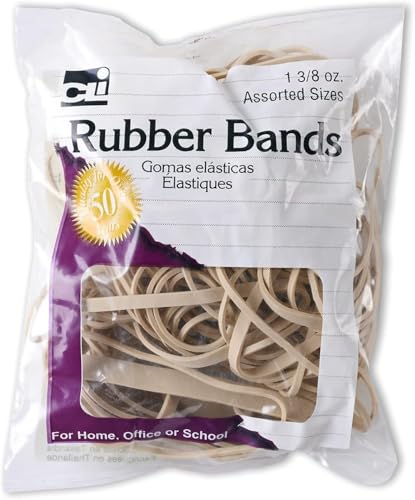
4. Rubber Band Stamp R
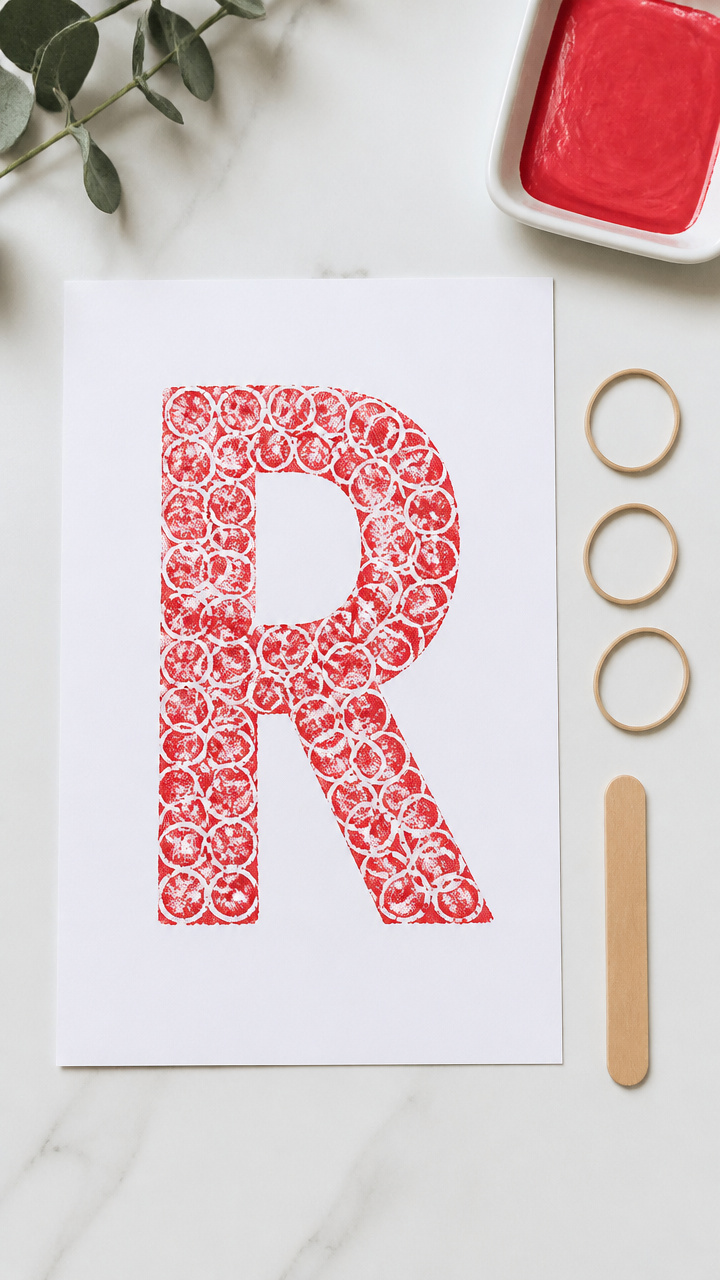
Stretched rubber bands dipped in paint create bold R prints on paper. This stamping craft adds motion and surprise to letter learning.
Materials Needed
- 3 rubber bands, medium size
- Popsicle stick
- Red tempera paint, 2 tablespoons
- Shallow paint tray
- A4 white drawing paper, 3 sheets
How to Make It
- Wrap one rubber band around the popsicle stick lengthwise and secure with a second band around the ends.
- Press the rubber band side into the red paint in the tray.
- Stamp the painted side onto the paper to form an R shape, using the stick as a handle.
- Repeat to make a row of R stamps across the page.


5. Ribbon R Frame
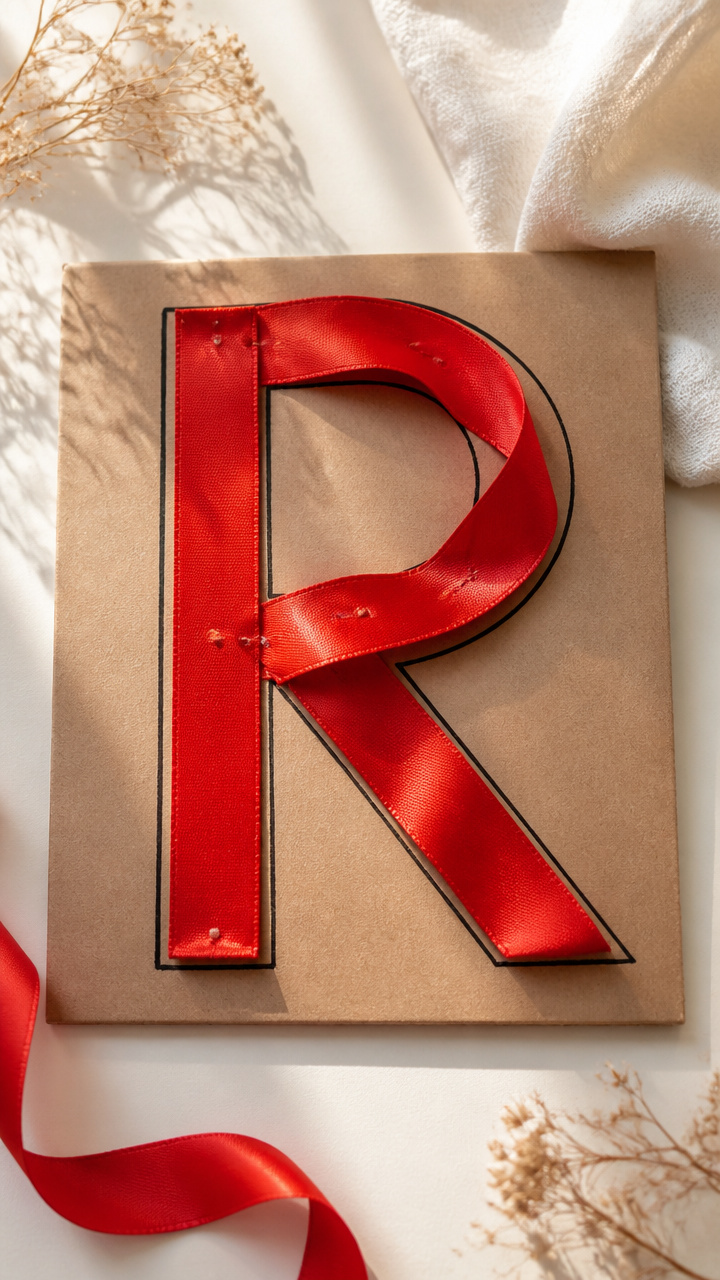
Silky ribbon loops into the shape of R and sticks to a cardboard frame. This shiny craft catches light and attention.
Materials Needed
- 1 piece 6×6 inch cardboard, from a shipping box
- 12 inches of satin ribbon, red
- Glue dots, 5
- Scissors
- Black marker
How to Make It
- Draw a large R on the cardboard with the black marker.
- Cut the ribbon into one 12 inch piece.
- Use glue dots to attach the ribbon along the R line, bending it to follow the curve and leg.
- Press firmly so the ribbon adheres well.


6. Rattle Shaker R
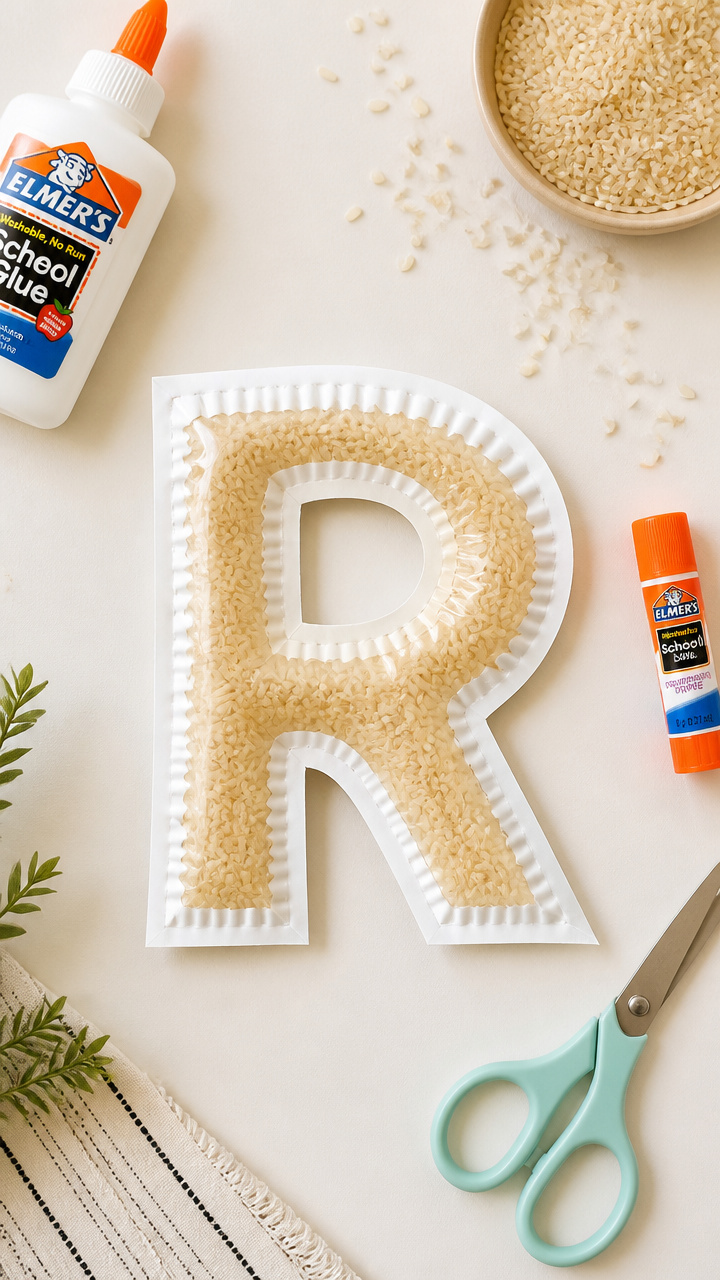
A paper plate letter R doubles as a shaker filled with rice. This craft makes sound and shape learning one in the same.
Materials Needed
- 1 paper plate
- Pencil
- Scissors
- White school glue
- Uncooked rice, 2 tablespoons
- Glue stick
- Red construction paper
How to Make It
- Draw a large R on the paper plate and cut it out.
- Glue a second R cut from red construction paper to one side of the plate R.
- Sprinkle rice inside the edge of the R shape and quickly press a second red R on top to seal.
- Run glue around the edge and press firmly, then let dry 1 hour before shaking.


7. Rice Krispie R Molds
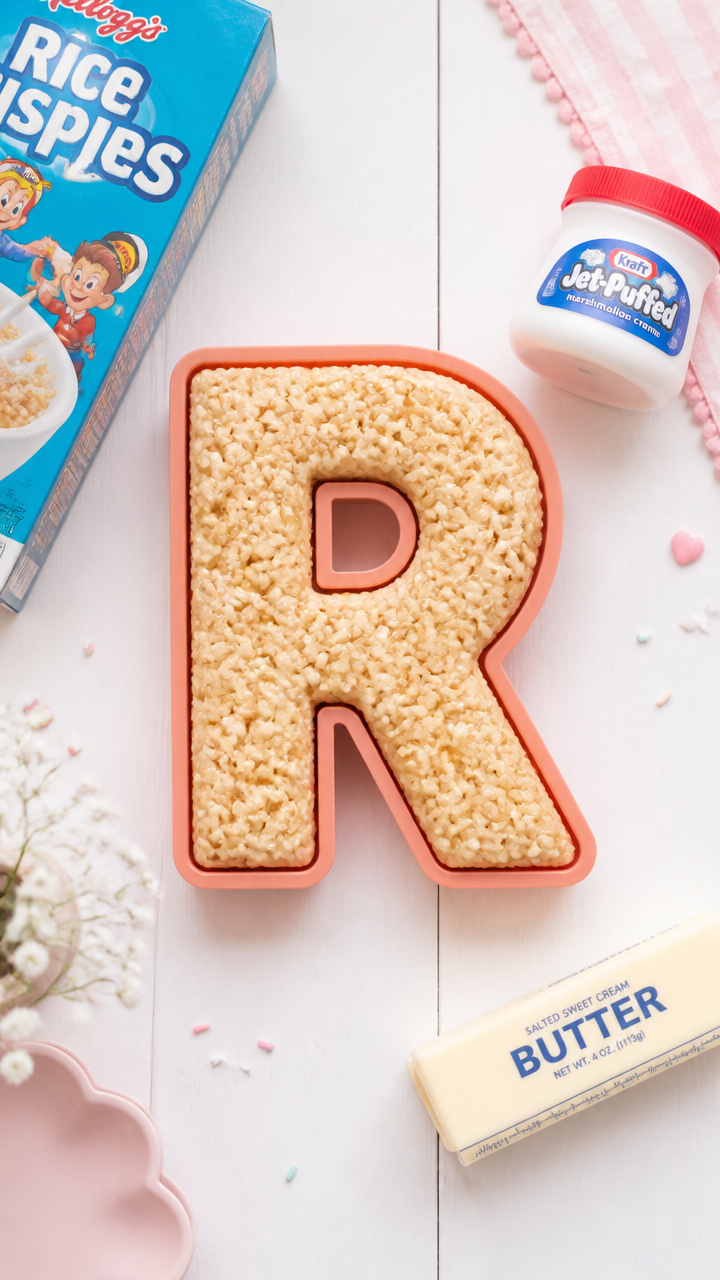
Sweet, sticky cereal holds the shape of R when pressed into a silicone mold. Kids love eating this edible letter after shaping it.
Materials Needed
- 3 cups Rice Krispies cereal
- 1/4 cup marshmallow fluff
- 1 tablespoon butter
- Silicone alphabet mold, letter R
- Spatula
How to Make It
- Melt marshmallow fluff and butter in a microwave-safe bowl for 30 seconds.
- Stir in Rice Krispies until fully coated.
- Press the mixture firmly into the R cavity of the silicone mold with the spatula.
- Let cool 15 minutes, then pop out the shaped R.


8. Red Button Robot R
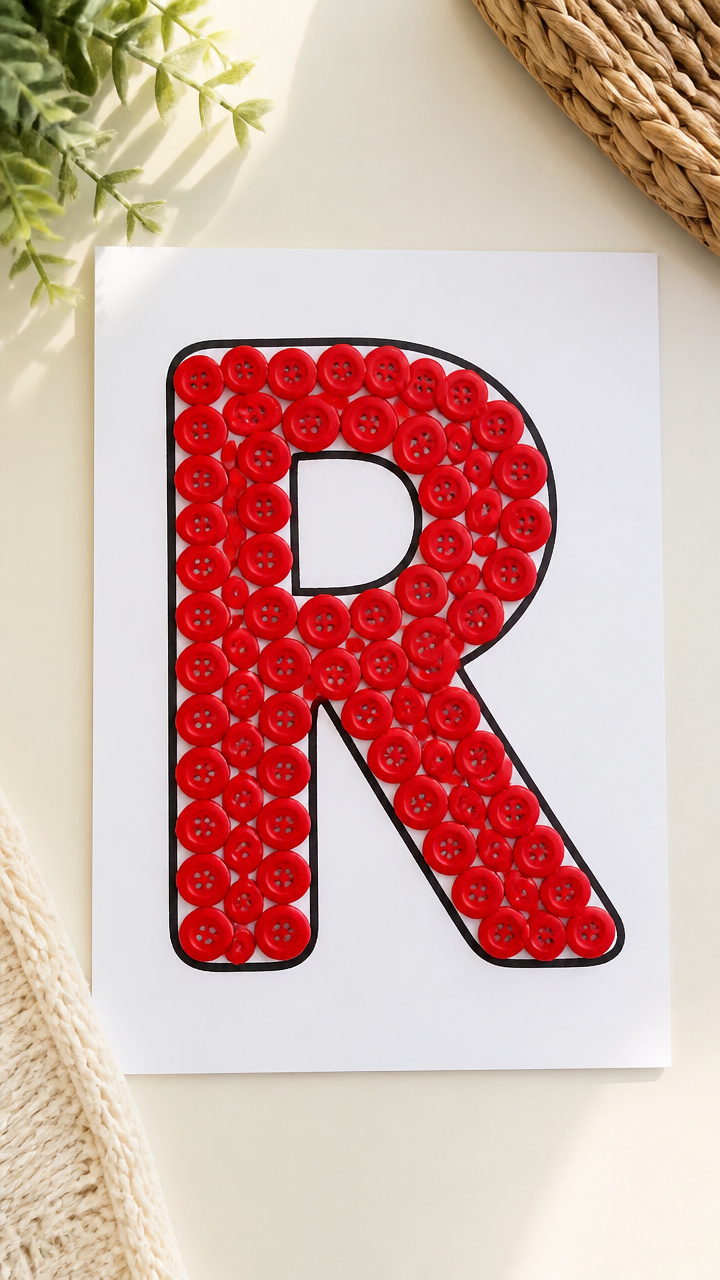
Round red buttons line up to form a robot-style letter R. This craft combines counting and creativity.
Materials Needed
- 1 sheet A4 white cardstock
- 10 red buttons, 1/2 inch diameter
- White school glue
- Black marker
- Pencil
How to Make It
- Draw a bold R on the cardstock with the pencil, about 5 inches tall.
- Put a small dot of glue where each button will go along the R line.
- Press one button at a time into the glue, spacing them evenly.
- Let dry for 1 hour before moving.


9. Rolling Pin R Print
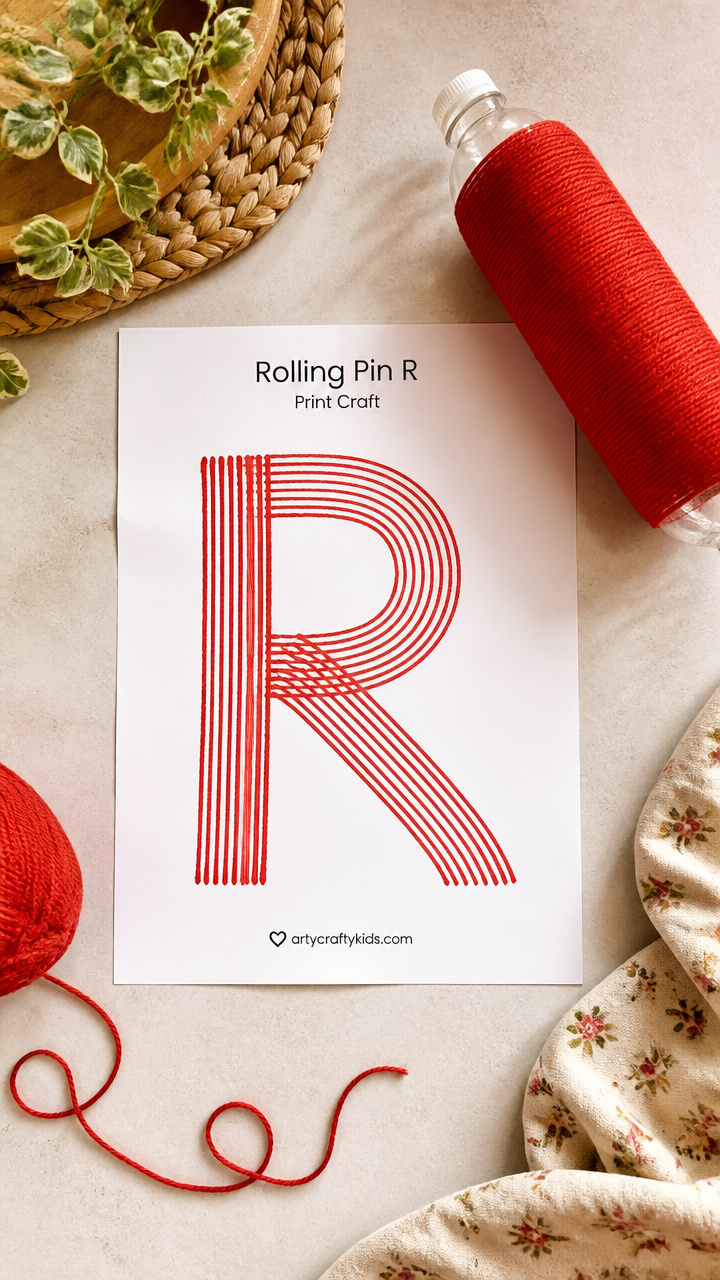
A rolling pin covered in gluey yarn rolls out an R shape on paper. This rolling technique creates a unique textured line.
Materials Needed
- Empty plastic bottle, 8 oz
- Yarn, red, 1 yard
- White school glue
- A4 white drawing paper
- Pencil
How to Make It
- Draw a large R on the paper with the pencil.
- Wrap yarn tightly around the bottle and secure ends with glue.
- Dip the yarn-covered bottle into a shallow tray of glue.
- Roll it over the R line to leave a thick, fuzzy print.
- Let dry flat for 2 hours.

10. Rainbow Rock Painting
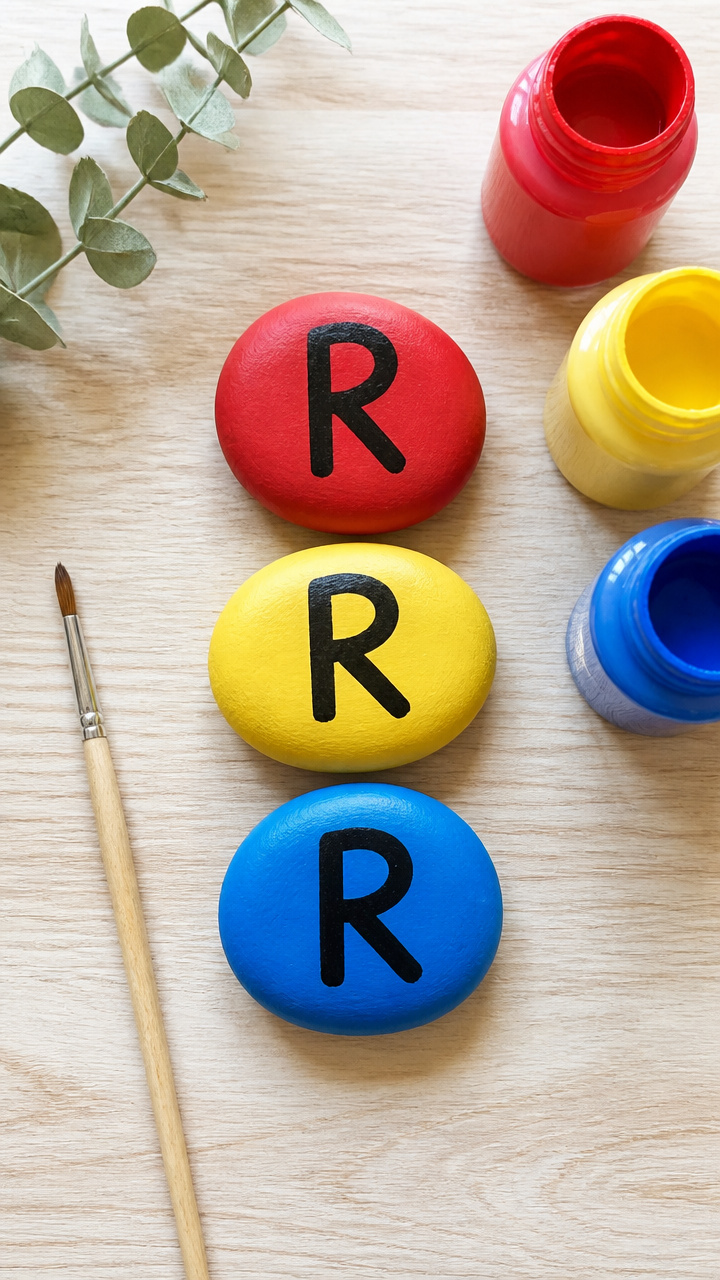
Smooth river rocks become colorful Rs with painted details. These make sweet keepsakes or nature-based learning tools.
Materials Needed
- 3 smooth river rocks, about 2 inches long
- Red, yellow, and blue acrylic paint
- Paintbrush, size 1 round
- Black permanent marker
- Paper plate
How to Make It
- Paint each rock with one color and let dry on the paper plate for 20 minutes.
- Use the black marker to draw a white-space R on each rock.
- Let the ink dry 5 minutes before handling.
- Group the rocks together to spell R in color order.


11. Recycled CD R Spinner
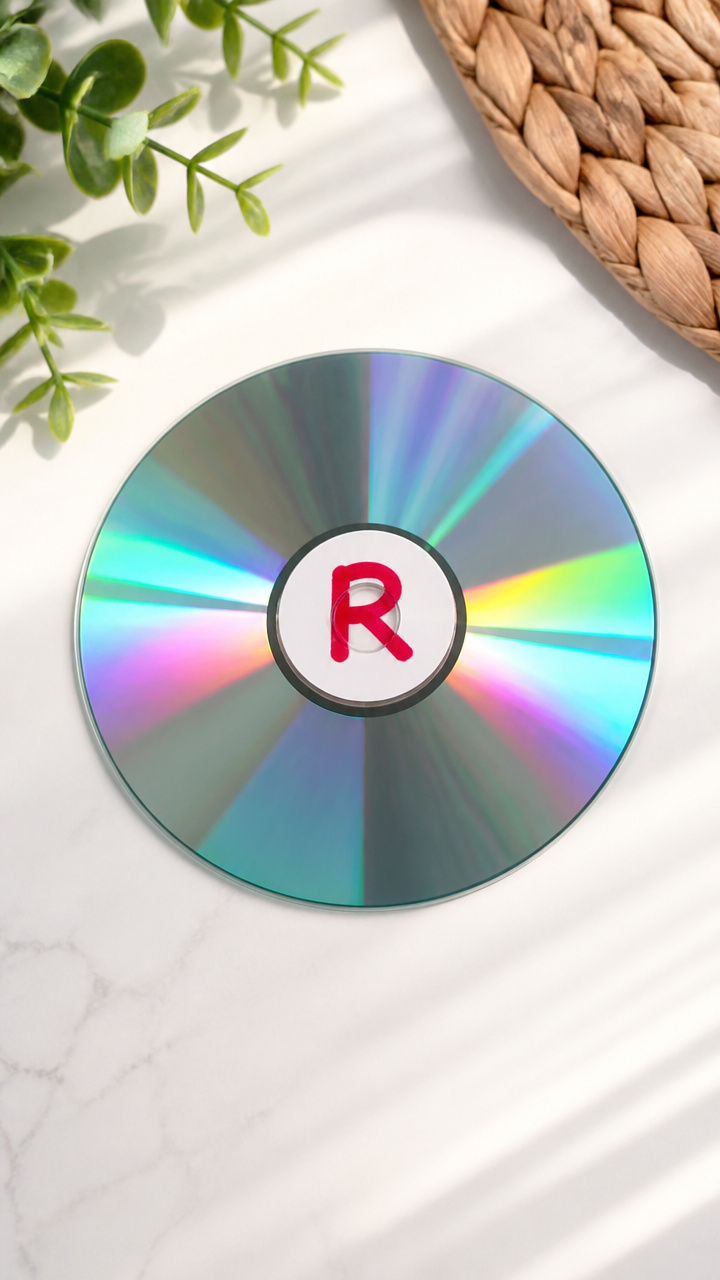
An old CD becomes a spinning letter R with a simple twist. This reflective craft adds motion and sparkle.
Materials Needed
- 1 recycled CD
- Red permanent marker
- Glue dot
- Pencil with eraser
How to Make It
- Draw a large R on the shiny side of the CD with the red marker.
- Place a glue dot on the center of the CD’s hole.
- Press the eraser end of the pencil into the glue dot.
- Spin the CD on a flat surface to see the R blur into motion.


12. Puffy Paint R
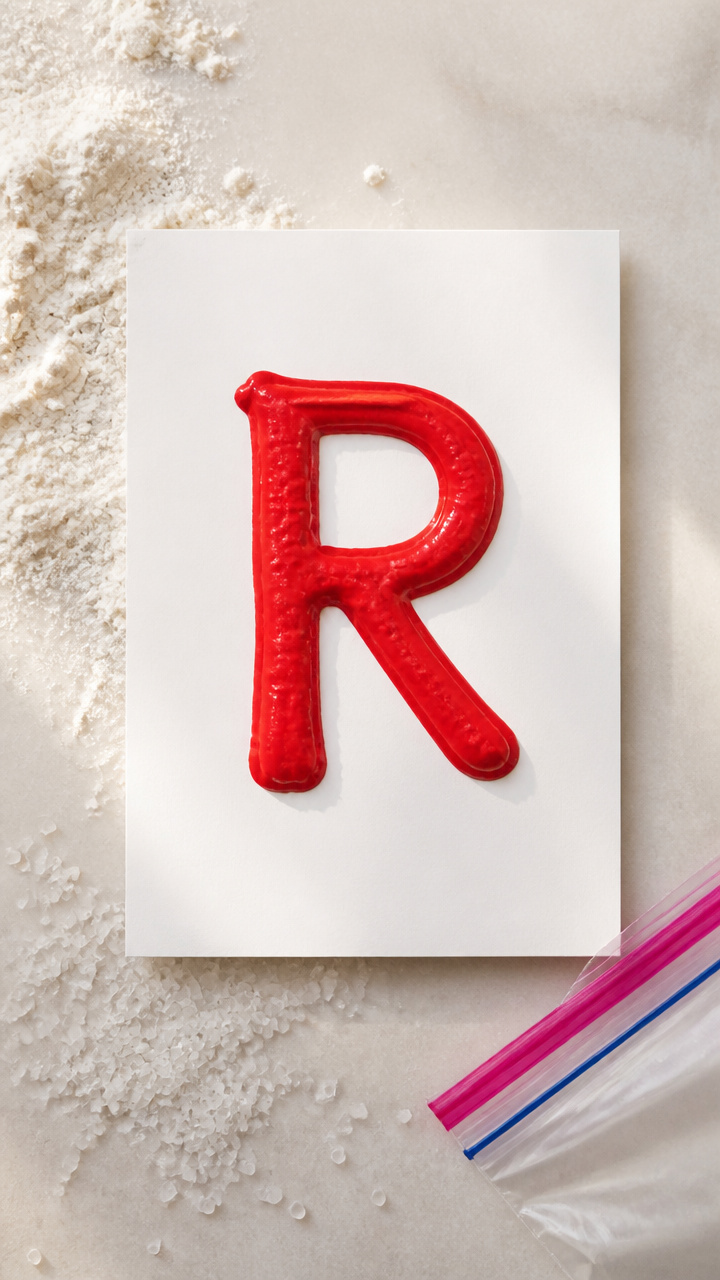
A homemade puffy paint mix rises into a soft 3D R when dried. This bumpy letter invites touch and exploration.
Materials Needed
- 1/4 cup flour
- 1/8 cup salt
- 1/8 cup water
- Red food coloring, 5 drops
- A4 white cardstock
- Plastic sandwich bag
How to Make It
- Mix flour, salt, and water in a bowl until smooth, then add food coloring.
- Spoon the mixture into the plastic bag and push it into one corner.
- Snip a tiny hole in the corner and pipe the paint into an R shape on the cardstock.
- Let dry 24 hours until puffy and firm.


13. Ribbon Tail R Kite

A paper R kite flutters with long ribbon tails. This craft combines letter shape with wind play.
Materials Needed
- Red construction paper, 1 sheet
- Scissors
- Hole punch
- 3 ribbons, 12 inches long, assorted colors
- Glue stick
- String, 18 inches
How to Make It
- Cut a large R from the construction paper.
- Glue one end of the string to the top of the R.
- Punch three holes at the bottom tip of the R.
- Thread each ribbon through a hole and knot securely.


14. Raisin Clay R
Homemade clay with real raisins molds into a sturdy letter R. This edible dough holds shape and smell.
Materials Needed
- 1/2 cup flour
- 1/4 cup salt
- 1/4 cup water
- 1/4 cup raisins, chopped
- Mixing bowl
- Spoon
- Rolling pin or glass
How to Make It
- Mix flour, salt, and water in the bowl until a dough forms, then stir in chopped raisins.
- Knead for 2 minutes until smooth.
- Roll out the dough to 1/2 inch thick and cut an R shape with a butter knife.
- Let air dry on a counter for 2 days until hard.


15. Red Crayon Resist R
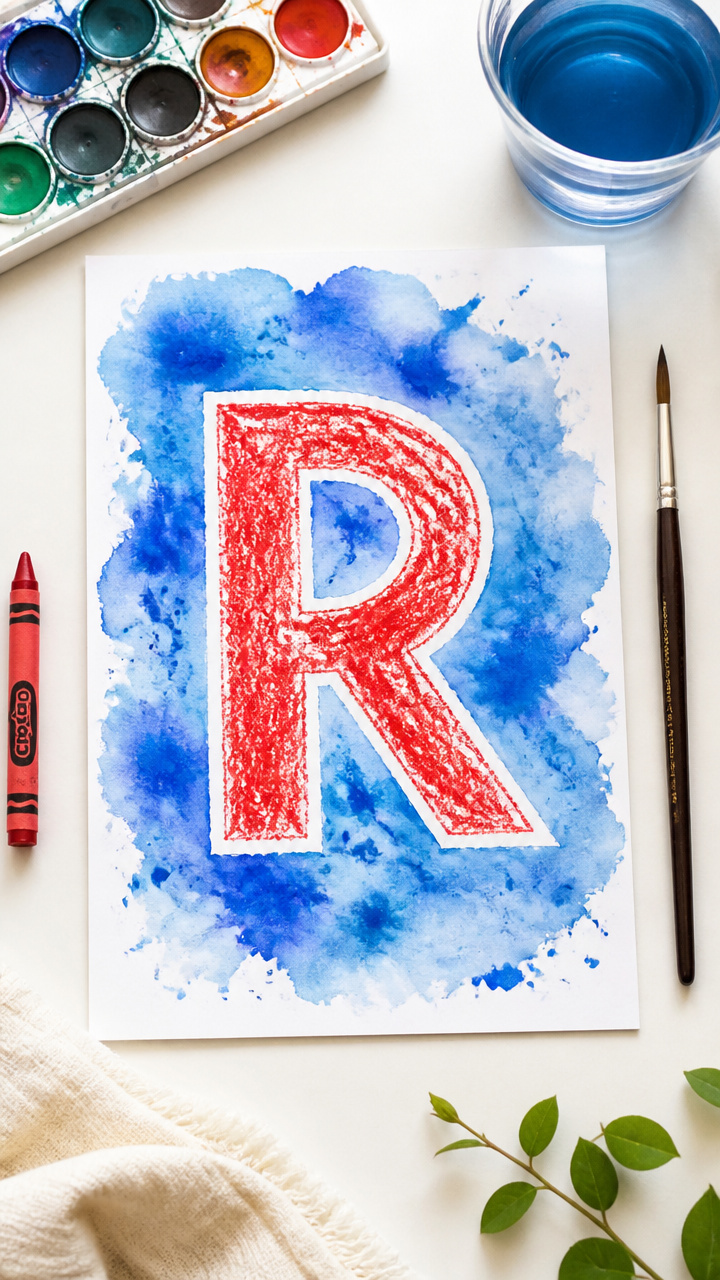
A hidden R appears when blue paint washes over red crayon. This surprise reveal teaches texture and contrast.
Materials Needed
- A4 white drawing paper
- Red crayon
- Blue liquid watercolor, 2 tablespoons
- Paintbrush, wide
- Cup of water
- Paper towel
How to Make It
- Draw a large R with the red crayon, pressing hard to leave thick wax.
- Dip the brush in blue watercolor and paint over the entire page.
- Rinse brush and add more paint if needed to deepen color.
- Let dry flat for 1 hour—the R will appear in red.


You’ve got everything you need to make the letter R come alive for little hands and minds. Pick one craft that matches your supplies and go make some joyful learning moments today.