15 Printable Letter Crafts for Preschool Alphabet Centers
Alphabet centers come alive when little hands can touch, trace, and build letters in playful ways. These printable crafts blend fine motor practice with letter recognition, using simple materials you likely already have on hand.
Each idea is designed to be easy for you to prepare and engaging for young learners. They’re perfect for rotating through stations or setting up during literacy time.
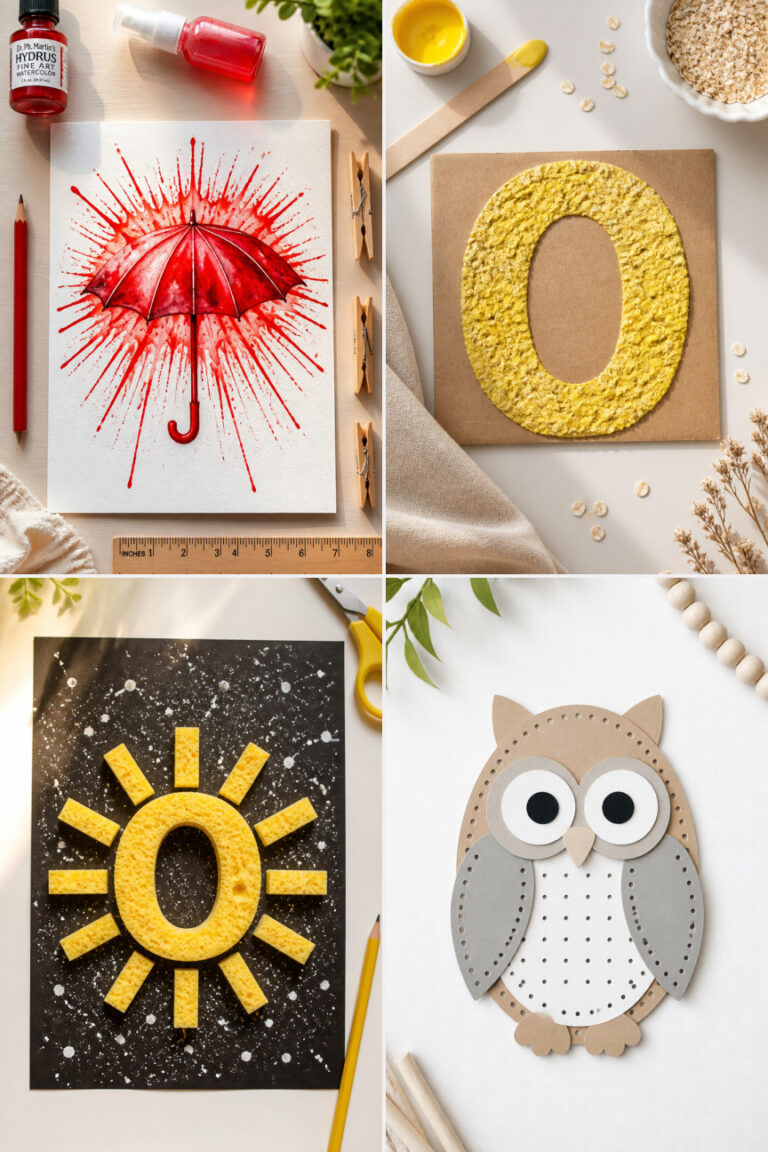
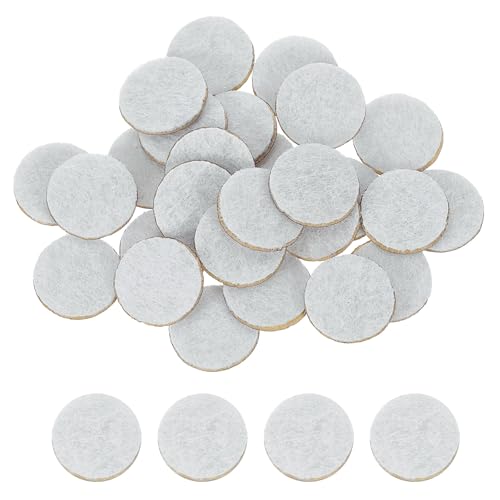
1. Cotton Ball Letter Pads

Soft cotton ball letter pads invite tiny fingers to press and mold while building tactile memory of letter shapes. Kids love the squishy texture and the way it holds its shape.
Materials Needed
- A4 white cardstock, 1 sheet
- Black marker, fine tip
- White craft glue, 1 bottle
- Cotton balls, 30 pieces
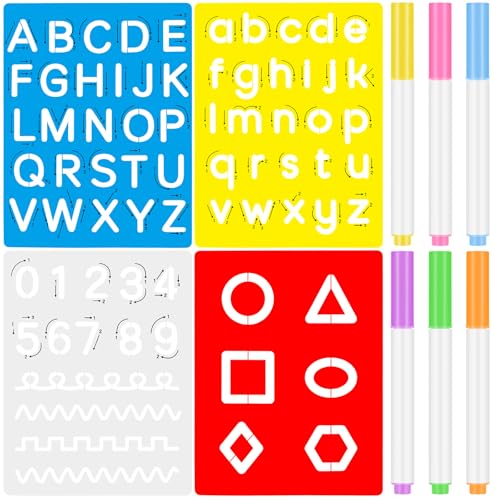
- Letter stencil set A–Z
How to Make It
- Print and cut out a large uppercase letter from the stencil, then trace it onto the cardstock and draw a border 1 inch around it.
- Outline the traced letter with a thin line of glue using the bottle tip, then fill the entire shape with a second heavier bead of glue.
- Press cotton balls firmly into the glue one by one until the letter is fully covered, let dry flat for 2 hours.
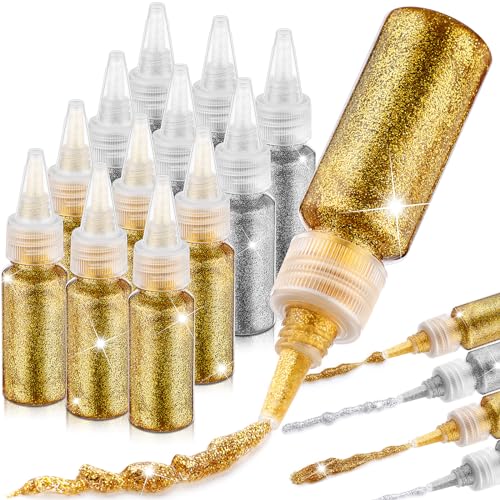
2. Glitter Glue Tracing Sheets

Shimmery tracing lines turn letter practice into a sparkly adventure. Children strengthen pencil control while following glowing paths.
Materials Needed
- Clear laminating sheets, 26 sheets
- Gold glitter glue, 1 bottle
- Black dry erase marker, fine tip
- Laminator
- Printable straight-line letter cards (A, E, F, H, I, T)
How to Make It
- Laminate each printable letter card using the laminator and trim edges neatly.
- Draw a continuous starting line with glitter glue from the top to bottom of each letter stroke, following the correct formation path.
- Let the glue dry upright for 3 hours, then use the dry erase marker for kids to trace over the glitter path again and again.


3. Pom-Pom Letter Sort Mats

Bright pom-poms jump into matching letter outlines, turning sorting into a colorful fine motor workout. The mats stand up to daily use and clean easily.
Materials Needed
- Colored foam sheets, red, blue, yellow (2 each)
- Hot glue gun with glue sticks
- Scissors
- Letter punch tool A–Z
- Magnetic tape, 1 roll
How to Make It
- Use the letter punch to cut out two sets of uppercase letters from the foam sheets.
- Glue matching pairs together with the hot glue gun, leaving the edges sealed except for a small opening.
- Slide a 1-inch strip of magnetic tape inside each letter before sealing shut completely, let cool for 2 minutes.


4. Sandpaper Letter Cards

Rough sandpaper edges guide little fingers along letter curves and lines, creating strong sensory feedback. These cards last for years with lamination.
Materials Needed
- Fine-grade sandpaper, 9×12 inches, 1 sheet
- Pencil
- Craft glue
- A4 colored construction paper, 26 sheets
- Laminator and pouches
How to Make It
- Trace each uppercase letter freehand onto the sandpaper using the pencil, making sure strokes are at least 0.5 inches thick.
- Cut out each letter carefully with scissors, then glue centered onto a construction paper sheet.
- Place in a laminating pouch and run through the laminator, trim excess film after cooling.


5. Sticker Letter Builders

Colorful dot stickers fit perfectly within grid-based letter templates, helping children map shapes block by block. Peeling stickers builds finger strength too.
Materials Needed
- Round sticker dots, 0.75 inch, assorted colors, 2 packs
- Printable letter grids (5×5 squares), 26 pages
- Clear contact paper, 12×18 inches
- Binder rings, 2
- Paper cutter
How to Make It
- Trim each letter grid page to 8×10 inches using the paper cutter, then cover with a sheet of contact paper sticky side up.
- Smooth each printed grid onto the contact paper, pressing out air bubbles with your palm.
- Bind the completed sheets with binder rings at the left edge so pages flip like a book.


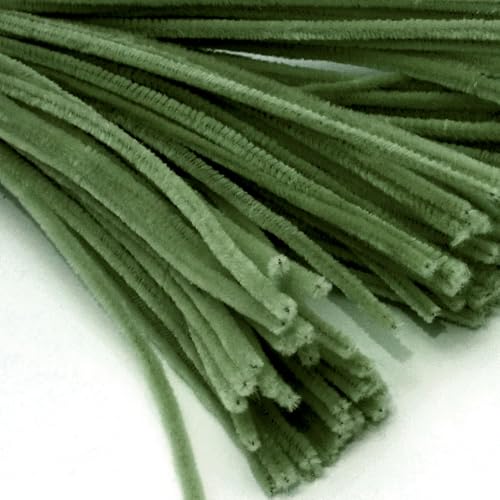
6. Pipe Cleaner Bendables

Flexible pipe cleaners twist easily into crisp letter forms, allowing children to reshape them again and again. The wire core holds position without flopping.
Materials Needed
- Chenille stems, 12 inches long, 50 pieces
- Plastic tray with compartments, 1 unit
- Label maker with tape
- Printable letter formation guide
- Scissors
How to Make It
- Print the letter formation guide and laminate it for durability, then place it in the plastic tray lid.
- Cut ten pipe cleaners in half to make shorter pieces for tight curves like in B or R.
- Label each tray compartment with an uppercase letter using the label maker, store matching bent examples inside.


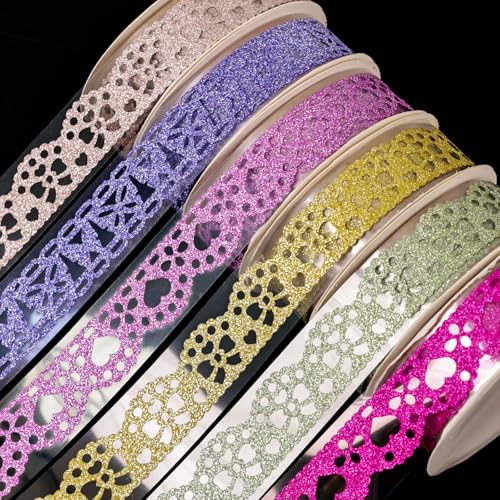
7. Washi Tape Letter Frames

Peel and stick washi tape follows bold letter outlines, creating neat borders with zero mess. Kids choose patterns that make their letters uniquely theirs.
Materials Needed
- Washi tape, 6 rolls with different designs
- Thick black marker
- A4 white drawing paper, 26 sheets
- Ruler
- Eraser
How to Make It
- Draw a large uppercase letter on each sheet using the ruler and marker, making strokes 1 inch wide.
- Erase any light pencil guidelines if used, then hand the sheet to a child with three washi tape choices.
- Press tape strips edge to edge along the outline until the entire letter frame is filled, smoothing as you go.


8. Button Sewing Cards

Sturdy cardboard letters with pre-punched holes turn real sewing into a letter-shaped challenge. Lacing helps left-right tracking and coordination.
Materials Needed
- Cardboard, 8.5×11 inches, 26 sheets
- Hole punch
- Embroidery floss, 6 skeins
- Blunt plastic needles, 10 pieces
- Printable cursive lowercase templates
How to Make It
- Print cursive letters onto cardboard sheets, one per page, ensuring each stroke is thick enough to punch holes every 0.5 inch.
- Use the hole punch to make perforations along the full path of each letter, starting at the top.
- Thread a needle with 18 inches of floss, knot the end, and demonstrate how to lace through front to back repeatedly.


9. Foam Sticker Mosaics

Tiny foam squares stick directly onto adhesive letter silhouettes, forming chunky mosaic art. The texture contrast keeps kids focused and proud.
Materials Needed
- Self-adhesive foam sheets, 12×18 inches, 4 colors
- Die-cut machine with alphabet set
- Plastic sandwich bags, gallon size, 26
- Child-safe scissors
- Roll of clear tape
How to Make It
- Use the die-cut machine to punch out large uppercase letters from the self-adhesive foam sheets, one color per letter.
- Peel the backing off each letter and place it sticky side up in a gallon bag, seal with a piece of tape.
- Cut remaining foam sheets into 0.5 inch squares and add a handful of each color to every bag with a letter inside.


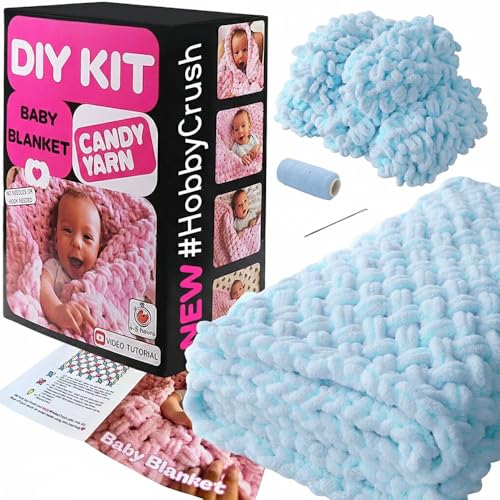
10. Yarn Wrap Letters

Glue-dotted cardboard letters become winding posts for soft yarn, wrapping tightly into solid shapes. The motion builds rhythm and focus.
Materials Needed
- Corrugated cardboard, 10×12 inches, 26 pieces
- White school glue, 1 bottle
- Paintbrush, 0.5 inch flat
- Cotton yarn, 3 colors, 100 yards total
- Stencil brush
How to Make It
- Trace a large uppercase letter onto each cardboard piece with a pencil, then cut it out with scissors.
- Use the paintbrush to spread a thin layer of glue over the entire surface of the letter.
- Wrap yarn tightly around the glued surface, pressing each strand down as you go, let dry for 3 hours.


11. Felt Dot Letters

Small felt circles stick to wool-blend base mats using natural friction, letting kids build letters that stay put but lift cleanly. No glue needed.
Materials Needed
- Felt sheets, wool blend, 6 colors, 2 per color
- Self-adhesive felt dots, 0.5 inch, 500 pieces
- Scissors
- Base mat template (A4)
- Iron-on adhesive webbing
How to Make It
- Cut A4 base mats from green wool-blend felt using the template, ironing webbing to the back first if needed for stability.
- Arrange self-adhesive dots along the stroke path of each uppercase letter on a sample mat, then photograph for reference cards.
- Store dots in color-coded containers and place one base mat with a printed guide card at the center station.


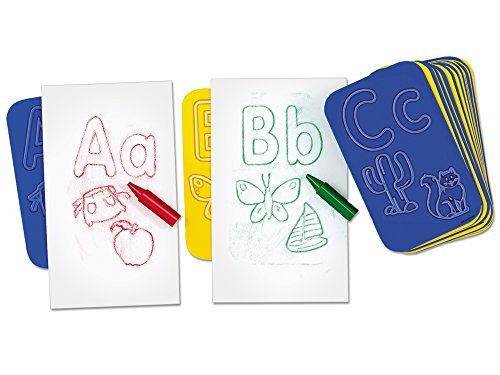
12. Crayon Rubbing Templates

Flat letter shapes hide under paper, revealed when crayons glide over the top in broad strokes. The surprise element keeps children coming back.
Materials Needed
- Cardboard letters, uppercase, 3 inches tall, 26 pieces
- White printer paper, 8.5×11 inches, 50 sheets
- Broken crayons, no paper wrappers
- Tape
- Plastic tray
How to Make It
- Place a cardboard letter on the table, then tape it securely in place using four small strips.
- Lay a sheet of printer paper over the letter, smooth it down with your hand.
- Rub a sideways crayon motion over the paper directly above the letter until the shape appears, change colors as desired.

13. Puzzle Cutout Letters

Each letter splits into three interlocking puzzle pieces, challenging kids to rebuild the shape using visual and tactile clues. Perfect for problem solvers.
Materials Needed
- Colored poster board, 10 sheets
- X-Acto knife with metal ruler
- Cutting mat
- Laminator
- Number sticker set 1–3
How to Make It
- Print uppercase letters large on poster board, one per sheet, then laminate each sheet completely.
- Use the X-Acto knife and ruler to cut each letter into three connected segments with wavy cuts, always starting from outer edges.
- Stick a numbered dot on the back of each segment from 1 to 3, store pieces in labeled envelopes.


14. Magnet Letter Mazes

Steel balls roll along grooved letter paths when guided by a wand magnet underneath. This combines motor skills with cause-and-effect learning.
Materials Needed
- Shoebox lids, 26
- Hot glue gun
- Steel ball bearings, 5 mm, 26 pieces
- Neodymium wand magnet, 6 inches
- Printable letter path guides
How to Make It
- Print and cut out a thick letter path guide, then trace it onto the inside of a shoebox lid.
- Run a thin bead of hot glue along the traced line, building a wall about 3 mm high, let cool for 2 minutes.
- Place one steel ball in the maze and give each child a wand magnet to steer it from start to finish.


15. Thumbprint Letter Art

Ink-free stamp pads let kids use their thumbs to fill letter outlines with rows of prints, creating textured artwork they recognize instantly.
Materials Needed
- Washable ink stamp pad, black
- Moist towelettes
- Heavyweight drawing paper, A4, 26 sheets
- Fine-tip white chalk pen
- Clipboard
How to Make It
- Draw a large uppercase letter on each sheet with the chalk pen, making wide strokes at least 1 inch thick.
- Place a sheet on the clipboard at the craft table with the stamp pad nearby and moist towelettes within reach.
- Press a clean thumb onto the pad, then firmly into the letter shape, repeat side by side until the stroke is filled.


You’ve got everything you need to bring these ideas to life with just a few common supplies. Pick one that fits your next theme and watch how excited your preschoolers get to discover letters in their own hands.