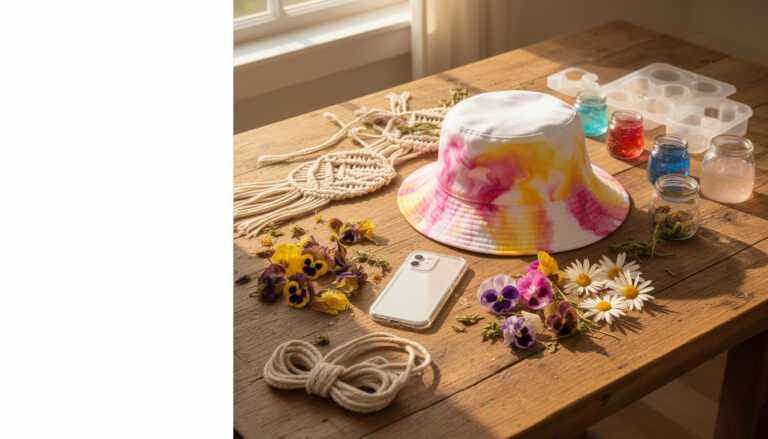
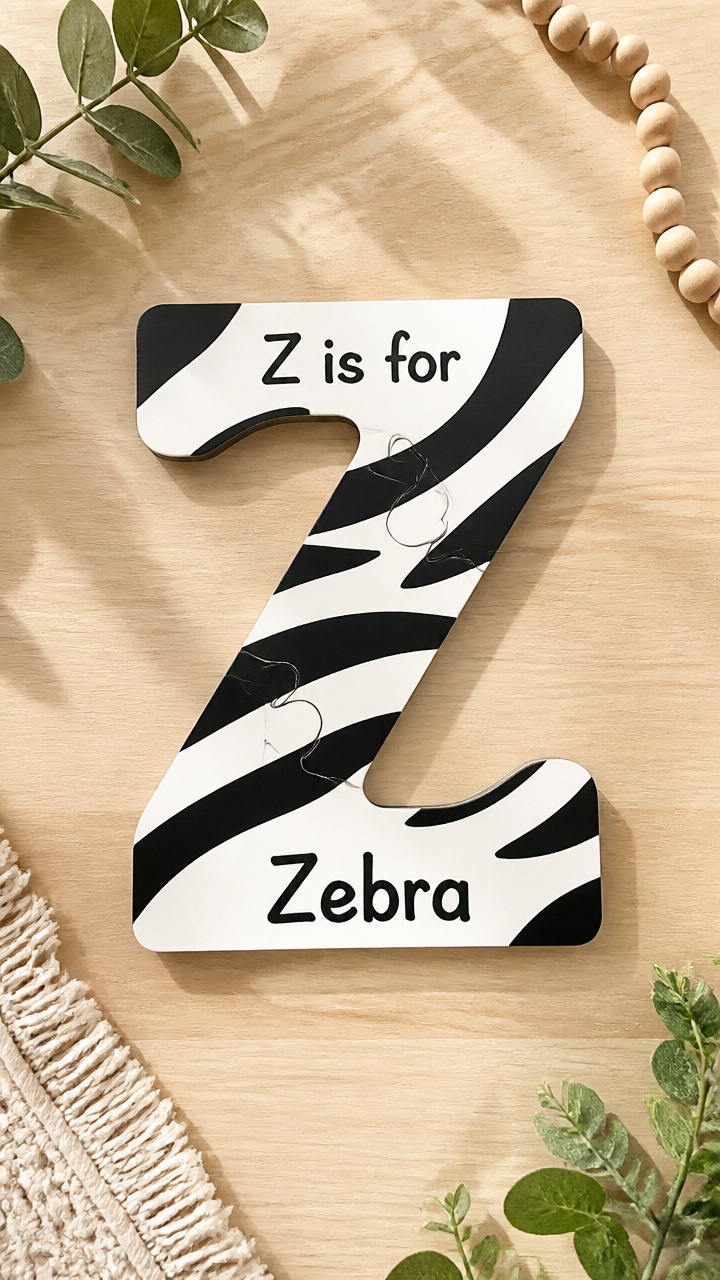
15 Simple Letter Z Crafts for Preschool Zebra Theme Activities
Z is for zippy, zany, and full of zigzag fun when you're exploring with little learners. A zebra theme brings bold patterns and playful energy that kids love to create with their hands.
Each of these crafts uses easy-to-find materials and gives preschoolers a chance to build fine motor skills while celebrating the letter Z in a memorable way.
1. Zebra Stripes Paper Plate Mask
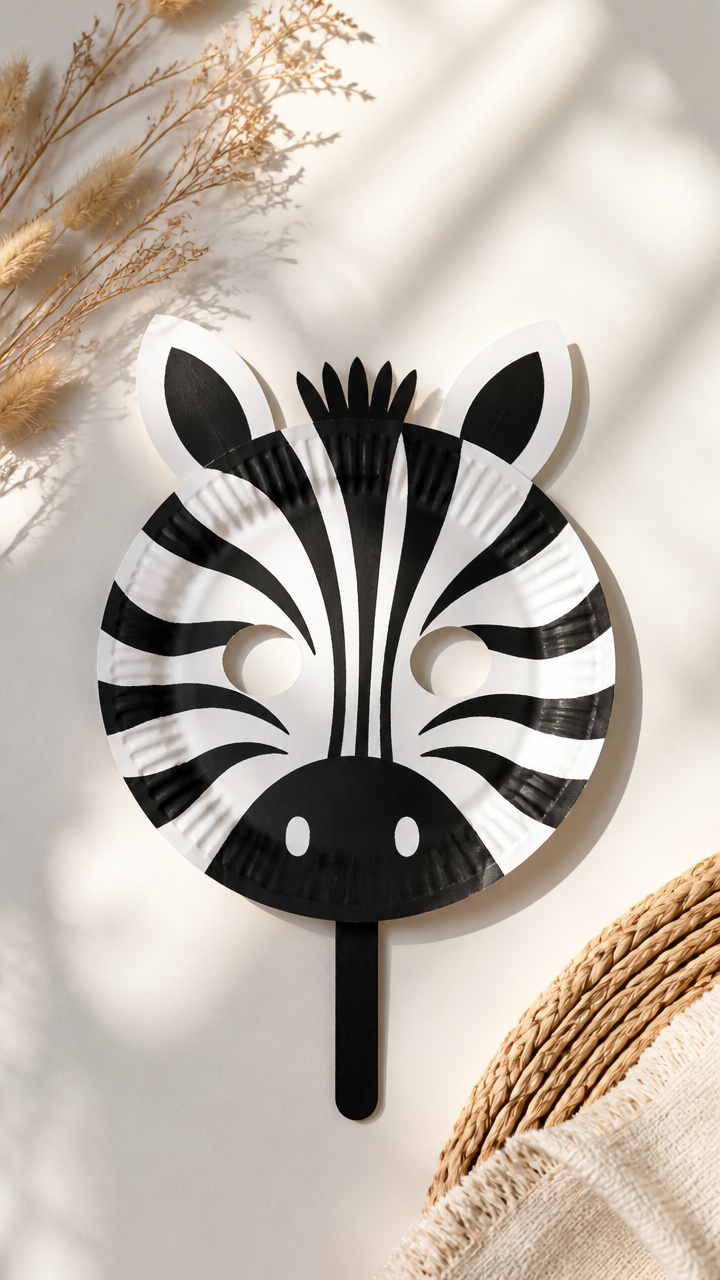
Soft white paper plates become wild zebra faces with bold black stripes and bouncy ears. This mask lets kids step into the savanna with pride.
Materials Needed
- 1 white paper plate per child
- Black acrylic paint
- Paintbrushes (size 6 round)
- Hole punch
- 12-inch black craft sticks
- Glue stick
- White and black construction paper
- Scissors (blunt tip)
- Elastic string (18 inches per mask)
How to Make It
- Cut two ear shapes from black construction paper and glue them to the top rim of the paper plate.
- Paint thick, uneven black stripes across the plate face using the brush, leaving white gaps between each stripe.
- Once dry, punch one hole on each side of the plate and thread elastic through, tying knots to secure.
- Glue a craft stick to the bottom edge if you want a handheld version instead.


2. Zigzag Ribbon Zebra Tail
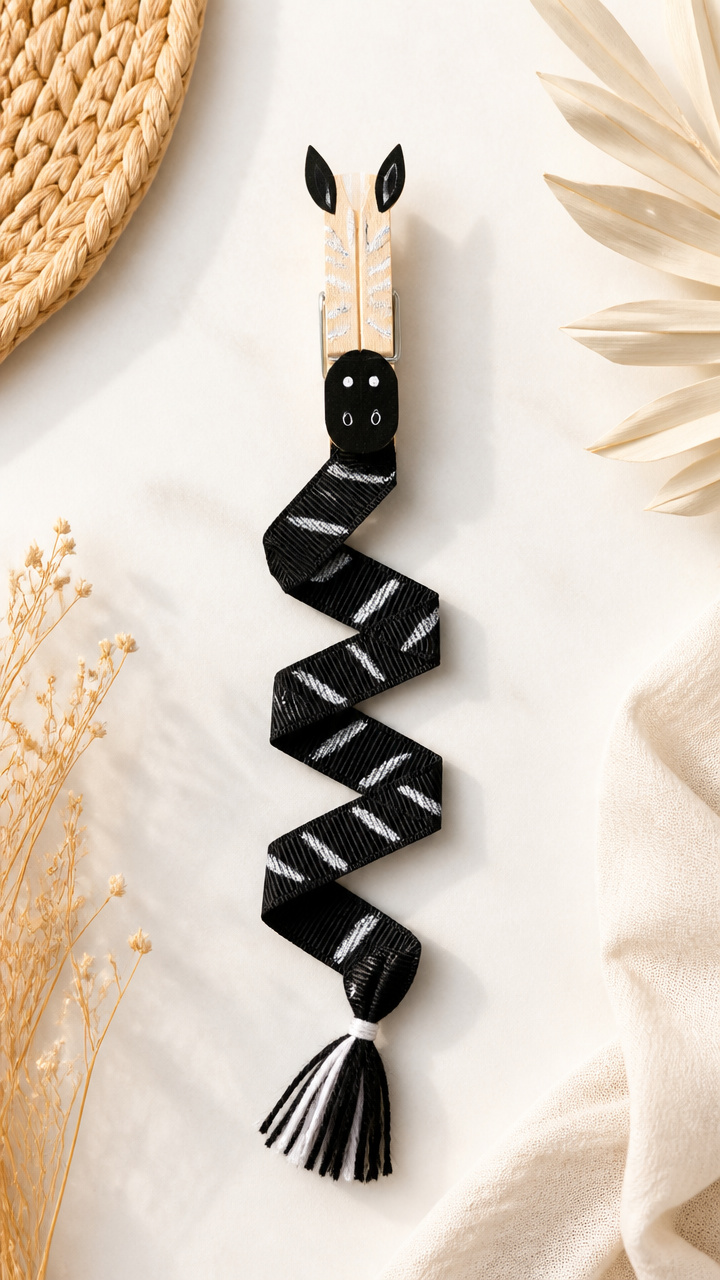
Fluffy ribbon tails with sharp zigzag folds wiggle behind every tot during circle time. This wearable craft builds coordination and joy.
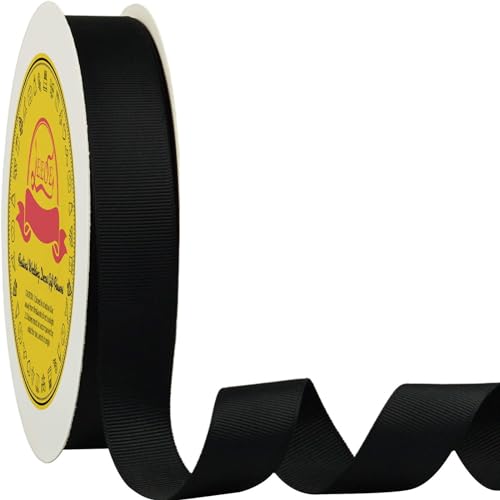
Materials Needed
- Black grosgrain ribbon (1 inch wide, 18 inches long per child)
- Clothespins (standard wooden, unpainted)
- Hot glue gun and glue sticks
- White chalk
- Scissors
How to Make It
- Fold the ribbon into tight 1.5-inch zigzags along its length, securing each fold with a small clip of white chalk to hold shape.
- Once the full ribbon is folded, remove the chalk and apply hot glue at the base of the zigzag section.
- Press the glued end firmly onto the flat side of a clothespin and hold for 30 seconds until set.
- Clip the tail to each child’s waistband for instant zebra action.


3. Cotton Ball Z Field Painting
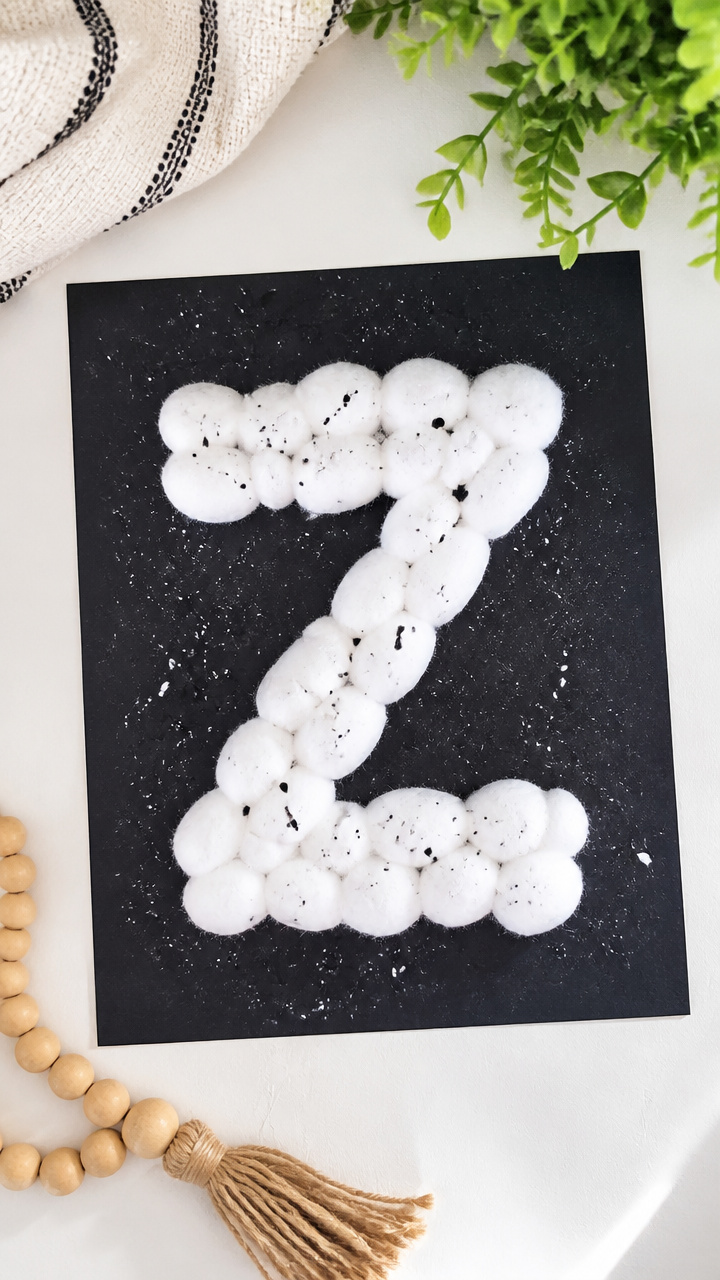
Puffy white cotton balls dabbed in black paint make fuzzy zebras appear magically on dark paper. The texture invites touch and talk.
Materials Needed
- 9×12 inch black construction paper
- Cotton balls (2 per child)
- White school glue
- Black tempera paint
- Shallow plastic trays
- Smocks
How to Make It
- Pour a thin layer of black tempera paint into a tray and dip one half of a cotton ball into it.
- Dab the painted cotton ball onto the black paper in a vertical line to form a zebra’s body.
- Use a clean cotton ball dipped in white glue to dot eyes and muzzle, then let dry completely.
- Repeat with additional dabs to create legs and mane streaks.


4. Z Is for Zebra Alphabet Stamp
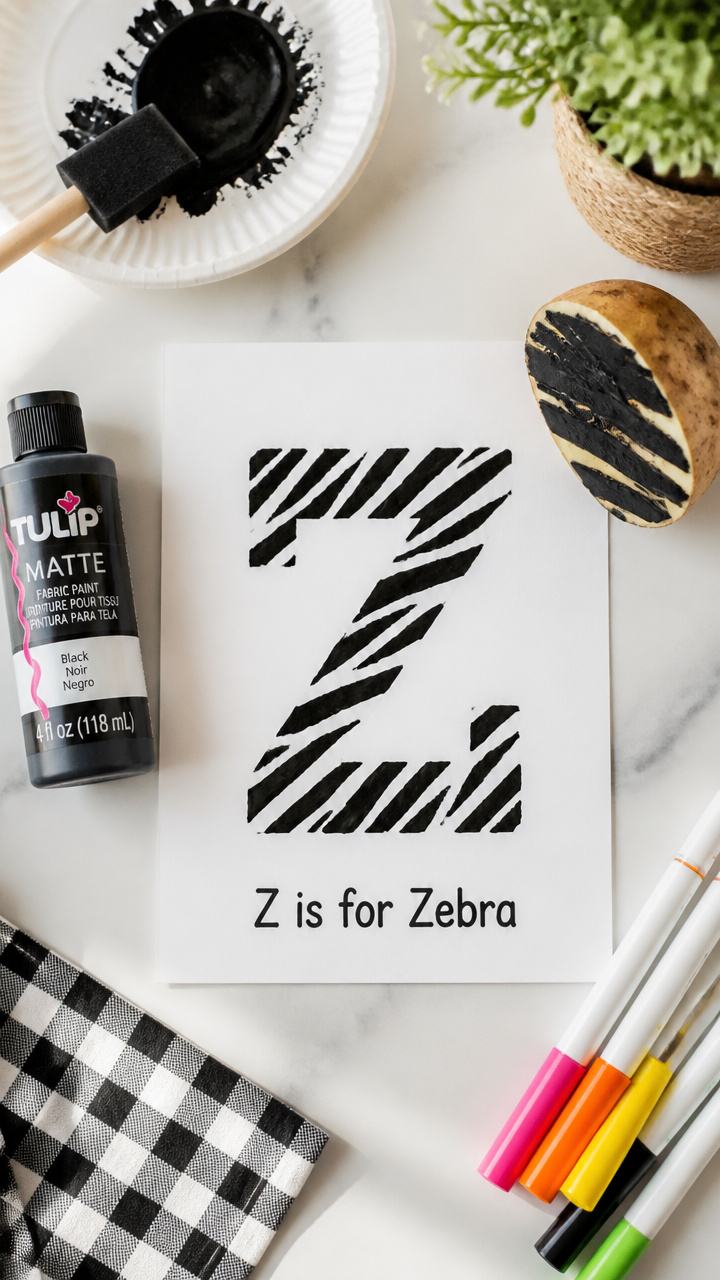
A handmade potato stamp prints bold letter Zs beside galloping zebras. Kids love the squishy carving and inky results.
Materials Needed
- Russet potatoes (1 medium per child)
- Knife (adult use only)
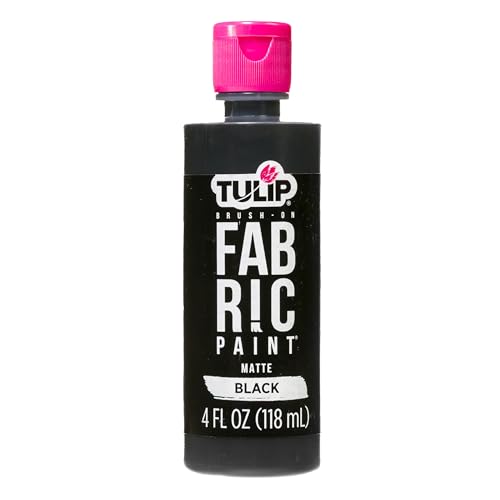
- Black fabric paint
- Small foam brushes
- Cardstock (white, 5×7 inch)
- Paper plates
How to Make It
- Cut the potato in half crosswise and use the knife to carve a capital Z into the flat surface, removing surrounding flesh.
- Spoon a small amount of fabric paint onto a paper plate.
- Brush paint evenly over the carved Z surface and press firmly onto the cardstock without sliding.
- Lift straight up and let dry for 10 minutes before adding a drawn zebra beside the stamped letter.


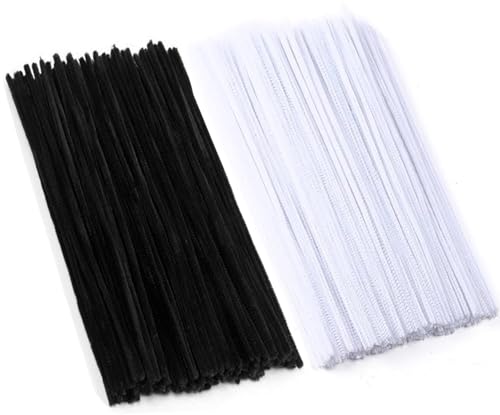
5. Pipe Cleaner Zebra Hooves
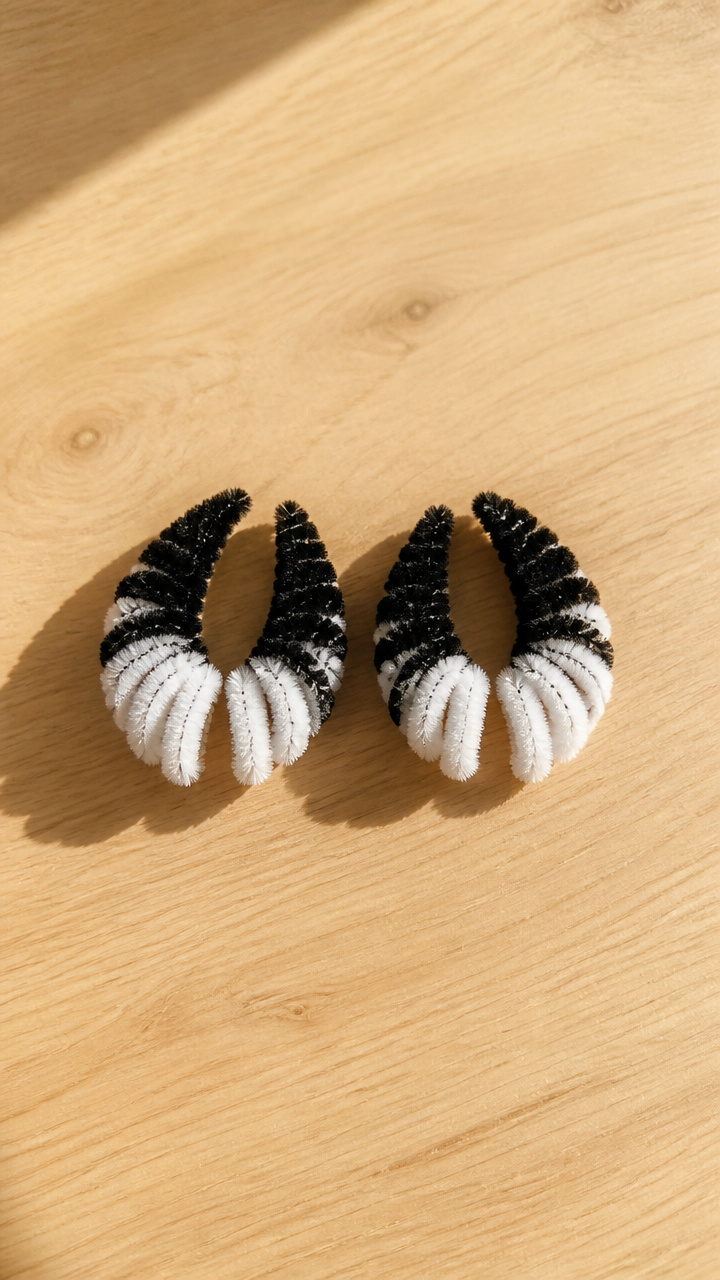
Twisted black and white pipe cleaners wrap around tiny fingers to make hoof-like rings. These wiggly accessories spark imaginative play.
Materials Needed
- Black pipe cleaners (2 per child)
- White pipe cleaners (2 per child)
- Round-nose pliers (optional)
- Scissors
How to Make It
- Cut each pipe cleaner in half to make eight 6-inch pieces.
- Take one black and one white piece and twist them tightly together along their full length.
- Form the twisted pair into a C-shape that fits snugly around a child’s fingertip.
- Repeat for all fingers or toes, trimming ends neatly with scissors.

6. Zebra Face Sticker Collage
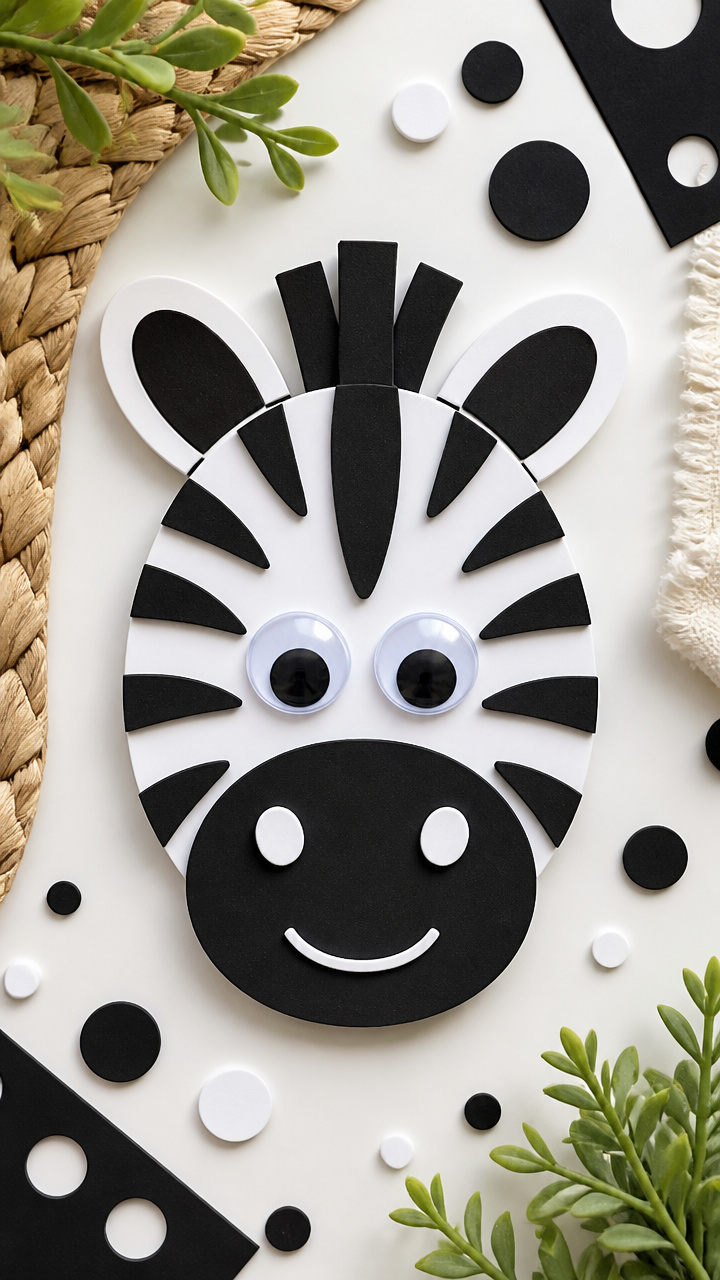
Pre-cut sticker shapes snap together fast into expressive zebra mugs. This low-mess craft works great in group settings.
Materials Needed
- White adhesive-backed foam sheets
- Black adhesive-backed foam sheets
- Circle punch (1.5 inch)
- Oval punch (2 inch)
- Scissors
- Googly eyes (0.5 inch, 2 per child)
- Glue dots
- 9×12 inch gray construction paper
How to Make It
- Use the oval punch to cut one face shape from white foam and the circle punch for two ear bases from black foam.
- Stick the white oval onto the gray paper near the center.
- Glue black ear bases to the top corners of the oval, then add smaller white circles inside for ear details.
- Attach googly eyes with glue dots and draw a mouth with a black marker.


7. Zigzag Doily Zebra Art
Delicate paper doilies turn into striking silhouettes when painted with bold black spray. The lace pattern adds elegance.
Materials Needed
- Round paper doilies (7 inch, 1 per child)
- Black spray paint (in aerosol can)
- Cardboard sheet (for masking)
- Clothespins
- White drawing paper (8.5×11 inch)
- Glue stick
How to Make It
- Place the doily on cardboard and clip it in place with clothespins to prevent shifting.
- Hold the spray paint 10 inches away and mist evenly over the doily until fully coated.
- Carefully lift the doily after 30 seconds and lay it flat to dry.
- Once dry, glue the painted doily to white paper as a zebra body with hand-drawn legs and mane.


8. Zebra Track Footprint Prints
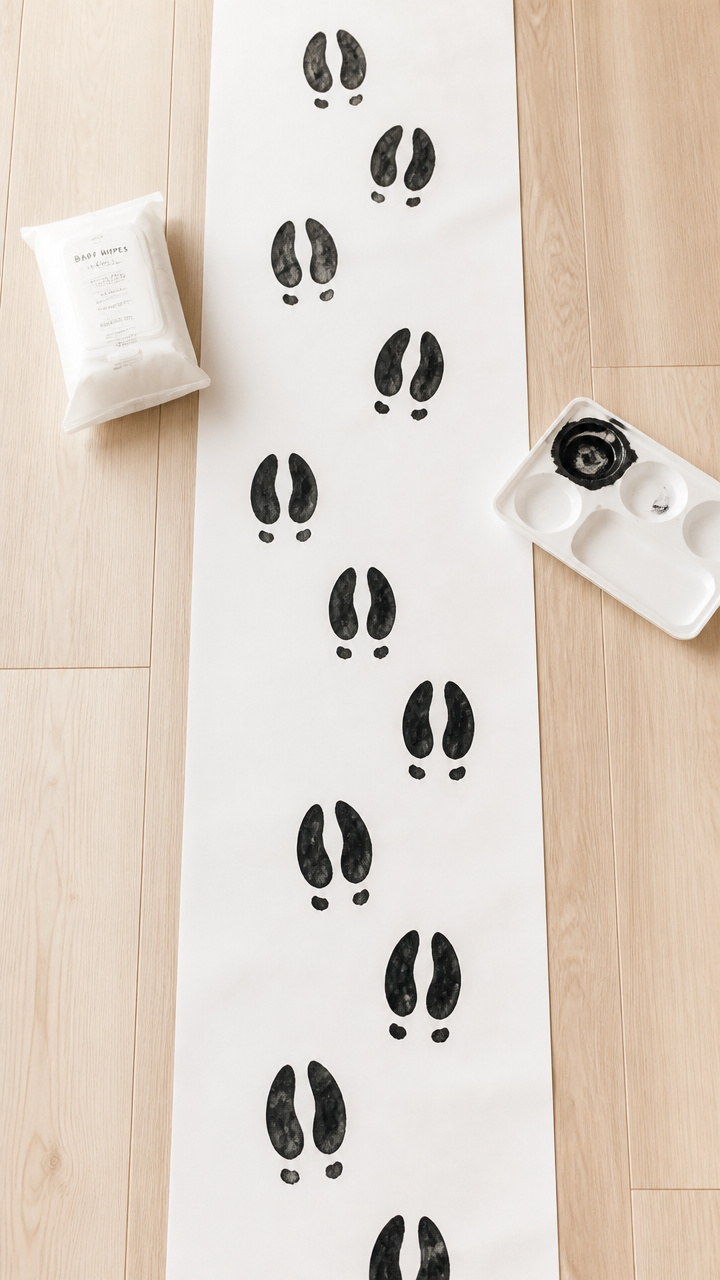
Bare feet pressed in paint leave perfect zebra tracks across long paper roads. This active craft gets everyone moving.
Materials Needed
- Roll of butcher paper (12 inch wide, 6 feet long)
- Black washable paint
- Shallow plastic tray
- Baby wipes
- Smocks
- Tape (masking)
How to Make It
- Tape the butcher paper strip to the floor at both ends to keep it flat.
- Pour paint into the tray and have each child step gently into it with bare feet.
- Walk forward slowly, pressing both feet down to leave a trail of hoof-like prints.
- Clean feet immediately with wipes and let the print dry flat for an hour.


9. Z Is for Zebra Name Puzzle
Each child’s name curves alongside a zebra on a custom puzzle piece. The interlocking design teaches identity and letters.
Materials Needed
- 1/4 inch craft wood sheets (6×6 inch)
- Pencil
- Jigsaw (adult use only)
- Acrylic paint (black and white)
- Fine paintbrush
- Sandpaper (180 grit)
- Permanent marker
How to Make It
- Sketch a zebra shape on the wood with pencil, leaving space beside it to write a child’s name.
- Write the child’s name in block letters next to the zebra with pencil.
- Use the jigsaw to cut out the entire shape as one puzzle piece, following the outline carefully.
- Sand edges smooth, then paint black stripes over the zebra part and let dry overnight.


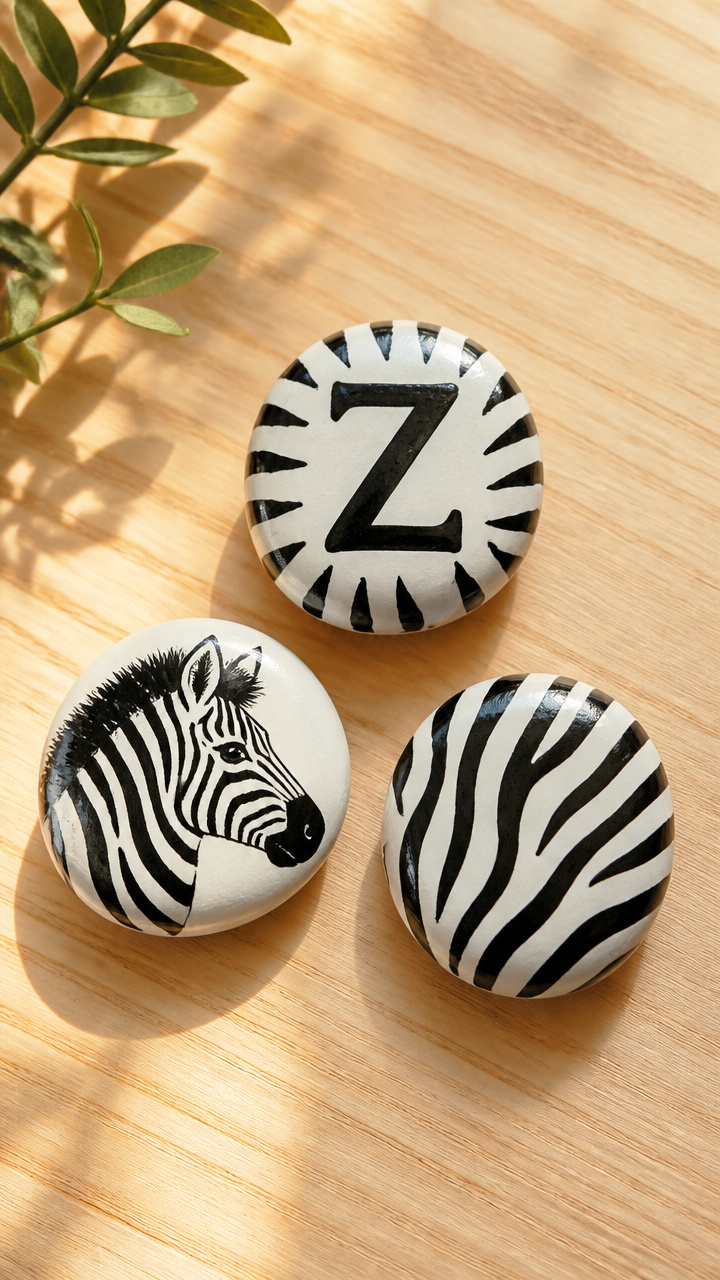
10. Zebra Strip Magnet

Mini wooden ovals wear zebra coats and stick proudly to any metal surface. These tiny magnets double as name labels.
Materials Needed
- Wooden ovals (2×1 inch, 1 per child)
- Black acrylic paint
- Paintbrush (size 4)
- White gel pen
- Magnetic strips (self-adhesive, 1×0.5 inch)
- Clear sealant spray
How to Make It
- Paint the entire wooden oval white and let dry for 20 minutes.
- Use the black paint to draw five to seven thick, wavy stripes from top to bottom.
- Once dry, write the child’s name in cursive with the white gel pen on the belly area.
- Glue the magnetic strip to the back and spray with sealant to protect the artwork.


11. Zigzag Crayon Resist Zebra
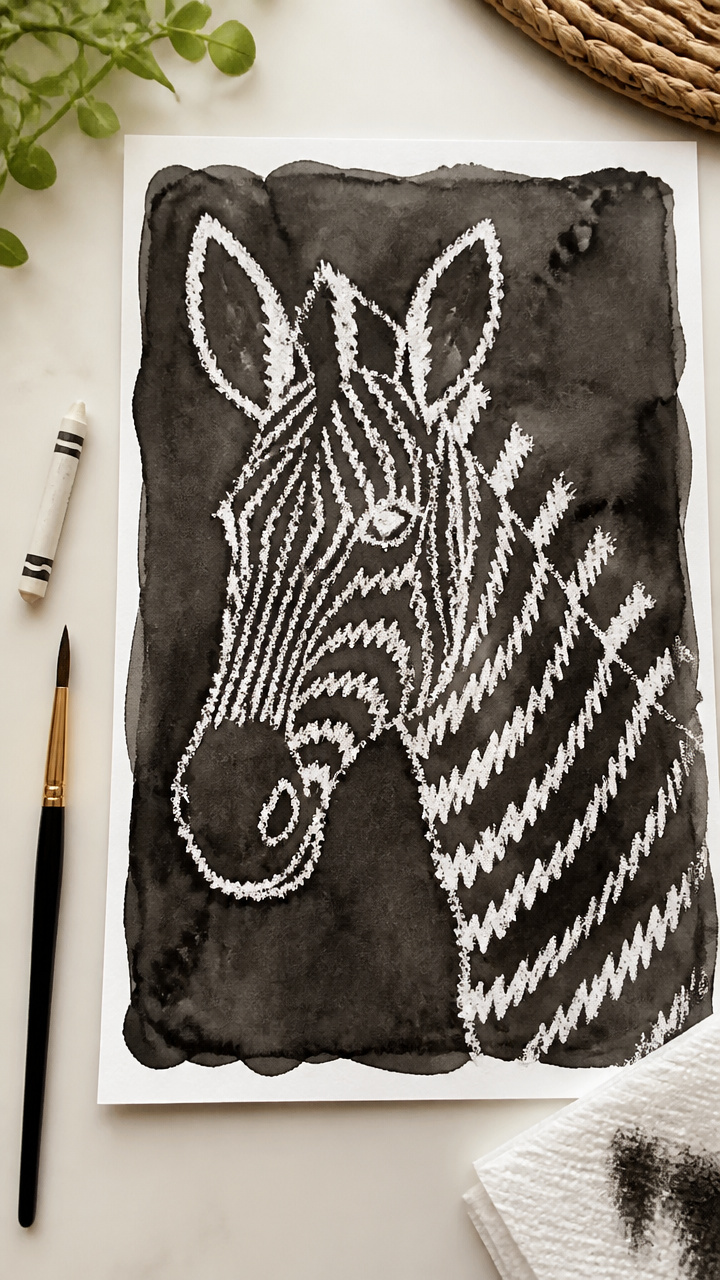
White crayon lines hide under black watercolor to reveal zebra stripes. This science-like surprise keeps kids enchanted.
Materials Needed
- White drawing paper (8.5×11 inch)
- White crayon
- Black watercolor paint
- Watercolor brush (size 8)
- Small water cup
- Paper towel
How to Make It
- Use the white crayon to draw a zebra shape with thick, waxy stripes across the paper.
- Dip the brush in water and swirl in the black watercolor cake to load color.
- Paint over the entire zebra area, watching the wax resist the paint and reveal the hidden stripes.
- Blot excess water with a paper towel and let dry flat for 30 minutes.


12. Zebra Snack Plate Craft
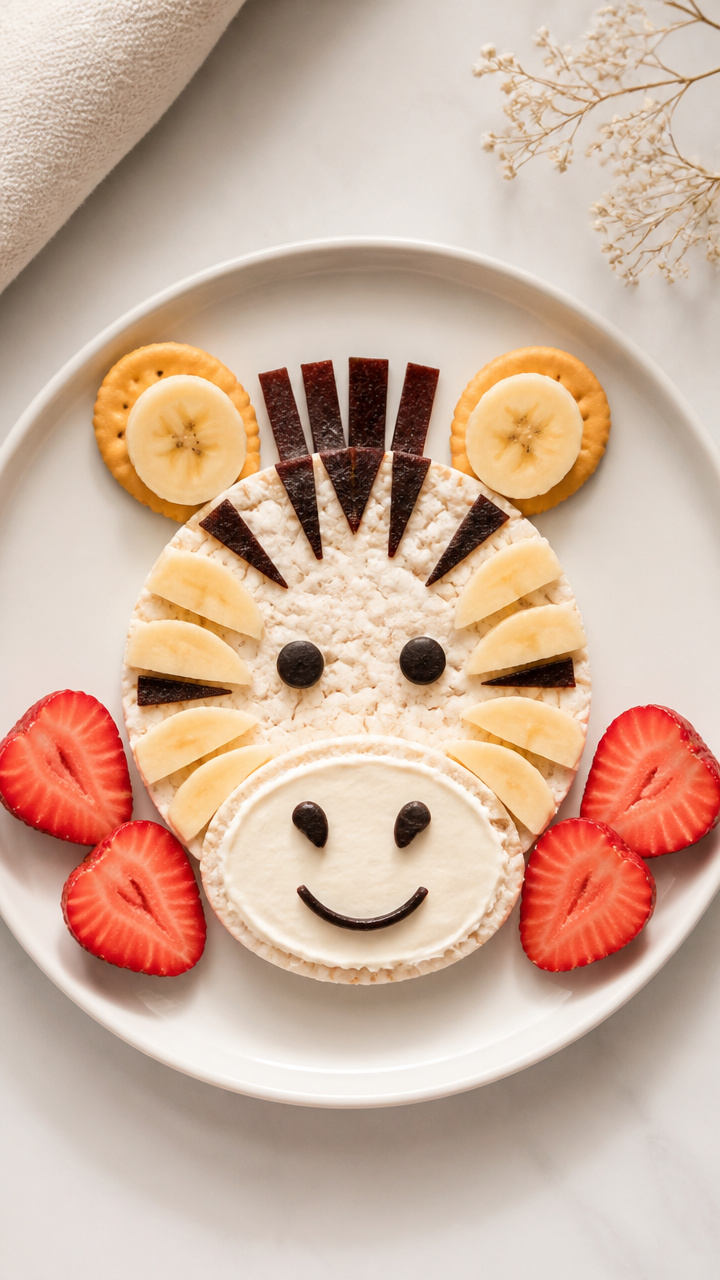
Edible zebras made from fruit and crackers teach healthy eating with fun faces. This doubles as a snack and art project.
Materials Needed
- Round cheese crackers (8 per child)
- Banana slices (4 per child)
- Strawberry halves (2 per child)
- Rice cakes (1 per child)
- Cream cheese (2 tablespoons)
- Plastic knife
How to Make It
- Spread a thin layer of cream cheese over the rice cake using the plastic knife.
- Arrange four banana slices in a row down the center to form the zebra’s body.
- Place two strawberry halves at one end for ears and two cheese crackers on each side for legs.
- Add two more crackers at the front for hooves and let children eat their creation right away.


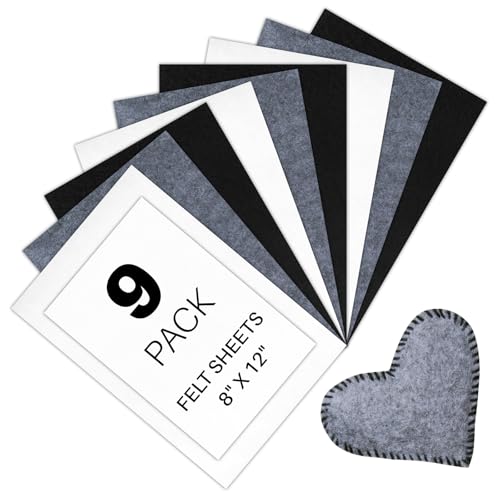
13. Zebra Stripe Bracelet
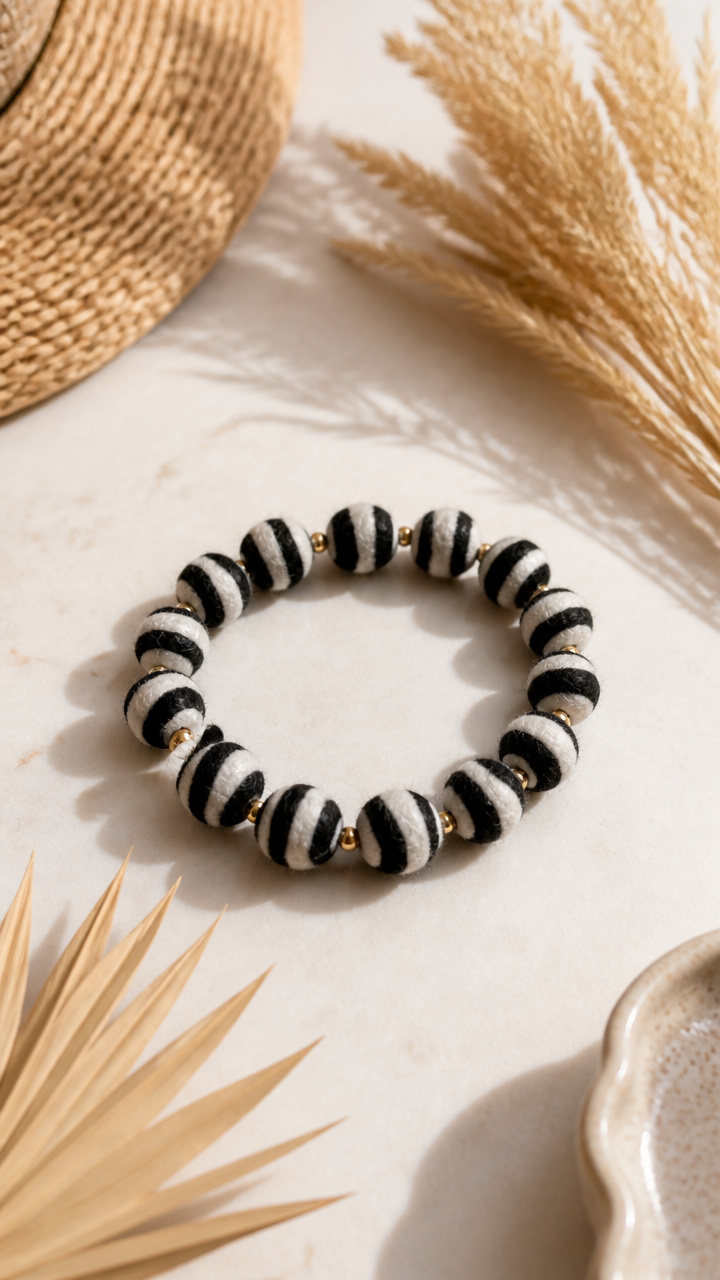
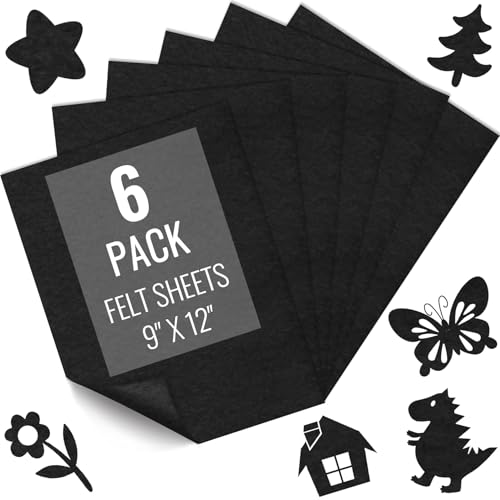
Felt strips loop together in alternating black and white bands to make stretchy zebra bracelets. They fit wrists and ankles.
Materials Needed
- Black felt sheets (9×12 inch)
- White felt sheets (9×12 inch)
- Scissors
- Hole punch
- 12-inch elastic cord (2 mm thick)
How to Make It
- Cut ten 1-inch wide strips from both black and white felt, each 6 inches long.
- Stack one black and one white strip and punch a hole at each end.
- Thread the elastic cord through the holes of one pair and tie a knot to link them.
- Repeat until five pairs are connected in a chain, then tie the ends together to form a loop.

14. Z Is for Zebra Story Stones
Smooth stones painted with zebra faces and letter Zs become storytelling prompts. Little hands love to roll and retell.
Materials Needed
- River stones (2 inch, 3 per child)
- White acrylic paint
- Black acrylic paint
- Fine-tipped paintbrush
- Clear varnish
- Paint palette
How to Make It
- Paint one stone solid white and let dry for 15 minutes.
- On the white stone, paint a simple zebra face with black stripes using the fine brush.
- On a second stone, paint a large capital Z in black and add two tiny hooves below it.
- Seal all stones with varnish and let cure for two hours before handling.


15. Zebra Habitat Shoe Box Scene
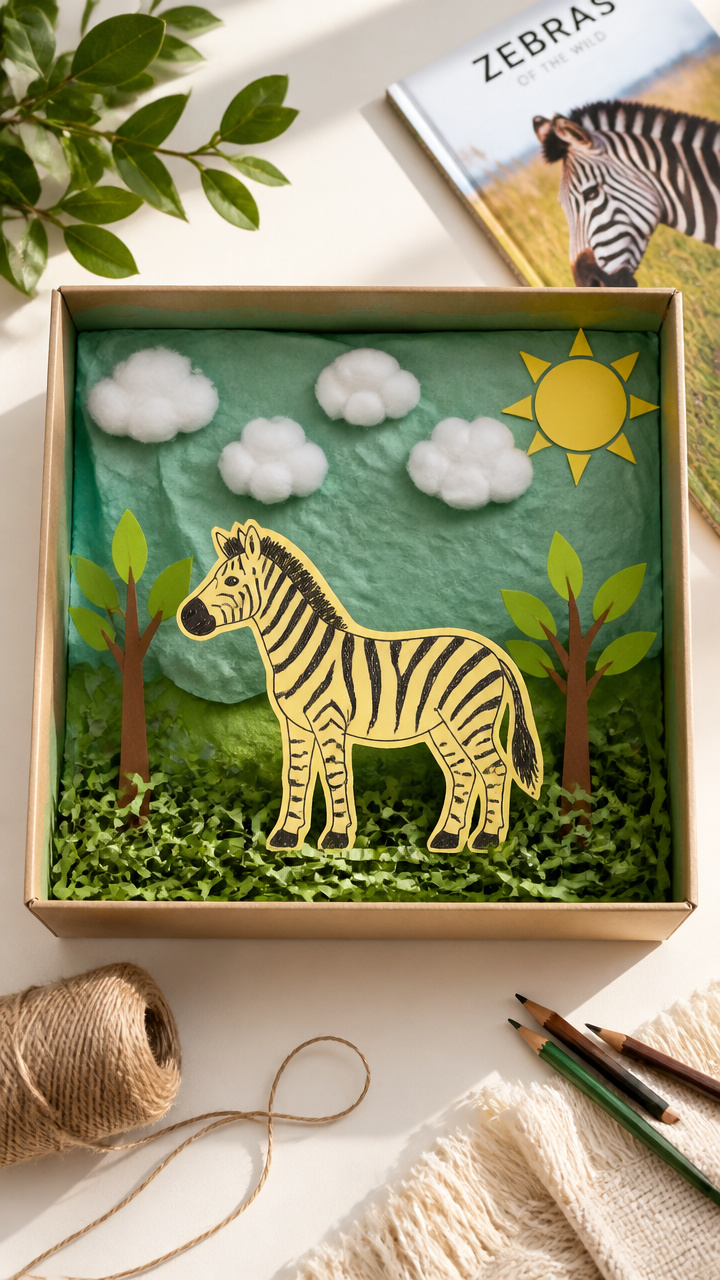
A shoe box opens to a grassland world where a cotton puff zebra grazes under a sun. This diorama builds spatial thinking.
Materials Needed
- Empty shoe box (with lid removed)
- Green tissue paper
- White cotton puffs (3 per child)
- Black markers
- Glue stick
- Yellow construction paper
- Scissors
How to Make It
- Crumple green tissue paper and glue it across the bottom third of the box interior for grass.
- Draw stripes on a cotton puff with the black marker to make a zebra and glue it to the grass.
- Cut a circle from yellow paper and glue it to the upper corner for the sun.
- Add extra cotton puffs as clouds and let the scene dry upright for 40 minutes.


You’ve got everything you need to bring the letter Z to life with joy and creativity. Grab your supplies and let those little hands start making magic.