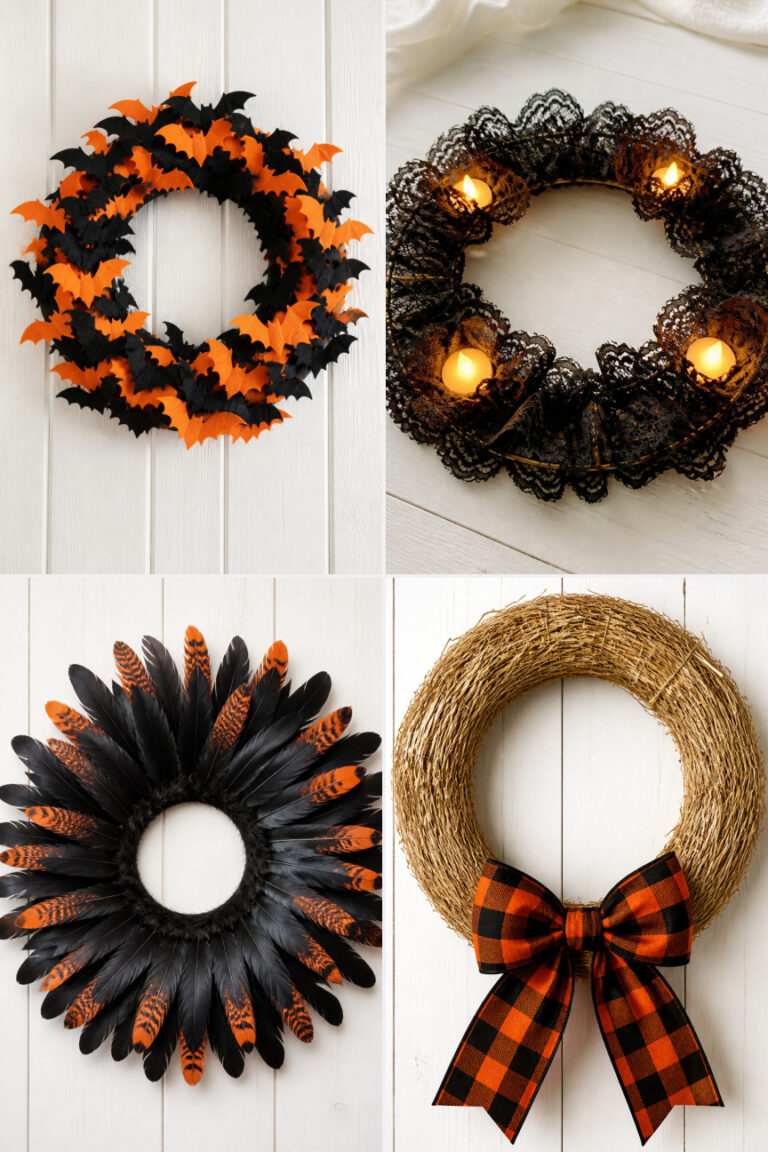
17 DIY Halloween Wreath Ideas for Small Apartment Doors
Halloween is the perfect chance to add a little spook and charm to your front door, even in a small space. These wreaths are sized just right for apartment living and made with care so they stand out without taking over. Each one brings its own flavor of the season, from playful to eerie, and all are simple to create with everyday supplies.
You don’t need a big porch or craft studio to make something memorable. These ideas use clever materials and smart techniques that fit tight spaces and quiet hallways. Grab your scissors, glue, and a bit of imagination — your door is about to get a seasonal upgrade.
1. Mini Black Lace Wreath
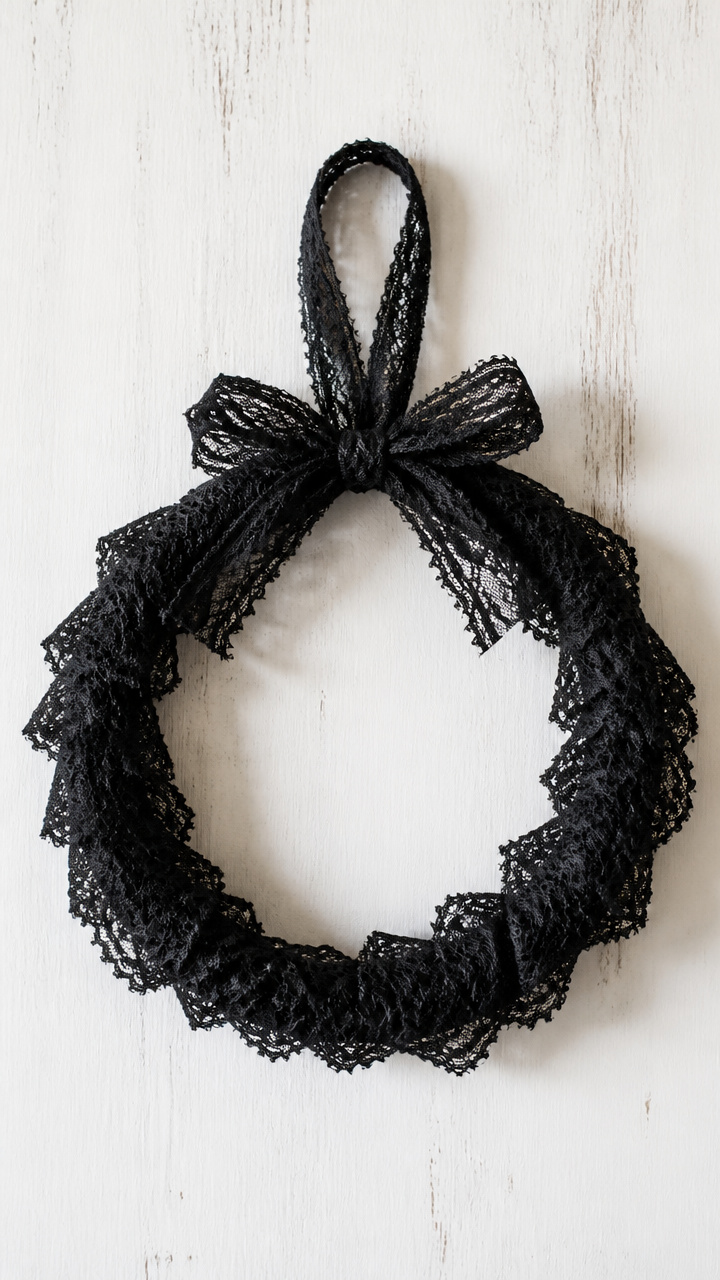
Delicate black lace wrapped around a small hoop gives your door a vintage gothic touch that feels elegant, not overwhelming. This wreath works especially well in dim hallways where light catches the pattern.
Materials Needed
- 6-inch metal embroidery hoop
- Black cotton lace trim, 2 yards
- Hot glue gun
- Glue sticks, 5
- Scissors
How to Make It
- Separate the inner and outer hoop, then set the inner one aside.
- Apply a small dot of hot glue to the outer hoop and press one end of the lace into it, holding for 10 seconds.
- Wrap the lace tightly around the hoop, adding a glue dot every inch to secure it.
- Overlap the final inch of lace over the starting end and glue in place.
- Reinsert the inner hoop to tighten the shape and display with a black satin ribbon.


2. Paper Bat Silhouette Wreath
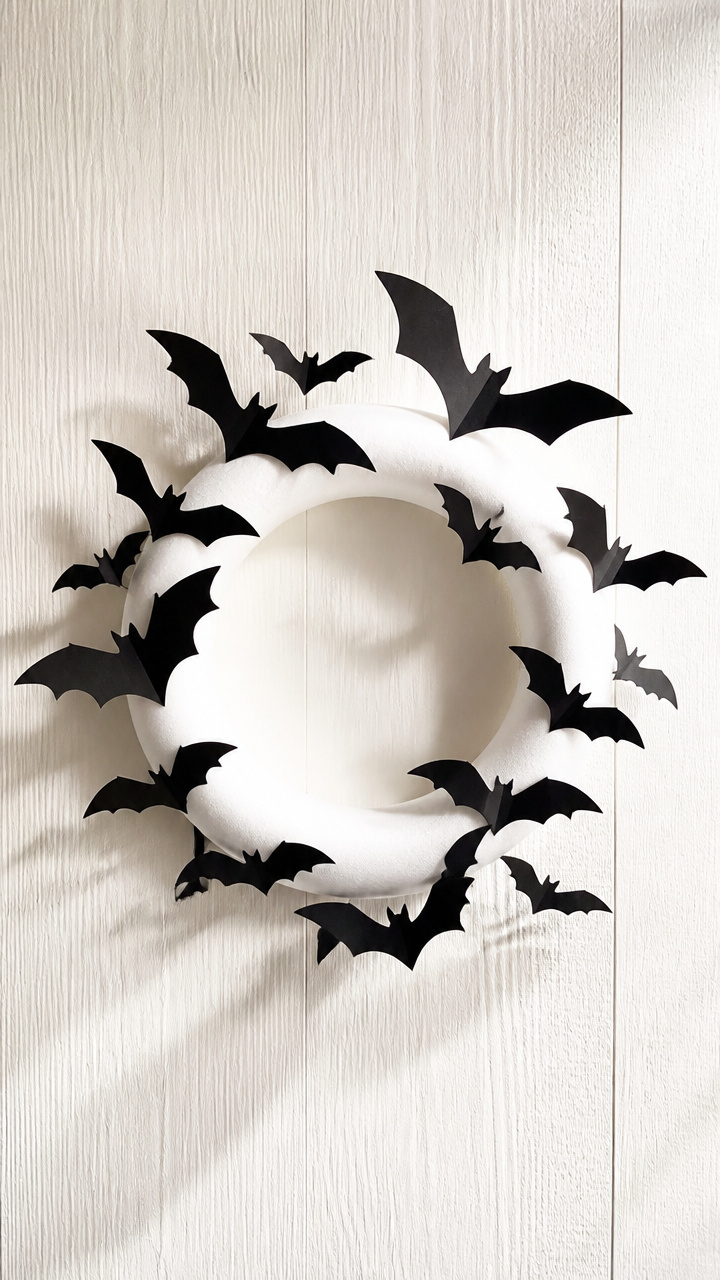
Silhouetted bats in flight circle a simple ring, creating movement and drama with just paper and glue. This lightweight design casts cool shadows when lit from the side.
Materials Needed
- 7-inch polystyrene foam wreath base
- Black construction paper, 8 sheets
- Craft knife
- Cutting mat
- Pencil
- White glue
- Small paintbrush
How to Make It
- Draw 12 bat shapes, each 2 inches wide, on black paper using a bat stencil or printed template.
- Cut out each bat with the craft knife on the cutting mat.
- Dab a small amount of white glue on the back of each bat with the paintbrush.
- Press the bats evenly around the foam wreath, pointing in different directions.
- Let dry for 2 hours before hanging with a clear plastic hook.


3. Glow-in-the-Dark Pumpkin Wreath
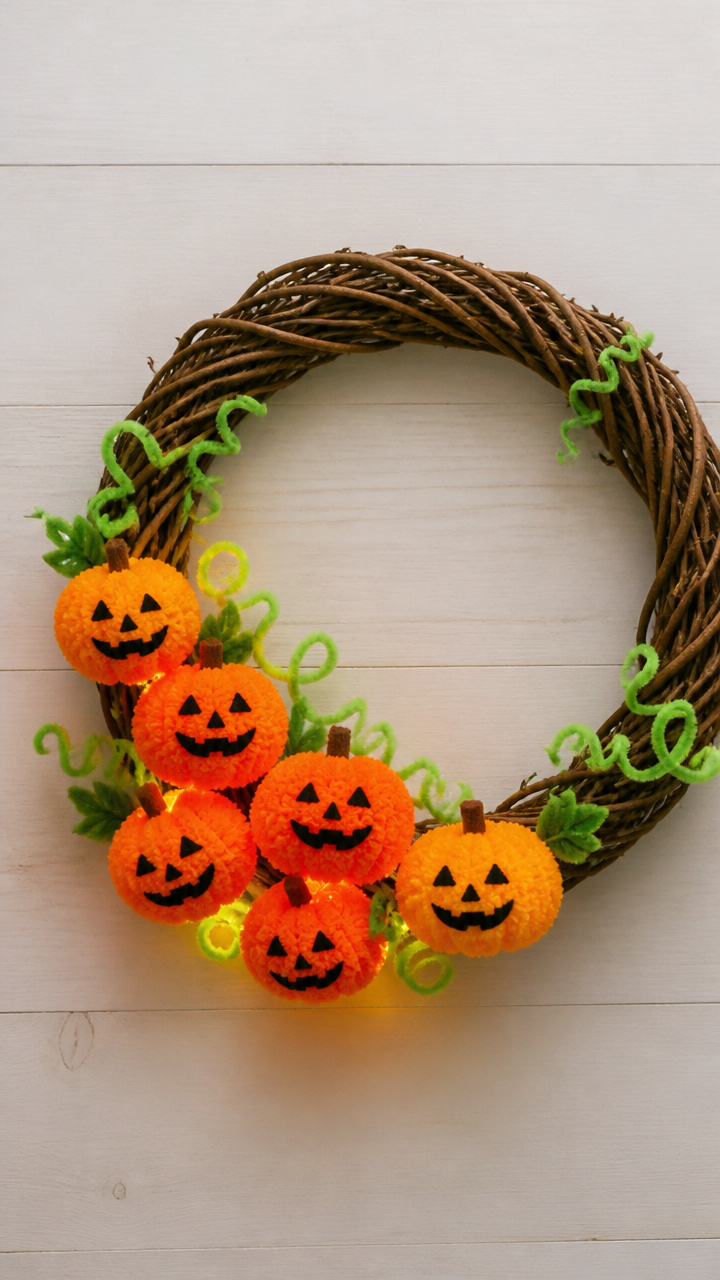
Tiny glow-in-the-dark pumpkins cluster on a twig base, offering a soft eerie light when the hallway dims. This wreath surprises guests with its subtle nighttime charm.
Materials Needed
- 5-inch grapevine wreath base
- Glow-in-the-dark orange pom poms, 15 count
- Green pipe cleaners, 5
- Wire cutters
- Floral wire, 22 gauge, 10 inches
- Hot glue gun
How to Make It
- Cut each pipe cleaner into 3 pieces to make 15 stem sections.
- Twist one stem piece onto the top of each pom pom.
- Use hot glue to attach 3 pom poms close together in clusters around the wreath.
- Space 5 clusters evenly, leaving gaps for natural vine texture to show.
- Charge under a light for 5 minutes before hanging to activate the glow.


4. Spooky Eyeball Clothespin Wreath
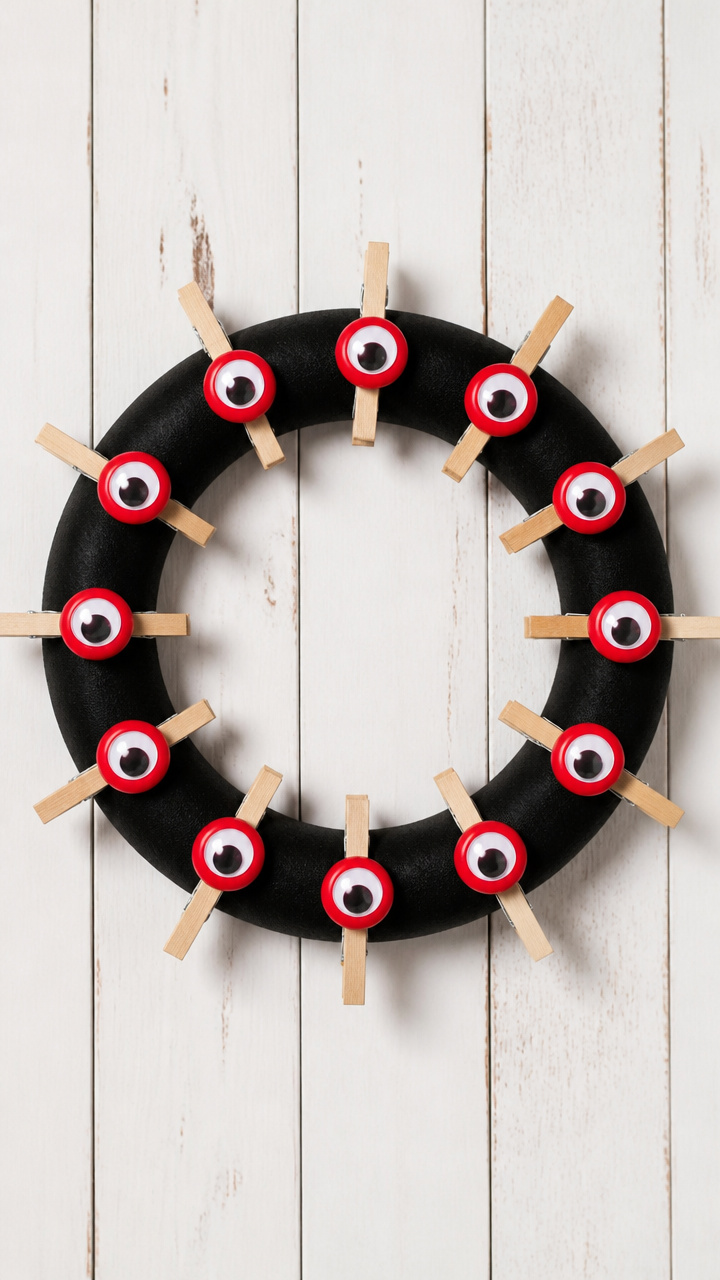
Creepy googly eyes mounted on clothespins stare from a black ring, giving a playful jolt to anyone who passes. The movable eyes add a silly, unsettling detail.
Materials Needed
- 8-inch foam wreath, black
- Plastic googly eyes, 25 mm, 12 pairs
- Wooden clothespins, 12
- Red acrylic paint, 1 oz
- Paintbrush, size 2
- Hot glue gun
How to Make It
- Paint red spiderweb patterns on the back of each googly eye using the paintbrush.
- Let the paint dry for 30 minutes on a paper towel.
- Glue one eye pair to the rounded end of each clothespin.
- Clip each clothespin around the foam wreath, spacing evenly.
- Bend the eyes slightly to make them look in different directions.


5. Mini Twig and Moss Ring
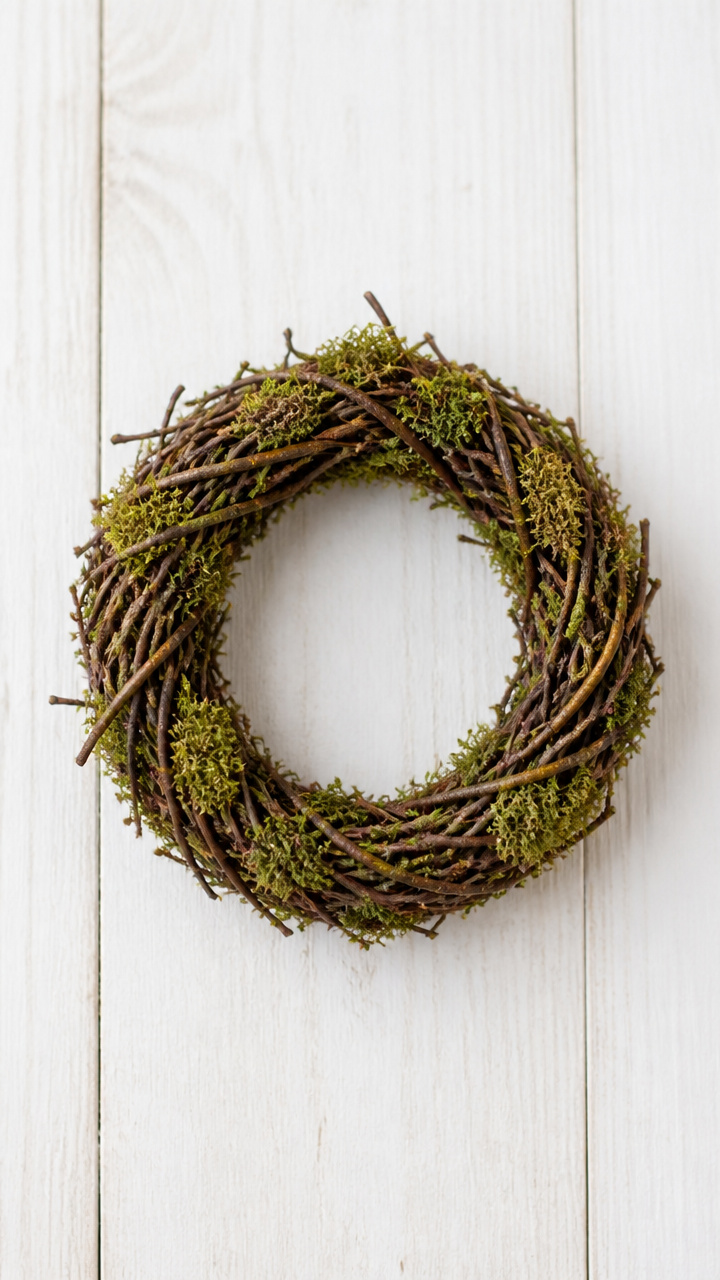
Natural twigs and preserved moss form a woodland haunted frame that feels like a forest spirit wandered to your door. It’s earthy, quiet, and full of texture.
Materials Needed
- 6-inch wire wreath frame
- Small twigs, 4 inches long, 15 pieces
- Preserved sheet moss, 4×4 inches
- Floral wire, 20 gauge, 18 inches
- Wire cutters
- Scissors
How to Make It
- Cut the moss into 1-inch pieces using scissors.
- Wrap one end of floral wire around the base of a twig and twist tightly.
- Attach the twig to the wire frame by wrapping the wire around both.
- Fill gaps between twigs with moss pieces, securing each with a short wire twist.
- Continue until the ring is covered, then trim excess wire with cutters.



6. Plastic Spider Ring with Netting
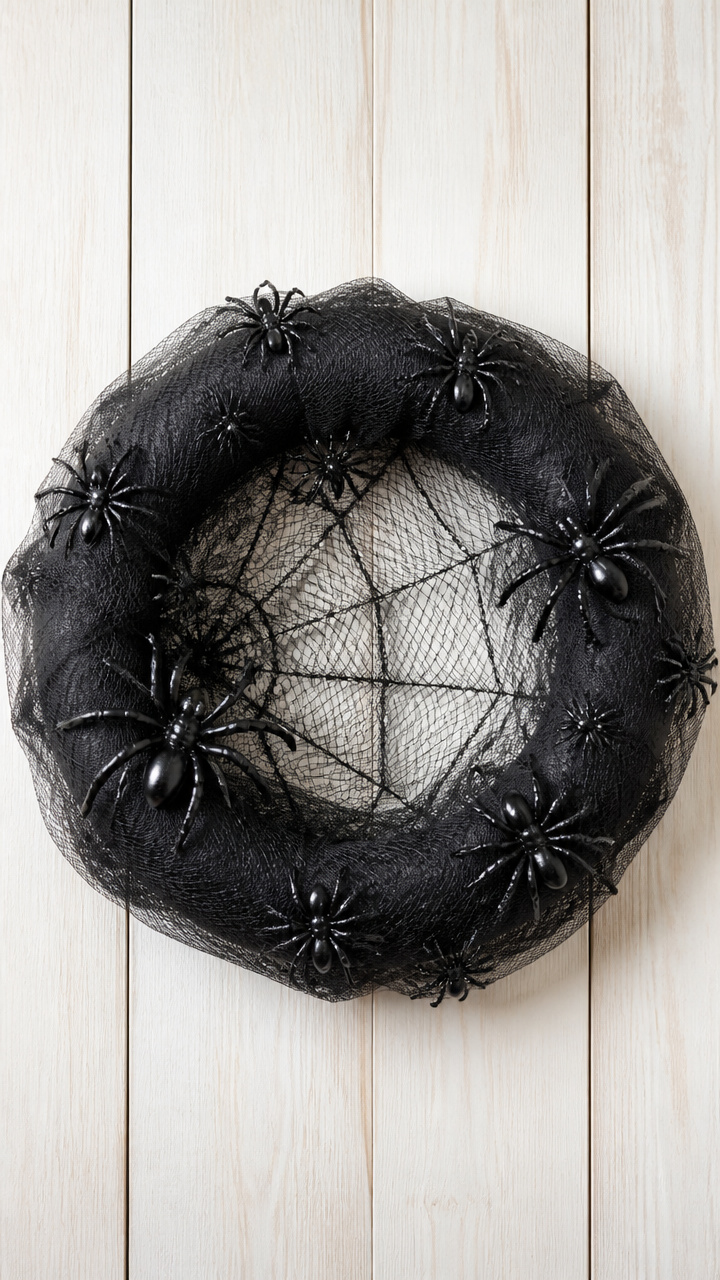
Black plastic spiders crawl across a tulle spiderweb, making a 3D effect that looks like your door was just invaded. It’s spooky fun without being too intense.
Materials Needed
- 7-inch foam wreath
- Black tulle fabric, 12×12 inches
- Plastic spiders, 15 count
- Hot glue gun
- Glue sticks, 3
- Scissors
How to Make It
- Cut the tulle into a 12-inch square and gather the center with a twist.
- Glue the gathered center to the back of the wreath, fanning the tulle outward.
- Stretch tulle strands from the center to the outer edge, gluing every 2 inches.
- Glue 5 large spiders where strands cross to mimic caught prey.
- Add 10 smaller spiders along the outer ring, legs spread wide.


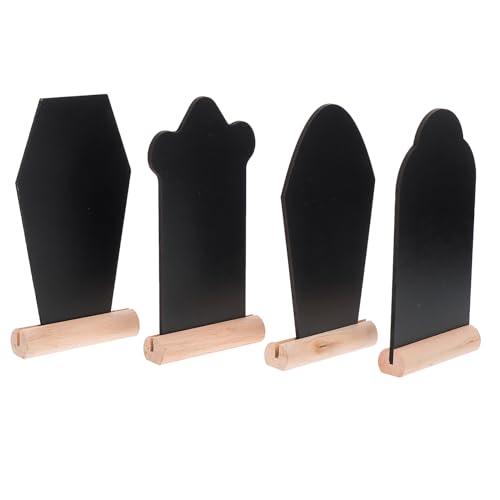
7. Chalkboard Paint Tombstone Wreath

Tiny hand-painted tombstones with witty messages circle a ring, giving your door a graveyard vibe with room for humor. You can change the messages each year.
Materials Needed
- 6-inch grapevine wreath
- Mini wooden rectangles, 2×1 inches, 8 pieces
- Black chalkboard paint, 2 oz
- White chalk marker
- Paintbrush, size 1
- Twine, 24 inches
- Hot glue gun
How to Make It
- Paint both sides of each wooden piece with black chalkboard paint.
- Let dry for 1 hour, then apply a second coat and dry overnight.
- Use the chalk marker to write phrases like 'RIP Door Privacy' or 'Here Lies Summer'.
- Cut 8 pieces of twine, each 3 inches long.
- Tie each tombstone to the wreath with twine, spacing evenly.
- Gently erase and rewrite messages next season.


8. Candy Corn Fan Wreath

Bright candy corns fanned in layers mimic feathers, making a cheerful pop of Halloween color that’s more fun than fright. It catches light and lifts the mood.
Materials Needed
- 5-inch foam wreath
- Candy corn-colored tissue paper: orange, yellow, white, 3 sheets each
- Scissors
- Pencil
- Craft glue
- Paintbrush, size 4
How to Make It
- Stack one sheet each of orange, yellow, and white tissue paper.
- Roll tightly from one short end into a tube and secure with a paperclip.
- Cut fringe along both long edges, 1 inch deep, using scissors.
- Unroll gently and fluff layers to form a feather shape.
- Glue the base of each feather to the foam wreath, overlapping slightly.
- Use 9 feathers to cover the ring completely.


9. Glowing Jar Lid Wreath

Mason jar lids hold flickering LED tea lights, creating a ring of soft golden light that glows like captured fireflies. It’s cozy and safe for indoor use.
Materials Needed
- 8-inch grapevine wreath
- Mason jar lids, 4-inch, 6 count
- Gold spray paint, 1 can
- Paper plate
- LED tea lights, 6 count
- Hot glue gun
How to Make It
- Place lids upside down on a paper plate and spray with gold paint.
- Let dry for 1 hour, then apply a second coat and dry overnight.
- Turn lids right side up and place one tea light in each.
- Glue each lid to the wreath, evenly spaced, with the light facing out.
- Turn on the lights and hang near a wall to project a warm halo.
10. Crepe Paper Spiderweb Wreath
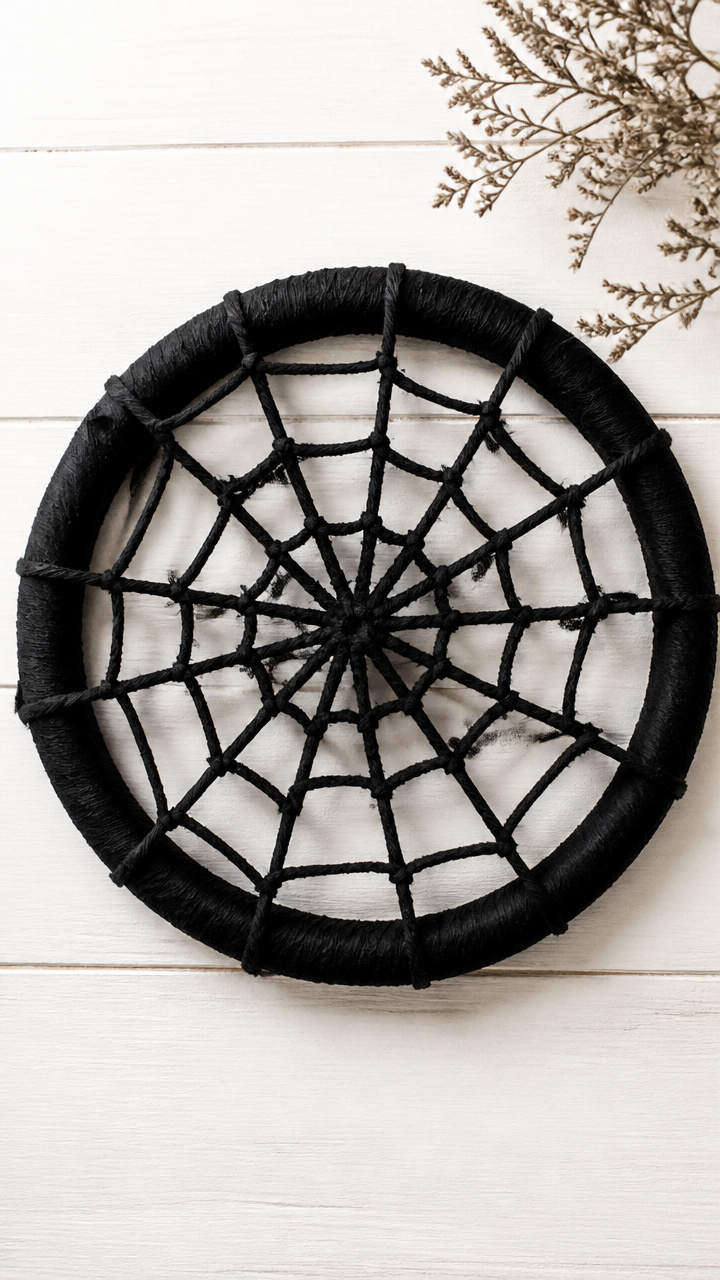
Black crepe paper streamers stretch into a real spiderweb pattern, giving depth and dimension with a stretchy, delicate texture. It looks like it’s been here all month.
Materials Needed
- 7-inch foam wreath
- Black crepe paper streamer, 2 inches wide, 10 feet
- Scissors
- Tape, double-sided, 1 roll
- Pencil
How to Make It
- Mark 8 evenly spaced dots around the outer edge of the wreath with a pencil.
- Tape one end of the streamer to the center back of the wreath.
- Pull the streamer to one marked dot, stretch slightly, and tape the end down.
- Repeat from the center to each dot to form a star shape.
- Cut 12-inch lengths of streamer and weave in circles from center outward, taping every 2 inches.
- Gently stretch each loop to create web texture.


11. Mini Paper Bag Jack-O'-Lanterns
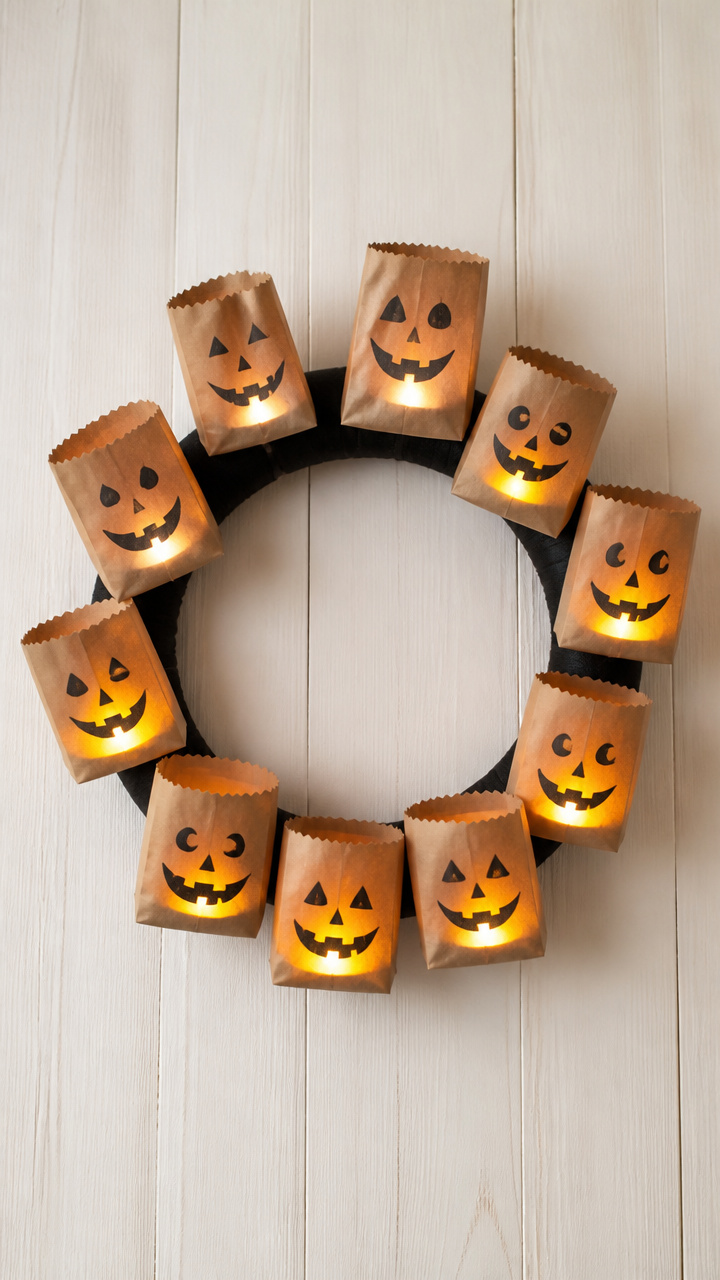
Tiny brown paper bags hold battery tea lights and hand-drawn faces, glowing warmly like a mini pumpkin patch. They’re rustic and safe for fire codes.
Materials Needed
- 6-inch foam wreath
- Small paper lunch bags, 5×3 inches, 10 count
- Black marker, fine tip
- LED tea lights, 10 count
- Glue dots, 10 count
- Scissors
How to Make It
- Draw simple jack-o'-lantern faces on the front of each bag with the marker.
- Place one tea light inside each bag and fold the top edge over once.
- Use a glue dot to attach the bottom of each bag to the wreath.
- Angle bags slightly outward so faces are visible from the front.
- Space evenly around the ring and turn on the lights before hanging.


12. Felt Witch Hat Ring

Soft black and purple felt hats stand in a circle, their brims layered like petals. This plush wreath adds color and whimsy without hard edges.
Materials Needed
- 7-inch foam wreath
- Black felt sheet, 9×12 inches
- Purple felt sheet, 9×12 inches
- Fabric scissors
- Hot glue gun
- Pencil
- Ruler
How to Make It
- Draw 10 hat shapes: 3-inch tall cone with 2-inch brim, on black felt.
- Cut out 10 cones and 10 brim circles with 4-inch diameter.
- Cut a 1-inch hole in the center of each brim.
- Glue the base of each cone to a brim hole, overlapping slightly.
- Glue each hat to the wreath with the brim flat against the foam, cones upright.
- Alternate black and purple hats around the ring.


13. Pom-Pom Ghost Wreath
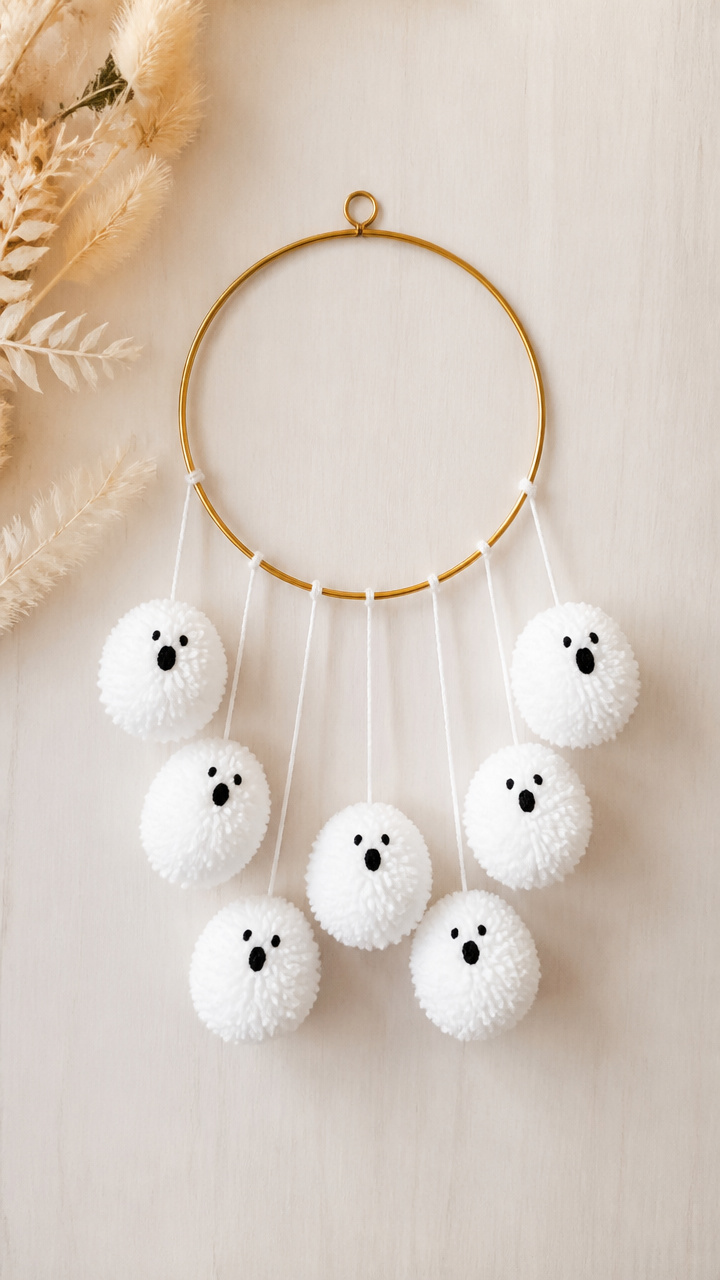
Fluffy white pom-poms with tiny faces hang like floating spirits from a thin gold ring. It’s cute, light, and bounces gently in a draft.
Materials Needed
- 6-inch gold metal embroidery hoop
- White yarn, worsted weight, 1 skein
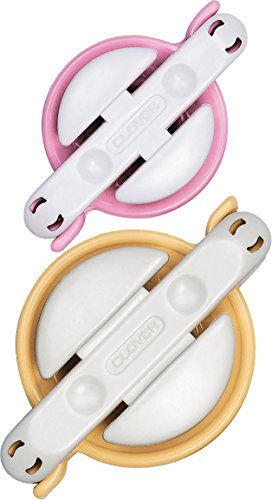
- Pom-pom maker, small size
- Black embroidery floss, 1 yard
- Embroidery needle
- Scissors
- Ribbon, 18 inches
How to Make It
- Use the pom-pom maker to create 12 small pom-poms from white yarn.
- Tie each tightly and trim for a round, fluffy shape.
- Thread the needle with black floss and stitch two dot eyes on each pom-pom.
- Cut 12 pieces of yarn, 6 inches each, and tie one to the top of each pom-pom.
- Knot the free end of each yarn to the hoop, spacing evenly.
- Tie ribbon to the top for hanging.


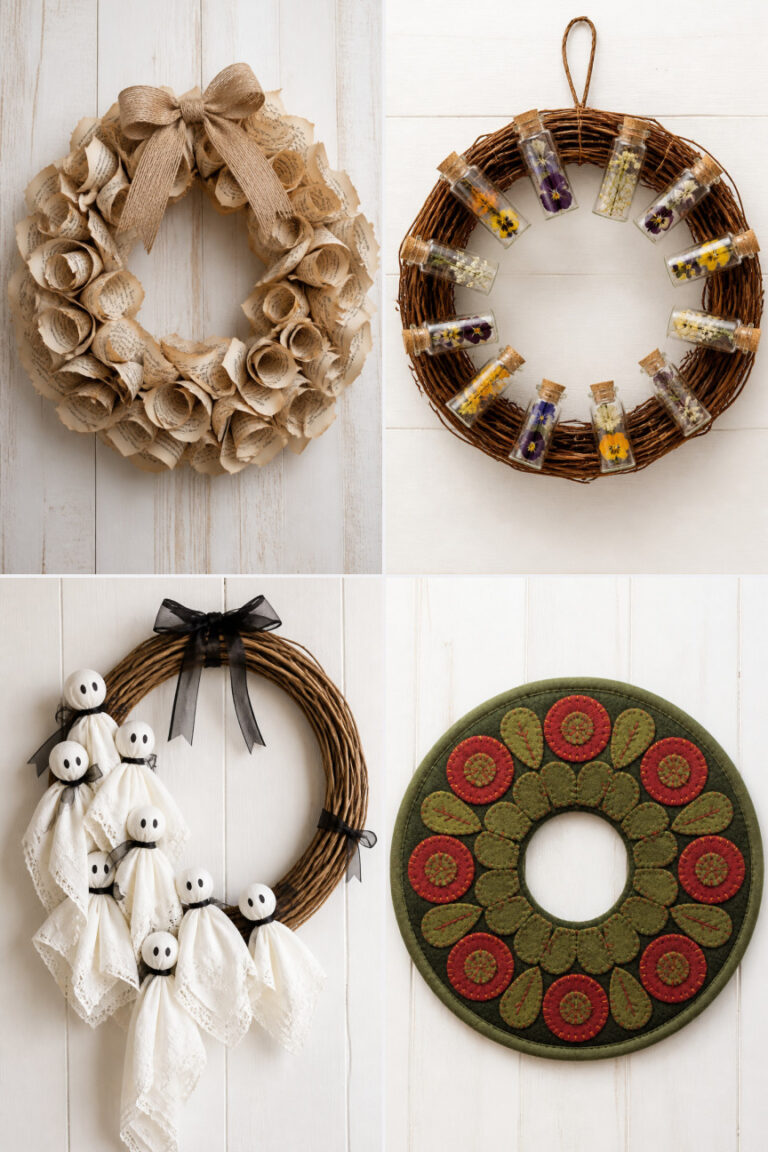
14. Vintage Book Page Wreath
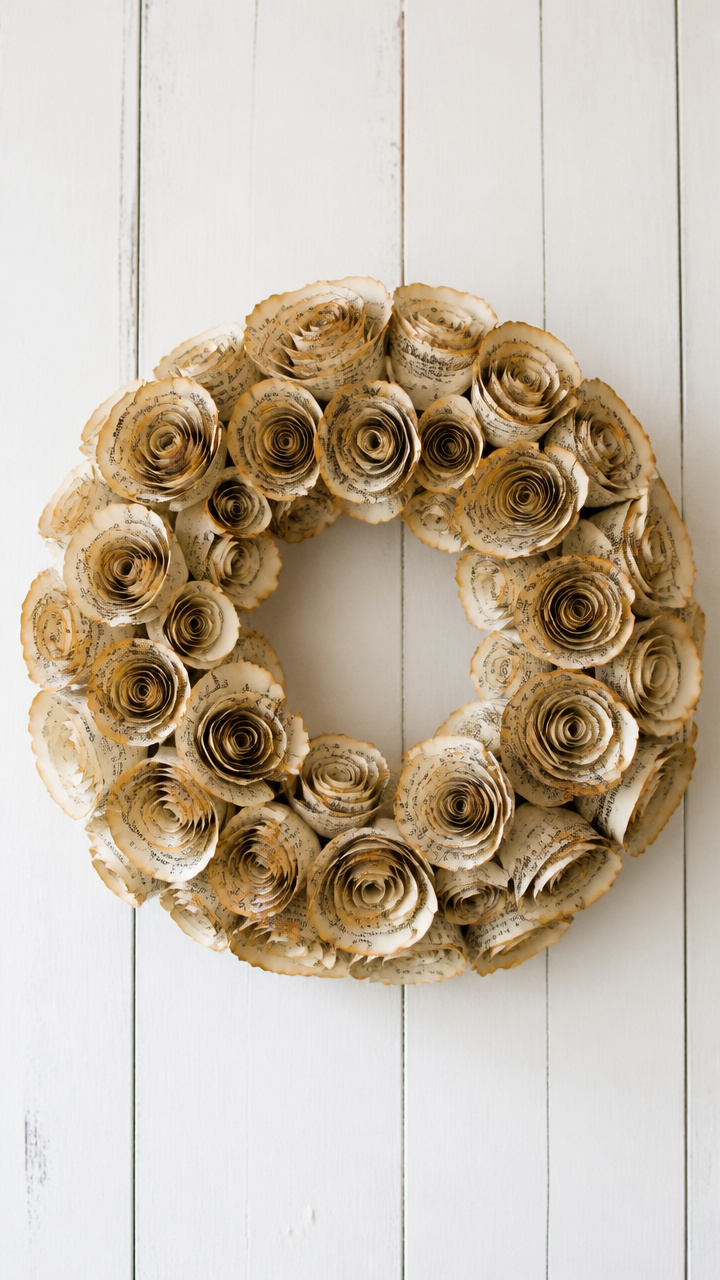
Curling pages from an old book spiral into rosettes, forming a literary haunted look that book lovers will adore. It smells like old paper and mystery.
Materials Needed
- 8-inch foam wreath
- Pages from a discarded hardcover book, 12 sheets
- Glue stick
- Pencil
- Ruler
- Craft knife
- Cutting mat
How to Make It
- Cut each page into 1-inch wide strips, 8 inches long.
- Run the edge of a pencil along one long side of each strip to curl it.
- Apply glue along the uncurled edge and roll tightly from one end to form a rosette.
- Glue the base of each rosette to the wreath, starting from the outer edge inward.
- Overlap rosettes slightly to cover the foam completely.
- Let dry for 2 hours before hanging near a window for soft light.


15. Plastic Skeleton Hand Wreath

Skeletal fingers reach from a dark ring, each tipped with a tiny black bow. It’s eerie with a touch of class, like a haunted butler welcomed you.
Materials Needed
- 7-inch foam wreath, black
- Plastic skeleton hands, 6 count
- Black craft foam sheet, 9×12 inches
- Hole punch
- Scissors
- Hot glue gun
How to Make It
- Cut 6 small bows, each 1 inch wide, from black craft foam.
- Punch a hole in the center of each bow.
- Slide one bow onto the tip of each middle finger of the skeleton hands.
- Press the wrist end of each hand into the foam wreath, spacing evenly.
- Adjust fingers to point outward like a starburst.
- Push bows down to rest just above the fingertip.


16. Orange Twine Citrus Wreath
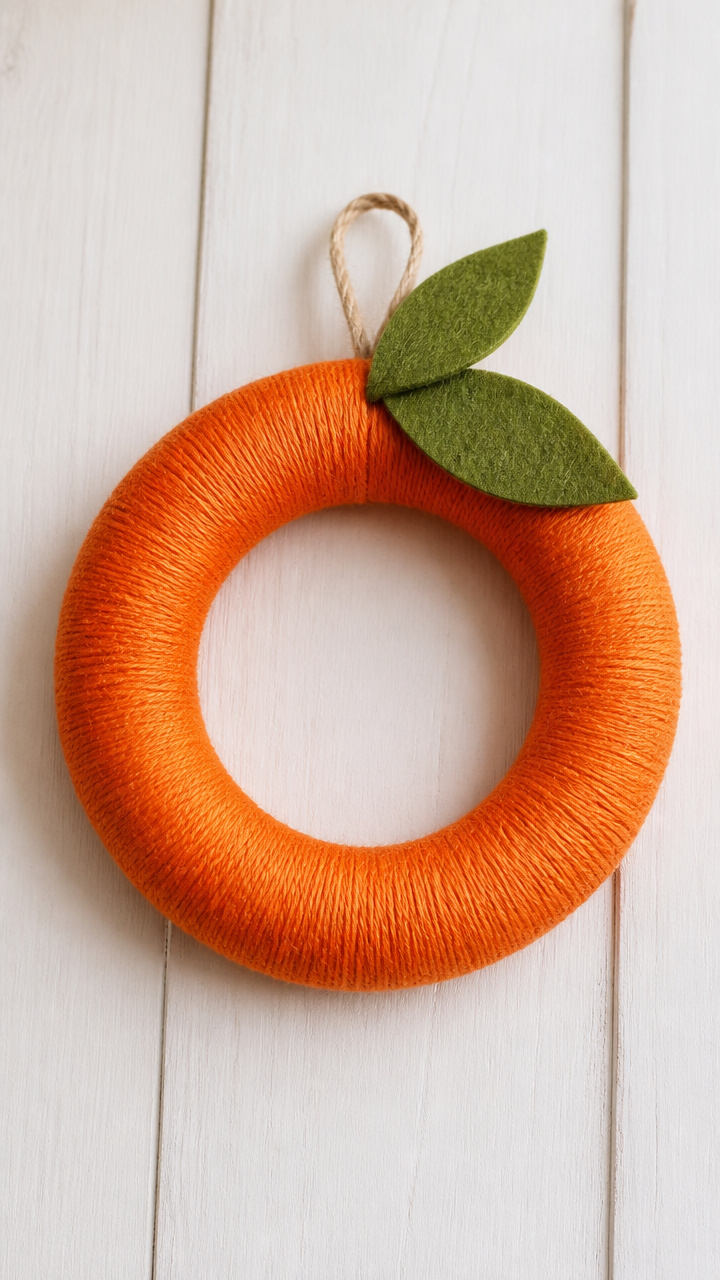
Twine wrapped in tight spirals mimics the texture of an orange peel, creating a bold pop of color with satisfying texture. It smells faintly of citrus if you add oil.
Materials Needed
- 6-inch foam wreath
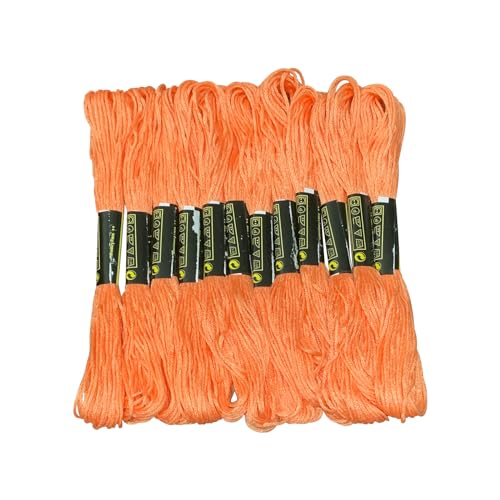
- Orange embroidery floss, 6 skeins
- Toothpick
- Lemon essential oil, 5 drops
- Small bowl
- Paper towel
How to Make It
- Place a drop of lemon oil on the paper towel and rub it into the foam wreath.
- Tie the end of one floss strand to the wreath with a double knot.
- Wrap the floss tightly around the ring, looping close together without gaps.
- Use the toothpick to push wraps into neat rows.
- After each skein, tie a new strand and continue until covered.
- Let air for 10 minutes before hanging to reduce scent strength.


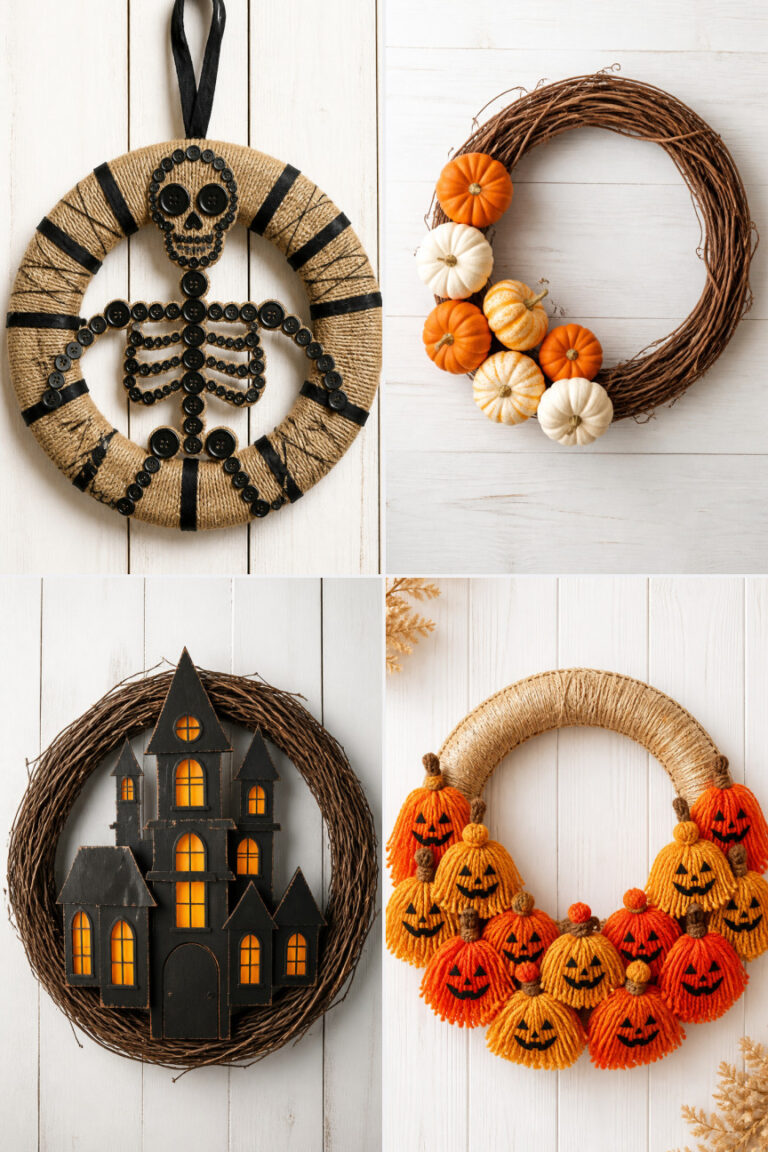
17. Button Bat Colony Wreath
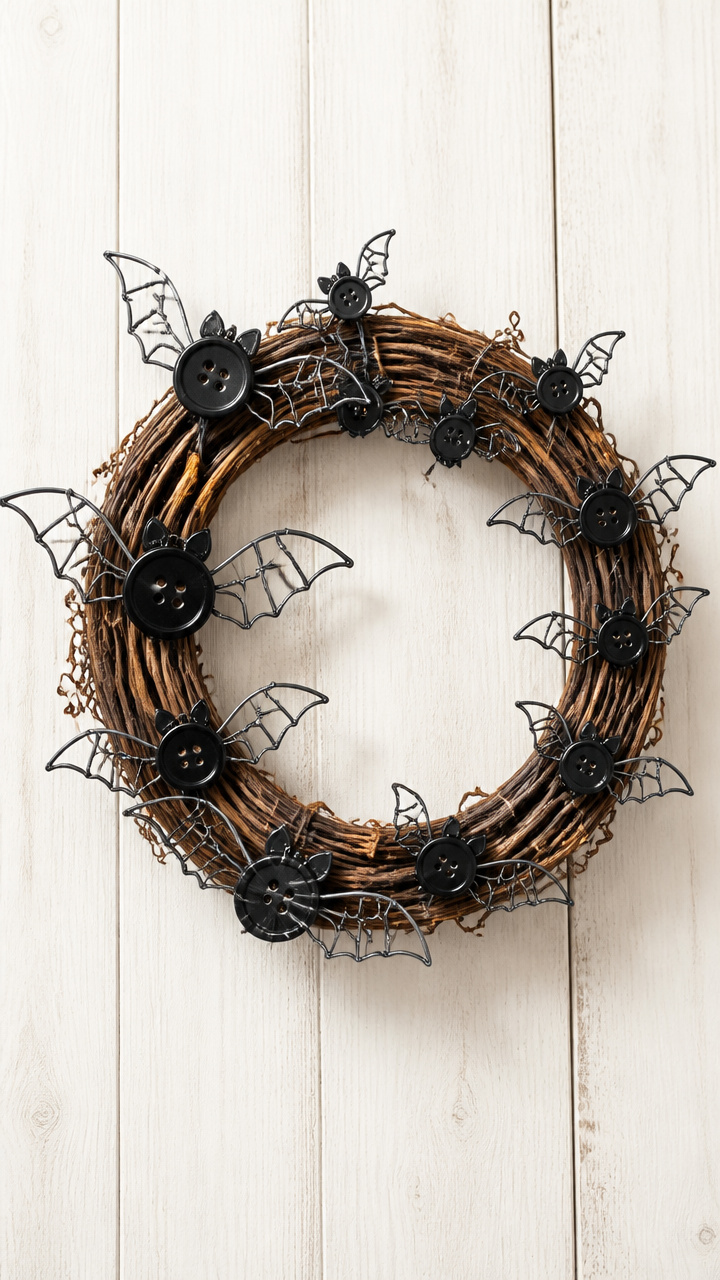
Mismatched black buttons form a swarm of bats with wire wings that catch the light. It’s a clever reuse of old sewing supplies with a lot of motion.
Materials Needed
- 7-inch grapevine wreath
- Black buttons, various sizes, 25 count
- Aluminum craft wire, 24 gauge, 3 feet
- Wire cutters
- Hot glue gun
- Pliers
How to Make It
- Cut 25 pieces of wire, each 3 inches long.
- Bend each piece in half and twist the ends to form a small wing.
- Glue one wing to the back of each button.
- Press each button into the grapevine wreath, clustering in groups of 3 to 5.
- Angle wings upward to suggest flight.
- Let set for 30 minutes before hanging near a light source.


You’ve got everything you need to make your apartment door part of the Halloween story. Pick one idea that makes you smile and start gathering your supplies tonight. These little wreaths pack big personality, even in small spaces.