15 Easy Paper Crafts for Kids That Use Basic Supplies
Kids love making things with their hands, and paper is one of the simplest, most forgiving materials to start with. With just scissors, glue, and colored pencils, you can create joyful little projects that spark imagination and build fine motor skills.
These crafts use supplies you likely already have at home. Each one teaches a different technique while keeping the fun front and center.
1. Paper Plate Turtle
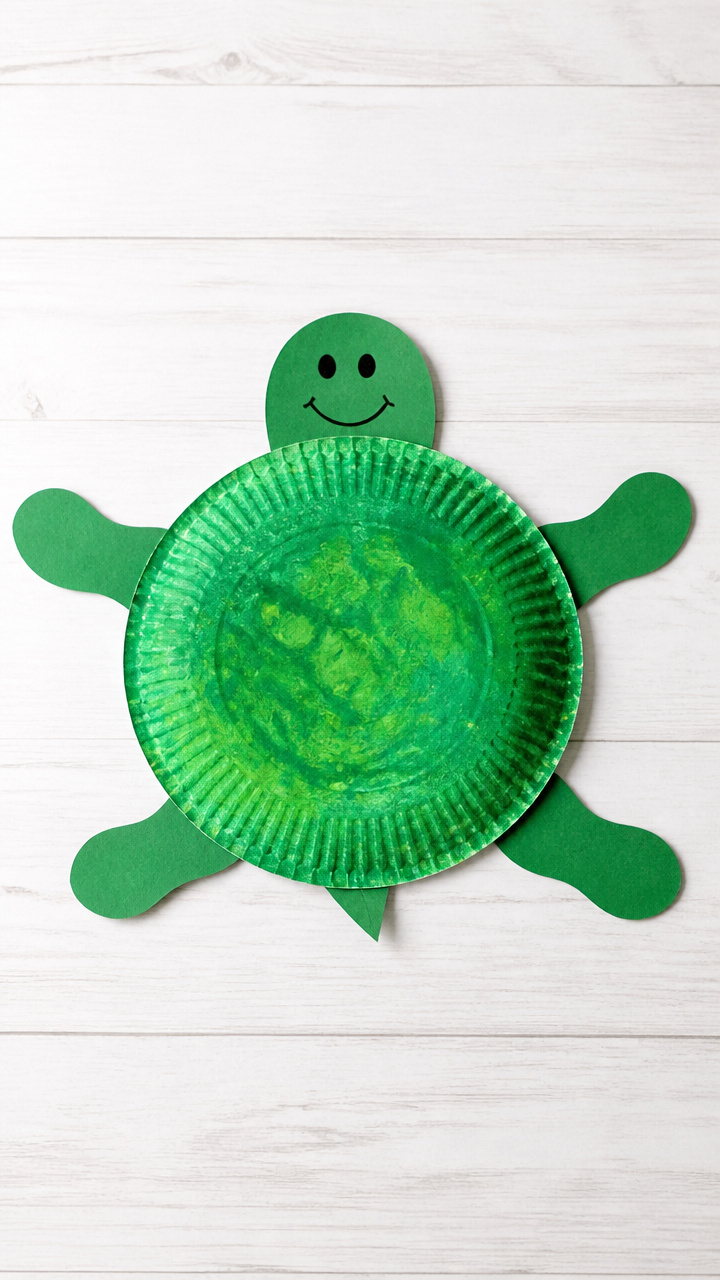
A wiggly turtle with a patterned shell comes to life using paint and simple folding. This craft builds scissor confidence and encourages color play.
Materials Needed
- 1 green paper plate
- 1 sheet green construction paper
- Black marker
- Green acrylic paint
- Paintbrush
- Glue stick
- Scissors
How to Make It
- Paint the back of the paper plate with green acrylic paint and let it dry completely, about 15 minutes.
- Cut four small oval flippers and a small head shape from the green construction paper.
- Draw a patchwork pattern on the plate's surface using the black marker to make the turtle shell design.
- Glue the flippers and head to the underside of the plate, positioning two flippers on each side and the head at the top.


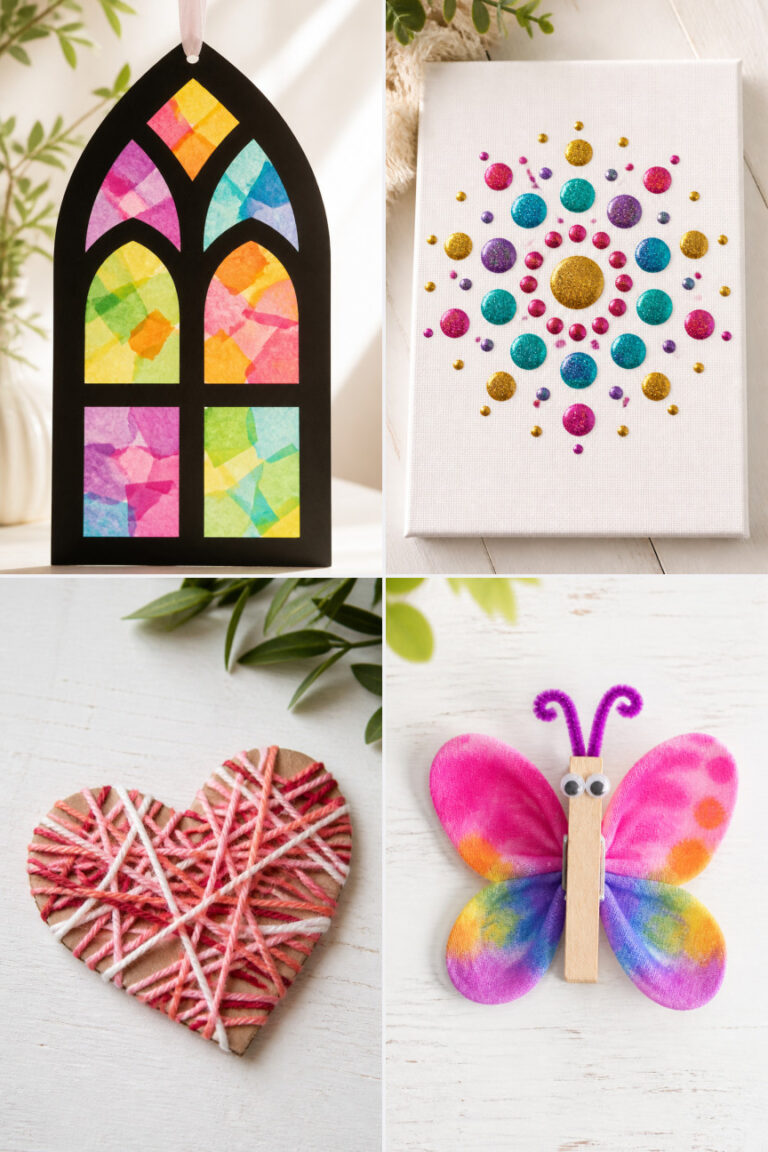
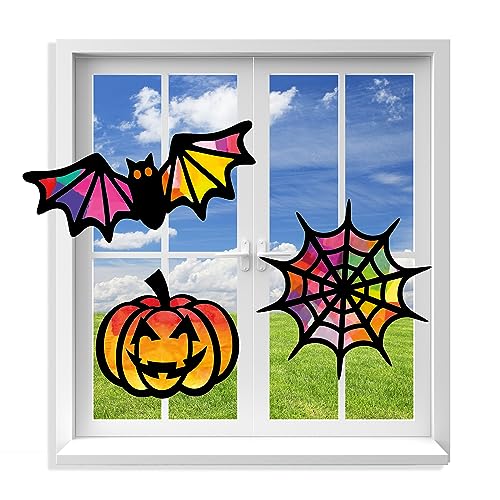
2. Tissue Paper Stained Glass
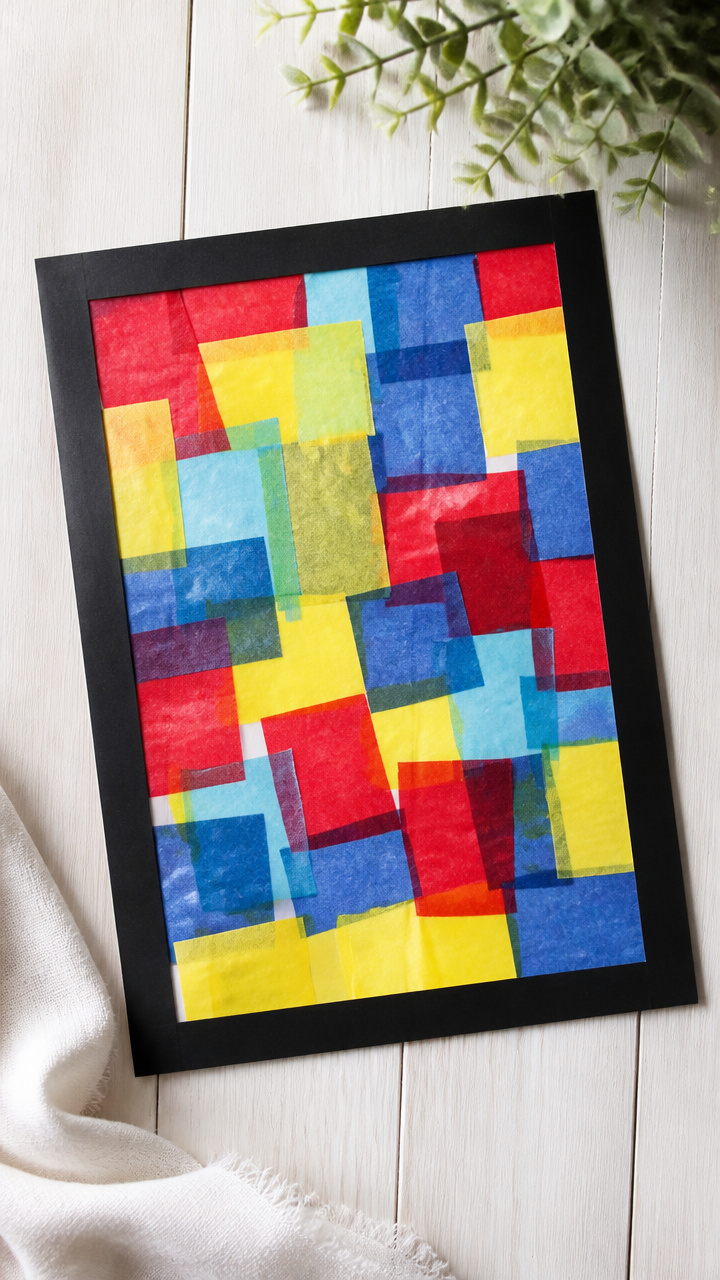
Bright overlapping squares of tissue paper catch the light like real stained glass. This project teaches layering and creates instant window decor.
Materials Needed
- 1 sheet black cardstock (8.5 x 11 inches)
- 5 sheets each of red, yellow, and blue tissue paper
- White school glue
- Paintbrush
- Scissors
- Clear contact paper (12 x 18 inches)
How to Make It
- Cut the black cardstock into a frame shape by cutting out a 4×6 inch rectangle from the center, leaving a border.
- Cut tissue paper into 1 inch squares using scissors.
- Brush white school glue inside the frame opening and press tissue paper squares close together to fill it.
- Let dry flat for 30 minutes, then cover both sides of the artwork with clear contact paper, smoothing out bubbles.


3. Paper Chain Caterpillar
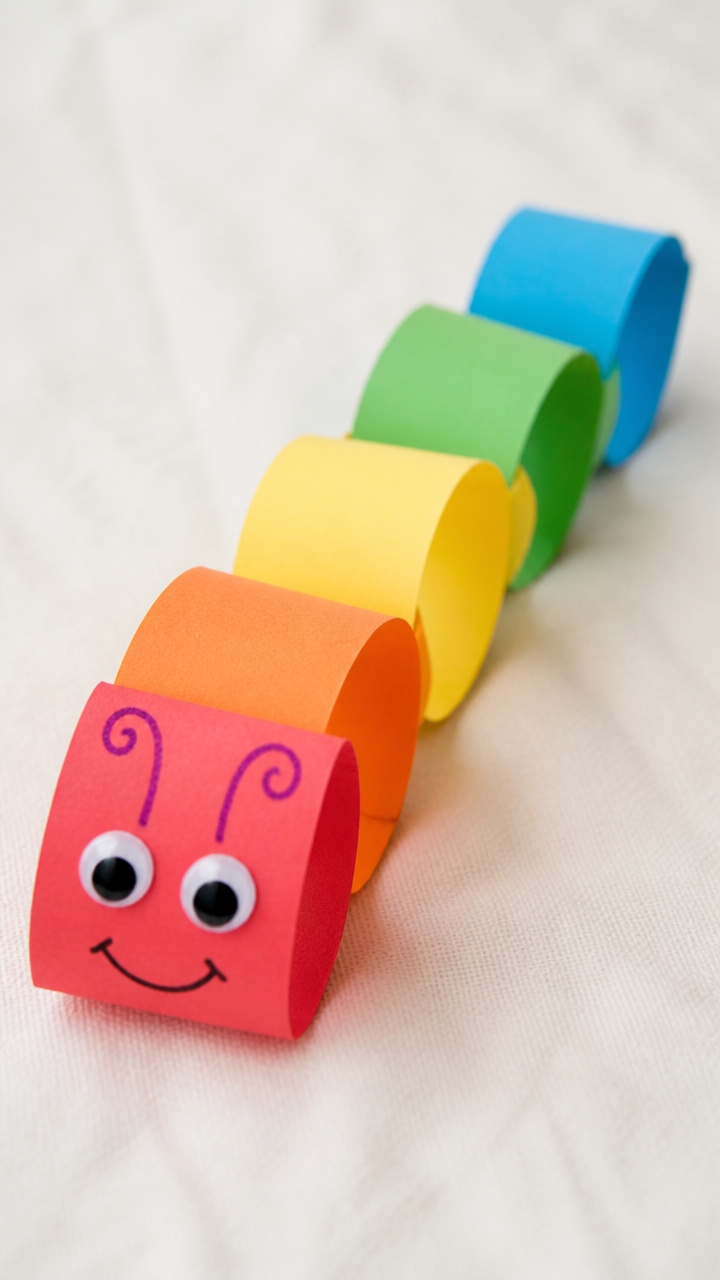
A bouncy caterpillar made from linked loops wiggles across the table. This craft introduces sequencing and hand-eye coordination.
Materials Needed
- 5 strips of colored construction paper (1 x 8 inches each)
- Googly eyes (2, 6mm)
- Glue stick
- Black marker
- Crayon for drawing antennae
How to Make It
- Form the first strip into a loop and glue the ends together with the glue stick.
- Thread the second strip through the first loop before gluing its ends to make a chain.
- Repeat until all five strips are linked in a row.
- Glue googly eyes near one end and draw a smile and antennae with the black marker and crayon.


4. Handprint Flower Garden
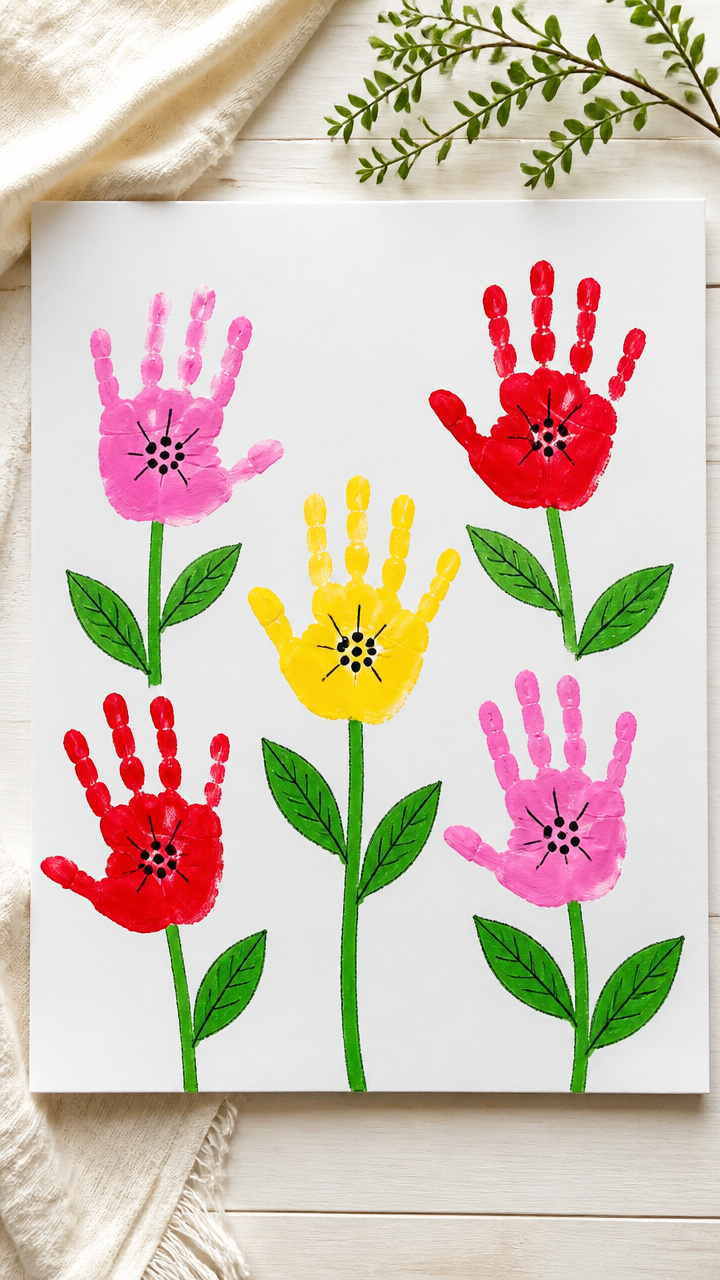
Five-petaled flowers bloom from painted handprints on sturdy paper. This keepsake grows cuter with every messy brushstroke.
Materials Needed
- 1 sheet white A4 cardstock
- Red, pink, and yellow washable paint
- Green washable paint
- Paintbrush
- Black marker
- Pencil
How to Make It
- Press your child’s palm into red paint and stamp it onto the cardstock, repeating with pink and yellow to make multiple flowers.
- Use the pencil to draw a stem down from each handprint and add two leaves with green paint using the brush.
- Once dry, draw a center dot and petal lines on each flower with the black marker to define the bloom.


![Crayola Washable Kids Paint Set (12ct), School Supplies for Kids, Classic and Glitter Paint, Classroom Essentials, Toddler Painting Kit, Ages 3+ [Amazon Exclusive]](https://m.media-amazon.com/images/I/51KPJWkf12L._SL500_.jpg)
5. Paper Cup Frog
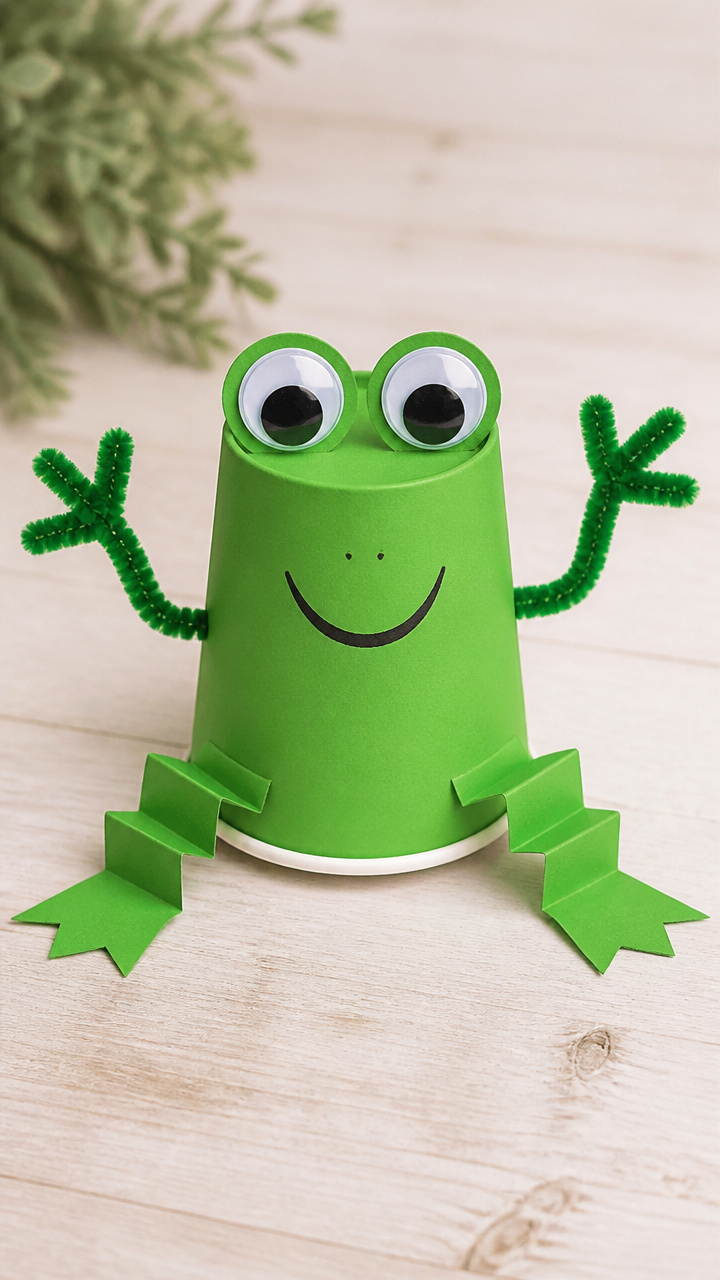
A cheerful frog with springy legs hops off the table. This 3D craft uses folding and taping to bring a cup to life.
Materials Needed
- 1 green paper cup
- 2 green pipe cleaners
- Googly eyes (2, 10mm)
- Green construction paper
- Scissors
- Glue stick
- Double-sided tape
How to Make It
- Cut two 1 inch wide strips from the green construction paper and fold each in half lengthwise to make frog legs.
- Attach the legs to the bottom rim of the cup using double-sided tape on the folded edge.
- Twist one end of each pipe cleaner into a foot coil and tape the straight end inside the cup under the rim.
- Glue the googly eyes to the top outer rim of the cup, opposite the legs.


6. Popsicle Stick Frame
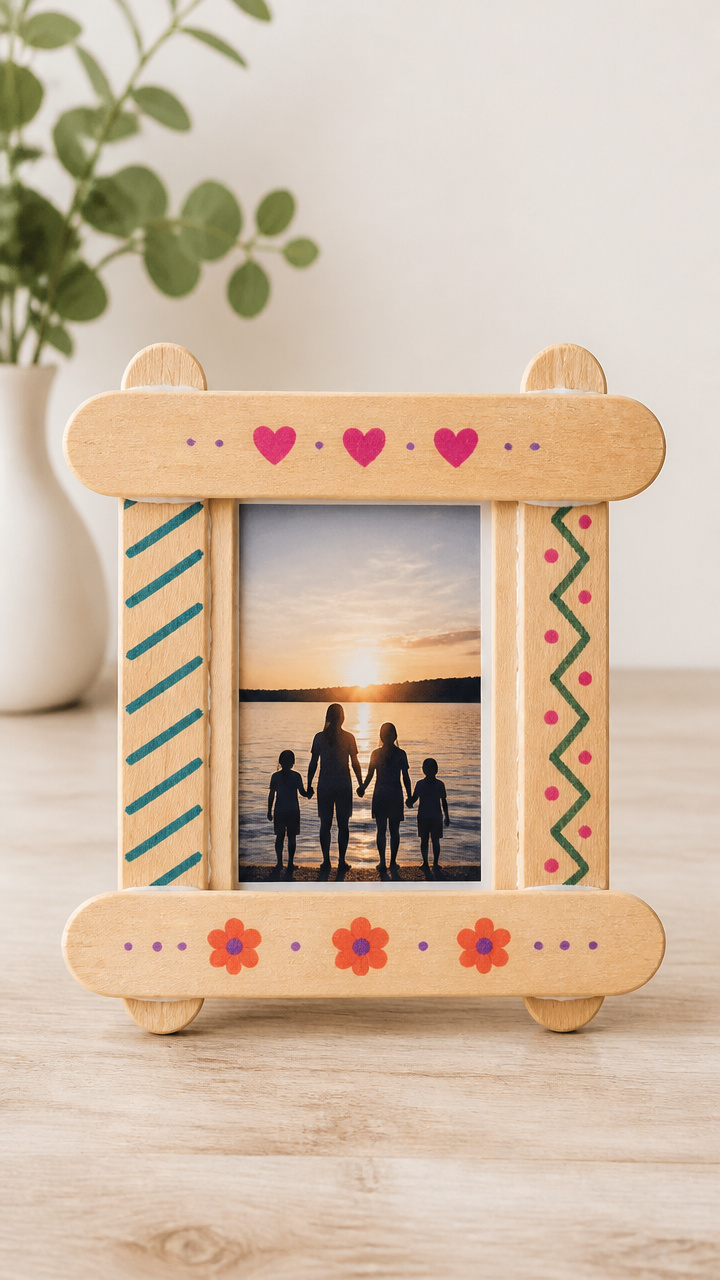
A tiny photo frame stands upright with help from interlocking sticks. This craft teaches basic structure and makes a sweet gift.
Materials Needed
- 6 jumbo popsicle sticks
- White glue
- Ruler
- Craft knife (adult use only)
- Small family photo (2 x 3 inches)
- Washable markers
How to Make It
- Lay one stick flat and mark the halfway point on both ends with the ruler and pencil.
- Have an adult use the craft knife to make a vertical slit at each mark, about half the thickness of the stick.
- Decorate the sticks with washable markers and let dry for 10 minutes.
- Slide two sticks into the slits of the base stick to form a triangle stand, securing joints with white glue and letting dry 1 hour.


7. Paper Fan Snake
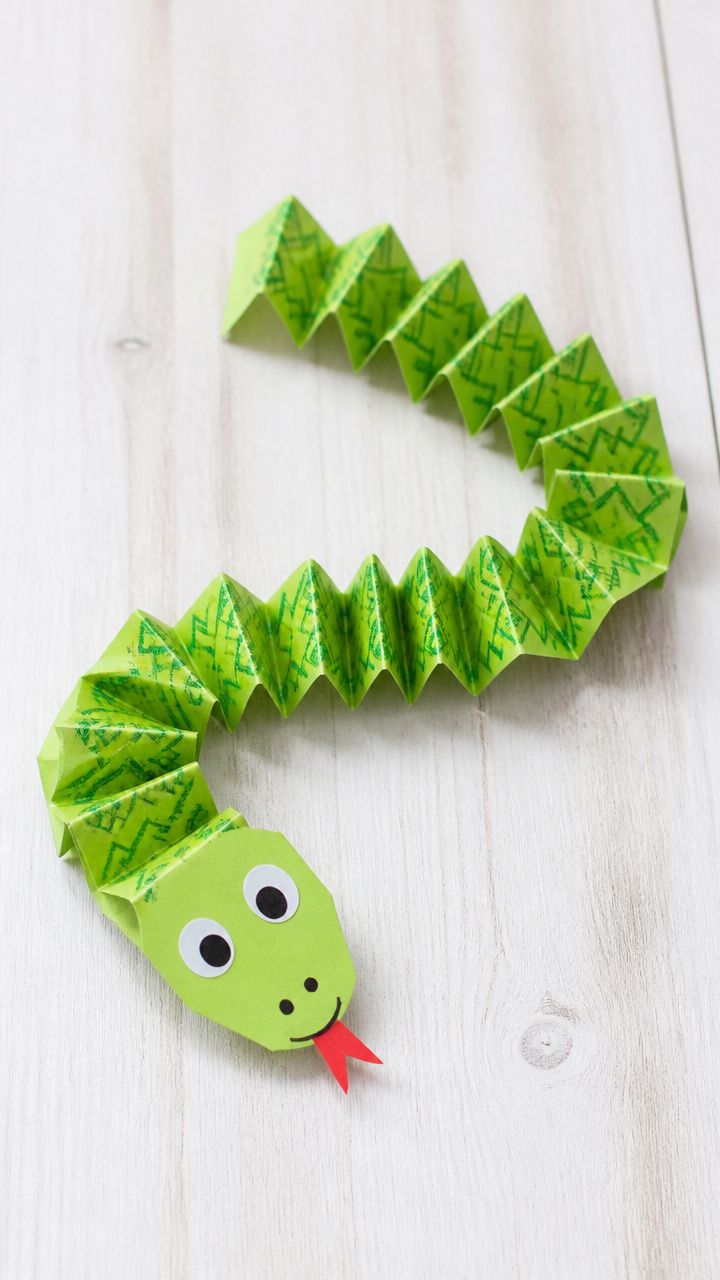
A zigzag snake fans open with every wiggle, revealing bold patterns. This accordion fold craft teaches motion and symmetry.
Materials Needed
- 1 sheet 9 x 12 inch construction paper (green or yellow)
- Crayons
- Glue stick
- Child-safe scissors
- Black marker
How to Make It
- Fold the paper in half lengthwise, then make accordion folds every 1 inch along the long edge using crisp creases.
- Unfold slightly and draw a snake head on one end with the black marker, including eyes and forked tongue.
- Color diagonal stripes across the folds with crayons to create a lively pattern.
- Squeeze the folded edges together and glue the two short ends to form a circle, letting the snake fan outward.


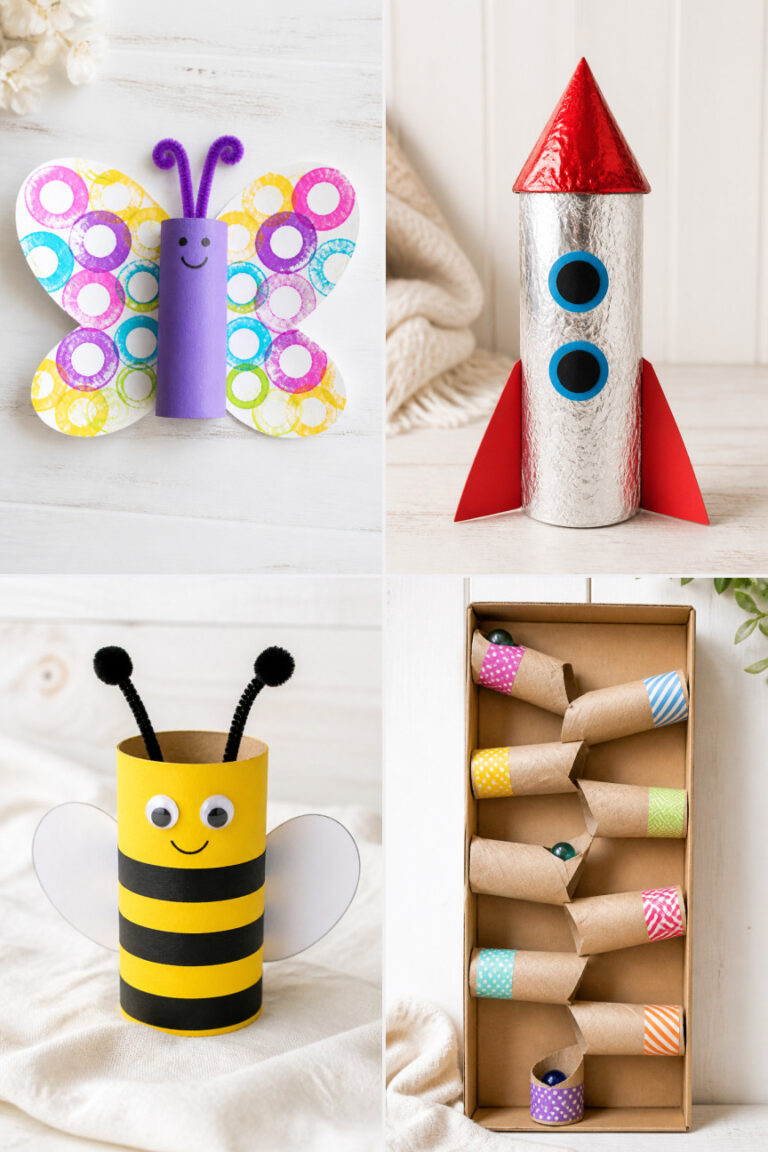
8. Cardboard Tube Binoculars
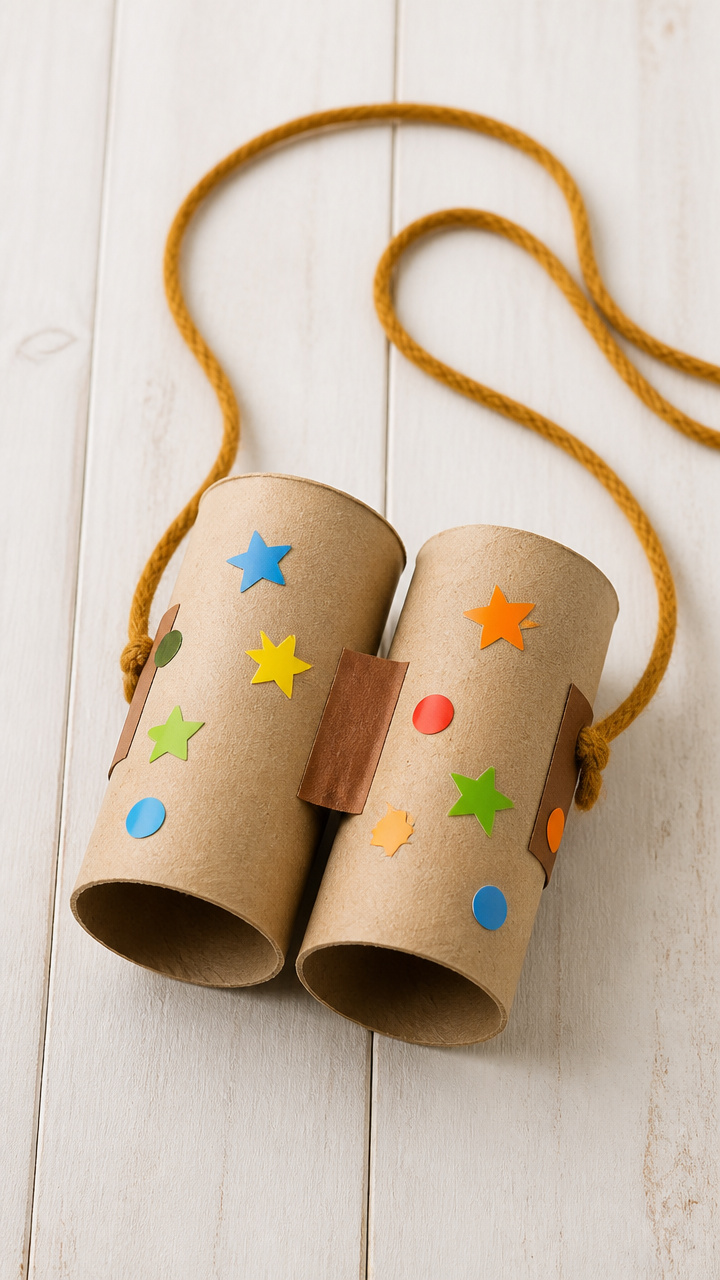
Two toilet paper tubes join to make explorer-ready binoculars. This sturdy craft fuels outdoor adventures and pretend play.
Materials Needed
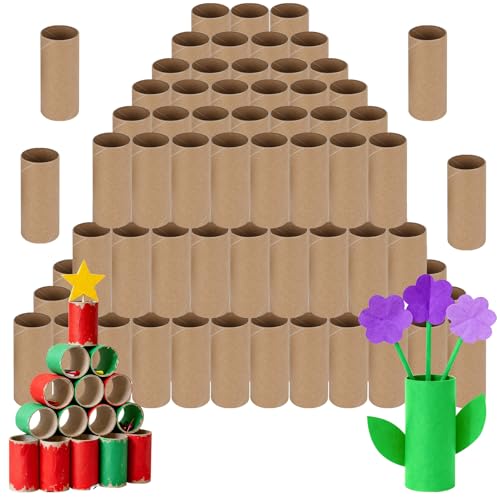
- 2 cardboard toilet paper tubes
- 1 strip of brown construction paper (2 x 6 inches)
- Glue stick
- Hole punch
- Yarn (12 inches)
- Stickers or crayons
How to Make It
- Place the two tubes side by side and wrap the brown paper strip around both, overlapping the ends.
- Glue the paper seam and let dry for 10 minutes.
- Punch one hole on each side of the paper band and thread yarn through to make a neck strap.
- Decorate the binoculars with stickers or crayon drawings of gears and dials.


9. Paper Plate Sun
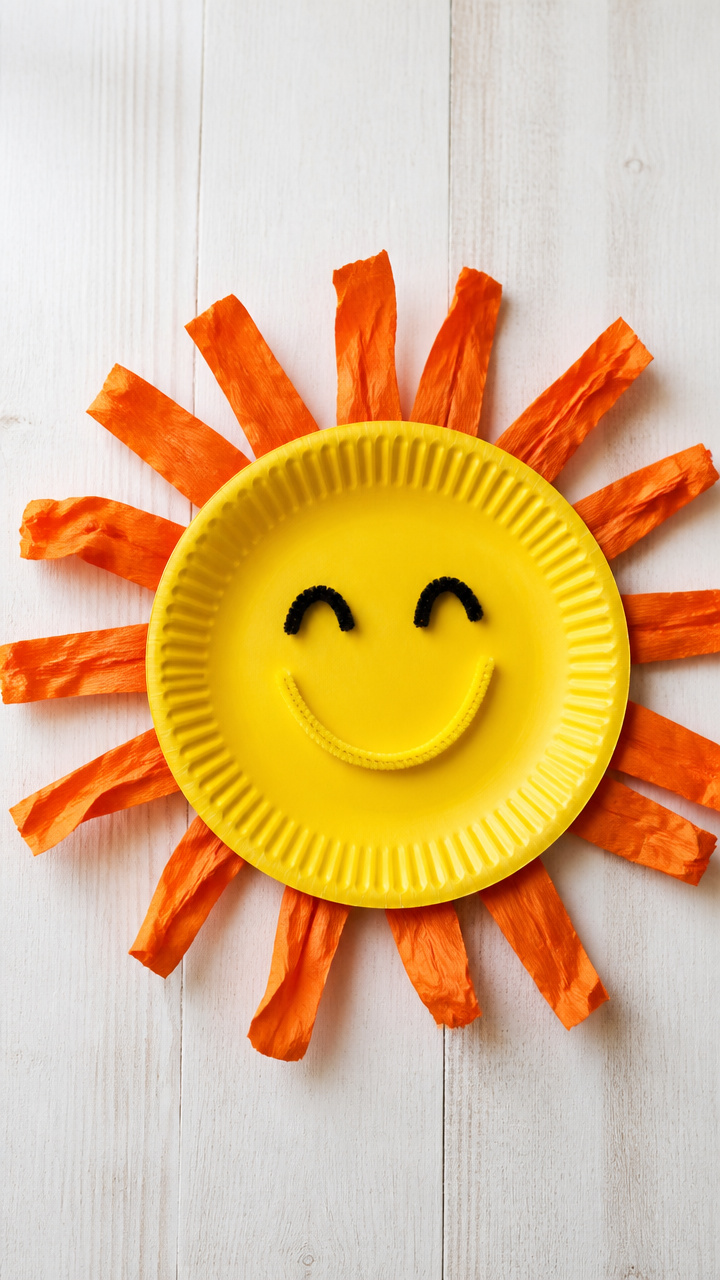
A smiling sun with crinkled rays beams from any wall. This texture-focused craft adds dimension with simple twisting.
Materials Needed
- 1 yellow paper plate
- 1 sheet orange construction paper
- Glue stick
- Scissors
- Yellow crayon
- Yellow pipe cleaner (6 inches)
How to Make It
- Cut the orange paper into 1 inch wide strips, each about 6 inches long.
- Twist each strip tightly in the middle to create a crinkled ray effect.
- Glue the twisted rays around the outer edge of the paper plate, spacing them evenly.
- Draw a face on the plate with the yellow crayon and poke the pipe cleaner through the top to make a hanger.


10. Salt Dough Ornaments
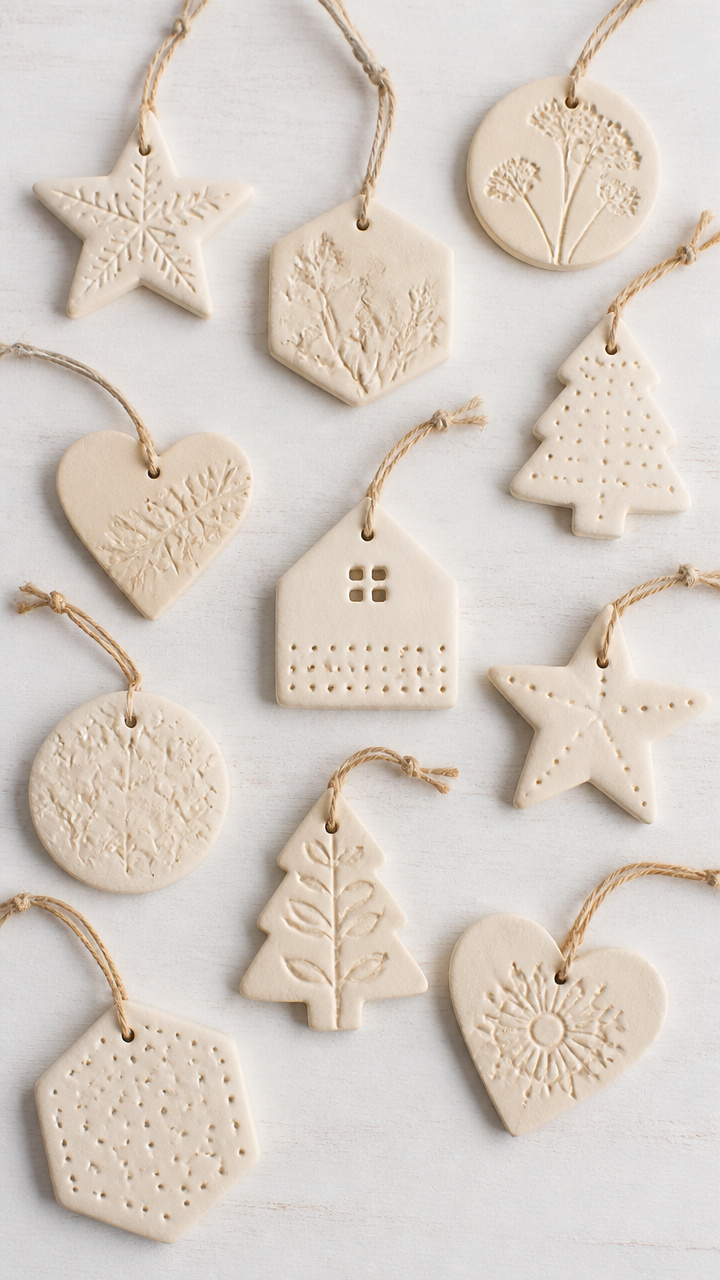
Soft dough shaped with paper cutouts bakes into keepsake ornaments. This sensory craft combines kitchen ingredients and creativity.
Materials Needed
- 1/2 cup flour
- 1/4 cup salt
- 3 tablespoons water
- Rolling pin
- Cookie cutters or bottle cap
- Straw
- Baking sheet
- Oven
How to Make It
- Mix flour, salt, and water in a bowl until a smooth dough forms, adding a drop more water if too dry.
- Roll the dough to 1/4 inch thickness and press a star or heart cutter into it to shape the ornament.
- Push a straw through the top edge to make a hanging hole.
- Bake on a baking sheet at 200°F for 3 hours until hard, then let cool completely.


11. Paper Bag Puppet
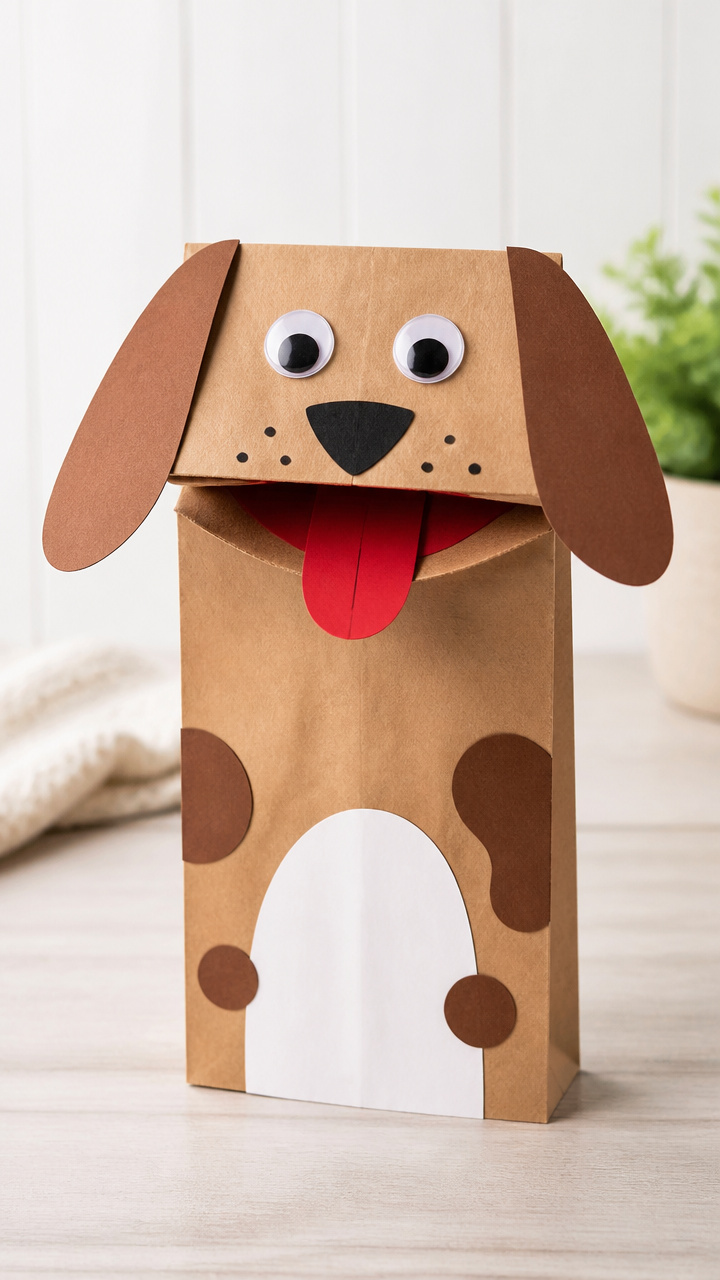
A talking puppet with flapping mouth appears in minutes using a lunch bag. This craft invites storytelling and voice play.
Materials Needed
- 1 lunch-sized paper bag
- Googly eyes (2, 8mm)
- Construction paper (red, white, black)
- Glue stick
- Scissors
- Crayons
How to Make It
- Cut a red tongue shape and white teeth squares from the construction paper.
- Glue the eyes above the folded flap of the bag and position the teeth just below the flap edge.
- Attach the tongue to the center of the flap so it moves when lifted.
- Draw cheeks and hair with crayons to complete the puppet’s face.


12. Starburst Window Spinner
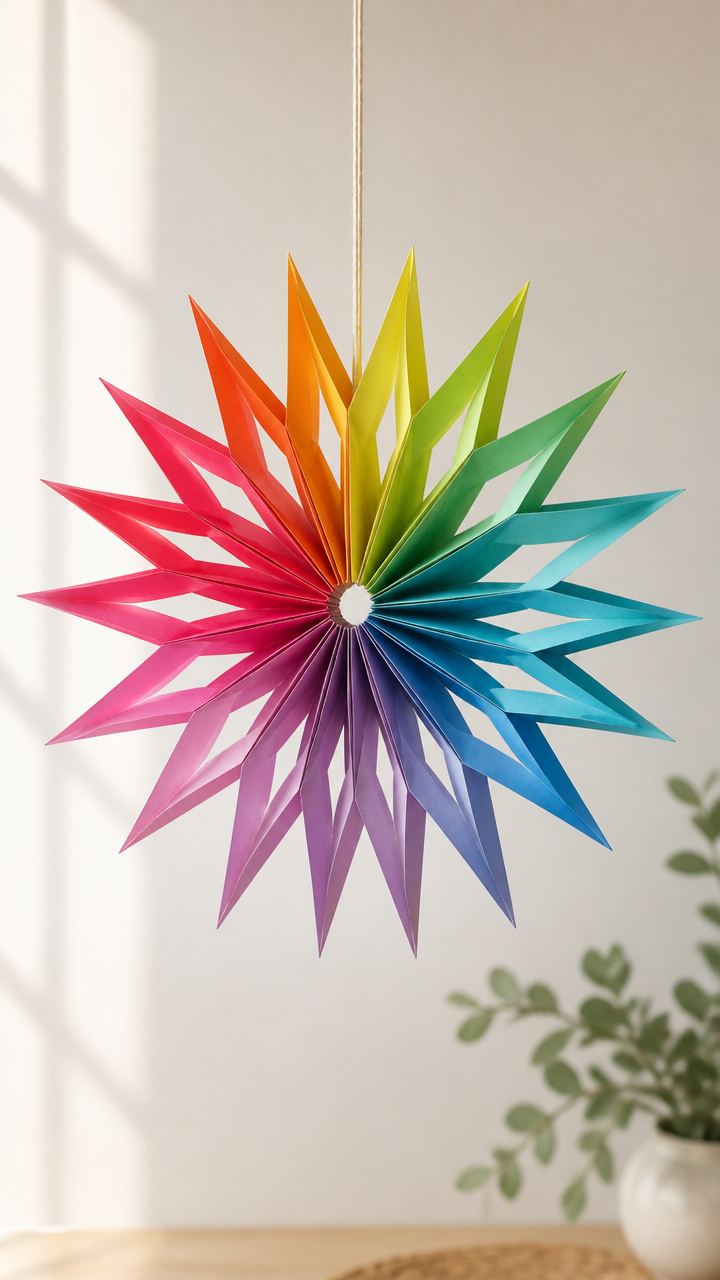
A colorful spinner twirls in sunlight on a piece of string. This aerodynamic craft teaches balance and movement.
Materials Needed
- 1 sheet multicolored construction paper
- Hole punch
- String (18 inches)
- Scissors
- Pencil
How to Make It
- Draw a 3 inch circle on the paper and cut it out with scissors.
- Cut from the outer edge toward the center every 1 inch around the circle, stopping 1 inch from the middle.
- Fold every other tip toward the center and secure with a small piece of tape.
- Punch a hole in the center, thread the string through, and knot it to hang near a sunny window.


13. Foil Print Fish
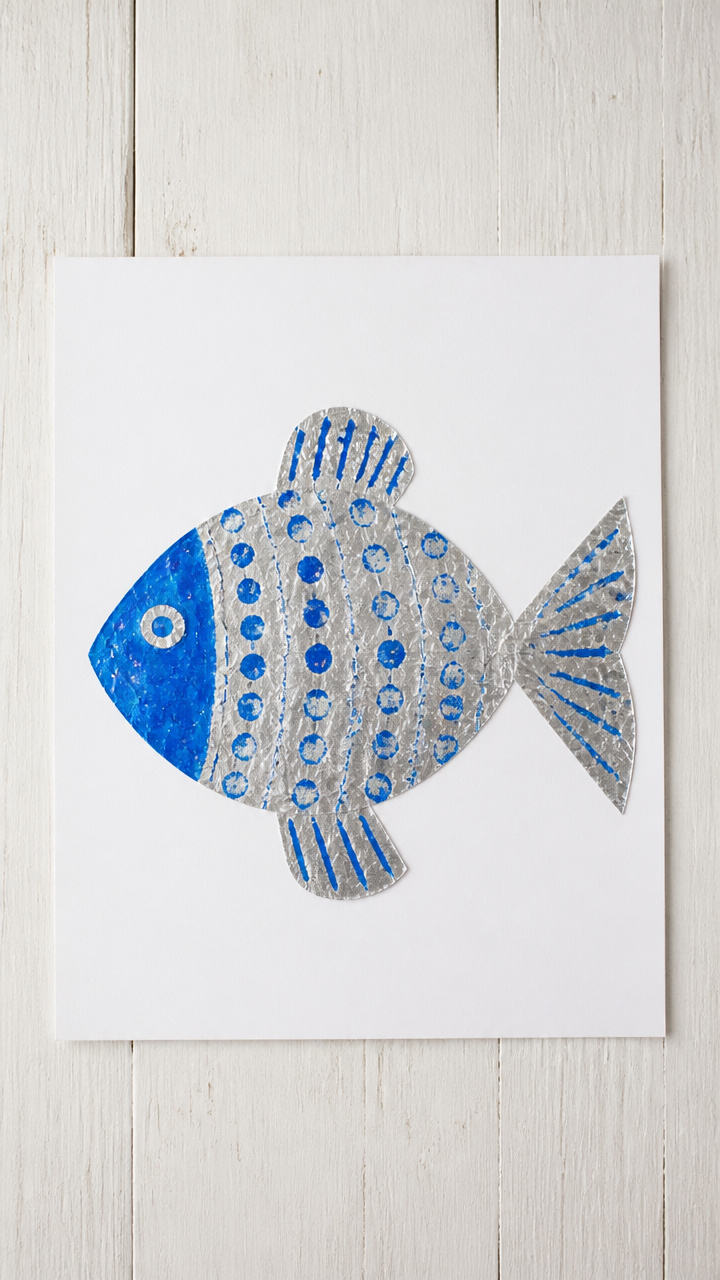
A shiny fish emerges from textured foil and paint. This printmaking method reveals surprise patterns with each lift.
Materials Needed
- 1 sheet aluminum foil (8 x 10 inches)
- Blue tempera paint
- Paintbrush
- White drawing paper
- Pencil
- Scissors
How to Make It
- Crumple the foil, then flatten it and place it on the table.
- Paint wavy lines and dots onto the foil with blue tempera paint using the brush.
- Place the white drawing paper gently over the wet paint and press lightly with your palm.
- Peel the paper slowly to reveal the mirrored fish print, then draw fins and eyes with pencil.


14. Paper Strip Basket
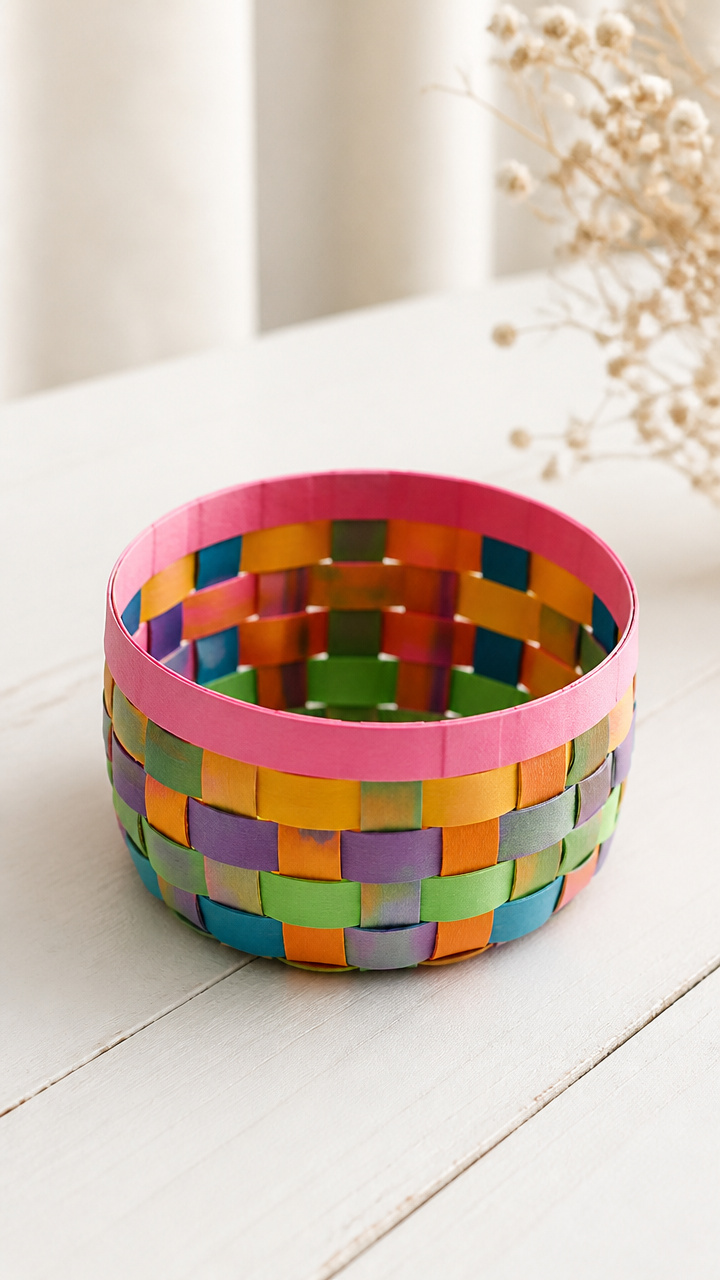
A woven basket holds tiny treasures using interlaced paper strips. This project introduces basic weaving with bright colors.
Materials Needed
- 10 strips of construction paper (1 x 6 inches, assorted colors)
- Glue stick
- Scissors
- Clothespin
How to Make It
- Lay five strips vertically on the table, spaced 1 inch apart.
- Weave a sixth strip horizontally over and under the vertical strips, starting with 'over'.
- Continue weaving three more horizontal strips, alternating the starting pattern each time.
- Fold the loose ends down and glue them to the back, then clip the clothespin to the top to form a handle.


15. Cotton Ball Cloud
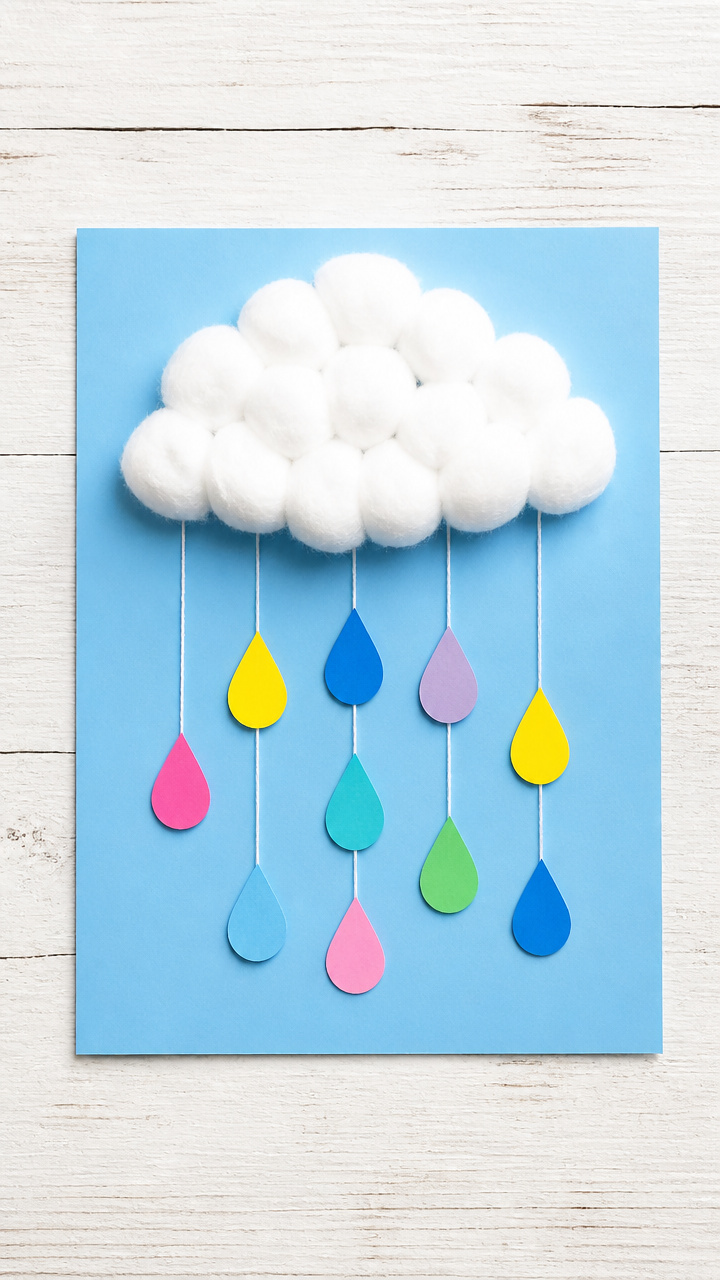
A fluffy cloud floats above a paper sky with dangling raindrops. This soft craft contrasts textures and inspires weather talk.
Materials Needed
- 1 sheet blue construction paper
- Cotton balls (6)
- White glue
- Blue food coloring
- Water
- Eye dropper
- Scissors
How to Make It
- Glue three cotton balls in a cluster near the top of the blue paper to form a cloud.
- Mix 2 drops of blue food coloring into 1 tablespoon of water.
- Use the eye dropper to flick drops from the mixture onto the paper below the cloud for falling rain.
- Let dry completely for 20 minutes before displaying.


You’ve got everything you need right in your craft drawer to start today. Pick one idea, gather the kids, and watch what unfolds with just paper and a little glue.