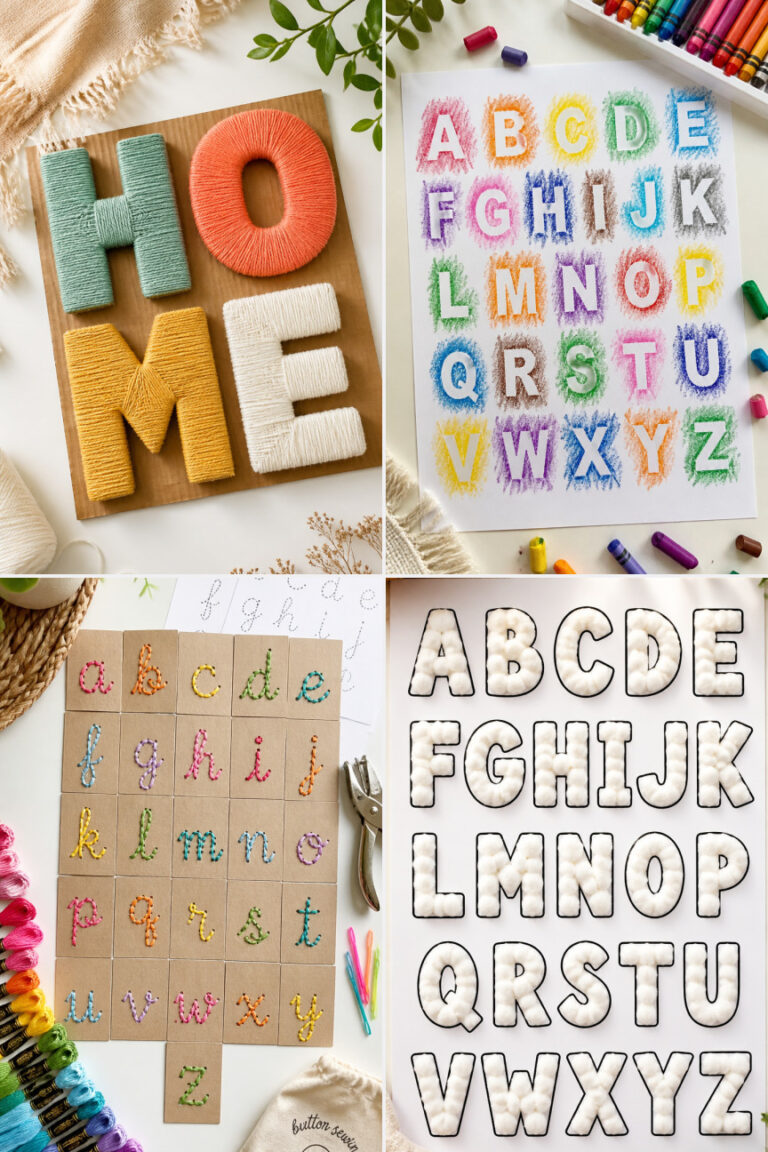
15 Process Art Ideas for Preschoolers Who Love Creative Activities
Little hands love to explore, squish, and make joyful messes. These open-ended art activities focus on the fun of doing, not the final product, so your child can follow their curiosity freely.
Each idea invites sensory play, fine motor practice, and creative thinking using simple materials you likely have at home. No pressure, no perfection, just discovery.
1. Squished Bag Painting
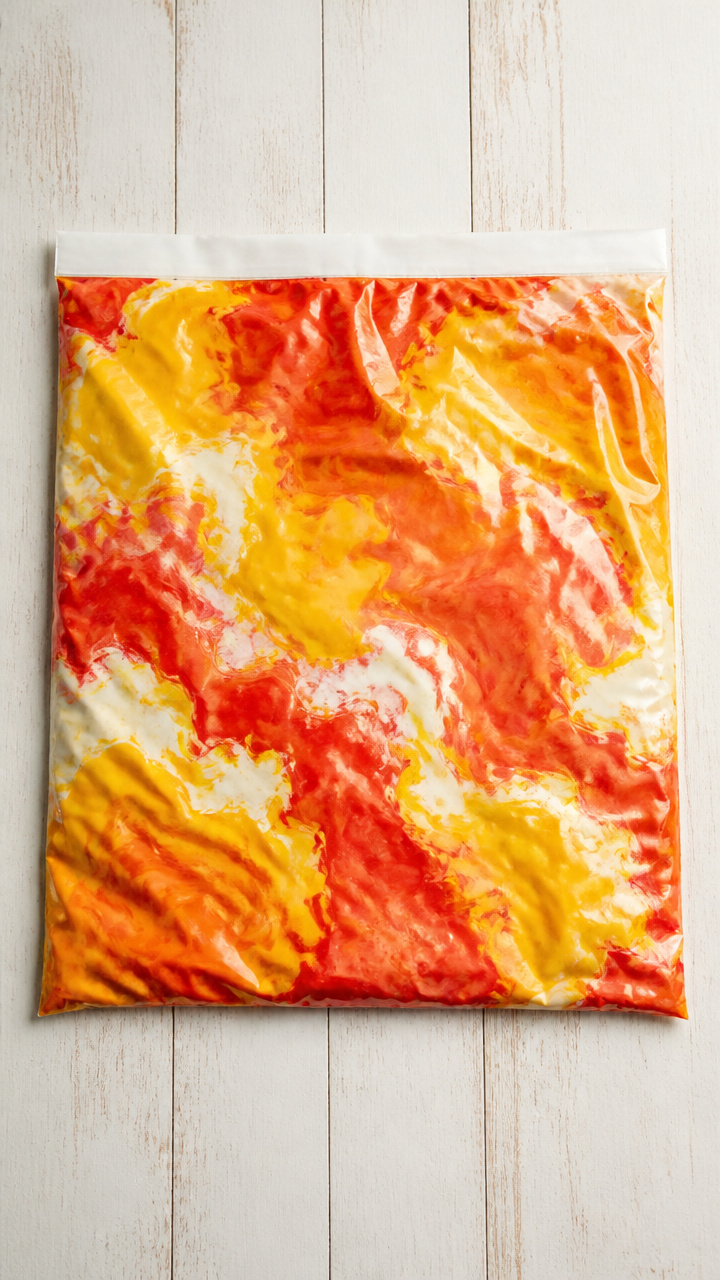
A sealed bag keeps paint off little fingers while letting colors swirl and blend through touch. It’s mesmerizing and perfect for focused sensory exploration.
Materials Needed
- 1 large zip-top plastic bag (gallon size, clear)
- 2 tablespoons white school glue
- 6 drops red acrylic paint
- 6 drops yellow acrylic paint
- 1 tablespoon water
- strong tape (duct or packing tape)
How to Make It
- Mix the glue, red paint, yellow paint, and water in a bowl until smooth.
- Pour the mixture into the zip-top bag and seal it tightly.
- Tape the sealed bag firmly to a table or tray using tape on all four edges.
- Let your child press, poke, and drag fingers across the bag to mix the paint inside.


2. Crumpled Foil Stamping
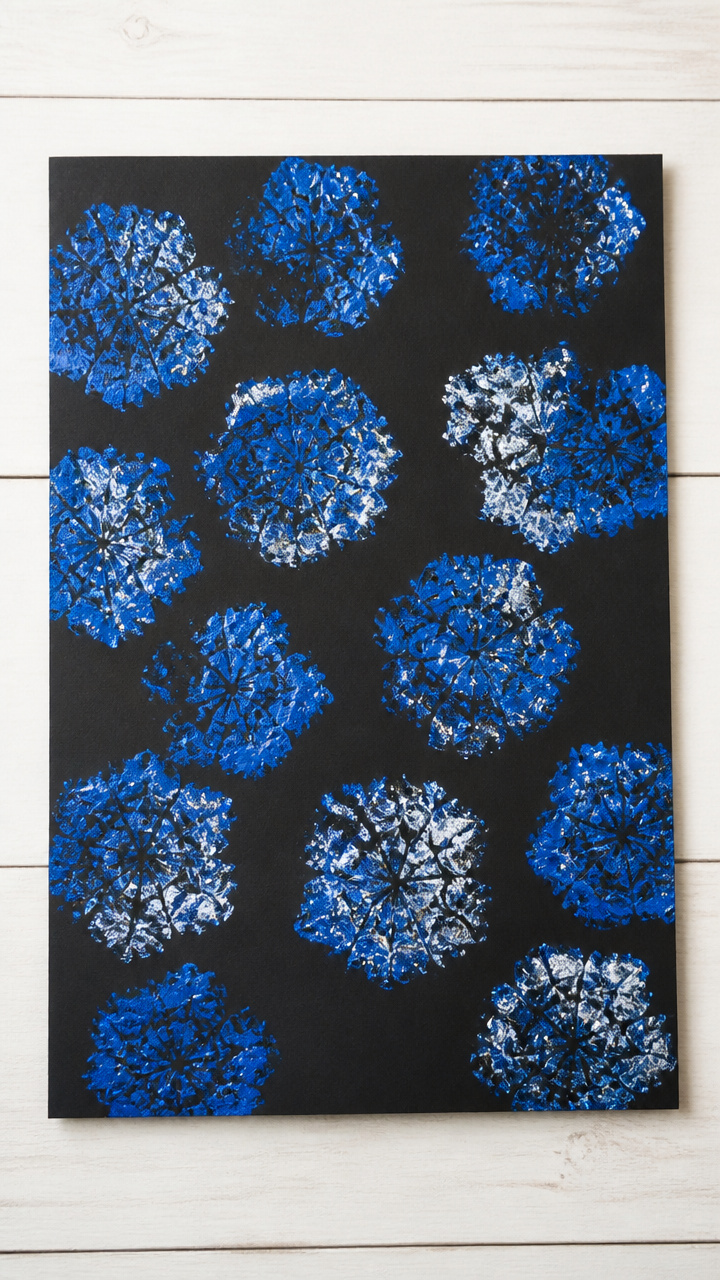
Balled-up foil creates bold, textured prints that surprise even the youngest artists. It’s a tactile way to explore shape and pattern.
Materials Needed
- 3 sheets aluminum foil (12 inch x 12 inch each)
- 1 sheet A4 black cardstock
- 1 foam brush (2 inch wide)
- 3 tablespoons blue tempera paint
- shallow tray (9 inch x 12 inch)
How to Make It
- Crumple each foil sheet into a tight ball and place them in the tray.
- Pour the blue paint into the tray and use the foam brush to coat one foil ball evenly.
- Press the painted foil ball onto the black cardstock with firm pressure.
- Lift straight up and repeat with the same or another foil ball to layer marks.


3. Puddle Pour Canvases
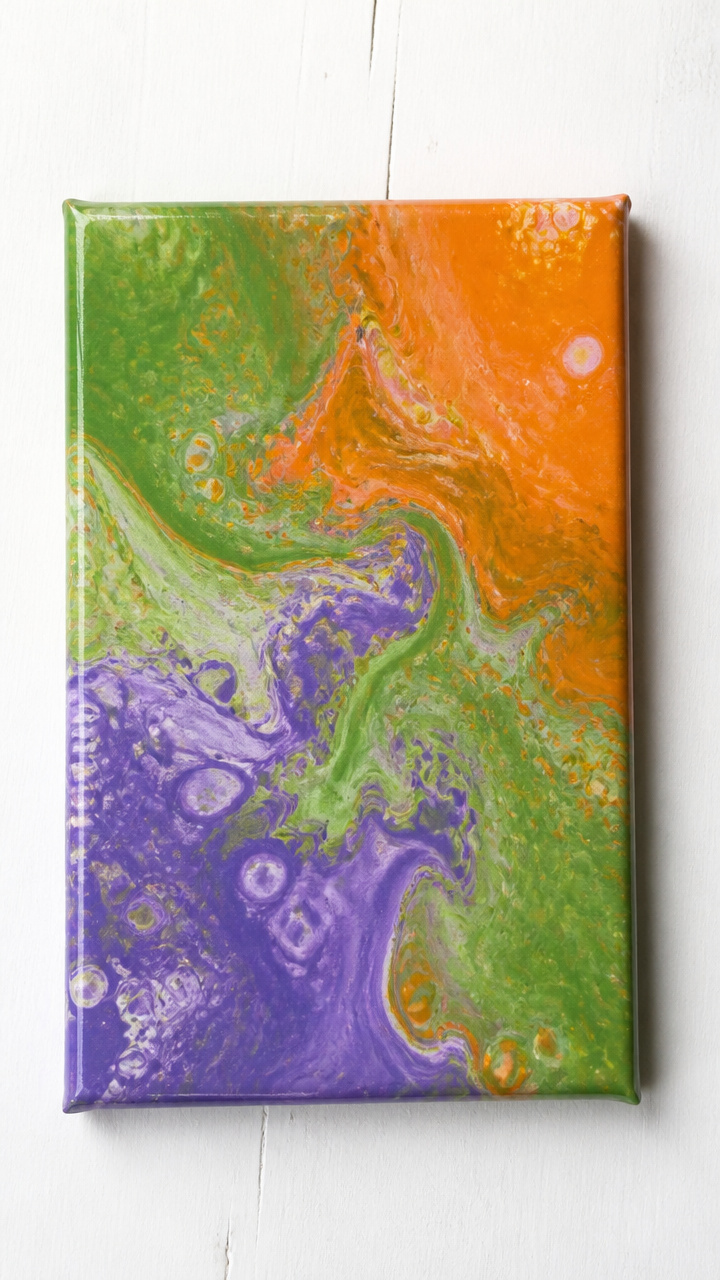
Watching liquid paint flow and merge on its own feels like magic. This method celebrates movement and color blending with zero brushes needed.
Materials Needed
- 1 small canvas board (8 inch x 10 inch)
- 1 tablespoon green acrylic paint
- 1 tablespoon purple acrylic paint
- 1 tablespoon orange acrylic paint
- 2 tablespoons water
- plastic cup
How to Make It
- Pour all paints and water into the plastic cup and stir gently once or twice.
- Hold the cup over the center of the canvas and slowly pour the mixture.
- Tilt the canvas slightly in different directions to let the paint run along the surface.
- Set aside on a tray to dry completely, about 2 hours.


4. Yarn Drag Art
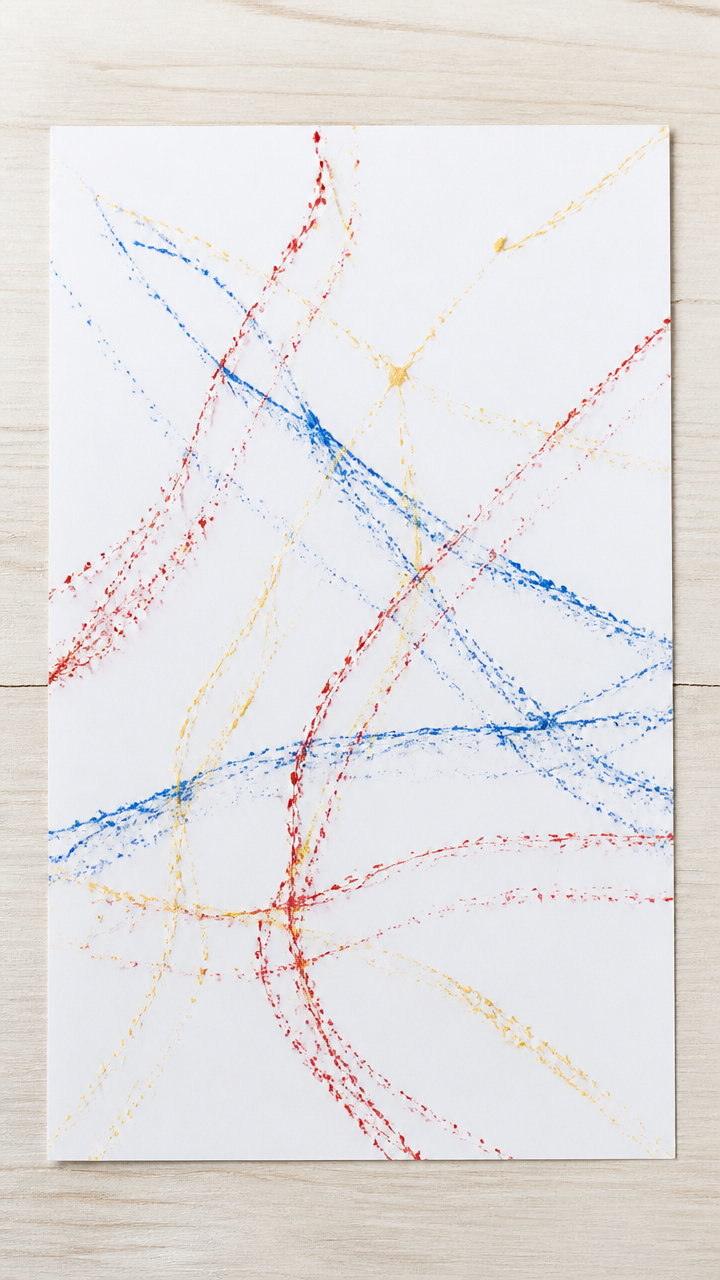
Colored yarn pulled across paper leaves soft trails that look like whispers of color. It’s quiet, gentle, and full of subtle beauty.
Materials Needed
- 1 piece white drawing paper (9 inch x 12 inch)
- 3 pieces yarn (12 inches long each, red, blue, yellow)
- 3 shallow dishes
- 1 tablespoon red washable tempera paint
- 1 tablespoon blue washable tempera paint
- 1 tablespoon yellow washable tempera paint
- clothespins (3)
How to Make It
- Pour each paint color into a separate dish.
- Clip one end of each yarn piece with a clothespin.
- Dip the free end of red yarn into red paint and lay it across the paper.
- Use the clothespin to drag the yarn in wavy lines, then repeat with blue and yellow.


5. Sticker Resist Windows
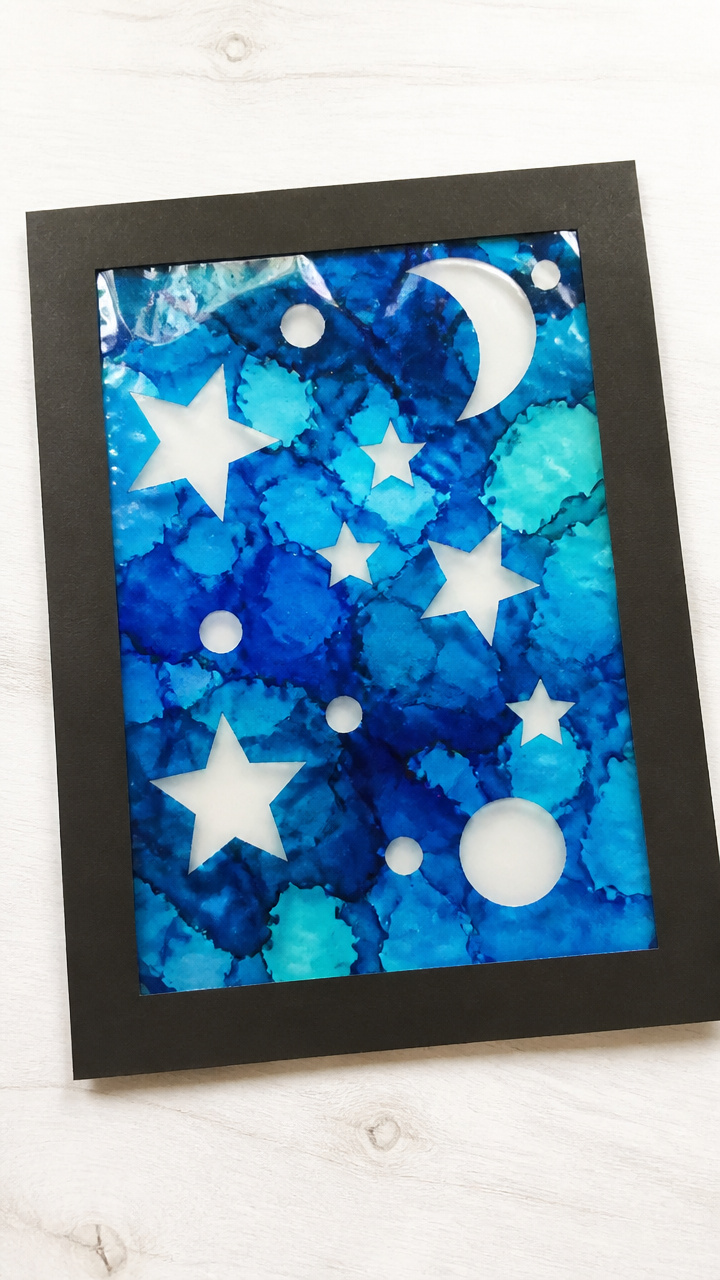
Peeling stickers reveals crisp shapes hidden beneath paint. The reveal moment delights every time and builds fine motor control.
Materials Needed
- 1 sheet contact paper (8 inch x 10 inch, sticky side up)
- assorted foam stickers (5–7 shapes)
- 1 foam brush (1 inch wide)
- 2 tablespoons clear school glue
- food coloring (3 drops blue)
- tray (to contain mess)
How to Make It
- Place the contact paper on the tray with the sticky side facing up.
- Press foam stickers firmly onto the sticky surface.
- Mix the glue with blue food coloring in a cup until evenly tinted.
- Use the foam brush to spread the colored glue over the entire surface, covering stickers.
- Let dry completely, about 3 hours, then peel off stickers to reveal light blue shapes.


6. Bubble Wrap Roll Prints
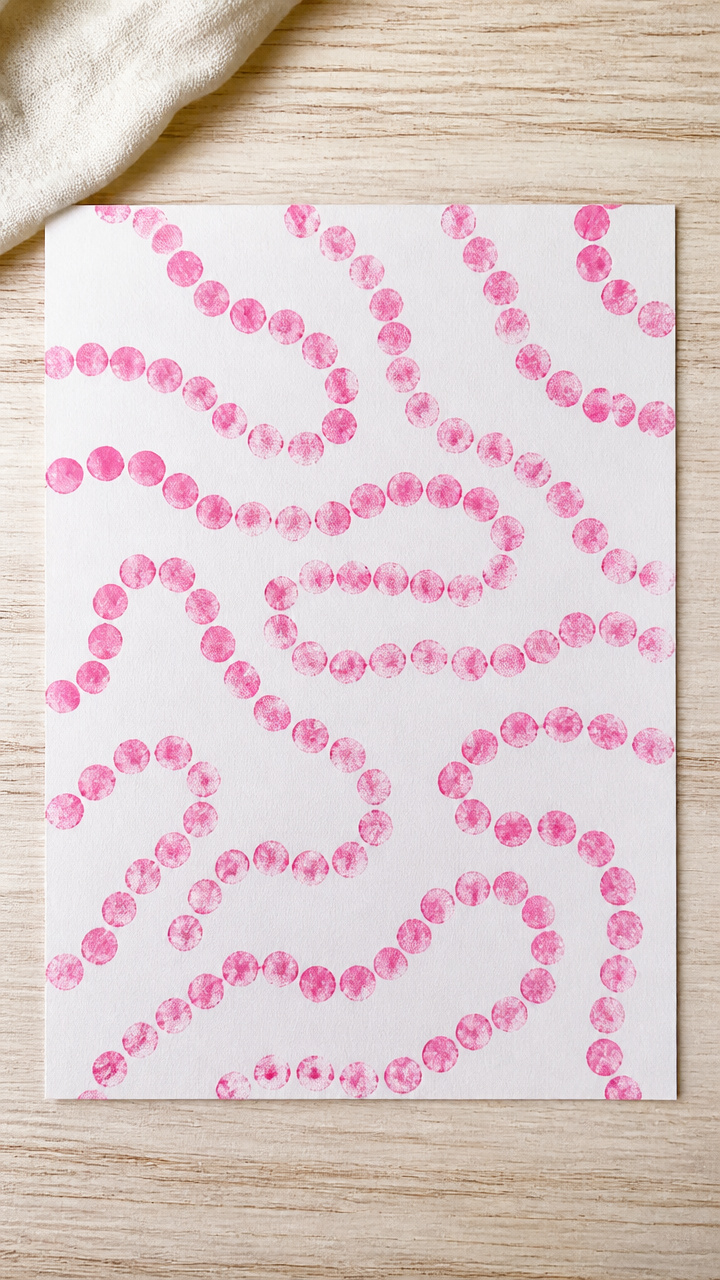
Rolling bubble wrap across wet paint creates dotted trails that mimic rain, stars, or confetti. It’s bouncy, rhythmic, and deeply satisfying.
Materials Needed
- 1 sheet bubble wrap (12 inch x 18 inch, small bubbles)
- 1 roller (foam, 3 inch diameter)
- 1 sheet white construction paper (9 inch x 12 inch)
- 2 tablespoons pink tempera paint
- shallow tray
How to Make It
- Lay the bubble wrap on the tray with the bubbled side up.
- Pour the pink paint onto the bubble wrap.
- Roll the foam roller over the paint to spread it evenly across the bubbles.
- Place the construction paper on top and roll again to transfer the print.
- Lift paper carefully and set aside to dry.


7. Chalk Rubbing Pathways
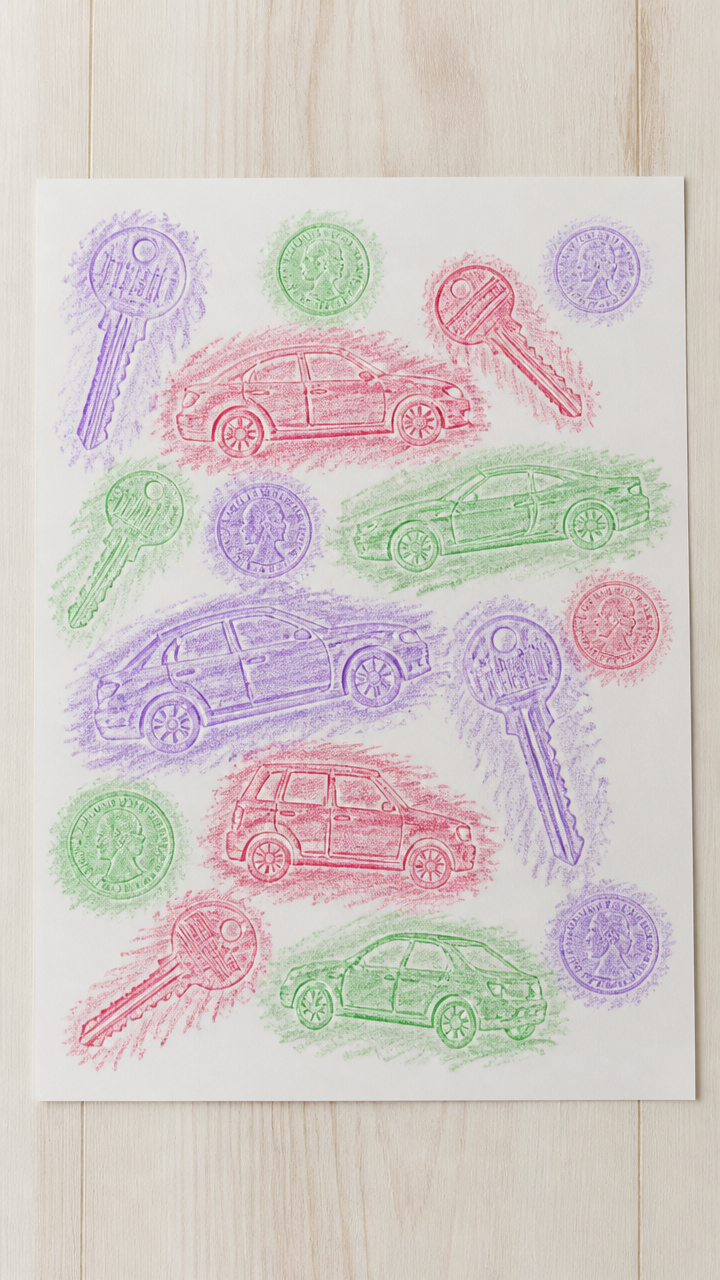
Hidden textures appear when chalk glides over placed objects. This craft turns everyday items into secret design tools.
Materials Needed
- 1 large sheet white drawing paper (12 inch x 18 inch)
- broken pieces sidewalk chalk (red, green, purple)
- small toy cars (3, varying sizes)
- plastic keys (2)
- coins (3)
- tape (masking)
How to Make It
- Tape the paper to a flat surface.
- Arrange the toy cars, keys, and coins on the paper in a line or cluster.
- Hold a chalk piece sideways and rub gently over each object until its shape appears.
- Swap colors and objects to build layered textures across the page.


8. Feather Dusting Paint
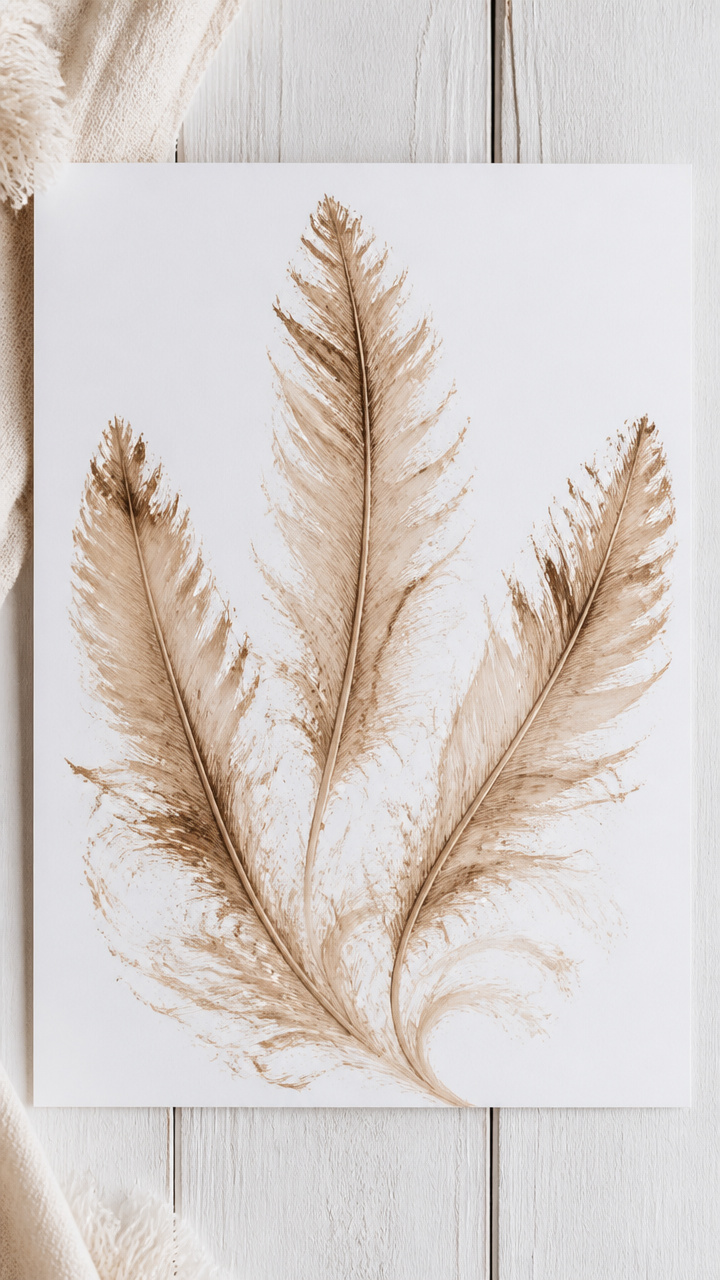
Soft feathers sweep paint like brooms across paper, leaving feathery trails. It’s delicate, slow, and full of quiet charm.
Materials Needed
- 3 turkey feathers (clean, 5–6 inches long)
- 1 sheet A4 white cardstock
- 1 tablespoon brown tempera paint
- shallow dish
- spoon
How to Make It
- Pour the brown paint into the dish and dip the tip of one feather into it.
- Gently drag the feather across the cardstock in long, sweeping motions.
- Repeat with clean areas of the feather or new feathers to vary the mark.
- Use the spoon to add tiny dabs of paint directly to the paper if desired.


9. Salt Sprinkle Landscapes
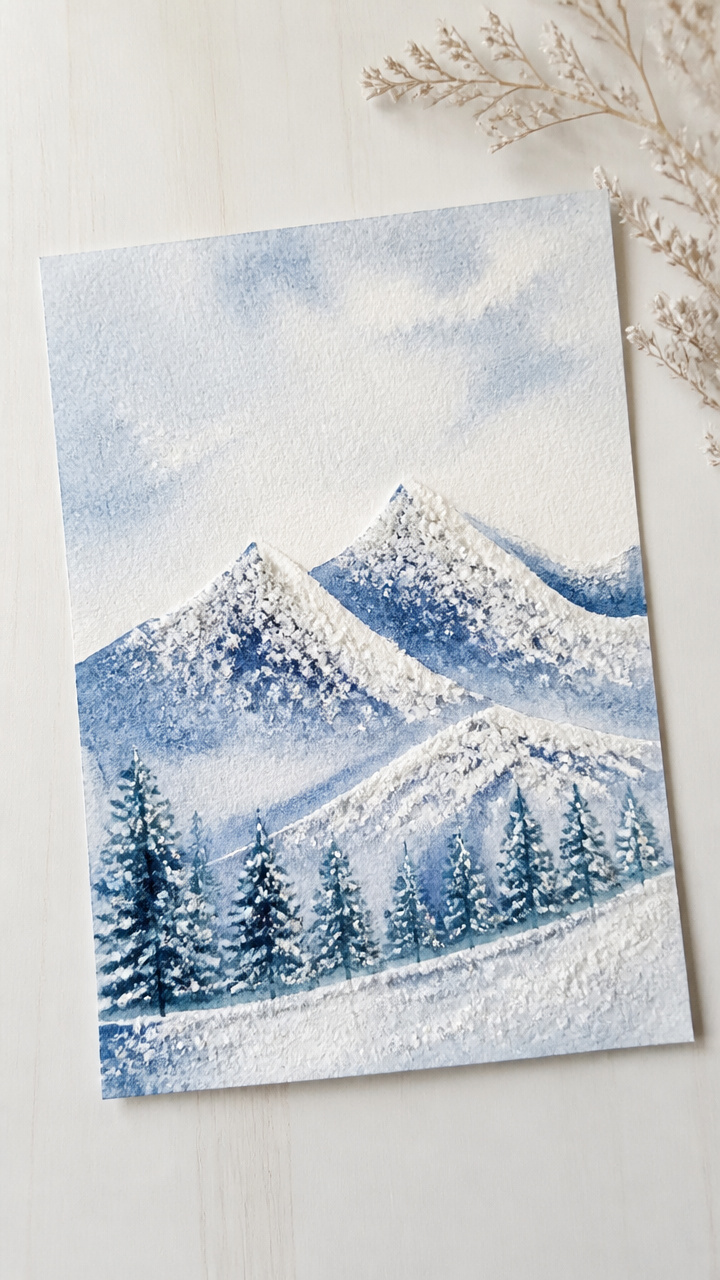
Sprinkled salt absorbs liquid watercolor into fuzzy, snowy peaks. It transforms simple lines into textured winter scenes.
Materials Needed
- 1 sheet heavy watercolor paper (5 inch x 7 inch)
- 1 glue stick
- fine table salt (2 tablespoons)
- blue liquid watercolor (1 dropper full)
- pipette
- paper plate
How to Make It
- Draw hills or mountains on the watercolor paper using the glue stick.
- Sprinkle salt evenly over the glued lines so it sticks.
- Place the paper on a paper plate and use the pipette to drop blue watercolor onto the salt lines.
- Watch the color travel along the salt before setting it aside to dry.


10. Muffin Tin Color Mixing
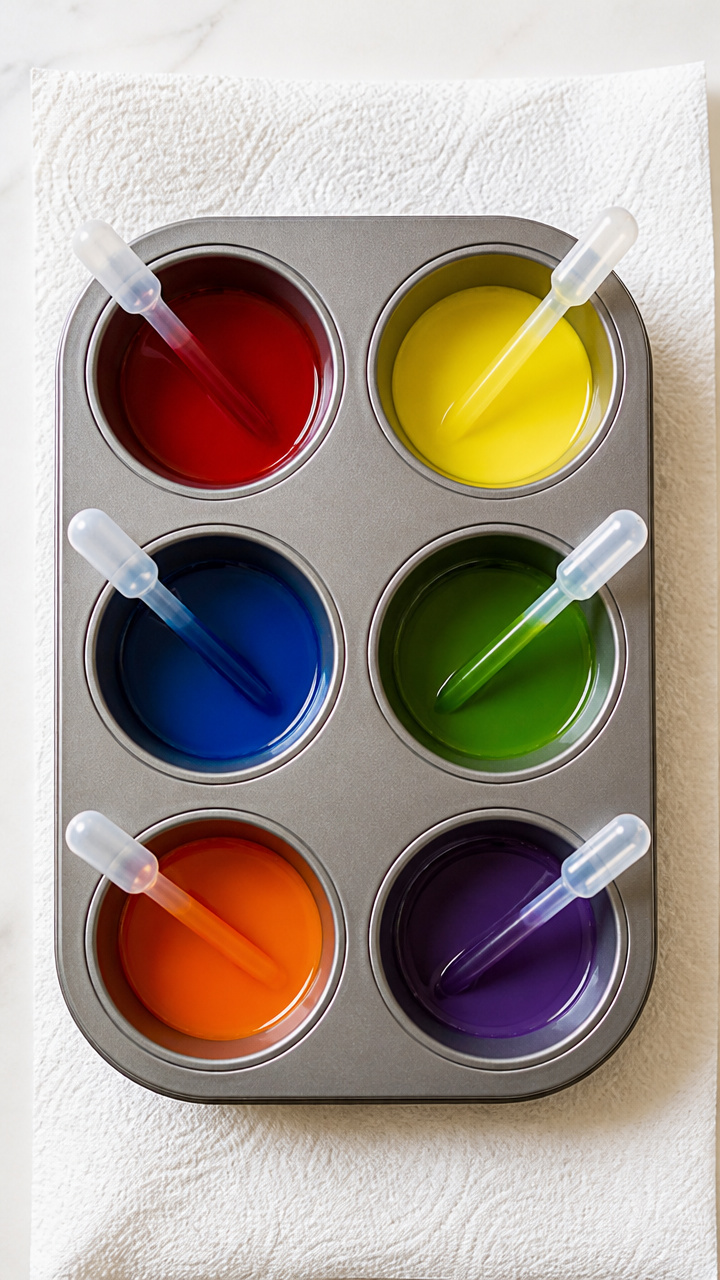
A muffin tin turns into a personal paint lab where colors combine in real time. It’s hands-on science and art in one.
Materials Needed
- 1 metal muffin tin (6 cups)
- red liquid watercolor (1 dropper full)
- yellow liquid watercolor (1 dropper full)
- blue liquid watercolor (1 dropper full)
- 3 pipettes (color-coded: red, yellow, blue)
- paper towels
How to Make It
- Add 5 drops of red watercolor to cup 1, yellow to cup 2, blue to cup 3.
- Use the red pipette to move 3 drops from cup 1 to cup 4.
- Use the yellow pipette to add 3 drops to cup 4 and squeeze to mix.
- Observe the new color and repeat to create green and purple in other empty cups.


11. Nature Press Patterns
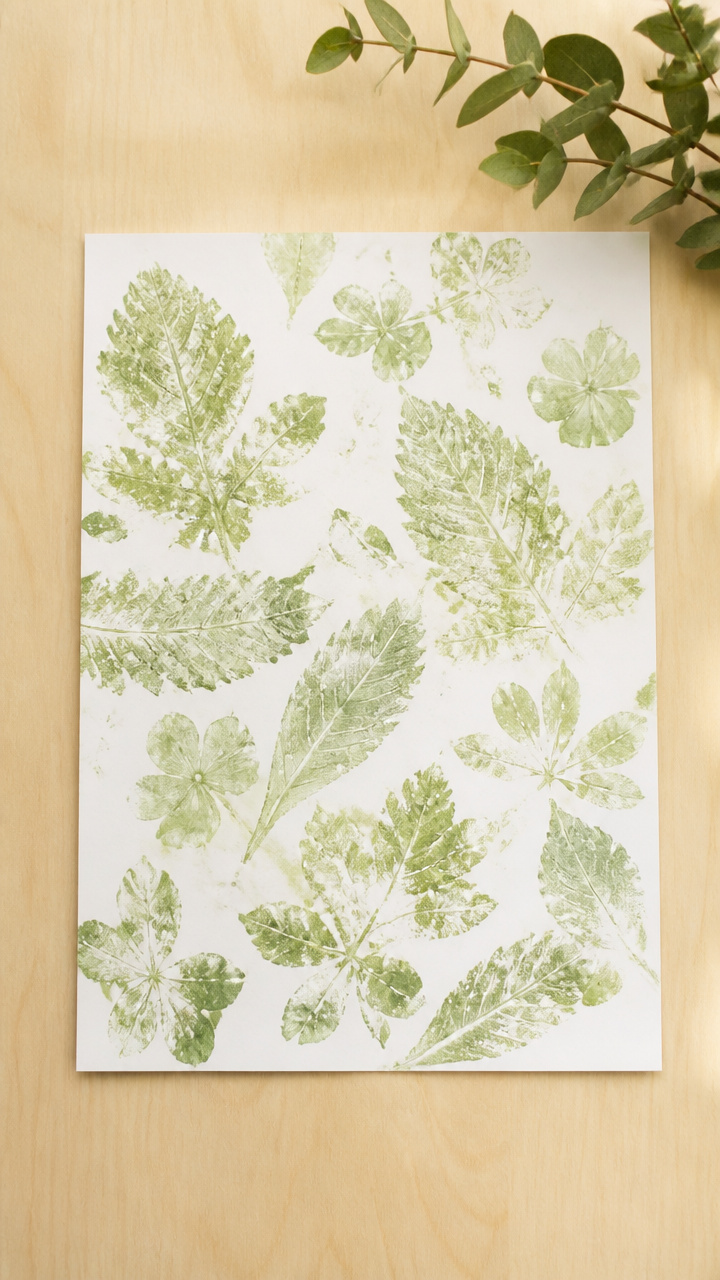
Leaves and flowers leave ghostly imprints when pressed with paint. This craft connects outdoor finds to indoor creativity.
Materials Needed
- fresh leaves (3, flat types like maple or ivy)
- petals (5, sturdy like pansy or rose)
- 1 sheet A4 white printer paper
- 1 foam brush (1 inch)
- 1 tablespoon green washable paint
- heavy book
How to Make It
- Lay the paper on a flat surface.
- Paint one side of each leaf and petal lightly with green paint.
- Place the painted side down on the paper in a cluster.
- Cover with a second sheet of paper and press a heavy book on top for 2 minutes.
- Carefully lift the top sheet and remove the leaves to see the prints.


12. Straw Blown Trees
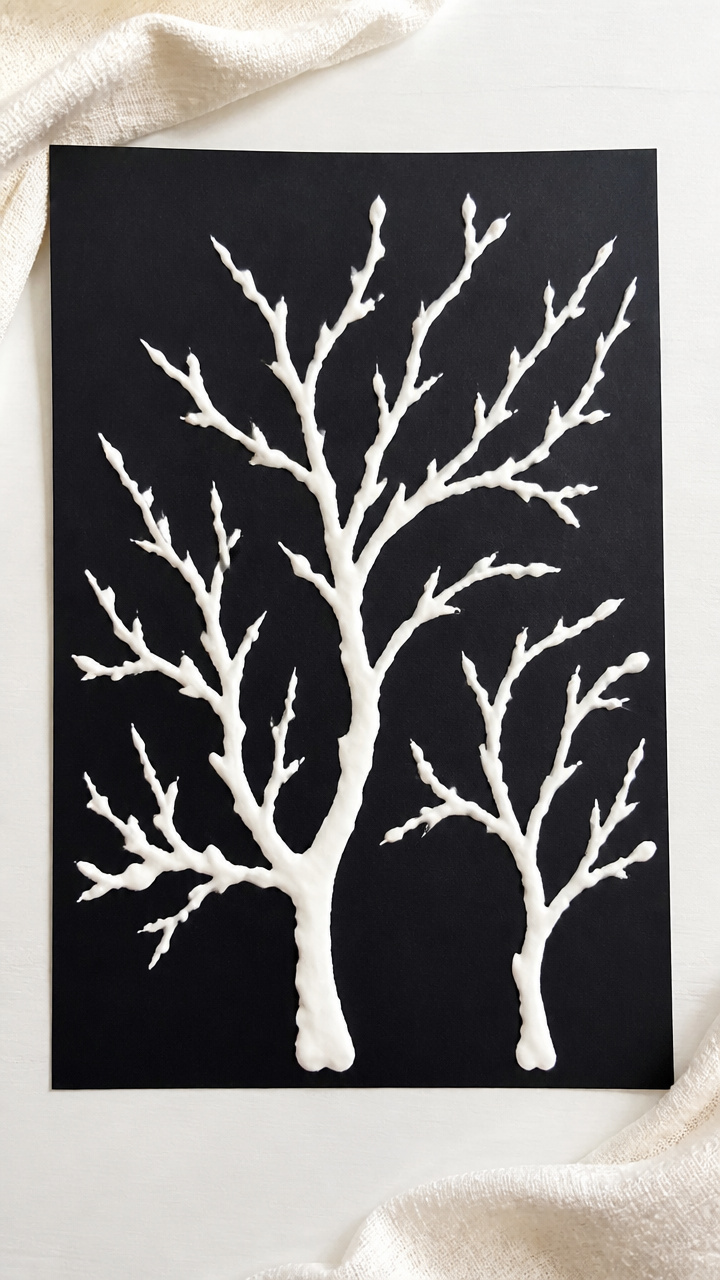
Blowing through a straw sends paint racing across paper to form instant tree branches. It’s active, surprising, and full of motion.
Materials Needed
- 1 sheet black construction paper (9 inch x 12 inch)
- 1 plastic straw
- 1 tablespoon white puffy paint
- small cup
How to Make It
- Place a dime-sized blob of puffy paint in the center of the paper.
- Insert the straw into the paint and blow gently but firmly.
- Watch the paint split into branches as you vary breath strength.
- Set aside to dry completely, about 4 hours.


13. Sponge Dip Dots
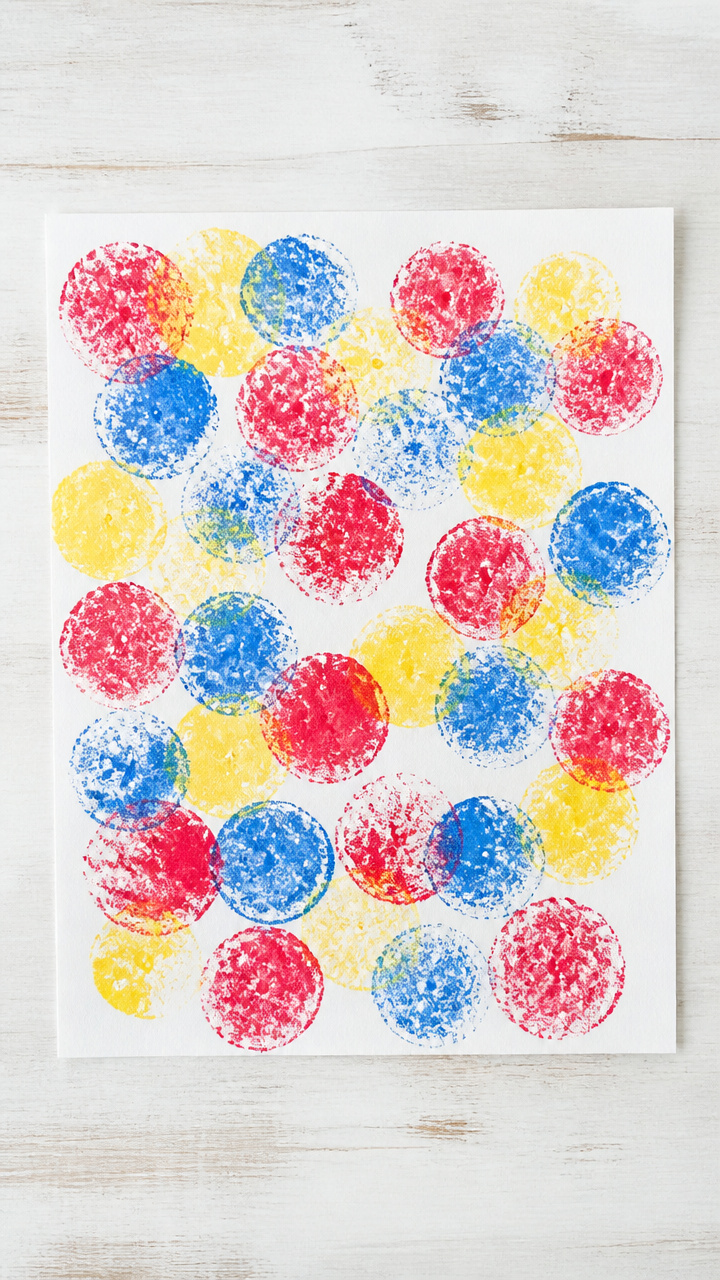
Cut sponges become stampers that leave soft, cloud-like marks. Dipping and pressing builds rhythm and hand strength.
Materials Needed
- 1 cellulose sponge (kitchen type, unused)
- scissors
- 3 shallow dishes
- red tempera paint (1 tablespoon)
- yellow tempera paint (1 tablespoon)
- blue tempera paint (1 tablespoon)
- white drawing paper (9 inch x 12 inch)
How to Make It
- Cut the sponge into 3 uneven squares about 1.5 inches each.
- Pour each paint color into a separate dish.
- Dip one sponge square into red paint and press firmly onto the paper.
- Lift straight up, re-dip as needed, and repeat with other colors and sponges.


14. Ice Cube Painting
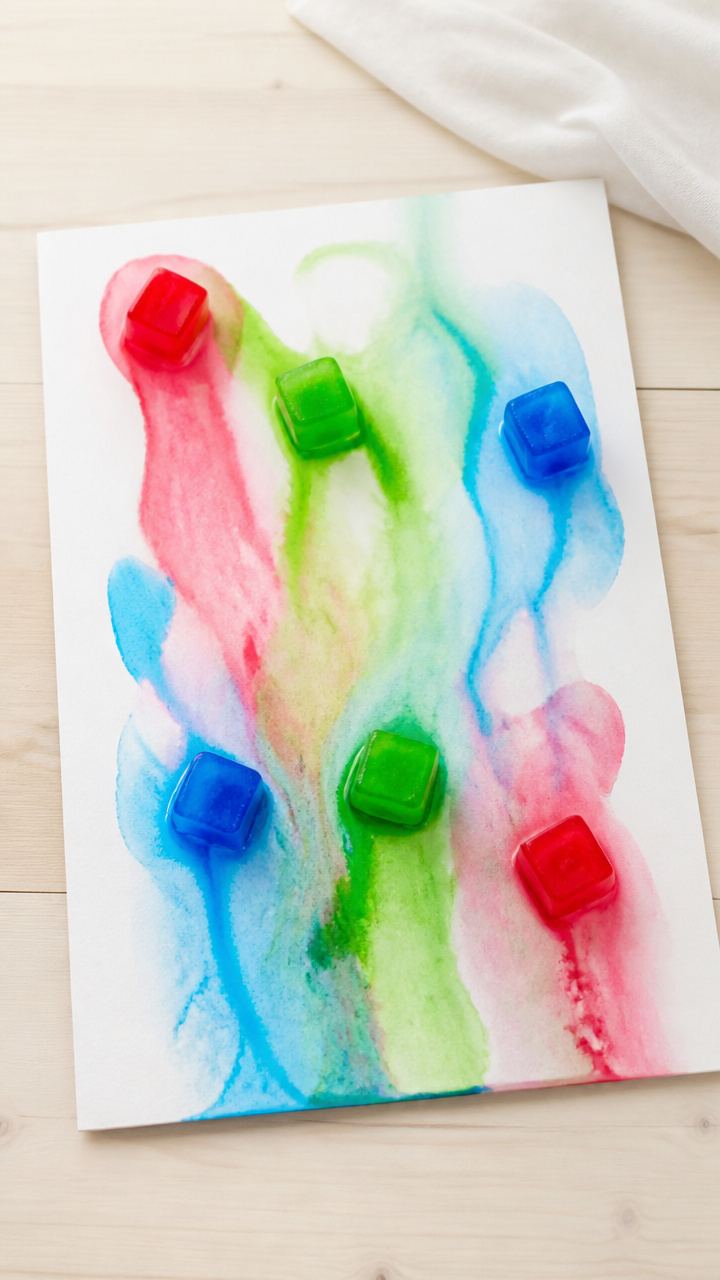
Frozen paint cubes melt slowly as they slide across paper, leaving cool, watery trails. It’s a sensory experience that changes with time.
Materials Needed
- 1 ice cube tray
- red liquid watercolor (10 drops)
- green liquid watercolor (10 drops)
- blue liquid watercolor (10 drops)
- water (3 tablespoons)
- A4 white paper
- freezer
How to Make It
- Mix red watercolor with 1 tablespoon water and pour into 2 ice tray slots.
- Repeat with green and blue in separate slots.
- Freeze for at least 4 hours until solid.
- Place paper on a tray and set one colored ice cube on top.
- Let your child tilt the paper or nudge the cube to draw melting lines.
15. Glue String Weaving
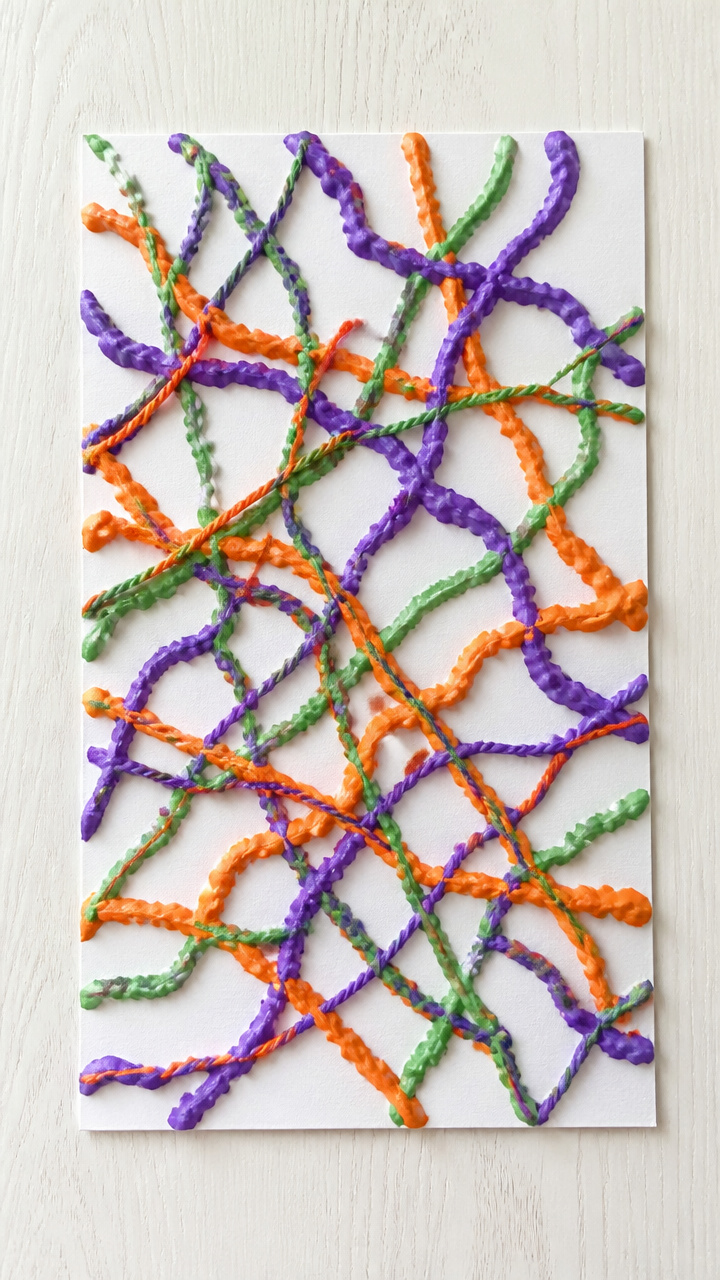
String soaked in glue drapes into wavy patterns that harden into raised lines. It’s sculpture on paper with a satisfying crunch when dry.
Materials Needed
- cotton string (12 inches long, 3 pieces)
- white school glue (3 tablespoons)
- food coloring (2 drops purple, 2 drops orange, 2 drops green)
- A4 cardstock (white, 1 sheet)
- tweezers (blunt tip)
How to Make It
- Divide glue into 3 small cups and tint each with one food coloring.
- Soak one string piece in purple glue for 1 minute, then lift with tweezers.
- Lay the wet string onto the cardstock in a curvy line.
- Repeat with orange and green glue strings, weaving over or under previous ones.
- Set aside to dry completely, about 6 hours, until stiff.


You’ve got everything you need to start today. Pick one idea, gather the supplies, and let your child lead the way. Joy is in the doing, not the finish line.