15 Simple Cutting and Gluing Crafts for Preschoolers
Little hands love to snip, stick, and create. With just a few basic supplies, you can set up joyful activities that build fine motor skills and spark imagination.
These crafts use safe tools and straightforward steps so preschoolers stay engaged from start to finish. Each one is designed to feel special in their own way, not just busy work.
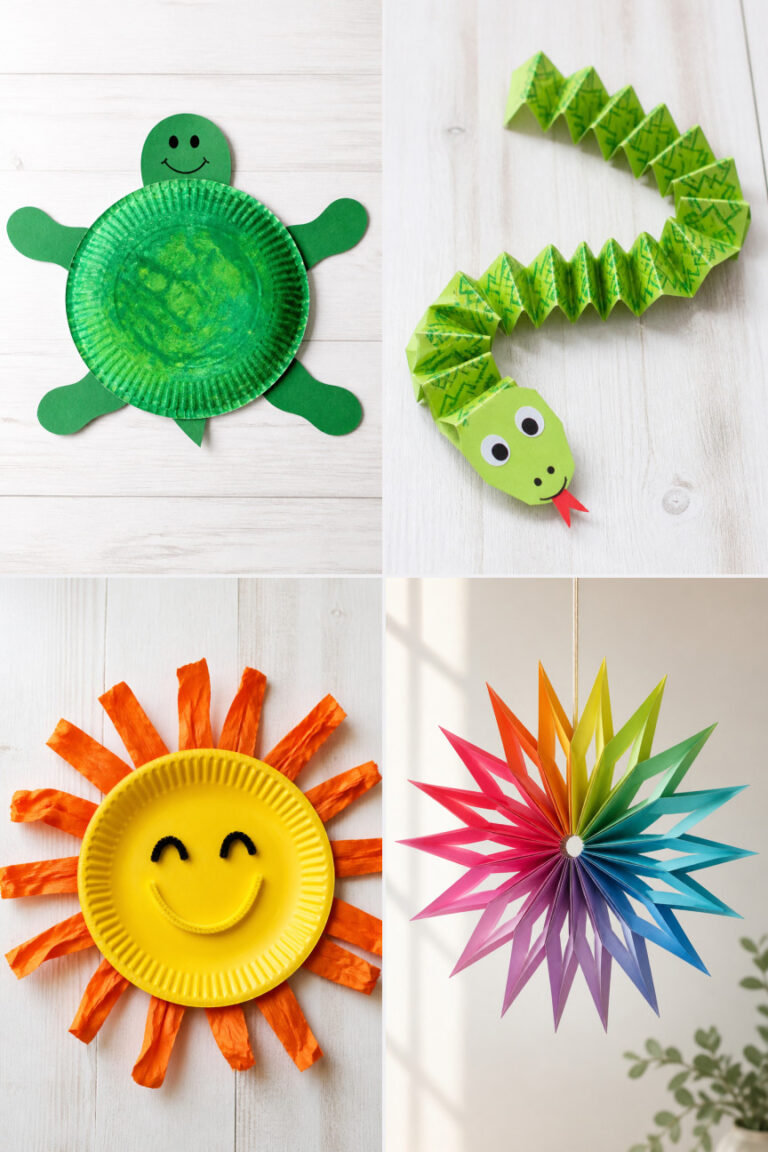
1. Paper Plate Sun
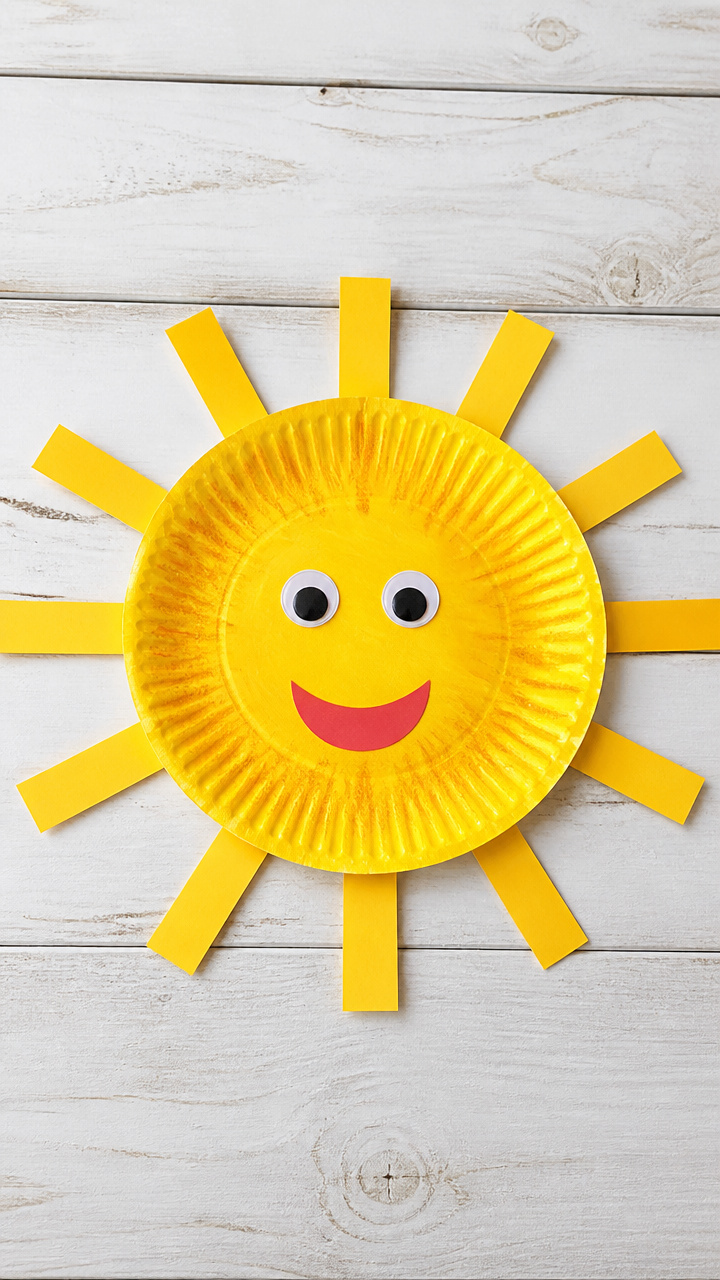
Bright yellow rays fan out from a cheerful face, making this sunny buddy perfect for window displays or fridge art. Kids love giving it googly eyes and a big smile.
Materials Needed
- 1 paper plate per child
- Yellow construction paper
- Child-safe scissors
- White school glue
- Googly eyes, 1-inch diameter
- Orange crayon
- Glue brush
How to Make It
- Cut the edge of the paper plate into 8 even strips, stopping 2 inches from the center to form sun rays.
- Have your child cut wavy rays from yellow construction paper and glue them between each cut strip using a glue brush.
- Draw a smiling face with an orange crayon on the plate center, then add two googly eyes with dabs of white school glue.
2. Pasta Necklace
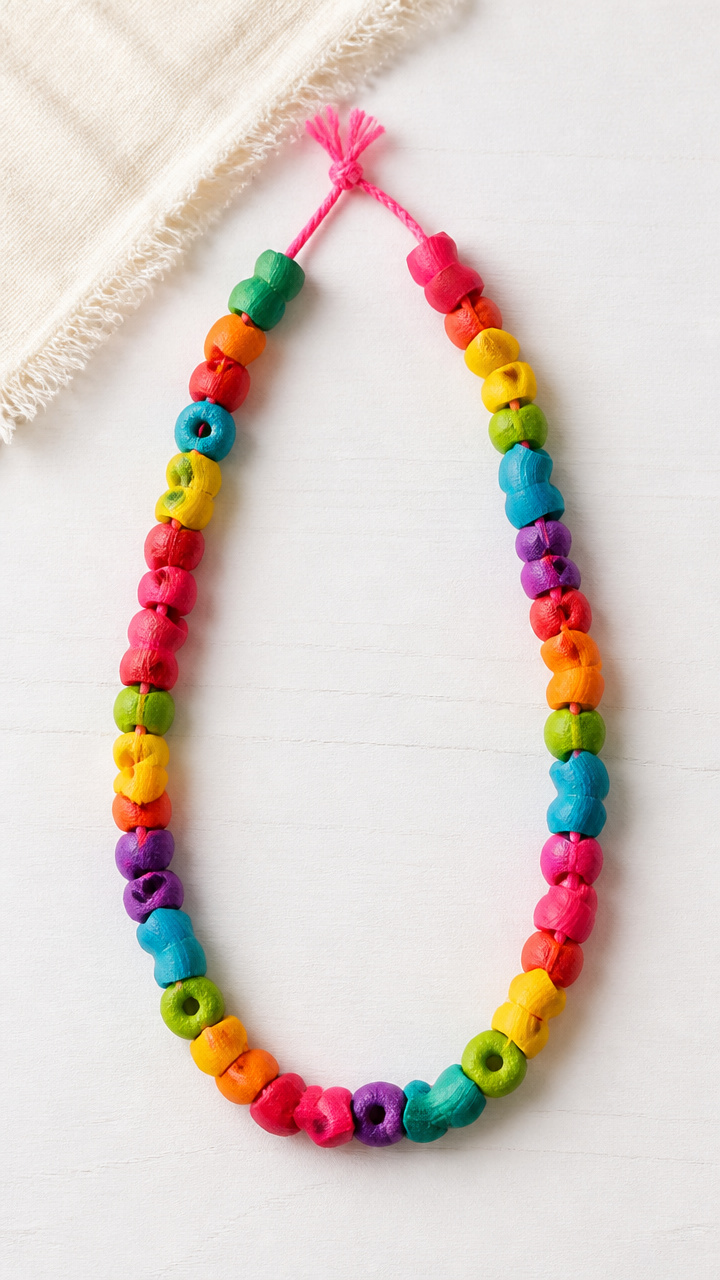
Shaped pasta pieces strung together make a crunchy rainbow necklace that doubles as a counting game. The texture keeps little fingers busy and proud.
Materials Needed
- Elbow macaroni, 20 pieces per child
- Cereal O's, 15 pieces per child
- Yarn, 3 feet long and pre-tied at one end
- White school glue
- Plastic tray
- Paintbrush
How to Make It
- Lay out the pasta on a plastic tray and let your child paint each piece with white school glue using a paintbrush.
- Thread the glued pasta onto the yarn, alternating shapes and letting each dry for 2 minutes before adding more.
- Tie the ends together once all pieces are added and let the necklace sit flat for 20 minutes to fully dry.
3. Construction Paper Tree
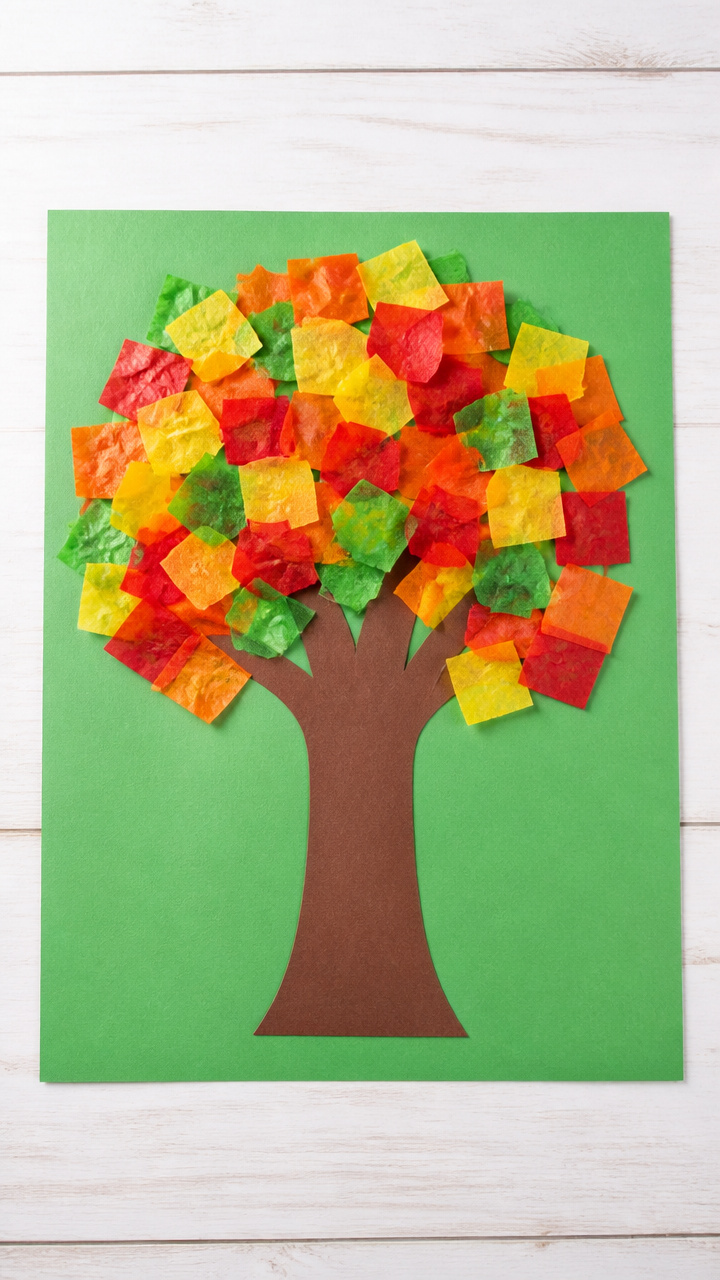
A sturdy trunk rises from the bottom of the page with colorful leaf clippings pressed around its top. This craft teaches color sorting and pattern play.
Materials Needed
- Brown construction paper, 6×12 inch strip
- Assorted colored tissue paper squares, 2×2 inch, 30 per child
- 9×12 inch green cardstock base
- White school glue
- Sponge brush
How to Make It
- Glue the brown strip vertically down the center of the green cardstock to form the tree trunk.
- Let your child tear or cut tissue paper squares into smaller leaf shapes.
- Dab glue on the back of each leaf with a sponge brush and press around the top of the trunk to form a full canopy.
4. Cardboard Tube Rocket
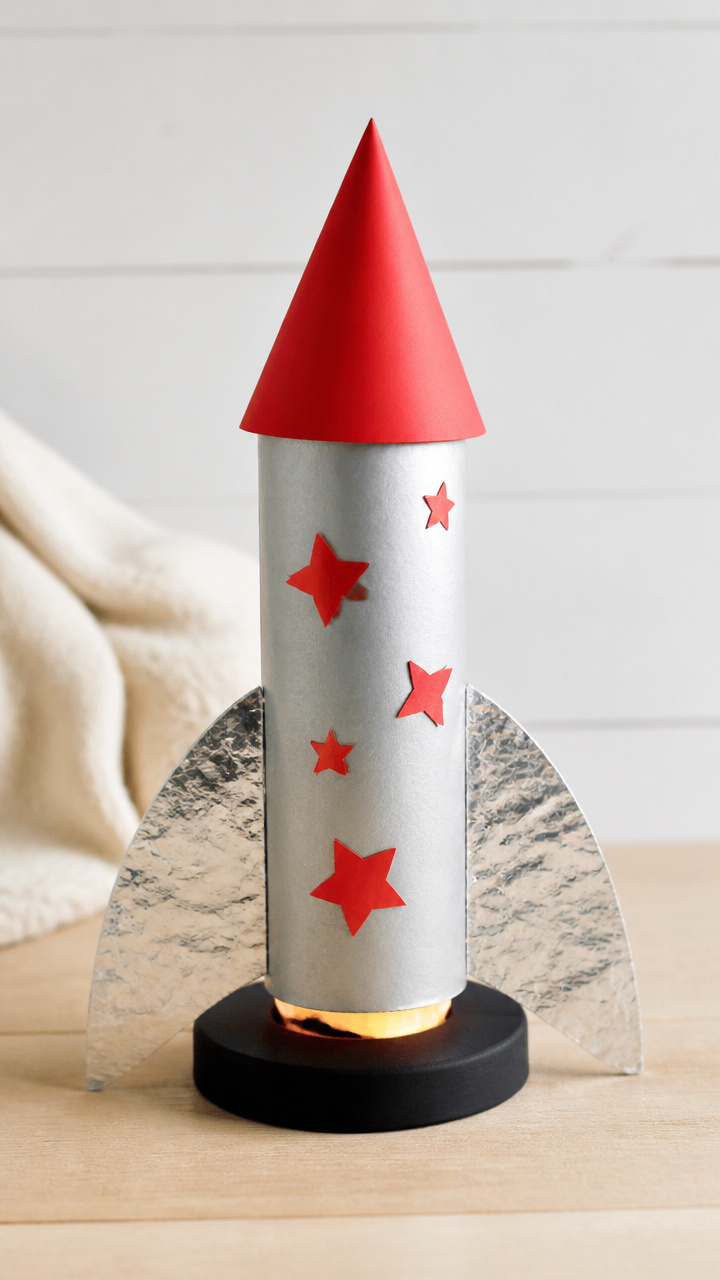
An empty toilet paper roll blasts off with foil fins and a glitter cone. It stands upright on a painted base, ready for pretend space missions.
Materials Needed
- Empty toilet paper tube
- Aluminum foil, 6×6 inch square
- Red construction paper
- White school glue
- Star-shaped hole punch
- Black acrylic paint
- Paintbrush
- Scissors
How to Make It
- Paint the tube black and let it dry for 15 minutes on a flat surface.
- Cut three triangle fins from red construction paper and glue them evenly spaced around the bottom of the tube.
- Shape the foil into a cone and glue it to the top, then punch five stars from white paper and glue them along the side.
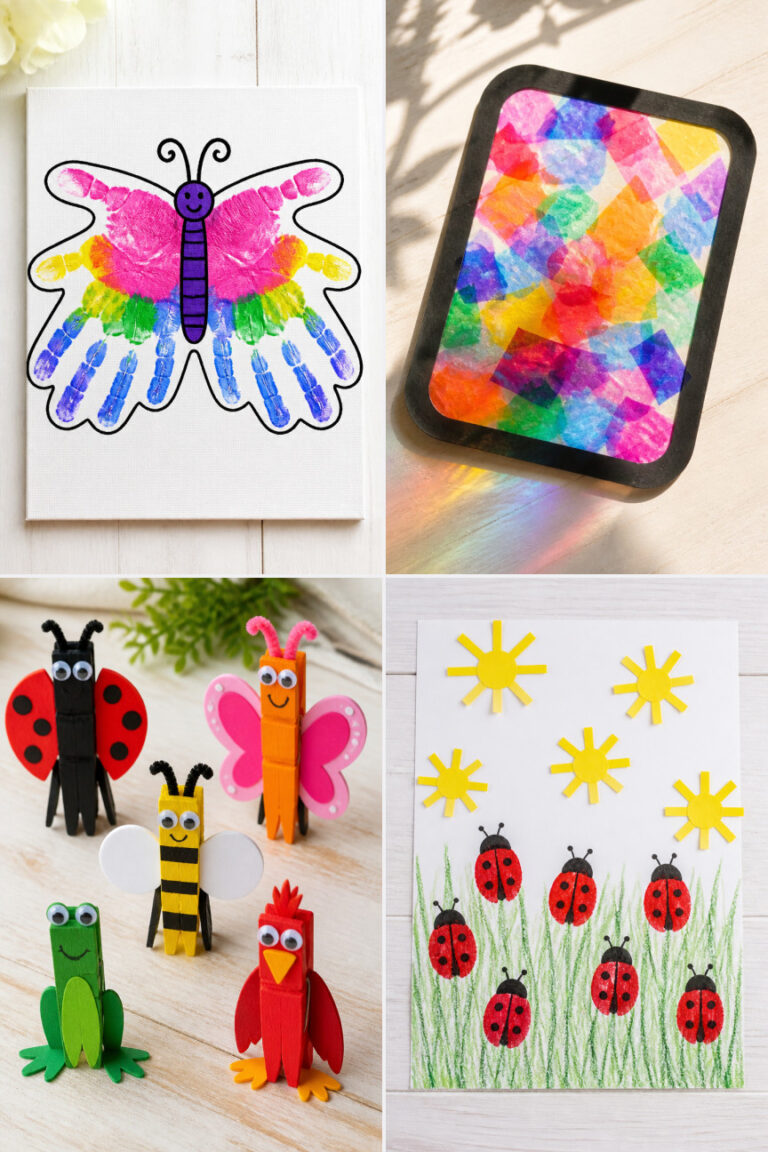
5. Handprint Butterfly
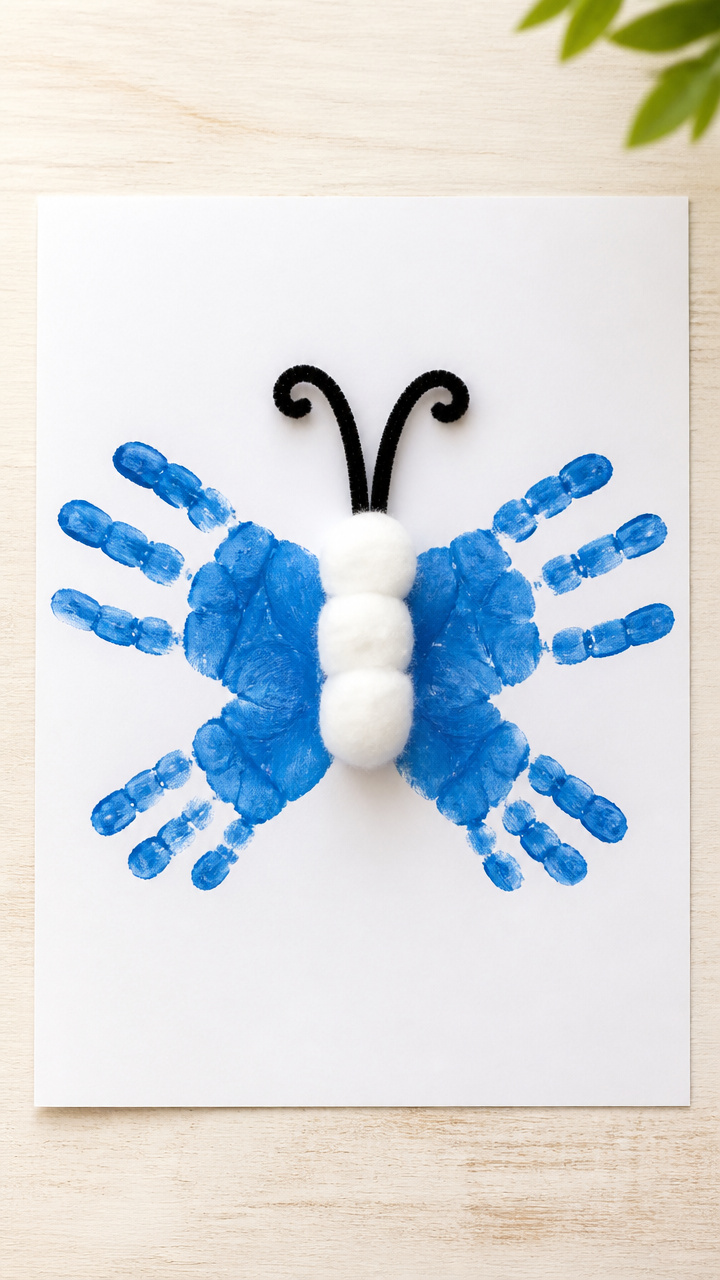
Two painted handprints face each other to form butterfly wings, connected by a cotton ball body. It’s a keepsake that grows more precious over time.
Materials Needed
- Washable blue paint
- White finger paint paper, 12×18 inch
- Pink paintbrush
- Cotton balls, 1 per child
- Black pipe cleaner, 6 inch
- White school glue
- Googly eyes, 0.5 inch
How to Make It
- Press both hands into washable blue paint and stamp them facing inward on either side of the paper center to form wings.
- Glue a cotton ball where the thumbs meet to make the body.
- Twist the pipe cleaner into antennae and glue it to the top of the cotton ball, then add two small googly eyes.
6. Cereal Box Frame
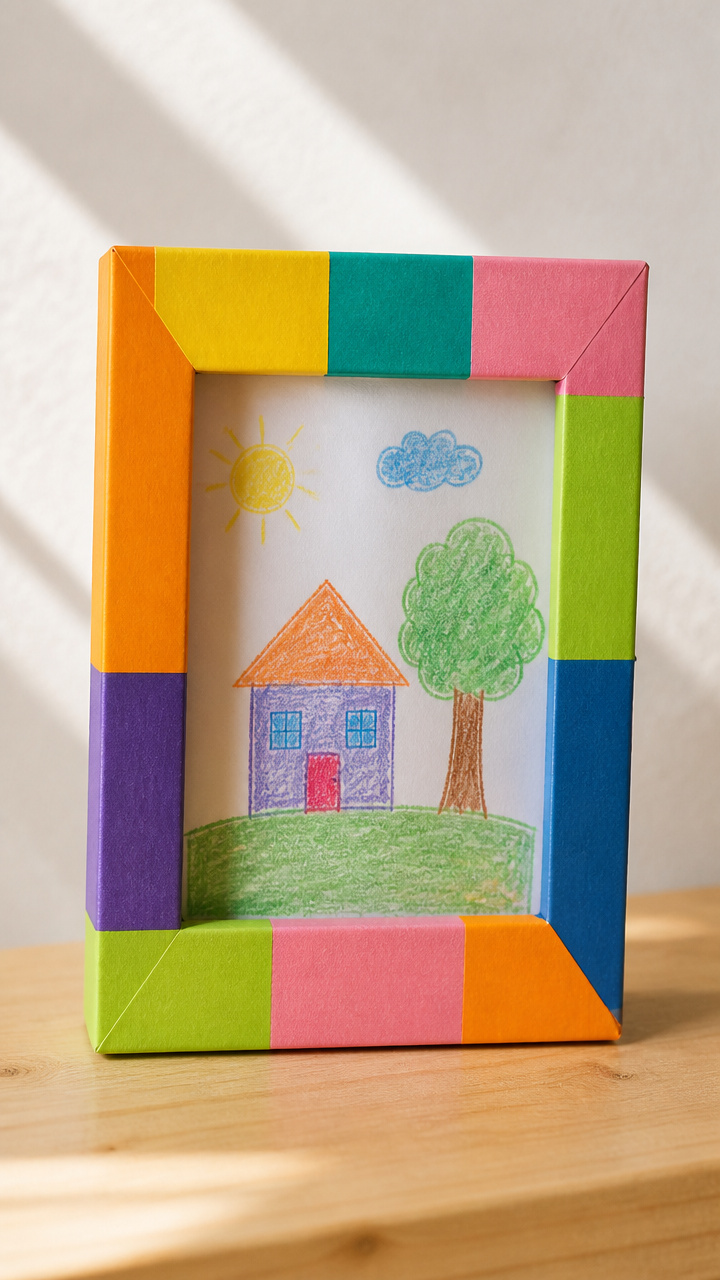
A cracker box front becomes a photo holder with taped edges and a sticky-back backdrop. It’s a chance to display their art or a family picture.
Materials Needed
- Empty cereal box
- Scissors
- Ruler
- Colored masking tape, 1/2 inch wide
- Double-sided tape
- Child’s drawing or 2×3 inch photo
How to Make It
- Cut the front panel of the cereal box to 5×7 inches using a ruler for straight edges.
- Wrap the edges with colored masking tape to prevent fraying and add a border.
- Attach a photo or drawing to the center with double-sided tape so it peeks above the bottom edge when propped.
7. Feather Fish
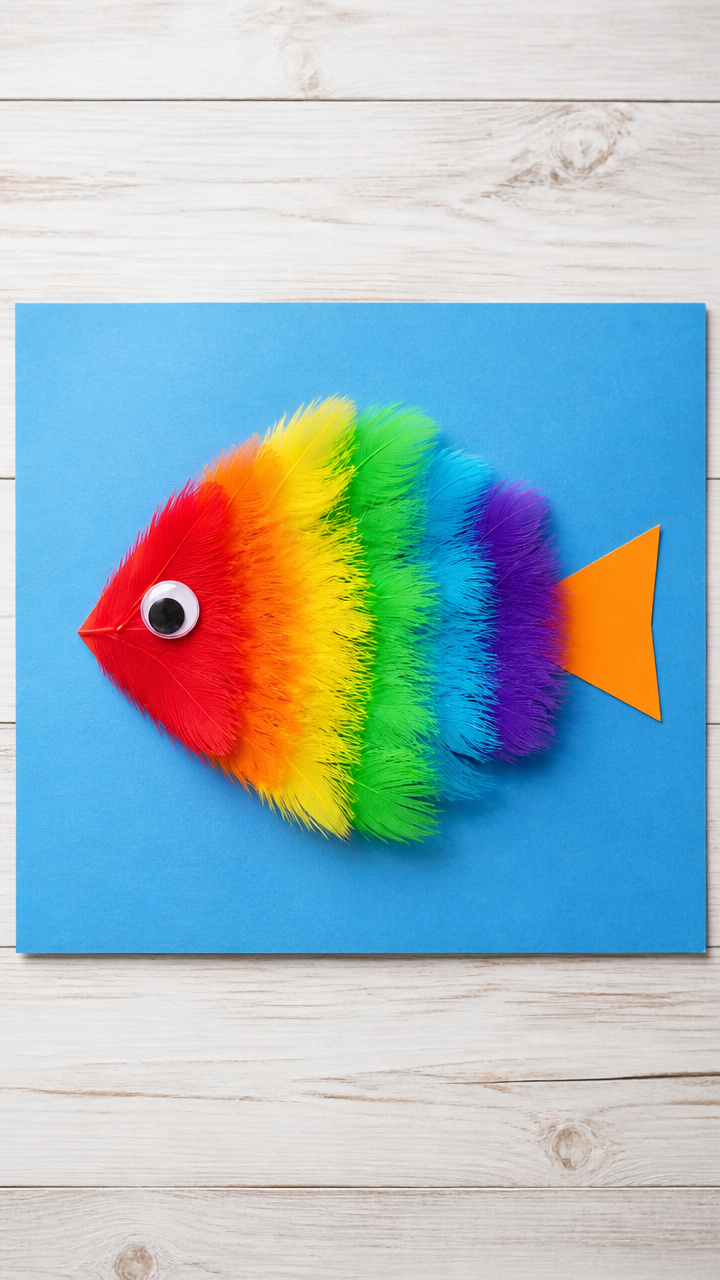
Soft feathers layered diagonally make a fluffy fish body that wiggles on paper. A googly eye and triangle tail complete the underwater friend.
Materials Needed
- Colorful craft feathers, 5 per child
- White school glue
- Orange construction paper
- Blue finger paint paper, 9×12 inch
- Googly eye, 1 inch
- Glue brush
How to Make It
- Cut a triangle tail from orange construction paper and set aside.
- Apply glue in a horizontal line near the center of the blue paper using a glue brush.
- Press the feathers onto the glue, overlapping them diagonally to form a fish shape, then add the tail and googly eye.
8. Button Flower Garden
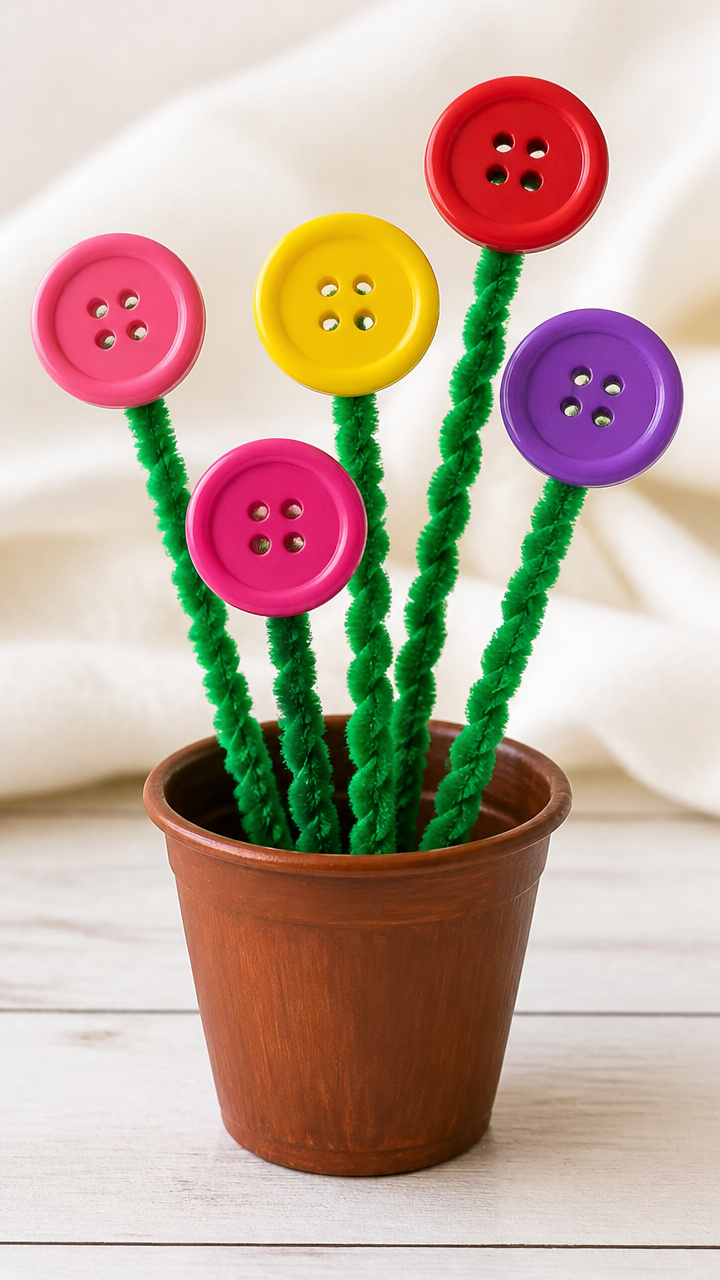
Jumbo buttons of different colors become garden blooms on twisted pipe cleaner stems. They stay upright in a painted cardboard pot.
Materials Needed
- Jumbo buttons, 4 per child (red, pink, yellow, purple)
- Green pipe cleaners, 4 per child
- Empty yogurt cup
- Brown acrylic paint
- Paintbrush
- White school glue
- Craft foam sheet, green
How to Make It
- Paint the outside of the yogurt cup brown and let dry for 10 minutes.
- Cut leaf shapes from green craft foam and glue one near the base of each pipe cleaner.
- Push each pipe cleaner through the bottom of the cup and glue a button to the top to form a flower.
9. Tissue Paper Kite
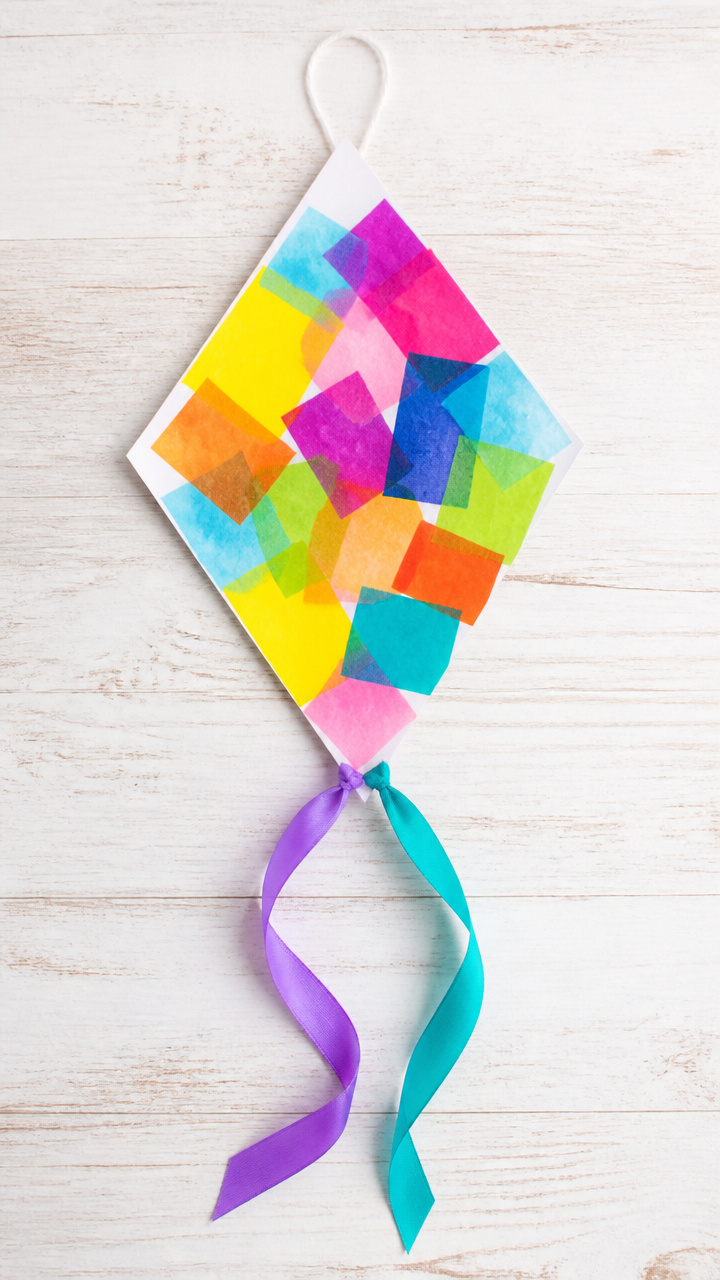
A diamond of white paper holds bright tissue paper patches that look like flying colors. Ribbon tails flutter from the base when hung.
Materials Needed
- White drawing paper, cut into 6 inch diamond
- Tissue paper squares, 2×2 inch, assorted colors, 12 per child
- Clear glue stick
- Ribbon, 12 inch length, 2 per child
- Hole punch
- Yarn, 1 foot
How to Make It
- Use a glue stick to cover one side of the diamond with a thin, even layer.
- Press tissue paper squares onto the glue, leaving no gaps and overlapping slightly.
- Punch two holes at the bottom point, thread ribbon through, and tie yarn across the top for hanging.
10. Egg Carton Caterpillar
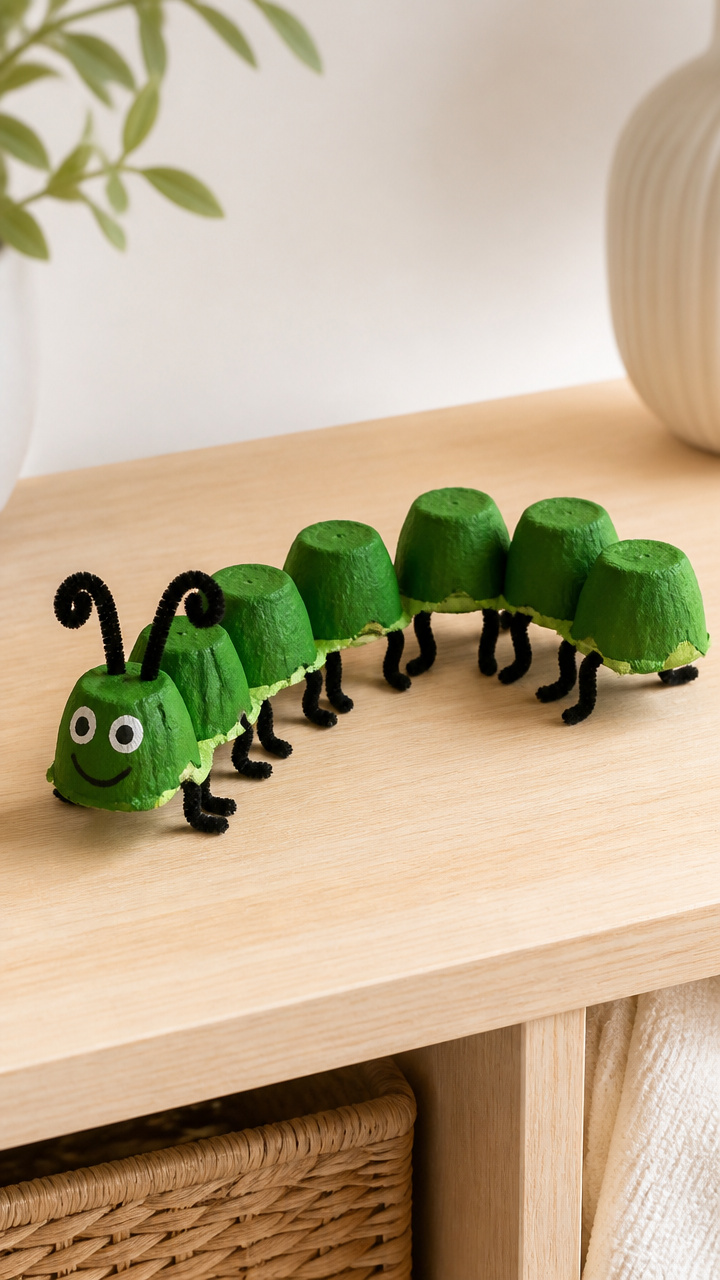
Six connected cups from an egg carton march in a line with painted faces and pipe cleaner legs. It curves proudly across the shelf.
Materials Needed
- Cardboard egg carton, 12 cup
- Scissors
- Green tempera paint
- Paintbrush
- Black pipe cleaners, 2 per child
- White school glue
- Googly eyes, 0.5 inch, 2 per child
How to Make It
- Cut six connected cups from the egg carton and let your child paint them all green, drying for 15 minutes.
- Glue two googly eyes near the top of the first cup.
- Cut the pipe cleaners into 12 equal pieces and push two into each cup for legs.


11. Straw Windsock
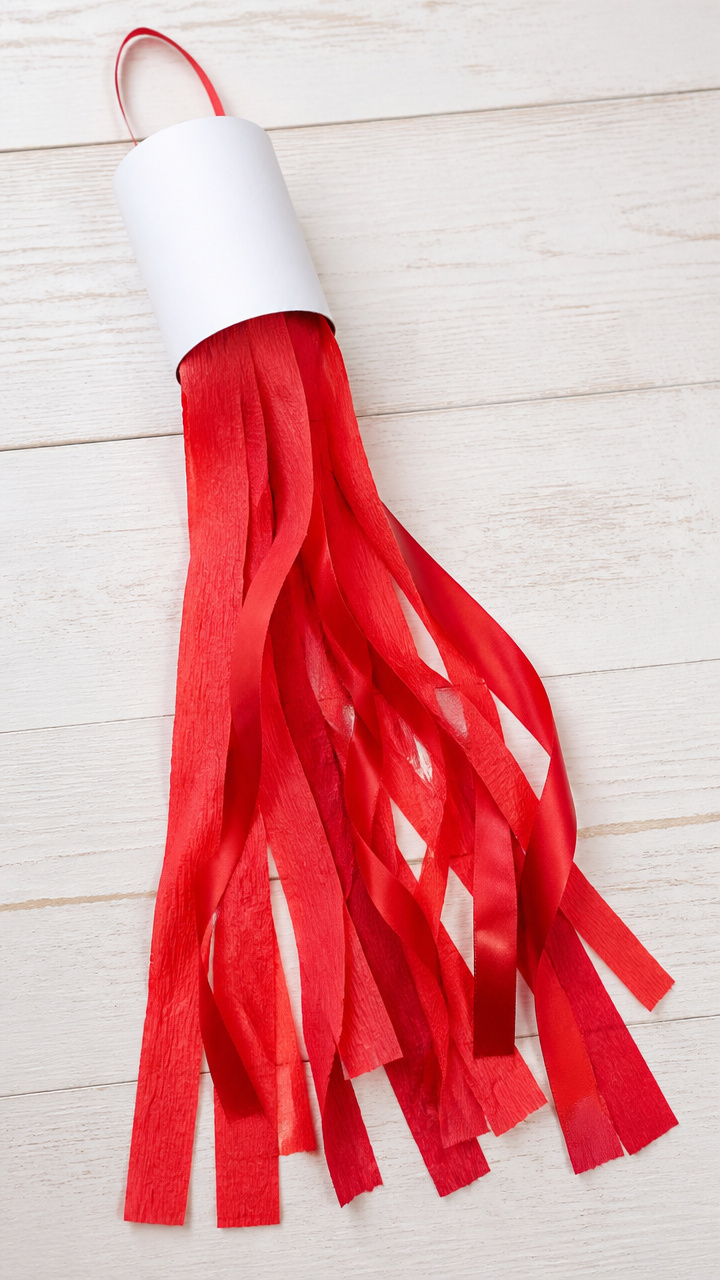
A paper tube wears a skirt of streamers that dance in the breeze. Hang it by the door and watch it catch every little puff of air.
Materials Needed
- White paper tube, 6 inch long
- Crepe paper streamers, 12 inch lengths, 8 per child
- Red construction paper
- White school glue
- Hole punch
- Ribbon, 6 inch, 2 pieces
How to Make It
- Cut fringe along one long edge of each streamer, stopping 1 inch from the opposite edge.
- Glue the unfringed edge of each streamer around the bottom of the tube, layering slightly.
- Punch two holes at the top, thread ribbon through, and cut a circle from red paper to glue on top as a cap.
12. Cotton Ball Snowman
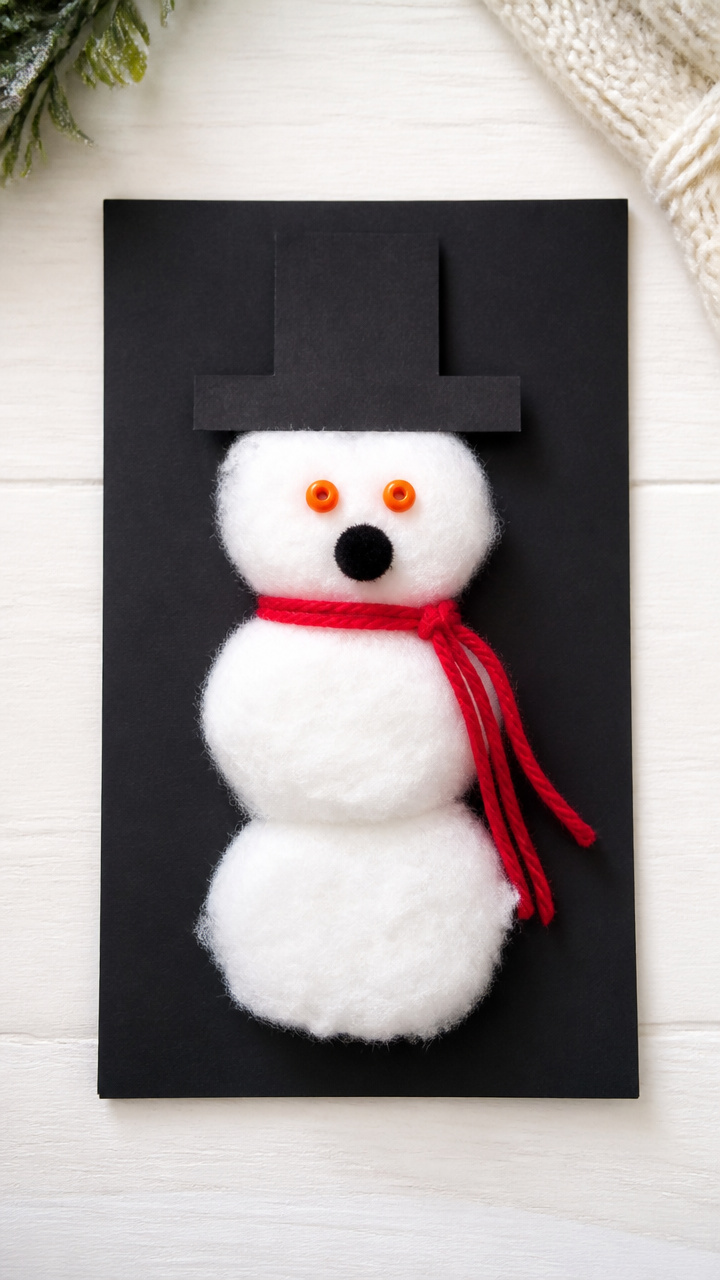
Three stacked cotton balls rise into a chilly friend with a scarf and hat. It sticks to dark paper like a winter scene on the fridge.
Materials Needed
- Large cotton balls, 3 per child
- Black construction paper, 9×12 inch
- Orange pony beads, 3 per child
- White school glue
- Mini pom-pom, 0.5 inch, black
- Red yarn, 6 inch piece
- Top hat sticker
How to Make It
- Glue three cotton balls in a vertical stack on the black paper.
- Press three orange beads into the center for buttons and a black pom-pom for the nose.
- Wrap the red yarn around the middle as a scarf and stick the top hat above the top cotton ball.

13. Leaf Rubbing Art
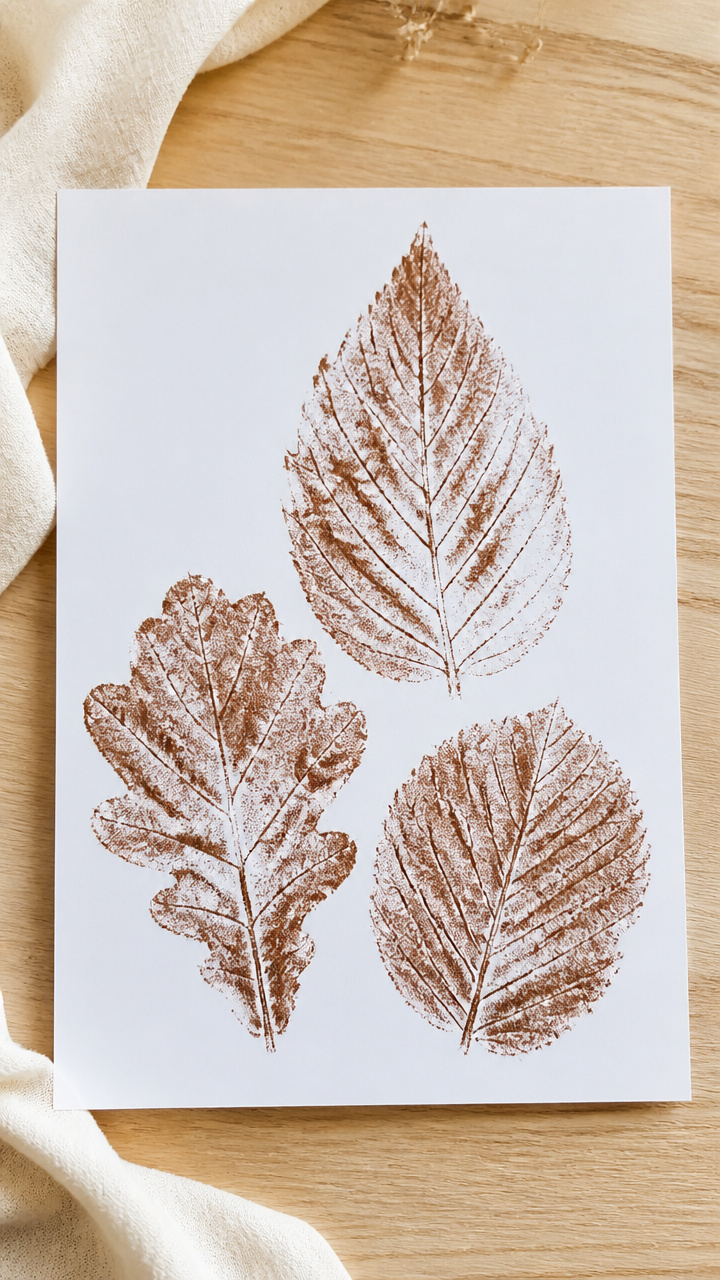
Real leaves placed under paper reveal their veins when rubbed with a crayon. It turns nature walks into instant printmaking sessions.
Materials Needed
- Fresh leaves, 3 per child
- White drawing paper, 8.5×11 inch
- Brown crayon with paper removed
- Clipboard
- Tape, 2 pieces
How to Make It
- Place a leaf under the paper and secure both to the clipboard with tape at the top corners.
- Hold the paper taut and rub the bare crayon gently over the leaf area in circular motions.
- Repeat with two more leaves, using different pressure to see how the textures change.
14. Paper Chain Snake
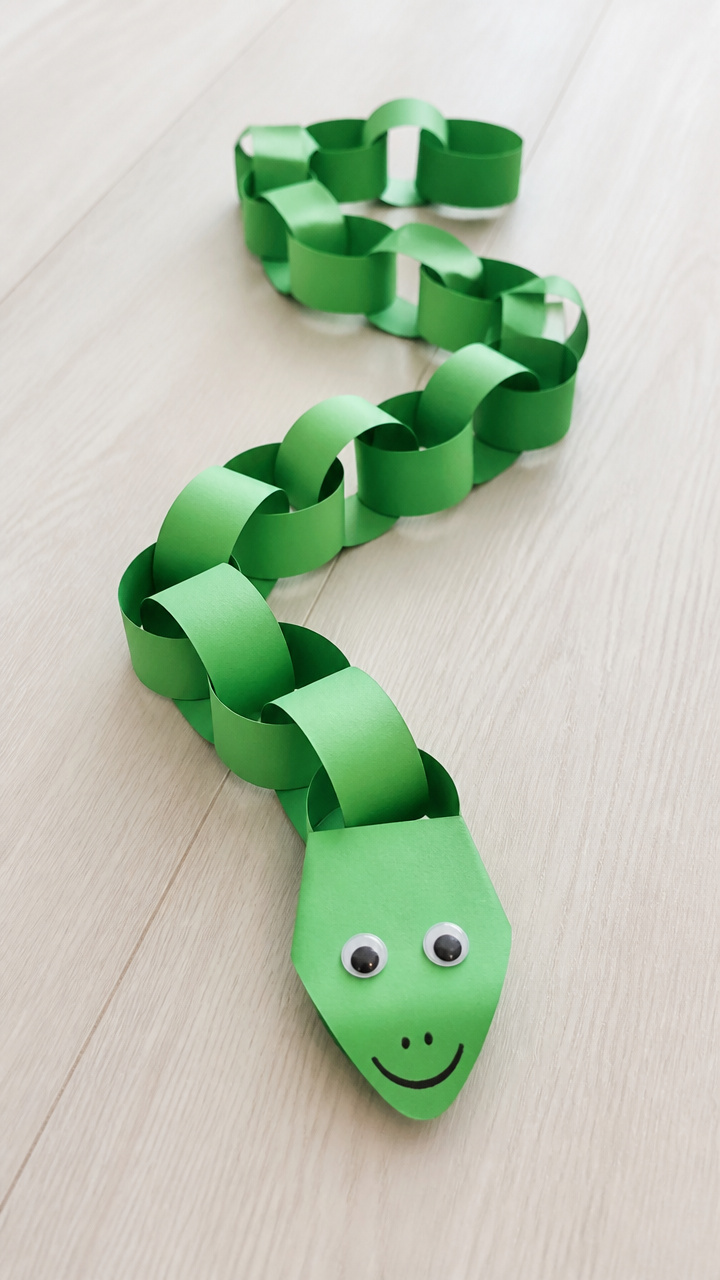
Interlocked loops of green paper zigzag into a slithering snake. It stretches across the floor and loves to coil around toys.
Materials Needed
- Green construction paper, cut into 1×6 inch strips, 10 per child
- White school glue
- Glue brush
- Googly eyes, 0.5 inch, 2 per child
- Black marker
How to Make It
- Form the first strip into a loop and glue the ends together with a glue brush.
- Link the next strip through the first before gluing, continuing until all 10 are connected.
- Glue on googly eyes and draw a forked tongue with a black marker at the front end.


15. Bottle Cap Ladybug
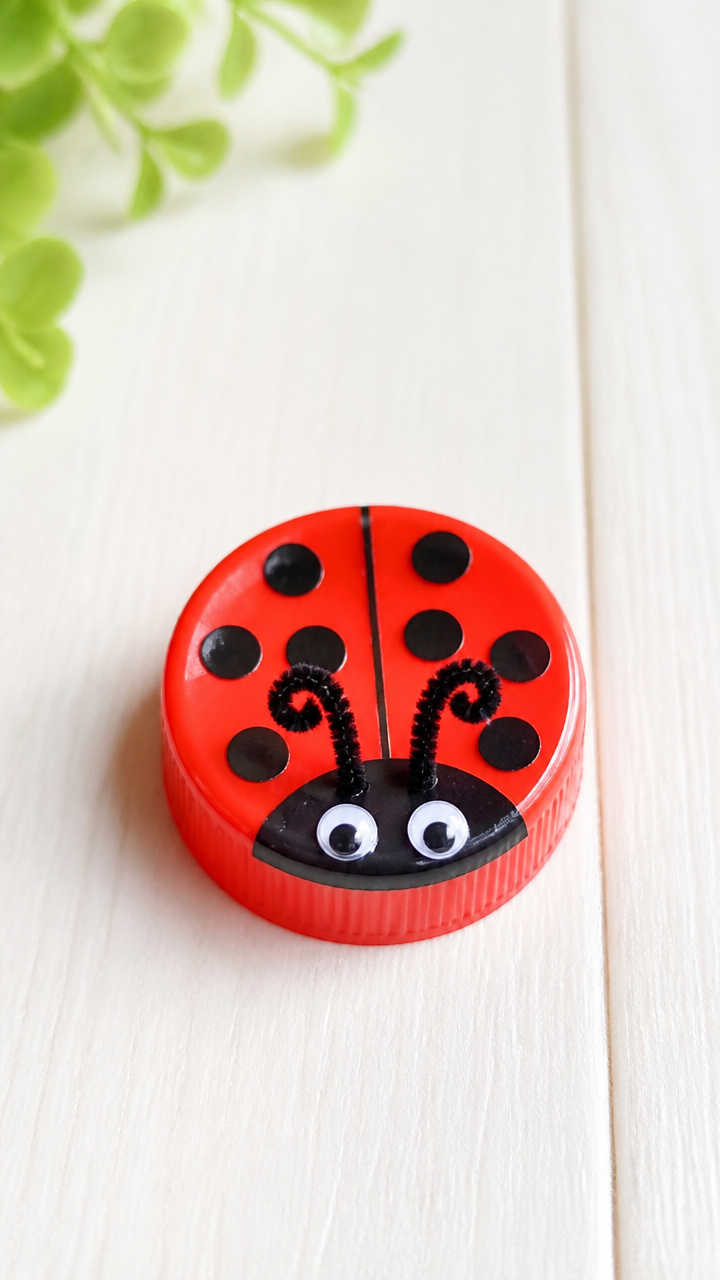
A red bottle cap hosts black spots and pipe cleaner antennae to become a shiny ladybug. It sits flat but feels like a real garden visitor.
Materials Needed
- Red plastic bottle cap, 1 per child
- Black acrylic paint
- Paintbrush
- Black pipe cleaner, 4 inch piece
- White school glue
- Googly eyes, 0.25 inch
- Black chenille stem tip
How to Make It
- Paint five dots on the top of the cap with black paint and let dry for 10 minutes.
- Cut the pipe cleaner in half and bend each end to form antennae curls.
- Glue the antennae to the rim and add two tiny googly eyes just above them.
You’ve got everything you need to start crafting right now. Grab those scissors, open the glue, and let the little moments of making bring big smiles.