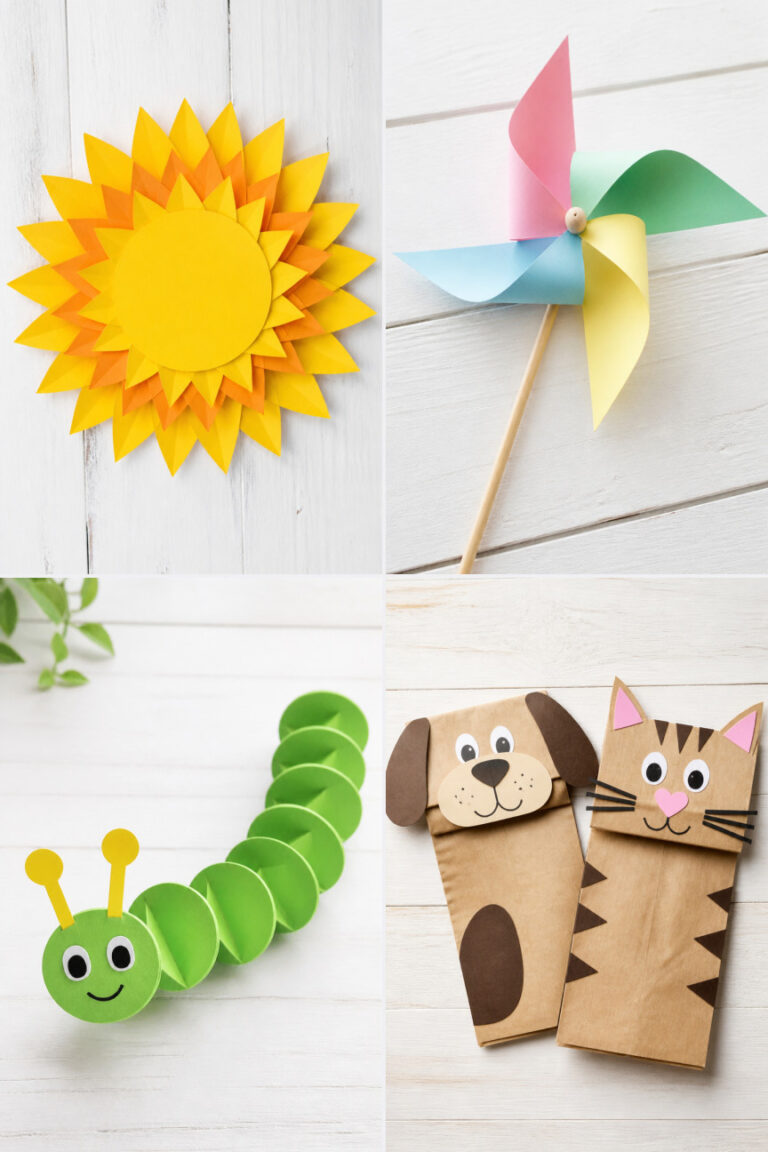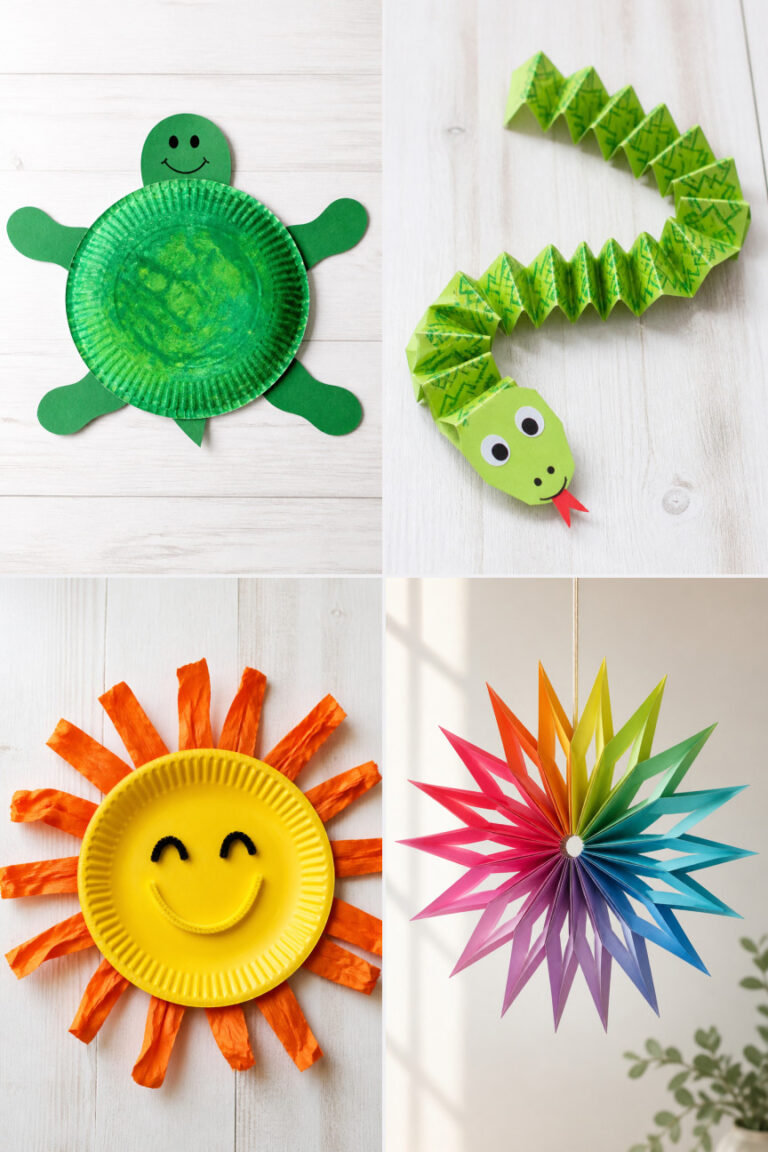
15 Easy Crafts for Toddlers That Use Large and Simple Materials
Little hands love to explore, squish, and stick things together. These crafts use big pieces and simple steps so toddlers can focus on fun, not frustration.
Each idea is made with safe, easy-to-handle materials that won’t overwhelm tiny fingers. You’ll find no tiny beads or complicated tools here, just joyful making.
1. Giant Puffy Paint Handprints
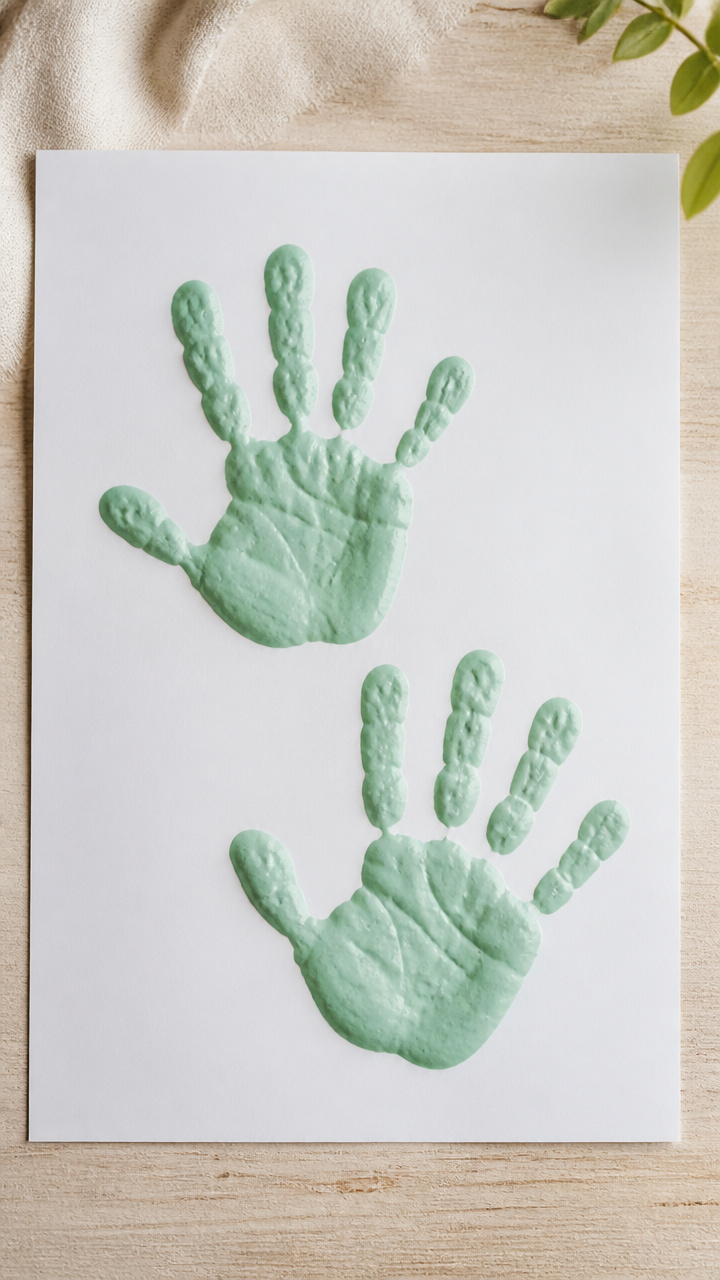
Thick, fluffy paint lets tiny hands leave soft, raised prints on paper. This sensory-rich craft dries into a keepsake with real texture.
Materials Needed
- 1/2 cup white school glue
- 1/2 cup shaving cream
- 3 drops blue acrylic paint
- 3 drops yellow acrylic paint
- A4 white cardstock, 2 sheets
- plastic spoon
- mixing bowl
How to Make It
- Pour the glue and shaving cream into the bowl and stir gently with the spoon until smooth and fluffy.
- Add 3 drops of blue paint and mix lightly for a marbled effect, do not blend completely.
- Spoon a dollop onto the child’s palm and help them press their hand flat onto the cardstock.
- Let the print dry upright for 6 hours in a warm room, away from drafts.


2. Cardboard Tube Stompers
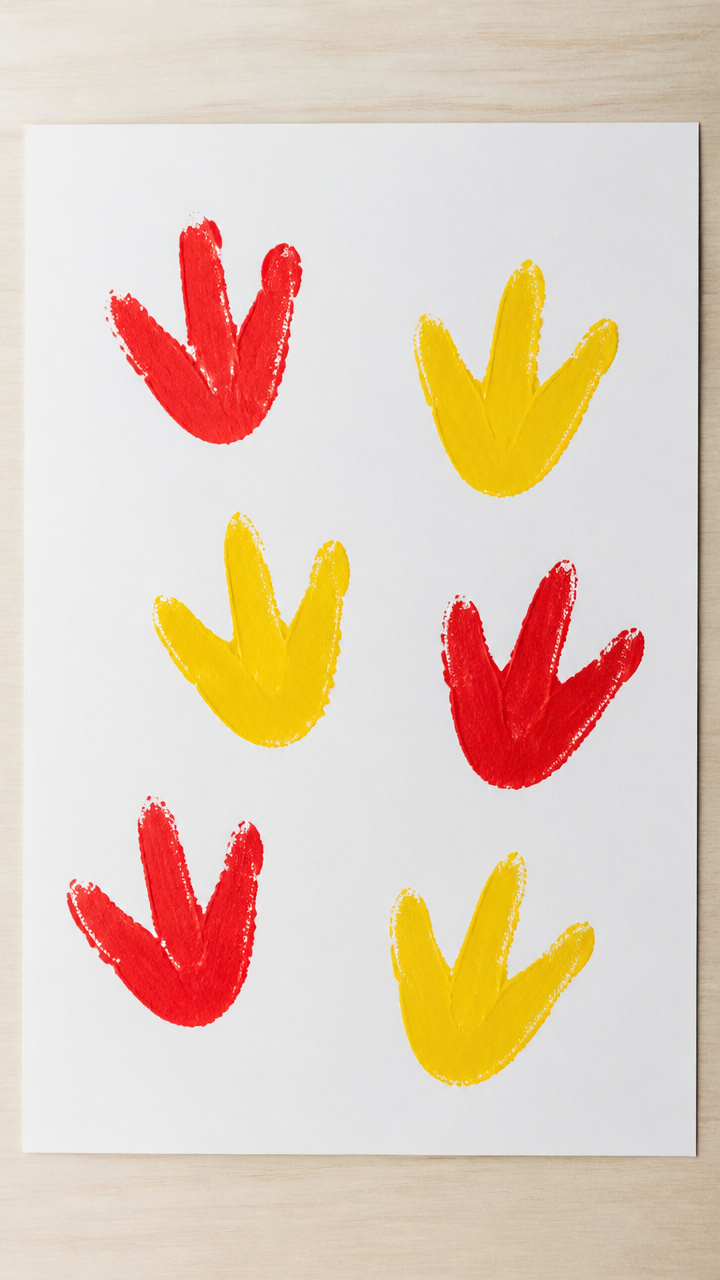
Empty toilet paper rolls become colorful animal feet when stamped in paint. Big shapes make bold prints toddlers can recognize instantly.
Materials Needed
- 6 empty toilet paper tubes
- red acrylic paint
- yellow acrylic paint
- A3 white drawing paper
- paint tray
- paper plate
How to Make It
- Pour red paint into the paint tray and roll one end of a tube in it to coat the edge.
- Press the painted end straight down onto the drawing paper to make a circle print.
- Repeat with clean tubes and yellow paint on a new sheet to avoid mixing colors.
- Let all prints air dry for 20 minutes before handling.
3. Yarn Wrapping Boards
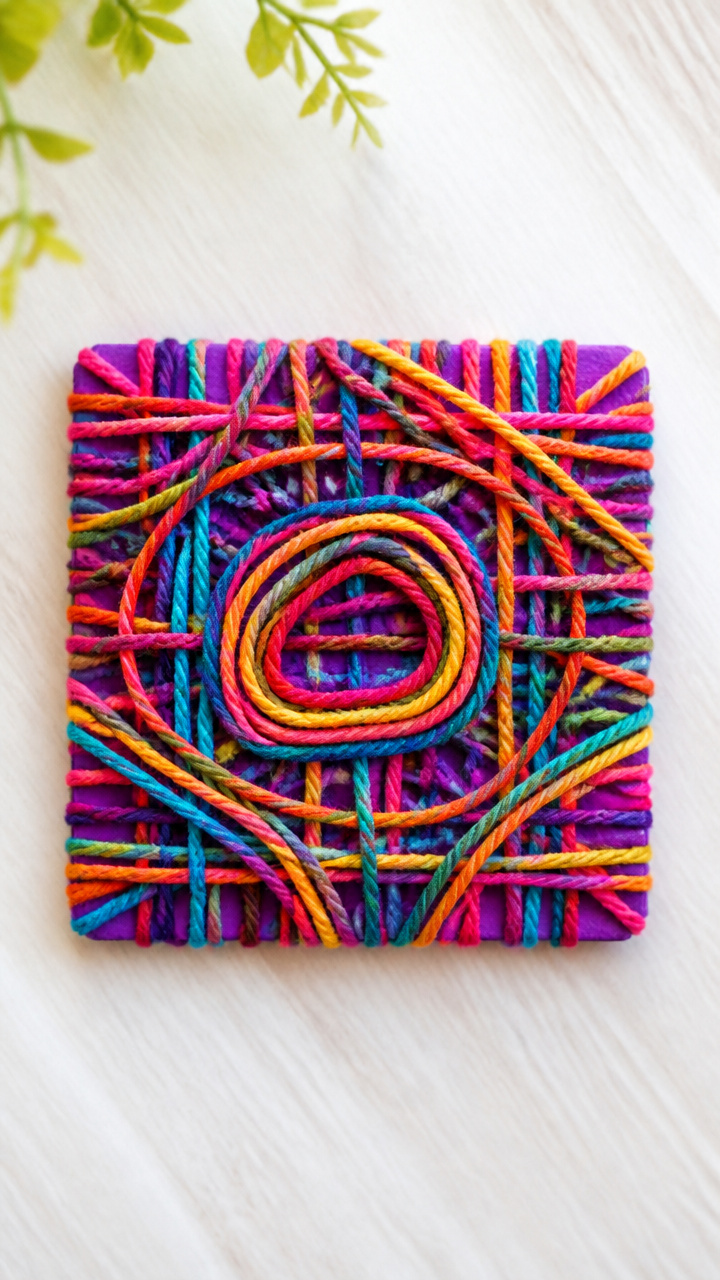
Stiff cardboard and thick yarn let little hands weave color in looping patterns. The result is a bright, tactile art piece ready for display.
Materials Needed
- cereal box, cut into 6×6 inch square
- purple yarn, 2 feet length
- child-safe plastic needle
- scissors
How to Make It
- Cut small notches every inch around the edge of the cardboard square using scissors.
- Tie one end of the yarn to a notch and thread the needle onto the other end.
- Guide the child to push the needle over and under alternating notches, creating a web pattern.
- Continue until the center fills loosely, then knot the end at a notch and trim excess.
4. Puddle Painting with Ice Cubes
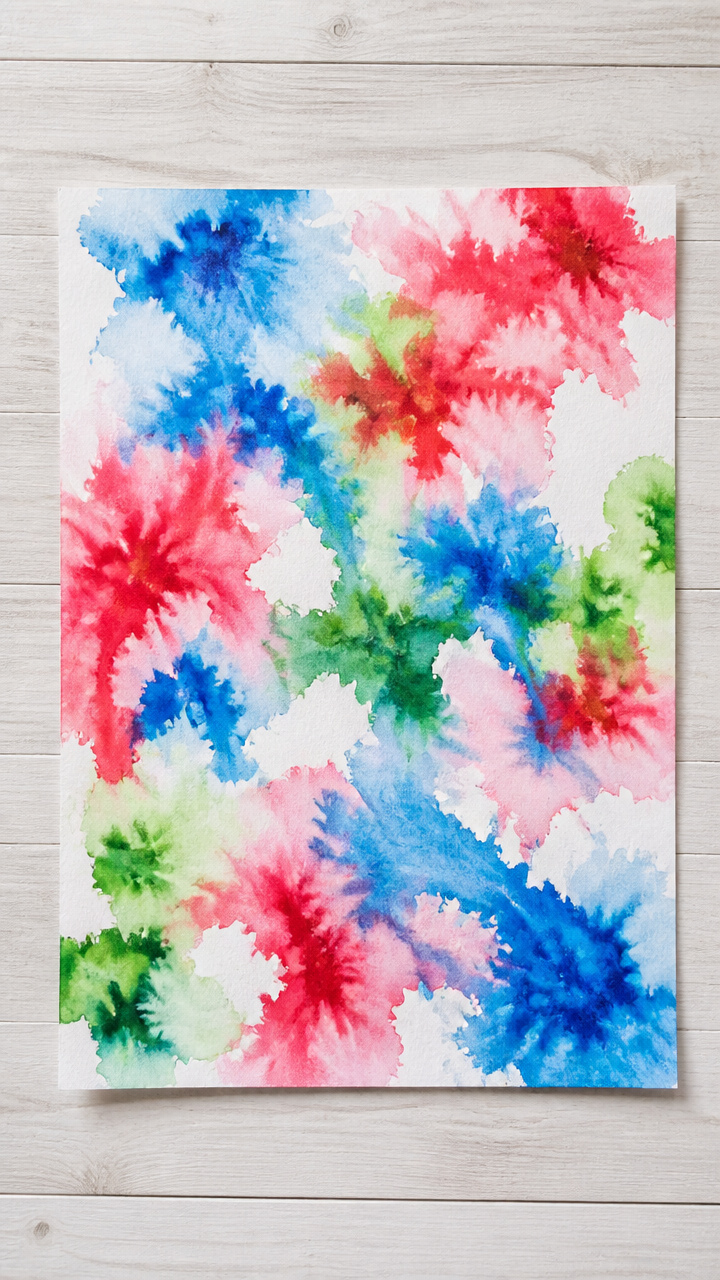
Frozen paint cubes melt into swirling watercolor blooms on thick paper. Cool to touch and mesmerizing to watch.
Materials Needed
- 3 ice cube trays
- blue food coloring, 10 drops
- red food coloring, 10 drops
- green food coloring, 10 drops
- water
- A3 heavy watercolor paper
How to Make It
- Fill each compartment of two trays with water and add 5 drops of one color per tray.
- Freeze the trays for 4 hours or until solid.
- Lay the watercolor paper on a tray or shallow bin to catch drips.
- Place 3 colored ice cubes on the paper and let the child tilt the tray gently to spread the melt.
5. Foam Sticker Mosaics
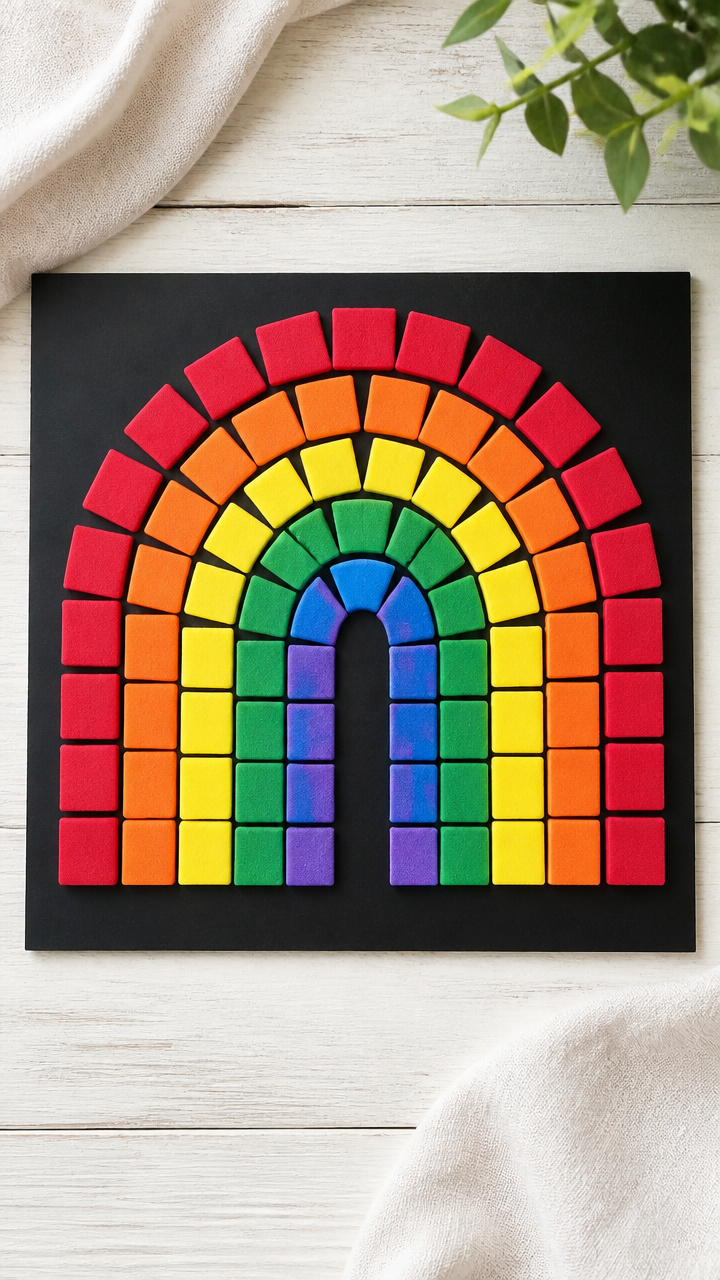
Soft foam squares stick easily to poster board to form chunky rainbow patterns. No glue, no mess, just press and play.
Materials Needed
- 10×10 inch black poster board
- assorted foam stickers, 20 pieces, 1 inch square
- ruler
How to Make It
- Use the ruler to draw a 1 inch border on the poster board to frame the mosaic area.
- Peel the backing off one foam sticker and press it firmly inside the border.
- Add more stickers side by side with no gaps, letting colors mix freely.
- Stop when the space is full or attention fades, no need to finish completely.


6. Cotton Ball Snow Trees
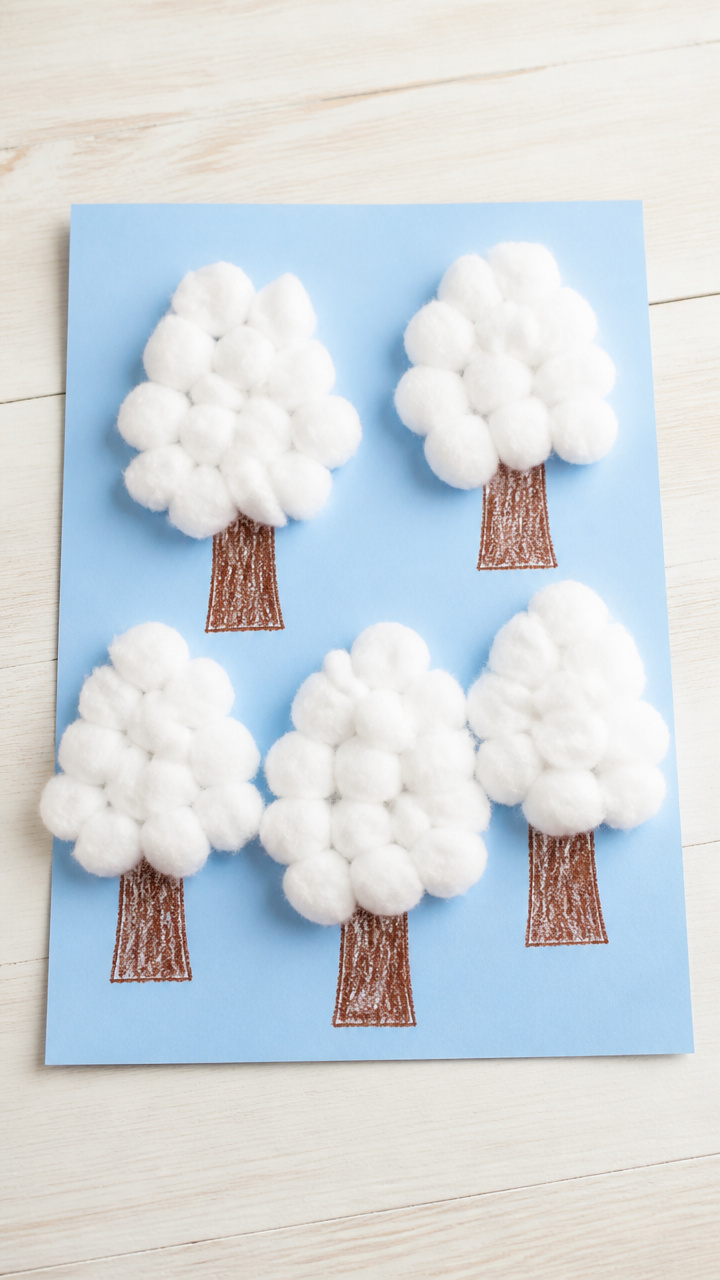
Fluffy cotton balls stick to drawn trunks to make soft winter scenes. Gentle textures invite touching long after the craft ends.
Materials Needed
- A4 blue construction paper
- white school glue
- cotton balls, 15
- brown crayon
- paintbrush
How to Make It
- Draw a short, wide tree trunk in the center of the paper using the brown crayon.
- Dip the paintbrush in glue and paint a thick layer over the top of the trunk.
- Pinch a cotton ball into a puff and press it onto the glued area to form the treetop.
- Repeat until the treetop is full, using 8 to 10 puffs, and let dry for 30 minutes.

7. Shaving Cream Swirl Art
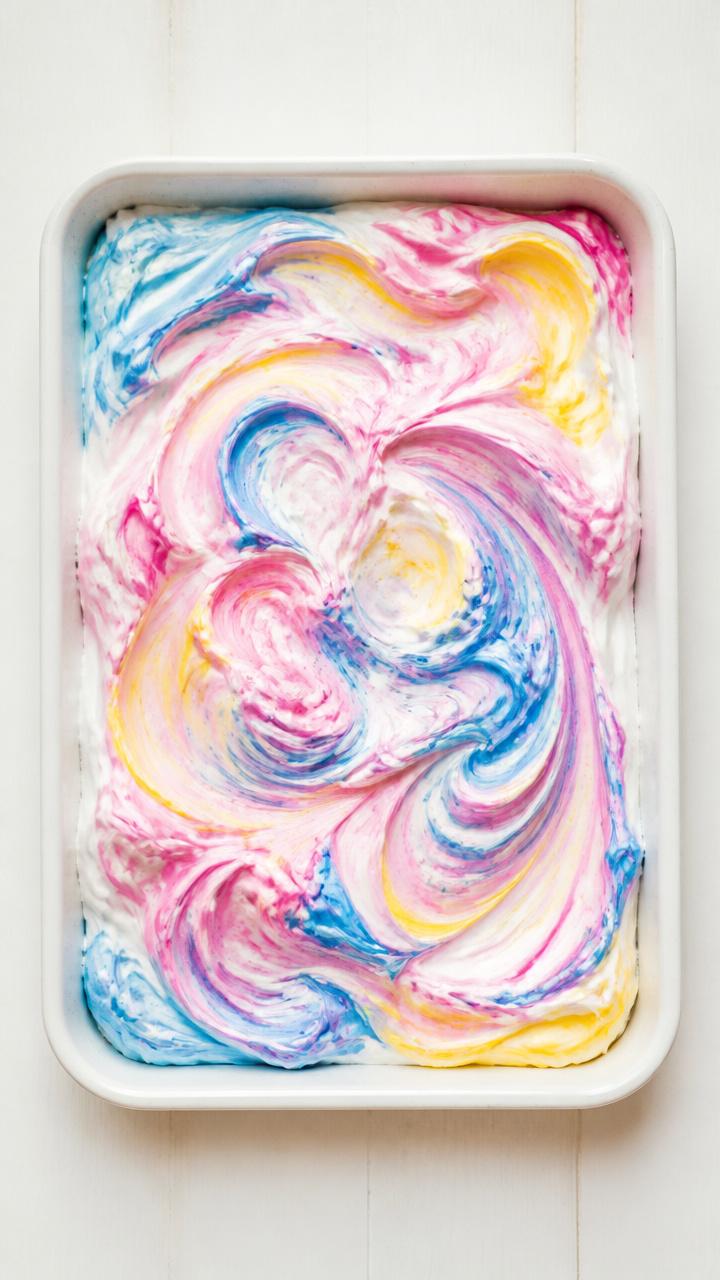
A tray of shaving cream and drops of food coloring become a swirling galaxy. Safe to touch and thrilling to mix.
Materials Needed
- 9×12 inch baking tray
- 1 cup shaving cream
- blue food coloring, 5 drops
- pink food coloring, 5 drops
- yellow food coloring, 5 drops
- flat craft stick
- A4 white cardstock
How to Make It
- Spread shaving cream evenly in the tray to cover the bottom with a 1/2 inch layer.
- Dot each food coloring in separate spots on the cream surface.
- Drag the craft stick through the colors in zigzags to create swirls.
- Press the cardstock face down onto the design, lift straight up, and let dry 10 minutes.
8. Paper Plate Sun Faces
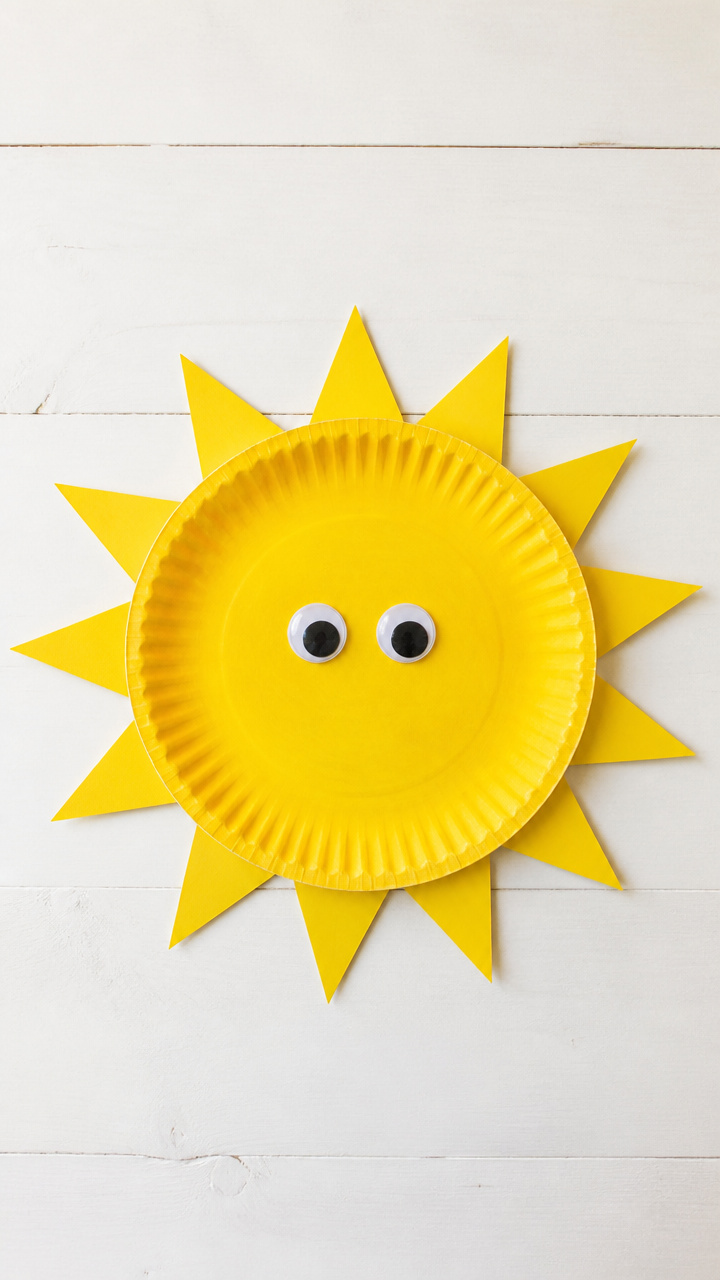
Bright yellow plates turn into happy suns with hand-cut rays and googly eyes. Simple shapes build confidence with every cut and paste.
Materials Needed
- paper plate, 9 inch
- yellow finger paint
- paintbrush
- child-safe scissors
- 2 wiggly eyes, 1 inch
- glue stick
- orange construction paper
How to Make It
- Paint the entire plate yellow using the brush and let dry for 15 minutes.
- Cut 8 strips, 1×4 inches, from the orange paper to use as rays.
- Apply glue to one end of each strip and fan them around the back edge of the plate.
- Glue the eyes near the top center and let the sun rest flat until set, about 10 minutes.
9. Bubble Wrap Stamping Fish
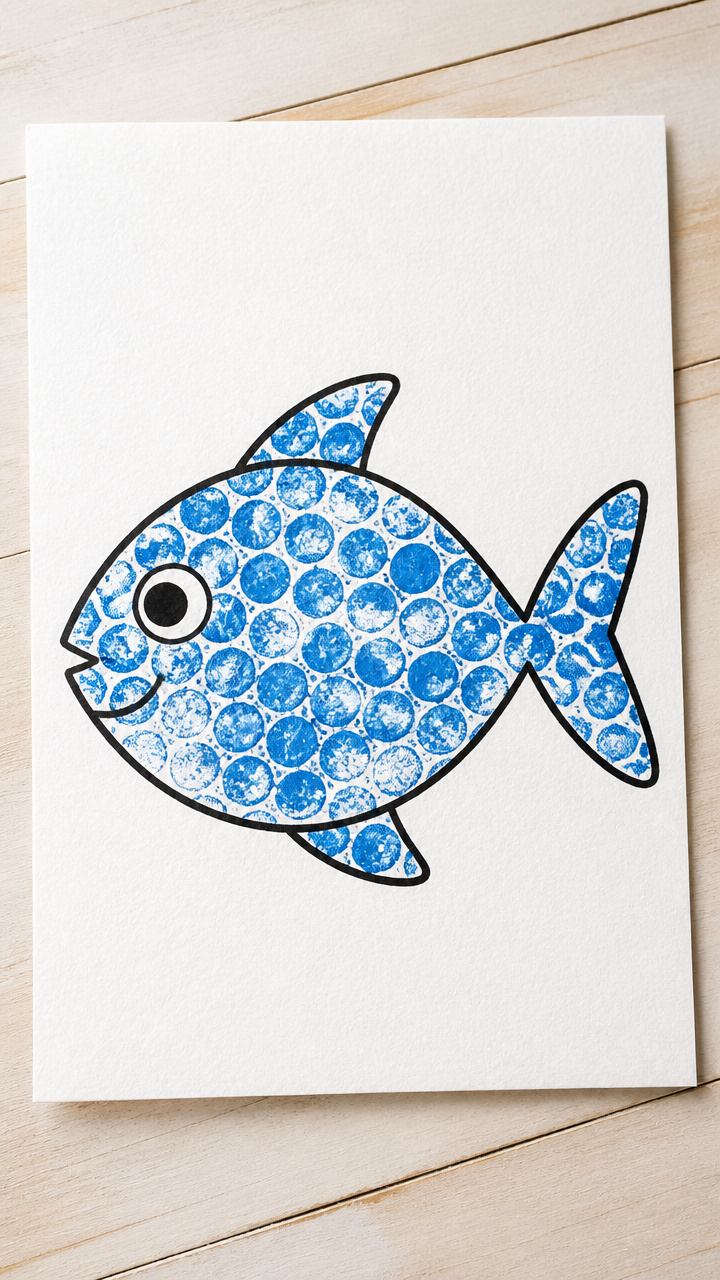
Crinkly bubble wrap leaves perfect scale prints along a fish outline. A quick stamp-and-lift rhythm keeps little artists engaged.
Materials Needed
- small piece of bubble wrap, 4×6 inch
- blue acrylic paint
- paint tray
- A4 white drawing paper
- black marker
How to Make It
- Draw a large fish shape on the paper using the black marker, filling most of the page.
- Pour paint into the tray and press the bumpy side of the bubble wrap into it.
- Blot once on scrap paper to remove excess paint, then press firmly inside the fish outline.
- Repeat stamping until the fish body is covered, letting paint dry 20 minutes.
10. Stick and Leaf Frames
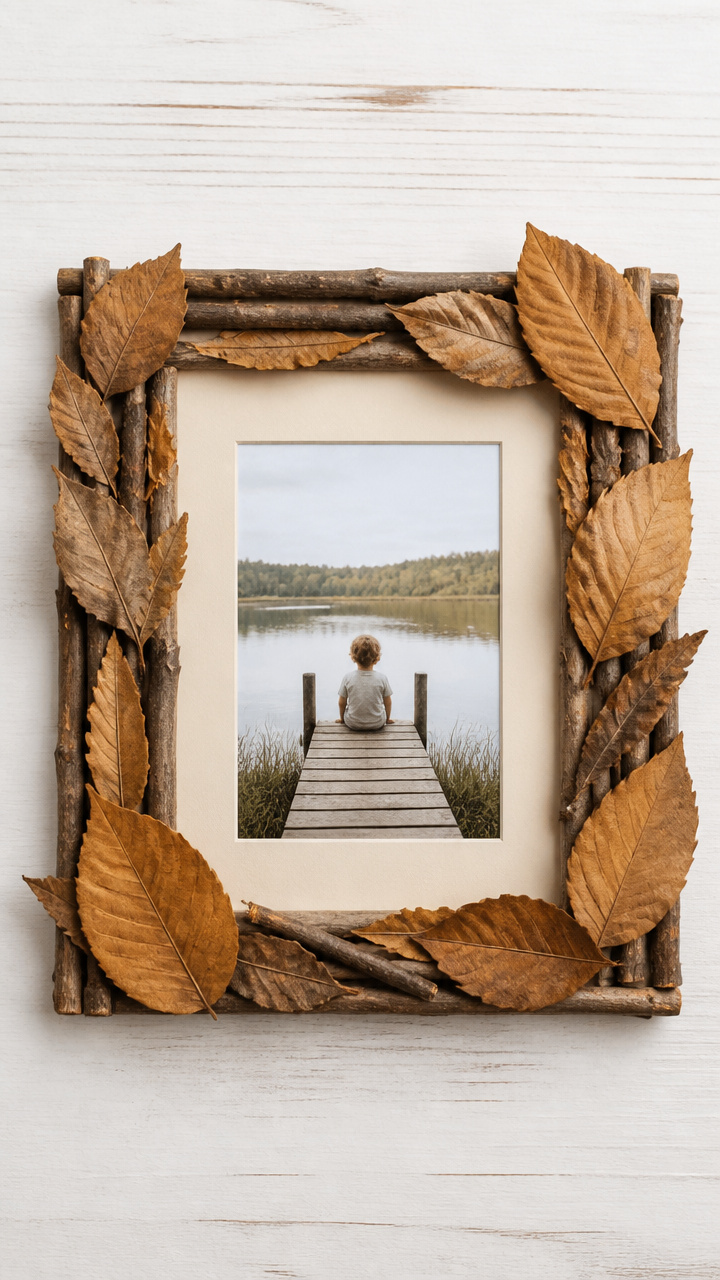
Twigs and big leaves form a natural border around a child’s photo. Outdoor treasures meet indoor art in this rustic display.
Materials Needed
- 8×10 inch photo of the child
- matte board, 10×12 inch
- craft glue
- 4 twigs, 6 inches long
- 2 large dried leaves
- paintbrush
How to Make It
- Center the photo on the matte board and glue it in place with a thin line around the edges.
- Brush glue along the outer edge of the matte board, 1 inch from the border.
- Press the twigs flat against the glued edge to form a rectangle frame.
- Tuck the leaves into two corners and hold for 10 seconds, then let dry 1 hour.


11. Sponge Shape Dabbing
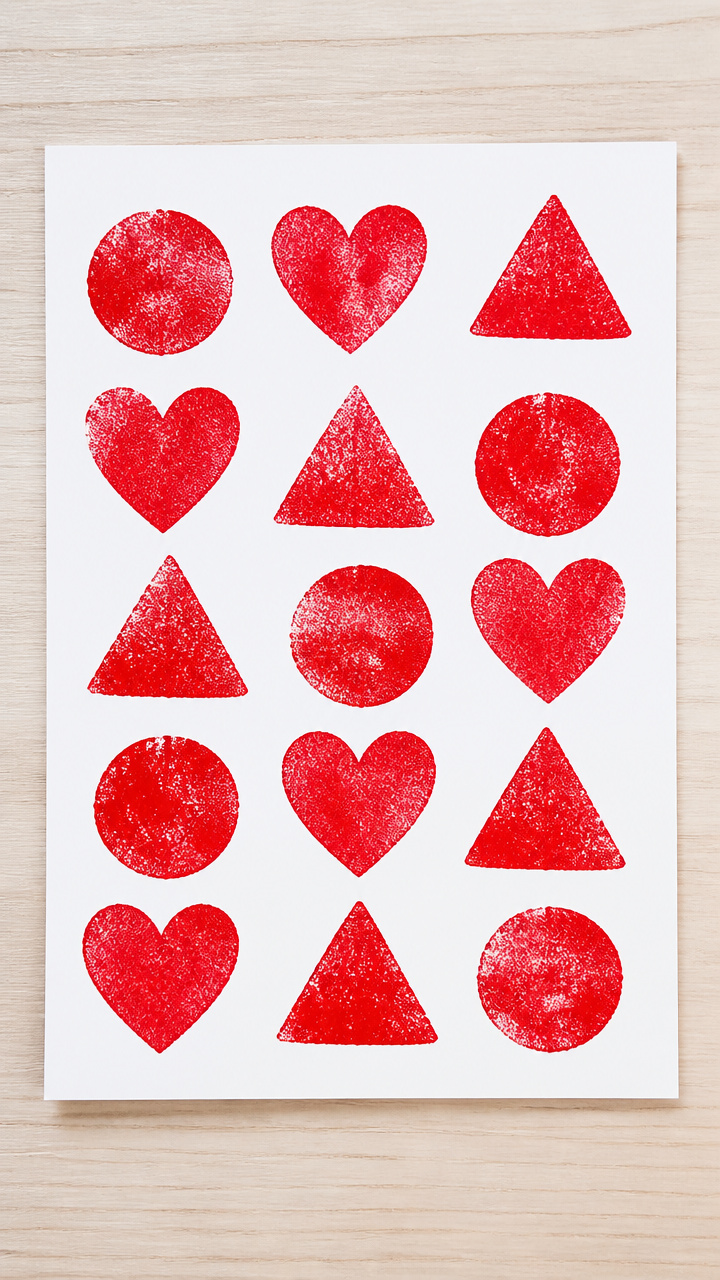
Cut sponges become fat stamps that leave crisp shapes in bright paint. Dabbing builds hand strength and control.
Materials Needed
- kitchen sponge, yellow
- scissors
- red acrylic paint
- paint tray
- A4 white cardstock
How to Make It
- Cut the sponge into a 2 inch circle using scissors.
- Pour paint into the tray and press the sponge flat into it, lifting straight up.
- Dab the sponge once onto the cardstock to make a solid circle print.
- Re-dip and repeat to make 5 to 8 circles, spacing them across the page.
12. Feather Painting Birds
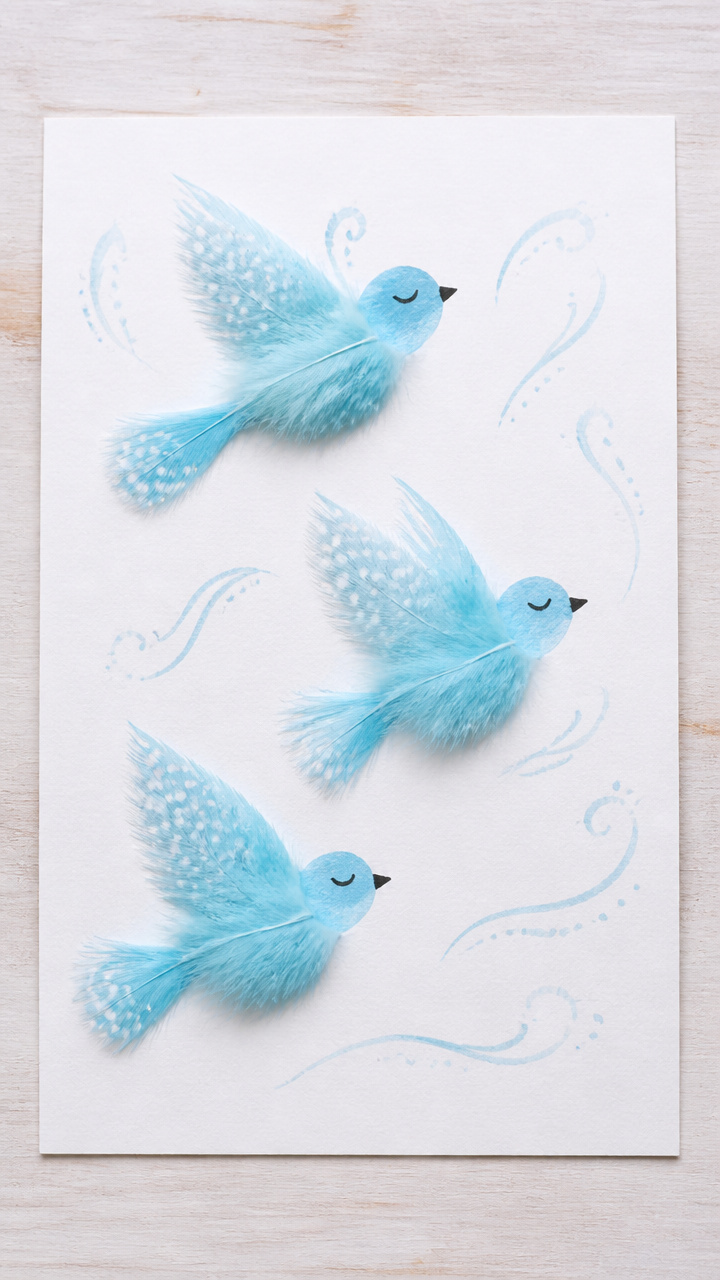
Soft feathers drag paint into feathery wings and tails. Light strokes create airy, fluttering marks that feel magical.
Materials Needed
- 3 large craft feathers, 4 inches
- light blue acrylic paint
- A4 white drawing paper
- black fine-tip marker
How to Make It
- Pour a dime-sized puddle of paint onto the paper.
- Hold a feather by the quill and dip the soft end into the paint.
- Drag the feather outward from the puddle to make wing-like streaks.
- Once dry, add small bird faces with the marker near the base of each feather trail.
13. Pasta Necklaces
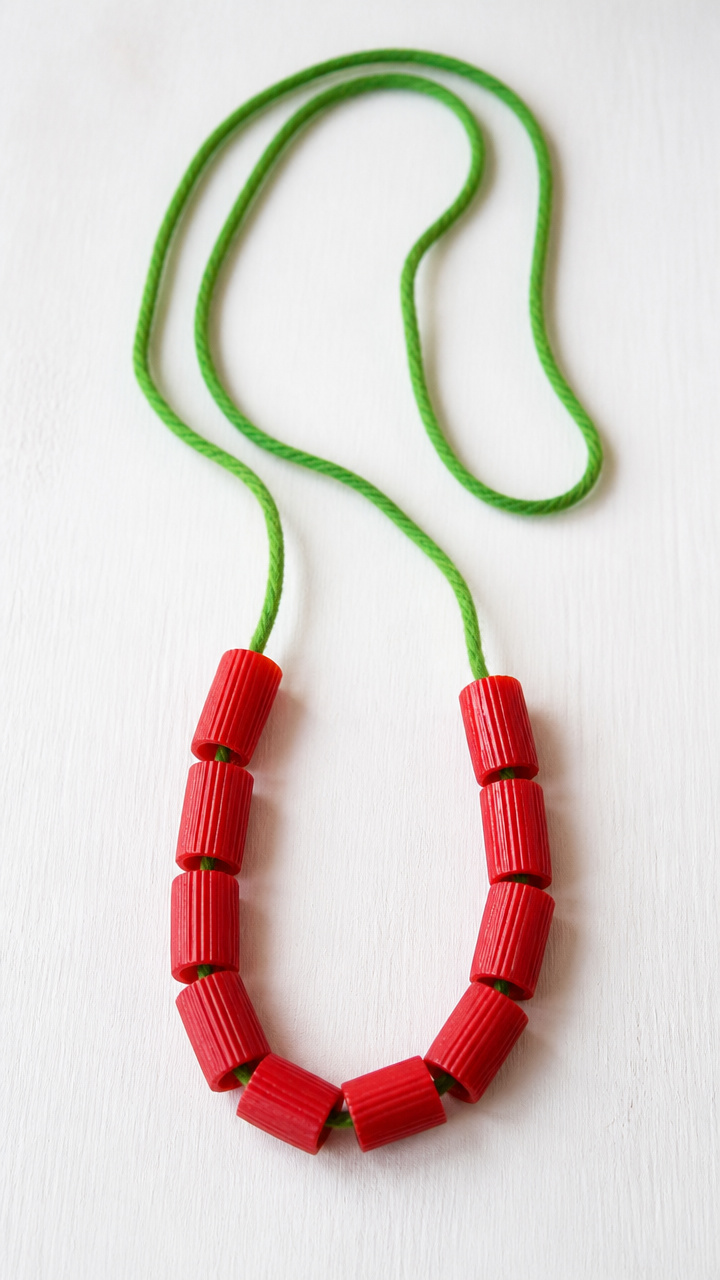
Large rigatoni noodles slide easily onto yarn to make chunky, colorful necklaces. Threading builds focus and motor skills.
Materials Needed
- rigatoni pasta, 10 pieces
- green yarn, 3 feet long
- bowl
- food coloring, red, 5 drops
- water, 1/4 cup
- spoon
How to Make It
- Mix red food coloring and water in the bowl, then add pasta and soak for 5 minutes.
- Drain and lay pasta on paper towel to dry for 1 hour, turning once.
- Tie a knot at one end of the yarn and hand the other end to the child.
- Slide each noodle onto the yarn until the strand is full, then tie the ends together.


14. Chalk Rubbing Paths
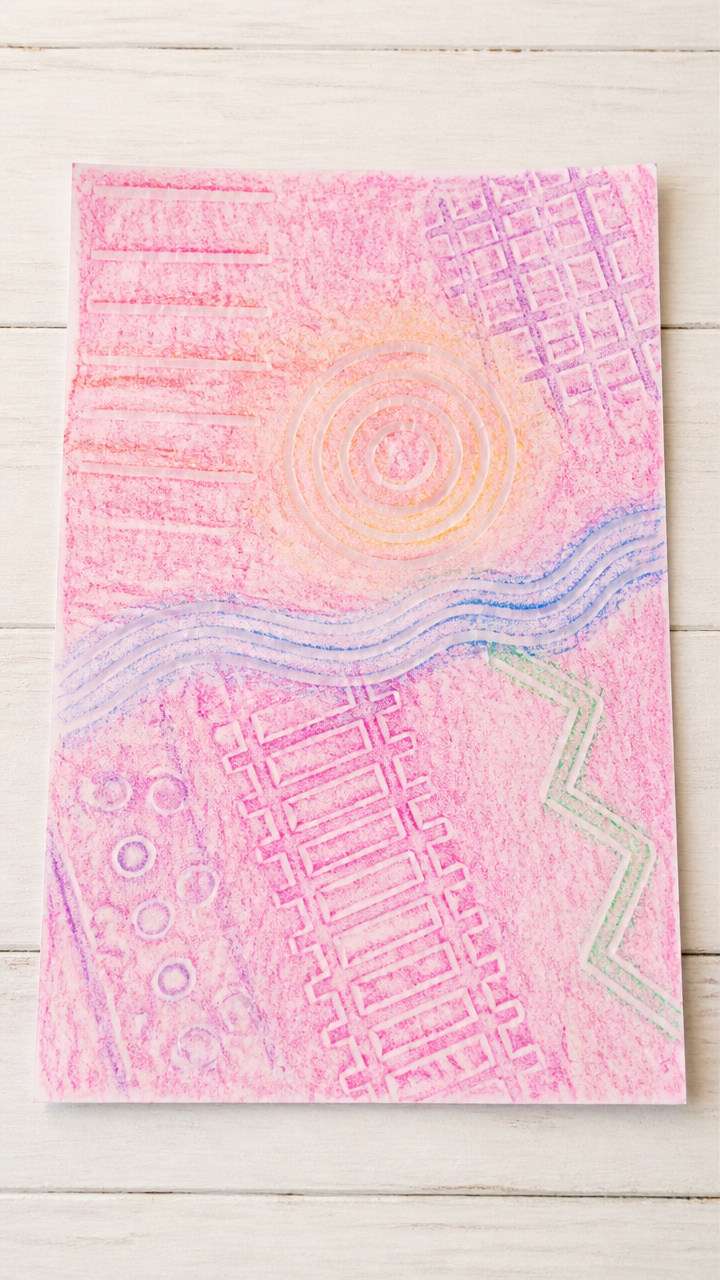
Crayons glide over paper to reveal hidden textures beneath. Everyday objects become surprise patterns under colorful wax.
Materials Needed
- large sidewalk chalk, pink
- white drawing paper, 9×12 inch
- plastic lid, 4 inch diameter
- tape
How to Make It
- Place the plastic lid flat on a table and tape it down securely at two points.
- Lay the paper over the lid and hold it smooth with one hand.
- Color firmly with the chalk over the covered area using circular motions.
- Lift the paper to see the raised circle revealed in chalk.
15. Tissue Paper Windows
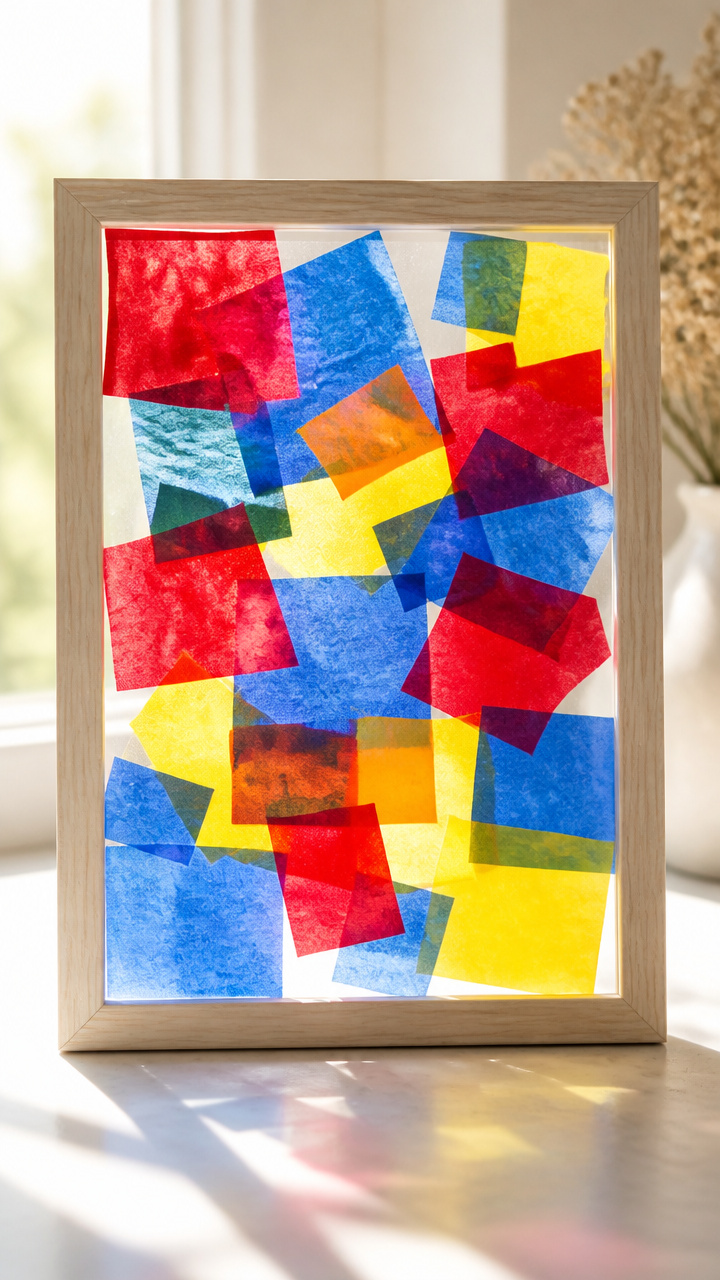
Sheets of colored tissue stick to contact paper to make sun-catching collages. Translucent layers glow like real stained glass.
Materials Needed
- clear contact paper, 8×10 inch sheet
- peel backing off
- tissue paper, red, blue, yellow, 2 inches square each
- scissors
- frameless clipboard
How to Make It
- Place the sticky side of the contact paper on the clipboard and clip it in place.
- Tear tissue paper into 1 inch pieces using fingers, no scissors needed.
- Press each piece onto the sticky surface, overlapping colors for brightness.
- When full, cover with another contact sheet if available or hang as-is in a window.
You’ve got everything you need to start right now, even if it’s just one craft. Watch how joy spreads with every dab, stick, and stamp.