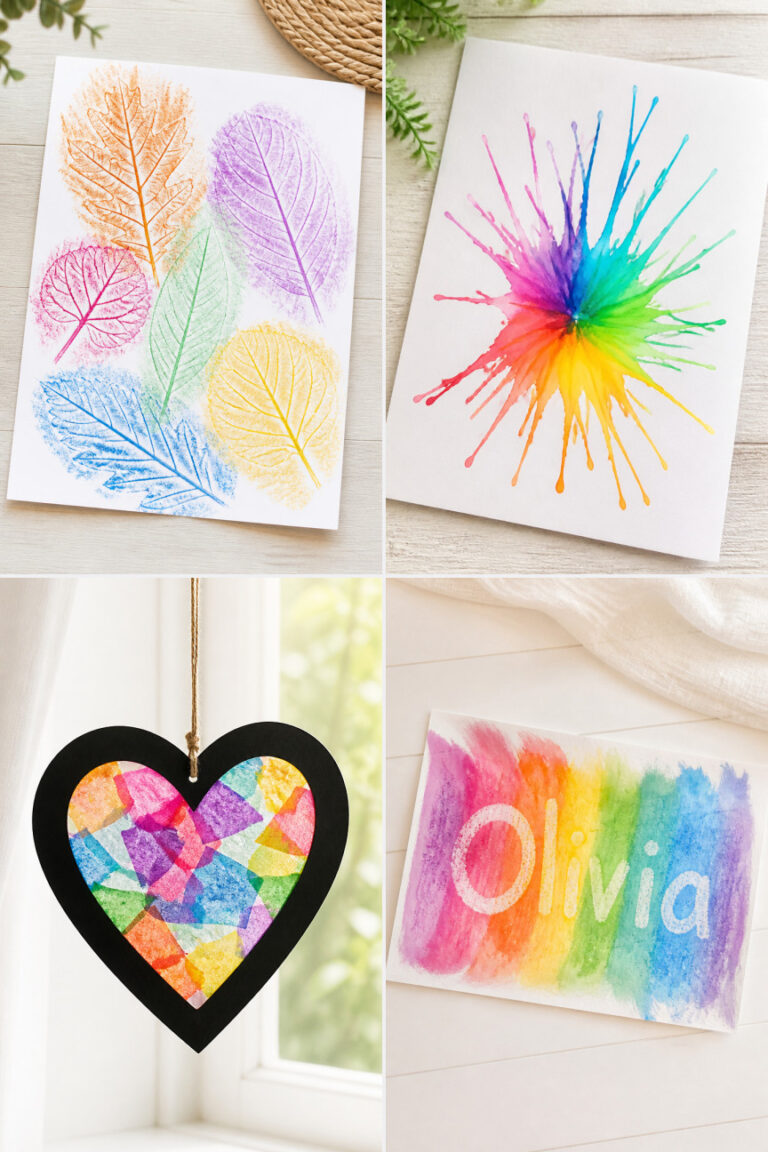
15 Creative Paper Crafts for Kids That Are Easy to Follow
Paper crafts spark joy and curiosity in kids, turning simple sheets into something magical. With just scissors, glue, and a little imagination, you can create keepsakes that last long after the mess is cleaned up.
Each of these ideas uses everyday supplies but delivers a unique result. You’ll find movement, color, texture, and clever construction across the list, all designed to keep young hands busy and minds engaged.
1. Paper Plate Lion Mask
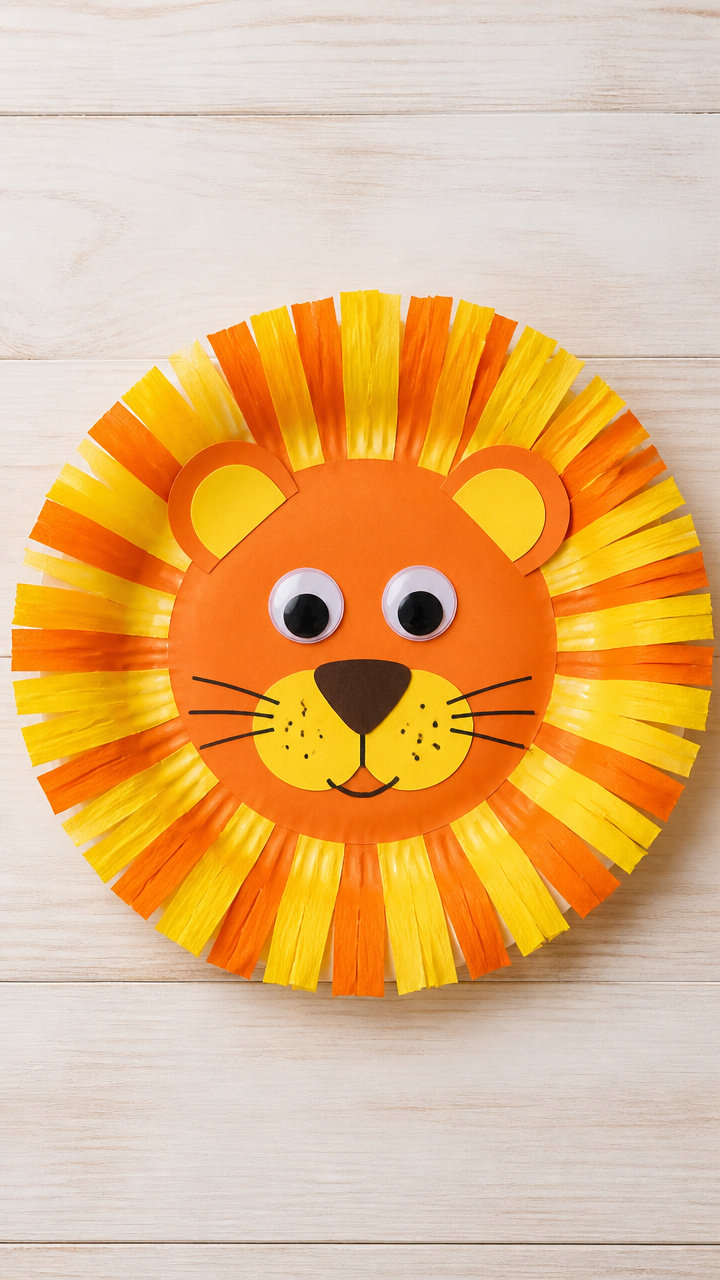
A fluffy lion face roars to life with paper strips and a plate. This mask lets kids step into character while practicing cutting and gluing skills.
Materials Needed
- 1 white paper plate
- 1 sheet yellow construction paper
- 1 sheet orange construction paper
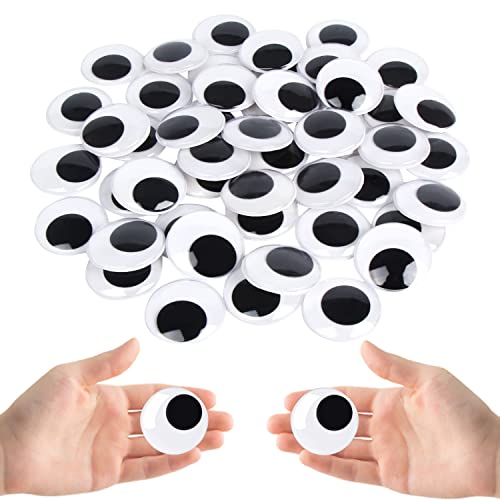
- Googly eyes, 2-inch diameter, 2
- Child-safe scissors
- White school glue
- Glue stick
- Black marker
- Hole punch
- 12-inch piece of elastic string
How to Make It
- Cut the center out of the paper plate so only the rim remains, using child-safe scissors.
- Cut the orange construction paper into 1-inch wide strips, each about 6 inches long, until you have 20 strips.
- Glue the orange strips around the back edge of the plate rim with white school glue, fanning them out to form a mane.
- Cut two small triangles from yellow paper for ears and glue them to the top of the plate.
- Glue on the googly eyes and use the black marker to draw a nose and mouth below the center hole.
- Punch one hole on each side of the plate and thread the elastic through, tying a knot to secure.


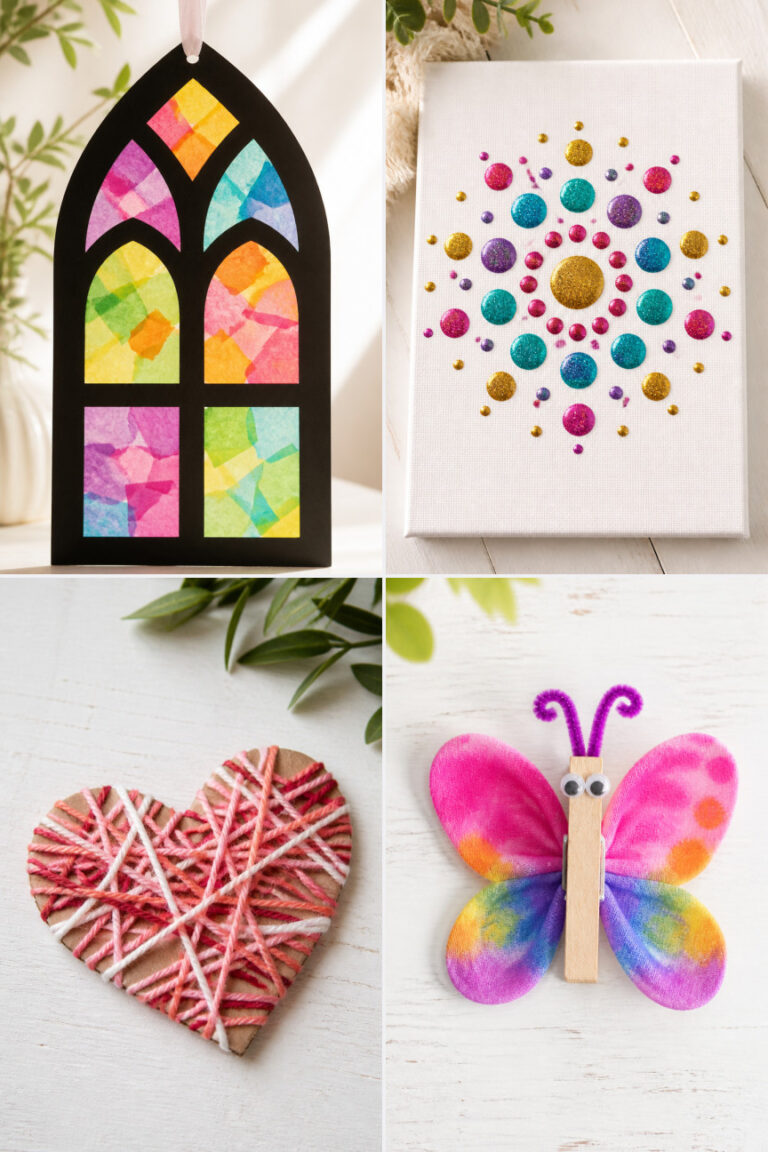
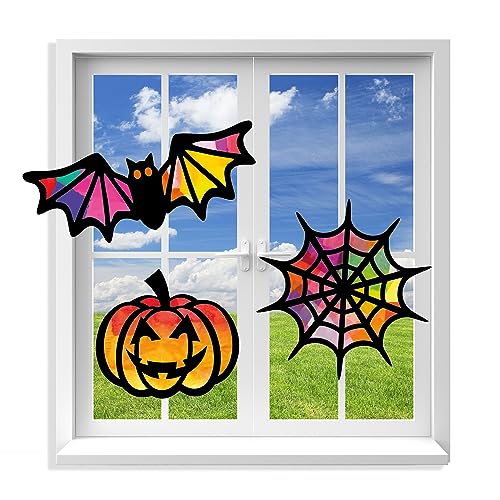
2. Tissue Paper Stained Glass
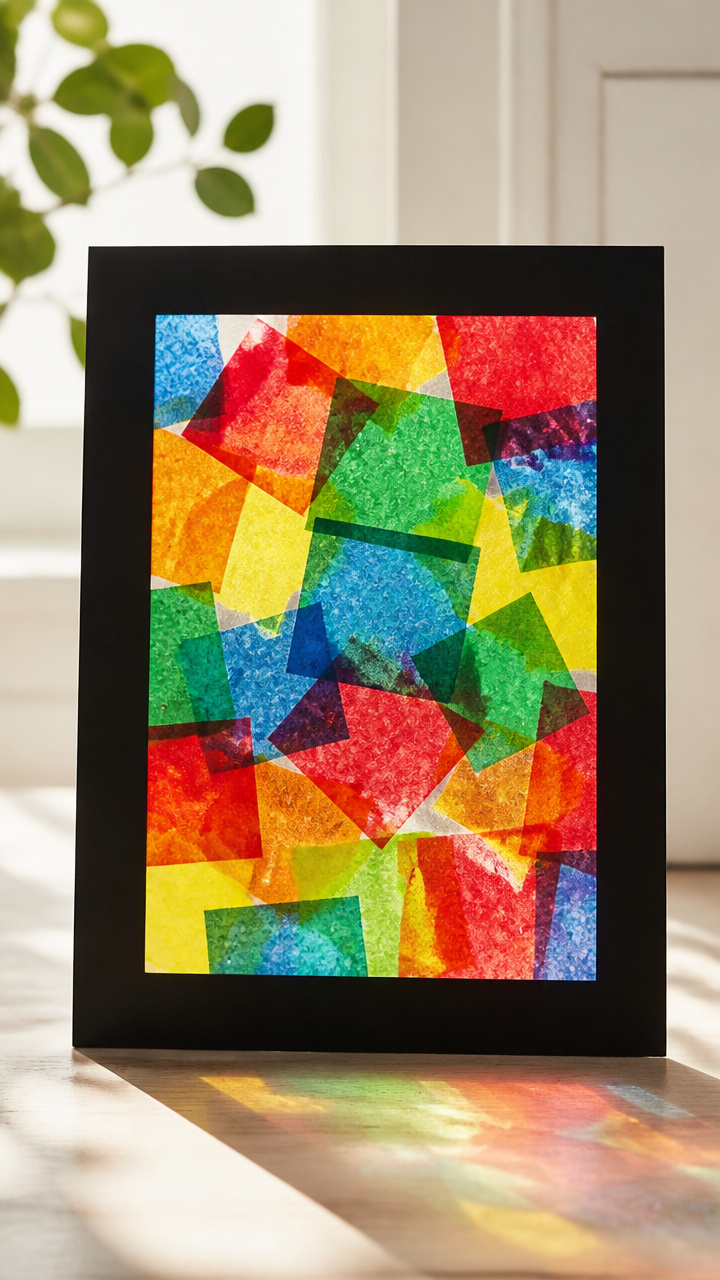
Bright overlapping squares mimic sunlight through church windows. This craft teaches color blending and fine motor control with delicate handling.
Materials Needed
- 1 sheet black cardstock, 9×12 inches
- Scissors
- Clear contact paper, 12×18 inches
- Tissue paper, red, blue, yellow, green, 1/4 sheet each
- Ruler
- Pencil
- Plastic tray or table cover
How to Make It
- Cut the black cardstock into a 9×9 inch square and draw a grid of 1.5-inch squares using ruler and pencil.
- Carefully cut along the lines inside the grid, stopping 1/4 inch from each edge to leave a frame.
- Cut tissue paper into 2×2 inch squares, mixing colors as desired.
- Peel the backing off the contact paper and lay it sticky-side up on the table.
- Place the cardstock frame on top of the contact paper, then fill each window with tissue paper squares.
- Press another layer of contact paper on top, sticky sides together, trimming excess around the edges.


3. Paper Chain Caterpillar
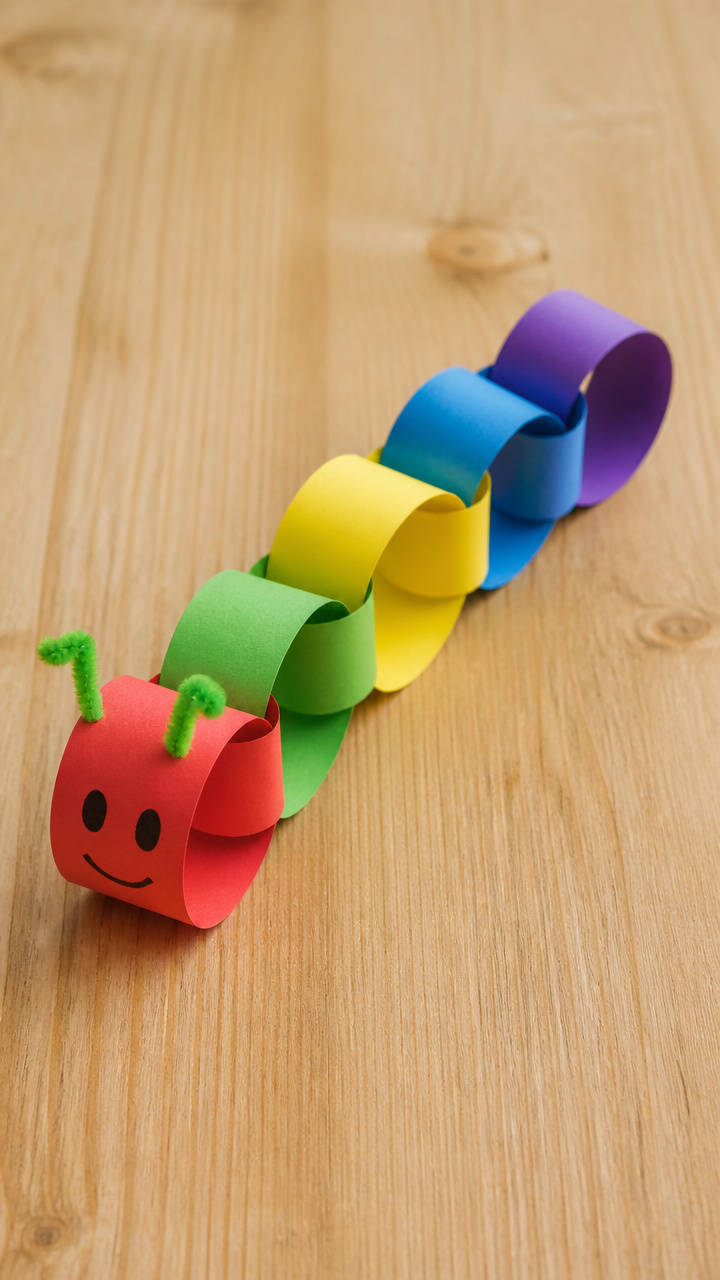
Colorful loops link together into a wiggly garden friend. This craft builds sequencing skills and hand-eye coordination.
Materials Needed
- Construction paper, red, green, yellow, blue, purple, 1 sheet each
- Scissors
- Glue stick
- Black marker
- 1-inch circle punch (optional)
How to Make It
- Cut each sheet of construction paper into 1-inch wide strips, 8 inches long, making 6 strips per color.
- Form a loop with the first strip and glue the ends together with a glue stick.
- Thread the next strip through the first loop before gluing its ends to make a chain.
- Repeat until you have 30 connected loops in rainbow order.
- Draw two antennae and eyes on the front loop using the black marker.
- Use the circle punch or scissors to cut two white circles for eye highlights and glue them on.


4. Paper Cup Owls
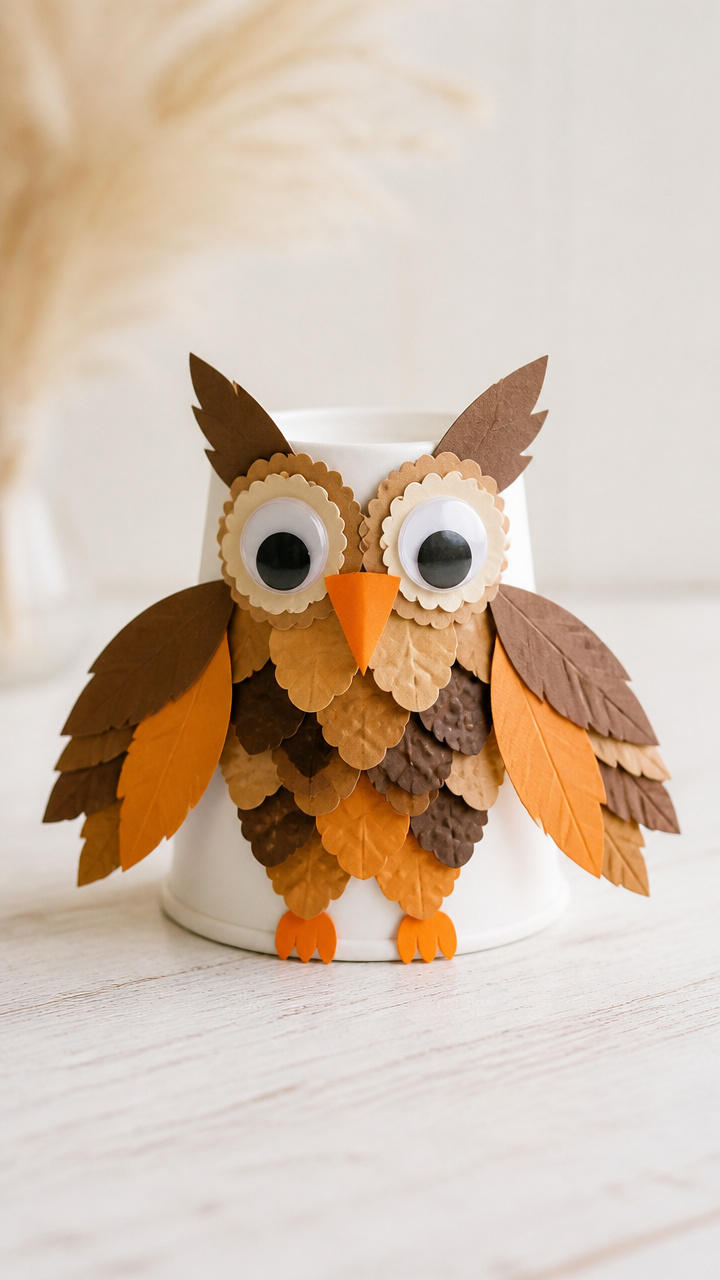
Upside-down cups become wise-feathered birds with folded paper details. This 3D project adds depth to flat materials.
Materials Needed
- 1 white paper cup
- Brown construction paper
- Orange construction paper
- Googly eyes, 1-inch, 2
- Scissors
- Glue stick
- Crayons or markers
How to Make It
- Turn the paper cup upside down so the base becomes the owl’s face.
- Cut two feather shapes from brown paper, each 3 inches tall, and glue them to the sides of the cup.
- Cut two small triangle ear tufts and glue them near the top edge of the cup.
- Glue the googly eyes below the ear tufts.
- Cut a small orange triangle for the beak and fold the tip upward slightly before gluing it under the eyes.
- Use crayons to add feather texture lines on the body if desired.


5. Handprint Octopus
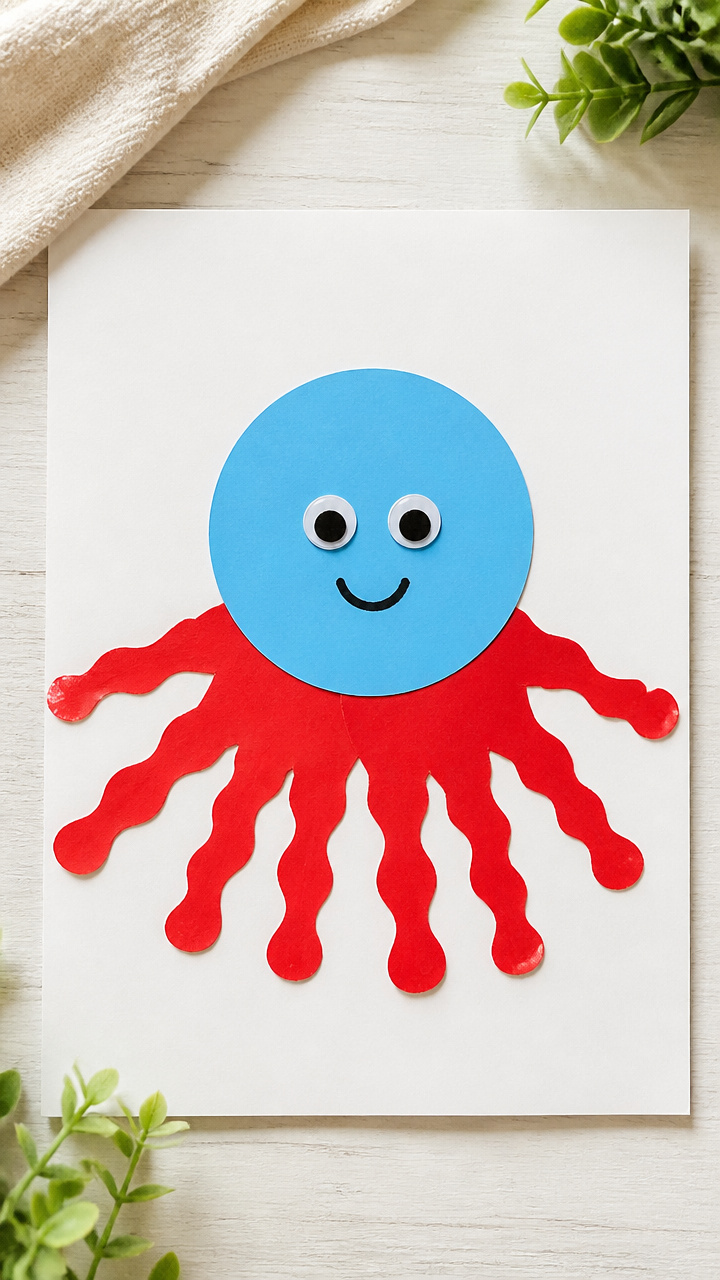
Painted fingers stretch into wriggly tentacles beneath a round head. This keepsake grows more special with time.
Materials Needed
- Red washable paint
- Large white drawing paper, 12×18 inches
- Black marker
- Scissors
- Glue stick
- Blue construction paper
How to Make It
- Press your child’s palm flat on the red paint, then stamp it at the bottom of the white paper with fingers pointing down.
- Let the paint dry completely, about 15 minutes.
- Draw two large eyes above the palm print with the black marker.
- Cut eight wavy tentacle shapes from blue construction paper, each 6 inches long.
- Glue the tentacles around the palm print so they fan out behind the head.
- Add suction cups with small white circles drawn on each tentacle using the marker.


6. Paper Pinwheel
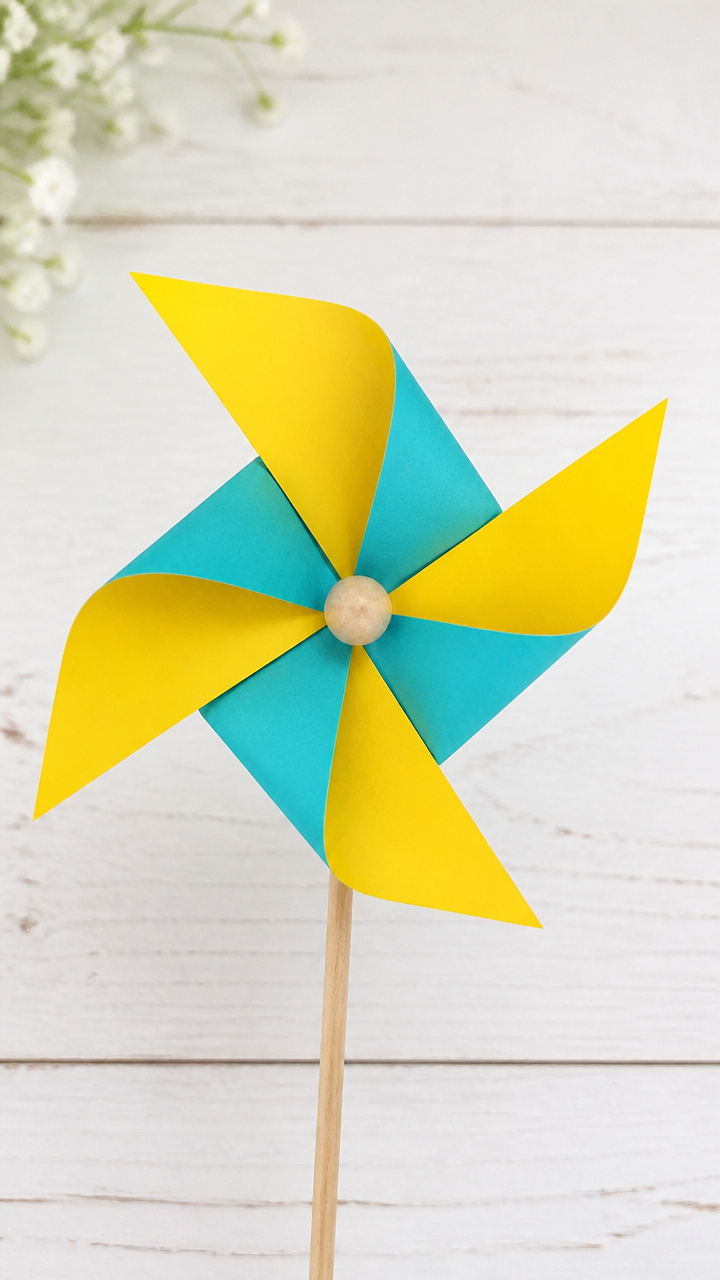
A spinning square dances in the breeze on a wooden stick. This outdoor craft combines folding and motion.
Materials Needed
- 1 sheet colored construction paper, 8.5×8.5 inches
- Pencil with eraser
- Ruler
- Scissors
- Push pin
- 12-inch wooden dowel
- Small washer
How to Make It
- Draw diagonal lines from corner to corner on the paper square using the ruler.
- Cut along each line from the corner toward the center, stopping 1.5 inches short.
- Fold every other corner point into the center and pin all layers together with the push pin.
- Slide the washer onto the push pin behind the folds, then push the pin into the top of the wooden dowel.
- Test spin by blowing on it or walking outside gently.
7. Paper Bag Puppet
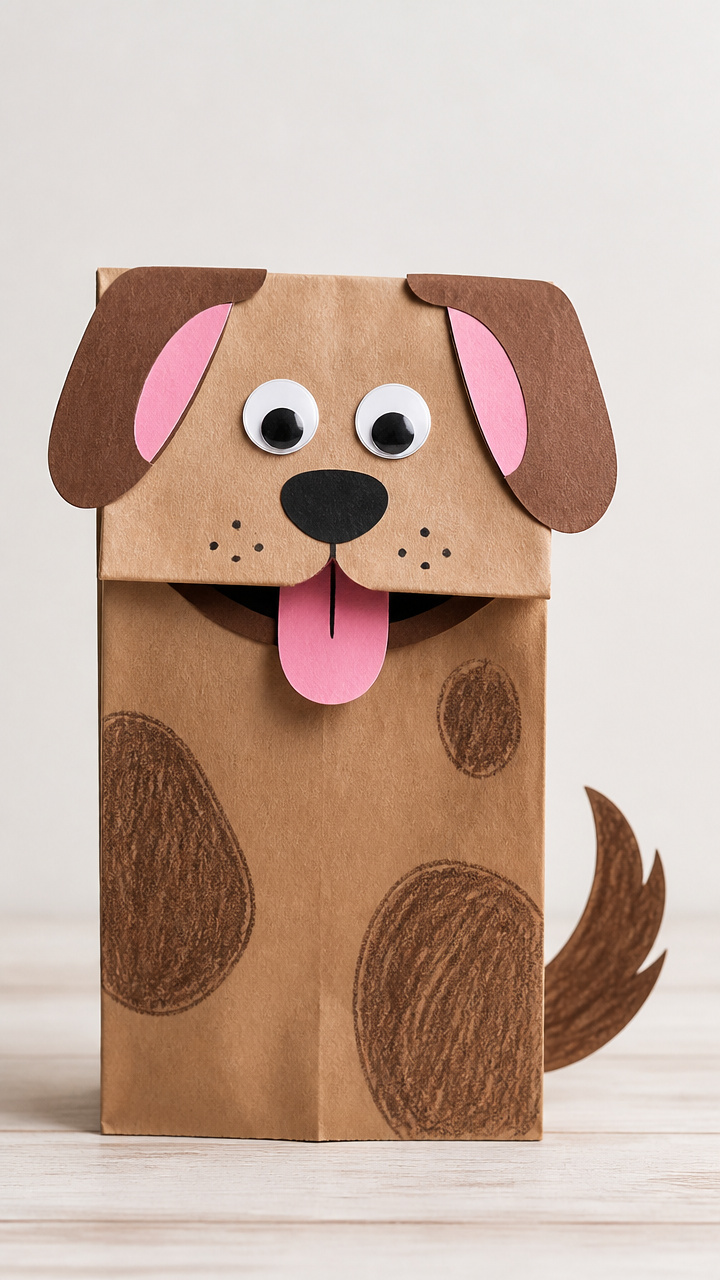
A lunch sack turns into a talking animal with paper accessories. This craft encourages storytelling and design.
Materials Needed
- 1 brown paper lunch bag
- Construction paper in assorted colors
- Googly eyes, 1-inch, 2
- Scissors
- Glue stick
- Crayons
How to Make It
- Slide your hand into the paper bag so the flap becomes the puppet’s head.
- Cut ears, hair, or horns from construction paper and glue them to the top edge of the flap.
- Glue on the googly eyes just below the top edge.
- Draw a mouth on the front of the flap with crayons so it moves when you open your hand.
- Cut arms or accessories like glasses or a hat and glue them in place.
- Use crayons to add freckles, whiskers, or clothing details to the bag body.


8. Folded Paper Frog
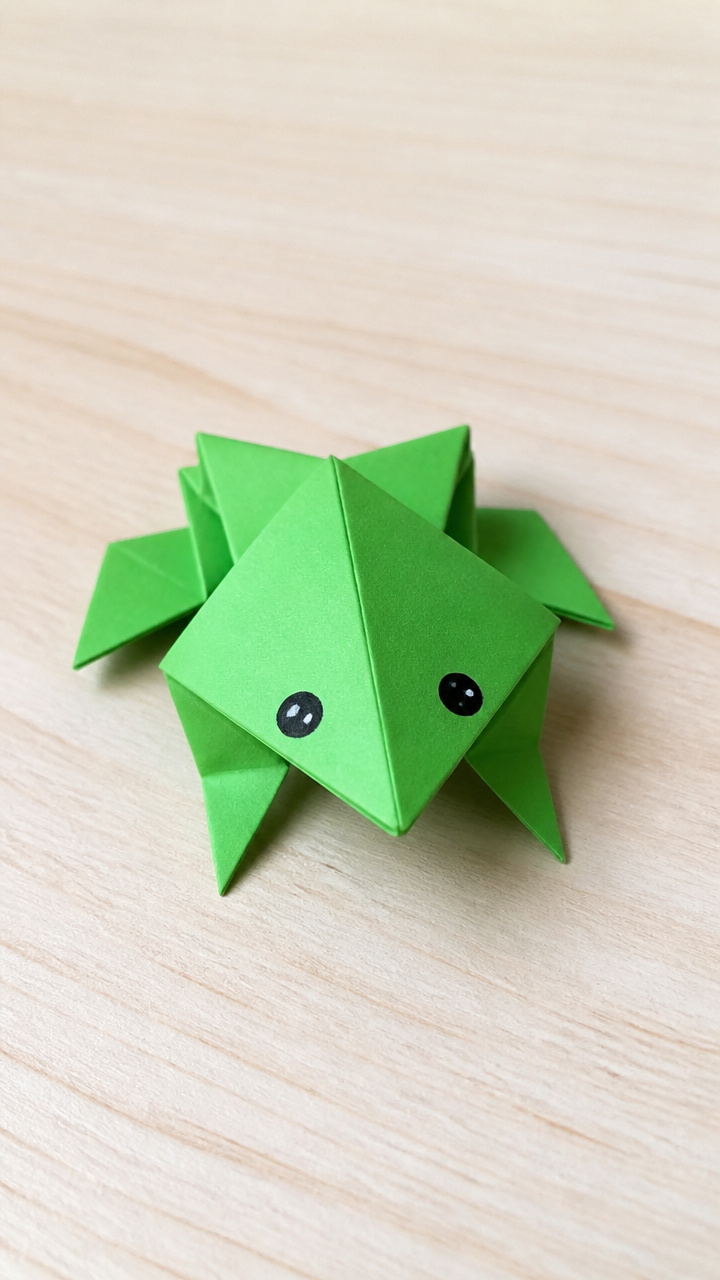
A springy amphibian hops when pressed on the back. This origami-inspired model teaches precise folding.
Materials Needed
- 1 sheet green square paper, 6×6 inches
- Black marker
- Ruler
How to Make It
- Fold the square in half diagonally both ways, creasing well, then unfold.
- Fold all four corners to the center point to form a smaller square.
- Flip the paper over and fold the new corners to the center again.
- Fold the shape in half forward so the edges meet, then unfold.
- Lift the bottom triangle upward and tuck the side flaps inward to form legs.
- Draw eyes on the top with the black marker and press the back to make it hop.


9. Paper Plate Wind Catcher
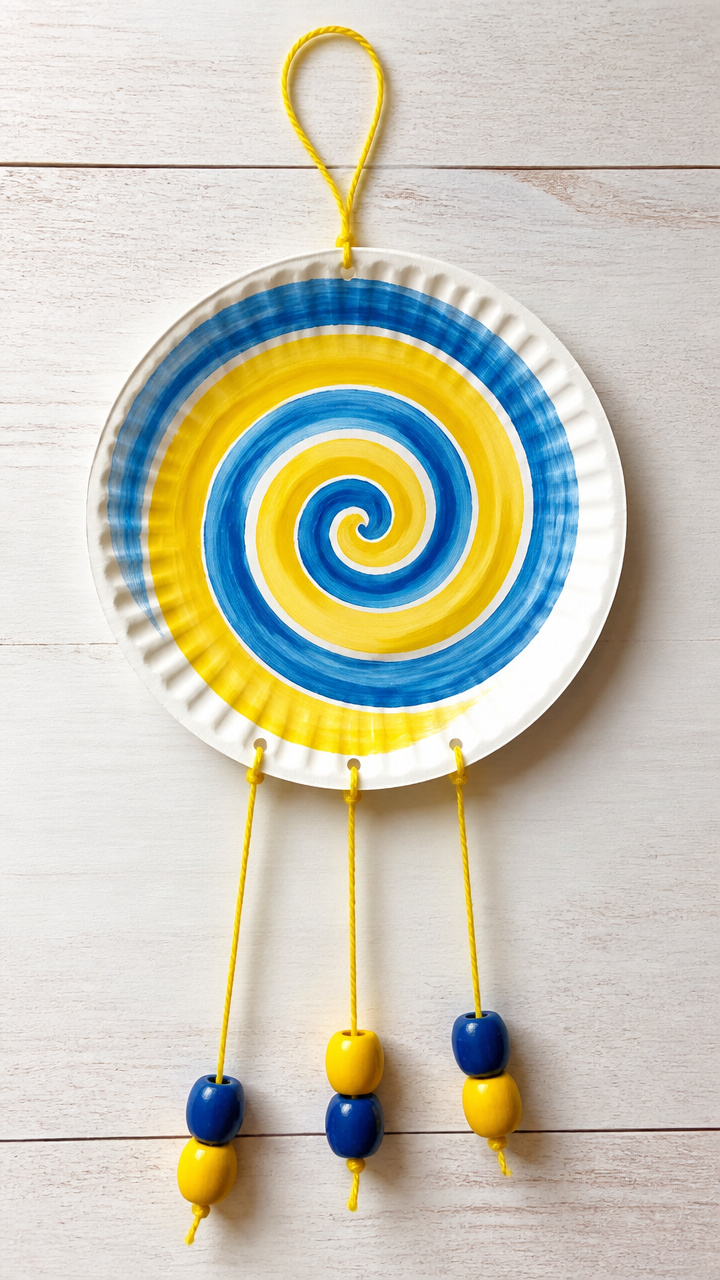
Spinning spirals twirl under dangling beads on a painted plate. This craft captures air movement in color.
Materials Needed
- 1 white paper plate
- Acrylic paint, blue and yellow
- Paintbrush
- Hole punch
- Yarn, 3 pieces, each 8 inches long
- Beads with large holes, 6
- Scissors
- Pencil
How to Make It
- Paint the entire plate with swirls of blue and yellow acrylic paint and let dry for 20 minutes.
- Use the pencil to poke a hole in the center of the plate.
- Cut a spiral from the outer edge toward the center, stopping at the hole, using scissors.
- Gently curl the spiral outward by rolling it around a pencil.
- Thread one bead onto each of the three yarn pieces and tie a knot below each to hold it.
- Tie the yarn ends together, then attach them through the center hole with a double knot.


10. Paper Tube Binoculars
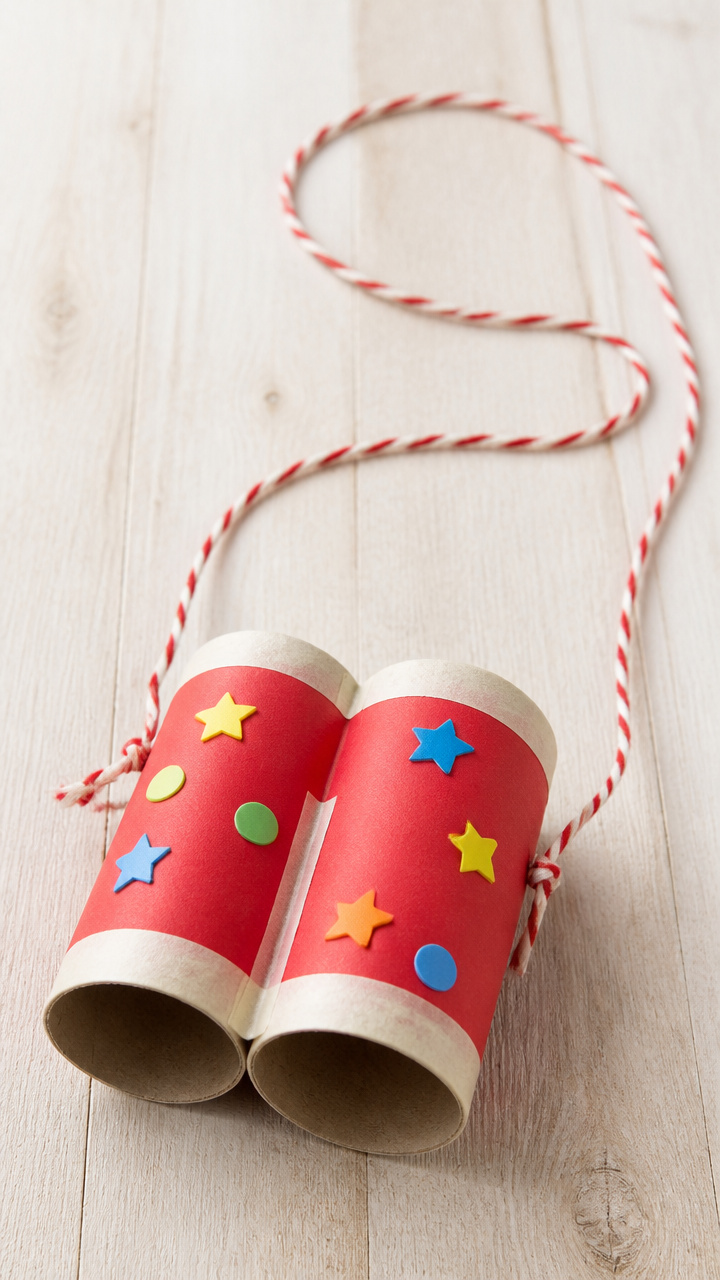
Toilet paper rolls merge into a pair of explorer scopes. This craft fuels imaginative play and focus.
Materials Needed
- 2 cardboard toilet paper tubes
- Masking tape
- Glue stick
- Construction paper, red, 1 sheet
- String, 24 inches
- Stickers or stamps
How to Make It
- Lay the two tubes side by side and tape them together along both long edges with masking tape.
- Cut a strip of red construction paper 2 inches wide and long enough to wrap around both tubes.
- Glue the strip around the taped seam to hide it.
- Punch one hole on each side of the outer tube edge, just behind the eyepiece.
- Thread the string through the holes and tie knots to make a neck strap.
- Decorate with stickers or stamped patterns all over the tubes.


11. Paper Plate Sun Clock
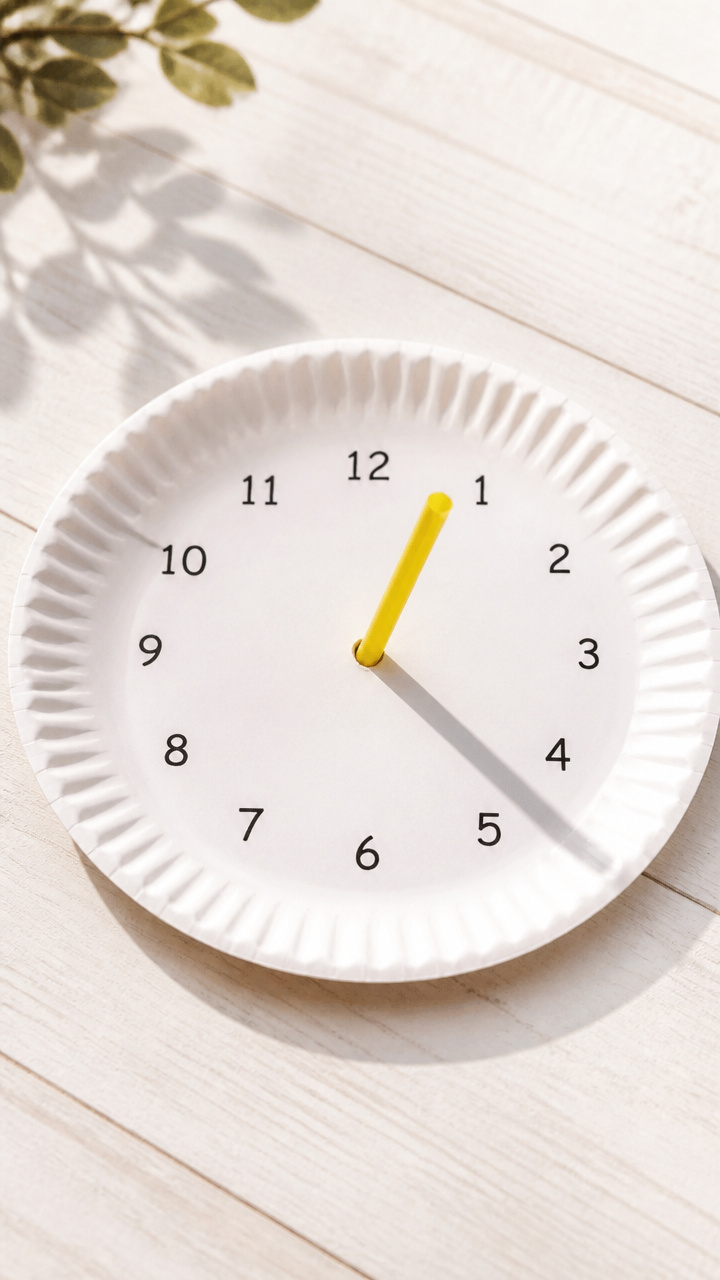
A numbered face tracks shadows as the day moves. This craft blends art and basic science naturally.
Materials Needed
- 1 white paper plate
- Pencil
- Ruler
- Compass
- Black marker
- 12-inch plastic straw
- Tape
- Outdoor space with direct sun
How to Make It
- Use the compass to find north and mark it on the edge of the plate with a pencil.
- Divide the plate into 12 sections like a clock face using the ruler and pencil.
- Write numbers 1 through 12 in order around the edge, starting at north.
- Trace over the numbers and lines with the black marker.
- Tape the straw vertically to the center of the plate, standing upright.
- Place the plate outdoors on level ground in direct sun and check shadow position hourly.
12. Paper Plate Flying Saucer
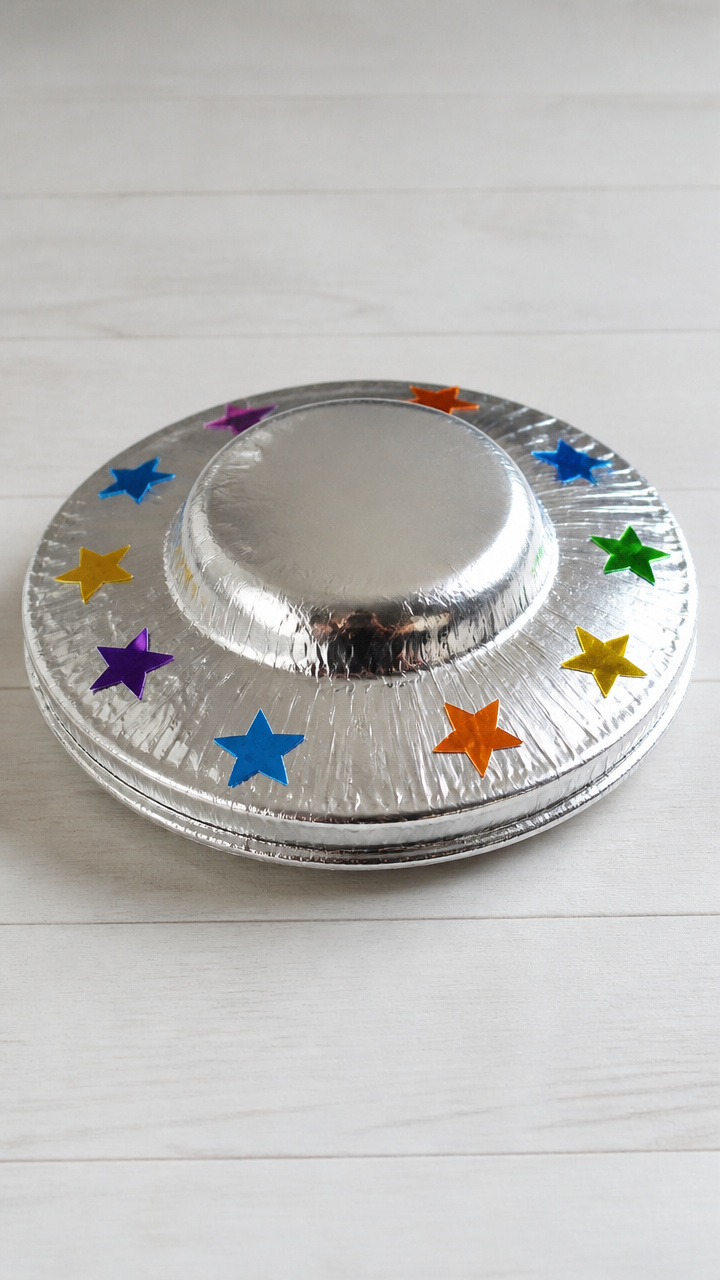
Two plates fuse into a smooth ring with foil accents. This space-themed toy flies with a good toss.
Materials Needed
- 2 white paper plates
- Silver aluminum foil
- Scissors
- Glue stick
- Sticker stars, 5
- Ruler
- Pencil
How to Make It
- Remove the rims from both paper plates by cutting along the inner ridge with scissors.
- Cut a circle from the center of each flat plate, 2 inches in diameter.
- Cover one plate with silver foil, wrapping edges and smoothing with hands.
- Glue the foil-covered plate to the plain plate, aligning edges perfectly.
- Glue sticker stars around the outer edge of the top side.
- Let dry for 10 minutes before tossing gently indoors or outdoors.


13. Paper Fan Animal Faces
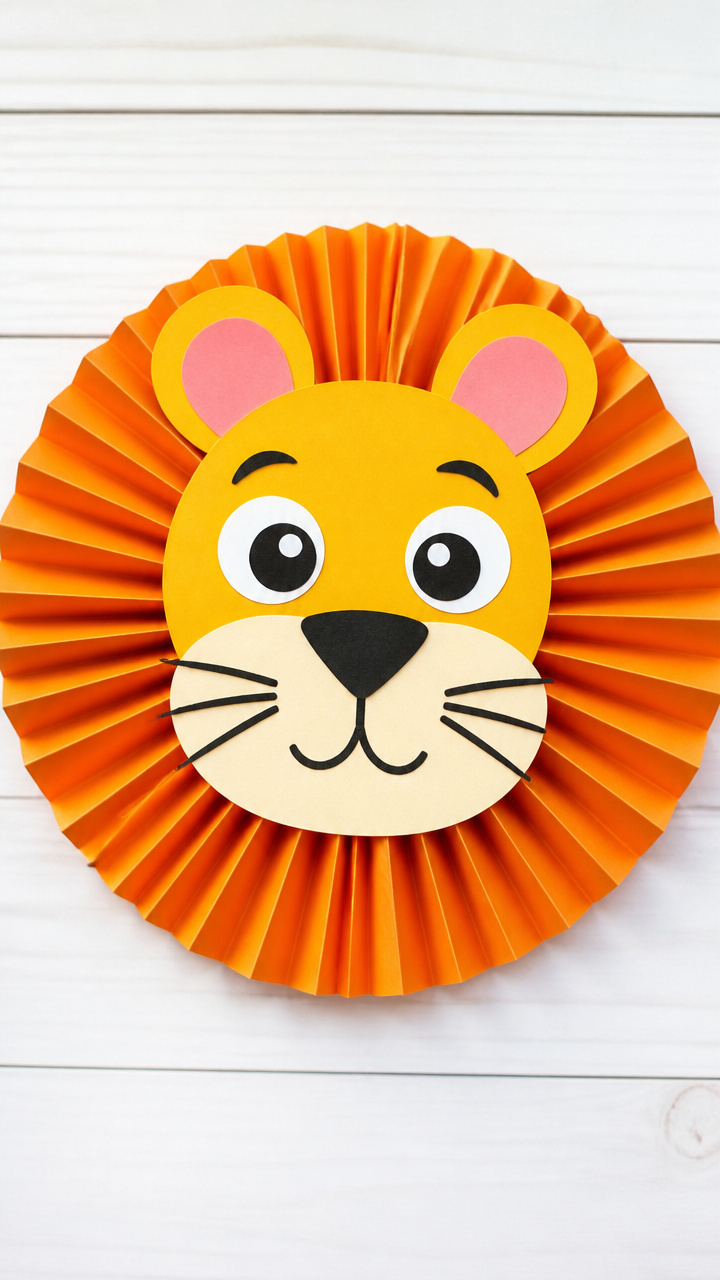
Folded strips bloom into peacocks and lions with expressive heads. This craft reveals surprise movement.
Materials Needed
- 1 sheet colored construction paper, 8.5×11 inches
- Scissors
- Glue stick
- Animal face printout or drawing
- Pencil
- Ruler
How to Make It
- Cut the paper into 1-inch wide strips, each 8.5 inches long, keeping one 1-inch strip aside.
- Fold each strip in an accordion pattern with 1/2 inch folds, creasing sharply.
- Glue one end of each folded strip to the edge of the leftover 1-inch strip to form a semi-circle.
- Press down and let the glue dry for 5 minutes.
- Glue an animal face drawing to the center of the straight edge.
- Open and close the fan slowly to watch the feathers or mane expand and collapse.


14. Paper Plate Sailboat
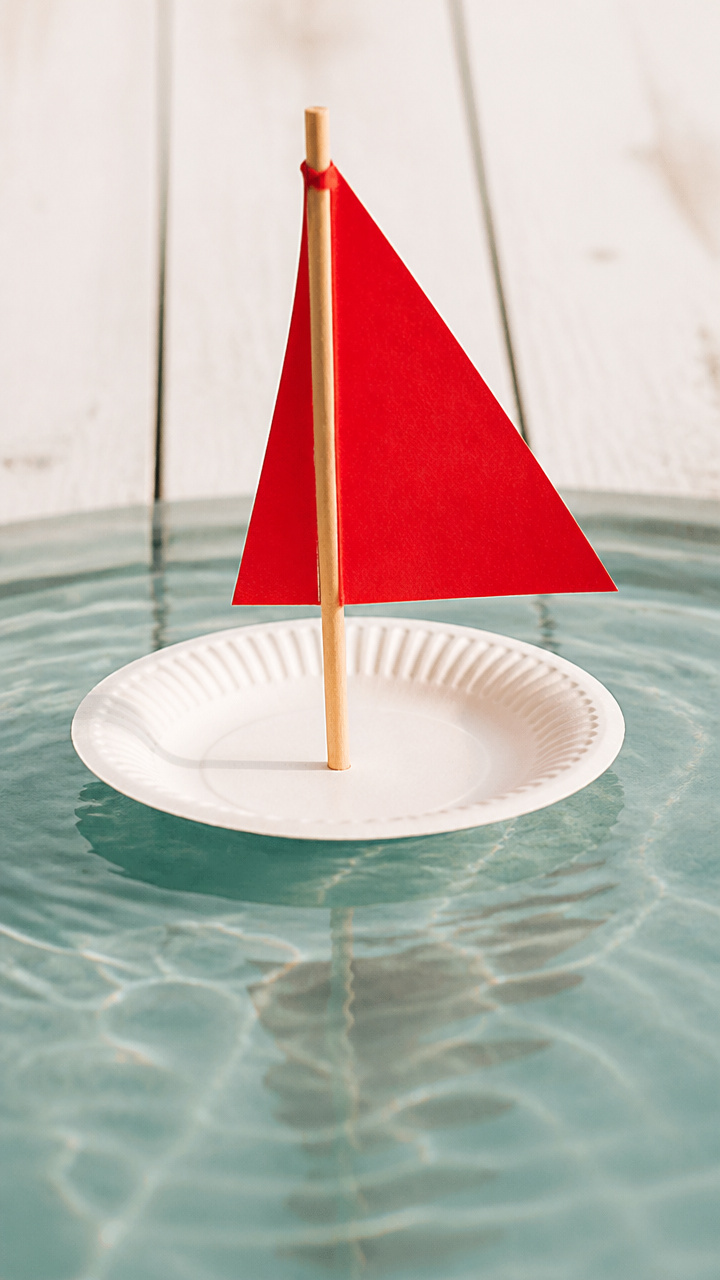
A floating vessel glides across puddles with a paper sail. This water-ready craft invites outdoor exploration.
Materials Needed
- 1 white paper plate
- Dowel rod, 1/4 inch thick, 8 inches long
- Construction paper, red, 1 sheet
- Scissors
- Hole punch
- Glue stick
- Aluminum tray or kiddie pool
How to Make It
- Cut the rim off the paper plate to create a flat circular base.
- Punch two holes 1 inch apart near the center of the base.
- Slide the dowel between the holes to act as a mast and secure with glue at both points.
- Cut a rectangle from red paper, 5×7 inches, and fold it in half widthwise.
- Slide the folded edge over the top of the dowel and glue the sail in place.
- Float the boat in a tray of water and adjust sail angle to catch breezes.

15. Paper Plate Rainbow Fish
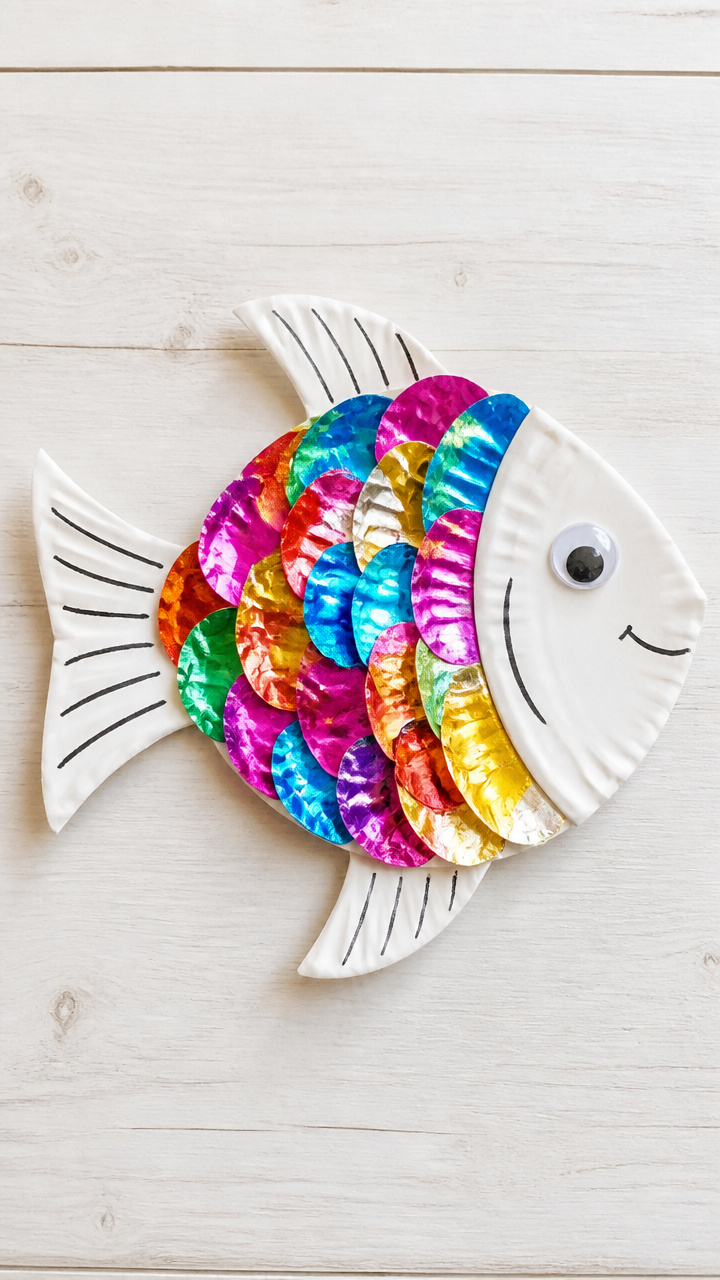
Shiny scales shimmer on a curved fish body from foil scraps. This craft celebrates color and reflection.
Materials Needed
- 1 white paper plate
- Scissors
- Colorful foil snack bags, 3 empty and rinsed
- Glue stick
- Black marker
- Googly eye, 1-inch, 1
- Ruler
How to Make It
- Cut the paper plate in half using scissors.
- Cut a small triangle fin from the leftover rim and glue it to the outer curve of the half-plate.
- Rinse and dry foil bags, then cut into 1-inch squares of mixed colors.
- Glue the foil squares in overlapping rows from the mouth to the tail.
- Draw a mouth with the black marker and glue the googly eye near the front.
- Let dry for 10 minutes before displaying near a light source for sparkle.


You’ve got everything you need right in your craft drawer to start today. Pick one idea, gather the kids, and watch what unfolds with just paper and care.