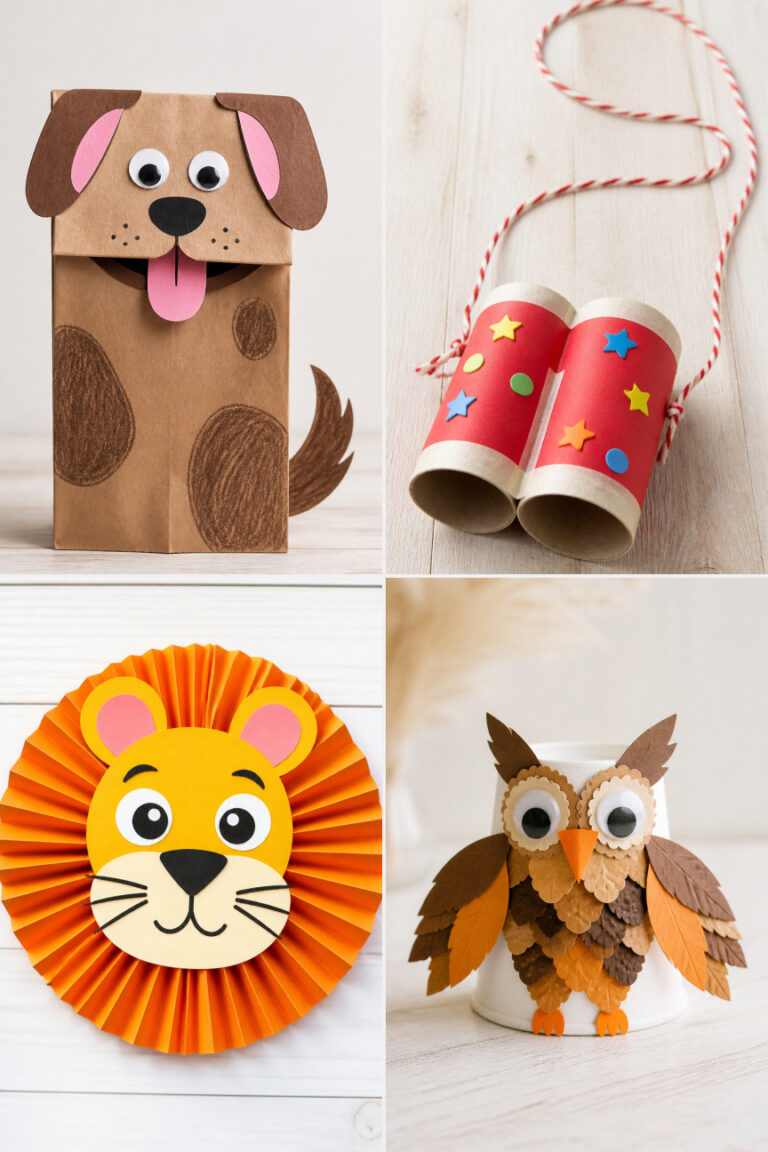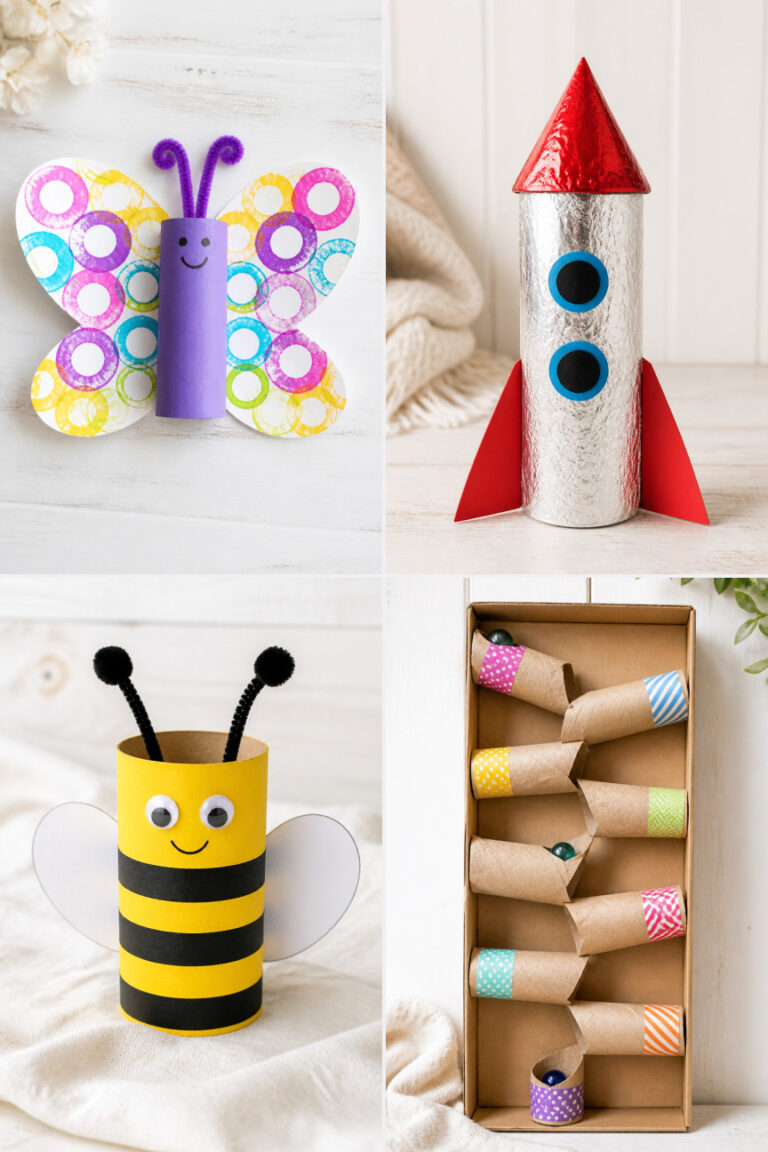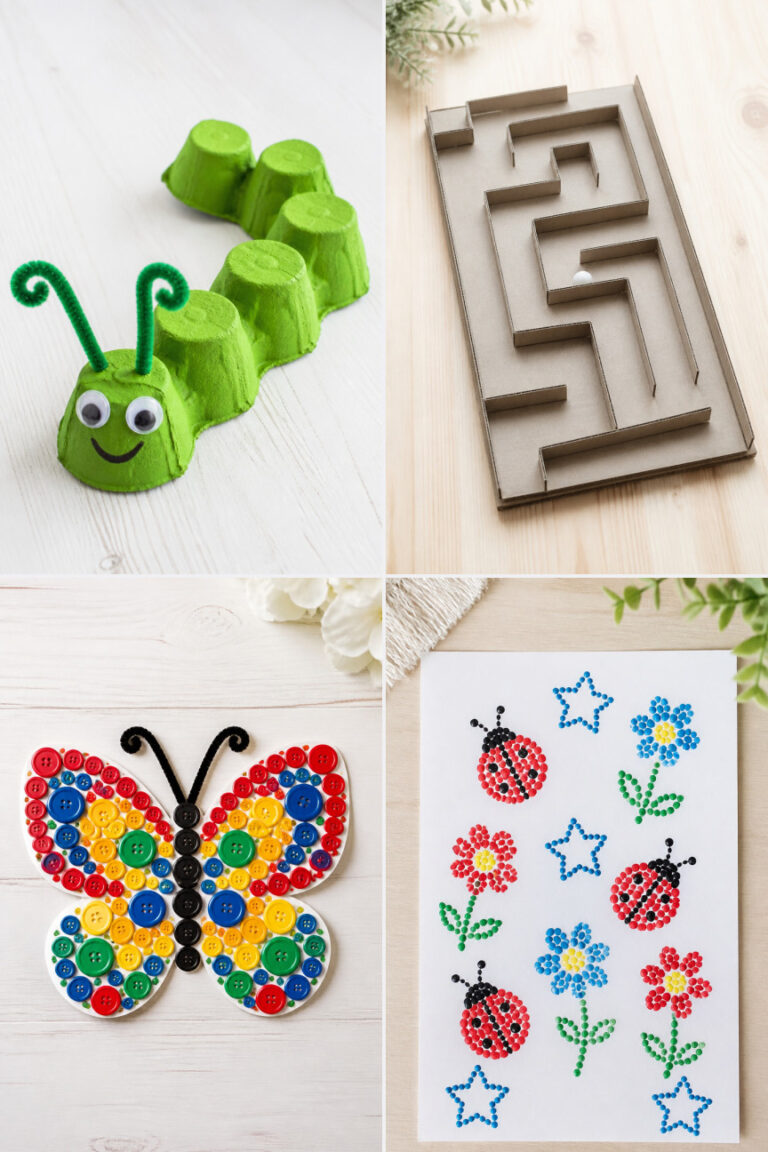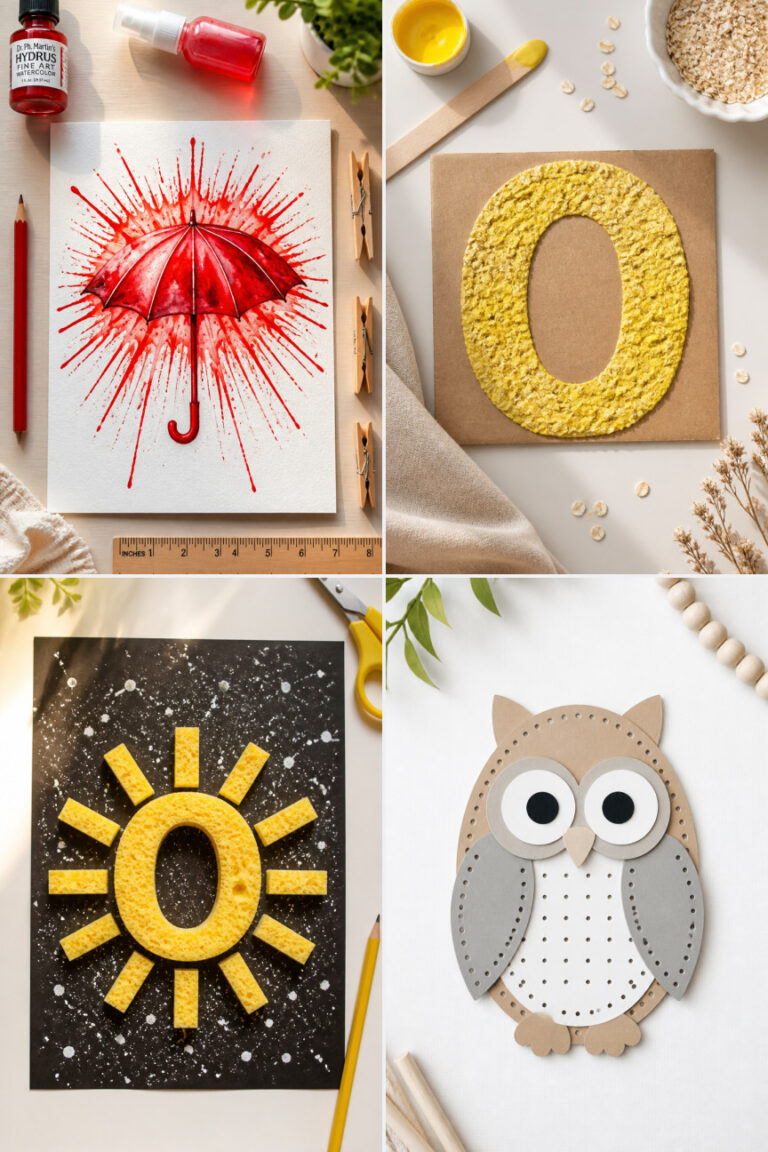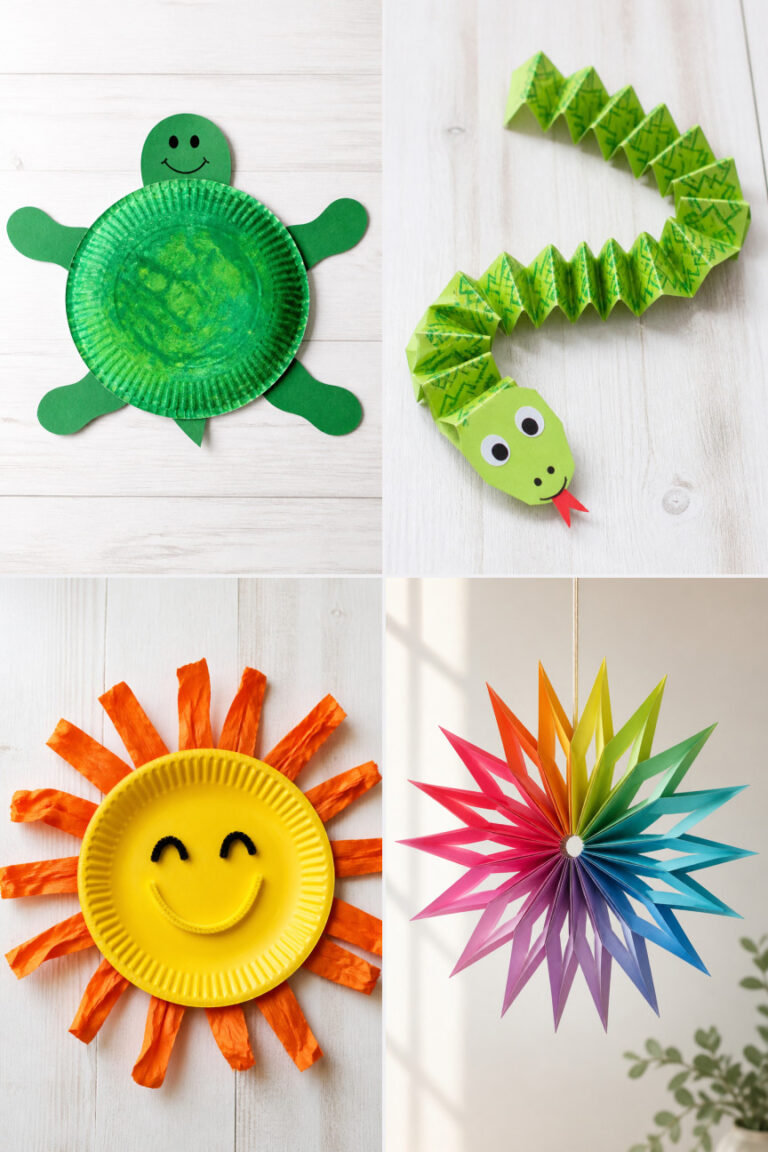
15 Easy Paper Folding Crafts for Kids to Make at Home
Paper folding brings quiet joy, the kind that fills a room with focus and pride. With just a few sheets and some careful hands, kids can create toys, decorations, and surprises that feel truly theirs.
Each of these crafts uses simple folds and common supplies you likely have at home. They build fine motor skills, spark creativity, and deliver big smiles with small effort.
1. Jumping Paper Frog
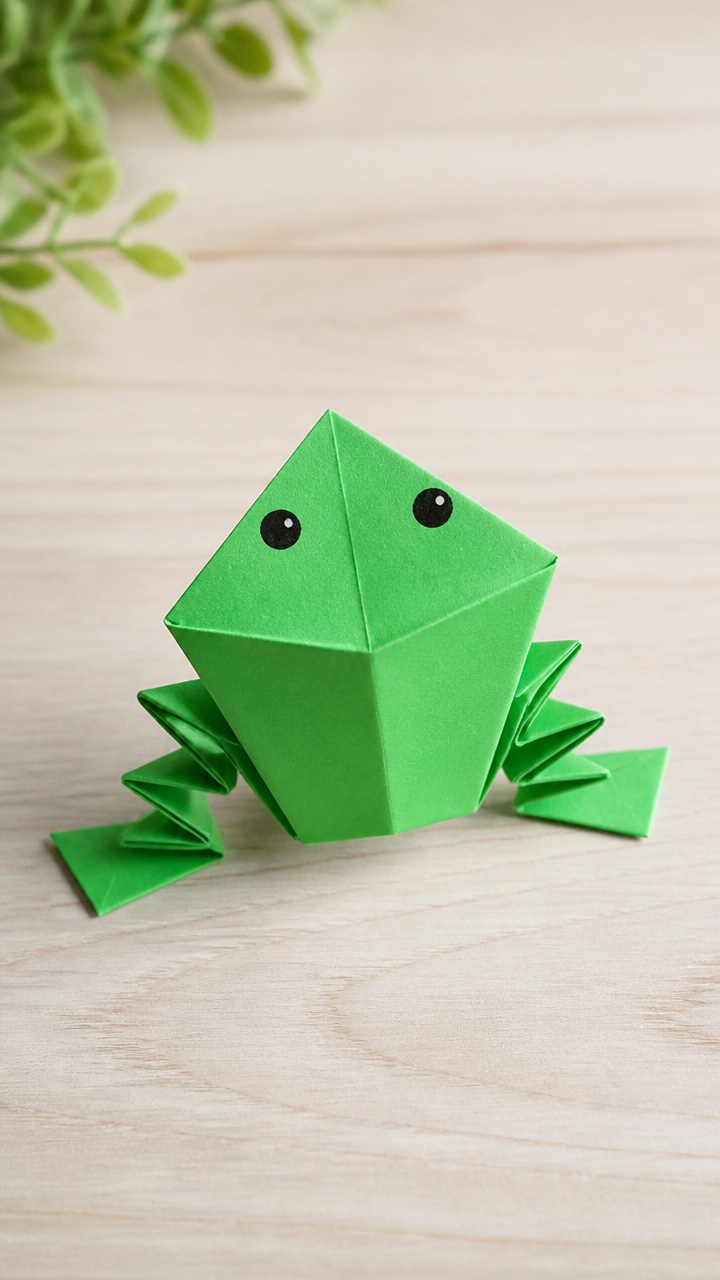
A bouncy green frog that leaps when you press its back. Kids love testing how far it can jump across the floor.
Materials Needed
- One 6×6 inch green square of construction paper
- Black fine-tip marker
- Ruler
- Pencil
How to Make It
- Fold the paper in half diagonally to form a triangle, then unfold and repeat the other way to make an X crease.
- Bring the bottom two corners up to meet at the top point, forming a smaller triangle.
- Fold the left and right edges of the top layer toward the center line, creating a diamond shape.
- Flip the model over and fold the bottom corners up so their tips meet the middle, then fold the entire shape in half backward.
- Draw two eyes with the marker and press down on the back end to make it hop.


2. Paper Chain Rainbows
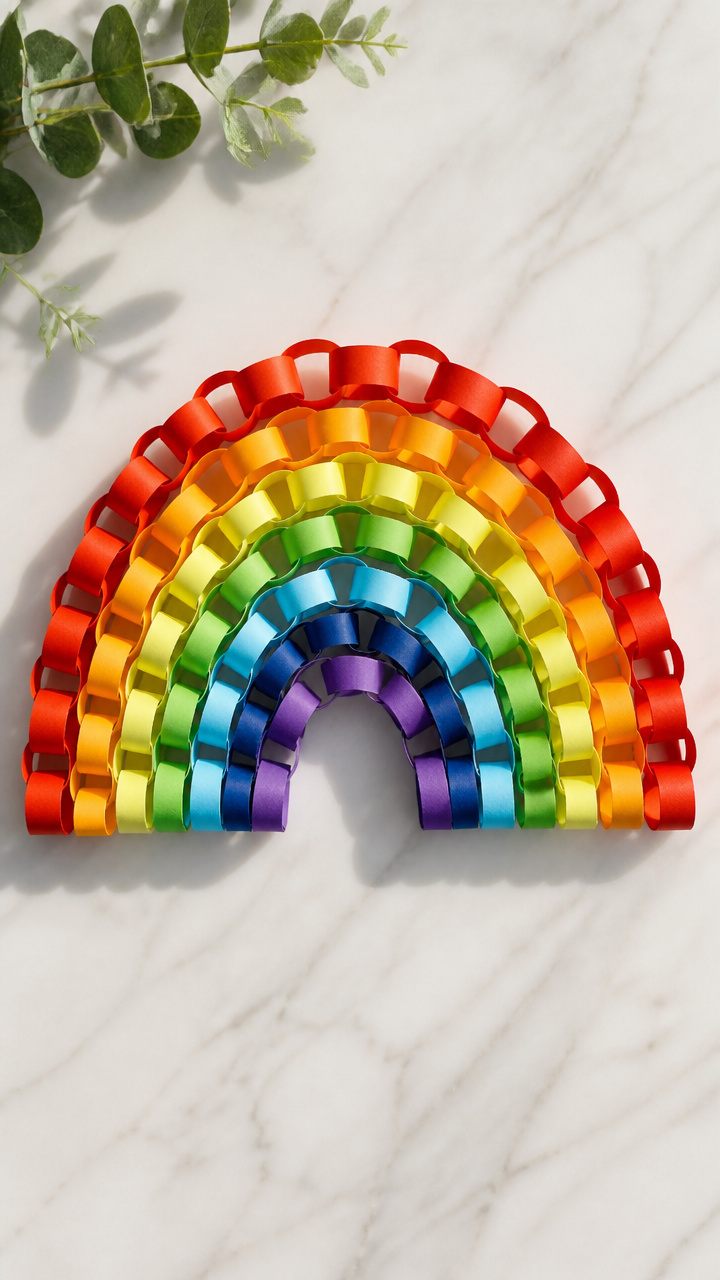
Bright loops of color link together into cheerful garlands. Hang them above a bed or window for instant cheer.
Materials Needed
- Five 8.5×11 inch sheets of colored construction paper (red, orange, yellow, green, blue)
- Scissors
- Glue stick
How to Make It
- Cut each sheet into ten 1-inch wide strips, giving you 50 strips total.
- Take one red strip and form a circle, overlapping the ends by half an inch and gluing them shut.
- Thread an orange strip through the red loop before sealing it into a circle, then glue the ends.
- Repeat with yellow, green, and blue, threading each new color through the previous one.
- Continue alternating colors until your chain reaches desired length, letting glue dry flat for 5 minutes.


3. Origami Heart Bookmark

A delicate heart that marks your page and stays put. Perfect for young readers who want something special.
Materials Needed
- One 6×6 inch square of pink origami paper
- Red glitter glue pen
How to Make It
- Fold the square in half diagonally with the colored side out, making a triangle.
- Fold the right corner up so the edge aligns with the center line, forming a curve on the right.
- Repeat with the left corner, bringing it up to meet the center, creating a heart shape.
- Press all folds firmly with your fingernail for crisp edges.
- Add a swirl of glitter glue near the top tip and let it dry for 10 minutes before use.
4. Paper Pinwheel
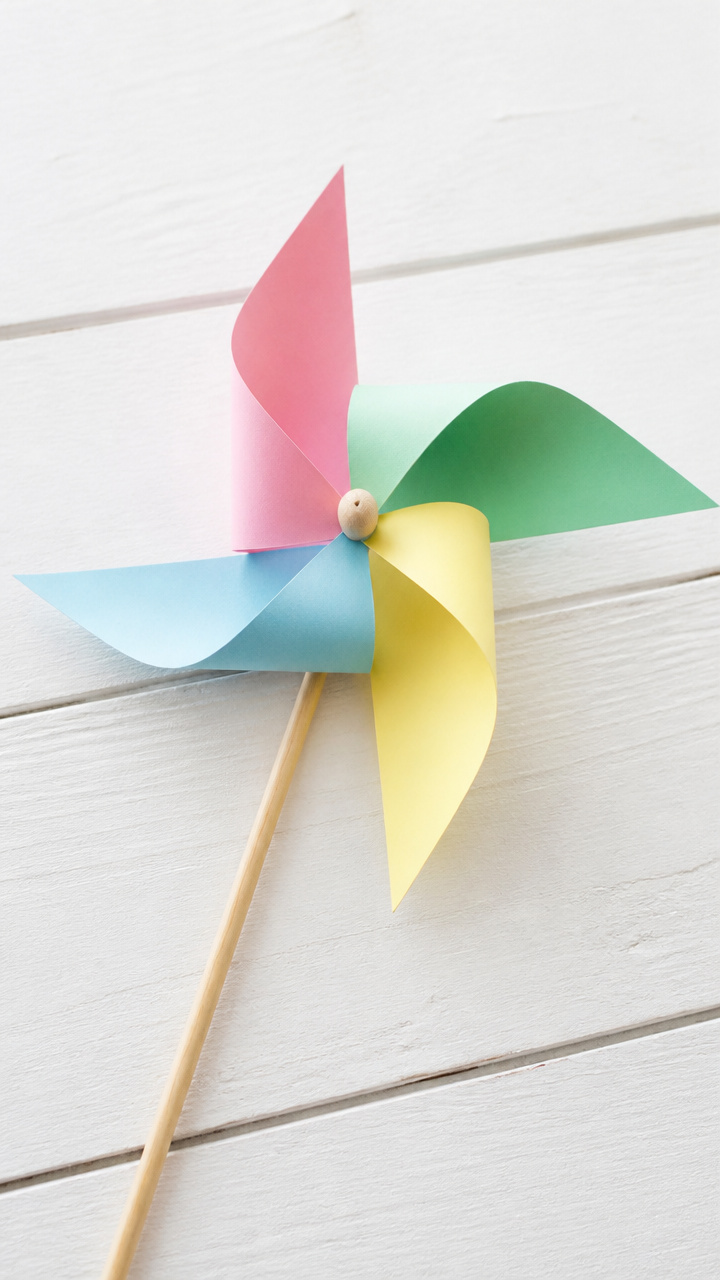
A spinning wheel that dances in the breeze. Attach it to a stick and watch it whirl outside.
Materials Needed
- One 7×7 inch square of patterned scrapbook paper
- One 8 inch wooden skewer
- One brass fastener
- Pliers
- Hole punch
How to Make It
- Use the hole punch to make a hole in each corner of the paper, one inch from both edges.
- Make a small cut from each corner toward the center, stopping two inches short.
- Lift every other triangle point toward the center and push the brass fastener through all four tips.
- Open the fastener on the back with pliers and secure it loosely so the paper can spin.
- Push the skewer into the open end of the fastener to complete the handle.
5. Standing Paper Penguin
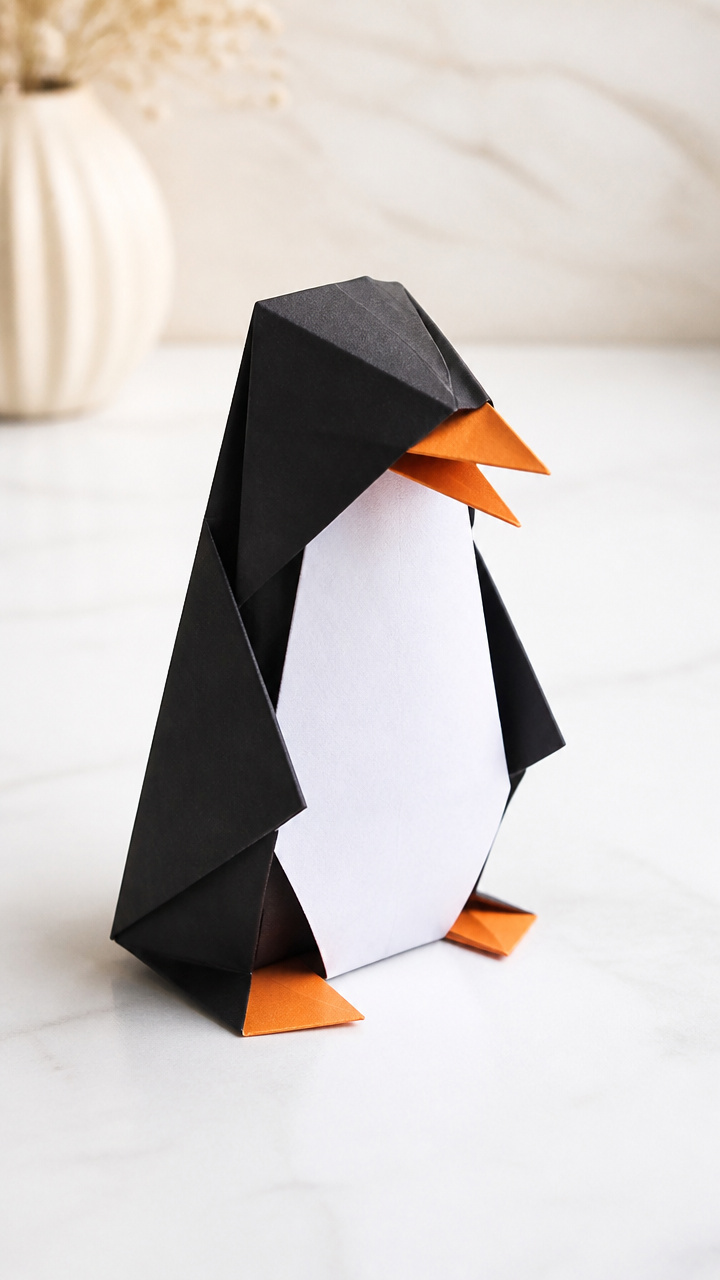
A wobbly black-and-white bird that stands on its own. Great for storytelling or shelf decor.
Materials Needed
- One 8.5×11 inch sheet of black construction paper
- One 4×4 inch white square of cardstock
- One 2×2 inch orange craft foam square
- Glue stick
- Scissors
- Pencil
How to Make It
- Fold the black paper in half vertically, then draw half a penguin shape along the fold using the pencil.
- Cut around the outline while keeping the fold intact, then unfold to reveal a symmetrical penguin.
- Glue the white square to the front as the belly, slightly off-center toward the top.
- Cut two flippers from the black paper and glue them on either side of the body.
- Cut a small triangle beak from orange foam and glue it below the white belly, then let dry for 8 minutes.


6. Pop-Up Picture Card
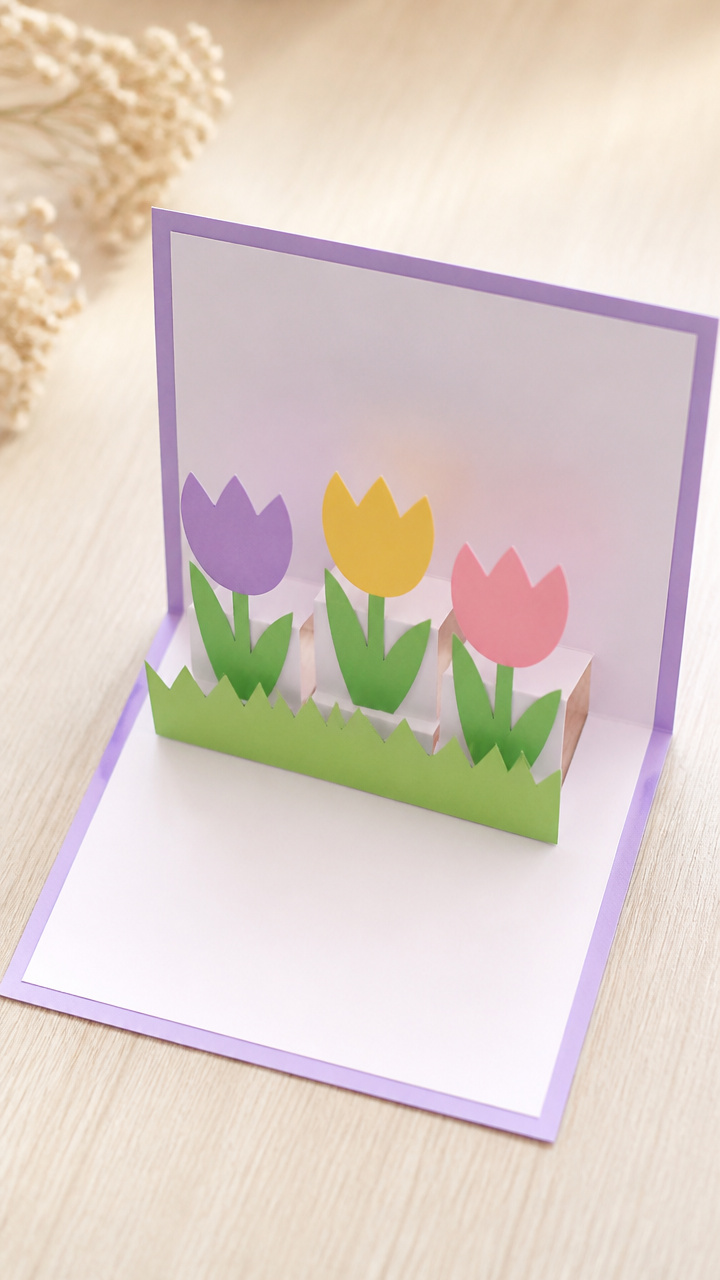
A surprise scene that jumps forward when the card opens. Ideal for handmade greetings.
Materials Needed
- One 8.5×5.5 inch folded card made from A4 white cardstock
- One 2×2 inch square of colored paper
- Glue stick
- Scissors
- Crayons
How to Make It
- Fold the 2×2 square in half and cut a 1 inch slit along the center of the folded edge.
- Open the square and push the cut ends inward to form a standing V shape.
- Apply glue to the outer triangles and attach them inside the closed card, centered on the fold.
- Draw a background scene on the inside of the card around the pop-up base.
- Let the glue set for 5 minutes before closing to avoid sticking.


7. Paper Plate Flying Disc
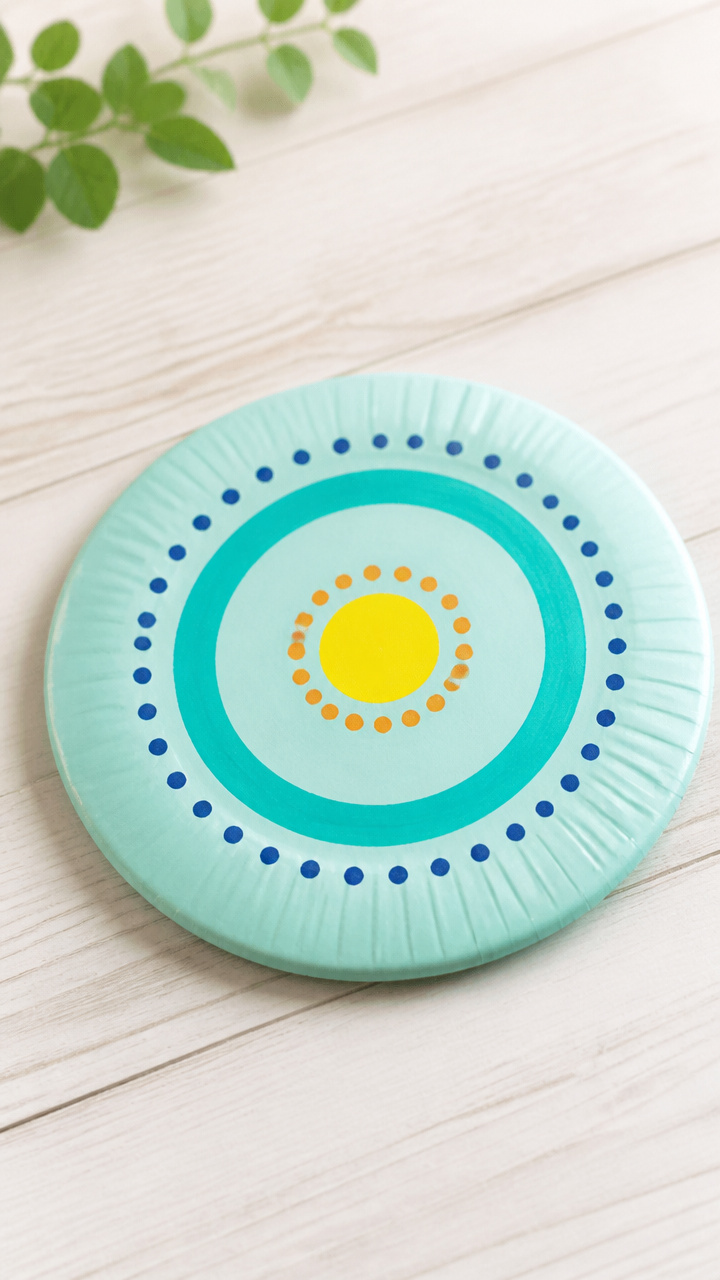
A lightweight disc that sails smoothly across the yard. Made from everyday plates and tape.
Materials Needed
- Two 9 inch white paper plates
- Clear packing tape
- Scissors
- Permanent marker
How to Make It
- Place the two plates rim to rim, matching their curves exactly.
- Wrap packing tape tightly around the joined rims, covering the entire edge with one continuous strip.
- Flip the disc and tape the other side the same way for strength.
- Draw a spiral design on the top with the marker to add personality.
- Test throw indoors first to adjust balance, avoiding sharp turns.
8. Folded Paper Airplane Launcher
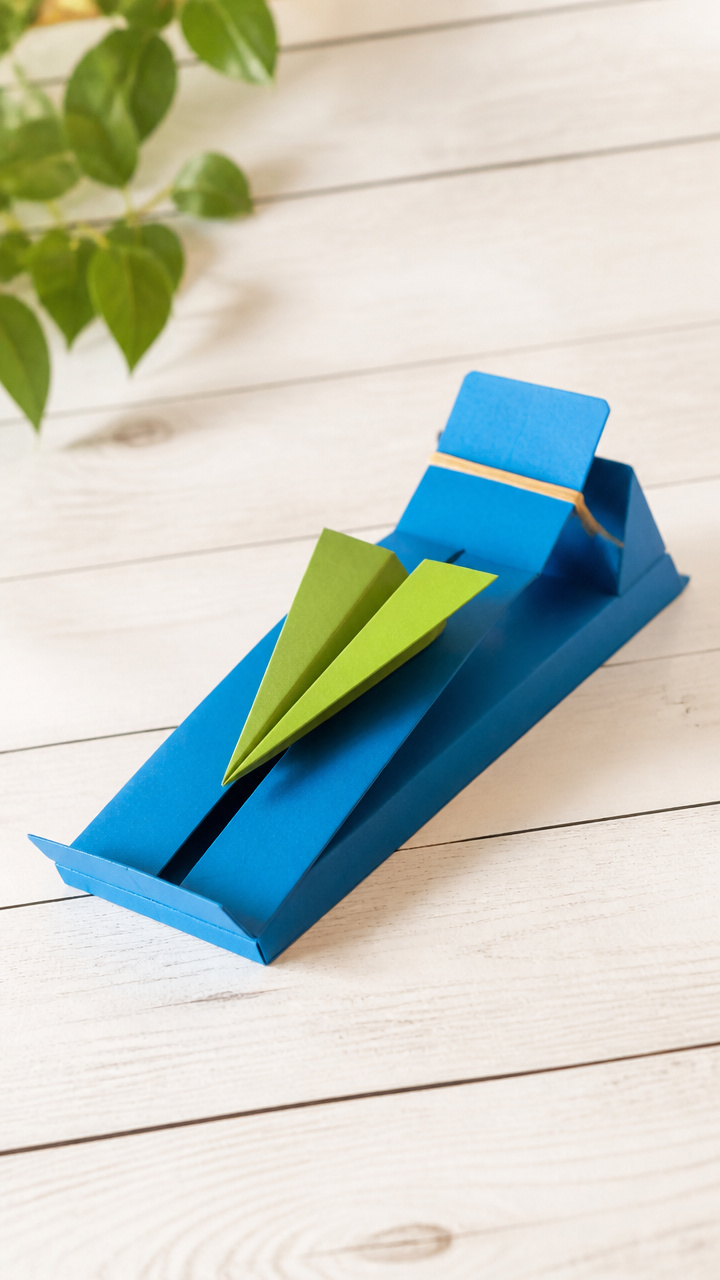
A handheld catapult that sends paper planes soaring. Adds fun physics to flight time.
Materials Needed
- One 8.5×11 inch sheet of manila folder stock
- One rubber band
- Plastic straw, 6 inches long
- Hole punch
- Tape
How to Make It
- Fold the manila sheet in half lengthwise and crease sharply.
- Punch two holes, one inch apart, along the folded edge near the top third.
- Thread the rubber band through both holes and tie knots on the inside to secure.
- Tape the straw horizontally across the back, two inches below the rubber band.
- Slide a paper airplane’s tail under the rubber band and pull back to launch.
9. Layered Paper Sun
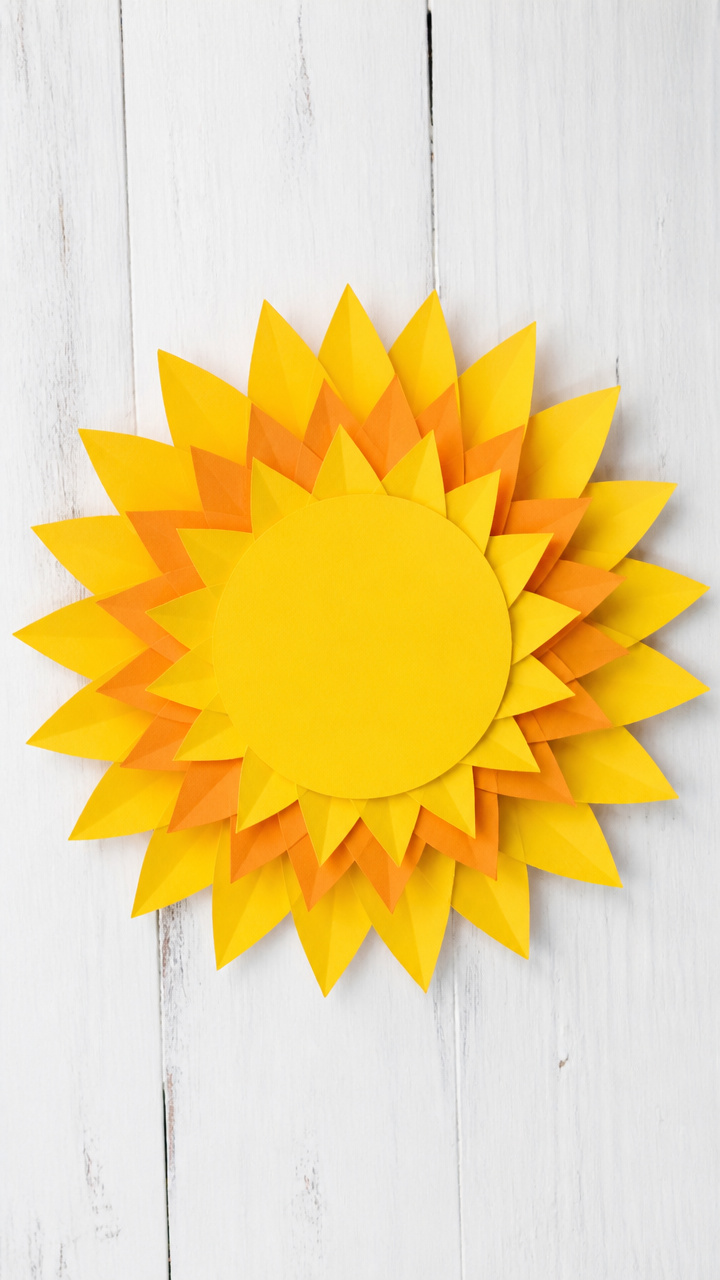
A radiant sun with staggered rays that rise off the page. Feels like sunshine on paper.
Materials Needed
- One 8.5×11 inch yellow construction paper
- One 6 inch orange craft foam circle
- Ten 2×6 inch red paper strips
- Glue stick
- Scissors
How to Make It
- Cut slits every inch along one long edge of each red strip, about halfway through.
- Glue one end of each strip to the back of the orange circle, spacing them evenly.
- Fan the strips outward and glue their free ends to the yellow paper in a circular pattern.
- Overlap each ray slightly so they form a full burst around the center.
- Let the project lie flat for 7 minutes to dry completely.
10. Accordion Fold Greeting Card
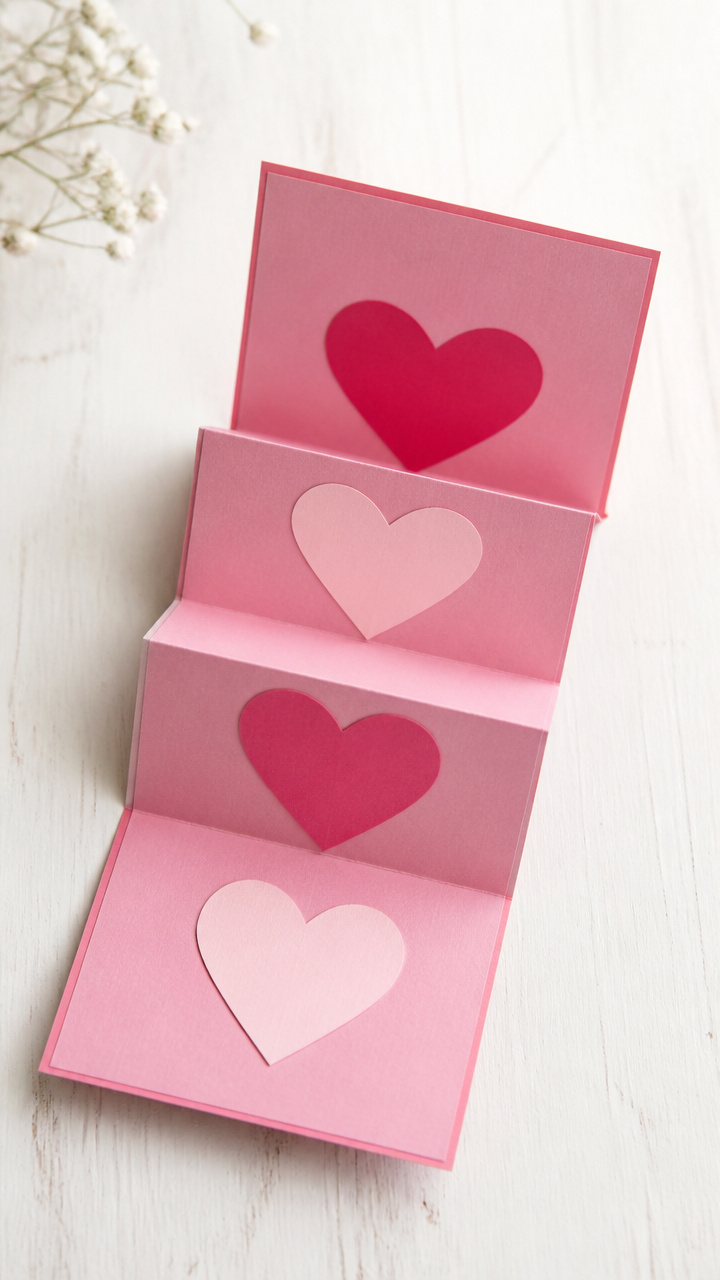
A zigzag card that unfolds to reveal a long message or drawing. Great for storytelling.
Materials Needed
- One 12×6 inch strip of A3 white cardstock
- Crayons
- Ruler
- Pencil
How to Make It
- Use the ruler and pencil to mark lines every 2 inches along the length of the paper.
- Fold each line alternately forward and backward to create a continuous accordion.
- Press each crease firmly with your thumbnail for a clean finish.
- Draw a picture or write a message on each visible panel.
- Stand it upright on a shelf to display all sections at once.
11. Paper Bag Puppet
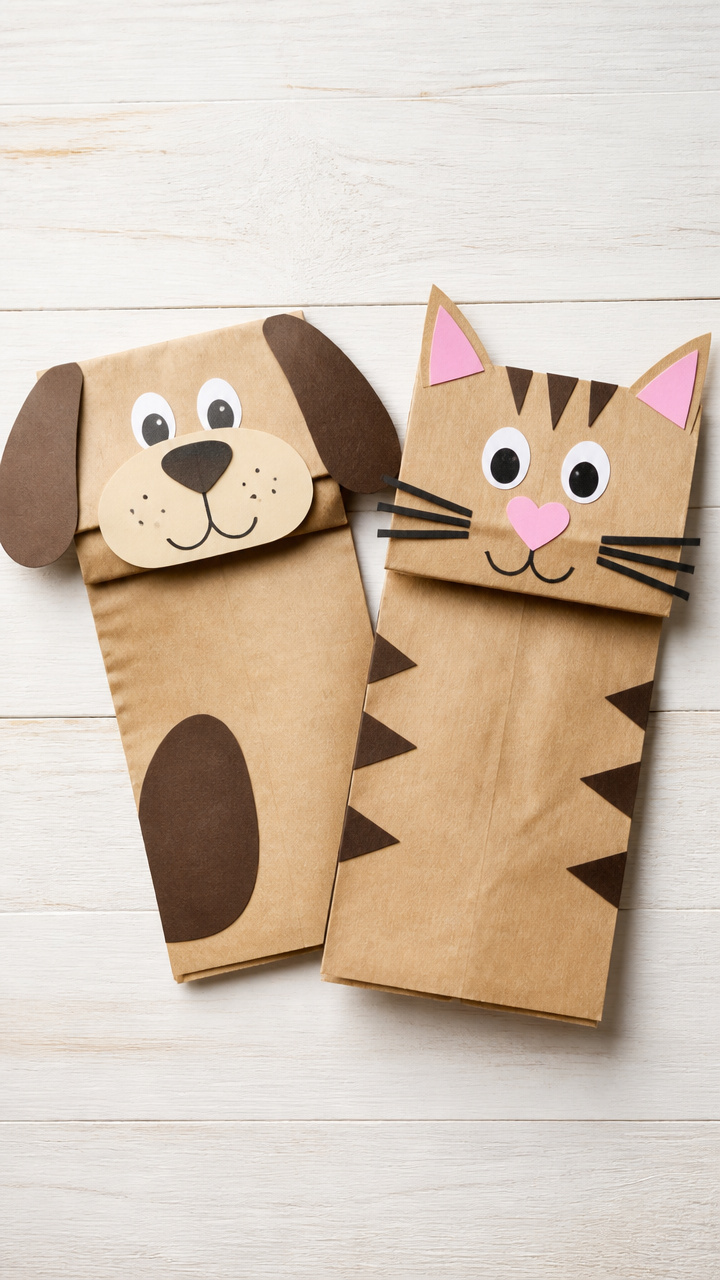
A friendly face that talks with your hand inside. Lets imagination lead the conversation.
Materials Needed
- One brown paper lunch bag
- Two 1 inch black felt circles
- One 2×3 inch pink craft foam piece
- Glue stick
- Googly eyes, 1 inch diameter, two
- Scissors
How to Make It
- Lay the bag flat with the flap at the top and glue the googly eyes below it.
- Cut two ears from the black felt and glue them to the flap.
- Cut a small triangle nose from the pink foam and glue it centered under the eyes.
- Draw a smiling mouth with a black marker just above the bottom fold.
- Slip your hand inside with fingers in the flap to move the mouth.

12. Paper Cup Lantern
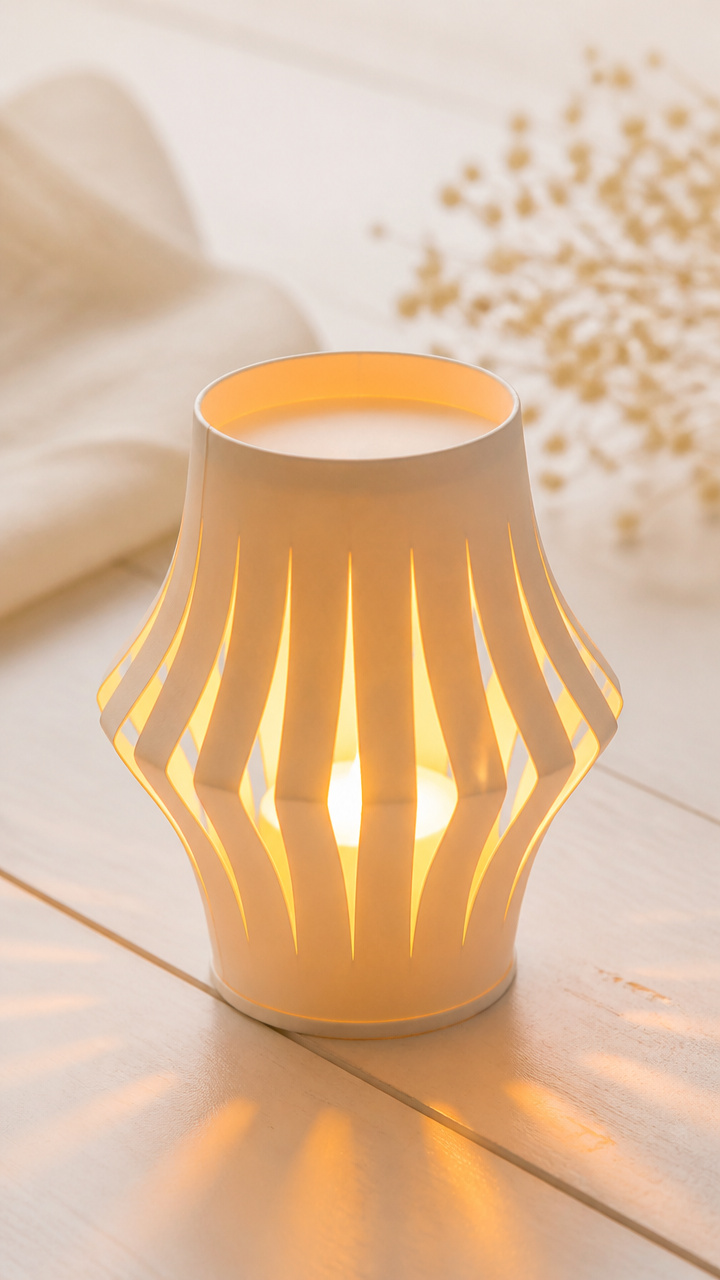
A glowing cup that casts pretty shadows when lit. Safe indoor magic with battery tea lights.
Materials Needed
- One 9 ounce white paper cup
- Blue crayon
- Pencil
- Craft knife (adult use only)
- Battery-powered tea light
How to Make It
- Color the entire cup with the blue crayon using firm circular motions.
- Use the pencil to sketch small star and moon shapes all over the surface.
- Carefully poke through each outline with the craft knife to make holes.
- Smooth any rough edges with your finger.
- Place the tea light inside and turn off the lights to see the glow.


13. Foil-Backed Paper Fish
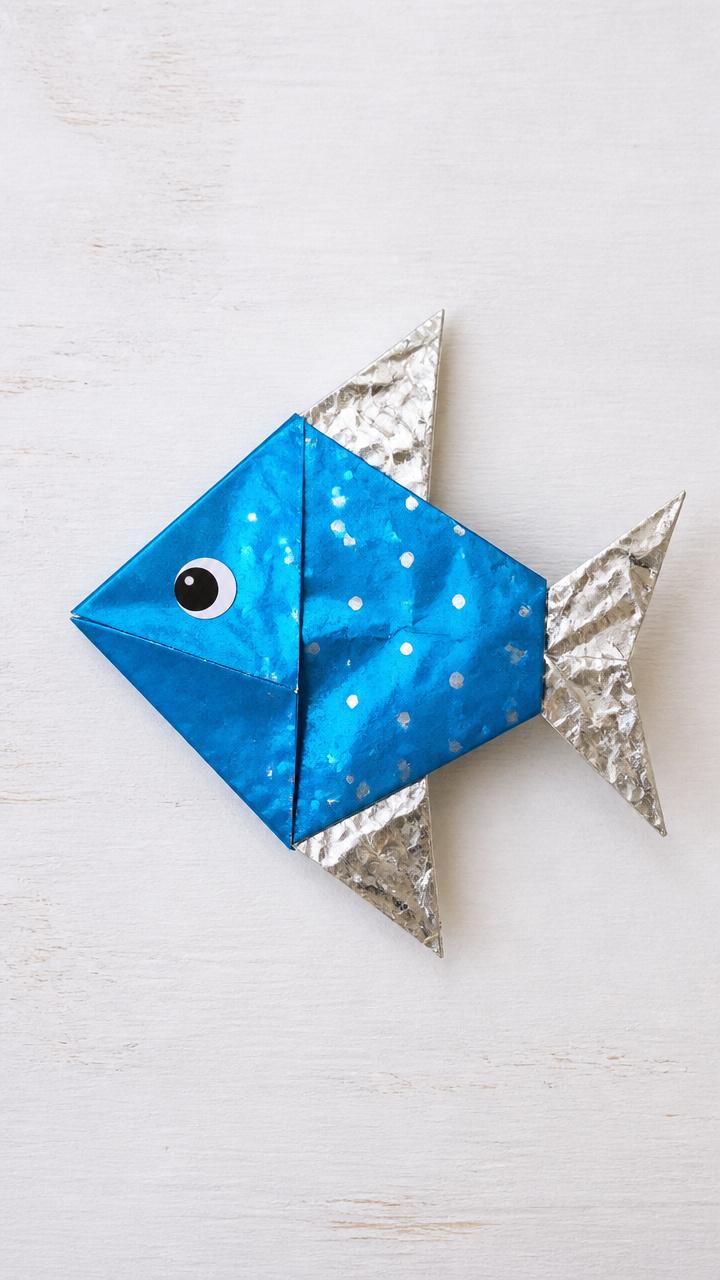
A shimmering fish that flutters down when dropped. The foil adds weight and shine.
Materials Needed
- One 6×6 inch square of aluminum foil
- One 6×6 inch blue tissue paper square
- Glue stick
- Scissors
- Red sequin
How to Make It
- Glue the tissue paper square directly onto the shiny side of the foil.
- Cut a fish shape with a pointed head and forked tail from the layered paper.
- Fold a 1 inch tab upward along the bottom edge to slow its fall.
- Glue a red sequin on the side for an eye.
- Drop it from shoulder height and watch it glide gently to the floor.


14. Paper Crown with Tassels
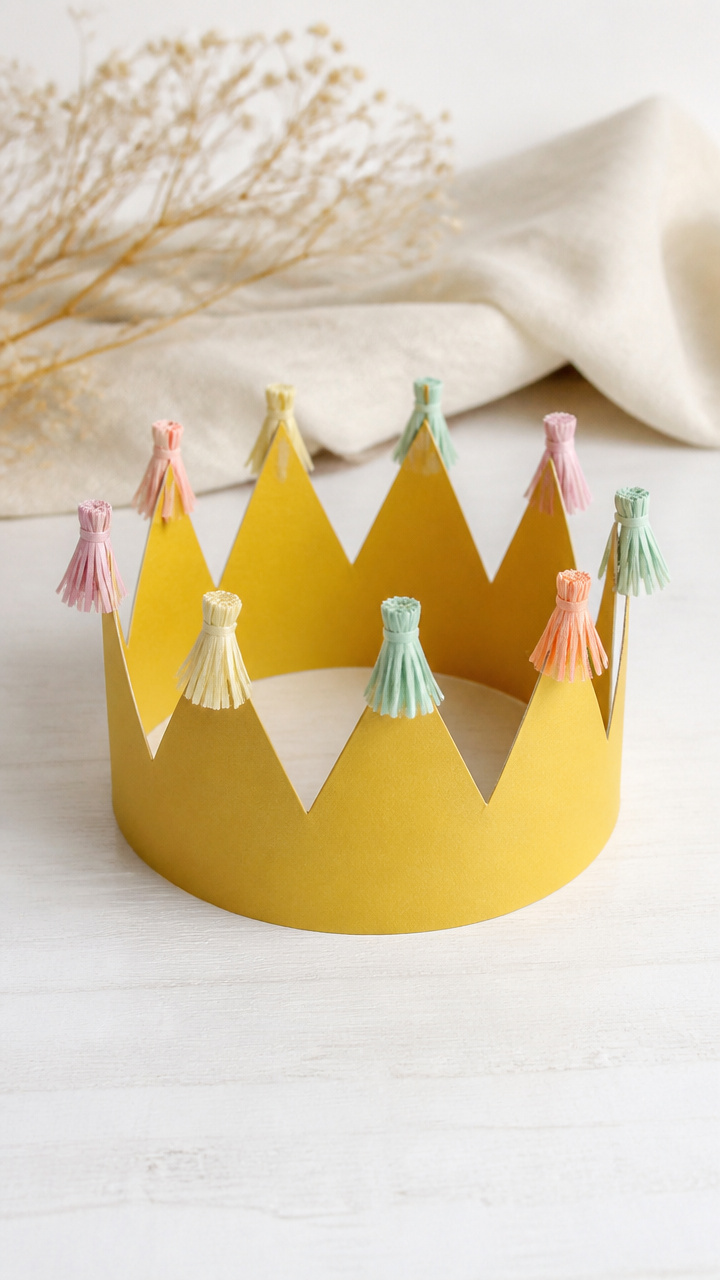
A regal crown fit for a living room throne. Tassels sway with every royal move.
Materials Needed
- One 12×2 inch strip of gold construction paper
- Three 6 inch yarn pieces (purple)
- Glue stick
- Hole punch
- Scissors
How to Make It
- Measure the strip around the child’s head and overlap the ends by 1 inch.
- Glue the overlap and let dry for 6 minutes to form a circle.
- Cut three 1 inch slits at the top front and back peaks of the crown.
- Thread one yarn piece through each slit and knot the ends to make tassels.
- Press the crown flat for storage and reshape before wearing.
15. Folded Paper Caterpillar
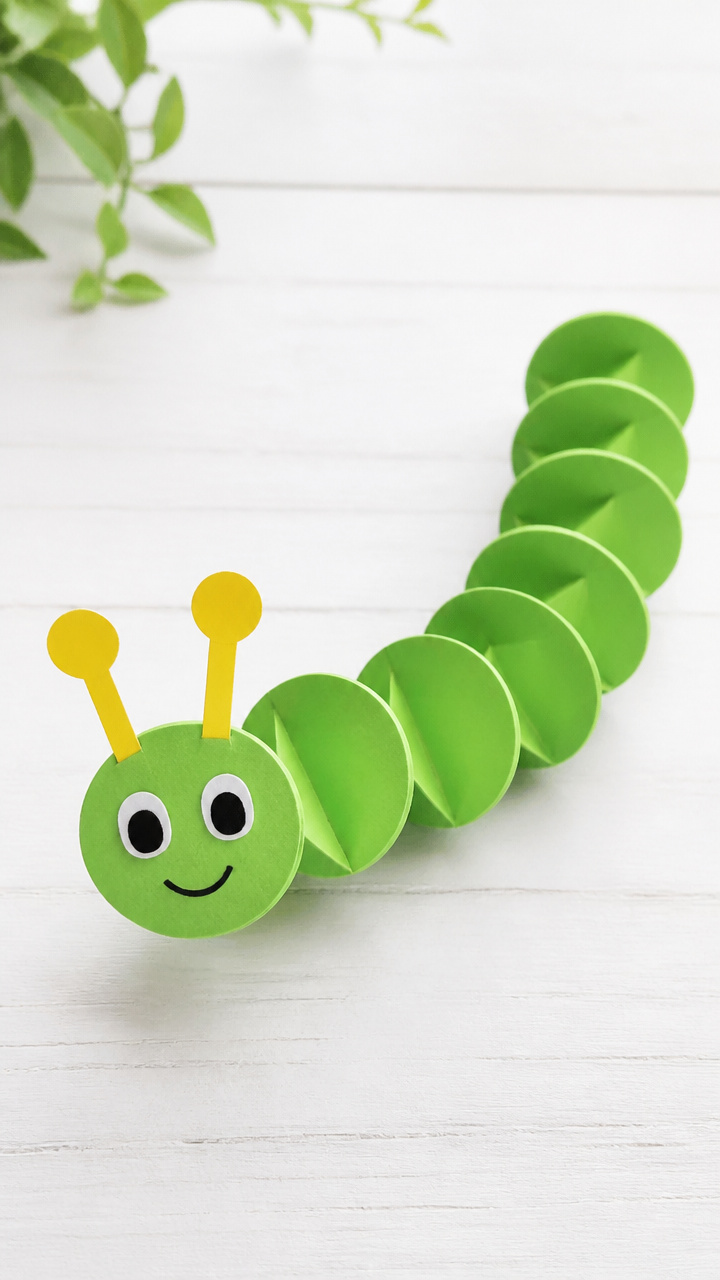
A wiggly bug made from connected fans. Each segment moves independently for crawling fun.
Materials Needed
- Six 3×3 inch green squares of construction paper
- Glue stick
- Black fine-tip marker
- Scissors
How to Make It
- Fold each square into an accordion of 1 inch pleats, making six small fans.
- Unfold each fan slightly and glue the open ends together in a line to form a chain.
- Let the glue dry for 5 minutes before handling.
- Draw two antennae and tiny eyes on the front segment with the marker.
- Gently squeeze and release the folds to make it crawl across the table.


You’ve got everything you need to start right now, probably already in your drawer. Grab a few sheets and make something that makes you smile.