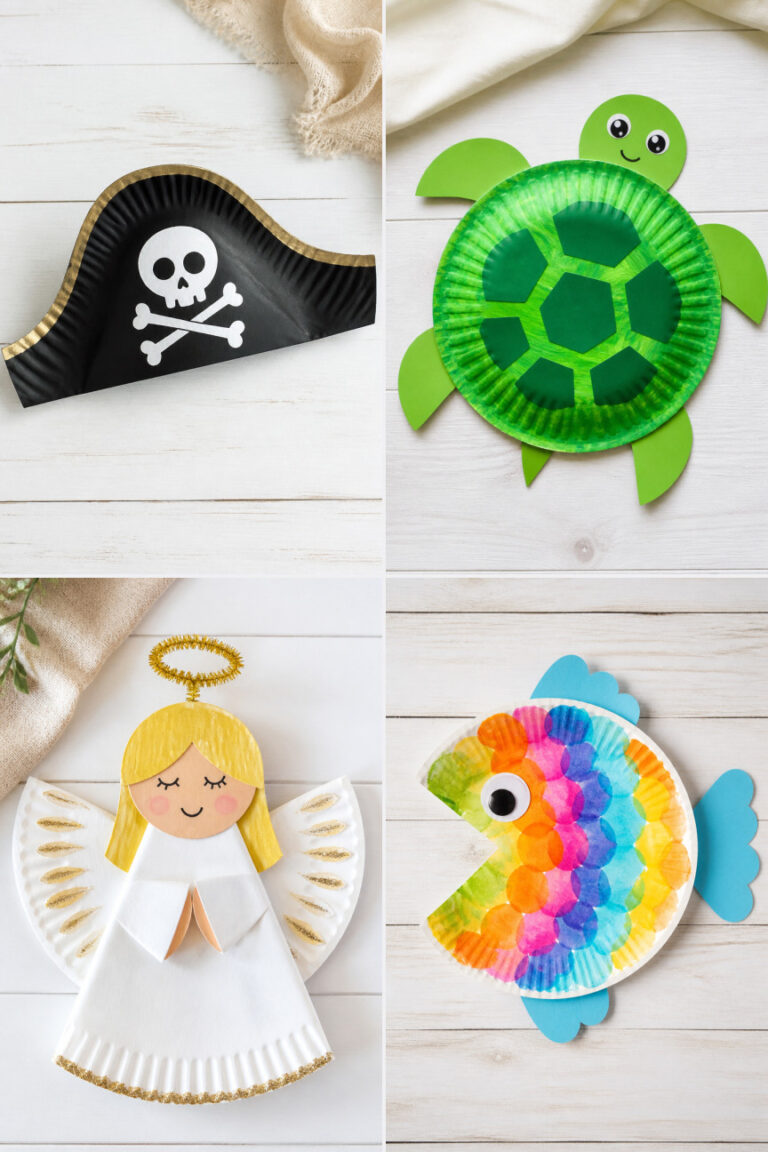
15 Easy DIY Activities for Kids When They Need Something Fun to Do
Kids have a way of announcing they're bored just when you're busiest. That sudden 'I have nothing to do' can send any parent scrambling for ideas that are simple, engaging, and won't leave a mess you'll be cleaning for days.
The good news is you don't need fancy supplies or hours of prep. With things you already have around the house, you can spark creativity and keep little hands busy with projects that feel like play but sneak in a bit of learning too.
1. Paper Plate Animal Masks
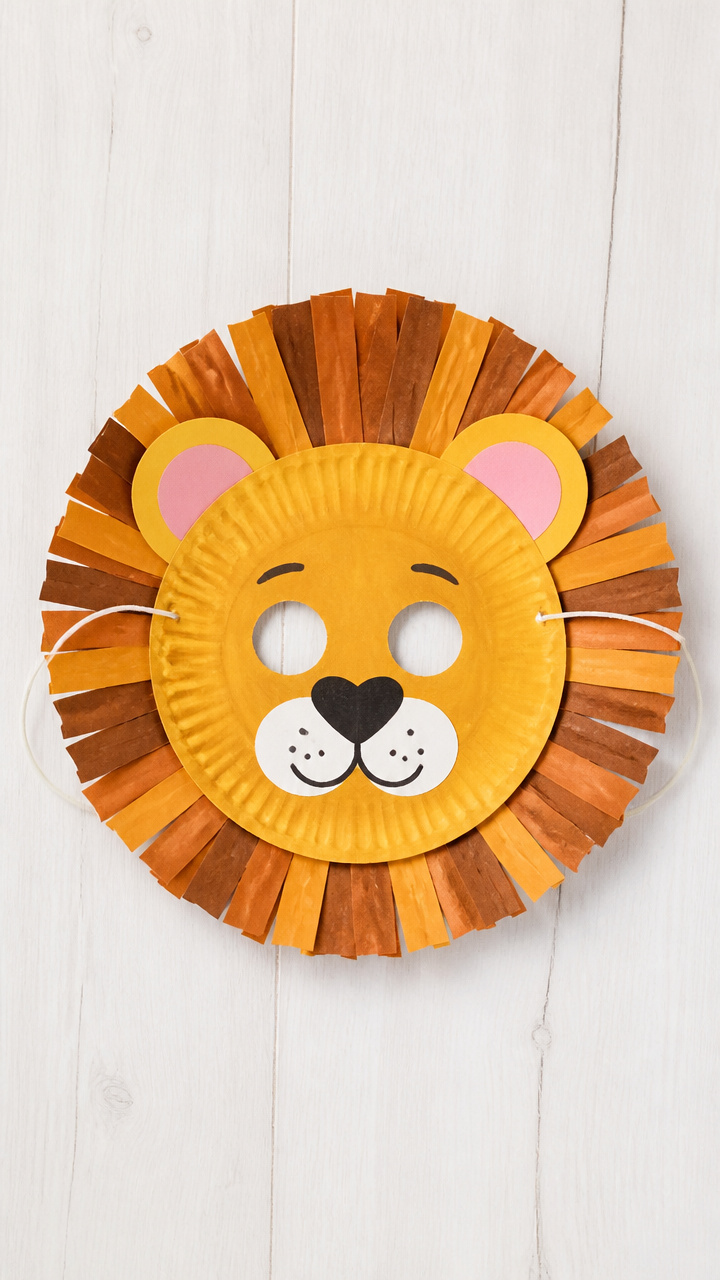
Soft, lightweight masks that let kids pretend to be lions, bunnies, or dragons. These are perfect for storytelling time or backyard adventures.
Materials Needed
- 3 paper plates per mask
- brown craft sticks, 6 inches long, 1 per mask
- white school glue
- child-safe scissors
- acrylic paint in animal colors (e.g., orange, black, pink)
- paintbrushes, 1 medium and 1 small per child
- black craft foam sheets
- hole punch
How to Make It
- Cut one paper plate in half and set one half aside. Use the round half for the mask base.
- Paint the curved edge of the half plate to match the animal's face, let dry for 20 minutes.
- Cut ears or horns from craft foam and glue them to the top edge of the mask.
- Glue a craft stick to the bottom edge of the mask for holding. Let dry 30 minutes.
- Use the hole punch to make two holes on the sides, thread yarn through and tie for wearing.
2. Pasta Necklaces
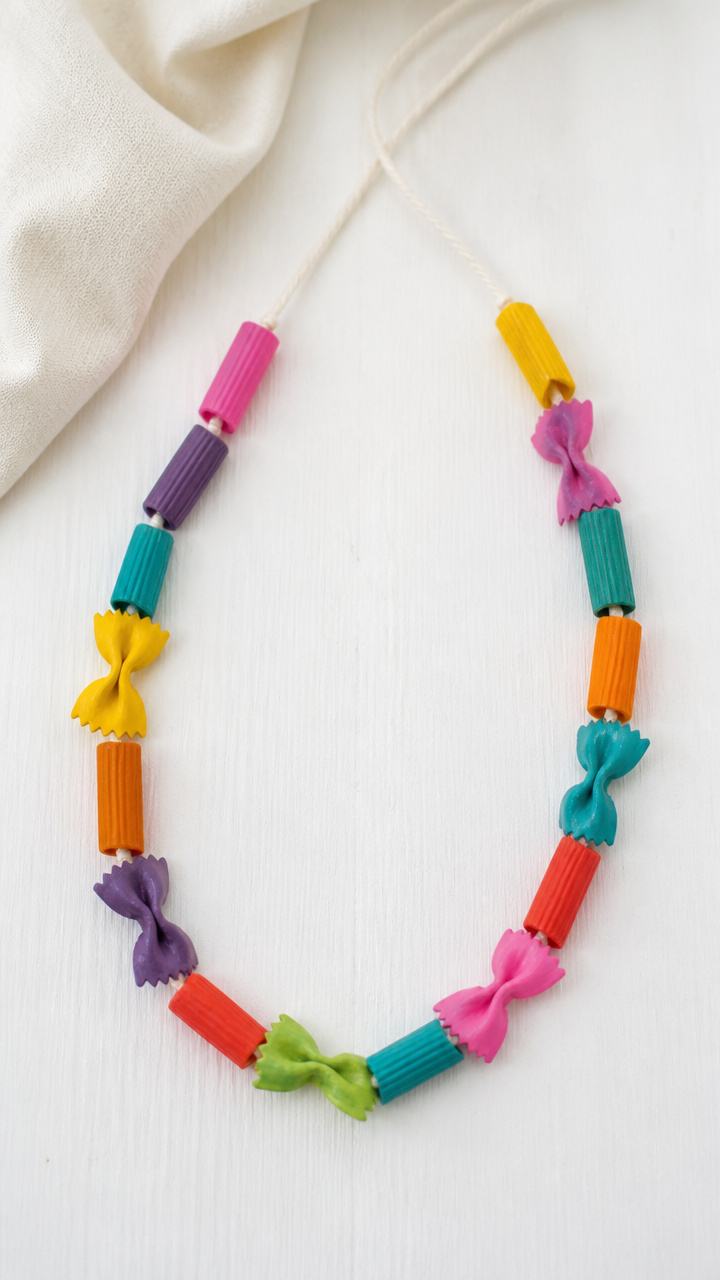
Shiny, colorful necklaces made from dried pasta that click together with pride. Kids love wearing their creations all day.
Materials Needed
- 1 cup uncooked elbow macaroni
- 1 cup uncooked penne pasta
- food coloring, 3 primary colors
- 1 tablespoon rubbing alcohol
- plastic sandwich bags, 3
- yarn, 2 feet per necklace, cut into 4 mm thickness
- large-eye plastic needles
How to Make It
- Mix 10 drops of food coloring with 1 tablespoon of rubbing alcohol in a bag, add 1/3 cup pasta, seal and shake gently for 1 minute.
- Spread colored pasta on parchment paper and dry for 2 hours, flipping once.
- Thread the dry pasta onto yarn using a plastic needle, alternating shapes and colors.
- Tie the ends of the yarn with a double knot to secure the necklace.
3. Crayon Resist Name Art
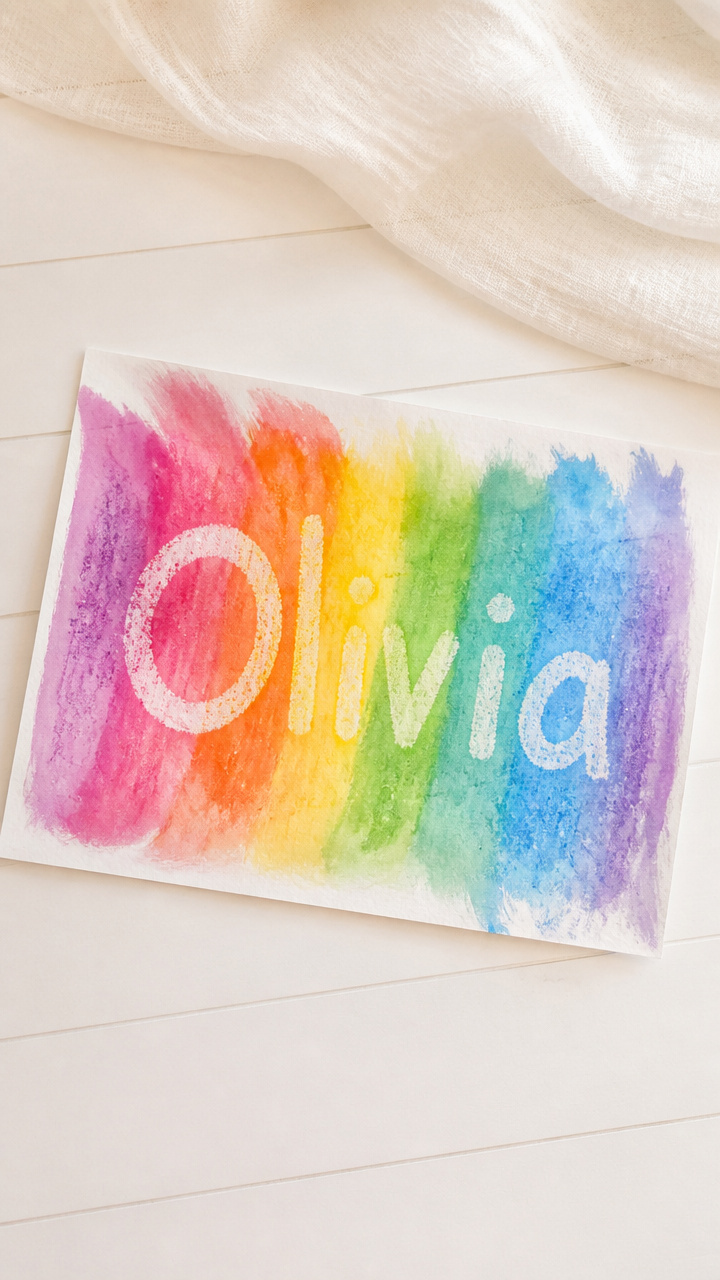
Bold, personal artwork where names stand out in wax against a painted background. It's a confidence booster and a cool wall piece.
Materials Needed
- white drawing paper, 9×12 inches
- thick crayons in dark colors
- liquid watercolor paint, 3 colors
- paintbrush, 1 per color
- small paint cups, 3
- water in a jar
- paper towels
How to Make It
- Write your child's name in big, thick letters using a dark crayon, pressing hard to lay down wax.
- Fill in the entire paper around the name with crayon, covering every inch.
- Mix watercolor paint in cups with a little water to make it runny.
- Paint over the entire paper with watercolors. The crayon areas will resist the paint and stay bright.
4. Sock Puppets with Buttons
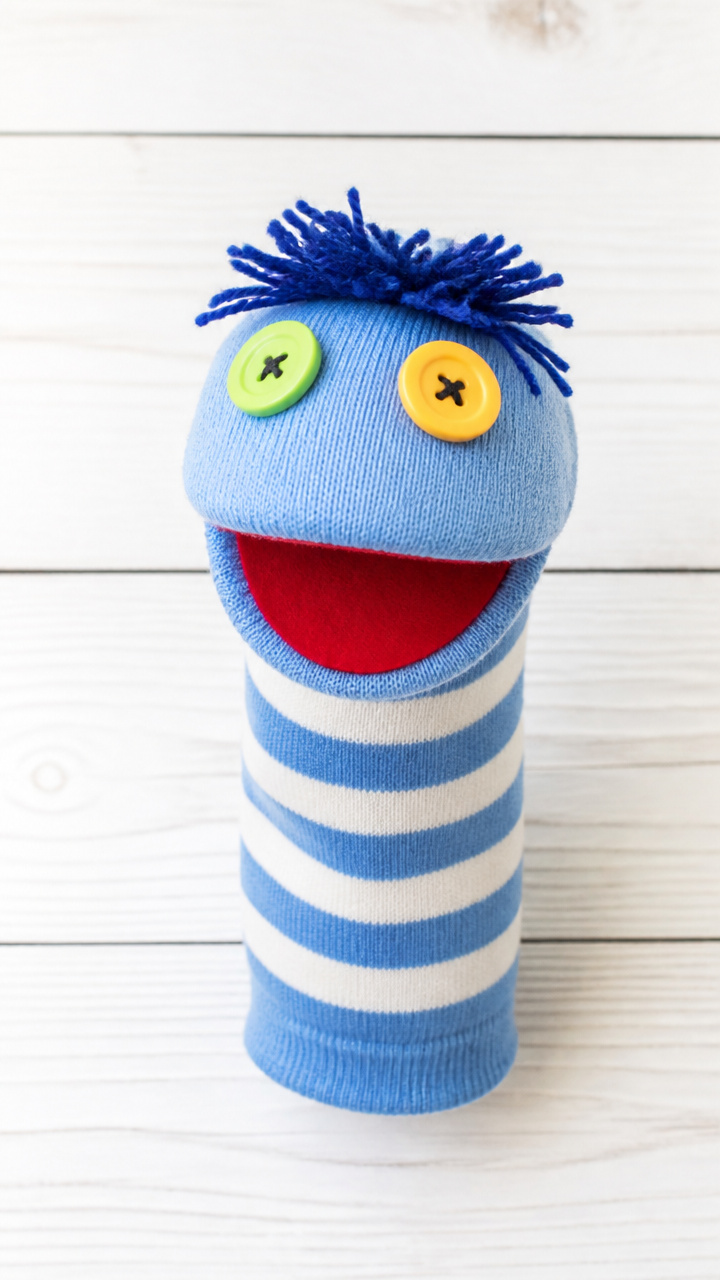
Soft puppets with wiggly eyes and button noses that spark instant storytelling. One old sock turns into a new friend.
Materials Needed
- 1 clean cotton sock per puppet
- fabric scraps, 3 different colors
- button assortment, 10–15 per puppet
- black embroidery floss
- yarn scraps, 6 inches each
- plastic needle with large eye
- fabric glue
How to Make It
- Slide the sock onto your hand. The heel becomes the mouth.
- Glue buttons for eyes above the heel and a larger button for the nose below.
- Cut hair shapes from yarn or fabric scraps and glue them to the top of the sock.
- Use the plastic needle and floss to stitch on extra details like smiles or ears.
5. Tissue Paper Stained Glass
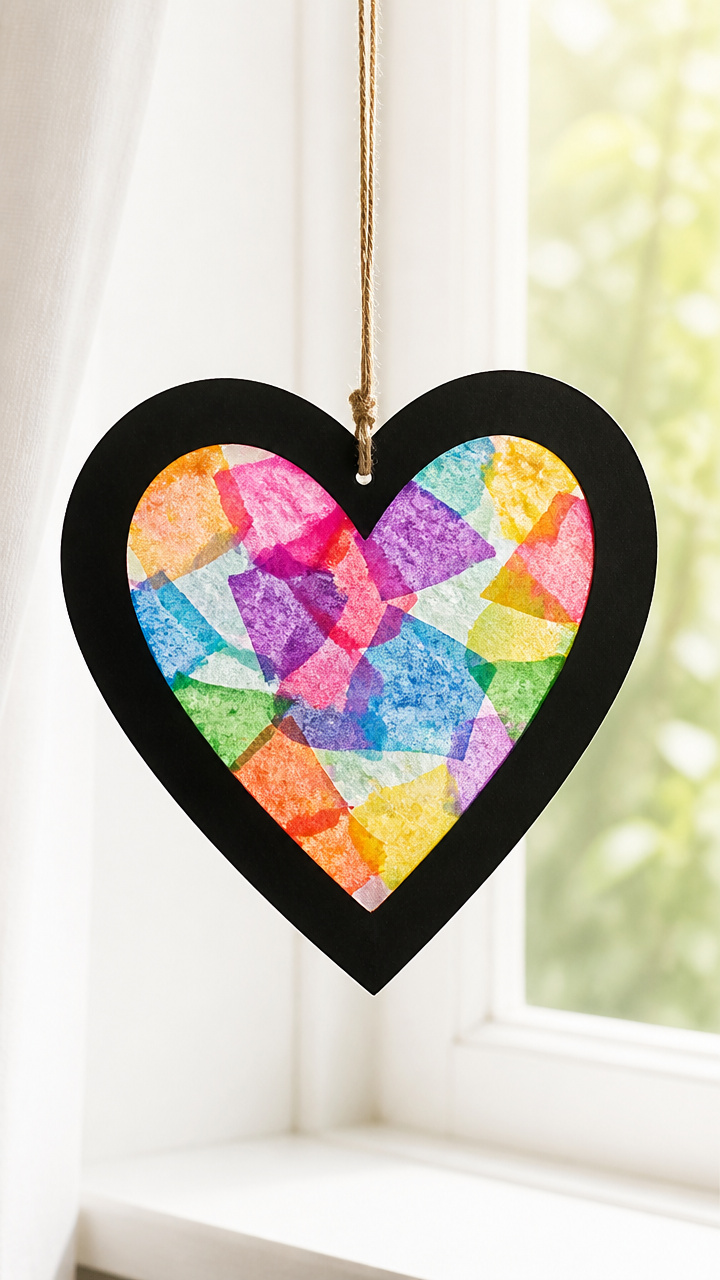
Bright, translucent windows that glow when the sun hits them. These add instant color to any room.
Materials Needed
- black construction paper, 8.5×11 inches
- tissue paper squares, 2×2 inches, 5 colors
- white school glue
- paintbrush, 1 inch wide
- scissors
- contact paper, 12×12 inch sheet
How to Make It
- Cut a frame from black construction paper by removing a 2×3 inch rectangle from the center.
- Brush a thin layer of glue inside the frame opening.
- Press tissue paper squares into the glue, overlapping colors to fill the space.
- Let dry 1 hour, then place contact paper sticky side up and lay the art face down on it. Seal with another sheet.


6. Popsicle Stick Picture Frames
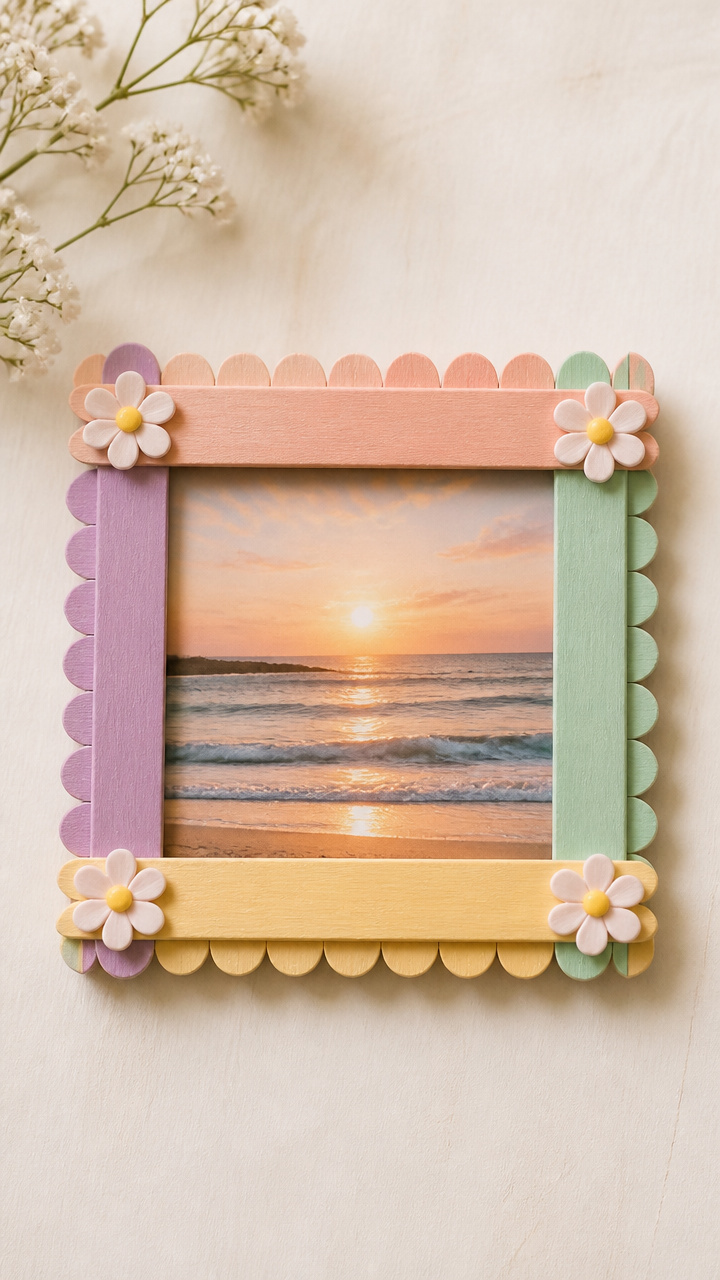
Tiny frames that hold a child's drawing or a photo of a pet. They're sturdy, personal, and make sweet gifts.
Materials Needed
- 8 jumbo popsicle sticks per frame
- white school glue
- googly eyes, 10 mm, 4 per frame
- acrylic paint, 3 colors
- paintbrush, medium
- small photo or drawing, 2×3 inches
- craft foam scraps
How to Make It
- Glue four popsicle sticks together end to end in a rectangle, let dry 30 minutes.
- Paint the frame and let dry for 20 minutes.
- Glue googly eyes or foam shapes around the border for decoration.
- Glue a small photo or drawing to the back, then tape a stick behind as a stand.

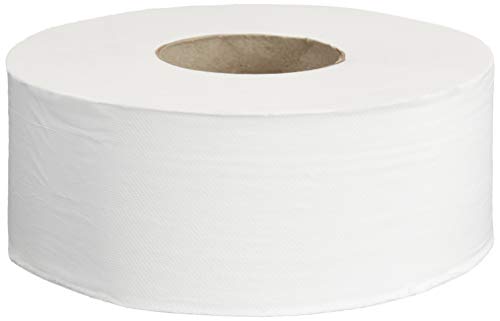

7. Cardboard Tube Binoculars
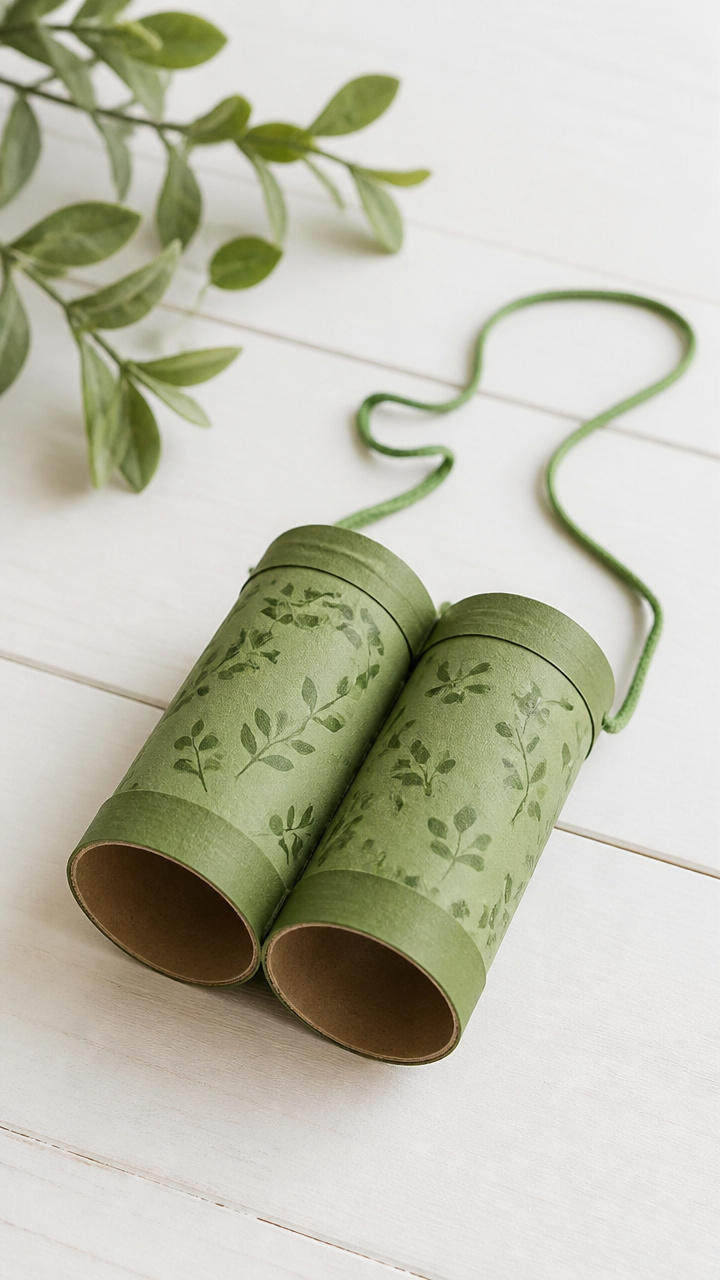
Sturdy binoculars made from toilet paper rolls that turn backyard time into a safari. Kids love peering through them.
Materials Needed
- 2 cardboard toilet paper tubes per pair
- duct tape, 12 inches
- acrylic paint, 2 colors
- paintbrush, medium
- yarn, 18 inches
- hole punch
How to Make It
- Place the two tubes side by side and wrap duct tape around the middle to bind them together.
- Paint the binoculars with bright colors, let dry for 25 minutes.
- Punch one hole on each side of the outer tube, near the middle.
- Thread yarn through the holes and tie knots to make a neck strap.
8. Glue and Glitter Jars
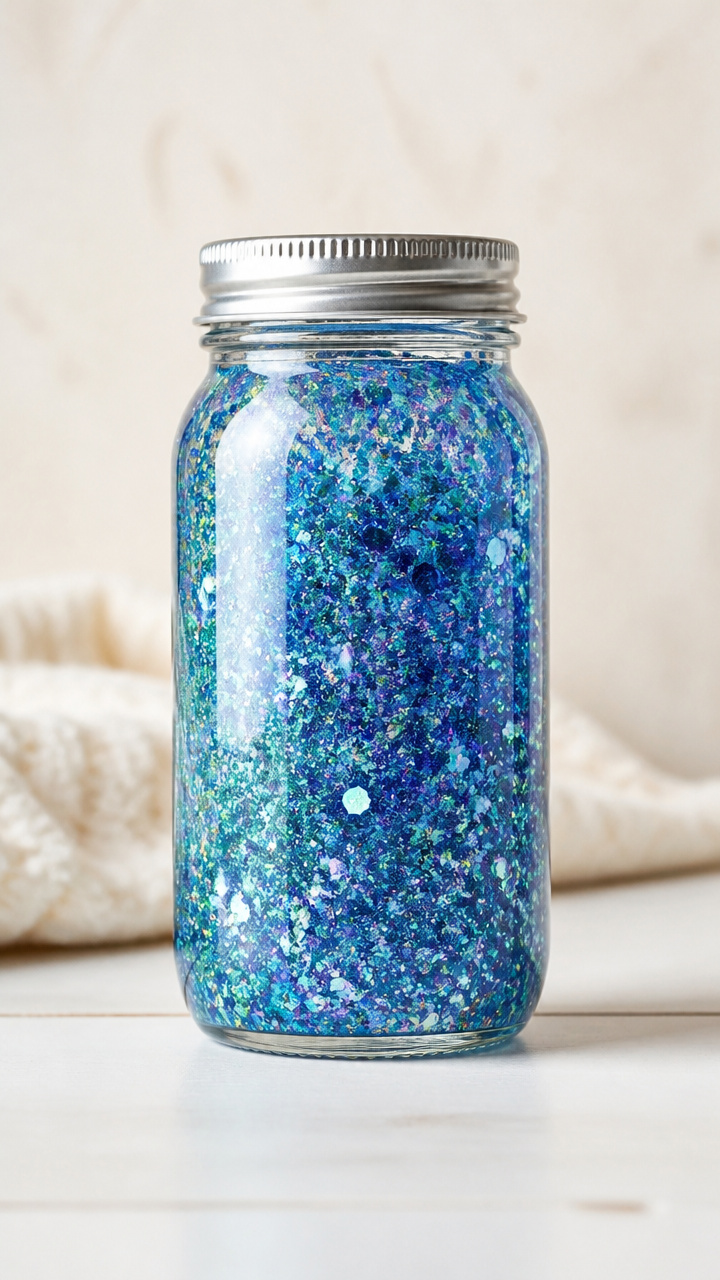
Mesmerizing jars that swirl with glitter and slow motion. These are calming to watch and fun to make.
Materials Needed
- clear plastic water bottle, 8 oz, with lid
- white school glue, 1/2 cup
- warm water, 1/2 cup
- fine glitter, 2 teaspoons, 2 colors
- glitter glue, 1 tablespoon
- funnel
How to Make It
- Use the funnel to pour glue into the bottle, then add warm water and shake for 30 seconds.
- Add glitter and glitter glue, then fill the rest of the bottle with water, leaving a small gap at the top.
- Screw the lid on tight, then wrap duct tape around the rim to secure it.
- Turn the bottle upside down and watch the glitter swirl slowly like snow.
9. Nature Rubbing Art
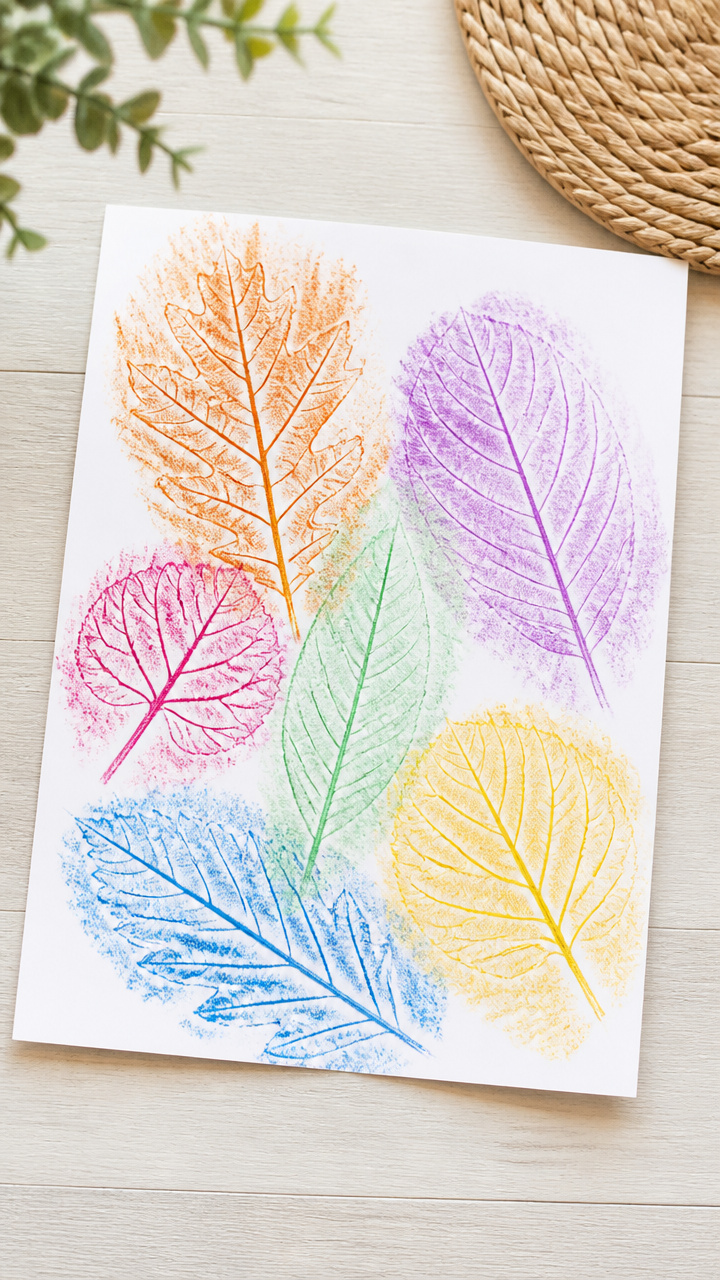
Crisp texture prints from leaves, bark, and stones collected outside. This turns a walk into an art session.
Materials Needed
- wax crayons, peeled, 3 colors
- white drawing paper, 8.5×11 inches
- collection of flat natural items (leaves, bark, coins)
- clipboard or hard surface
How to Make It
- Place a leaf under the paper on a hard surface like a clipboard.
- Hold the crayon on its side and rub gently over the paper above the leaf.
- Use different colors and pressures to see how textures change.
- Label each rubbing with the name of the item used.
10. Playdough Monster Cookies
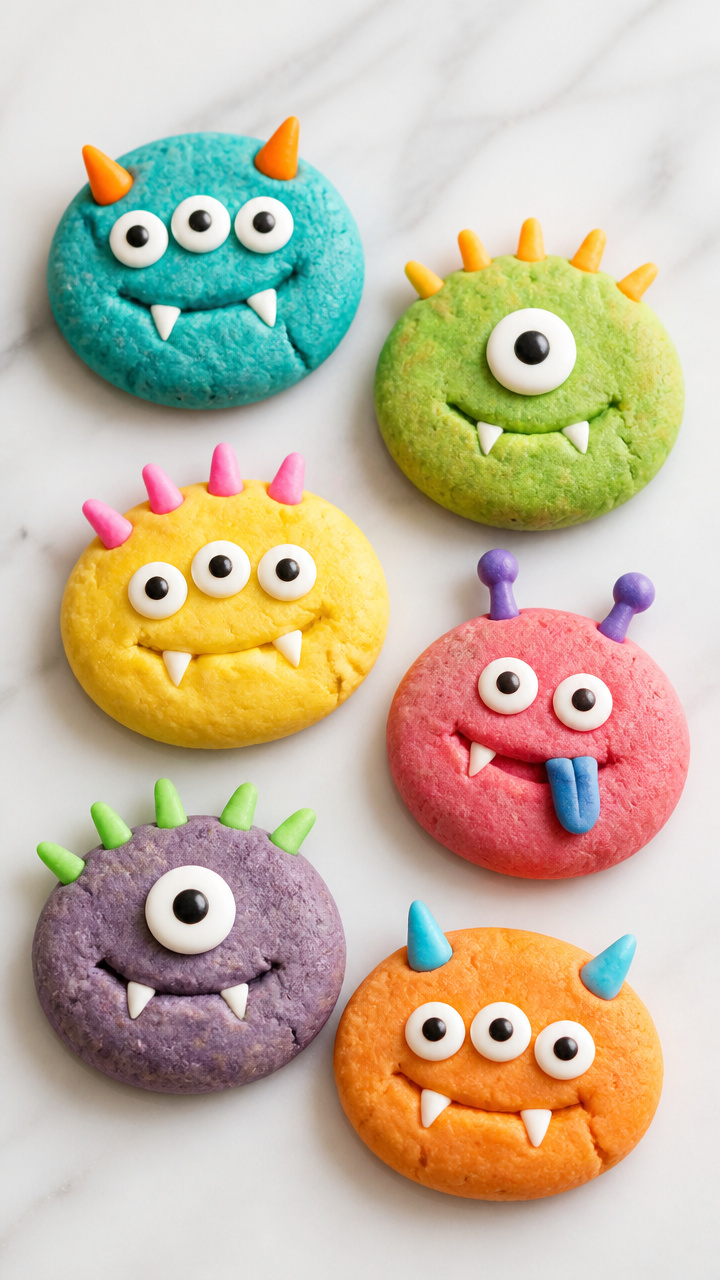
Silly, squishy cookies made from homemade playdough with googly eyes and pipe cleaner arms. No oven needed.
Materials Needed
- homemade playdough, 1 cup, any color
- googly eyes, 15 mm, 2 per cookie
- chenille stems, 6 inches, cut in half
- plastic knife
- muffin tin, 6 cup
- rolling pin or clean bottle
How to Make It
- Press a handful of playdough into each muffin cup to form a cookie shape.
- Roll small balls for eyes and press googly eyes on top.
- Push chenille stem halves into the sides for arms.
- Use the plastic knife to add cracks or bites on the edges.
11. Milk Jug Bird Feeders
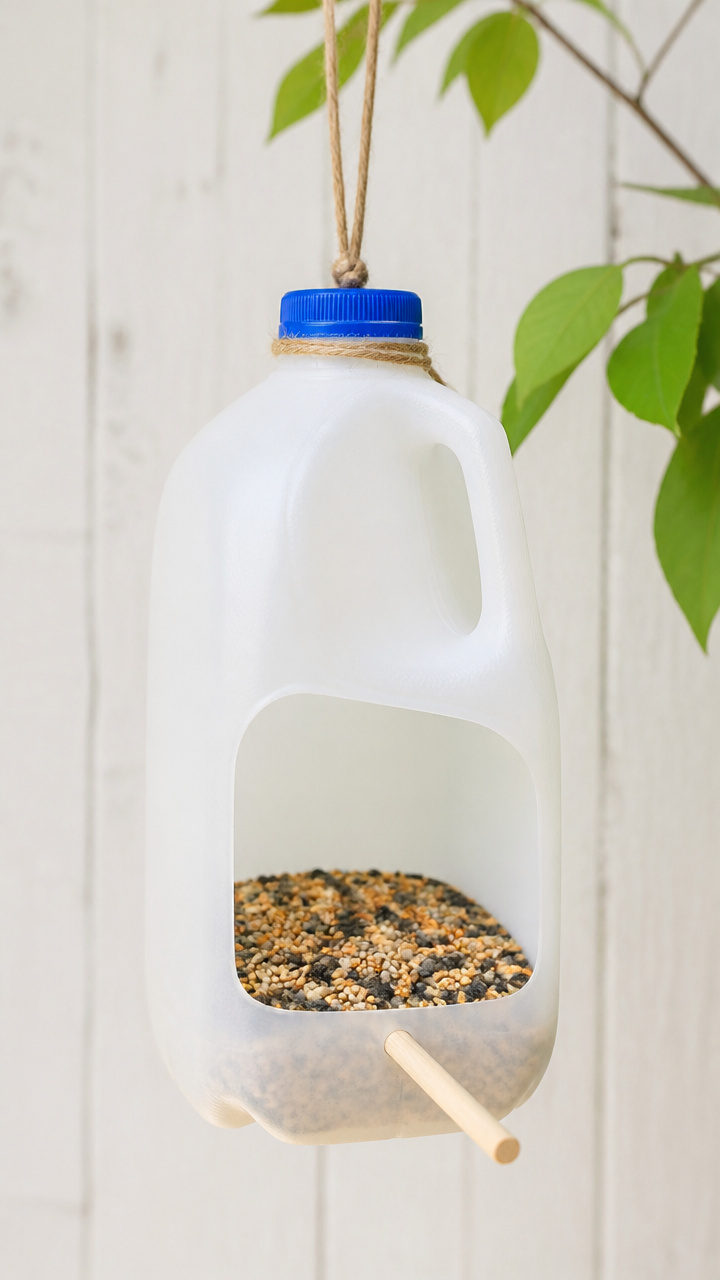
Simple feeders that attract real birds to your backyard. Kids love watching who comes to eat.
Materials Needed
- clean plastic milk jug, 1/2 gallon
- scissors
- acrylic paint, 3 colors
- paintbrush, medium
- twine, 18 inches
- wild birdseed, 1 cup
- spoon
How to Make It
- Cut a 2 inch square window near the bottom of the jug on one side.
- Paint the outside of the jug, avoiding the window, let dry 30 minutes.
- Punch two holes just above the handle and thread twine through for hanging.
- Fill the jug with birdseed and hang from a tree branch.
12. Cotton Ball Cloud Art
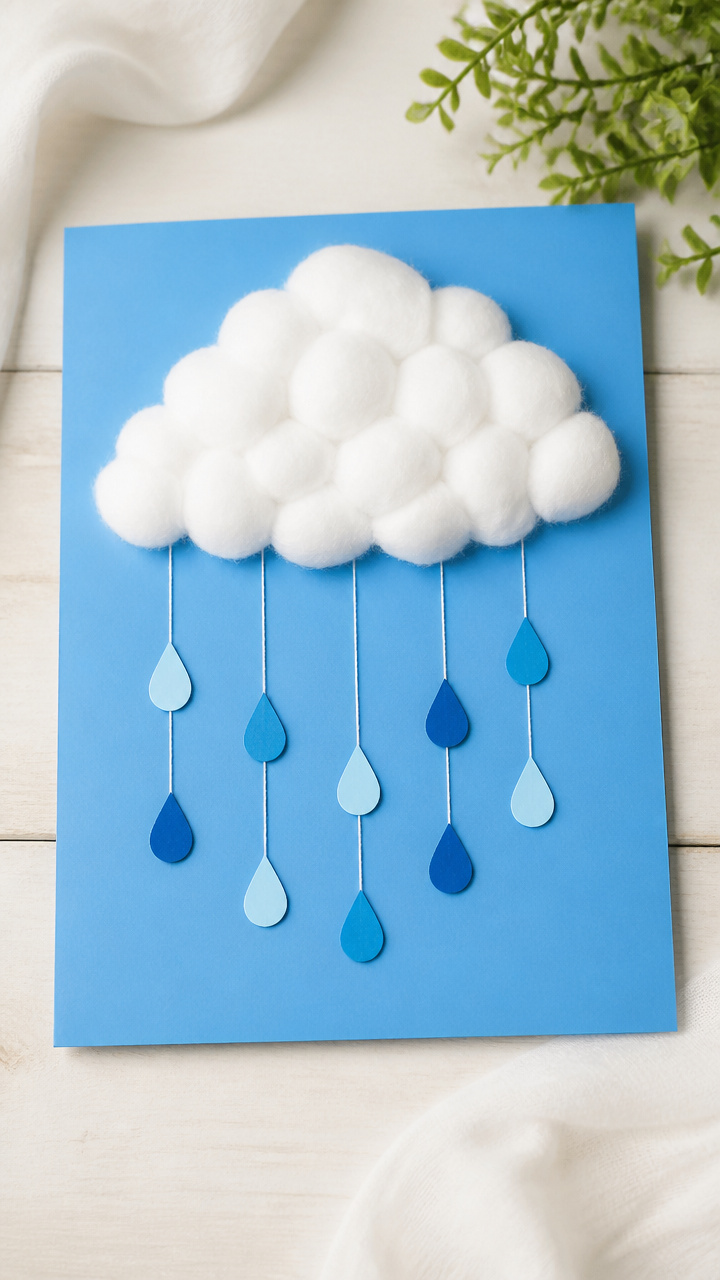
Fluffy clouds made from cotton balls on a blue background. This teaches light and texture in a soft way.
Materials Needed
- blue construction paper, 9×12 inches
- cotton balls, 15 per artwork
- white school glue
- paintbrush, 1 inch
- black crayon
How to Make It
- Brush a thin layer of glue on the upper half of the blue paper.
- Pull cotton balls apart slightly and press them onto the glue to form clouds.
- Let dry for 45 minutes.
- Use a black crayon to draw a horizon line and simple houses or trees below.


13. Egg Carton Caterpillars
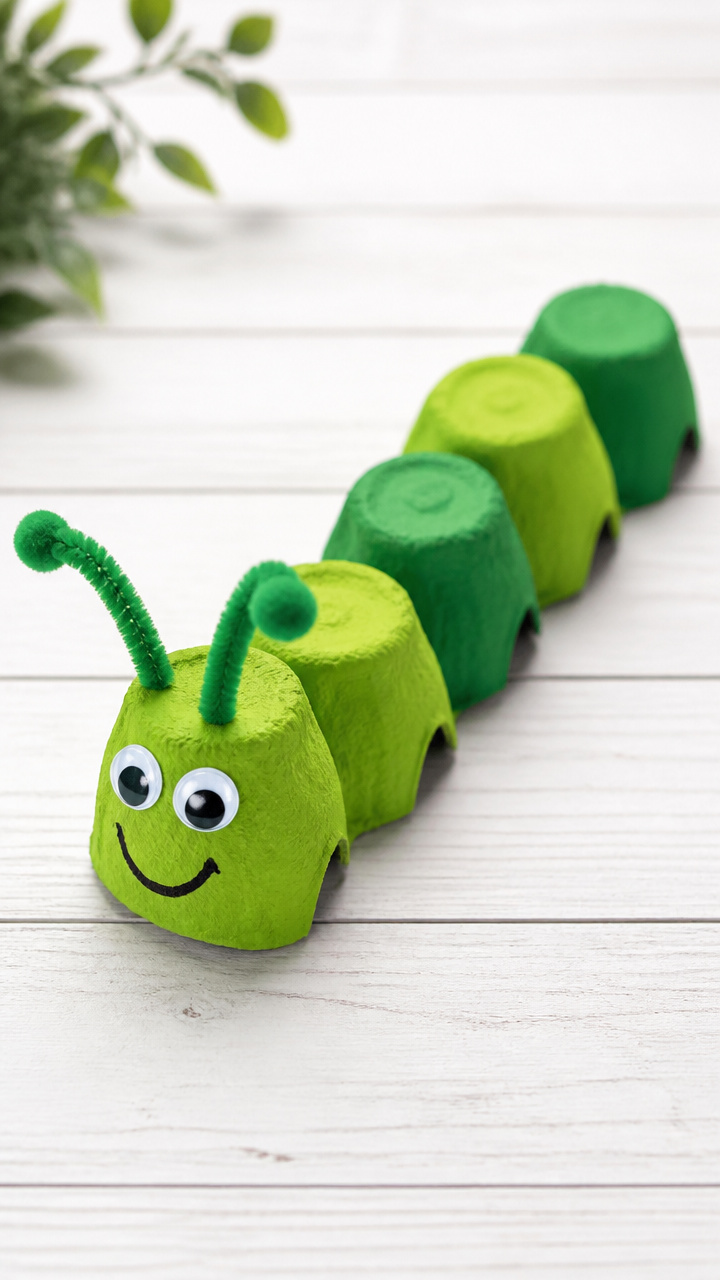
Bumpy, colorful caterpillars made from egg carton cups. They wiggle across the table and teach counting too.
Materials Needed
- cardboard egg carton, 12 cup
- scissors
- acrylic paint, 2 colors
- paintbrush, small
- googly eyes, 8 mm, 2 per caterpillar
- pipe cleaner, 6 inches
- white school glue
How to Make It
- Cut six connected cups from the egg carton and let dry if damp.
- Paint the cups with bright paint, let dry for 20 minutes.
- Glue googly eyes to the first cup and twist a pipe cleaner into antennae, glue in place.
- Let dry completely before playing.
14. Straw Blown Paint Art
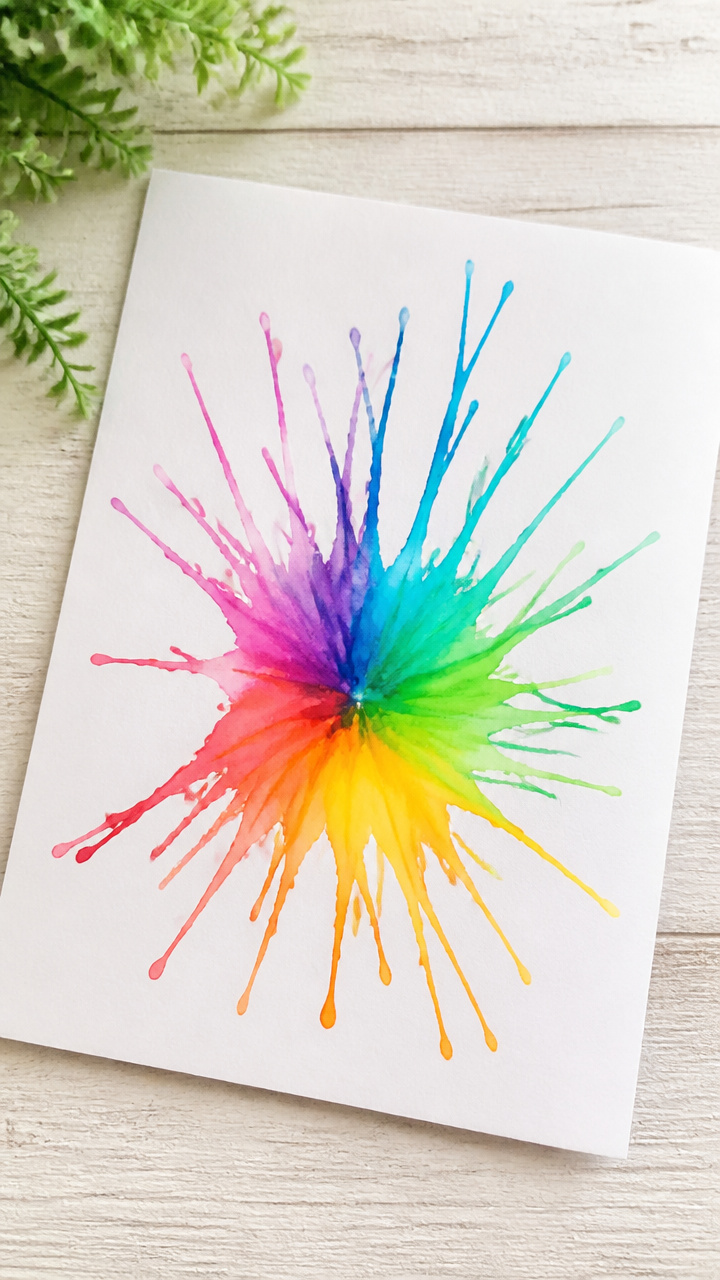
Swirling paint designs made by blowing through a straw. It's surprising, fast, and feels like magic.
Materials Needed
- white drawing paper, 8.5×11 inches
- liquid tempera paint, 3 colors
- plastic straws, 1 per color
- paint cups, 3
- water
- paper towels
How to Make It
- Put a drop of red paint in the center of the paper.
- Dip one end of a straw into the paint and place the other end near the drop.
- Blow gently through the straw to spread the paint into branches.
- Repeat with blue and yellow in different spots, using a clean straw for each color.


15. Tin Foil Boats
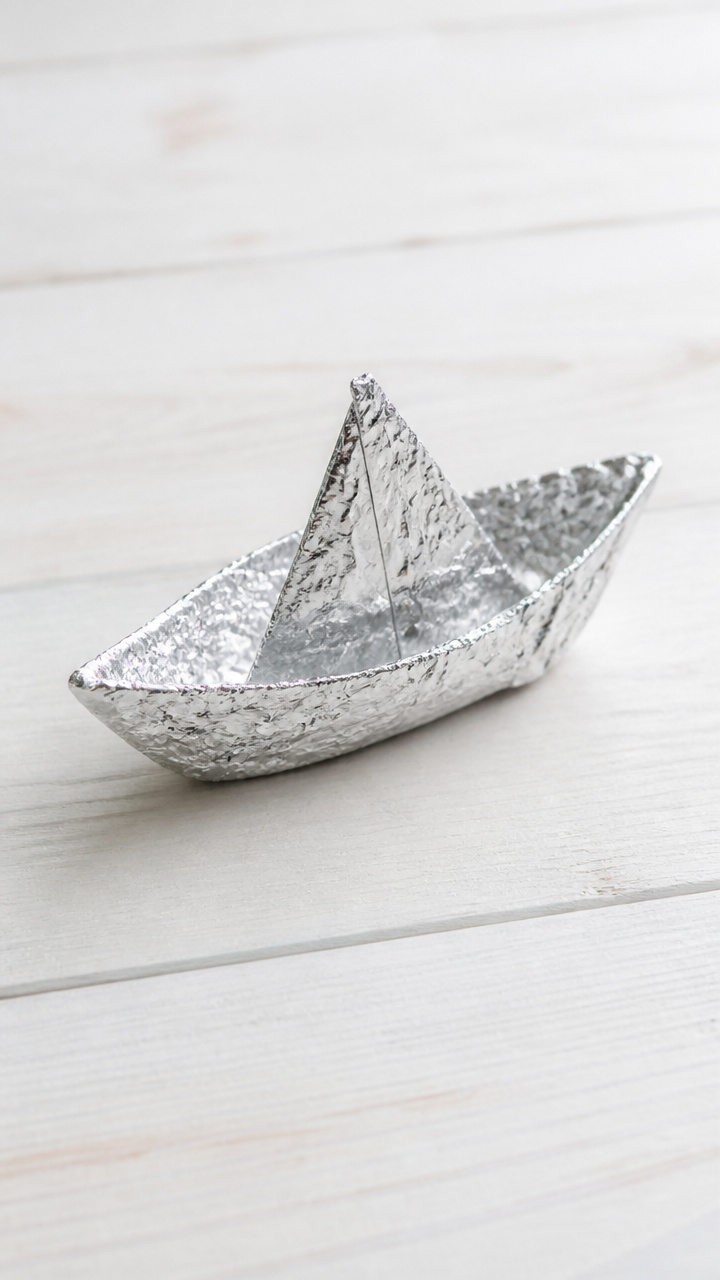
Shiny boats that float in the sink or tub. Kids test designs and race them with a puff of air.
Materials Needed
- aluminum foil, 6×6 inch squares, 2 per child
- scissors
- ruler
- pennies for weight test
- plastic bin or sink filled with water
How to Make It
- Fold one foil square in half lengthwise, then fold up the edges to make a boat shape with a flat bottom.
- Press the seams tightly to prevent leaks.
- Place the boat gently on the water and blow to make it move.
- Add pennies one at a time to see how many it can hold before sinking.


You’ve got everything you need right in your home to turn a dull moment into something joyful. Pick one idea, gather the kids, and let their hands lead the way.