15 Fun Paper Cutting Crafts for Kids to Practice Scissor Skills
Little hands grow stronger with every snip and cut. These paper crafts turn scissor practice into playful moments that build confidence and coordination.
Each idea uses simple supplies you likely have at home. Your child will create real keepsakes while learning to control those tricky scissors.
1. Paper Chain Caterpillar
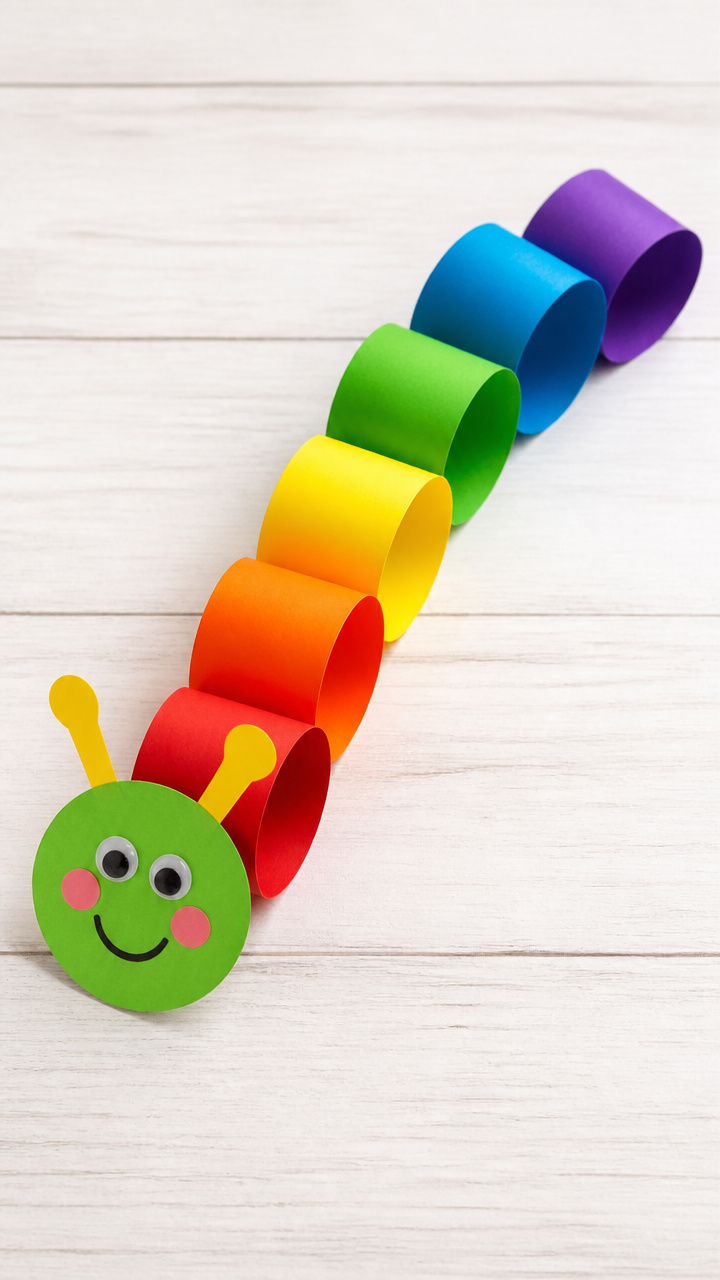
Bright, wiggly caterpillars made from linked paper rings teach cutting strips and fine motor control.
Materials Needed
- 6 sheets of colored construction paper
- Child-safe scissors
- White school glue
- Black fine-tip marker
How to Make It
- Cut each sheet into ten 1-inch wide strips, about 8 inches long.
- Glue the ends of one strip together to form a ring.
- Thread the next strip through the first ring before gluing it closed, creating a chain.
- Repeat until all strips are connected, then draw eyes and antennae with the marker.


2. Snip-and-Paste Mosaic Fish
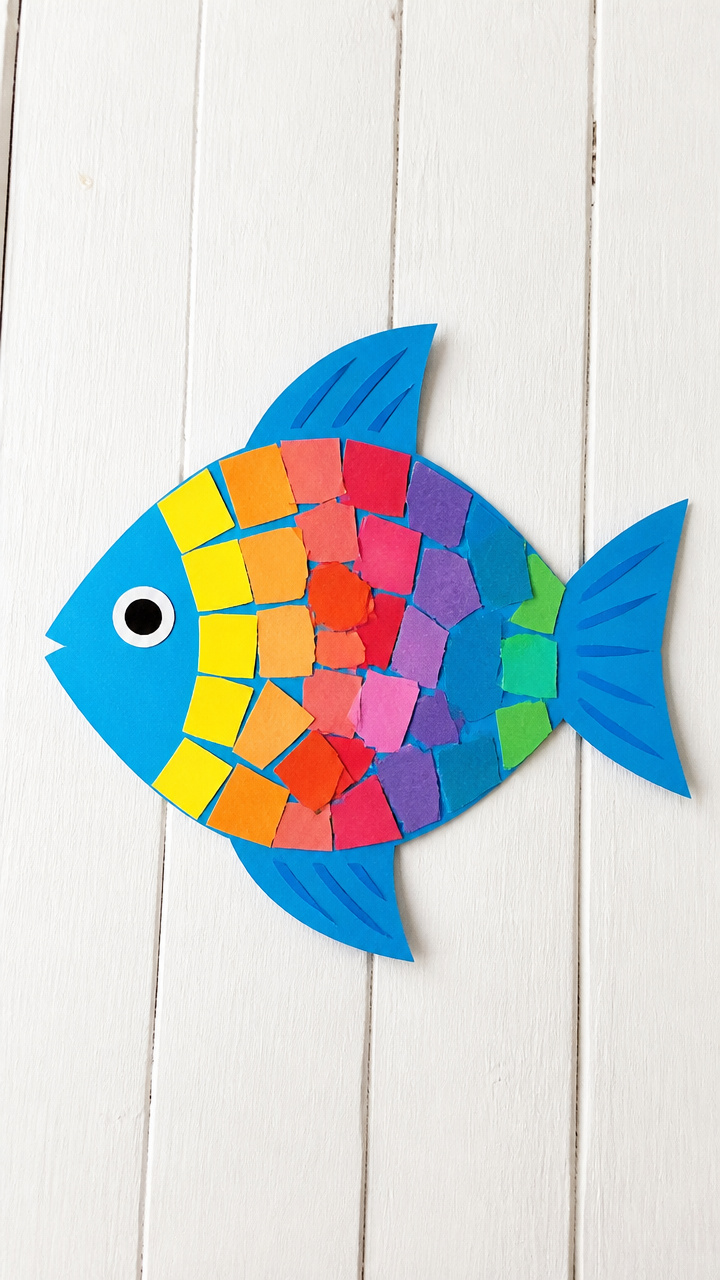
Tiny paper squares layered into a fish shape boost precision and color sorting skills.
Materials Needed
- 1 sheet of blue A4 cardstock
- 3 sheets of different colored tissue paper
- Child-safe scissors
- White school glue
- Pencil
How to Make It
- Draw a large fish shape in pencil on the blue cardstock.
- Cut the tissue paper into 1-inch squares using the scissors.
- Glue the squares inside the fish outline, overlapping them slightly to fill the space.
- Let dry completely before displaying.
3. Feathered Owl from Strips
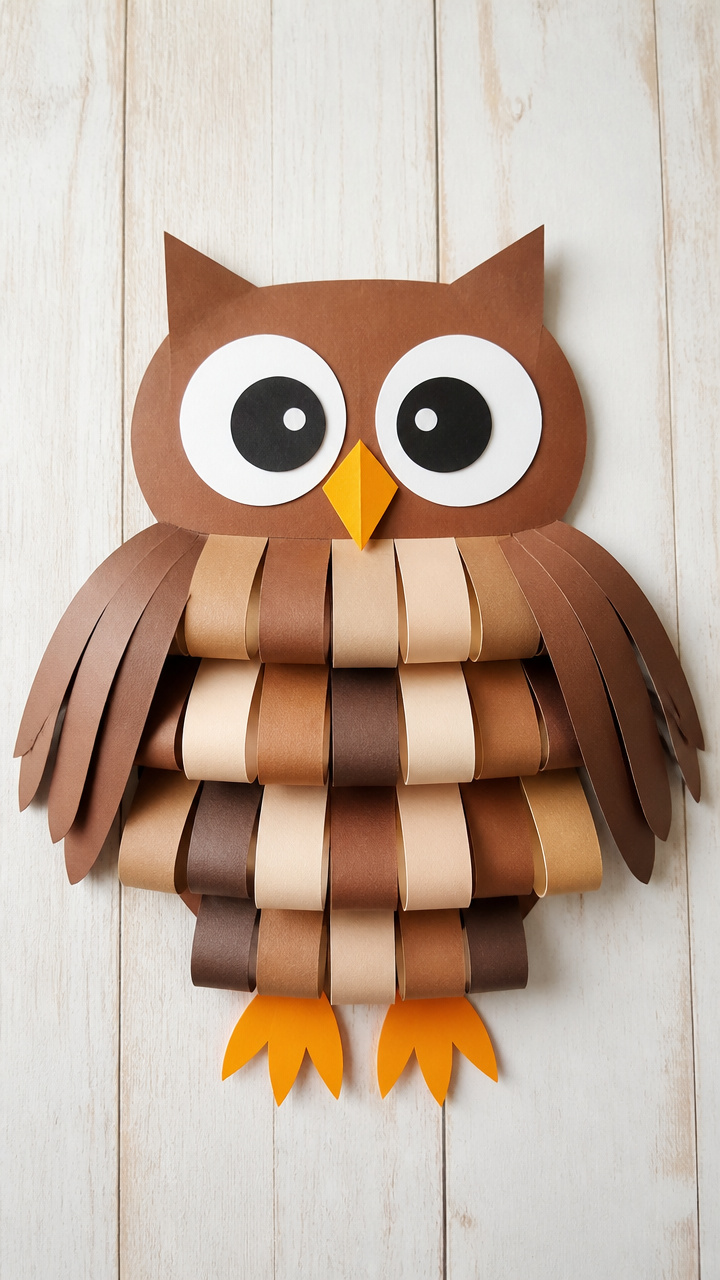
Curled paper feathers give this owl soft texture and help kids practice cutting wavy lines.
Materials Needed
- 1 sheet brown construction paper
- 1 sheet yellow construction paper
- Child-safe scissors
- White school glue
- Black craft foam circle, 1 inch diameter
How to Make It
- Cut the brown paper into 10 strips, each 1 inch wide and 6 inches long.
- Run scissors along one edge of each strip to create a feathery fringe.
- Curl each fringed strip around a pencil, then glue them in a circle on the yellow paper to form wings.
- Glue the black foam circles for eyes in the center.

4. Cut-Out Sun Rays
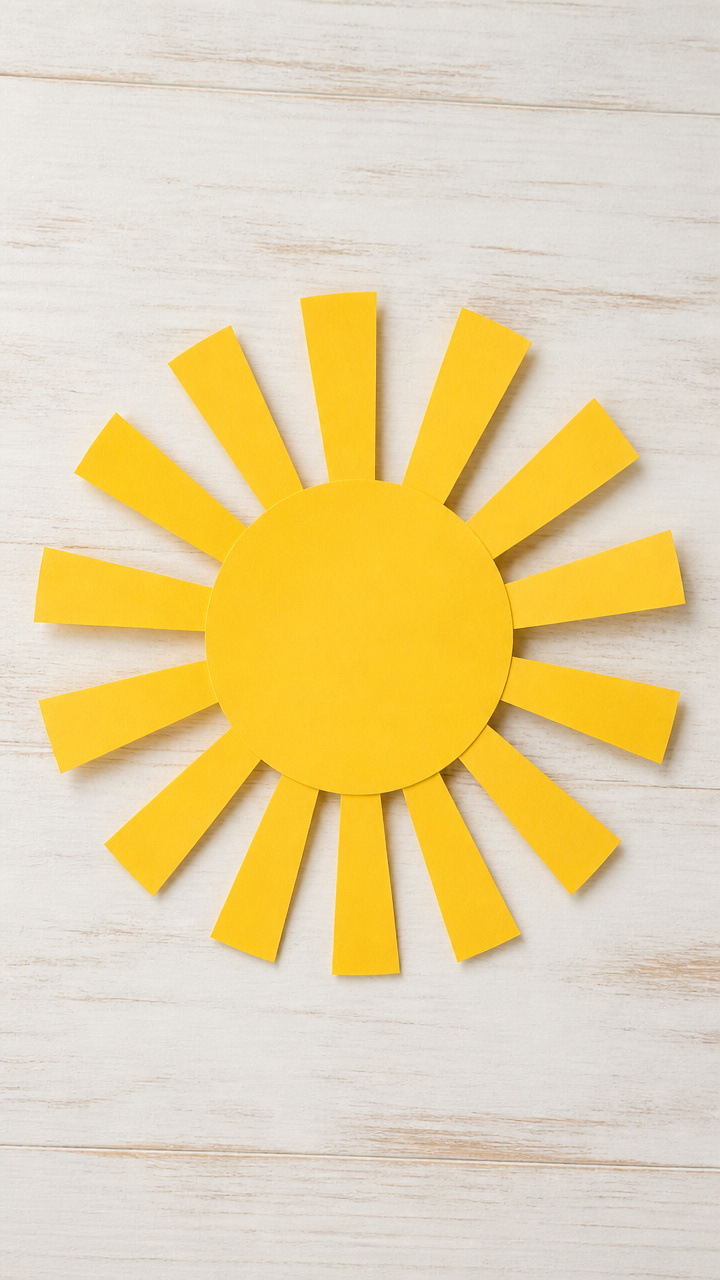
Bold yellow rays radiating from a circle sun sharpen hand-eye coordination.
Materials Needed
- 1 sheet yellow construction paper
- Child-safe scissors
- Round plastic lid, 4 inches diameter
- Red crayon
How to Make It
- Trace the lid on the yellow paper and cut out the circle.
- Draw straight lines from the edge of the circle outward, spaced 1 inch apart, about 3 inches long.
- Cut along each line to make individual rays, stopping at the circle edge.
- Color the back center with red crayon to add warmth to the sun.
5. Layered Flower Garden
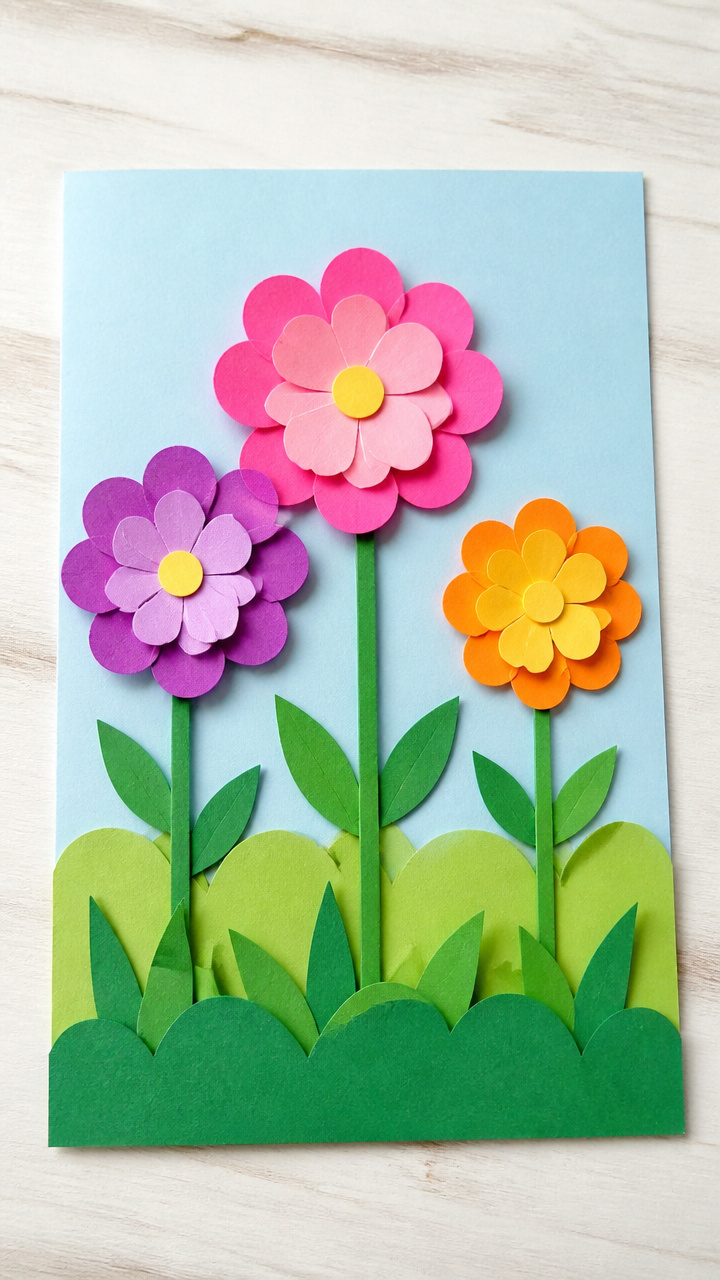
Stacked paper petals form bright flowers that stand up off the page with dimension.
Materials Needed
- 4 sheets of different colored construction paper
- Child-safe scissors
- Green pipe cleaner
- White school glue
- Pencil
How to Make It
- Draw a small circle in the center of one paper and cut it out.
- Place the circle on another sheet and trace around it, then cut that larger circle out.
- Repeat to create three increasingly larger circles from different colors.
- Glue the circles centered on top of each other, then attach the pipe cleaner stem to the back.
6. Paper Plate Spider Web
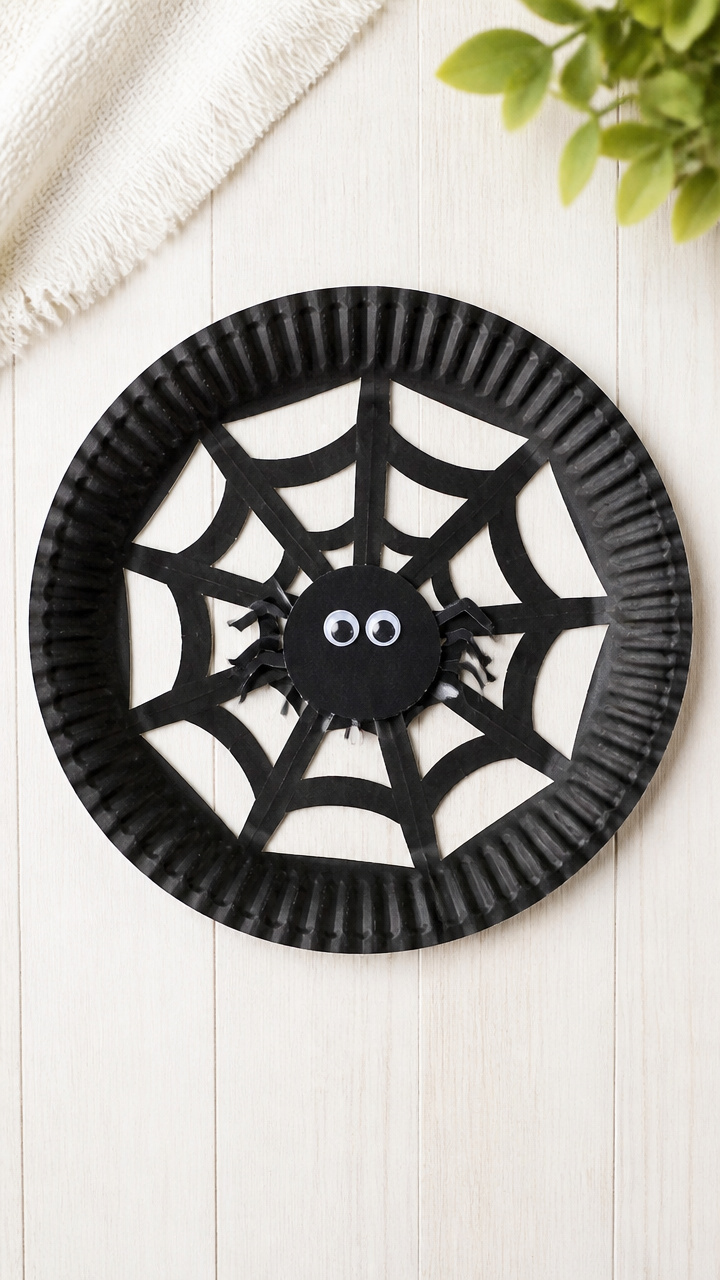
A web of cut slits and woven paper strips builds focus and weaving readiness.
Materials Needed
- 1 white paper plate
- Child-safe scissors
- Black yarn, 2 feet long
- Black marker
How to Make It
- Cut small slits every inch around the outer rim of the plate.
- Cut a tiny hole in the center and thread one end of the yarn through it, securing with tape.
- Weave the yarn from the center out, slipping it into each slit around the plate.
- Draw spider legs with the marker on the rim after the web is complete.
7. Tissue Paper Tree Canopy
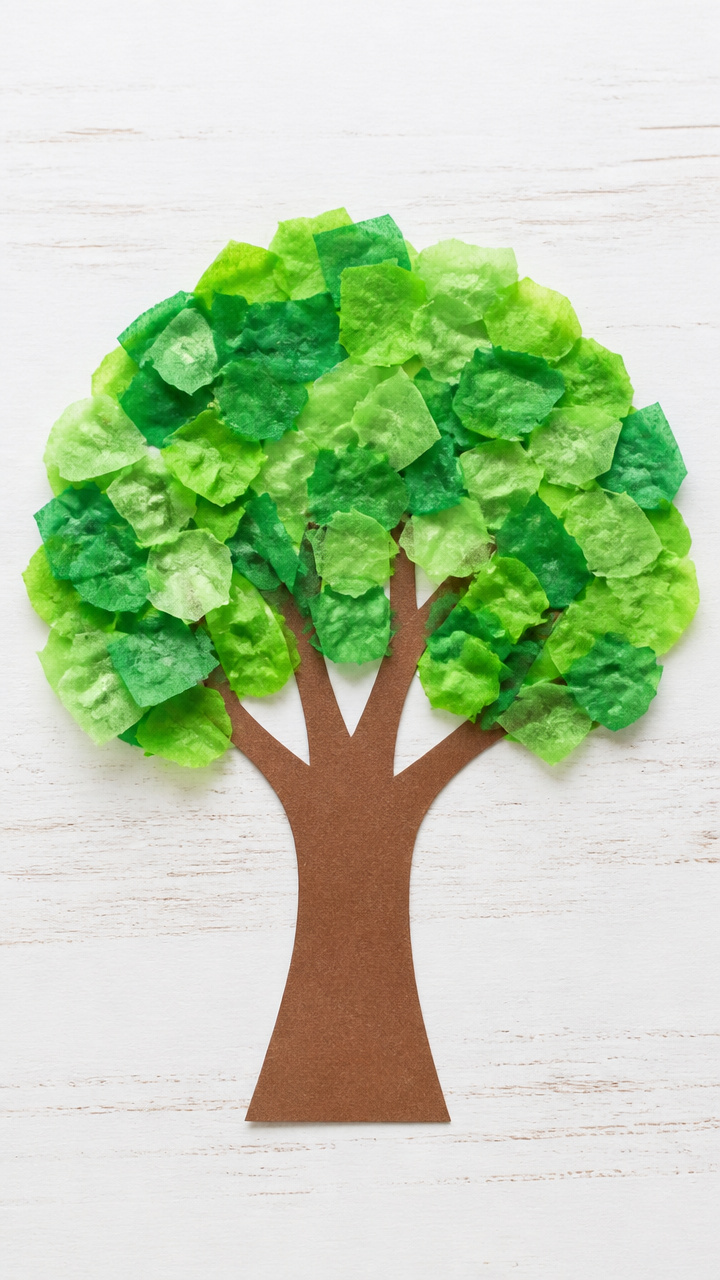
Fringed tissue paper forms a fluffy treetop, great for practicing controlled snipping.
Materials Needed
- 1 sheet green tissue paper
- 1 sheet brown construction paper
- Child-safe scissors
- White school glue
How to Make It
- Cut the tissue paper into a 6×6 inch square.
- Make parallel cuts from one edge toward the center, stopping 1 inch short to keep it intact.
- Gently stretch the fringed section to open it like a fan.
- Glue the uncut edge to the top of the brown paper trunk.


8. Cut-and-Curl Paper Vine
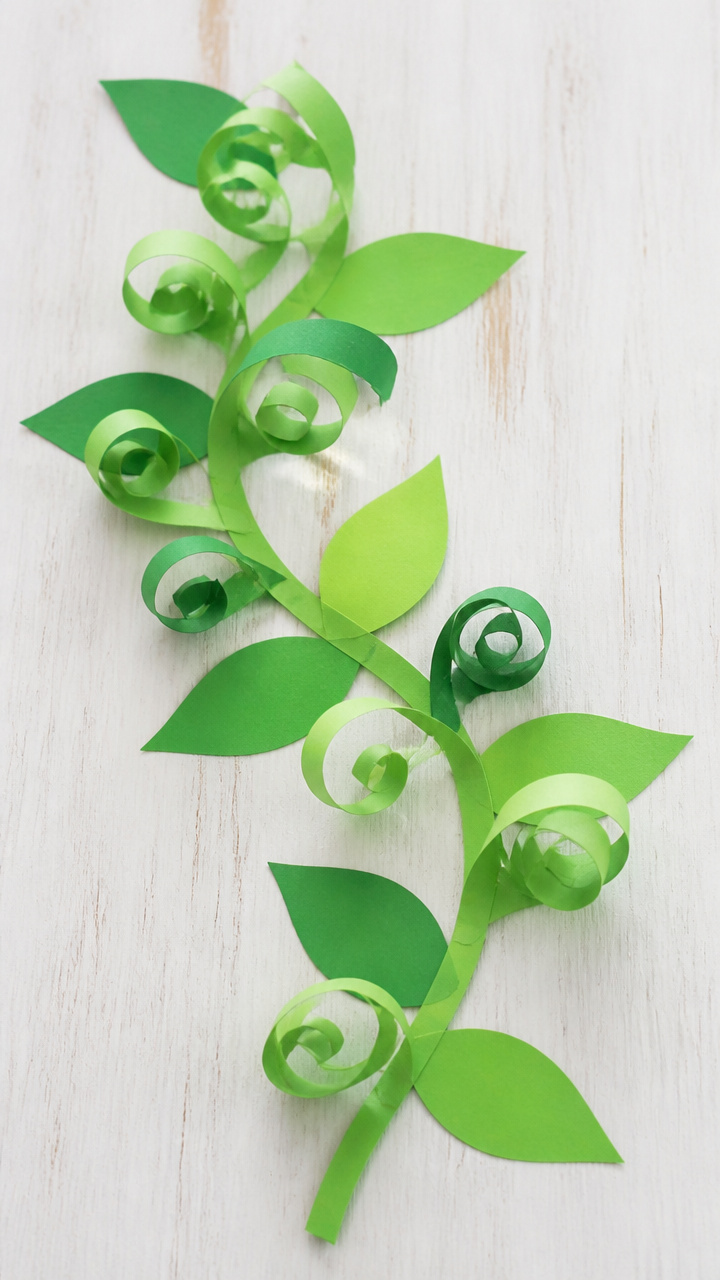
Twisting paper leaves spiral down a stem, introducing curling and curved cuts.
Materials Needed
- 1 sheet green construction paper
- Child-safe scissors
- Pencil
- White school glue
- Brown chenille stick
How to Make It
- Draw teardrop-shaped leaves along the edge of the green paper, pointing outward.
- Cut along the shapes, following the curves slowly with the scissors.
- Wrap each leaf around a pencil to curl it slightly.
- Glue the curled leaves along the brown chenille stick in a staggered pattern.
9. Butterfly Wing Symmetry
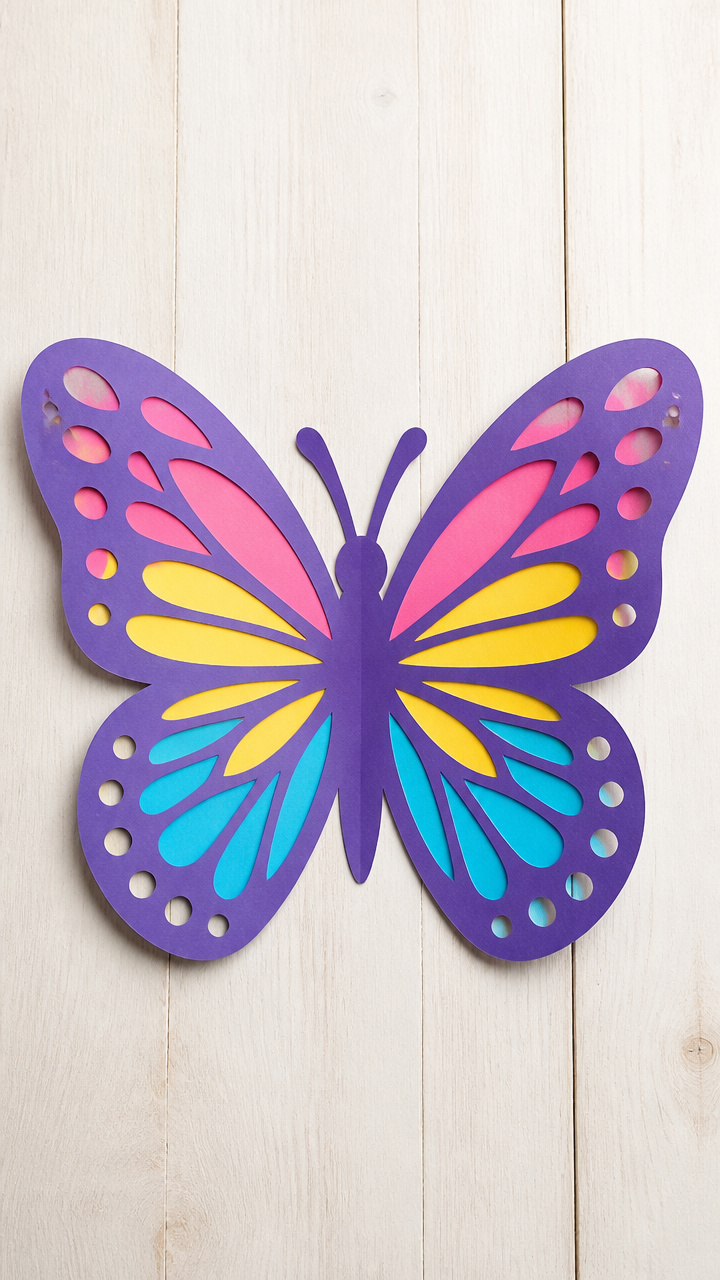
Matching wing patterns teach balance and folding techniques with bold results.
Materials Needed
- 1 sheet colorful scrapbook paper
- Child-safe scissors
- Pencil
- Clothespin
- Googly eyes, 2
How to Make It
- Fold the paper in half and draw half a butterfly wing shape along the fold.
- Cut along the drawn line while the paper is still folded.
- Unfold to reveal a symmetrical wing pair.
- Clip the clothespin to the center as a body and glue on the eyes.
10. Sticker-Back Paper Shapes
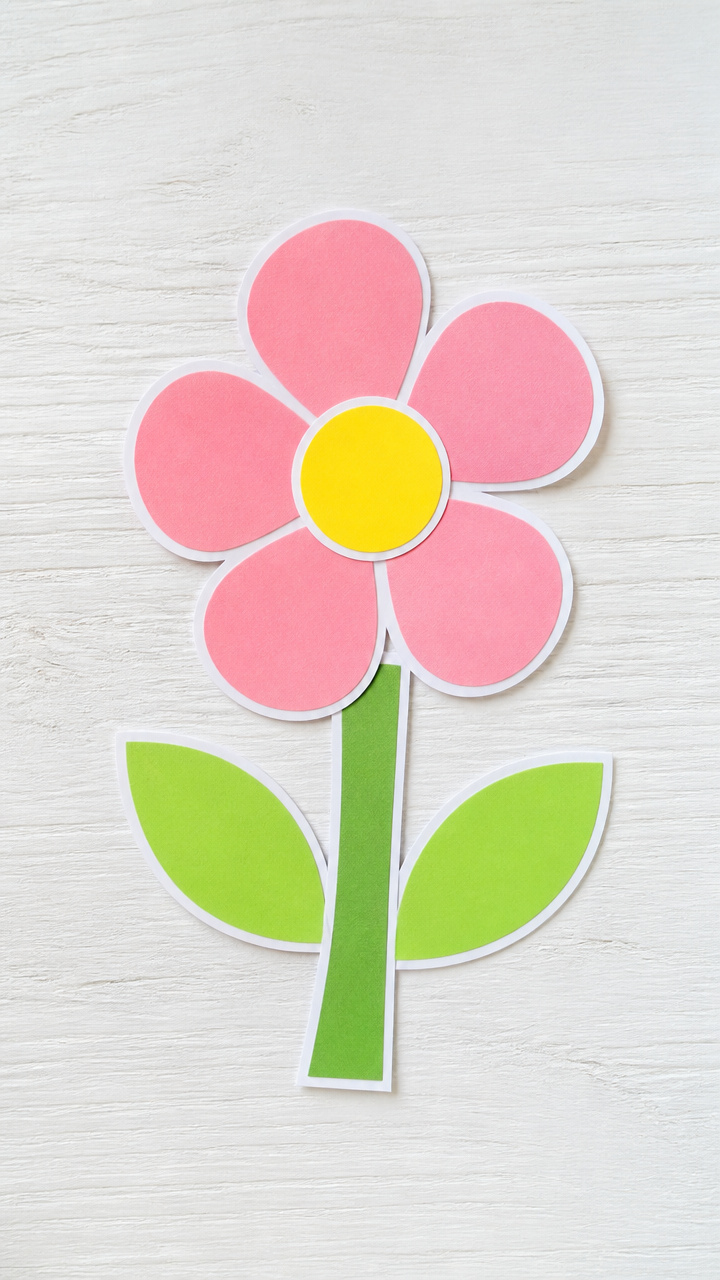
Precut outlines become stickers when laminated and peeled, rewarding clean edges.
Materials Needed
- 1 sheet red construction paper
- Child-safe scissors
- Clear self-adhesive laminating sheet
- Pencil
How to Make It
- Draw simple hearts or stars on the red paper and cut them out carefully.
- Stick each shape onto the sticky side of the laminating sheet, leaving space around it.
- Cover with the backing and press smooth.
- Cut around each shape again, then peel off the excess laminate to use as stickers.

11. Cut-Out Window Cards
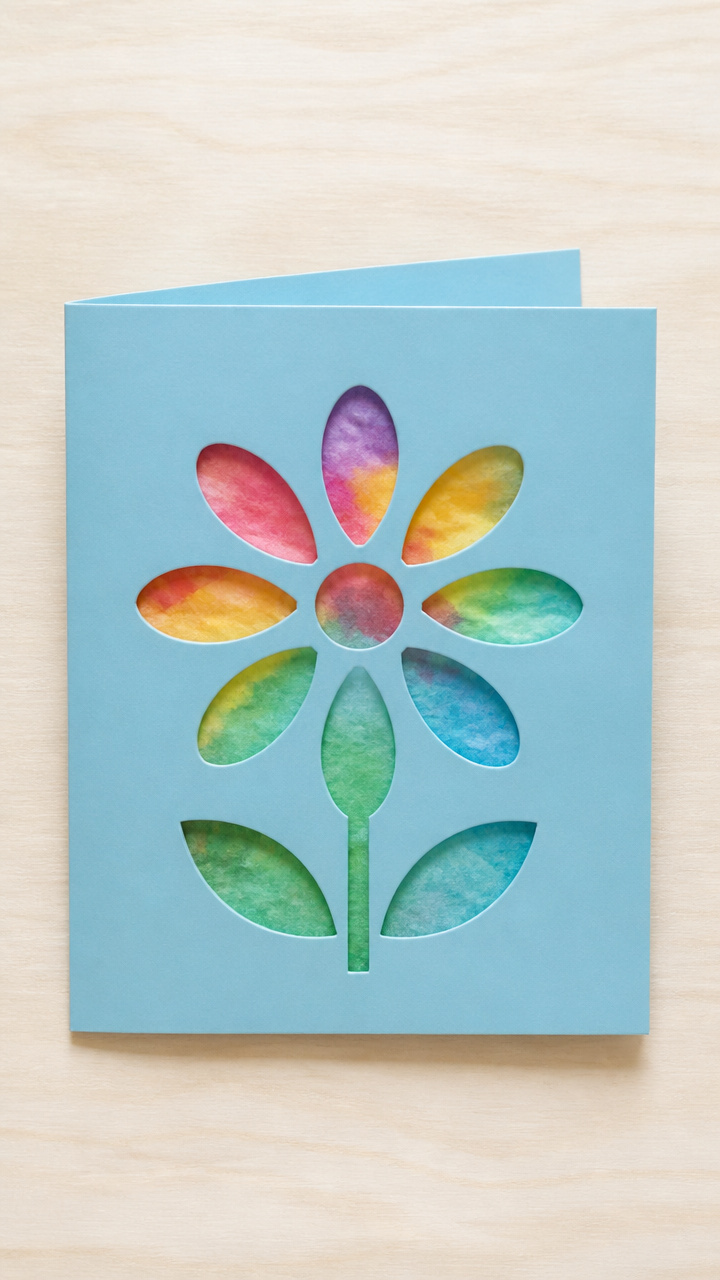
A shaped hole reveals a pop of color beneath, teaching layering and framing.
Materials Needed
- 1 sheet blue construction paper
- 1 sheet yellow construction paper
- Child-safe scissors
- White school glue
How to Make It
- Fold the blue paper in half to make a card.
- On the front, draw a cloud shape and cut it out with the scissors.
- Glue the yellow sheet to the inside so it shows through the window.
- Press flat and let dry before opening and closing to see the surprise.
12. Paper Grass Field Scene
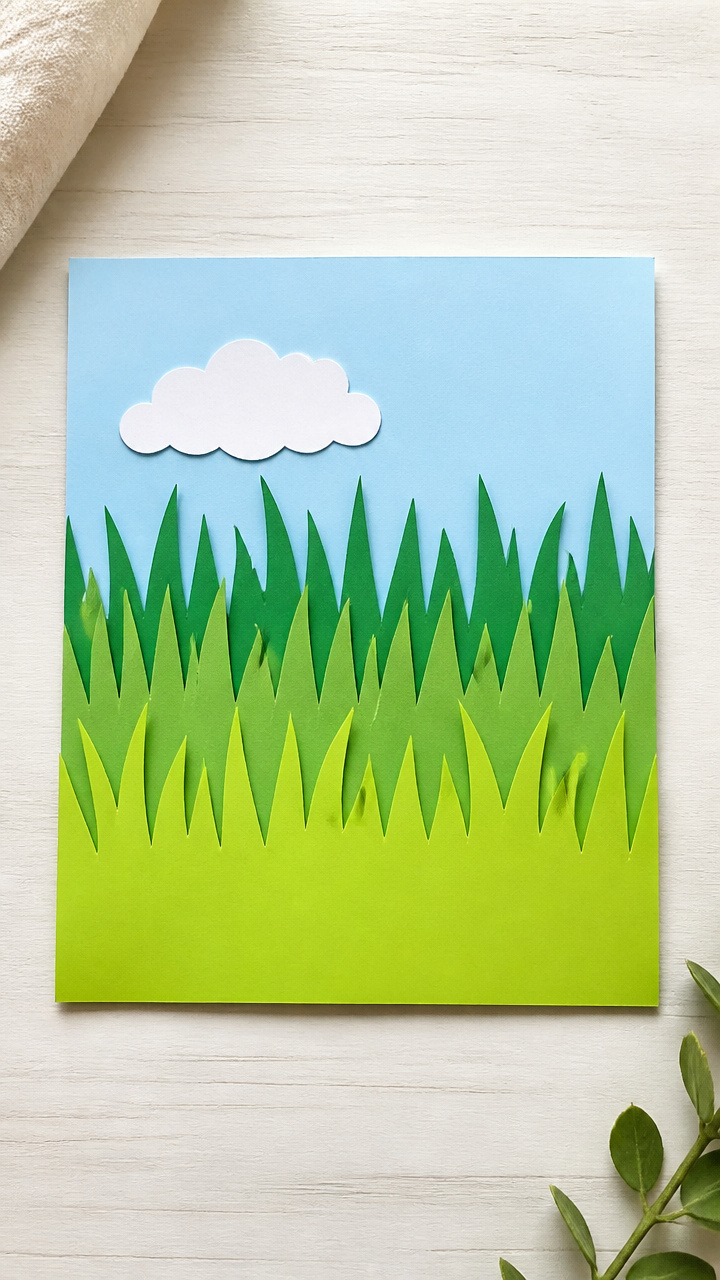
Rows of cut strips mimic grass and train steady hand movement.
Materials Needed
- 1 sheet green construction paper
- 1 sheet white cardstock
- Child-safe scissors
- White school glue
How to Make It
- Cut the green paper into 1/2 inch wide strips, each about 6 inches long.
- Make vertical cuts along one edge of each strip, stopping halfway to create grass blades.
- Glue the uncut ends across the bottom third of the white cardstock.
- Overlap strips slightly to form a full, textured field.
13. Lift-the-Flap Surprise
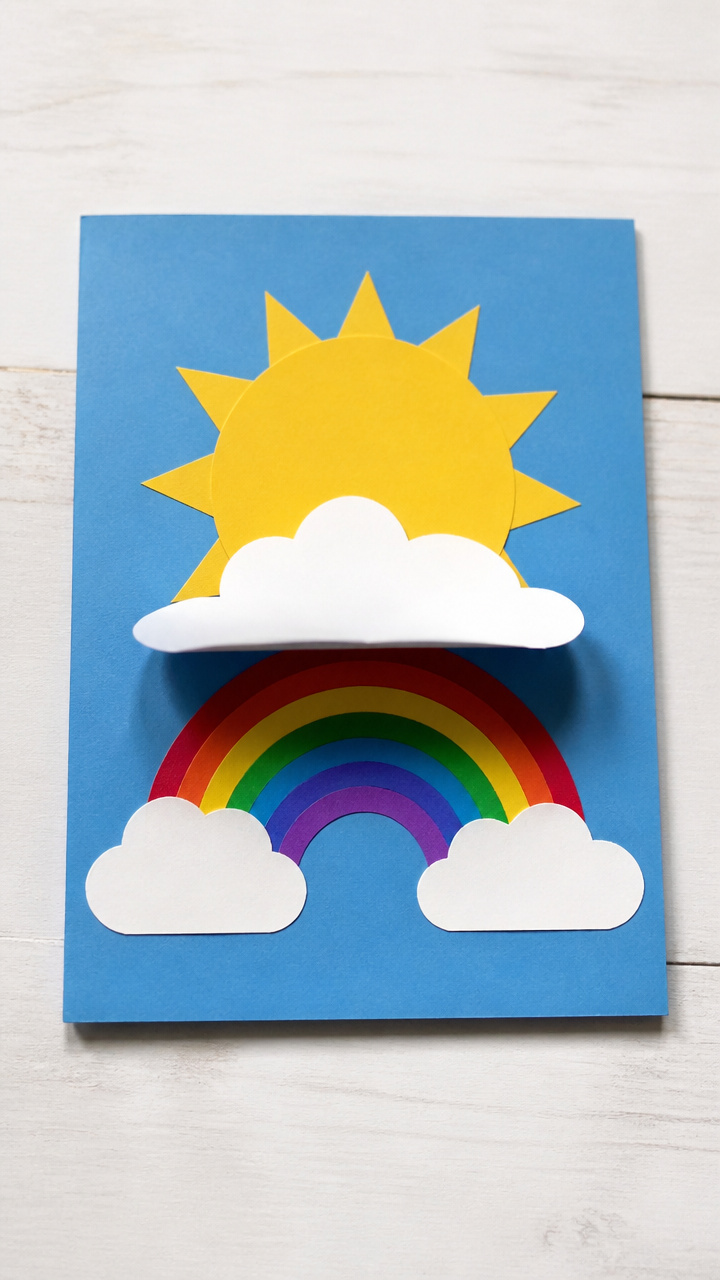
A hinged flap hides a picture underneath, encouraging careful corner cutting.
Materials Needed
- 1 sheet pink construction paper
- 1 sheet white printer paper
- Child-safe scissors
- White school glue
- Crayons
How to Make It
- Draw a large flower on the pink paper and cut out just the center circle.
- Draw a face or bug on the white paper and place it behind the pink sheet.
- Glue only the top edge of the white paper to the back of the pink sheet to make a flap.
- Use crayons to decorate around the cut-out center so the surprise stays hidden.
14. Cut and Layer Mountains
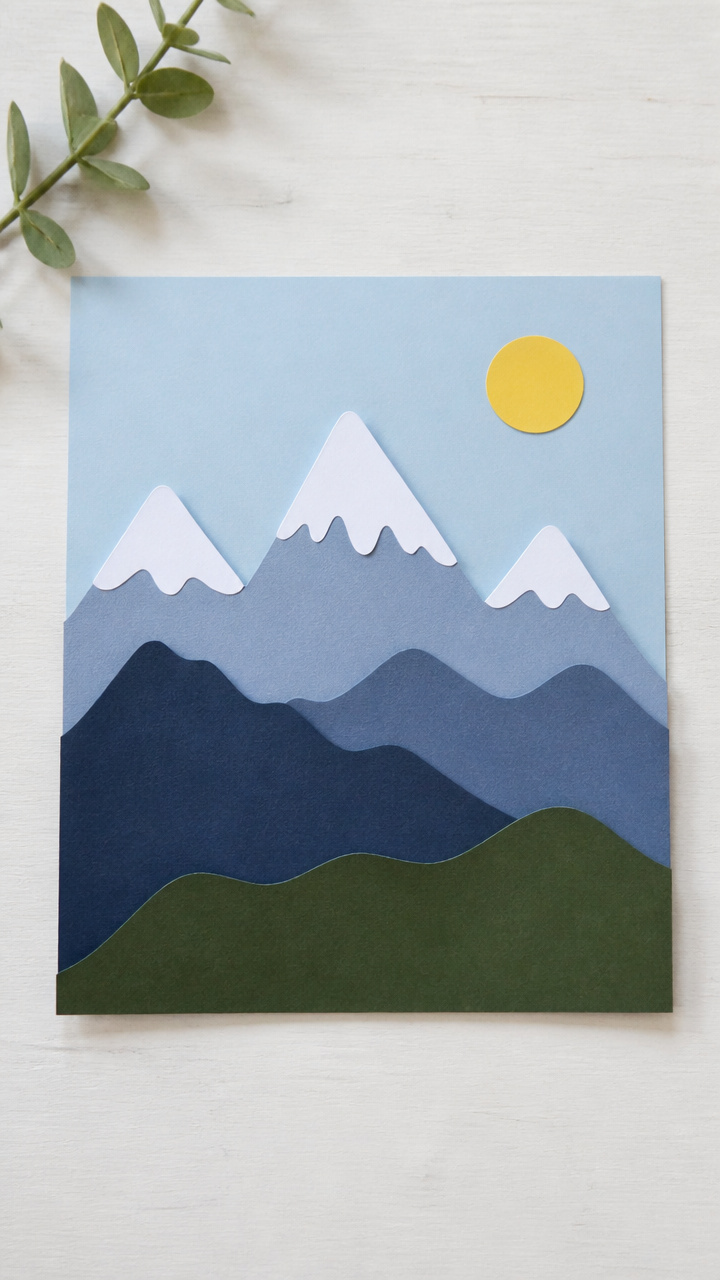
Overlapping jagged peaks in cool tones develop depth perception and sharp cuts.
Materials Needed
- 3 sheets of blue-gray construction paper
- Child-safe scissors
- White school glue
- Black marker
How to Make It
- Cut one sheet into a zigzag mountain shape with sharp peaks.
- Repeat with the second sheet, making the peaks slightly smaller.
- Glue the largest mountain to the bottom of a white background sheet.
- Layer the next two mountains above it, offset slightly to show distance, and add stars with the marker.
15. Snowflake Doily Art
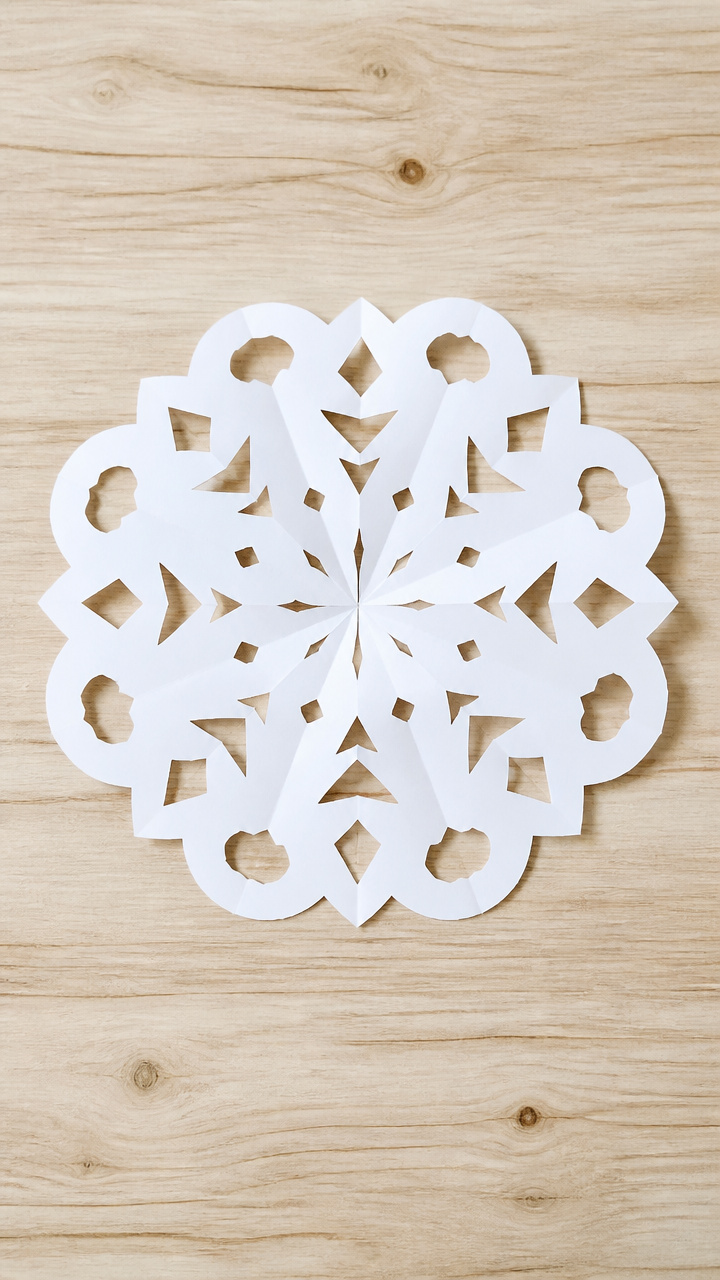
Delicate paper snowflakes made from coffee filters offer soft practice for detailed work.
Materials Needed
- 3 white coffee filters
- Child-safe scissors
- Clothespin
- Blue construction paper
How to Make It
- Fold each coffee filter into quarters, then trim the edges into a rounded triangle.
- Cut small shapes like triangles or half-circles along the folded edges.
- Unfold carefully to reveal the snowflake pattern.
- Clip the three snowflakes together with the clothespin and hang above the blue paper sky.
You’ve got everything you need right in your craft drawer. Grab those little scissors and start creating today, one snip at a time.