15 Easy Learning Crafts for Preschoolers That Combine Play and Creativity
Little hands love to make things that matter, not just busywork. These crafts spark joy while building fine motor skills, color recognition, counting, and storytelling in ways that feel like pure play.
Each idea uses simple materials you likely have at home and takes under 30 minutes. They’re tested with real preschoolers and designed so you can jump in anytime with confidence.
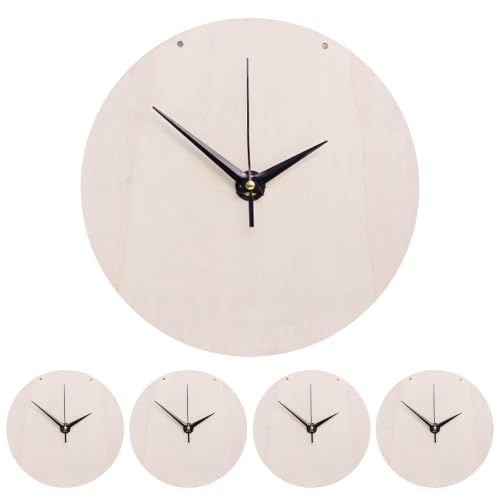
1. Paper Plate Clock

Bright numbers and moving hands turn a paper plate into a learning tool that teaches time basics. Kids love pointing the hands to their favorite parts of the day.
Materials Needed
- 1 white paper plate
- 12 black permanent markers
- 1 brass fastener
- Scissors
- Ruler
- Red crayon
- Blue crayon
How to Make It
- Lay the paper plate flat and use the ruler to mark every 30 degrees around the edge, making 12 points.
- Write numbers 1 through 12 at each point using the black marker.
- Cut two arrows from cardstock—one short for the hour hand, one long for the minute hand—using red and blue crayons to color them.
- Poke a hole in the center of the plate and through the base of each arrow, then attach both to the plate with the brass fastener.


2. Cotton Ball Cloud Counting

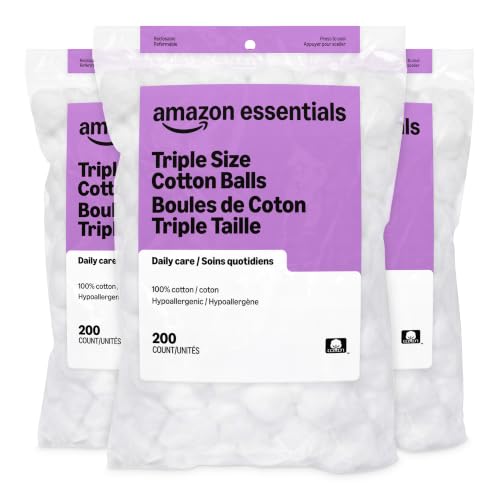
Fluffy cotton clouds on blue paper teach number matching with soft textures kids can touch and count. It’s gentle math disguised as sky art.
Materials Needed
- A4 blue construction paper
- 10 cotton balls
- White glue
- Black marker
- Number stickers 1–5 (two of each)
How to Make It
- Place two clouds on the paper by gluing five cotton balls in a puff shape near the top left and right corners.
- Stick one number sticker on each cloud.
- Glue matching numbers of cotton balls under each cloud—two under ‘2’, three under ‘3’, and so on.


3. Popsicle Stick Rainbow

Seven colored sticks snapped together make a sturdy rainbow that teaches color order and fine motor control. It stands up on its own for pretend play.
Materials Needed
- 7 flat wooden popsicle sticks
- Red, orange, yellow, green, blue, indigo, and violet acrylic paint
- Paintbrush
- White glue
- Small cardboard rectangle (6×3 inches)
How to Make It
- Paint each stick a different rainbow color and let dry for 20 minutes on wax paper.
- Arrange sticks in rainbow order on the cardboard base, slightly overlapping each one.
- Glue each stick down and let sit flat for 30 minutes to dry completely.



4. Button Sorting Garden

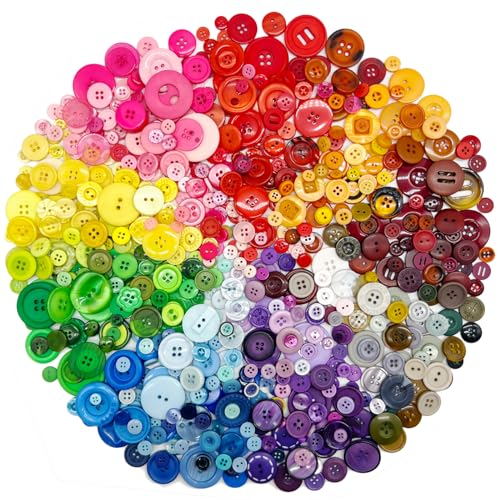
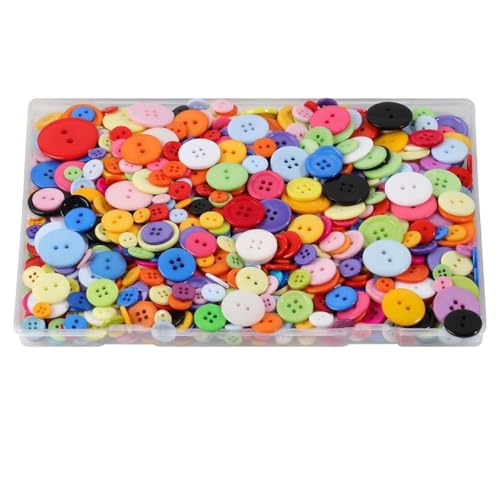
Colorful buttons dropped into matching flower pots sharpen sorting skills and pincer grip. The garden grows with every correct match.
Materials Needed
- 6 small plastic cups
- Colored paper (red, yellow, blue, green, purple, orange)
- Scissors
- Glue stick
- Mixed-color buttons (at least 30)
- Black marker
How to Make It
- Cut petal shapes from each colored paper and glue them around the rim of each cup to make flowers.
- Label each flower pot with its color name using the marker.
- Let your child sort buttons by color into the matching pots, using one hand to pick up each button.

5. Handprint Animal Habitats

Your child’s hand becomes a bear, bird, or fish placed in a painted world they design. It connects body awareness with imaginative storytelling.
Materials Needed
- A4 white drawing paper
- Brown, blue, and green tempera paint
- Paintbrush
- Black marker
- Yellow crayon
How to Make It
- Paint the palm and fingers brown, then press firmly onto the left side of the paper to make a bear—add eyes and nose with the marker.
- Paint the background: blue sky above, green ground below, yellow sun in the corner.
- Let dry for 15 minutes before adding grass lines or rocks with the brush tip.


6. Pipe Cleaner Alphabet

Bendable wires twist into letters your child can trace with their fingers. These tactile shapes help letter recognition stick.
Materials Needed
- 10 colorful pipe cleaners
- Alphabet template (letters A–J printed on cardstock)
- Scissors
How to Make It
- Choose one letter from the template, such as ‘S’ or ‘C’.
- Bend one pipe cleaner slowly along the outline of the letter, pressing curves gently with fingertips.
- Place the finished wire letter over the printed one to check shape, then set aside to build an alphabet line.


7. Tissue Paper Stained Glass

Layered tissue squares on contact paper glow like real stained glass when hung in a window. This teaches color mixing and pattern design.
Materials Needed
- Clear contact paper (12×12 inches)
- Red, blue, yellow, green, and purple tissue paper
- Scissors
- Roll of tape
- Black construction paper (12×12 inches)
How to Make It
- Cut tissue paper into 2-inch squares—about 20 per color.
- Peel the backing off the contact paper and lay it sticky side up on the table.
- Arrange tissue squares on the sticky surface in any pattern, leaving no gaps.
- Cover with the black paper cut to size and tape around the edges to hang in a sunny window.


8. Pasta Shape Necklaces

Dried pasta strung on yarn builds coordination and pattern sense. Wearable art makes pride last all day.
Materials Needed
- Uncooked bowtie pasta (30 pieces)
- Uncooked elbow pasta (30 pieces)
- Waxed yarn (3 feet)
- Tape
- Acrylic paint (two colors)
- Paintbrush
How to Make It
- Paint half the bowtie and half the elbow pasta in two different colors, then let dry for 25 minutes.
- Tape one end of the yarn to the table to stabilize it.
- String pasta pieces in a repeating pattern—red bowtie, blue elbow, red bowtie—and tie ends together once full.


9. Foam Stamp Letters

Homemade foam stamps pressed in paint reveal bold letters that spell names or sounds. Kids feel like real writers.
Materials Needed
- Pack of craft foam sheets (assorted colors)
- Scissors
- Pencil
- Red acrylic paint
- Tray
- A4 white printer paper
How to Make It
- Draw a capital letter on the back of a foam sheet and cut it out carefully with scissors.
- Press the foam letter into the paint tray, covering the surface evenly.
- Stamp it firmly onto the paper and lift straight up to avoid smudging.
- Repeat with other letters to spell a name or simple word.


10. Yarn Wrap Numbers

Thick yarn wrapped around numbered cardboard builds finger strength and number shape memory. The bumpy texture invites touch.
Materials Needed
- Cardboard (cereal box thickness)
- Pencil
- Scissors
- White glue
- Thick yellow yarn (2 yards)
- Number stencil (1–5)
How to Make It
- Trace each number from 1 to 5 onto cardboard using the stencil and cut out each shape.
- Spread a thin line of glue along the edge of number ‘1’.
- Press the yarn end down with glue, then wrap it tightly around the number’s outline until covered.
- Let dry for 30 minutes before moving to the next number.


11. Crayon Resist Butterflies

Hidden wax drawings bloom into view when painted over. This surprise effect teaches cause and effect through color play.
Materials Needed
- White drawing paper
- Crayons (pink, blue, yellow)
- Watercolor paint (diluted red, green, purple)
- Paintbrush
- Pencil
How to Make It
- Draw a butterfly shape lightly with pencil on the paper and divide wings into sections.
- Color each section with a different crayon, pressing hard.
- Paint watercolor over the entire butterfly—the wax will resist the paint and the colors will pop through.
- Let dry flat for 20 minutes before erasing the pencil lines.
![Crayola Inspiration Art Case Coloring Set - Tie-Dye (140ct), Art Supplies Set For Kids, Travel Drawing Kit, Gift for Girls & Boys, Ages 5+ [Amazon Exclusive]](https://m.media-amazon.com/images/I/51wKWtC3NLL._SL500_.jpg)

12. Magnet Letter Match

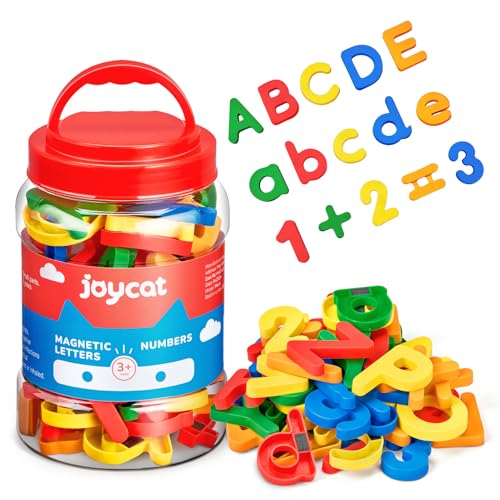
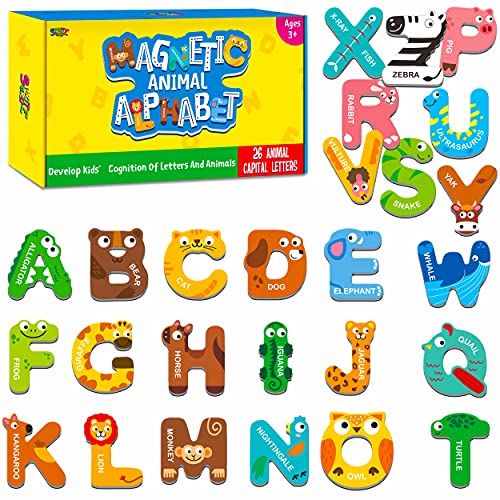
Fridge-safe letters paired with picture cards link sounds to objects. Every match feels like a discovery.
Materials Needed
- Magnetic sheets (adhesive-backed)
- Scissors
- Laminated picture cards (cat, dog, sun, hat, pen)
- Black marker
- Rollerball pen
How to Make It
- Cut four 1-inch squares from the magnetic sheet and stick one on the back of each picture card.
- Write the starting letter of each picture on a separate magnet square—C for cat, D for dog, etc.
- Set the picture cards on a metal tray or fridge and let your child match the letter magnets to the correct images.

13. Sock Puppet Emotions

A mismatched sock turns into a feeling face that acts out happy, sad, or angry. Role play builds emotional vocabulary.
Materials Needed
- One clean tube sock
- Googly eyes (2)
- Pink felt sheet
- Black yarn (6 inches)
- White glue
- Scissors
How to Make It
- Glue the googly eyes just below the sock’s heel opening.
- Cut a small curve from pink felt for a smile and glue it under the eyes.
- Glue short black yarn pieces above the eyes for angry brows, or curved down for sadness—switch expressions as needed.
- Slide hand inside the sock to move the mouth and act out feelings together.


14. Nature Collage Frames

Leaves, twigs, and petals arranged in a cardboard frame connect outdoor discovery with art. Each one tells a story from a walk.
Materials Needed
- Cardboard picture frame (8×10, center cut out)
- Glue stick
- Collection of nature items (5 leaves, 3 twigs, 4 petals)
- Brown construction paper (same size as frame)
How to Make It
- Lay the brown paper behind the frame to serve as the background.
- Arrange collected items inside the frame opening—overlap leaves, cross twigs, scatter petals.
- Glue each piece down gently and let dry for 20 minutes before lifting the frame to display.


15. Ice Tray Color Mixing

Primary paint drops swirled in tray compartments reveal new colors through hands-on science. Tiny discoveries fit perfectly in little palms.
Materials Needed
- Plastic ice cube tray (12 slots)
- Red, blue, and yellow liquid watercolors
- Eye dropper
- Paper towels
- White paper (for recording)
How to Make It
- Fill six compartments with equal parts red, blue, and yellow paint—two of each color.
- Use the eye dropper to move one drop of red and one drop of blue into an empty slot.
- Swirl gently with the dropper tip and watch green appear—name the new color and record it on paper.
- Repeat with other combinations—yellow + red = orange, blue + yellow = green.


You’ve got everything you need to start today—no perfect setup, no stress. Pick one craft, gather the supplies, and let your child lead the way.