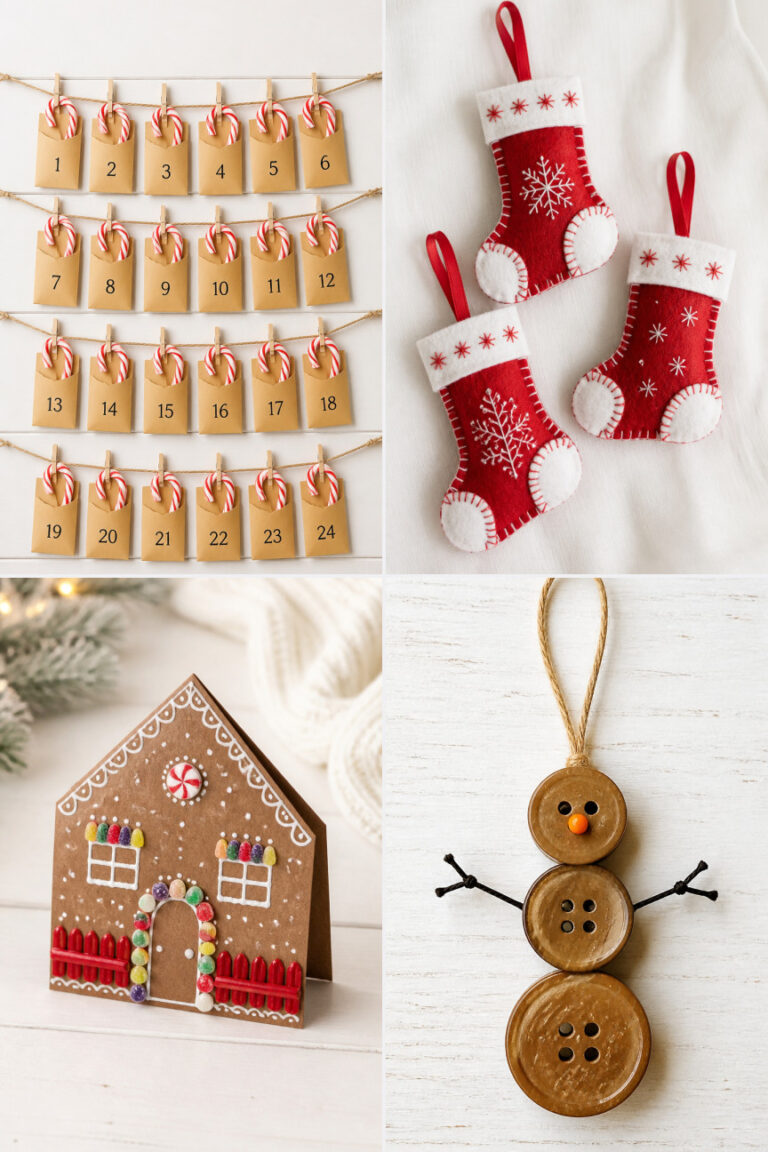
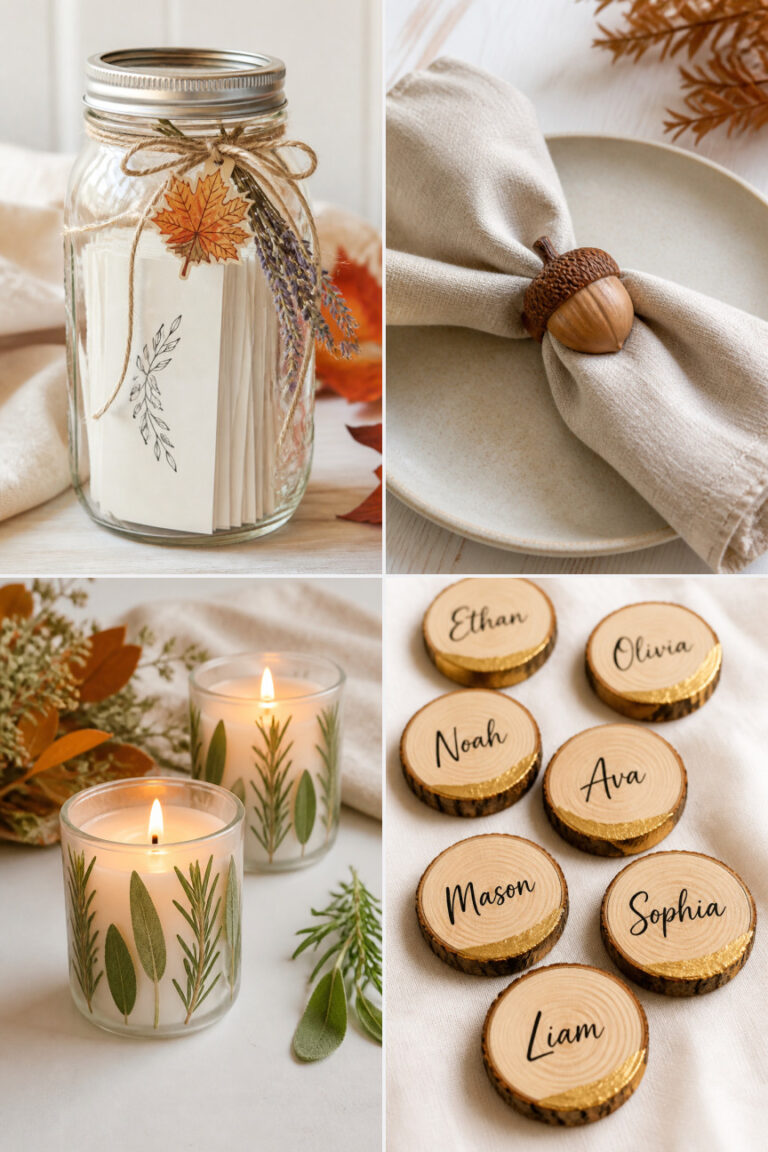
17 Christmas Crafts Using Cardboard and Recycled Materials
The holiday season is the perfect time to slow down and make something with your hands. With cardboard boxes piling up and wrapping paper scraps waiting for new life, you already have the start of beautiful handmade decor.
These crafts use what you have, bring joy to the process and leave your home feeling festive. Each one is simple to make, kind to the planet and full of that handmade charm that no store can match.
1. Cardboard Tube Reindeer Ornaments
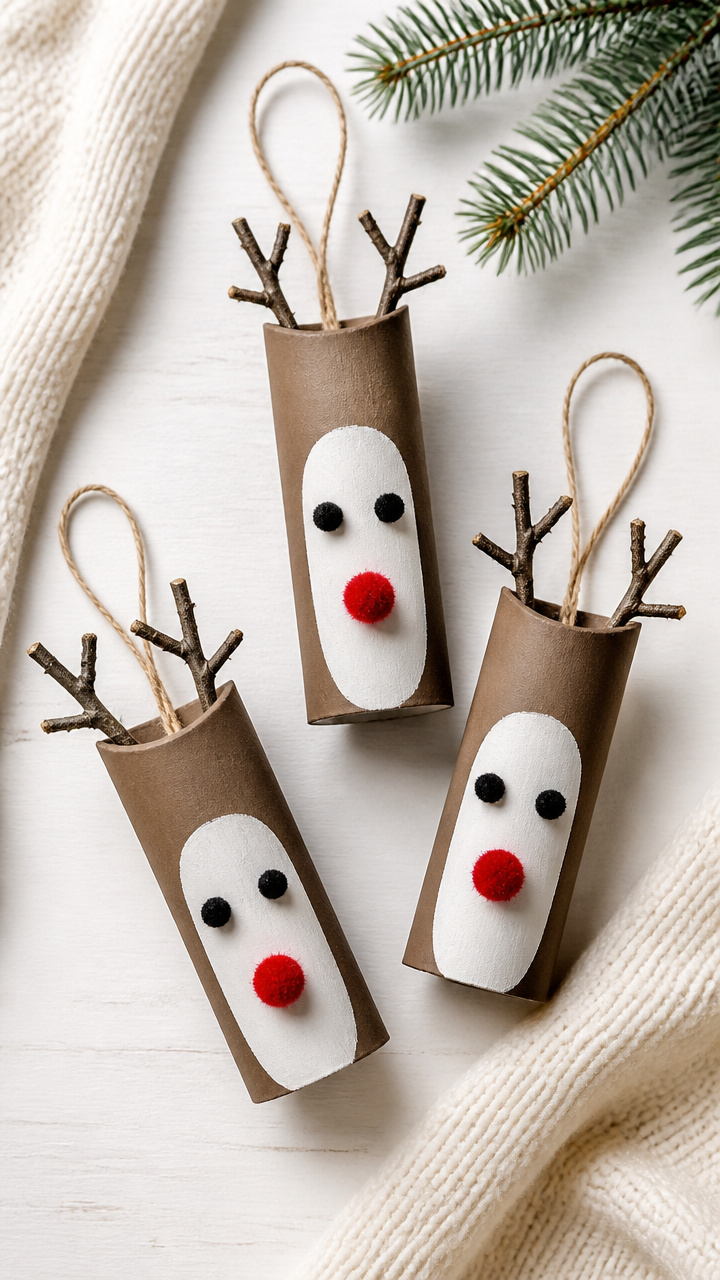
Slender paper towel tubes become charming reindeer with a few snips and a warm touch. These ornaments bring rustic cheer to any branch or garland.
Materials Needed
- 6 empty paper towel tubes
- 12 small black pom poms, 8mm
- white acrylic paint
- brown acrylic paint
- red acrylic paint
- glue stick
- hot glue gun and glue sticks
- 12 small googly eyes, 10mm
- scissors
- paintbrush
- 18 inches of gold twist tie
How to Make It
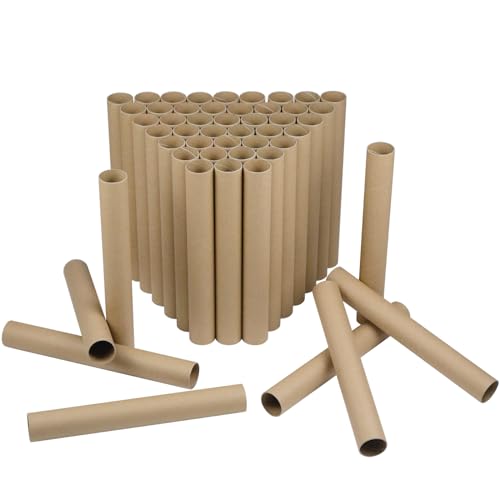
- Cut each paper towel tube into 3 equal rings, giving you 18 reindeer heads.
- Paint each ring with brown acrylic paint, covering the entire surface. Let dry for 30 minutes on a flat surface.
- Glue two black pom poms near the top edge for ears, then add a red pom pom below for the nose.
- Stick on googly eyes just above the nose. Use a glue stick for light hold.
- Cut the gold twist tie into 1 inch pieces. Bend each into antlers and hot glue to the back of the ears.
- Paint a small red dot on the nose with red acrylic. Let dry 15 minutes before hanging with thread.

2. Egg Carton Snowmen
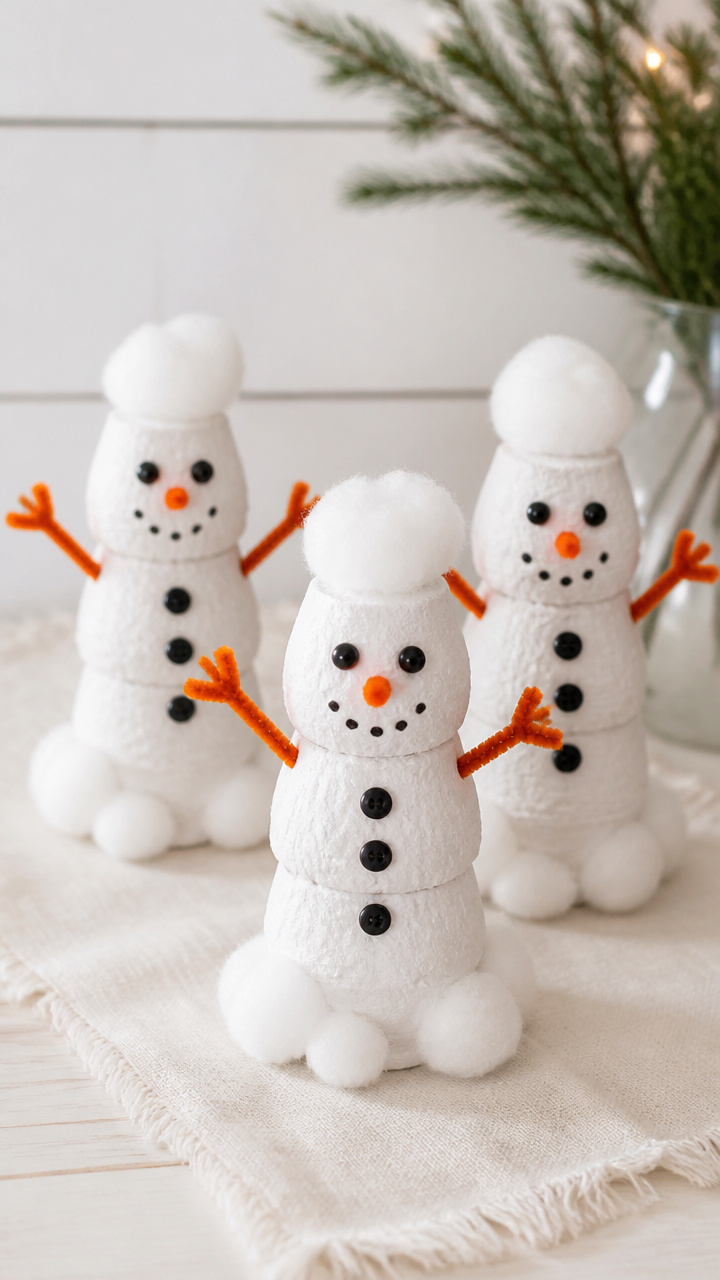
Cup-shaped egg cartons turn into bumpy little snowmen with a sprinkle of cotton and tiny buttons. These table toppers spread quiet winter joy.
Materials Needed
- 3 cardboard egg cartons, 12-cup size
- white craft glue
- cotton balls
- 6 small black buttons, 6mm
- 3 orange pipe cleaners, 12 inches
- black acrylic paint
- paintbrush
- scissors
- glue gun
How to Make It
- Cut the top row of 3 cups from each egg carton, giving you 9 rounded cups for snowman bodies.
- Paint the tips of each cup with black acrylic to look like sooty chimneys. Let dry 20 minutes.
- Glue cotton balls all over each cup, overlapping to create a snowy texture. Let dry 30 minutes.
- Glue three black buttons vertically on the front for coal buttons.
- Cut each pipe cleaner into thirds. Twist one piece into a tiny carrot nose and glue on.
- Use hot glue to attach to small gift tags or wooden bases for display.


3. Cereal Box Ornament Frames
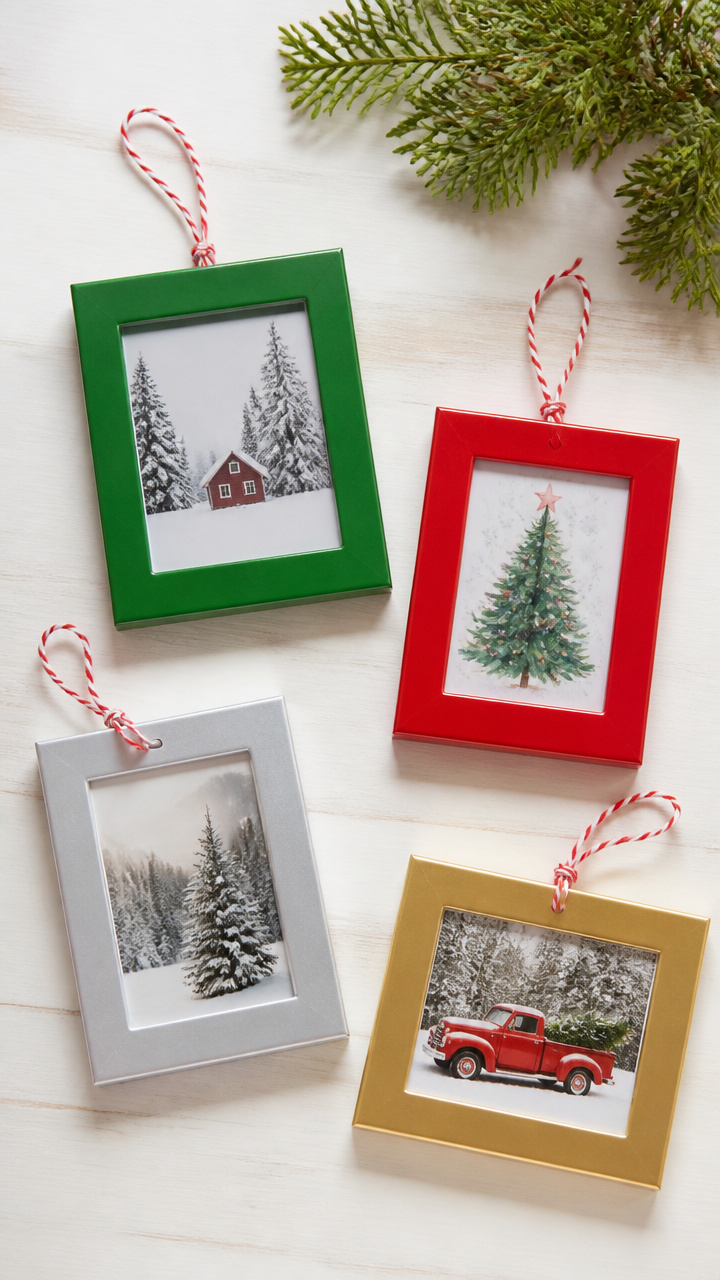
Flattened cereal boxes become sturdy frames for tiny holiday drawings or photos. These hold memories and sparkle with seasonal pride.
Materials Needed
- 4 empty cereal boxes
- clear contact paper, 12×18 inches
- scissors
- ruler
- craft knife
- double-sided tape
- 4 small holiday photos, 2×3 inches
- gold glitter glue
- hole punch
- red ribbon, 12 inches per frame
How to Make It
- Flatten each cereal box and cut into 4-inch squares using a ruler and craft knife.
- Cut a 2.5×3.5 inch rectangle from the center of each square, leaving a picture frame shape.
- Cover the front of each frame with clear contact paper, smoothing out bubbles with a credit card.
- Place a photo behind the opening and secure with double-sided tape on the back.
- Outline the outer edge with gold glitter glue. Let dry 1 hour.
- Punch a hole at the top and thread red ribbon through for hanging.


4. Cardboard Roll Santa Hats

Toilet paper rolls get a plush upgrade with red fabric scraps and white trim. These mini hats make sweet shelf accents.
Materials Needed
- 8 empty toilet paper rolls
- red cotton fabric scraps, 6×6 inches each
- white faux fur trim, 1/2 inch wide, 8 feet total
- fabric glue
- scissors
- hot glue gun
- black acrylic paint
- paintbrush
How to Make It
- Paint the outside of each roll with black acrylic paint to create a hat band. Let dry 30 minutes.
- Cut the red fabric into 3 inch wide strips long enough to wrap around each roll with 1 inch overlap.
- Glue the fabric strip around the roll using fabric glue, pressing edges flat.
- Cut the faux fur into 1 inch pieces. Hot glue a row just above the black band.
- Flatten the top edge of the roll slightly and tuck in a small cotton ball to form a pom pom.
- Let dry completely before grouping on a mantel or tree.


5. Milk Jug Santa Faces
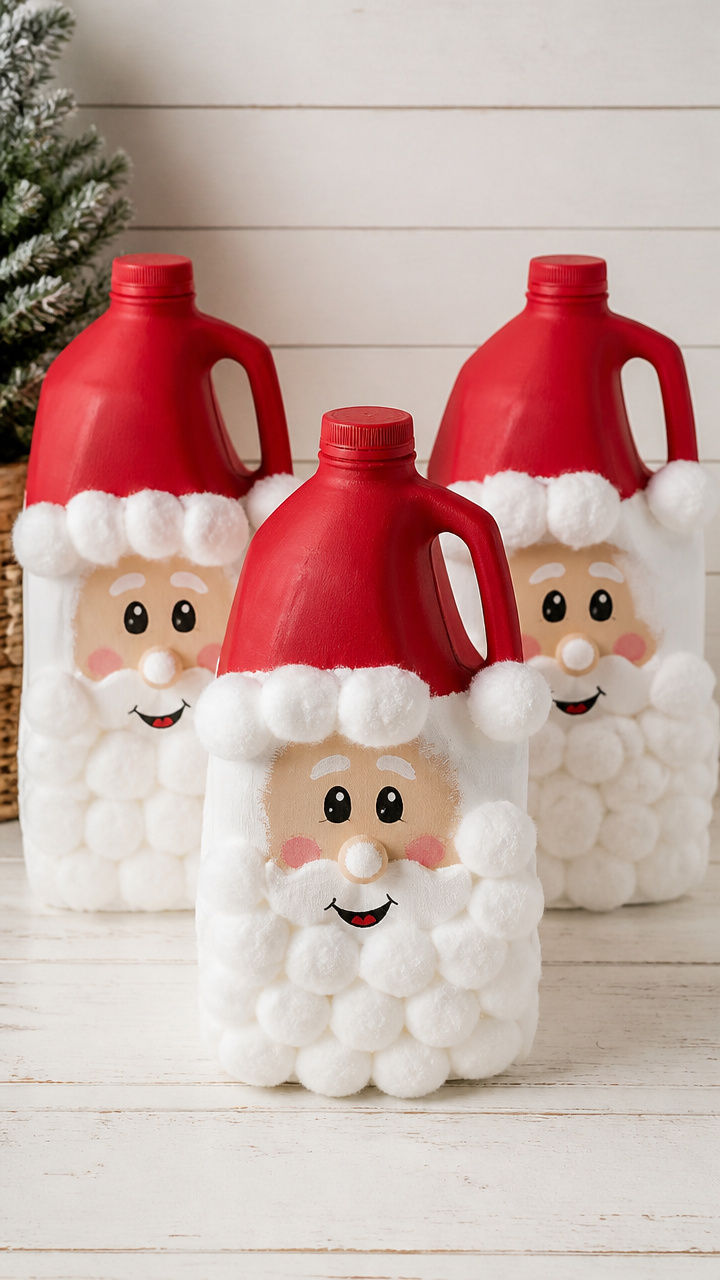
Rinsed plastic milk jugs curve into jolly Santa faces with red paint and cotton beards. These glow warmly with holiday spirit.
Materials Needed
- 3 gallon-sized plastic milk jugs, clean and dry
- red acrylic paint
- white puffy paint
- black permanent marker
- scissors
- utility knife
- cotton batting
- glue gun
- string lights, battery-operated, 20 bulbs
How to Make It
- Cut the front face of each jug from the handle to the spout, creating a curved mask shape.
- Paint the entire front surface red and let dry 45 minutes.
- Draw two round eyes with the black marker just above the spout.
- Squeeze white puffy paint along the spout and lower curve to form a beard. Let dry 2 hours.
- Glue cotton batting over the puffy paint for a fluffy beard texture.
- Tuck a string of lights inside each face and secure the battery pack behind with tape.

6. Cardboard Star Wall Hanging

A single shoebox lid turns into a bold star with clean lines and golden shine. This centerpiece draws the eye and feels satisfying to build.
Materials Needed
- 1 cardboard shoebox lid
- gold spray paint
- masking tape
- scissors
- ruler
- pencil
- clear acrylic sealer spray
- jute cord, 18 inches
- hole punch
How to Make It
- Draw a five-pointed star on the lid using a pencil and ruler, making it 8 inches tall.
- Cut along the lines with scissors, using steady pressure to avoid tearing.
- Tape the back edges with masking tape to reinforce and create a clean border.
- Spray the front and edges with gold paint in a well-ventilated area. Let dry 1 hour.
- Spray with acrylic sealer to protect the finish. Let dry 30 minutes.
- Punch two holes at the top points and thread jute cord through for hanging.

7. Tin Can Jingle Bells
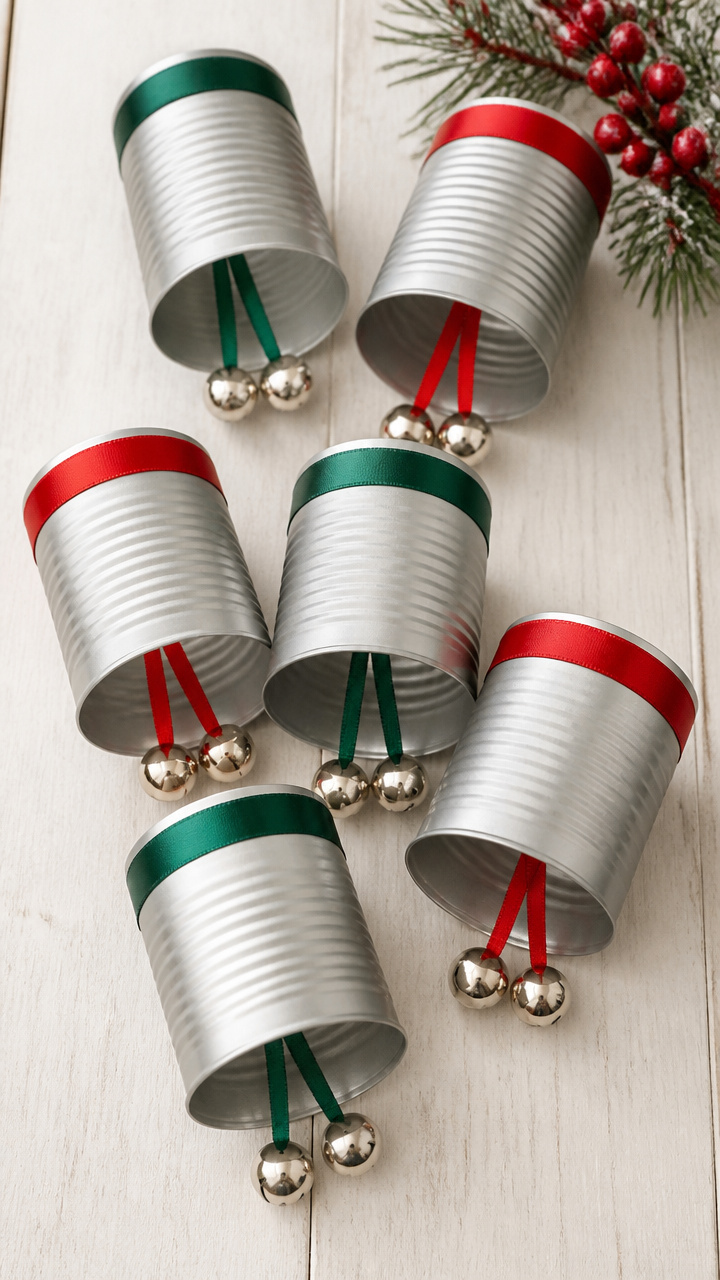
Empty food cans become cheerful noisemakers with ribbon and real bells. These are fun to shake and lovely to give as gifts.
Materials Needed
- 6 empty 15oz food cans, labels removed
- red and green ribbon, 1/4 inch wide, 2 feet each
- 12 jingle bells, 15mm
- hot glue gun
- silver spray paint
- rubber bands, 6
- scissors
How to Make It
- Rinse and dry each can. Spray the outside with silver paint and let dry 1 hour.
- Wrap red ribbon around the middle of each can, securing the end with hot glue.
- Glue a green ribbon directly above the red one, offset slightly.
- Hot glue one jingle bell to the front of each can, just above the green ribbon.
- Slide a rubber band under both ribbons to help them stay in place.
- Let dry fully before shaking gently to test the jingle.


8. Newspaper Woven Tree Skirt
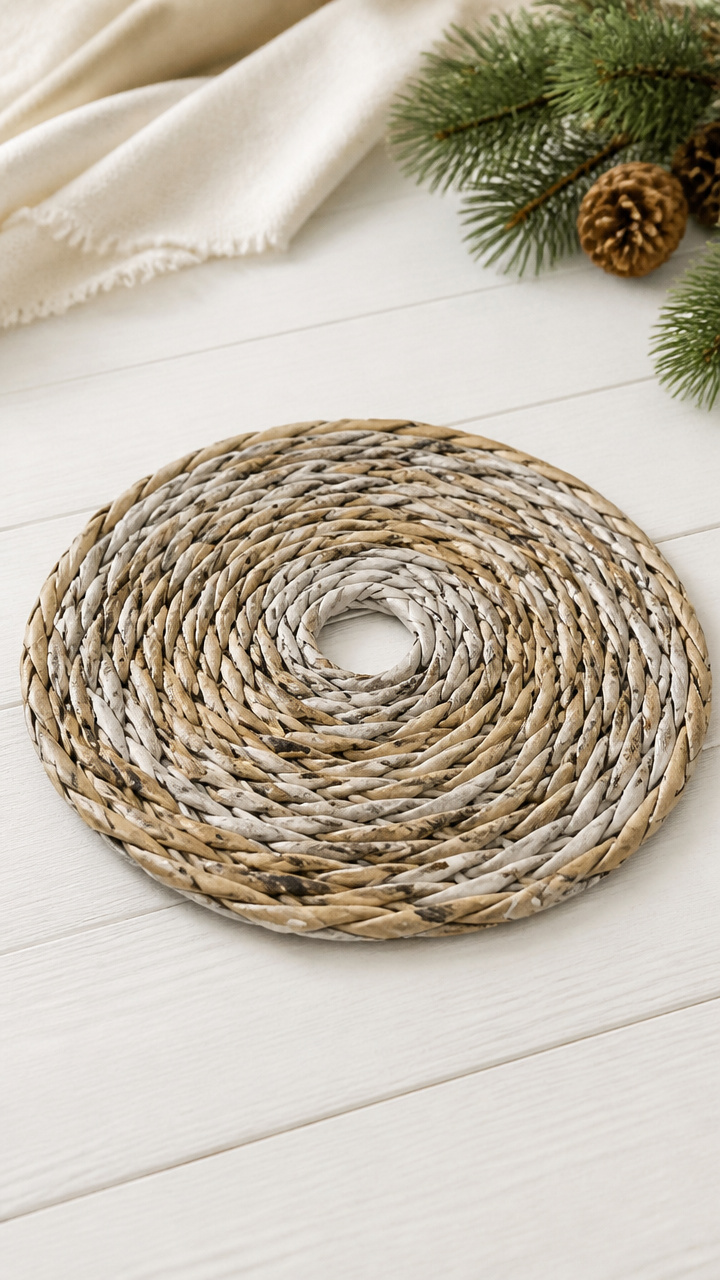
Old newspaper strips braid into a thick, rustic tree skirt with natural charm. This base holds presents and tells a story.
Materials Needed
- 10 sheets of newspaper
- scissors
- ruler
- craft knife
- 12-inch paper plate
- white glue
- paintbrush
- clear sealer spray
How to Make It
- Cut the newspaper into 1 inch wide strips, each 12 inches long. You will need 60 strips.
- Cut the center out of the paper plate to create a ring 2 inches wide.
- Lay three strips in a star shape on a flat surface and begin a tight braid from the center.
- Add new strips by overlapping ends and gluing with white glue as you braid outward.
- Braid until the circle reaches 36 inches in diameter. Let dry 2 hours.
- Spray both sides with clear sealer and let dry overnight before placing under the tree.


9. Cardboard Box Christmas Village

Shipping boxes of different sizes become a snowy village with windows and roofs. This display grows with every saved box.
Materials Needed
- 5 cardboard boxes, various sizes under 8 inches tall
- white acrylic paint
- paintbrush
- black marker
- scissors
- hot glue gun
- cotton batting
- red construction paper
- glue stick
How to Make It
- Flatten each box and cut into house shapes with peaked roofs, keeping the base attached.
- Paint all surfaces white and let dry 45 minutes.
- Draw window and door outlines with the black marker on each house.
- Cut small rectangles from red construction paper and glue above doors as awnings.
- Glue cotton batting around the base of each house for snowbanks.
- Arrange the houses on a shelf and hot glue them together at the bases.


10. Bottle Cap Snowflakes
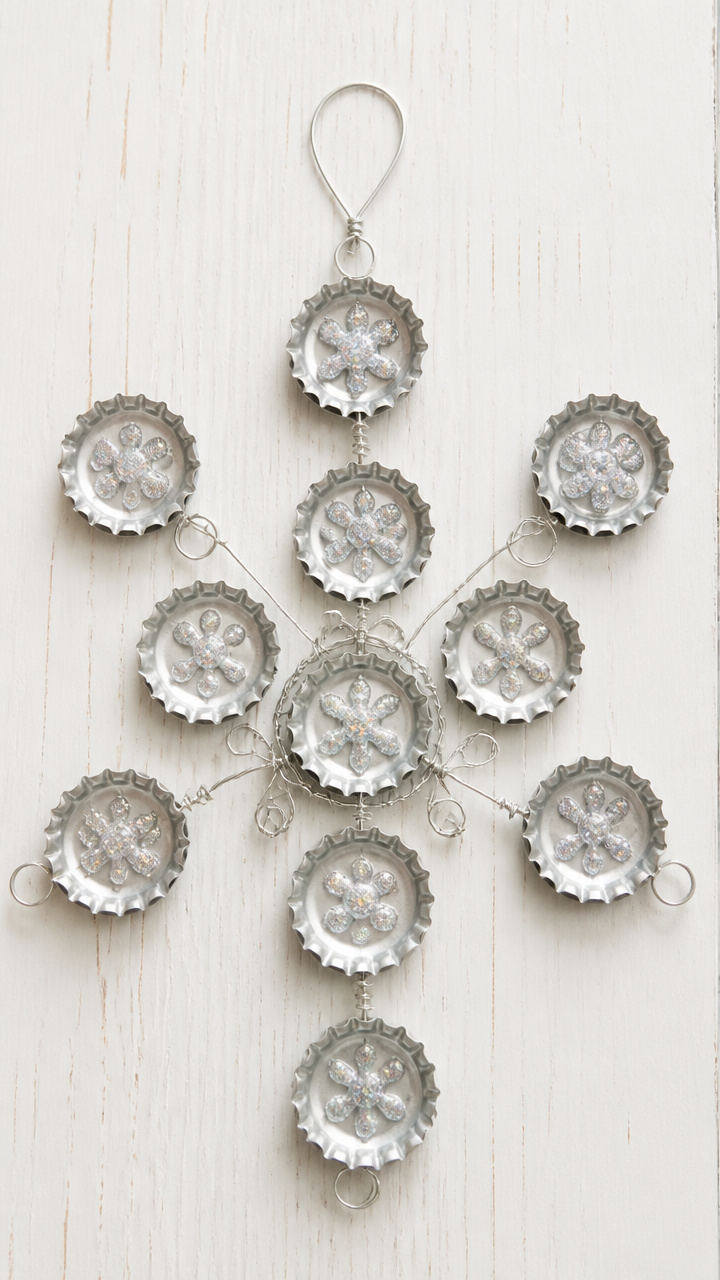
Aluminum bottle caps link into icy snowflakes with silver wire and glitter. These catch the light and feel like winter magic.
Materials Needed
- 18 aluminum bottle caps
- silver craft wire, 20 gauge, 3 feet
- glitter glue, silver
- needle-nose pliers
- scissors
- paper towel
How to Make It
- Clean and dry each bottle cap. Flatten any curved edges with pliers.
- Cut the wire into six 6 inch pieces.
- Thread three caps onto each wire and twist the ends into a star shape with pliers.
- Cross each wire at the center and twist all ends together tightly.
- Coat the wires with silver glitter glue and let dry 1 hour on a paper towel.
- Hang with a loop of thread tied to one cap.


11. Cardboard Roll Peppermint Stems
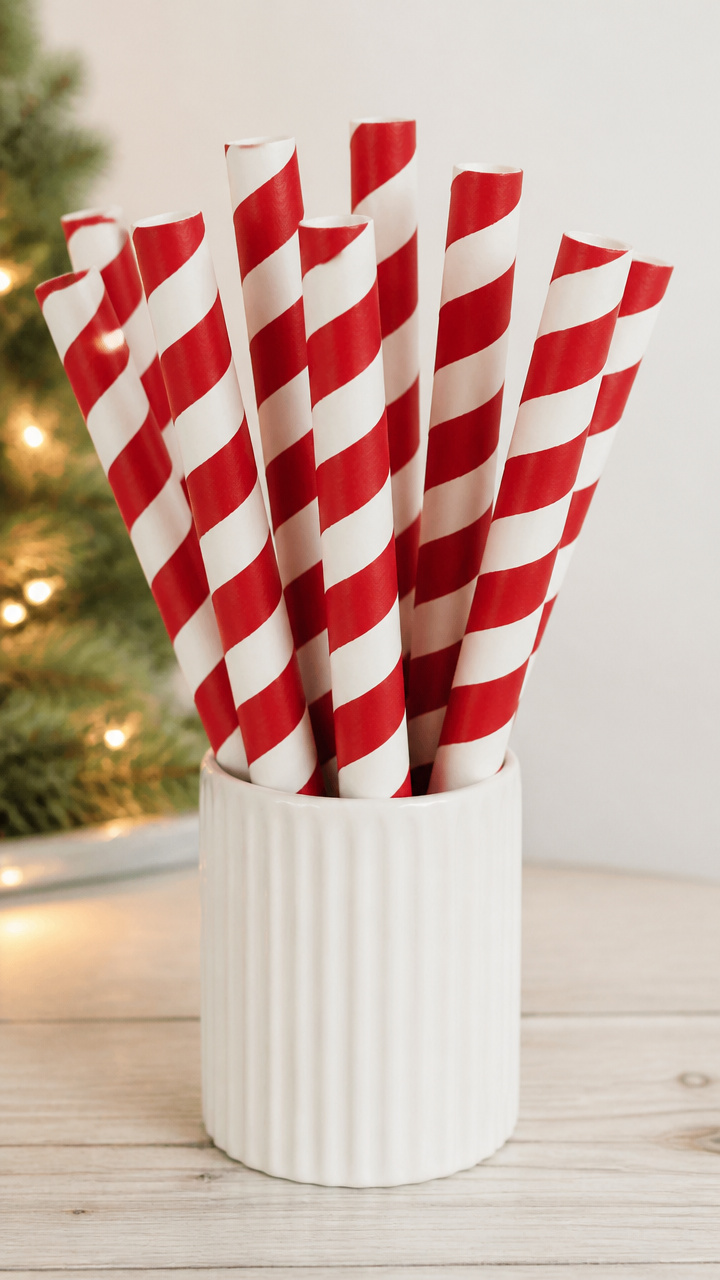
Toilet paper rolls stripe up like candy canes and stand tall in a vase. These add a pop of color and reuse what you already have.
Materials Needed
- 10 empty toilet paper rolls
- red acrylic paint
- white acrylic paint
- paintbrush
- scissors
- hot glue gun
- white tissue paper
- green ribbon, 1/2 inch wide
How to Make It
- Cut each roll vertically so it can flatten into a strip.
- Paint each strip with red paint and let dry 30 minutes.
- Cut white tissue paper into 1 inch wide diagonal stripes.
- Glue the white stripes diagonally across the red strip with white glue.
- Roll each strip back into a tube and secure the seam with hot glue.
- Wrap green ribbon around the base and tie a bow. Group in a glass jar.

12. Yogurt Cup Icicles

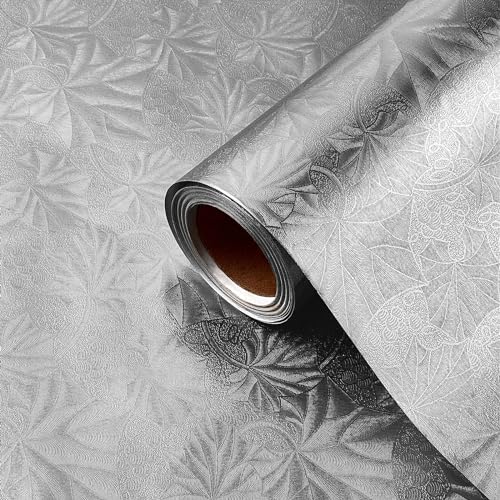
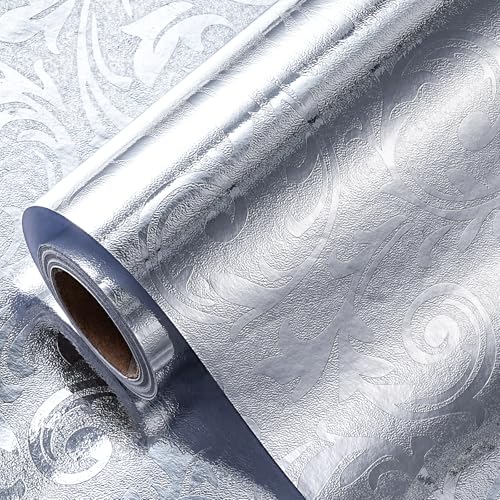
Used yogurt cups drip into shiny icicles with silver foil and string. These hang in windows and shimmer like frost.
Materials Needed
- 12 empty 6oz yogurt cups
- silver foil wrap
- scissors
- glue stick
- clear tape
- fishing line, 2 feet
- hole punch
How to Make It
- Rinse and dry each yogurt cup. Remove any labels.
- Cut the silver foil into rectangles 3 inches wide and long enough to wrap the cup.
- Wrap each cup with foil, shiny side out, and secure with a glue stick at the seam.
- Punch a hole near the rim of each cup.
- Cut fishing line into 8 inch strands. Thread one through each hole and knot.
- Tape the top of each line to a window edge, letting the icicles hang at different lengths.

13. Cardboard Cutout Nativity
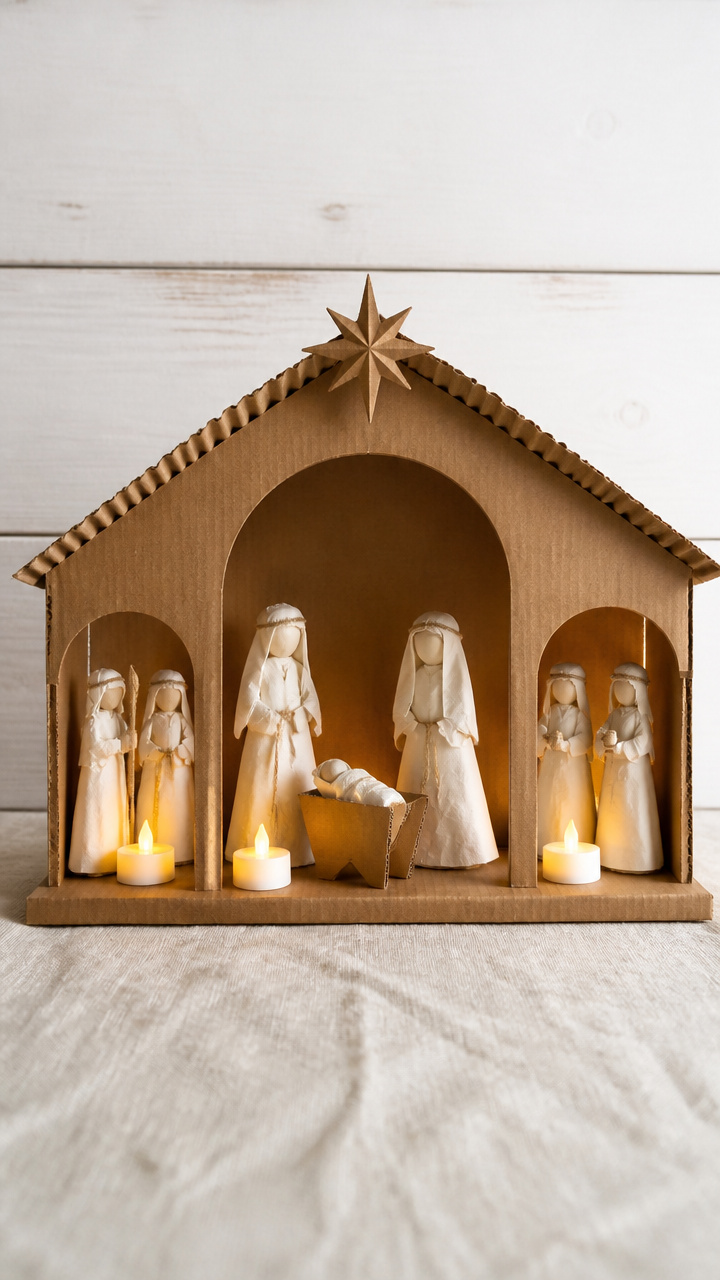
A large delivery box becomes a stable scene with standing figures and soft lighting. This tells a quiet story by candlelight.
Materials Needed
- 1 large cardboard box, 18×18 inches
- brown kraft paper
- white glue
- scissors
- craft knife
- tea light LED candles, 4
- paintbrush
- tan acrylic paint
How to Make It
- Flatten the box and draw a stable outline with open front, 15 inches wide.
- Cut out the shape with a craft knife, keeping the base flat for standing.
- Paint the entire piece tan and let dry 45 minutes.
- Cover the roof area with crumpled brown kraft paper, gluing it down for texture.
- Cut small standing figures from leftover cardboard and place inside.
- Set LED candles inside and turn on at dusk for a soft glow.


14. Wine Cork Reindeer
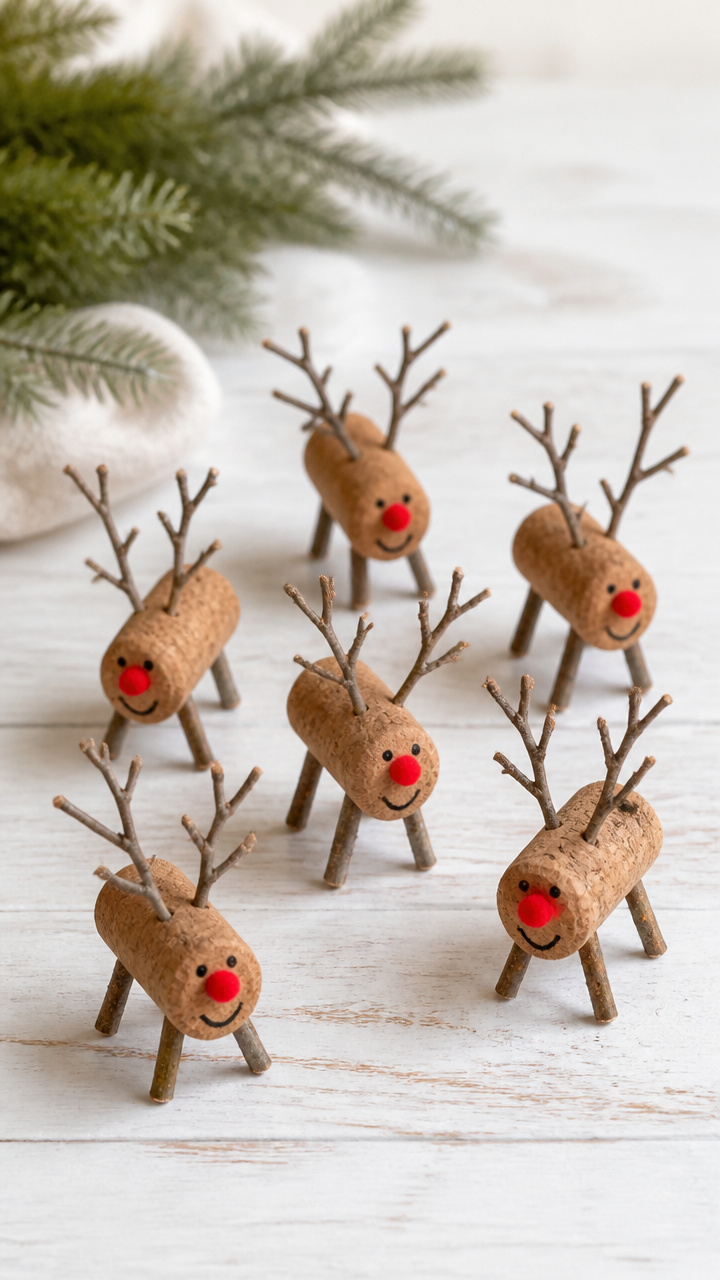
Short wine corks grow antlers and faces to become tiny reindeer. These make sweet place cards or tree friends.
Materials Needed
- 6 wine corks
- 12 small twigs, 1 inch long
- hot glue gun
- black acrylic paint
- paintbrush
- 6 red pom poms, 6mm
- 12 tiny googly eyes, 6mm
- brown craft foam
How to Make It
- Cut small slits on the top sides of each cork using scissors.
- Insert a twig into each slit to form antlers. Secure with hot glue.
- Paint two black dots for eyes with acrylic paint. Let dry 15 minutes.
- Glue on googly eyes over the painted dots for shine.
- Glue a red pom pom to the front for the nose.
- Cut tiny hooves from brown foam and glue to the bottom for stability.


15. Magazine Page Ornaments
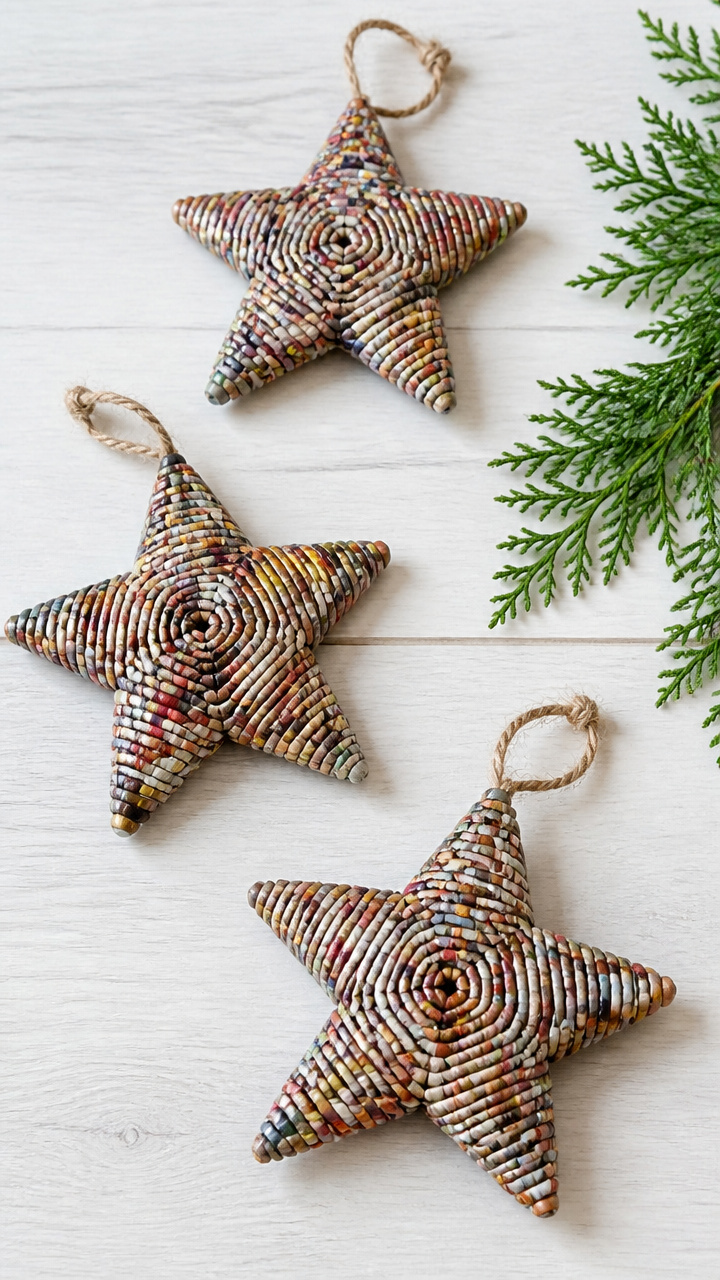
Colorful magazine pages roll into tight beads that form festive stars. These shimmer with recycled stories and holiday color.
Materials Needed
- 15 pages from glossy magazines
- mod podge
- paintbrush
- toothpick
- scissors
- cardboard star cutout, 3 inches
- ribbon, 6 inches
How to Make It
- Cut each page into 1 inch wide triangles, 6 inches long at the base.
- Wrap each triangle tightly around a toothpick from base to tip, gluing the end with mod podge.
- Slide the bead off and let dry 20 minutes on wax paper.
- Once dry, glue 5 beads together at the tips to form a star shape.
- Place the cardboard star underneath and glue the beads to it.
- Glue ribbon to the back for hanging.



16. Cardboard Tree Topper
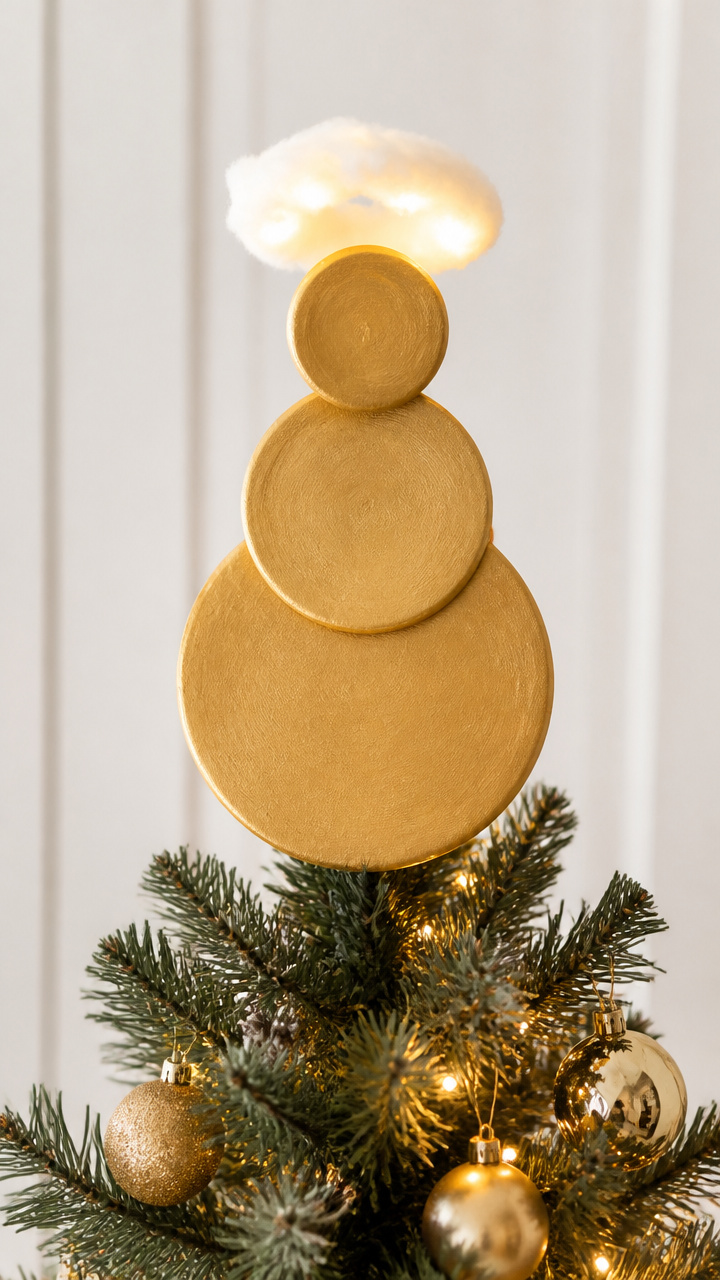
Layered cardboard circles rise into a graceful angel with gold edges. This topper shines above your tree with handmade grace.
Materials Needed
- 3 cardboard circles, 4, 5, and 6 inches diameter
- gold acrylic paint
- paintbrush
- white glue
- scissors
- cotton ball
- 2 pipe cleaners
- glue gun
How to Make It
- Stack the circles from largest to smallest and glue together with white glue.
- Paint the outer edges gold and let dry 30 minutes.
- Flatten the cotton ball and glue to the top as a head.
- Cut one pipe cleaner in half and bend into wings. Glue to the back.
- Twist the other pipe cleaner into a halo and glue above the head.
- Let dry fully before placing gently on top of your tree.


17. Jar Lid Magnets
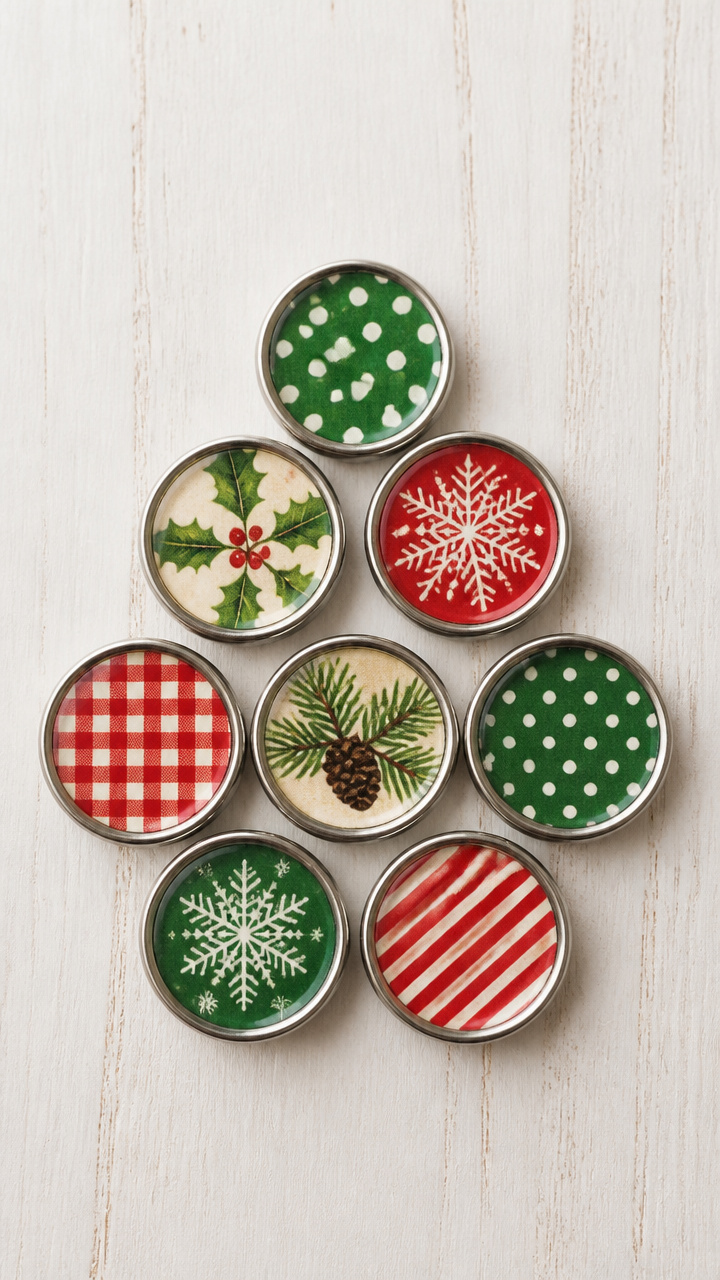
Metal jar lids hold tiny holiday scenes with glued paper and magnets. These stick to the fridge and spark daily joy.
Materials Needed
- 8 metal jar lids, 2 inch diameter
- small holiday images, 1.5 inch circle
- white glue
- paintbrush
- magnet strips, 1×0.5 inch
- clear nail polish
- scissors
How to Make It
- Cut holiday images into circles that fit inside the lid rim.
- Glue each image to the inside of a lid with white glue. Let dry 30 minutes.
- Paint the lid edge with clear nail polish to seal. Let dry 20 minutes.
- Glue a magnet strip to the back center of each lid.
- Press flat under a book for 10 minutes to bond.
- Use on fridges or magnetic boards.


You’ve got everything you need to start right now, probably already in your recycling bin. Pick one that makes you smile and let your hands do the rest.