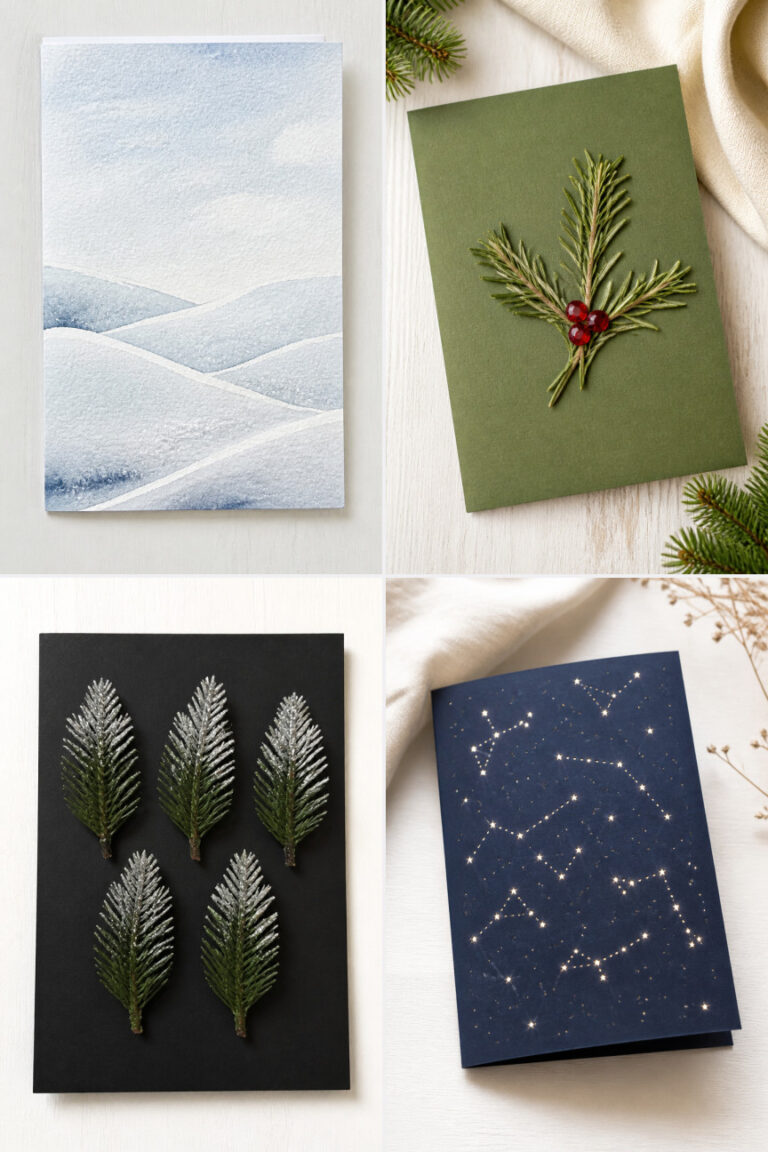
15 Easy Christmas Crafts With Construction Paper
You do not need fancy tools or a big budget to bring holiday magic to life. With bright construction paper, scissors, glue, and a little time, you can jump straight from an idea to a finished piece without any fuss.
Whether you are gathering the kids at the table for a quiet afternoon or making thoughtful handmade touches for your holiday gifts and cards, these easy projects make seasonal crafting fun and effortless.
1. Folded Tree Ornaments
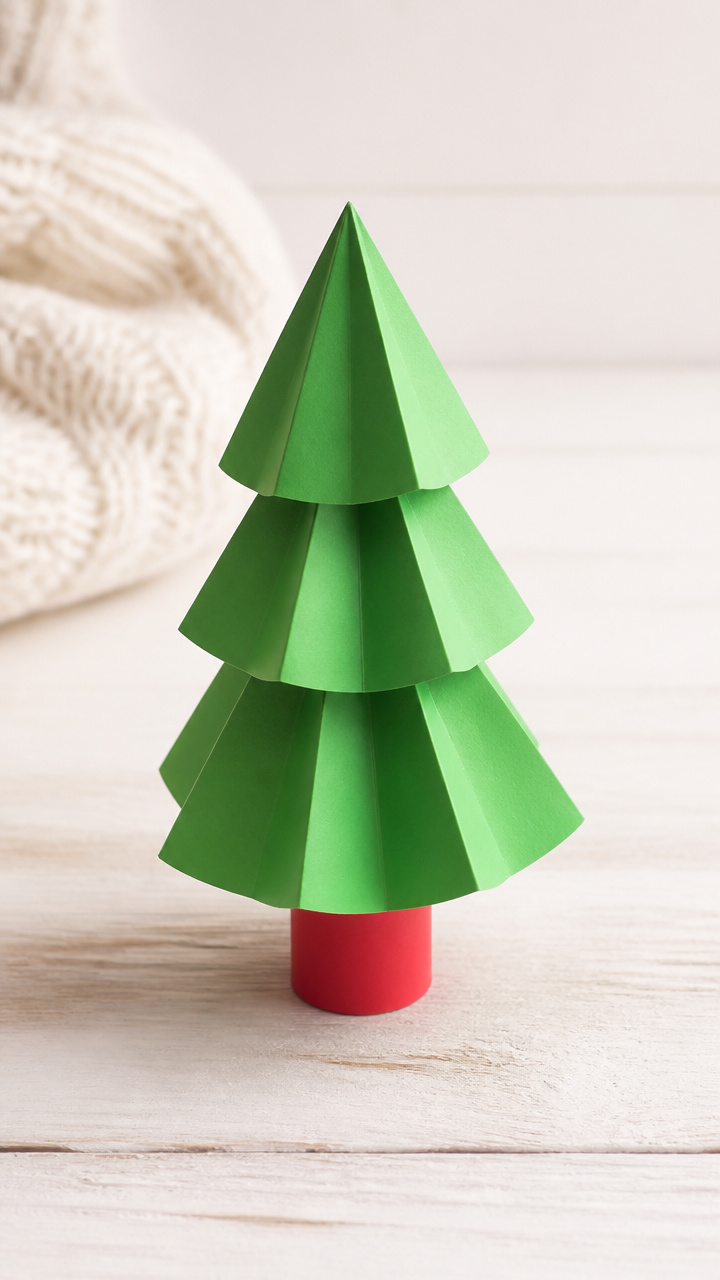
Bright layered trees stand up like tiny decorations on shelves or gift tags. They take five minutes and look sharp in solid blocks of color.
Materials Needed
- Green construction paper (6×6 inch square)
- Red construction paper (4×1 inch strip)
- Glue stick
- Scissors
- Pencil
How to Make It
- Draw a triangle that is 5 inches tall and 3 inches wide on the green paper. Cut it out.
- Fold the triangle in half vertically, then open it slightly so it stands on its own.
- Glue the red strip across the center of the fold to make a trunk.
- Let dry for two minutes before placing on a flat surface or attaching to a gift.


2. Peppermint Strip Wreath

Bold red and white stripes curl into a cheerful wreath that looks festive on doors or windows. It holds its shape well and uses only paper and glue.
Materials Needed
- Red construction paper (9×1 inch strip)
- White construction paper (9×1 inch strip)
- Scissors
- Glue stick
- Pencil
How to Make It
- Cut both strips into 1-inch segments so you have nine red and nine white pieces.
- Glue one red piece to the end of the white strip, alternating colors as you go.
- Once all pieces are attached, form the strip into a circle and glue the ends together.
- Press flat for one minute to help it keep shape.


3. Hand-Trace Reindeer
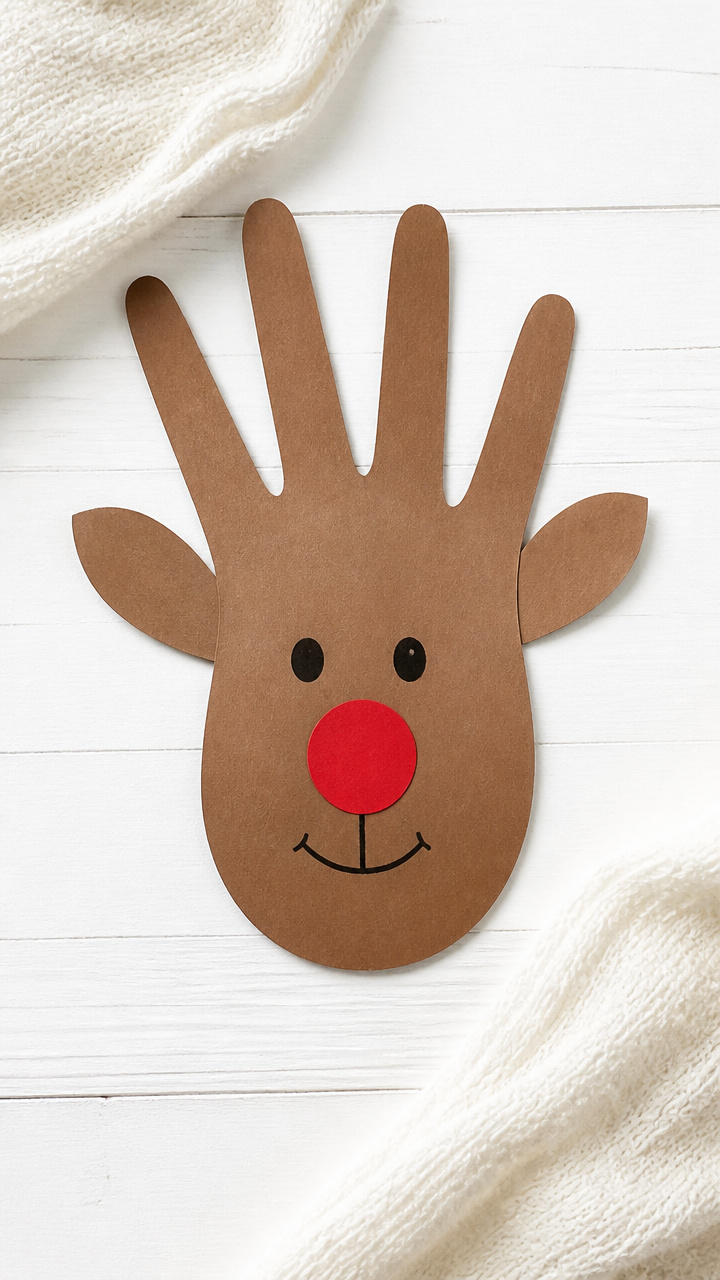
Your hand becomes the reindeer’s face when you add simple cutouts. It’s a fun keepsake that shows off personality with minimal effort.
Materials Needed
- Brown construction paper (one 8.5×11 sheet)
- Red construction paper (1×1 inch square)
- Black marker
- Scissors
- Glue stick
How to Make It
- Place your hand on the brown paper with fingers spread and trace around it with pencil.
- Cut out the hand shape. Turn it upside down so fingers point up like antlers.
- Glue the red square below the thumb to make a nose.
- Use the black marker to draw two eyes just above the nose.


4. Tissue Paper Window Glow
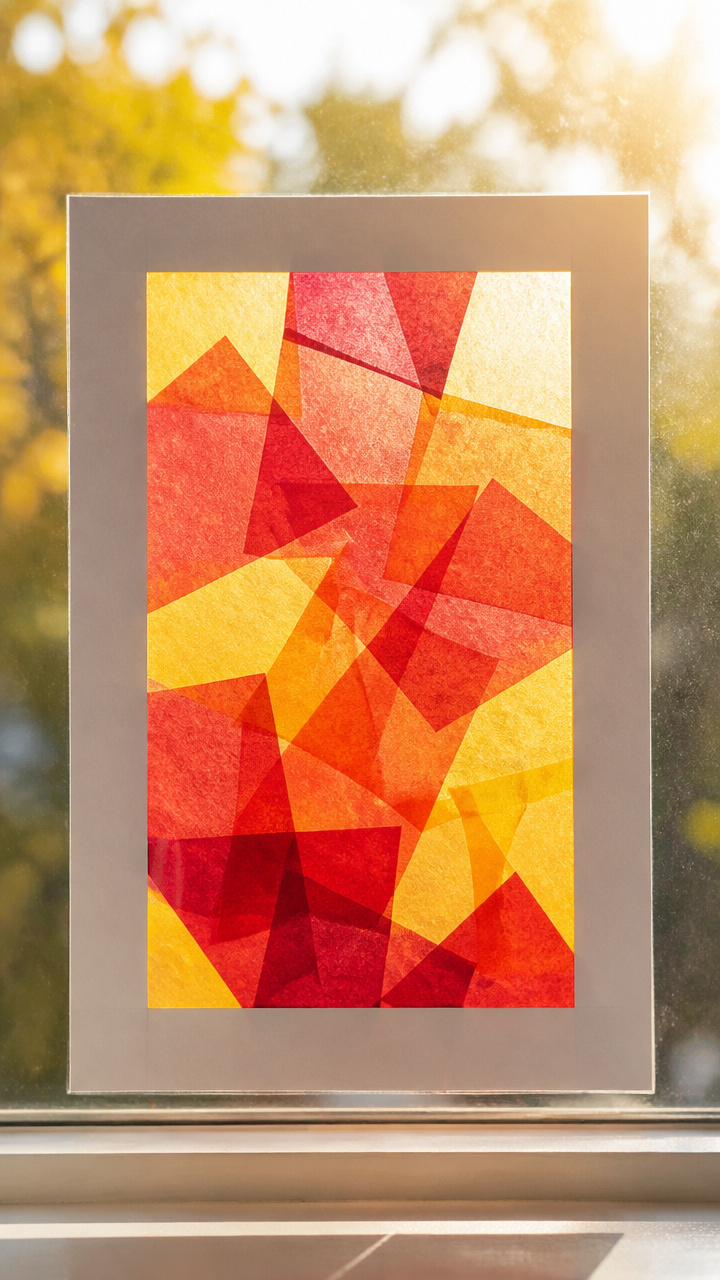
Soft light shines through layered tissue and construction paper panels. Hang them on glass and watch the colors bloom when sunlight hits.
Materials Needed
- White construction paper (8.5×11 inch sheet)
- Red tissue paper (6×6 inch square)
- Yellow tissue paper (6×6 inch square)
- Glue stick
- Scissors
- Clear tape
How to Make It
- Cut a 1 inch border around all edges of the white paper to create a frame.
- Glue red tissue paper behind the opening, smoothing out wrinkles.
- Layer yellow tissue paper directly on top of the red, offsetting the grain slightly.
- Tape the finished panel to a window using small pieces of clear tape on each corner.


5. Starburst Gift Tags
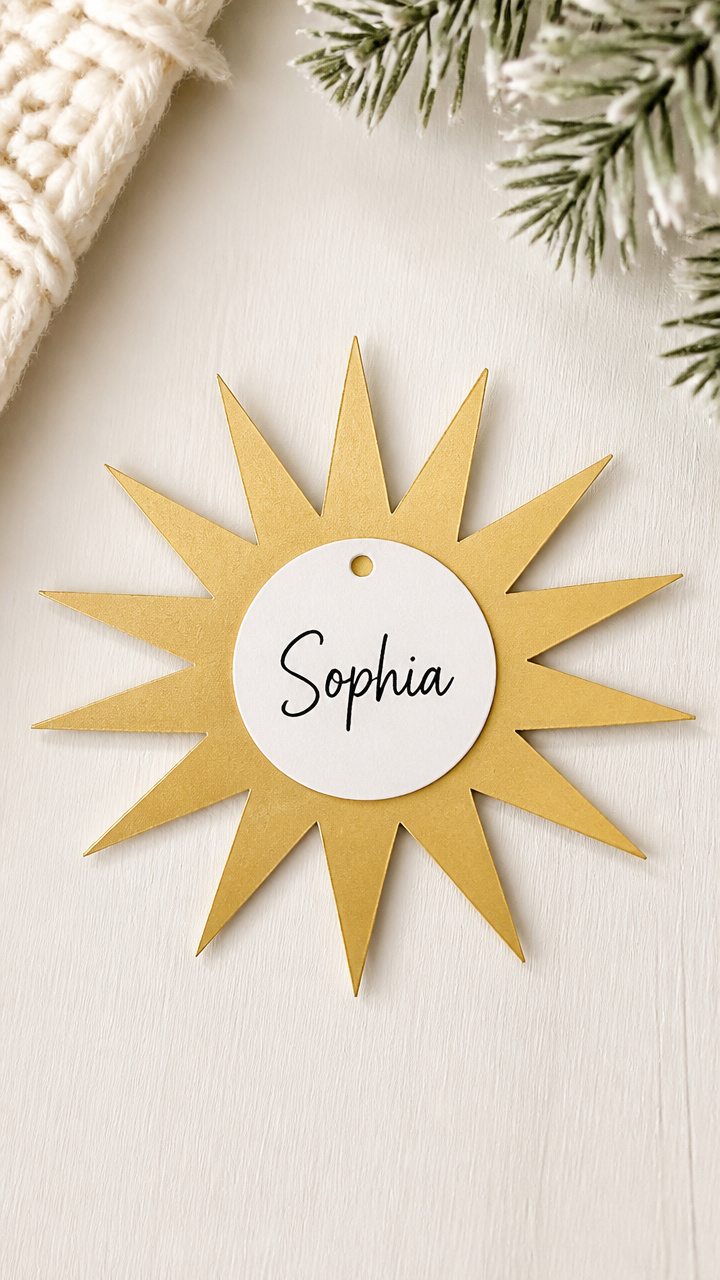
Sharp rays burst from a central circle giving tags a bold holiday punch. You can write names clearly in the middle and hang them with string.
Materials Needed
- Gold construction paper (5×5 inch square)
- Hole punch
- Scissors
- Black pen
- Ruler
How to Make It
- Use the ruler to draw lines from each corner toward the center, stopping 1 inch short.
- Cut along each line to create four flaps folding inward.
- Write the recipient’s name in the center circle with the black pen.
- Punch a hole in the top corner and thread with twine for tying.


6. Accordion Snowflake Fans

Tiny folded fans pop open into symmetrical snowflakes. Make a cluster and tape them to a mantel for instant winter charm.
Materials Needed
- Blue construction paper (6×6 inch square)
- Scissors
- Glue stick
- Ruler
How to Make It
- Fold the paper in half, then in half again to make a 3×3 inch square.
- Make cuts 1/4 inch apart along the three open edges, stopping 1/2 inch from the fold.
- Unfold once and glue the two outer edges together to form a circle.
- Gently pull each cut section outward to create a fan effect.


7. Santa Beard Cards
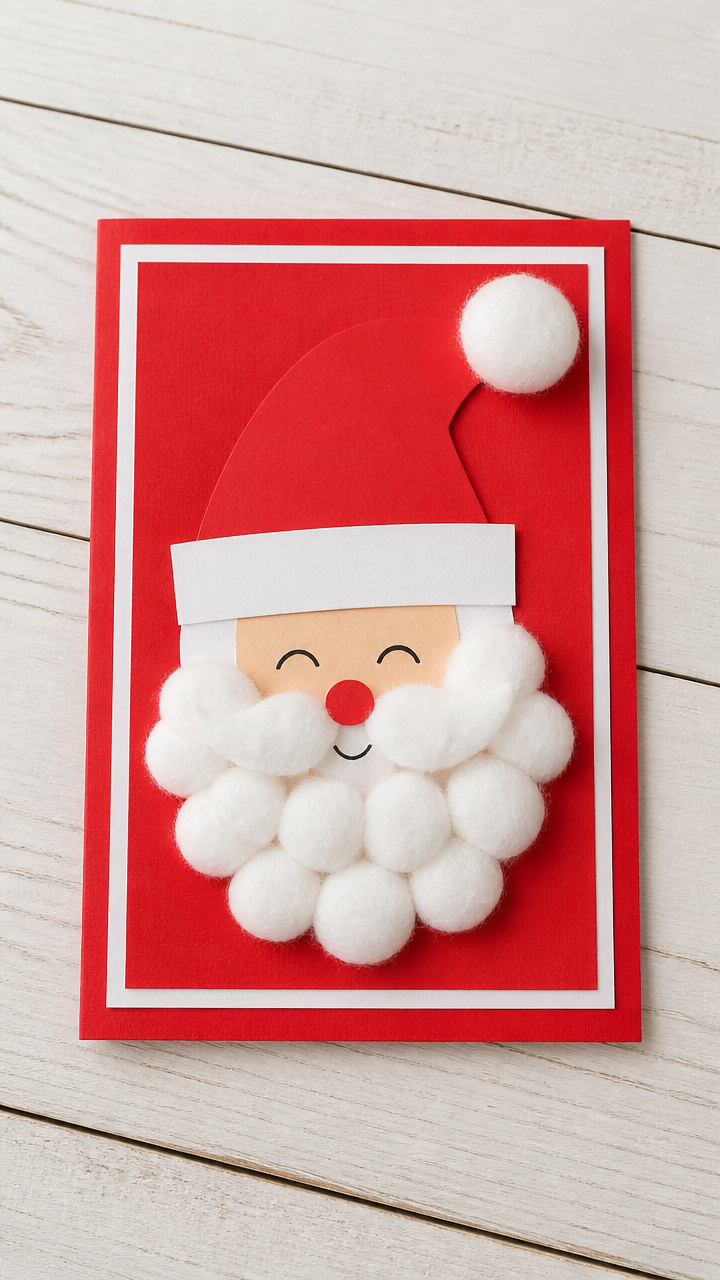
A classic red hat with a fluffy beard sticks out from a card front. Slide a note inside and surprise someone with handmade cheer.
Materials Needed
- Red construction paper (5×7 inch rectangle)
- White construction paper (2×3 inch rectangle)
- Glue stick
- Scissors
- Black marker
How to Make It
- Fold the red paper in half to make a 5×3.5 inch card.
- Cut the white paper into jagged strips along one long edge to make a beard fringe.
- Glue the uncut edge of the beard across the bottom third of the front.
- Draw a small round face and eyes above the beard with the black marker.


8. Candy Cane Garland

Twisted red and white loops link together into a bouncy garland. Drape it over a shelf or tree for instant candy-inspired joy.
Materials Needed
- Red construction paper (1×8 inch strip)
- White construction paper (1×8 inch strip)
- Scissors
- Glue stick
- Hole punch
How to Make It
- Cut a small slit at each end of both strips, about 1/2 inch deep.
- Twist one strip into a spiral and tuck the ends into the slits to lock.
- Repeat with the second strip, then glue one loop through the other to connect.
- Punch a hole in the top loop to hang or link more pairs.


9. Mitten Pair Cutouts
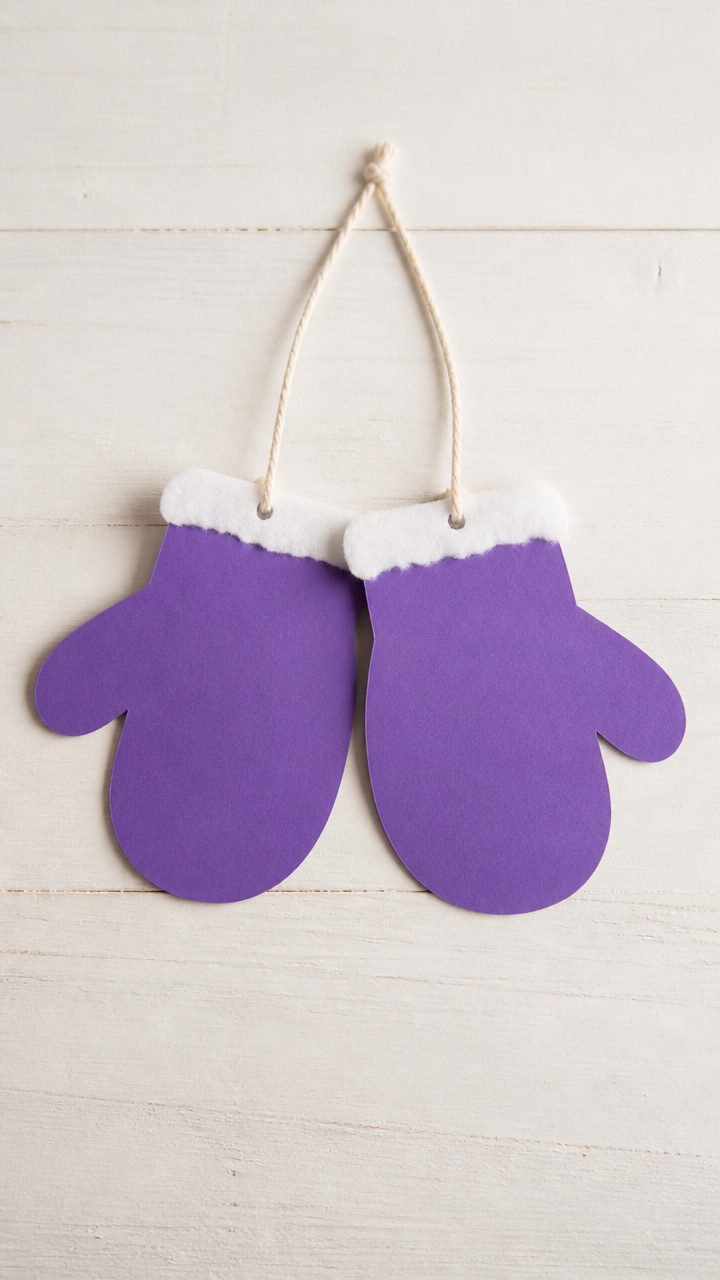
Two matching mittens dangle side by side with a smooth curve and bright color. Pin them to a bulletin board or string them as mini decor.
Materials Needed
- Purple construction paper (6×8 inch sheet)
- Scissors
- Glue stick
- String (12 inch length)
- Pencil
How to Make It
- Fold the paper in half. Draw half a mitten shape along the folded edge with pencil.
- Cut around the shape while folded to get two identical mittens.
- Glue the two mittens side by side with a small gap between them.
- Tie the string between the tops so they hang evenly.


10. Snowman Stack Silhouette
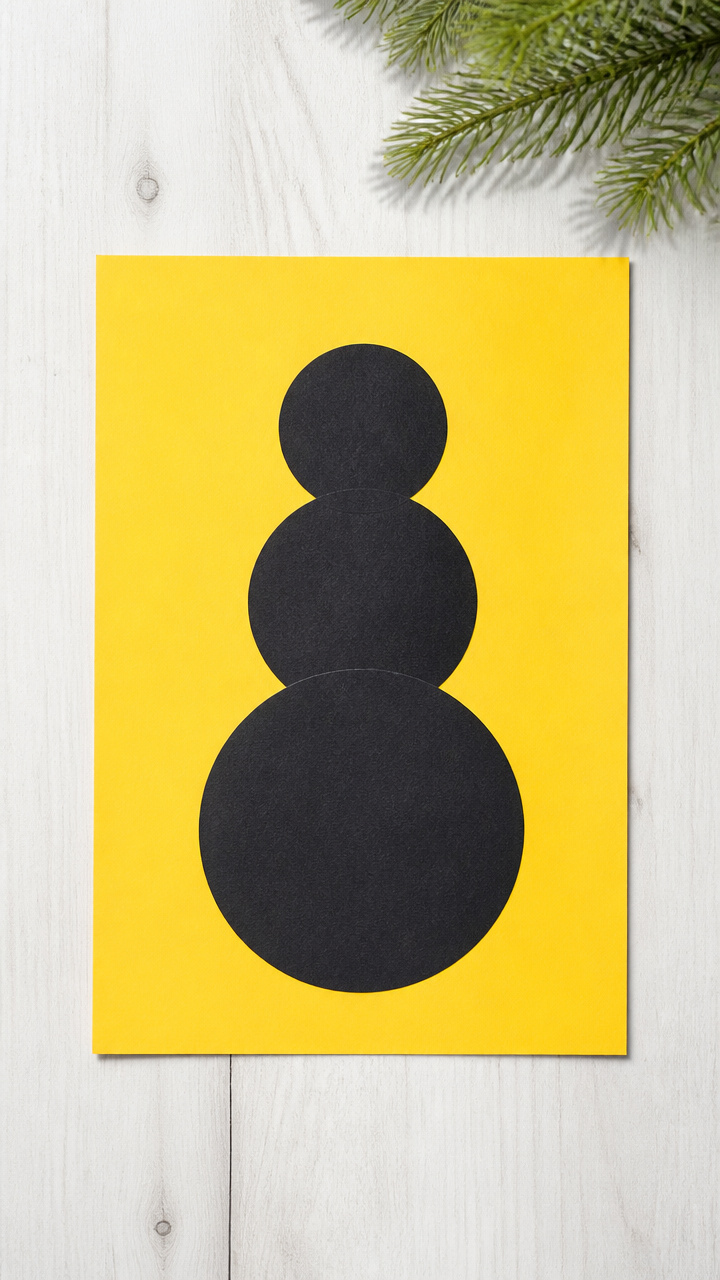
Three stacked circles form a shadowy snowman against a bright background. It stands alone on a shelf or fits snugly in a card.
Materials Needed
- Black construction paper (three circles: 2, 1.5, and 1 inch diameter)
- Yellow construction paper (8.5×11 inch sheet)
- Glue stick
- Scissors
How to Make It
- Cut the black circles from construction paper using a template or compass.
- Arrange the largest on bottom, medium in center, smallest on top to form a stack.
- Glue the stack onto the yellow paper, leaving space around each edge.
- Let sit flat for one minute to prevent shifting.


11. Bell Shape Mobiles

Curved bells dangle from a paper circle with soft movement. Hang it near a breeze and enjoy the subtle sway.
Materials Needed
- Silver construction paper (one 4 inch circle, three 2×1 inch ovals)
- String (three 6 inch lengths)
- Glue stick
- Scissors
- Pencil
How to Make It
- Draw a curved bell shape on each oval and cut it out carefully.
- Punch a small hole at the top of each bell and thread a string through, knotting the end.
- Glue the loose ends of the strings to the back of the circle, spacing them evenly.
- Hang the mobile by tying another string across the top of the circle.


12. Present Pile Art

Tiny wrapped boxes in plaid and stripe patterns pile up like under-the-tree magic. Arrange several for a framed centerpiece.
Materials Needed
- Red, green, and white construction paper (each 3×3 inch squares)
- Glue stick
- Scissors
- Black marker
How to Make It
- Cut each square into thirds to make nine 1×3 inch strips.
- Glue three strips together end to end in a row, alternating colors for a wrap effect.
- Form the strip into a loop and glue the seam. Flatten slightly to look like a box.
- Draw two intersecting lines with the black marker to mimic ribbon on top.


13. Angel Wing Cutouts

Soft feathered wings rise behind a simple silhouette. Tape them to a wall or gift for a gentle holiday touch.
Materials Needed
- White construction paper (8.5×11 inch sheet)
- Scissors
- Pencil
- Glue stick
How to Make It
- Fold the paper in half lengthwise. Draw one wing shape along the folded edge.
- Cut along the outline while the paper is still folded.
- Open the wings and lay them flat with the fold at the bottom.
- Glue the base to a card or use tape to mount on a wall.
14. Frosted Pine Branch
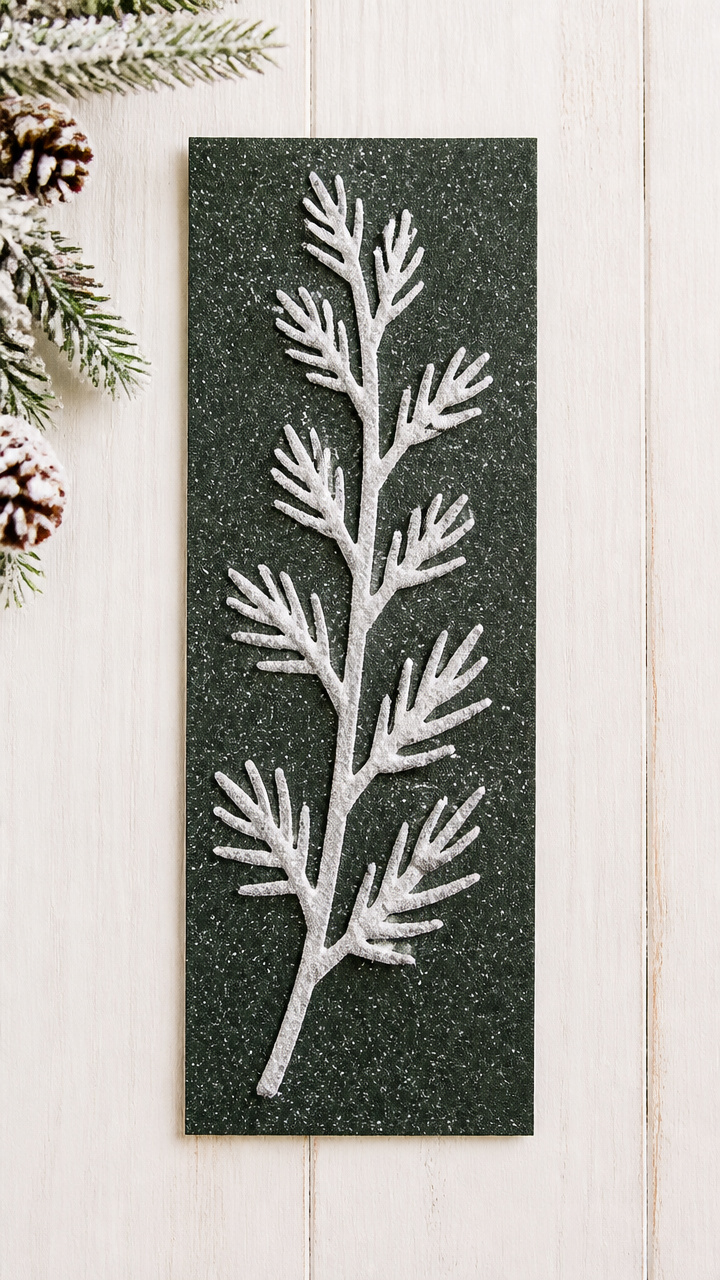
A single branch outlined in white gives the look of snow-covered evergreen. It fits in a narrow frame or leans on a shelf.
Materials Needed
- Green construction paper (one 2×6 inch strip)
- White chalk pastel
- Black construction paper (8.5×11 inch sheet)
- Glue stick
How to Make It
- Bend the green strip into a zigzag to mimic pine needles along a stem.
- Smudge the white chalk along the tips of the zigs to look like frost.
- Glue the base of the branch near the bottom of the black paper.
- Let the chalk stay soft for a powdery finish.


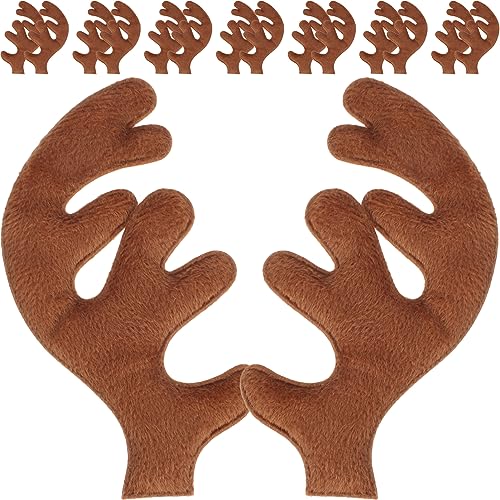
15. Reindeer Antler Headband
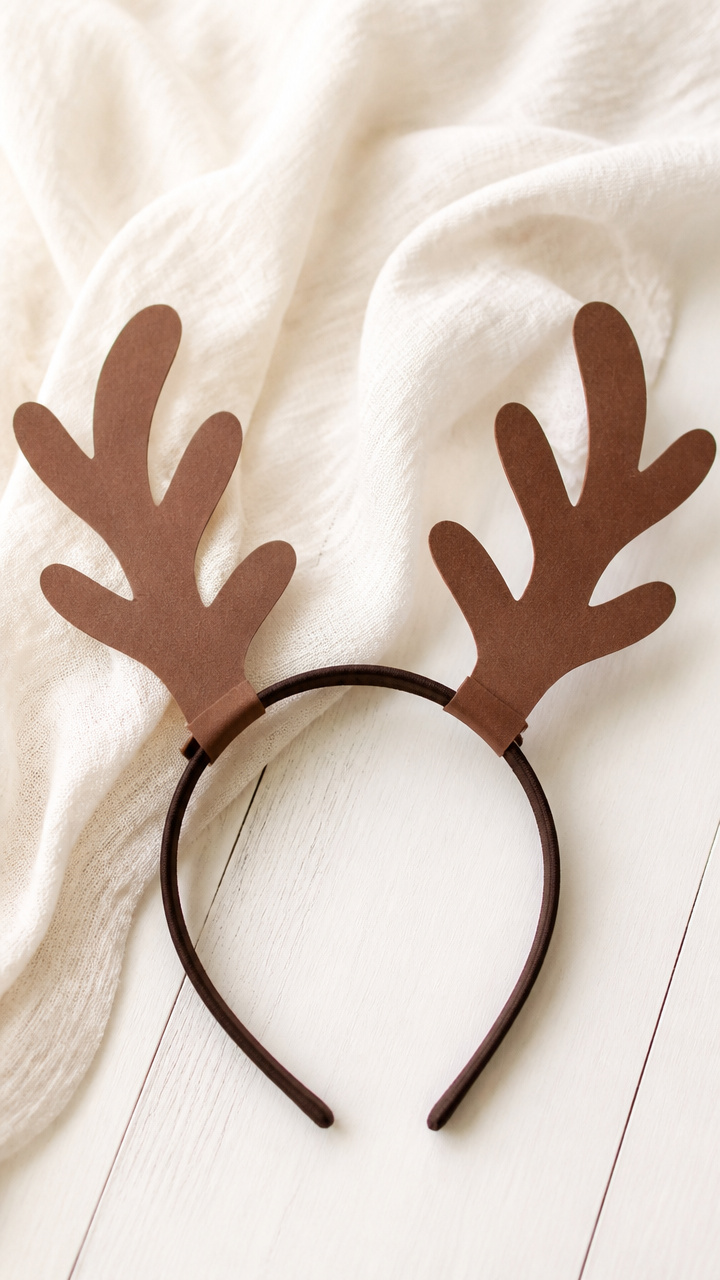
Flexible antlers rise from a paper band you wear proudly. Perfect for parties or photo props with a quick assembly.
Materials Needed
- Brown construction paper (2×7 inch strip for antlers, 18×2 inch for band)
- Scissors
- Glue stick
- Ruler
- Pencil
How to Make It
- Cut two Y shapes from the 2×7 inch strip, each about 5 inches tall.
- Measure the headband strip around your head and overlap the ends by 1 inch.
- Glue the overlapping ends to form a circle and let dry for two minutes.
- Glue the base of each antler to the inside top edge of the band, facing forward.


These crafts come together fast but leave a lasting warmth. Grab a few sheets and start with the one that makes you smile first.