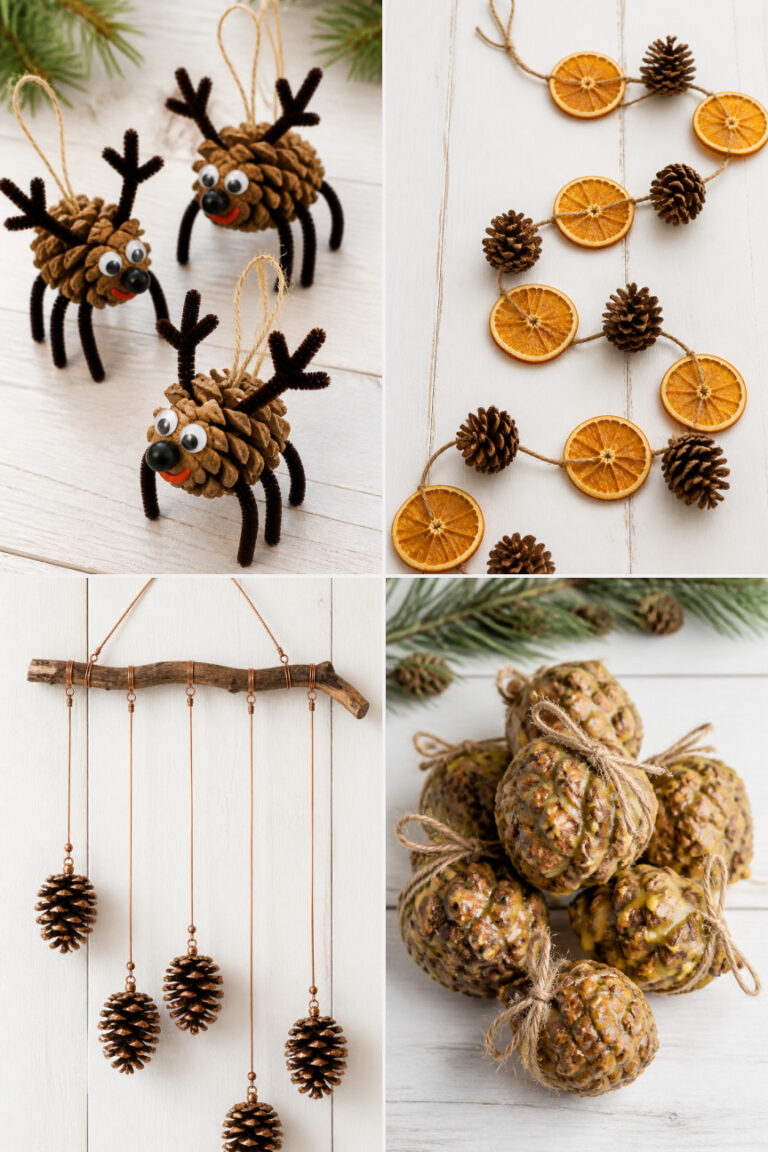
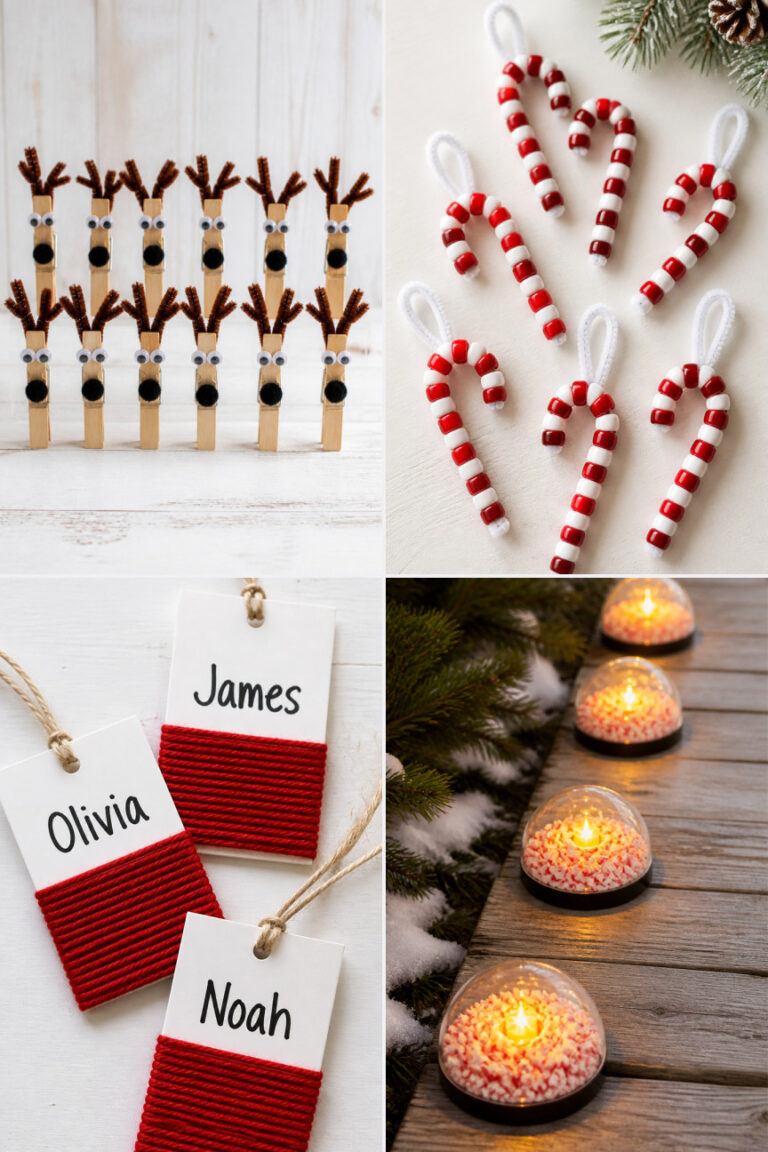
17 Homemade Christmas Ornaments Using Dollar Store Supplies
The holiday season feels warmer when your tree carries little handmade touches that only you could create. These ornaments bring charm and cheer without asking much from your wallet or your time.
Every one of these ideas starts with something simple from the dollar store but ends with a keepsake worth saving year after year. You’ll use familiar tools and materials in fresh ways, each project standing on its own with clear steps and exact details.
1. Salt Dough Snowflakes
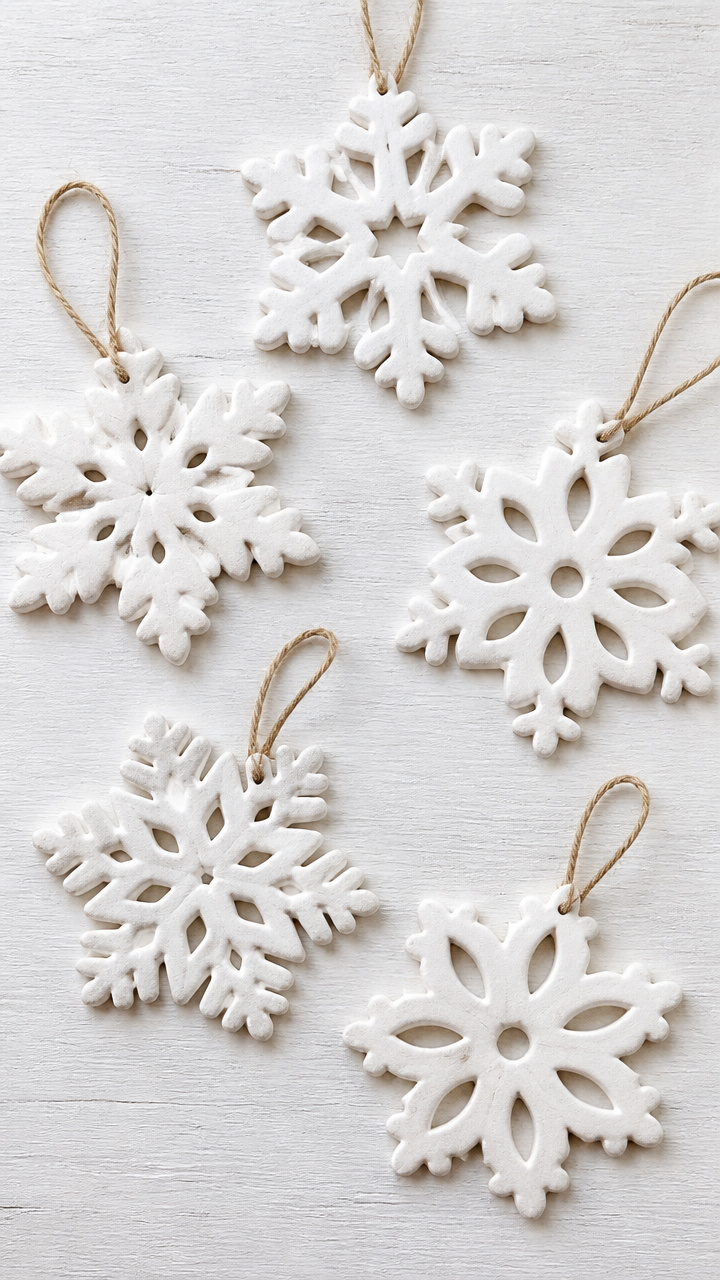
Soft white shapes that hold the quiet beauty of winter light. These keep their rustic charm even after years on the tree.
Materials Needed
- 2 cups all-purpose flour
- 1 cup salt
- 1 cup warm water
- Parchment paper
- Bamboo skewer
- Acrylic paint (white)
- Glitter glue (clear with fine silver glitter)
- Ribbon (3mm white, 12 inches)
How to Make It
- Mix flour, salt, and warm water in a bowl until a smooth dough forms, kneading by hand for 3 minutes.
- Roll the dough to 1/4 inch thick on parchment paper and cut into snowflake shapes using a butter knife.
- Use the skewer to poke a hole near the edge of each snowflake for hanging, then let dry at room temperature for 48 hours.
- Paint each piece with white acrylic paint, wait 2 hours to dry, then brush on a thin layer of glitter glue.
- Thread ribbon through the hole once fully dry and tie a knot.


2. Mini Clothespin Reindeer
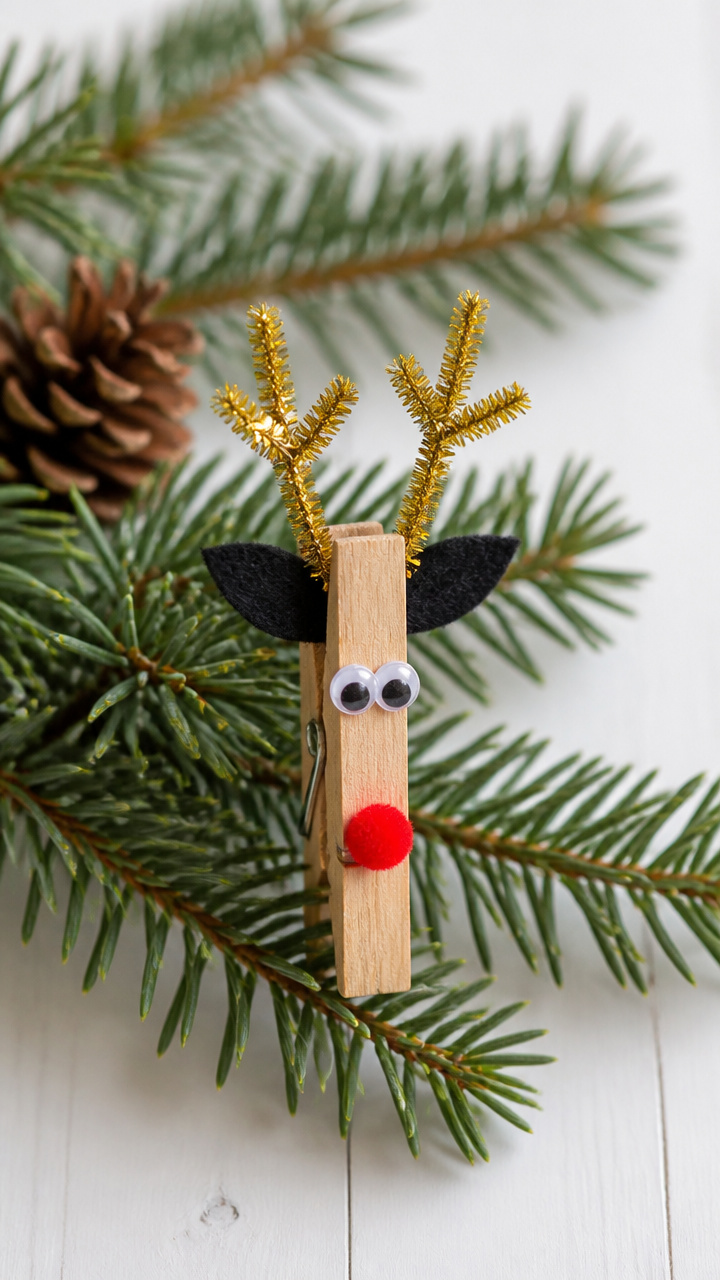
Tiny reindeer faces perch on branches with wooden charm and wire antlers. They add playful detail without taking up space.
Materials Needed
- 10 wooden clothespins (natural finish)
- Black craft foam (1 sheet)
- Red pom-pom (6mm, 10 pieces)
- Gold pipe cleaners (5mm diameter, 10 inches long, 10 pieces)
- Hot glue gun and glue sticks
- Small googly eyes (8mm, 20 pieces)
- Ribbon (2mm brown, 10 inches per ornament)
How to Make It
- Cut antler shapes from gold pipe cleaners, bending each into a Y shape about 2 inches tall.
- Glue the antlers to the top of each clothespin head using hot glue, holding for 15 seconds.
- Glue one red pom-pom below the antlers for the nose and add two googly eyes above it.
- Cut small hooves from black craft foam and glue them to the bottom tips of the clothespin legs.
- Tie a ribbon around the neck area and knot at the back for hanging.


3. Cinnamon Stick Wreaths
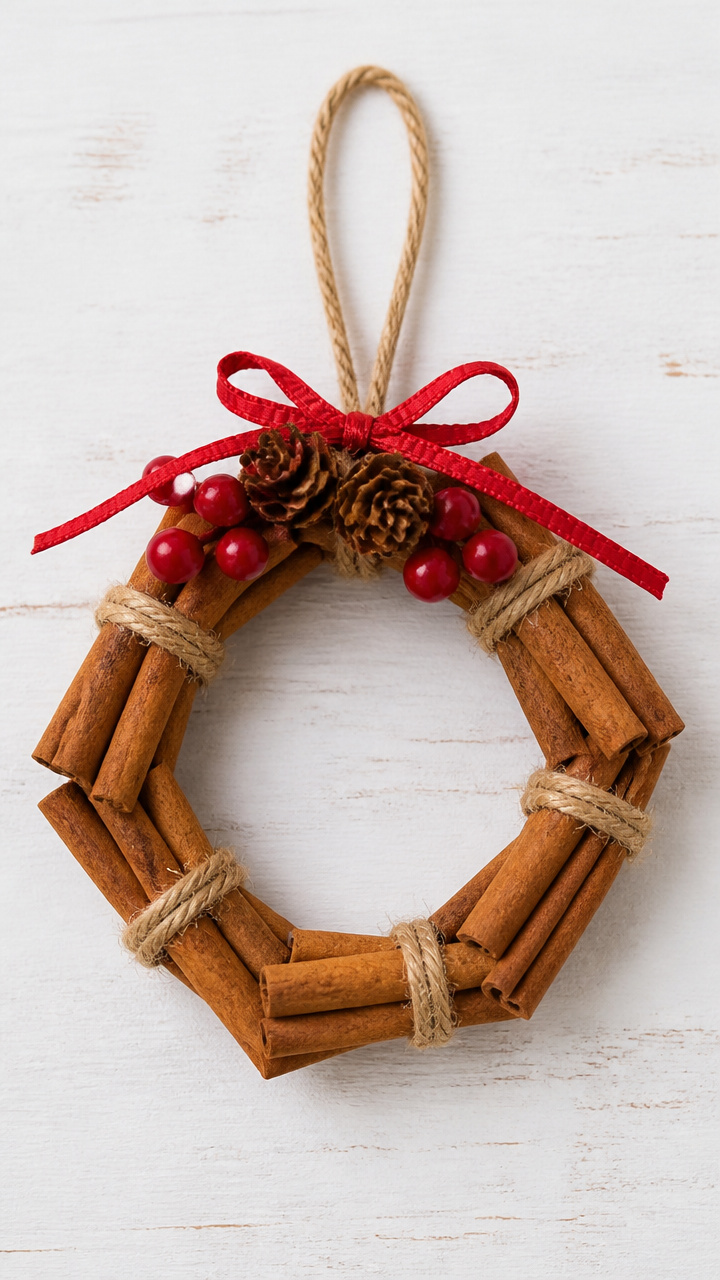
Spicy-sweet circles wrapped in twine carry tiny pinecones and red berries. They smell as good as they look.
Materials Needed
- 10 cinnamon sticks (6 inches long)
- Natural jute twine (size 3, 2 yards total)
- Mini pinecones (10 pieces)
- Artificial red berries (cluster of 5, 10 pieces)
- Hot glue gun and glue sticks
- Ribbon (3mm red, 8 inches per ornament)
How to Make It
- Lay five cinnamon sticks in a circle and wrap twine tightly around each connection point, knotting securely.
- Repeat with another ring of five sticks directly over the first, creating a full wreath base.
- Glue one mini pinecone to the bottom of the wreath and add a berry cluster beside it.
- Wrap twine around the top for a hanger, securing with a double knot.
- Attach ribbon over the twine loop and tie a bow at the top.


4. Popsicle Stick Ice Skates
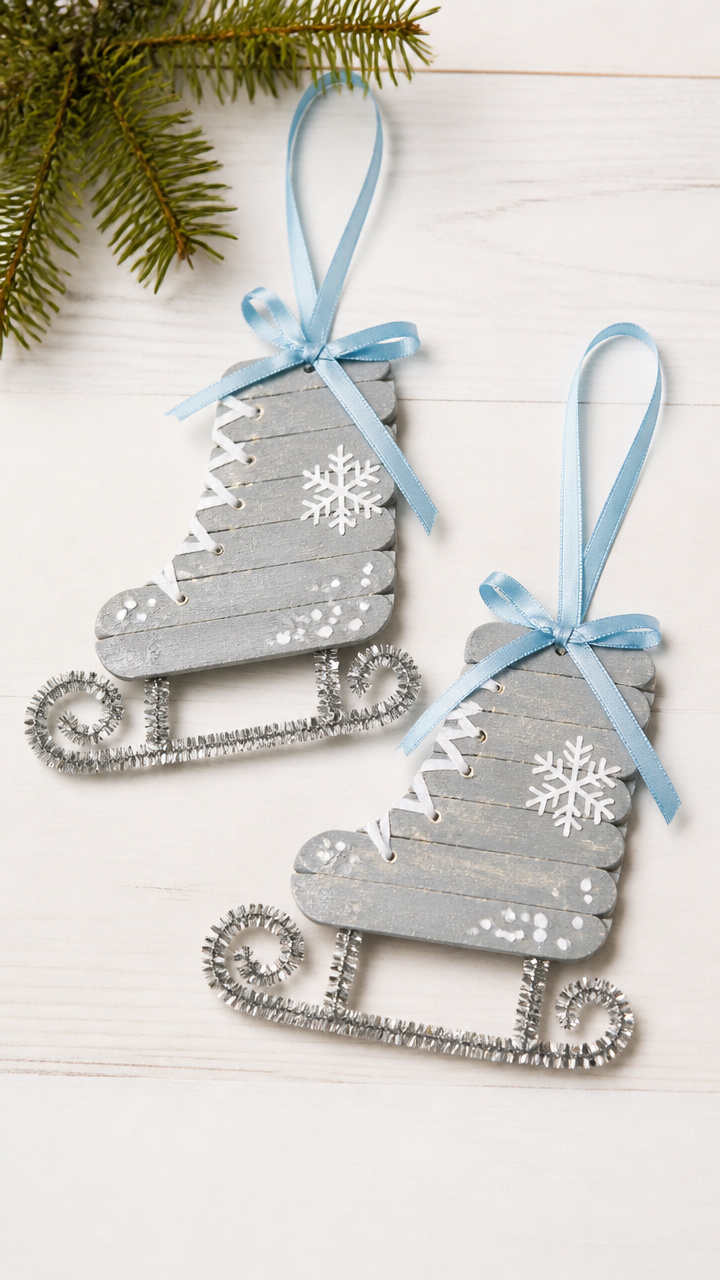
Wooden skates painted silver with curled wire blades catch the spirit of winter mornings. Hang them side by side for extra charm.
Materials Needed
- 20 flat popsicle sticks (4.5 inches)
- Aluminum spray paint
- White craft paint
- Thin silver chenille stems (10 pieces)
- Craft glue
- Ribbon (2mm blue, 10 inches)
- Small star stickers (gold, 10 pieces)
How to Make It
- Lay two popsicle sticks vertically and glue a third horizontally across the top to form a T shape for each skate.
- Let dry completely, then spray both sides with aluminum paint, waiting 30 minutes between coats, two coats total.
- Shape a chenille stem into a curve and glue it along the bottom edge to mimic a skate blade.
- Paint a swirl of white craft paint near the top to resemble lace and press a gold star sticker just below it.
- Tie blue ribbon through the top stick and knot for hanging.
![Popsicle Stick Cottage Model Kit – 350+ Pre-Cut Wooden Pieces – Rustic DIY House Craft for Kids and Adults – Complete Kit [Everything Included] by POPSI KITS](https://m.media-amazon.com/images/I/41ipWx9Y9CL._SL500_.jpg)

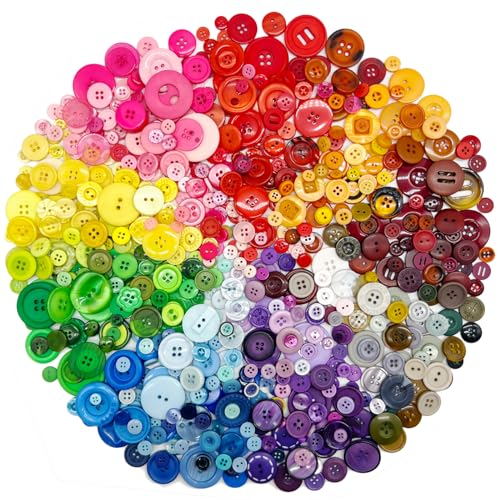
5. Button Mitten Pairs
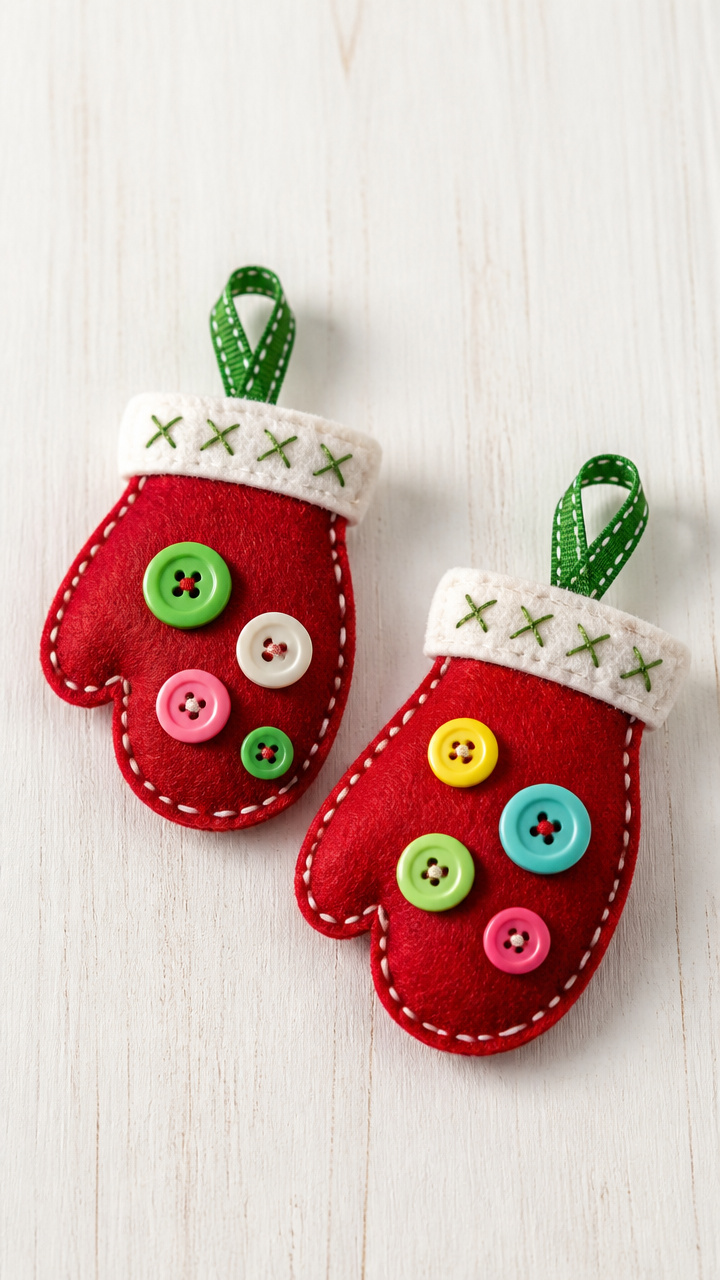
Colorful mittens made from felt hold mismatched buttons like cozy winter wear. Each pair tells its own story.
Materials Needed
- Red felt sheet (9×12 inches)
- Assorted buttons (20 pieces, various sizes and colors)
- Embroidery floss (white and green, 1 yard each)
- Needle
- Scissors
- Ribbon (3mm green, 9 inches per ornament)
- Fabric glue
How to Make It
- Cut two mitten shapes from red felt, each 3 inches tall, making ten pairs.
- Sew three buttons onto each mitten using white embroidery floss in a vertical line down the center.
- Stitch a green floss cuff along the top edge of each mitten with small running stitches.
- Glue each pair together around the edges, leaving the top open, and insert a ribbon loop before sealing.
- Let dry overnight before hanging.


6. Yarn Ball Orbs
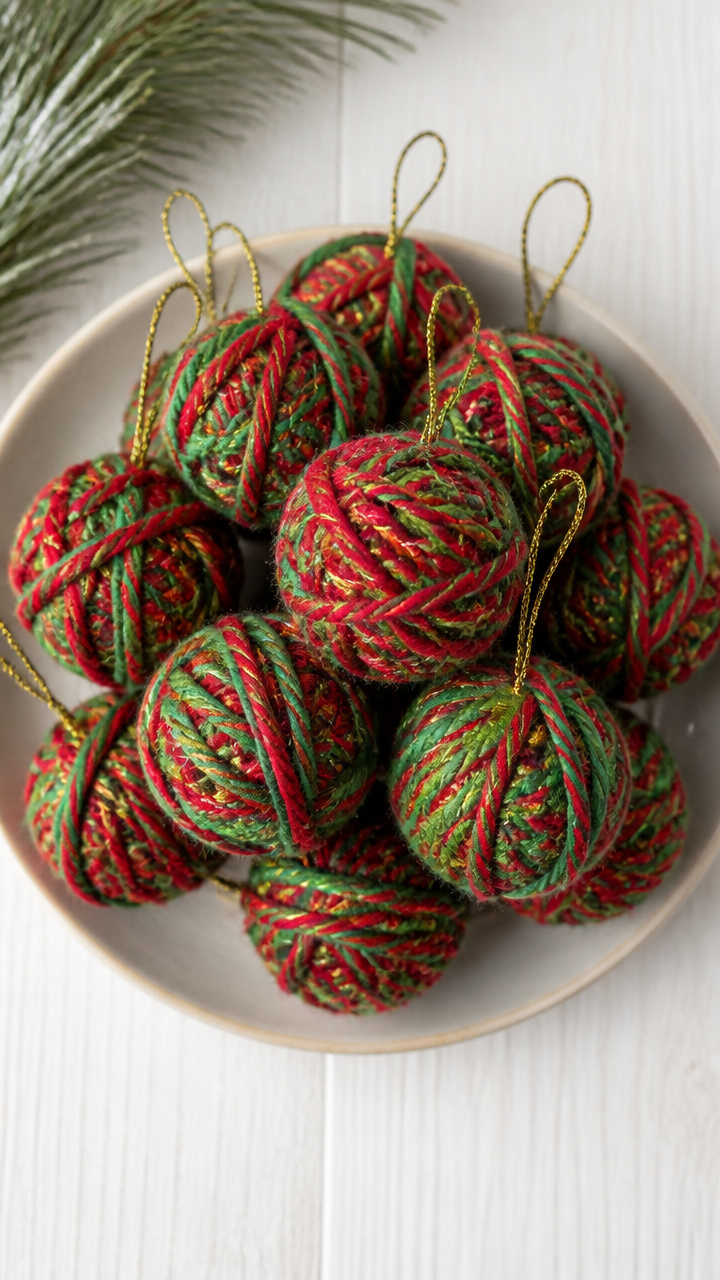
Dense balls of yarn dyed in festive colors become soft ornaments with metallic thread highlights. They feel satisfying to make.
Materials Needed
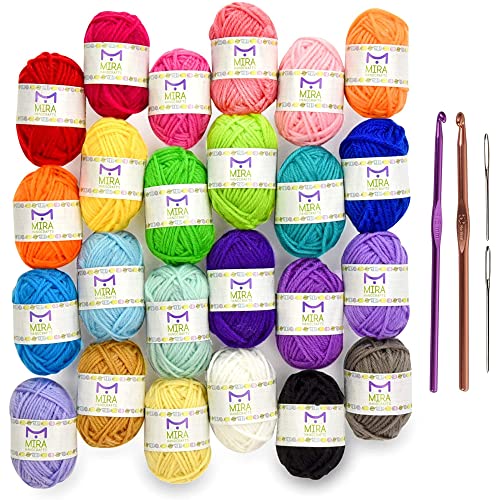
- White yarn (size 4, 100 yards)
- Plastic Easter eggs (small, 10 halves)
- Food coloring (red and green, 10 drops each)
- White vinegar (2 tablespoons)
- Water (2 cups)
- Gold metallic embroidery thread (10 yards)
- Ribbon (2mm gold, 8 inches)
How to Make It
- Fill a bowl with water, vinegar, and food coloring, submerge yarn and soak for 30 minutes, stirring twice.
- Remove yarn and let dry completely, then wind tightly around your fingers 50 times to form a bundle.
- Slide off fingers, tie tightly in the middle and at both ends with gold metallic thread.
- Place inside an Easter egg half and wrap more yarn around it until fully covered, gluing ends underneath.
- Tie gold ribbon to the top seam and hang.


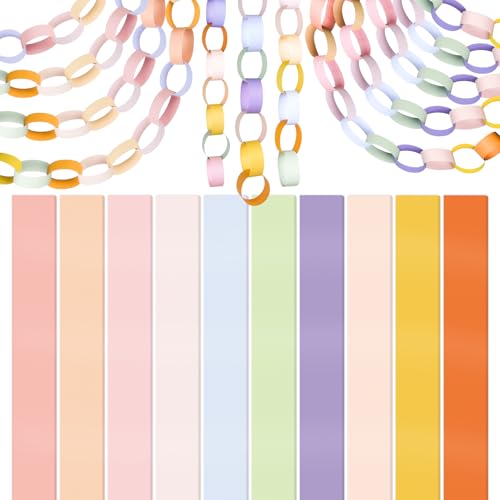
7. Mini Paper Chains
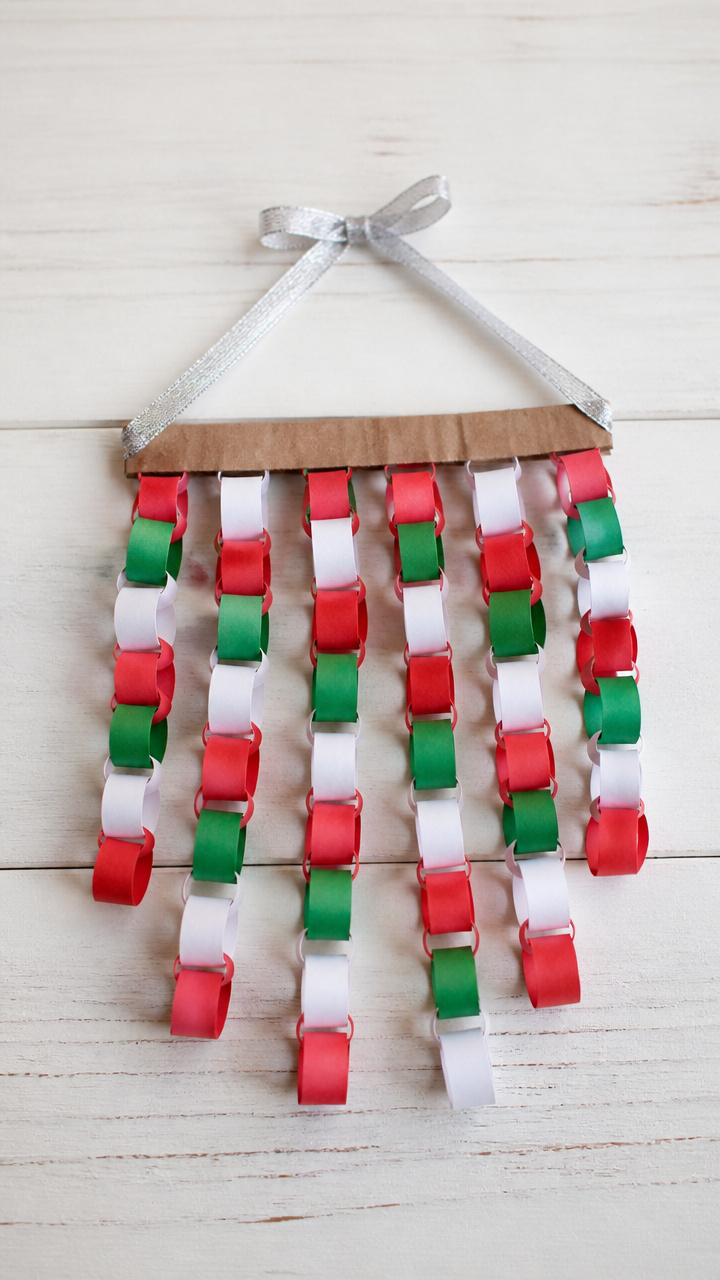
Tiny loops of colored paper dangle from a single hook like festive raindrops. They take minutes but last through December.
Materials Needed
- Colored construction paper (red, green, white, 8.5×11 inches, 1 sheet each)
- Scissors
- Glue stick
- Hole punch
- Ribbon (2mm silver, 6 inches per ornament)
- Cardboard strip (1 inch wide, 6 inches long)
How to Make It
- Cut each paper into 1 inch wide strips, 6 inches long, using the cardboard as a guide for consistent size.
- Form a loop with the first strip and glue the ends, then thread the next strip through before gluing closed.
- Repeat to make a chain of five links, alternating colors in a pattern of your choice.
- Punch a hole in the top loop and thread ribbon through, tying a knot.
- Flatten gently and hang so the chain drapes naturally.


8. Clothespin Penguin Families
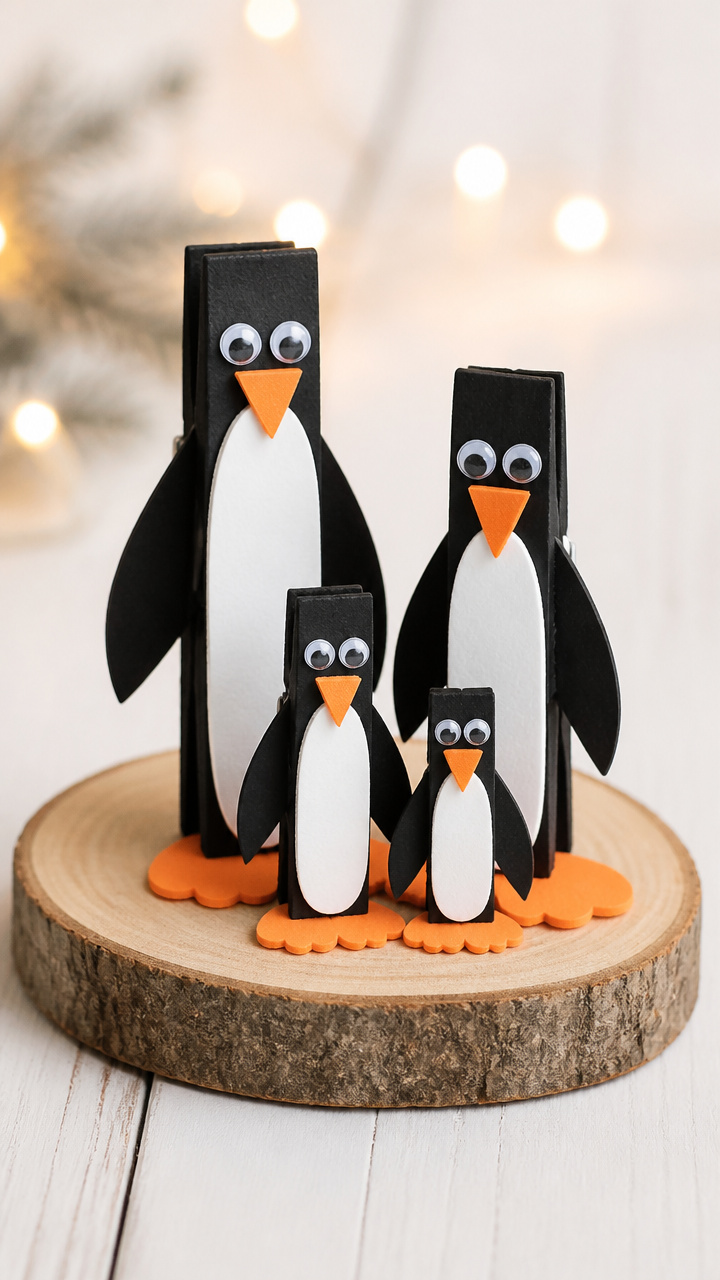
Chubby penguin bodies balance on clothespin bases with hand-cut paper wings. Their waddling stance brings instant smiles.
Materials Needed
- 10 wooden clothespins (natural)
- Black and white cardstock (8.5×11 inches, 1 sheet each)
- Orange craft foam (1 sheet)
- Googly eyes (10mm, 20 pieces)
- Craft glue
- Scissors
- Ribbon (3mm black, 10 inches)
How to Make It
- Cut oval bodies from black cardstock, 2 inches tall, and glue them over the rounded end of each clothespin.
- Cut smaller white ovals from cardstock and glue them centered on the front as bellies.
- Cut wing shapes from black cardstock and attach one to each side of the body with glue.
- Cut triangle beaks and feet from orange craft foam and glue them in place, adding googly eyes above the beak.
- Tie black ribbon around the neck area and knot for hanging.


9. Felt Stocking Silhouettes

Simple red stockings with white cuffs stand out against bare branches. Their clean lines make them timeless.
Materials Needed
- Red felt (9×12 inch sheet)
- White felt (9×12 inch sheet)
- Scissors
- Fabric glue
- Ribbon (2mm white, 8 inches per ornament)
- Pencil
How to Make It
- Draw a stocking shape 4 inches tall on paper, cut it out, and use it as a template on red felt to trace 10 times.
- Cut out each red stocking and a smaller white cuff shape to glue across the top third of each.
- Press firmly and let dry for 1 hour to set the glue bond.
- Cut a small slit at the top curve of each stocking and thread ribbon through for hanging.
- Tie a secure knot at the back to complete.


10. Pinecone Santas
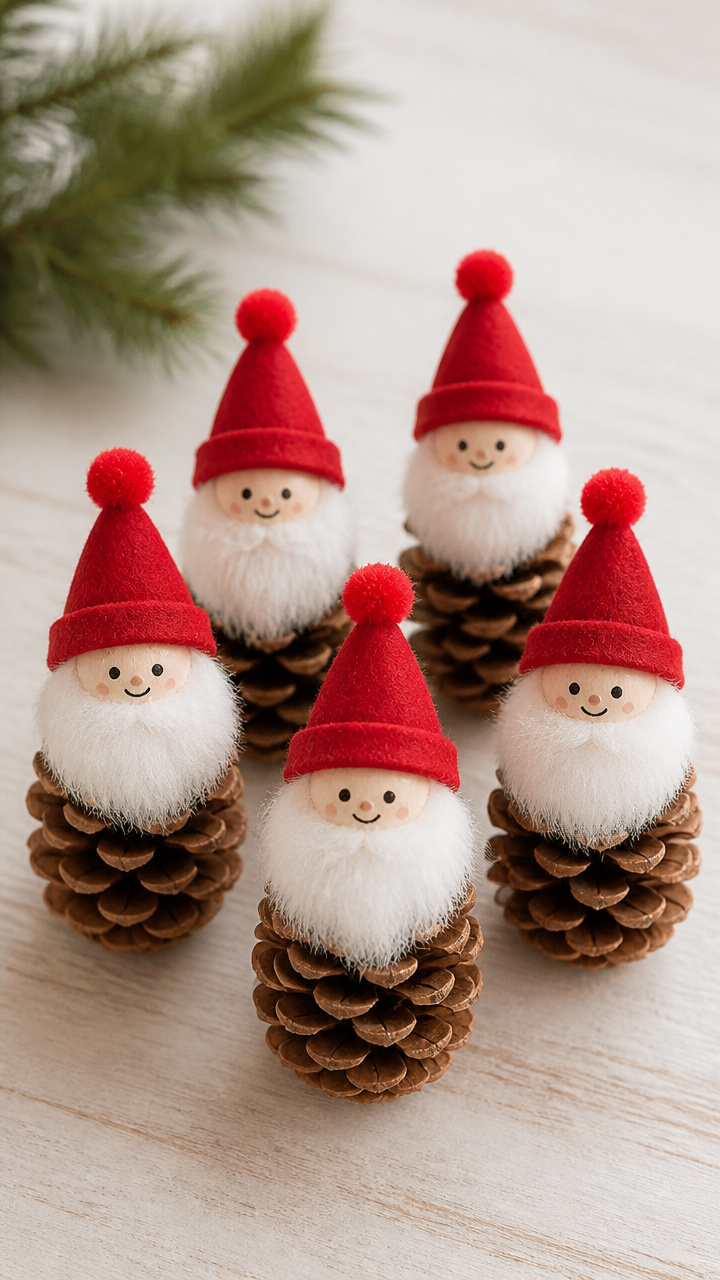
Brown cones grow fluffy white beards and painted faces to become jolly Santa figures. They nestle right into tree limbs.
Materials Needed
- 10 medium pinecones
- White craft fur (1/4 yard)
- Red felt (9×12 inch sheet)
- Black marker (permanent fine tip)
- Craft glue
- Small red pom-poms (10mm, 10 pieces)
- Ribbon (3mm red, 9 inches)
How to Make It
- Cut circles from red felt, 1.5 inches wide, and glue them to the top of each pinecone to form Santa hats.
- Glue a small red pom-pom to the front tip of each hat.
- Cut beard shapes from white craft fur, about 2 inches long, and glue them under the pinecone base.
- Draw two eyes and a smile on the upper section of the pinecone with the black marker.
- Tie ribbon around the middle of the cone and knot for hanging.


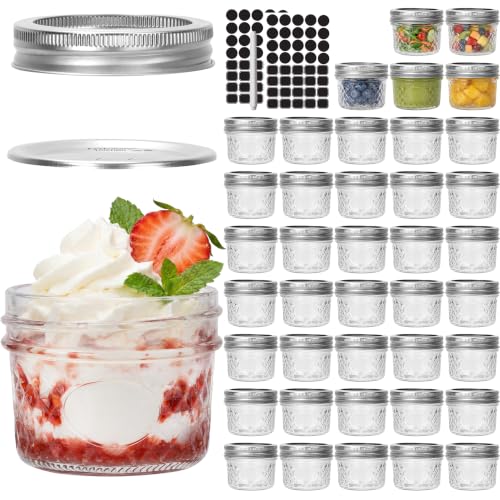
11. Glitter Mason Jar Lids
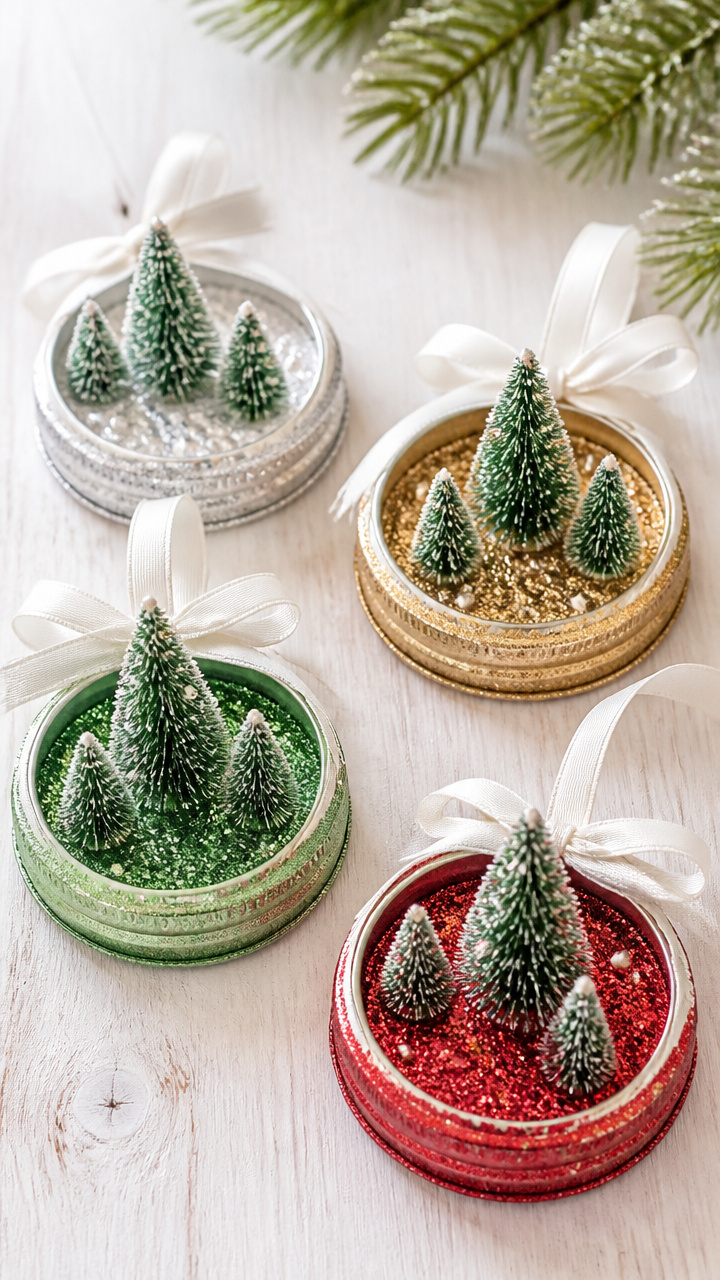
Metal lids sparkle with layered glitter and hold tiny fake trees inside their rim. They catch light like snowfall.
Materials Needed
- 10 mason jar lids (2.5 inch diameter)
- Clear glue
- Fine glitter (gold, silver, red, green – 1 tablespoon each)
- Mini artificial trees (10 pieces, 1.5 inches tall)
- Hot glue gun
- Ribbon (3mm white, 8 inches)
How to Make It
- Spread a thin layer of clear glue on the inner ridge of each lid and sprinkle one color of glitter evenly over it.
- Shake off excess and let dry for 1 hour, repeating for full coverage if needed.
- Glue a mini tree upright in the center of each lid, holding for 20 seconds.
- Tie ribbon through opposite edges of the lid band and twist to close.
- Knot the ribbon ends together for a hanger.


12. Popsicle Stick Candy Canes

Striped red and white sticks bent into curls become cheerful candy cane ornaments. The paint stays crisp with tape guides.
Materials Needed
- 10 popsicle sticks
- Red acrylic paint
- White acrylic paint
- Painter’s tape (1/4 inch wide)
- Scissors
- Hot glue gun
- Ribbon (2mm red, 7 inches)
How to Make It
- Cut painter’s tape into 1 inch strips and apply diagonally across each stick, leaving zigzag gaps exposed.
- Paint the exposed areas red, wait 20 minutes, then peel tape carefully to reveal white stripes.
- Soak sticks in warm water for 5 minutes to soften, then bend gently into a candy cane curve.
- Let dry overnight on a towel to set the shape.
- Glue ribbon to the back near the top and hang.



13. Button Snowmen
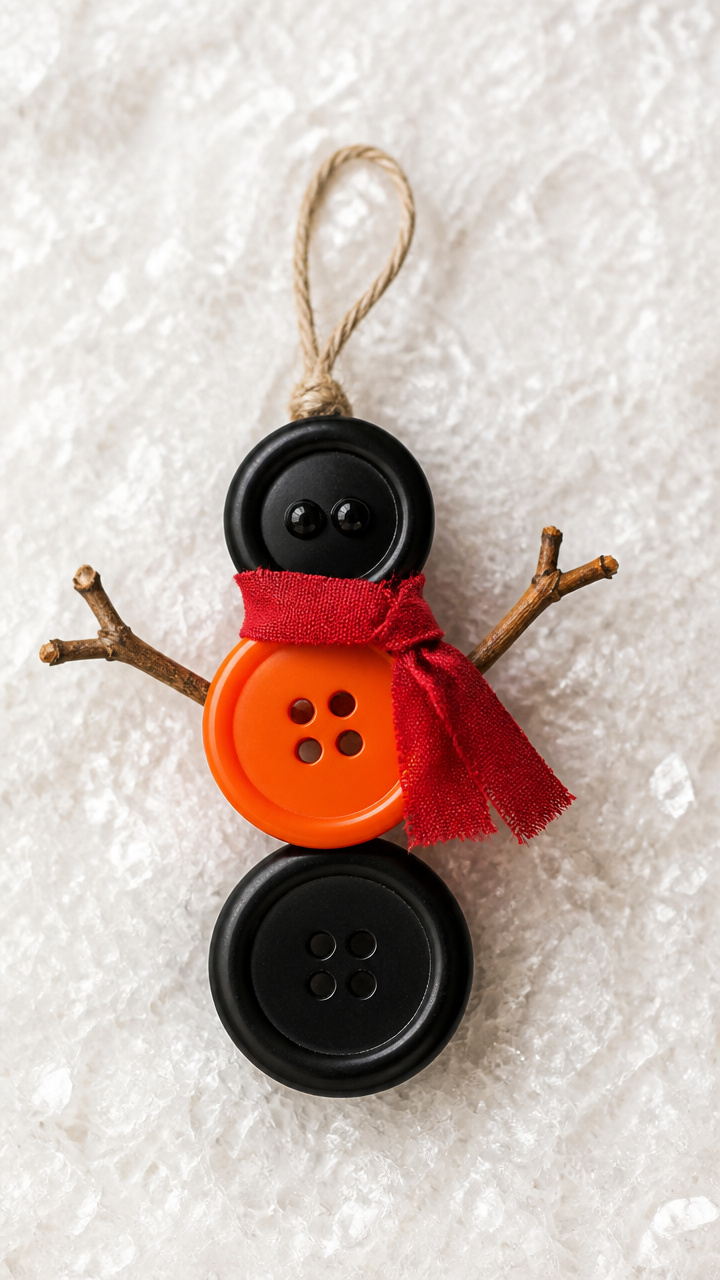
Stacked buttons with twig arms and fabric scarves become frosty snowmen. Each one has its own button face.
Materials Needed
- Large black buttons (30mm, 10 pieces)
- Medium orange buttons (20mm, 10 pieces)
- Small black buttons (10mm, 10 pieces)
- Twigs (2 inches long, 20 pieces)
- Red fabric scraps (1 inch x 4 inches, 10 pieces)
- Craft glue
- Ribbon (2mm black, 8 inches)
How to Make It
- Glue three buttons vertically on a flat surface: large on bottom, medium in center, small on top.
- Break twigs to 1 inch lengths and glue one on each side of the middle button for arms.
- Wrap a red fabric scrap around the neck area and glue in place to form a scarf.
- Use a toothpick to dot on a mouth and eyes if desired with black paint.
- Glue ribbon to the back of the top button and let dry before hanging.

14. Felt Apple Ornaments
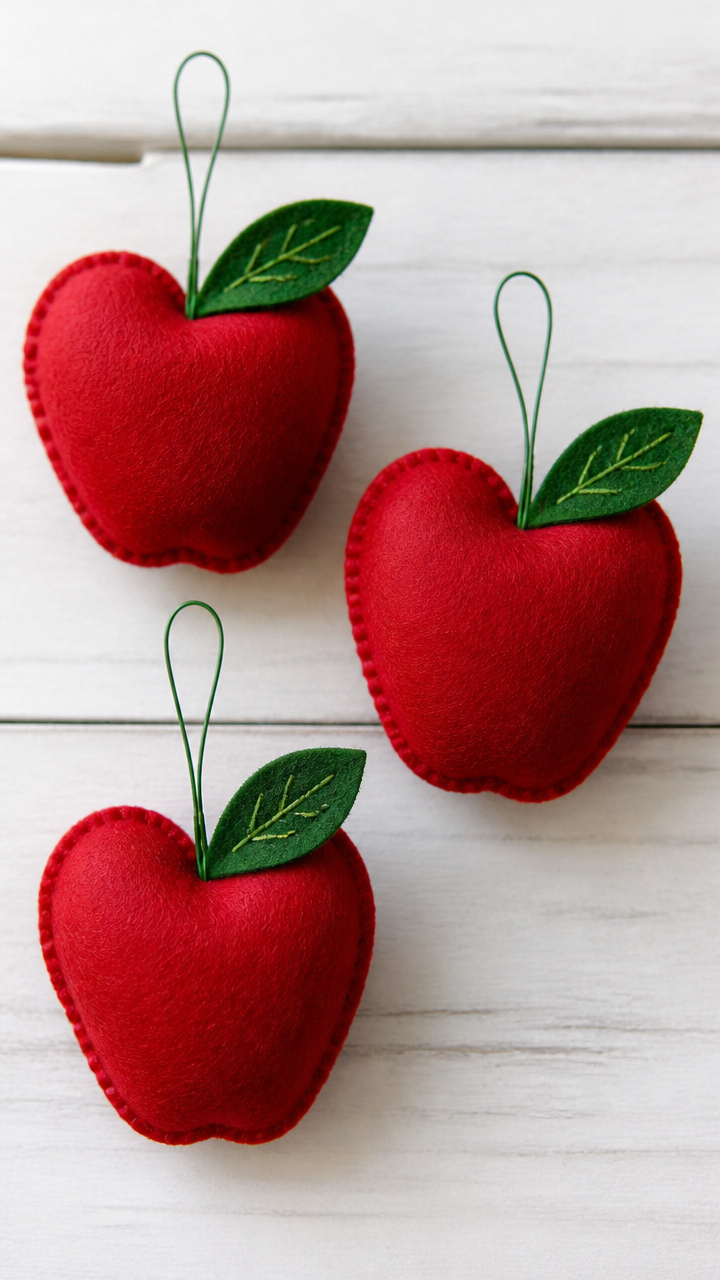
Bright red apples with green felt leaves and wire stems hang like harvest gifts. They add a crisp pop of color.
Materials Needed
- Red felt (9×12 inch sheet)
- Green felt (9×12 inch sheet)
- Thin green chenille stem (10 pieces)
- Stuffing (polyfill, 1/4 cup)
- Fabric glue
- Scissors
- Ribbon (2mm green, 8 inches)
How to Make It
- Cut two apple shapes from red felt, 3 inches tall, and sew around the edge with a whip stitch, leaving a gap.
- Turn right side out and stuff lightly with polyfill before closing the opening with hidden stitches.
- Cut a small leaf from green felt and glue it to the top edge of the apple.
- Bend a chenille stem into a short hook and glue it beside the leaf as a stem.
- Tie ribbon around the stem and knot for hanging.


15. Salt Dough Beads
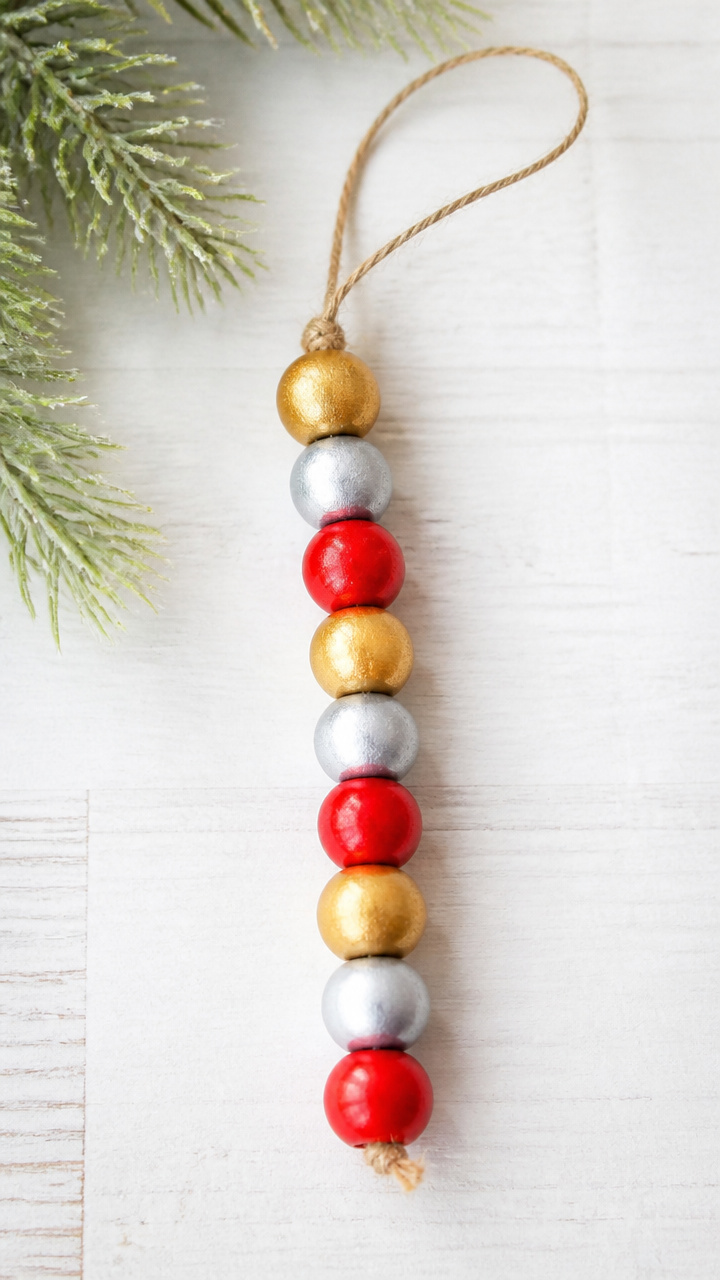
Round beads baked from dough hold shiny paint and dangle on a single strand. They clink softly in a breeze.
Materials Needed
- 1 cup all-purpose flour
- 1/2 cup salt
- 1/2 cup warm water
- Straw (regular diameter)
- Acrylic paint (gold, silver, red)
- Clear sealant spray
- Narrow ribbon (1mm, 12 inches)
- Parchment paper
How to Make It
- Mix flour, salt, and water into a firm dough and roll into 10 pea-sized balls.
- Push a straw through the center of each ball to create a hole, then lay on parchment paper to dry for 48 hours.
- Paint each bead with one color of acrylic paint and let dry 2 hours.
- Spray with sealant on all sides and wait 1 hour to dry.
- String beads onto ribbon and tie ends together to form a loop.
16. Mini Sweater Ornaments
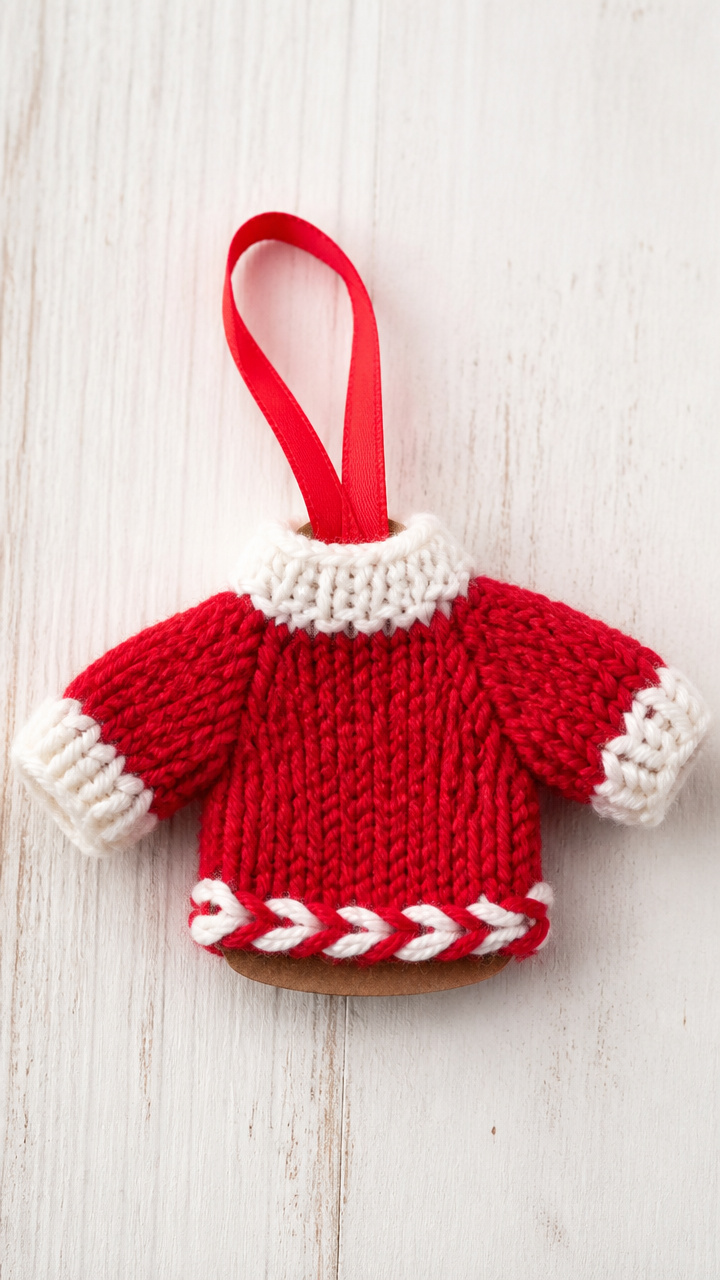
Tiny sweaters knitted from yarn wrap around a core and show off braided trim. They look like they came from a dollhouse.
Materials Needed
- Brown craft foam (9×12 inch sheet)
- Red yarn (size 3, 50 yards)
- White yarn (size 3, 25 yards)
- Scissors
- Hot glue gun
- Ribbon (2mm red, 9 inches)
- Cardboard tube (1 inch diameter, 2 inches long)
How to Make It
- Wrap red yarn tightly around the cardboard tube 30 times, slide off, and tie a white yarn bundle around the center.
- Cut the loops on both ends to create fringe and shape into a sweater body.
- Glue a small oval of brown craft foam to the front as a pocket.
- Braid three strands of white yarn and glue across the front as trim.
- Tuck ribbon between the layers at the top and glue in place for hanging.


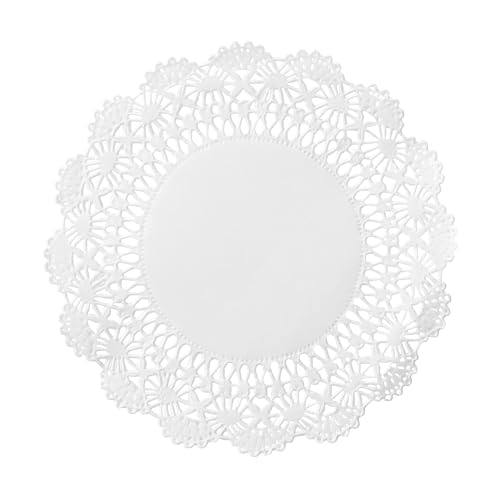
17. Paper Doily Angels
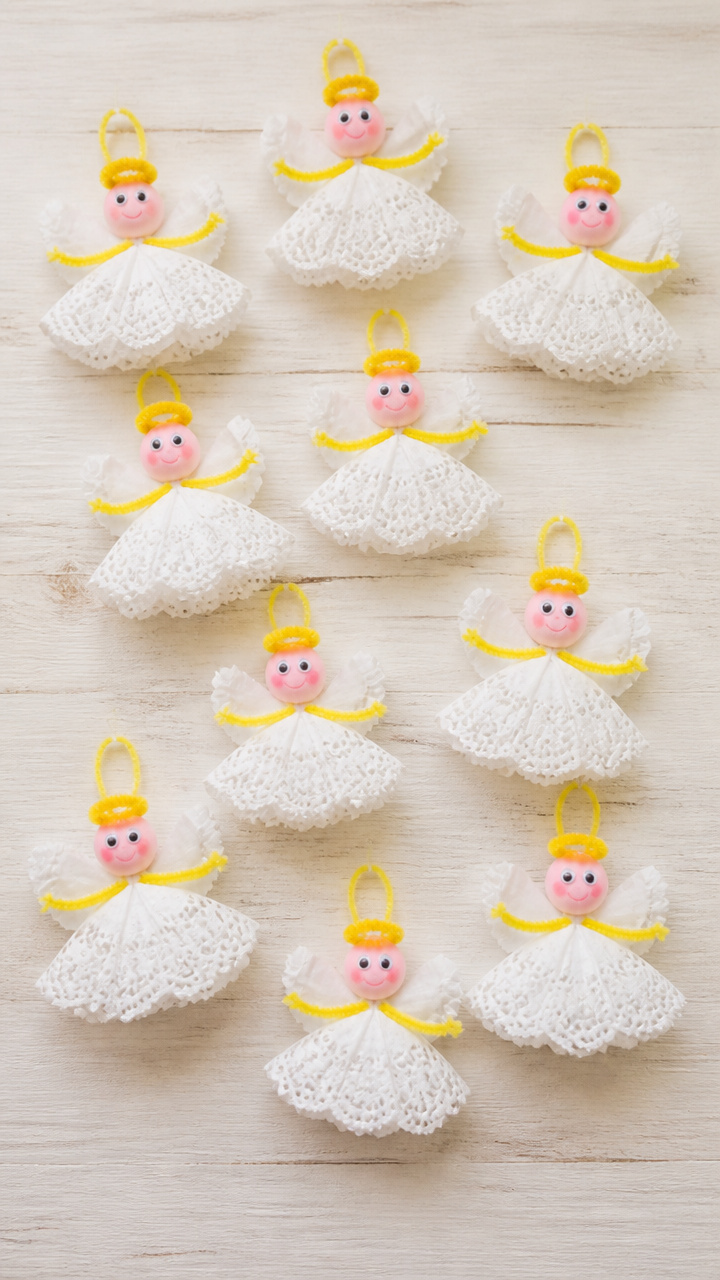
Delicate doilies become angel skirts with added halos and faces. They float like whispers among the branches.
Materials Needed
- 10 round paper doilies (5 inch diameter)
- Yellow chenille stems (10 pieces)
- Googly eyes (8mm, 10 pairs)
- Pink craft paint
- Small paintbrush
- Craft glue
- Ribbon (2mm white, 10 inches)
How to Make It
- Fold each doily in half and glue the edges together to form a cone-shaped skirt.
- Bend a chenille stem into a halo and glue it above the pointed top.
- Glue on googly eyes near the top front and add rosy cheeks with a dab of pink paint.
- Let paint dry for 30 minutes before handling.
- Tie ribbon around the base of the halo and knot for hanging.


You now have seventeen unique ways to fill your tree with handmade warmth and personality. Grab your bag and head to the store, because your ornaments are waiting to be made.