21 Easy DIY Christmas Ornaments to Make This December
The scent of pine, soft light from the tree, and the quiet joy of handmade touches—these are the moments that make the season feel like home. Filling your branches with ornaments you made yourself adds warmth no store-bought decoration can match.
Each of these projects uses simple materials and clear steps so you can create something beautiful without stress. Whether you're crafting alone or with loved ones, these ornaments bring cheer long after they're hung.
1. Salt Dough Handprint Reindeer
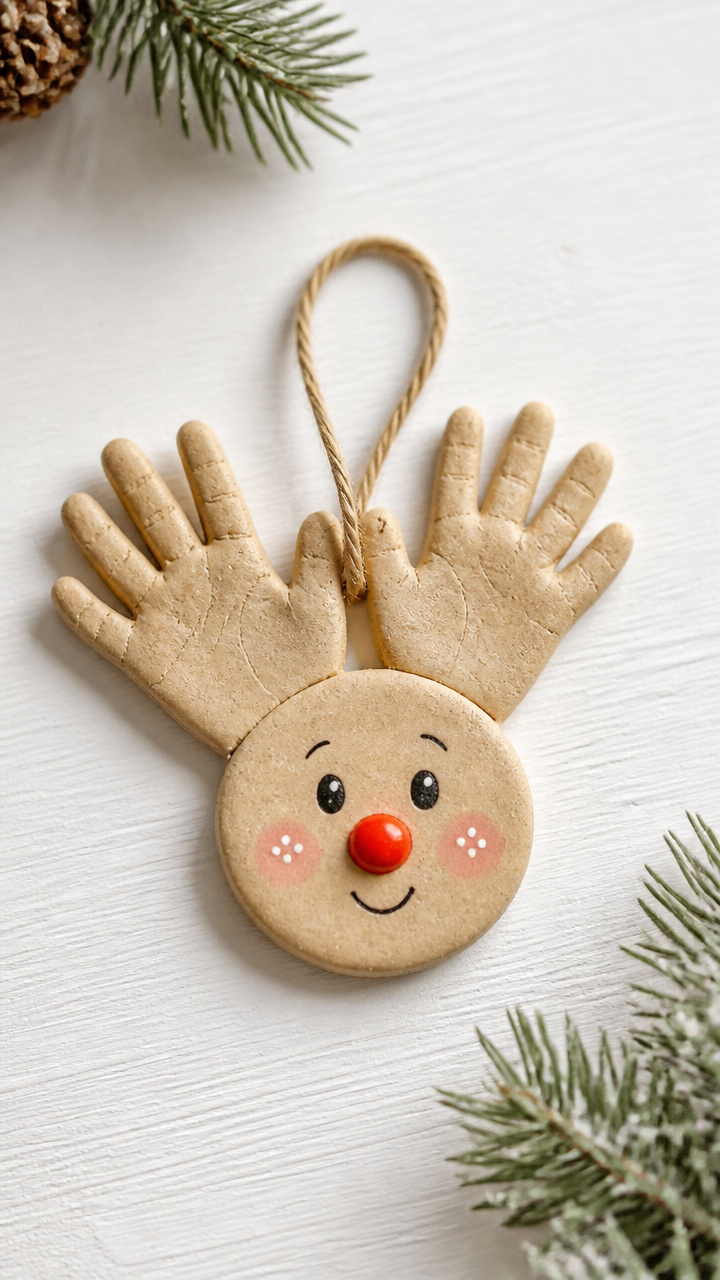
Soft beige reindeer faces with tiny handprint antlers become instant family heirlooms when sealed and painted with care.
Materials Needed
- 2 cups all-purpose flour
- 1 cup table salt
- 3/4 cup warm water
- Pencil
- Round cookie cutter, 3-inch diameter
- Straw
- Acrylic paint: brown, red, black
- Small paintbrush
- Clear acrylic sealer spray
- Red ribbon, 12 inches
How to Make It
- Mix flour, salt, and warm water in a bowl until a smooth dough forms, kneading for 3 minutes until pliable.
- Roll the dough to 1/4-inch thickness on a floured surface, then cut out circles using the cookie cutter.
- Press two small finger indents near the top of each circle for antler bases, then press a flat handprint above each set to form antlers.
- Use the straw to poke a hole at the top edge for hanging, then bake on a parchment-lined tray at 200°F for 3 hours until hard.
- Let cool completely, then paint each ornament with brown fur, black eyes, and a red nose, letting each layer dry 20 minutes.
- Spray both sides with acrylic sealer and let dry 1 hour, then thread ribbon through the hole and knot.


2. Mini Clothespin Snowmen
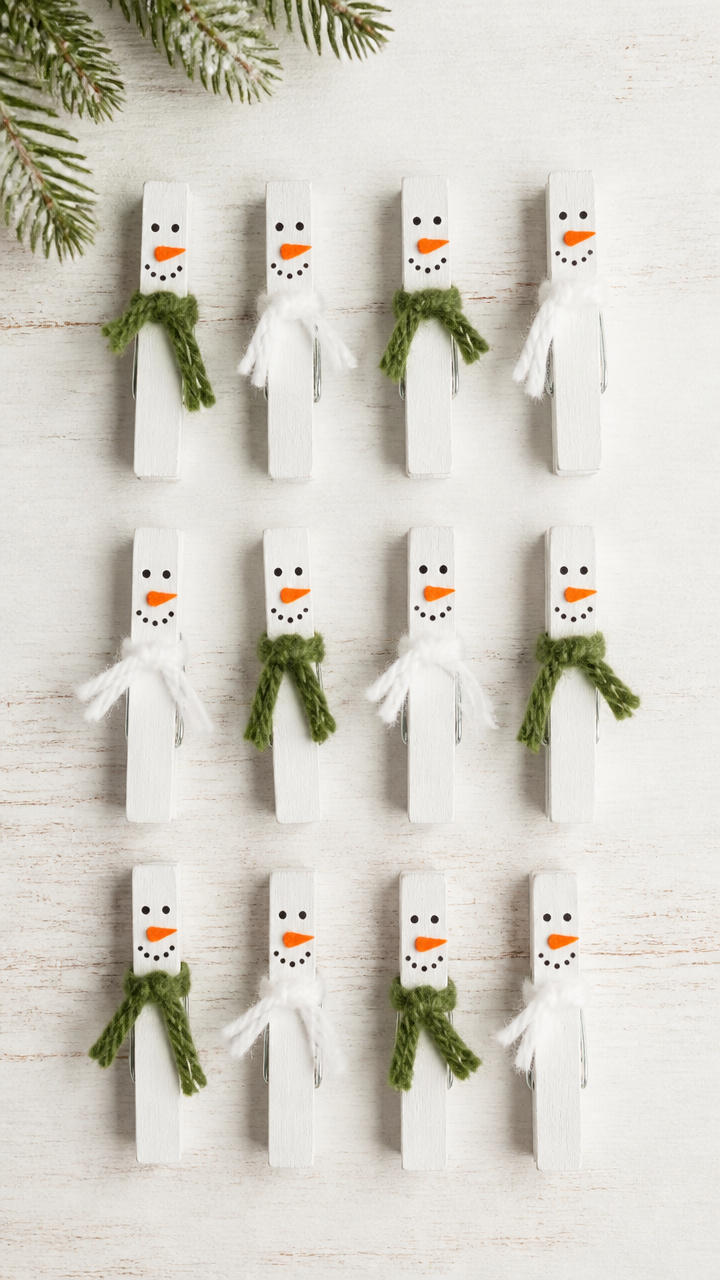
Wooden clothespins turn into cheerful snowmen with yarn scarves and marker-drawn smiles that peek out from tiny hats.
Materials Needed
- 12 wooden clothespins
- White acrylic paint
- Small paintbrush
- Black fine-tip permanent marker
- Orange craft foam sheet
- Green craft foam sheet
- Scissors
- Hot glue gun with glue sticks
- Yellow embroidery floss, 6 inches per ornament
- 12 white pom-poms, 1/2 inch diameter
How to Make It
- Paint each clothespin white and let dry on a paper plate for 30 minutes.
- Cut 12 tiny carrot-shaped noses from orange foam and 12 triangular hats from green foam, each about 1 inch tall.
- Glue a pom-pom to the top of each clothespin for the head, then draw two eyes and a smile with the marker.
- Glue the orange nose just below the eyes, then wrap yellow floss around the neck once and tie it in a knot.
- Glue the green hat over the pom-pom, slightly tilted, and let all glue dry for 20 minutes before hanging.


3. Cinnamon Stick Wreaths
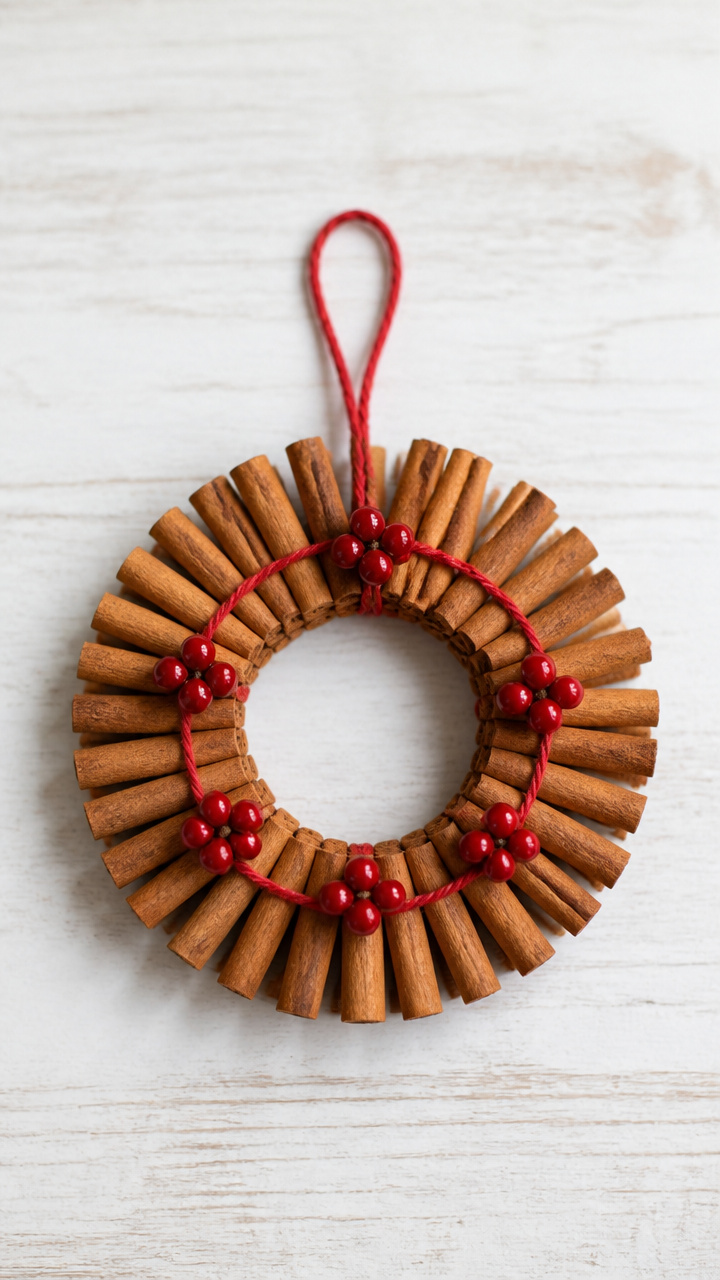
Tight bundles of cinnamon sticks tied with twine smell like spice cookies and look elegant with a single red berry accent.
Materials Needed
- 24 cinnamon sticks, 3 inches long
- Red twine, 24 inches per ornament
- Hot glue gun with glue sticks
- 6 fake holly berries on stems
- Wire cutter
How to Make It
- Lay four cinnamon sticks parallel and close together, then lay another four across them at a right angle to form a square frame.
- Wrap twine tightly around each corner where sticks cross, tying a secure double knot and trimming ends.
- Continue adding sticks around the perimeter, gluing each end with hot glue as you go, until the wreath shape is full and round.
- Cut one holly berry stem to 1 inch using wire cutter, then glue it to the bottom of the wreath with hot glue.
- Tie a loop of twine to the top for hanging and let glue cure 15 minutes.


4. Felt Tree Silhouettes
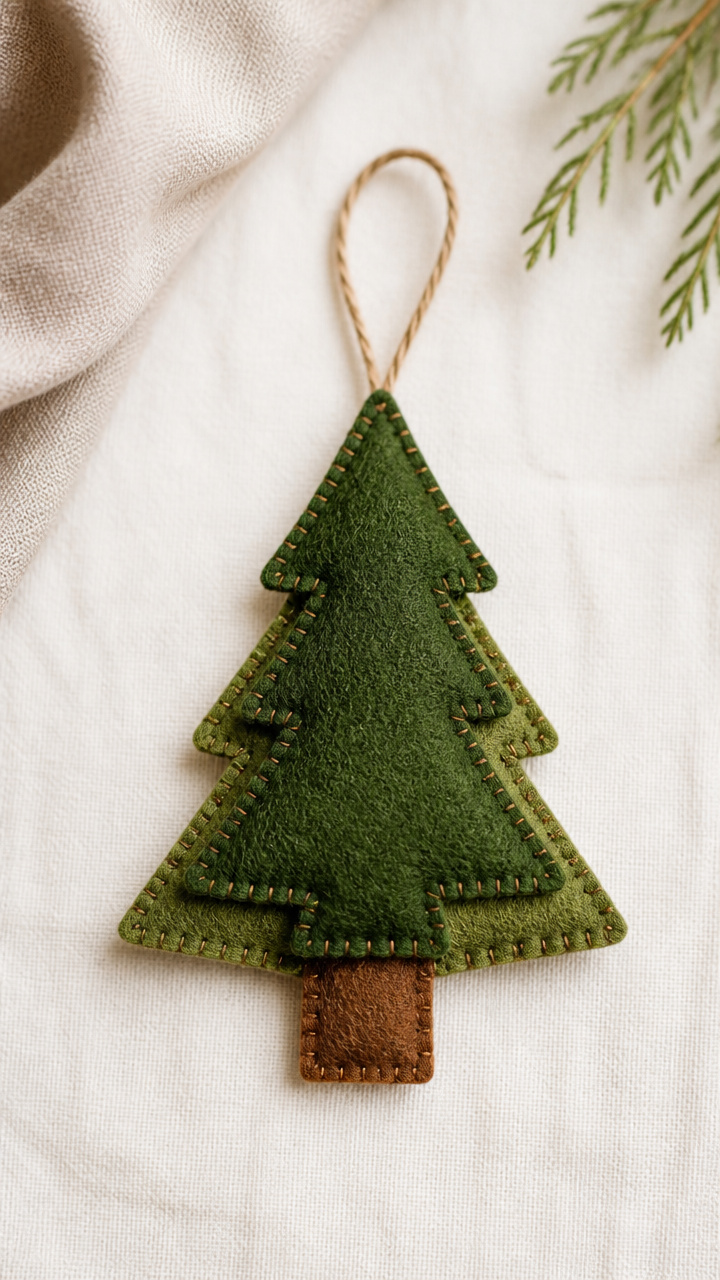
Layered green felt triangles with a stitched trunk create soft, shadow-like trees that catch the light gently.
Materials Needed
- Olive green felt sheet
- Forest green felt sheet
- Brown felt scrap
- Scissors
- Cardboard template: triangle 3 inches wide at base, 4 inches tall
- Embroidery needle
- White embroidery floss
- Pencil
- Ruler
- Red ribbon, 8 inches
How to Make It
- Trace the cardboard triangle onto olive green felt and cut out two identical pieces, then repeat with forest green felt.
- Stack one olive and one forest green triangle so the darker side faces forward, offset by 1/4 inch at the base.
- Cut a 1/2-inch by 1-inch rectangle from brown felt for the trunk and center it at the base of the stack.
- Thread the needle with 18 inches of floss, knot the end, and running-stitch around the trunk and through all layers.
- Tie off the thread on the back and trim, then glue red ribbon loop to the top edge with fabric glue.


5. Pinecone Owls
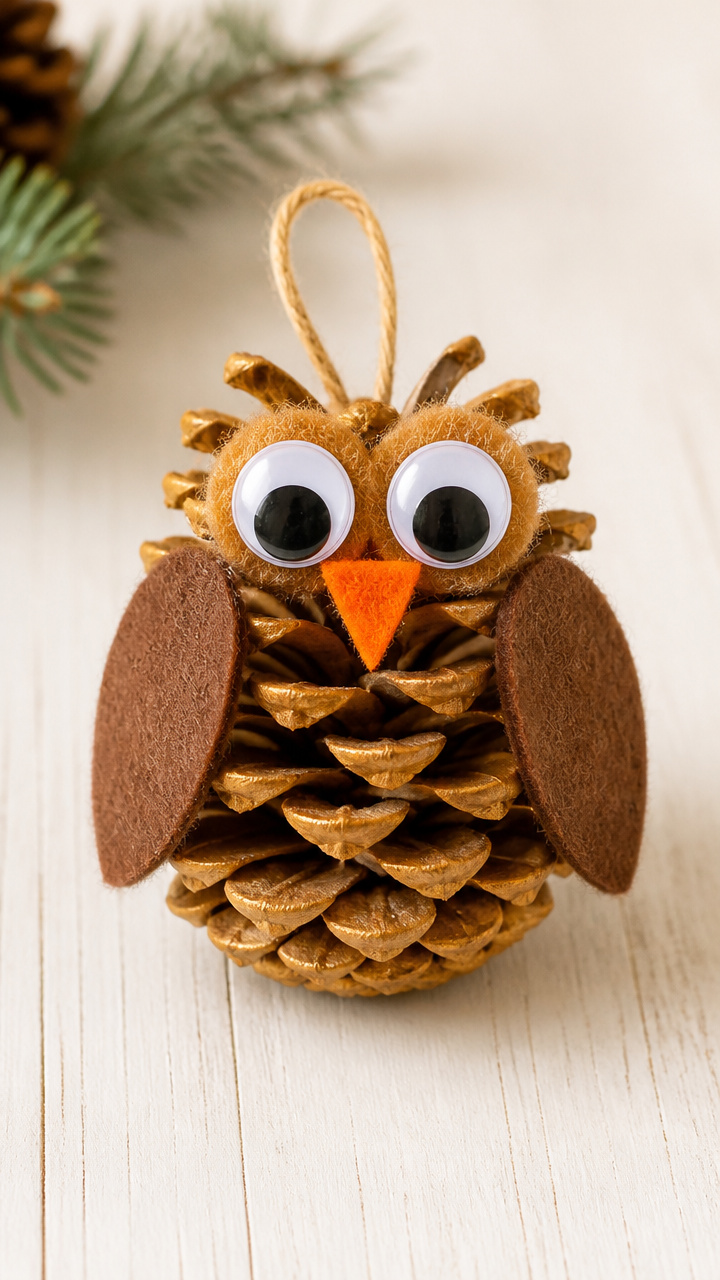
Fluffy golden pinecones become wise little owls with felt wings and googly eyes that tilt playfully on their perches.
Materials Needed
- 12 medium pinecones
- Two 1/2-inch googly eyes per owl
- Orange craft foam
- Brown felt sheet
- Scissors
- Hot glue gun with glue sticks
- Black marker
- Gold embroidery floss, 10 inches
- Craft twig, 3 inches long
How to Make It
- Cut wing shapes from brown felt, each 1 1/2 inches long, and beaks from orange foam, each a small triangle.
- Glue two googly eyes near the top of each pinecone, then add the beak just below with hot glue.
- Draw feather lines on the eyes with black marker to give them expression.
- Glue wings to each side of the pinecone at a slight angle so they stick out like open wings.
- Glue a twig horizontally across the back near the base for a perch and attach floss loop to the top for hanging.


6. Beaded Candy Canes
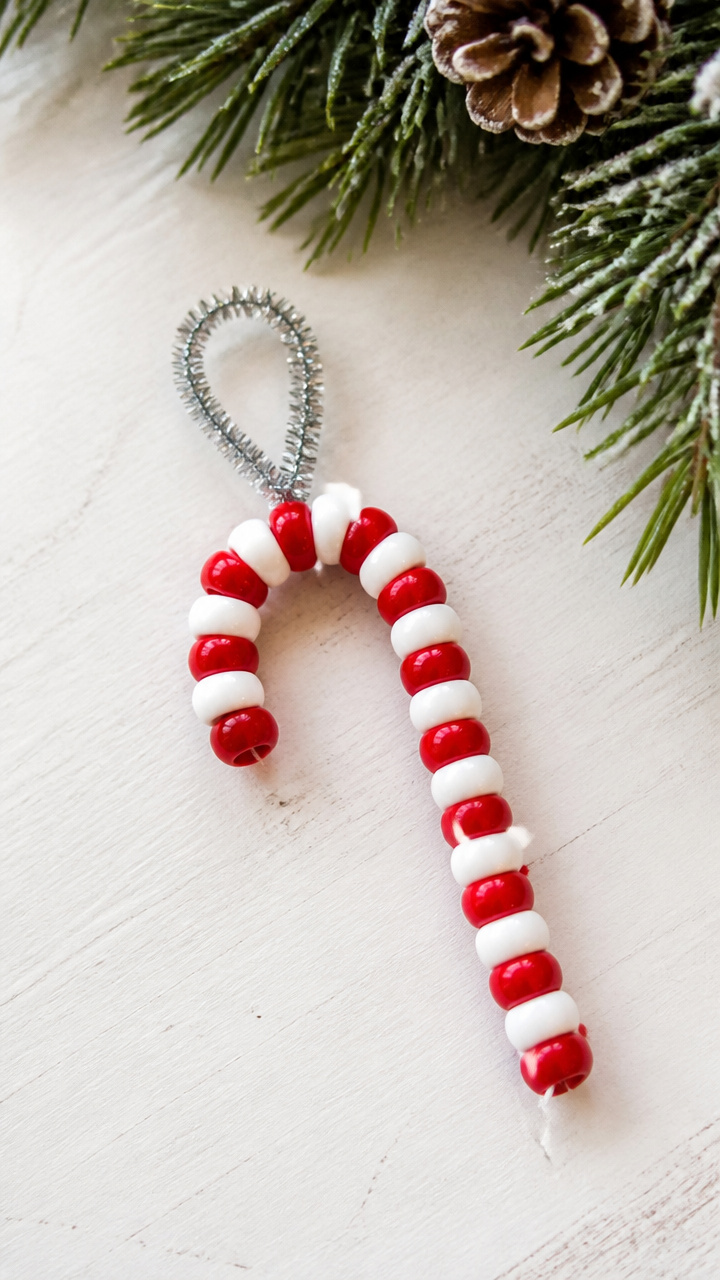
Red and white pony beads strung in swirls mimic candy cane stripes and dangle brightly from glittery hooks.
Materials Needed
- Red pony beads, size 6mm, 15 per ornament
- White pony beads, size 6mm, 15 per ornament
- Silver metallic pipe cleaners, 12 inches long, 12 pieces
- Round-nose pliers
- Scissors
How to Make It
- Bend one end of a pipe cleaner into a small loop using pliers to form the candy cane hook.
- String beads in alternating red and white pairs, twisting the pipe cleaner slightly after each bead to hold shape.
- After 15 beads, bend the remaining wire at a 90-degree angle 1 inch down to form the cane's curve.
- Twist the straight end around the thicker part of the hook twice to secure, then trim excess with scissors.


7. Cork Santas
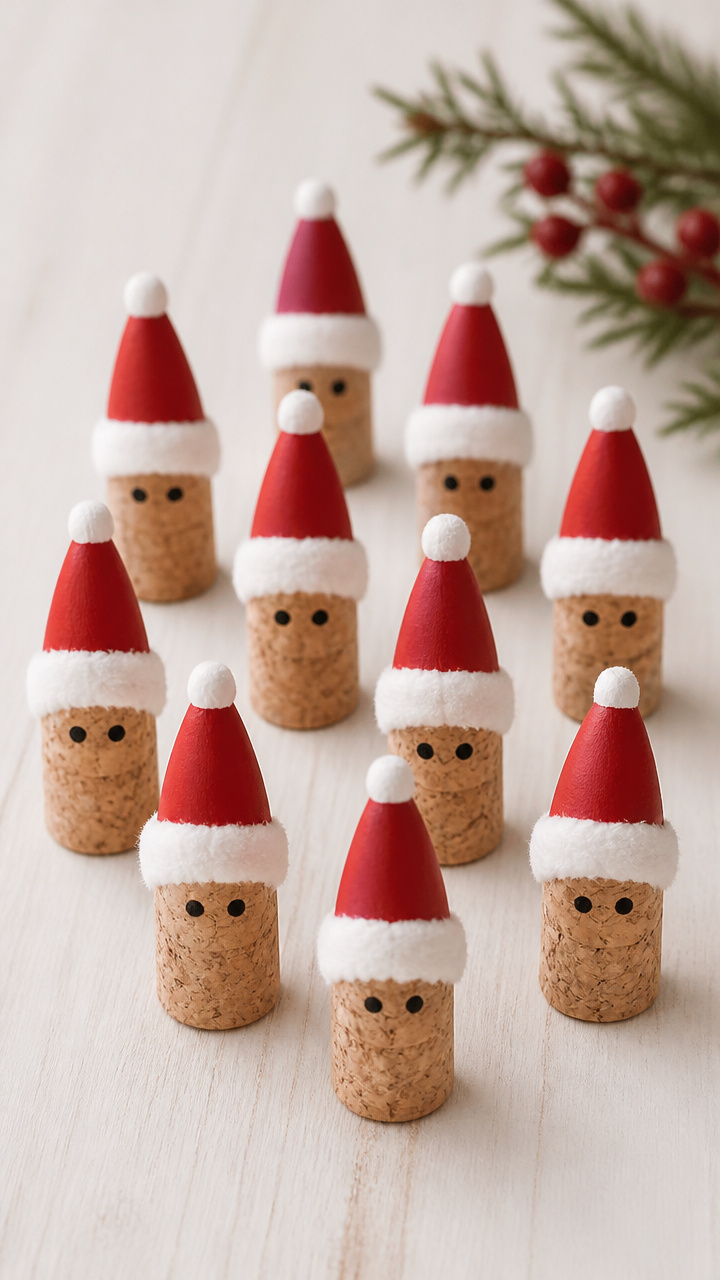
Wine corks wear fluffy hats and painted faces to become jolly mini Santas that stand proudly on any branch.
Materials Needed
- 12 natural wine corks
- White acrylic paint
- Small paintbrush
- Red craft paint
- Black fine-tip marker
- White craft glue
- Red felt sheet
- Scissors
- White pom-pom, 1/4 inch diameter
- Toothpick
How to Make It
- Paint the top third of each cork white and let dry 20 minutes on its side.
- Paint a red hat shape starting at the top edge and curving down one side, leaving a white puff at the tip, and let dry 30 minutes.
- Use the marker to draw two eyes and a smiling mouth just below the white beard area.
- Cut a small triangular hat brim from red felt and glue it around the base of the hat.
- Dot glue on the tip of the hat and press on a white pom-pom, holding 10 seconds, then let dry fully before display.


8. Yarn-Wrapped Orbs
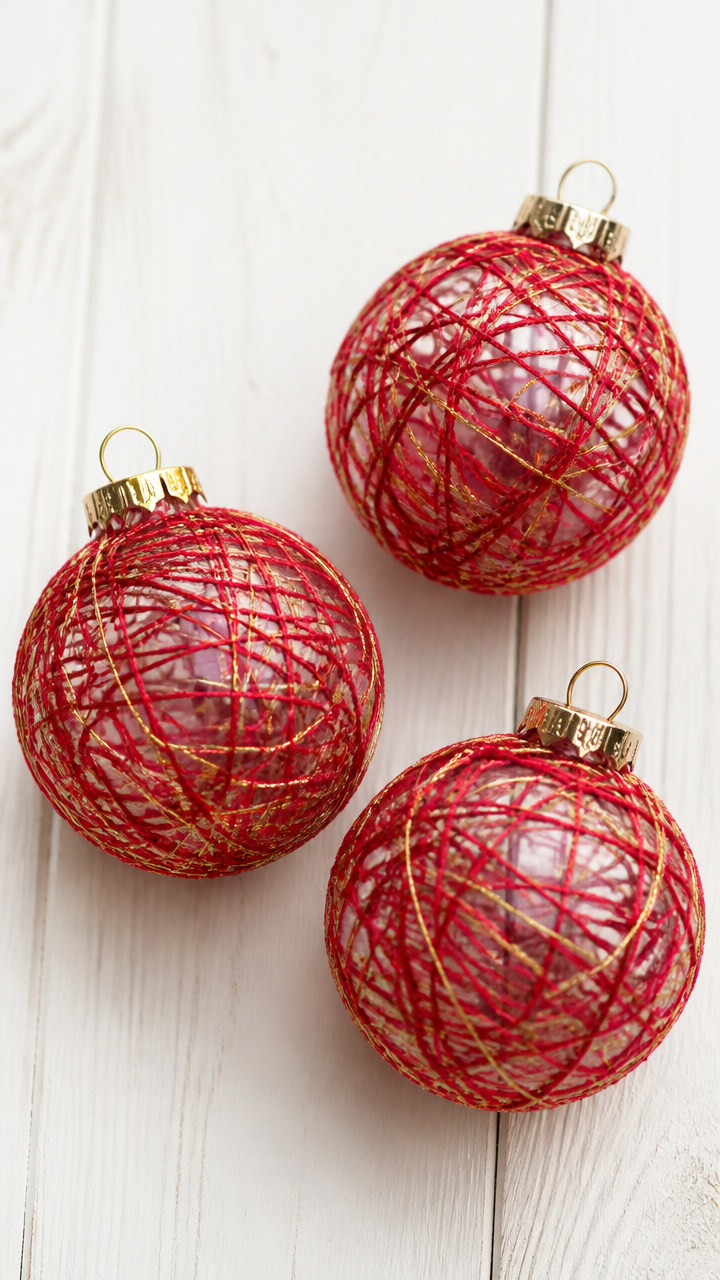
Clear plastic ornament shells fill with crisscrossed yarn to create glowing, textured spheres in festive colors.
Materials Needed
- 12 clear plastic ornament halves, 3 inches diameter
- Red yarn
- Gold yarn
- School glue
- Small brush
- Chopstick
- Scissors
How to Make It
- Separate one ornament half and brush a thin layer of glue along the outer rim and up the sides 1 inch.
- Press the end of red yarn into the glue and begin wrapping tightly around the sphere in random directions.
- After 10 wraps, switch to gold yarn, overlapping slightly and continuing the crisscross pattern until the surface is 80% covered.
- Glue the end down and let dry 2 hours, then reassemble the two halves and insert the metal hanger.


9. Button Snowflakes
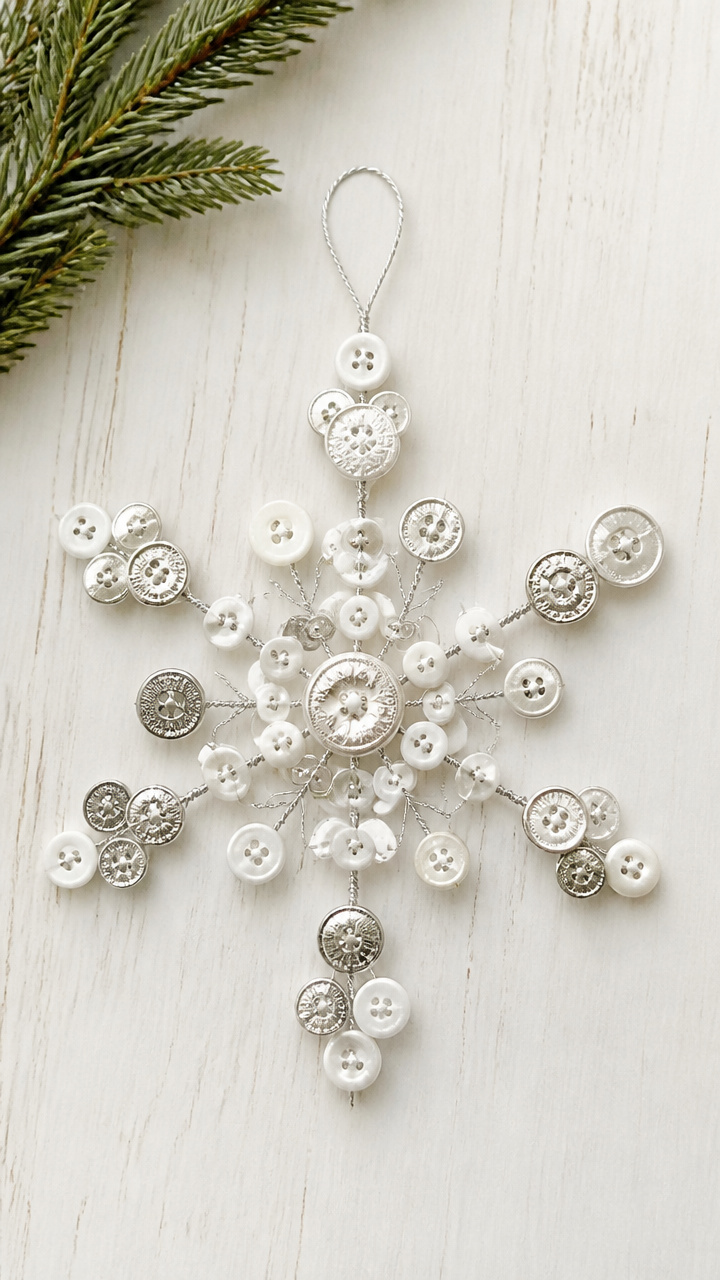
Mismatched white and silver buttons connect with wire to form delicate snowflakes that shimmer like real frost.
Materials Needed
- White and silver buttons, various sizes, 6 per ornament
- Silver craft wire, 20 gauge, 12 inches per ornament
- Wire cutters
- Needle-nose pliers
- Ruler
How to Make It
- Cut six 2-inch lengths of wire using wire cutters.
- Slide one button onto each wire piece, centering it, then bend the wire at a 60-degree angle 1/2 inch from the button.
- Arrange the wires like a starburst with the buttons forming points, twisting the bent ends together in the center to lock.
- Wrap the twisted center tightly with the remaining wire tail from one arm, then trim and tuck the end with pliers.


10. Paper Chain Angels
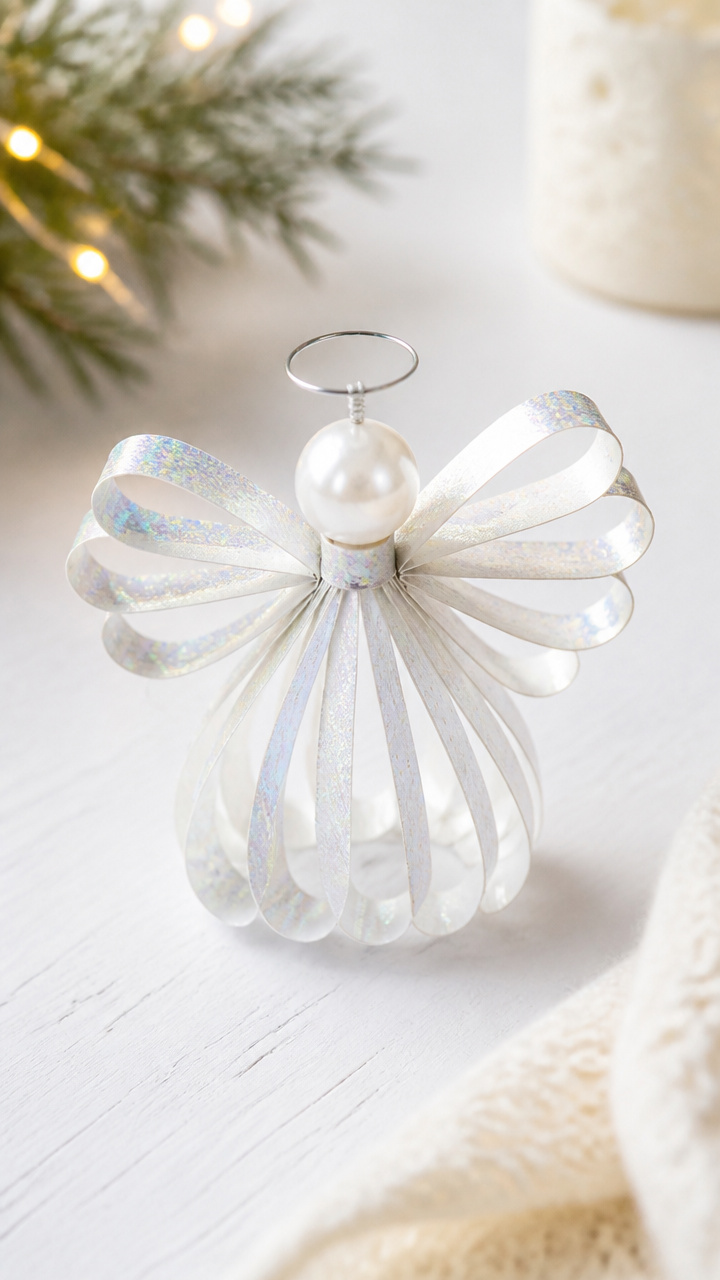
Loops of iridescent paper form angel wings behind a pearl bead face that glows under tree lights.
Materials Needed
- Iridescent silver A4 paper
- Scissors
- White school glue
- Small brush
- 6mm white pearl beads
- Thin silver wire, 8 inches
- Wire cutters
- Hole punch
How to Make It
- Cut the paper into strips 1 inch wide and 8 inches long, making 12 strips per angel.
- Form a loop with the first strip and glue the ends, then thread the next strip through and glue its ends to make a chain.
- Continue until six loops form a semi-circle, then glue the ends of the outer loops together to complete the wing shape.
- Punch a small hole at the center top, thread wire through, and twist the ends to make a hanger.
- Glue a pearl bead below the wing center for the face and let dry 1 hour.


11. Popsicle Stick Stars
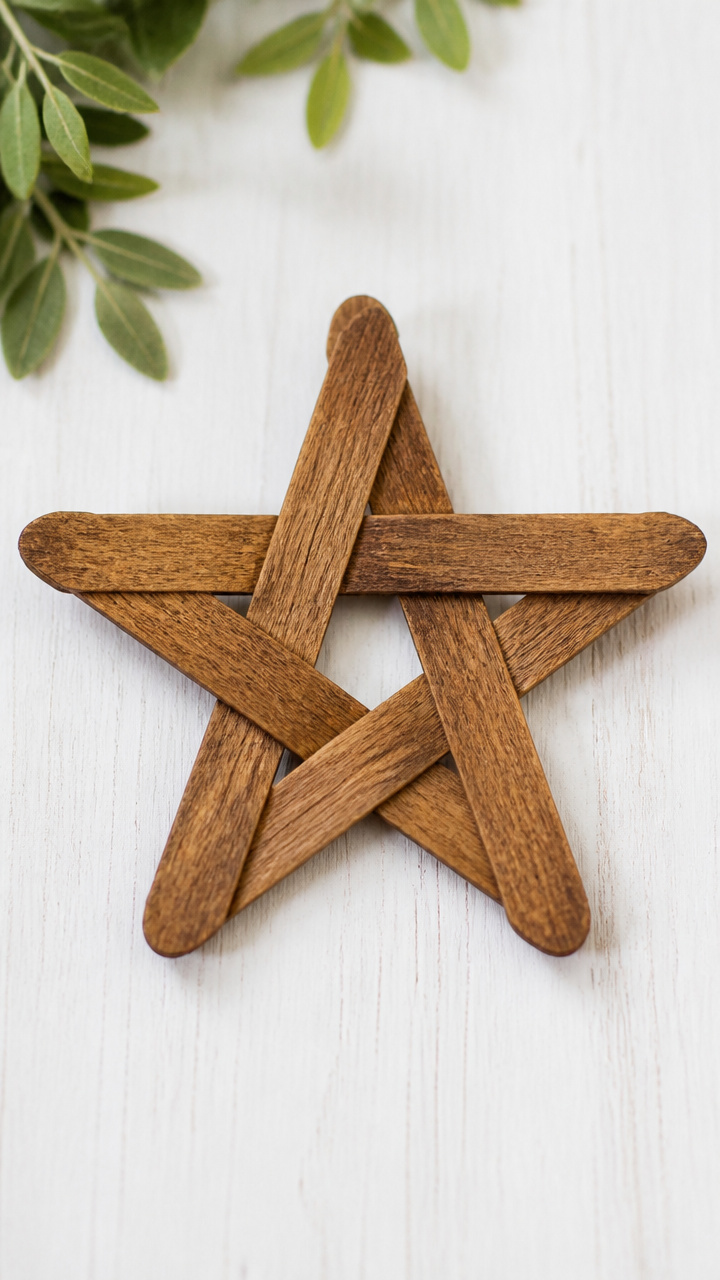
Five unpainted popsicle sticks join at sharp angles to form rustic stars stained with golden walnut ink.
Materials Needed
- 60 natural popsicle sticks
- Walnut ink stain
- Foam brush
- Ruler
- Wood glue
- Clothespins
- Fine-grit sandpaper
How to Make It
- Lightly sand each popsicle stick to remove rough edges, then wipe clean with a dry cloth.
- Stain five sticks per star with walnut ink using the foam brush, let sit 5 minutes, then wipe excess and dry 1 hour.
- Arrange sticks in a star shape with one vertical, two angled up, and two angled down, overlapping tips by 1/2 inch.
- Apply wood glue to each overlap and clamp with clothespins, letting dry 2 hours.
- Sand any rough spots and hang with thin thread tied at the top point.



12. Fabric Scrap Bells
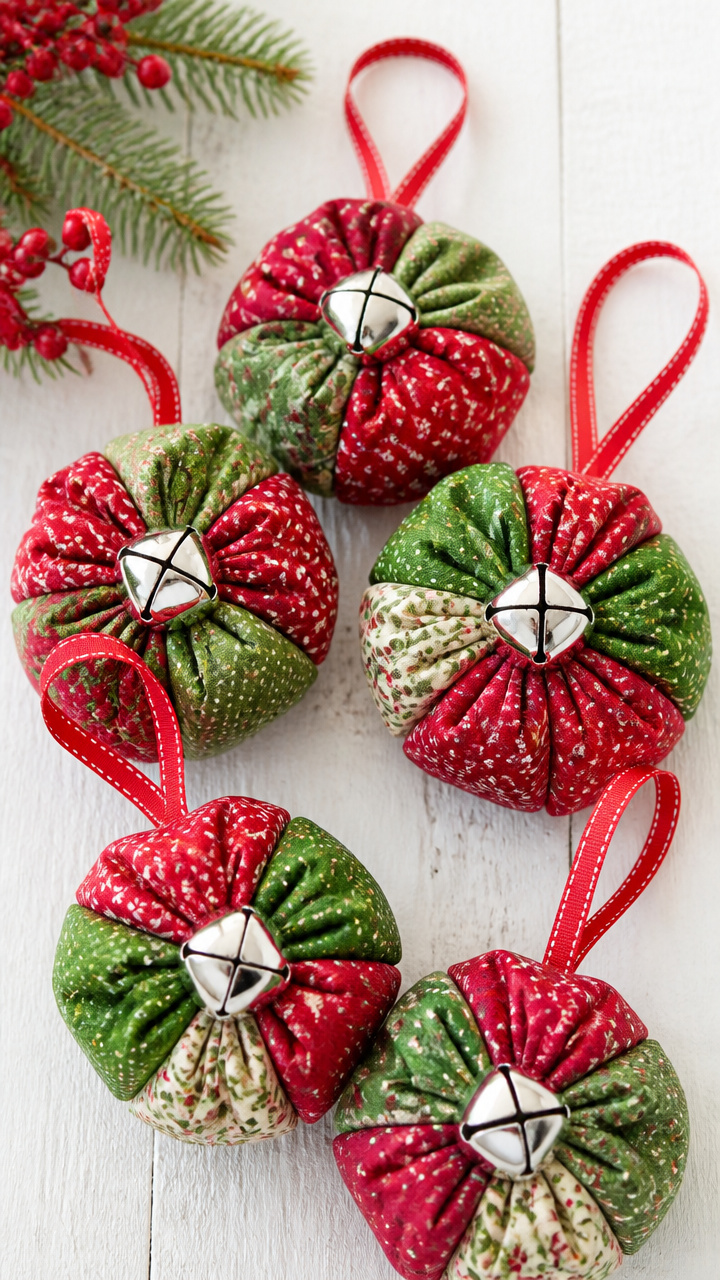
Tightly gathered squares of holiday fabric form plush bells with jingle bell centers that chime softly.
Materials Needed
- Red and green cotton fabric scraps
- Scissors
- 12 small silver jingle bells
- All-purpose thread
- Needle
- Embellishing pins
- White craft glue
How to Make It
- Cut twelve 4-inch squares from assorted holiday fabrics.
- Place a jingle bell in the center of each square, pull the four corners together tightly, and pin them behind the bell.
- Sew the gathered fabric securely with three stitches through all layers, knotting the thread on the back.
- Add a dot of glue to the knot to prevent unraveling and let dry 30 minutes before hanging with thread.


13. Clay Bead Icicles
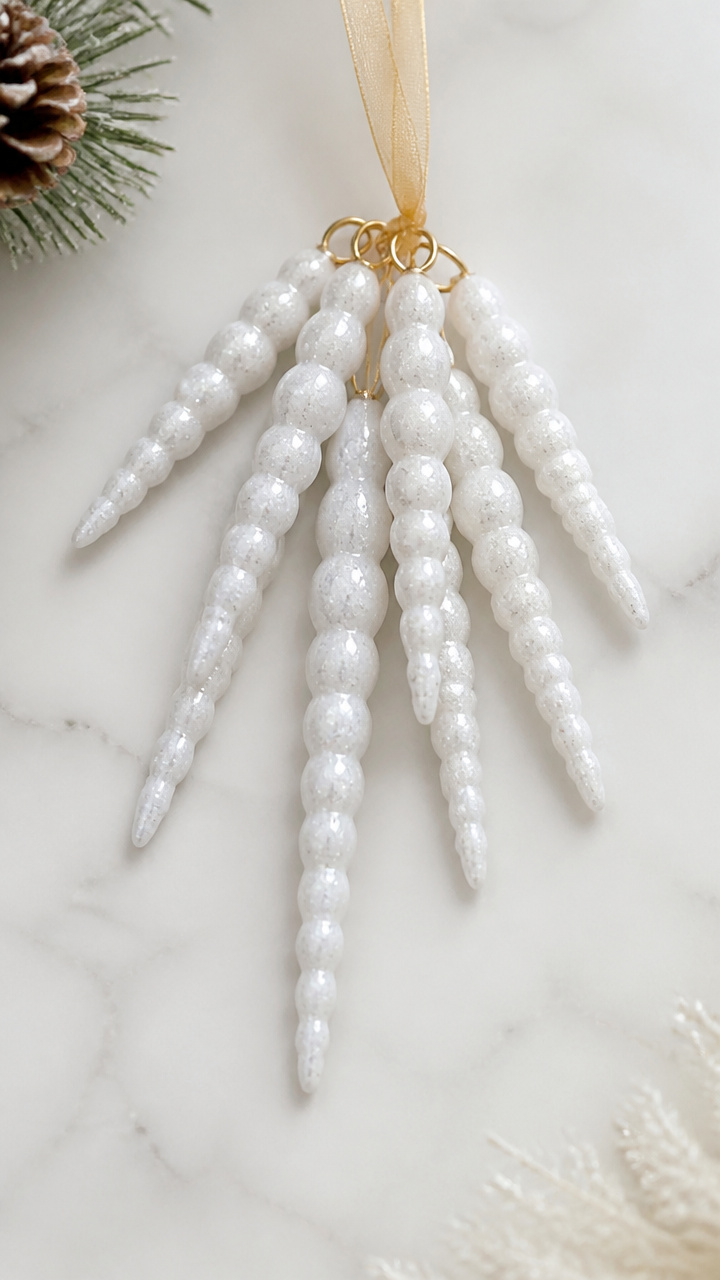
Hand-rolled polymer clay beads taper to points and bake into glossy icicles that drip with icy charm.
Materials Needed
- White polymer clay block
- Glitter gel medium
- Toothpicks
- Baking sheet
- Parchment paper
- Fine-tipped paintbrush
- Clear nail polish
- Silver eye pins
How to Make It
- Roll clay into 12 cone shapes, 3 inches long, tapering to a fine tip, and place on parchment-lined baking sheet.
- Bake according to package instructions, usually 275°F for 15 minutes, then cool completely.
- Brush each icicle with glitter gel using the paintbrush and let dry 1 hour.
- Coat again with clear nail polish for shine and let dry 2 hours.
- Insert an eye pin into the top end and twist to form a loop for hanging.


14. Mason Jar Lid Snow Globes
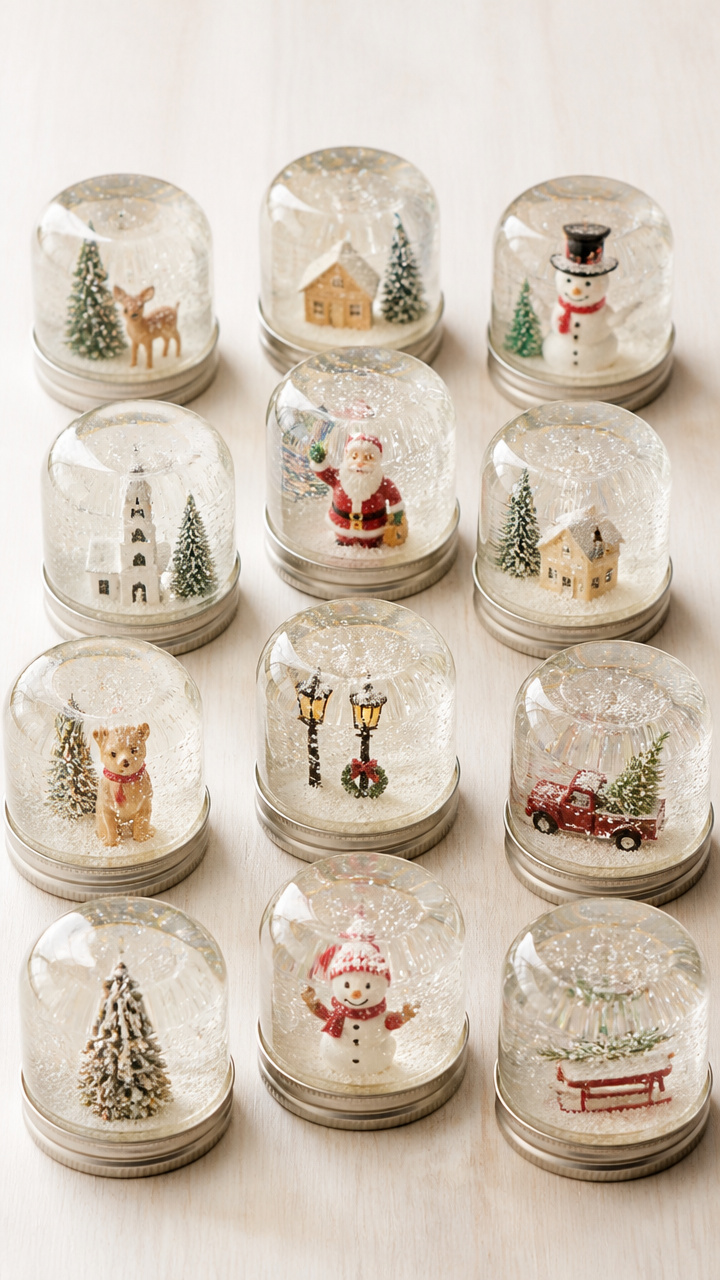
Upside-down mason jar lids hold tiny winter scenes under glass with floating glitter in glycerin solution.
Materials Needed
- 12 regular-size mason jar lids
- Small plastic figurines: trees, deer, sleds
- Distilled water
- Clear school glue
- Glitter, fine white
- Craft silicone sealant
- Small funnel
- Toothpick
How to Make It
- Glue one figurine to the inside of each lid ring using silicone, letting it cure 4 hours.
- Fill the ring halfway with distilled water, then add 1 teaspoon glue and a pinch of glitter.
- Stir gently with a toothpick to mix, avoiding bubbles, then slowly fill to the brim.
- Press the flat lid onto the ring firmly, squeeze sealant around the edge, and let cure 24 hours upside down.


15. Twine-Wrapped Cones
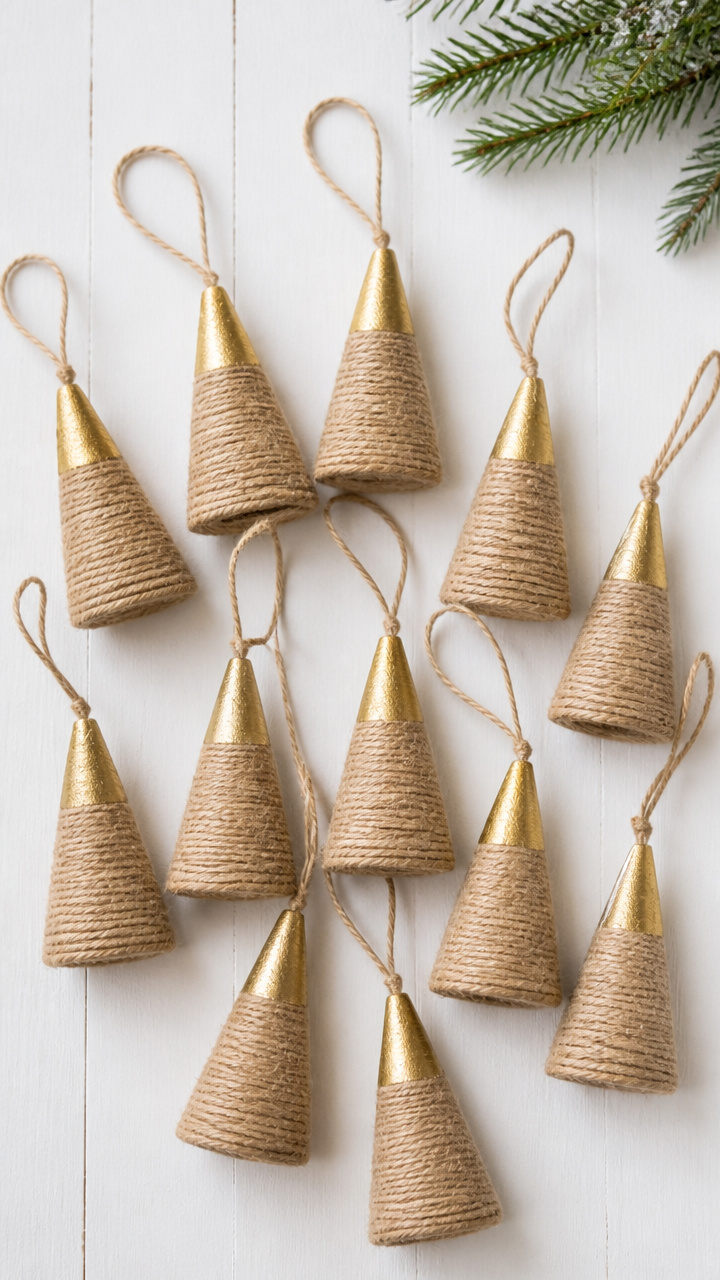
Cardboard ice cream cones get wrapped in burlap-colored twine and tipped with gold for woodland elegance.
Materials Needed
- 12 cardboard ice cream cones
- Natural jute twine
- School glue
- Small brush
- Gold acrylic paint
- Paintbrush
- Gold cord, 8 inches
How to Make It
- Brush a thin line of glue along the bottom edge of each cone and start wrapping twine tightly around it.
- Continue wrapping upward in a spiral, adding glue every inch, until the entire cone is covered except the tip.
- Paint the exposed tip with gold acrylic and let dry 30 minutes.
- Tie a loop of gold cord to the top edge and hang from the tree.


16. Crayon Melt Ornaments
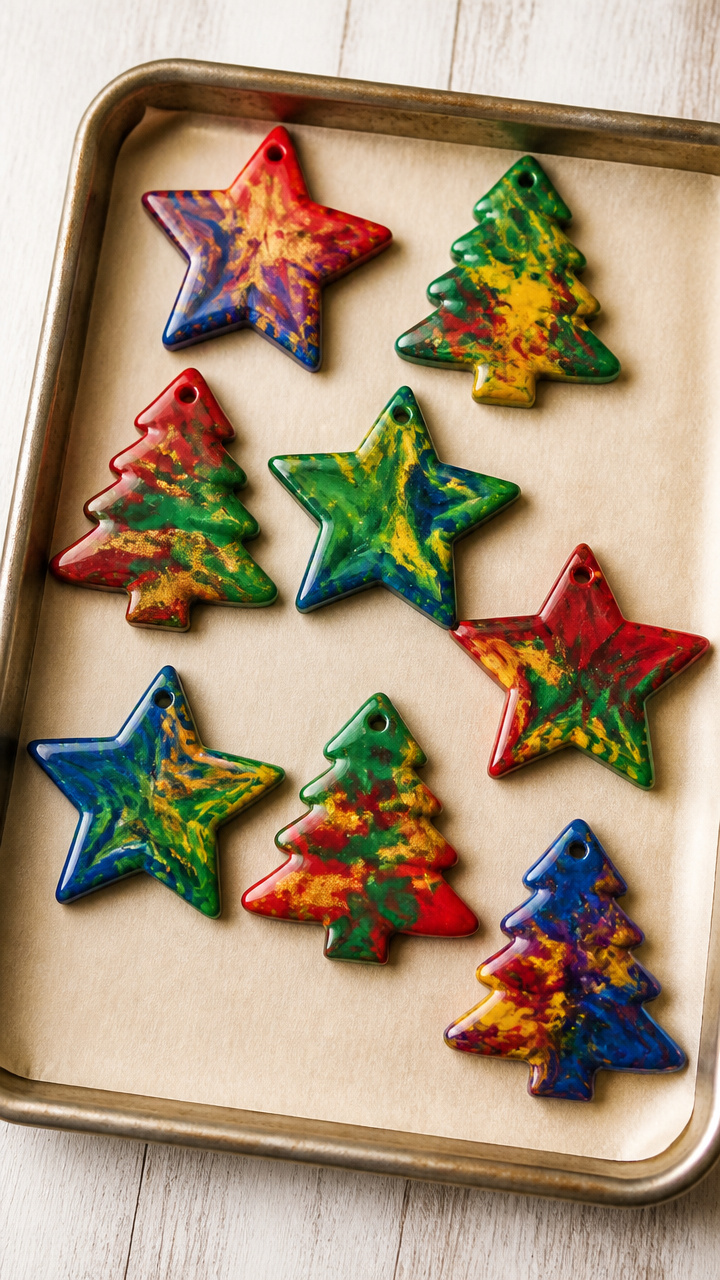
Broken holiday crayons melt into rainbow patterns inside metal cookie cutters shaped like stars and trees.
Materials Needed
- Old red, green, gold, blue crayons
- Metal star and tree cookie cutters, 3 inches
- Parchment paper
- Baking sheet
- Oven
- Knife
- Blunt butter knife
How to Make It
- Peel crayons and chop into small pieces with a knife, sorting by color.
- Line a baking sheet with parchment and place cookie cutters on it, spacing 2 inches apart.
- Fill each cutter with layered crayon bits, packing them tightly to the top.
- Bake at 275°F for 7–10 minutes until fully melted and flat on top.
- Cool completely, then pop out shapes and thread ribbon through a hole punched at the top.


17. Pom-Pom Wreaths
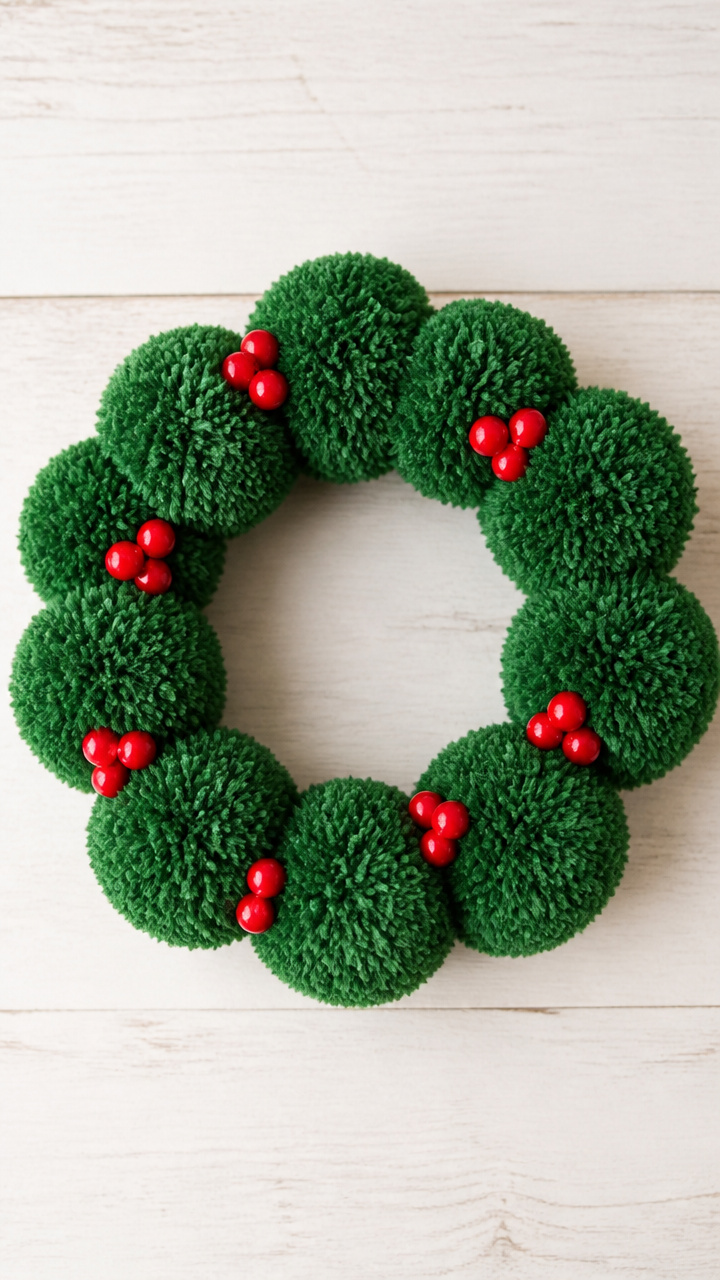
Tiny green pom-poms cluster into a circular base and get dotted with red berries for a fuzzy holiday ring.
Materials Needed
- 2-inch green foam craft rings, 12 pieces
- 1/2-inch green pom-poms
- Hot glue gun with glue sticks
- Red craft berries on stems
- Wire cutters
- Scissors
How to Make It
- Glue pom-poms side by side all around the foam ring, covering it completely with no gaps.
- Let the glue set for 10 minutes, then cut six red berries from stems using wire cutters.
- Glue berries evenly spaced around the wreath, pressing gently until secure.
- Tie a loop of green thread to the top and hang after 20 minutes of drying.


18. Dried Orange Slices
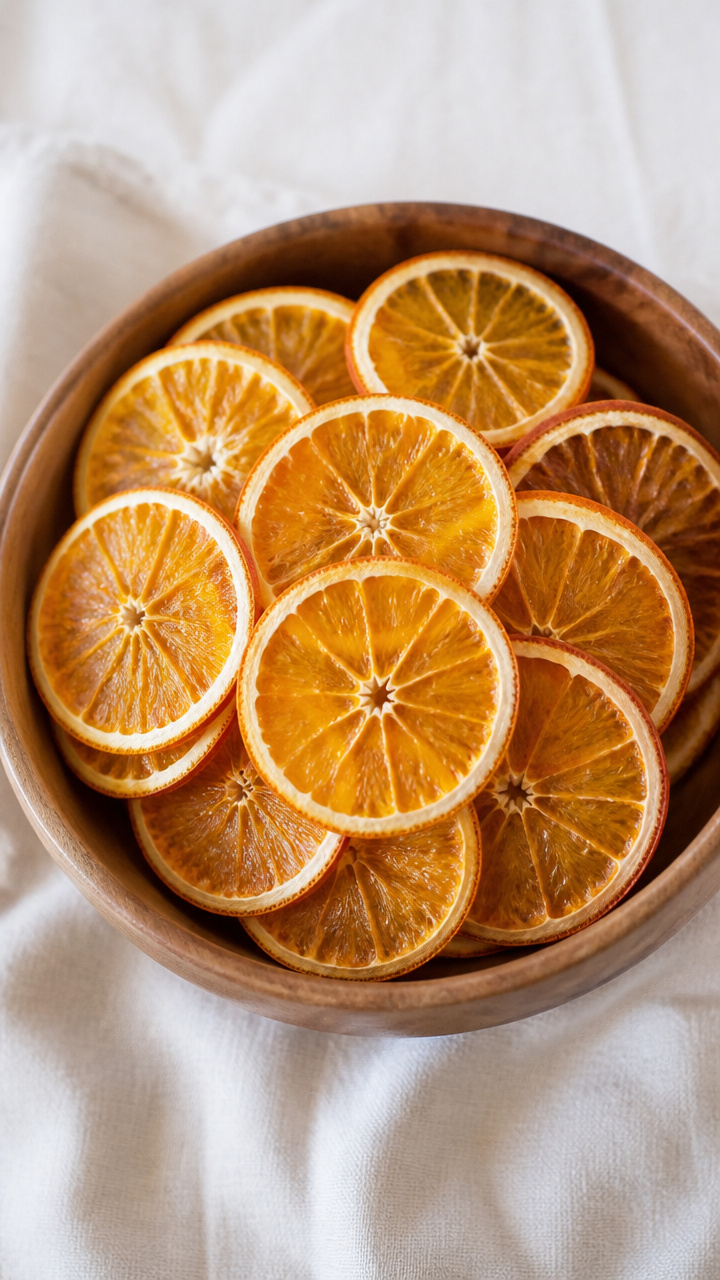
Thin orange rounds bake low and slow into fragrant, translucent discs that glow like lanterns on the tree.
Materials Needed
- 6 oranges
- Sharp knife
- Baking sheet
- Parchment paper
- Oven
- Serrated fruit slicer (optional)
- Hole punch
- Jute string, 8 inches
How to Make It
- Slice oranges into 1/4-inch thick rounds using a sharp knife or slicer.
- Arrange slices on parchment-lined baking sheets without touching.
- Bake at 200°F for 3 to 4 hours, flipping every hour, until dry and crisp.
- Let cool completely, then punch a hole near the edge of each slice.
- Thread jute string through and knot to hang.
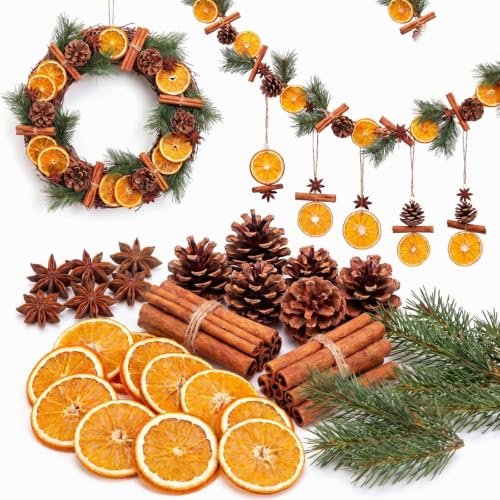

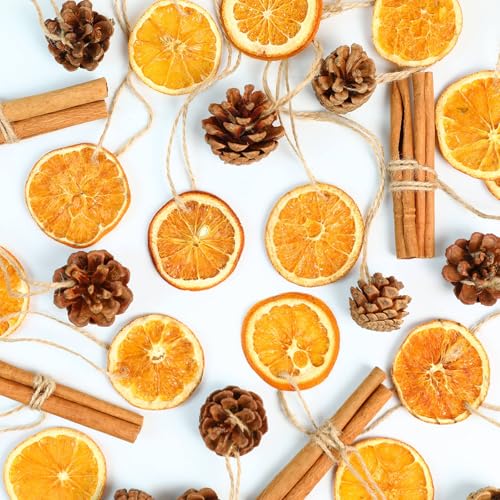
19. Pipe Cleaner Reindeer Antlers
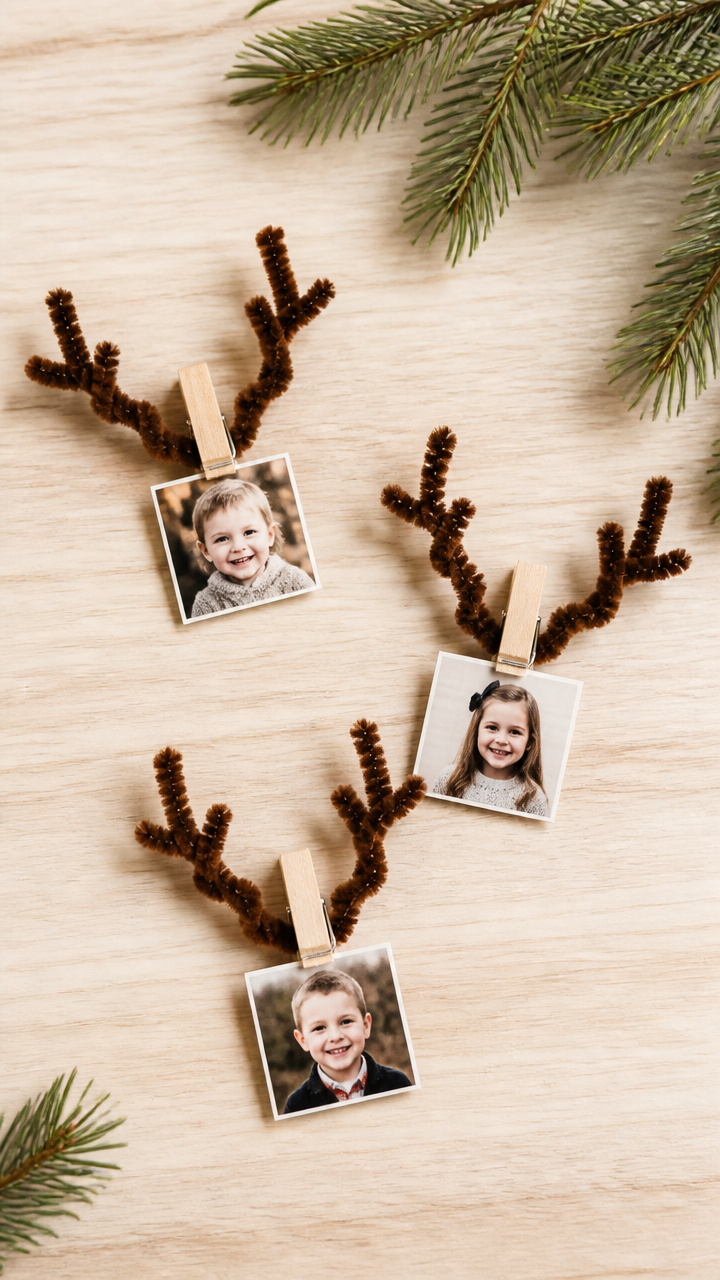
Twisted brown pipe cleaners curl into realistic antlers and clip onto mini photo frames for personalized tags.
Materials Needed
- Brown pipe cleaners, 12 inches, 24 pieces
- Round-nose pliers
- 12 mini wooden photo clips
- Family photo printouts, 1×1 inch
- Double-sided tape
How to Make It
- Bend one pipe cleaner in half and twist the base 1 inch up to form a V-shape for the main branch.
- Wrap the ends into small curls using pliers to mimic antler tips.
- Repeat with a second pipe cleaner and twist both pieces together at the base for thickness.
- Clip the photo into the wooden clip, secure the back, and tape the antler base to the top edge.
- Hang by the clip or add ribbon through the antler loop.


20. Glitter-Dipped Pine Tips
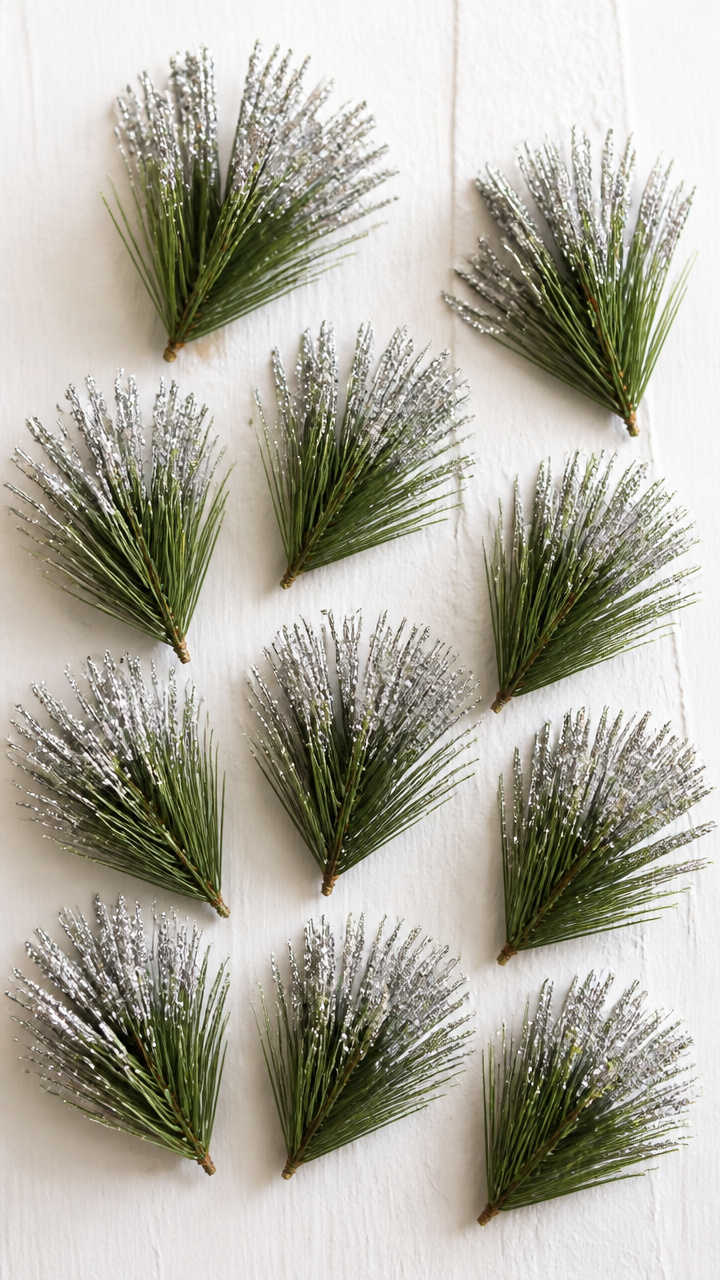
Fresh pine sprigs dipped in glue and glitter become sparkling natural accents that smell like the forest.
Materials Needed
- 12 fresh pine sprigs, 4 inches long
- White school glue
- Fine silver glitter
- Shallow dish
- Paper towels
- Clear acrylic sealer spray
- Fishing line, 8 inches
How to Make It
- Pour glue into a shallow dish and submerge the top 2 inches of each pine sprig for 10 seconds.
- Roll the wet tip in glitter until fully coated, then lay flat on paper towels to dry 1 hour.
- Spray both sides lightly with acrylic sealer and let dry 2 hours.
- Tie fishing line around the base and knot for a nearly invisible hang.


21. Photo Block Cubes
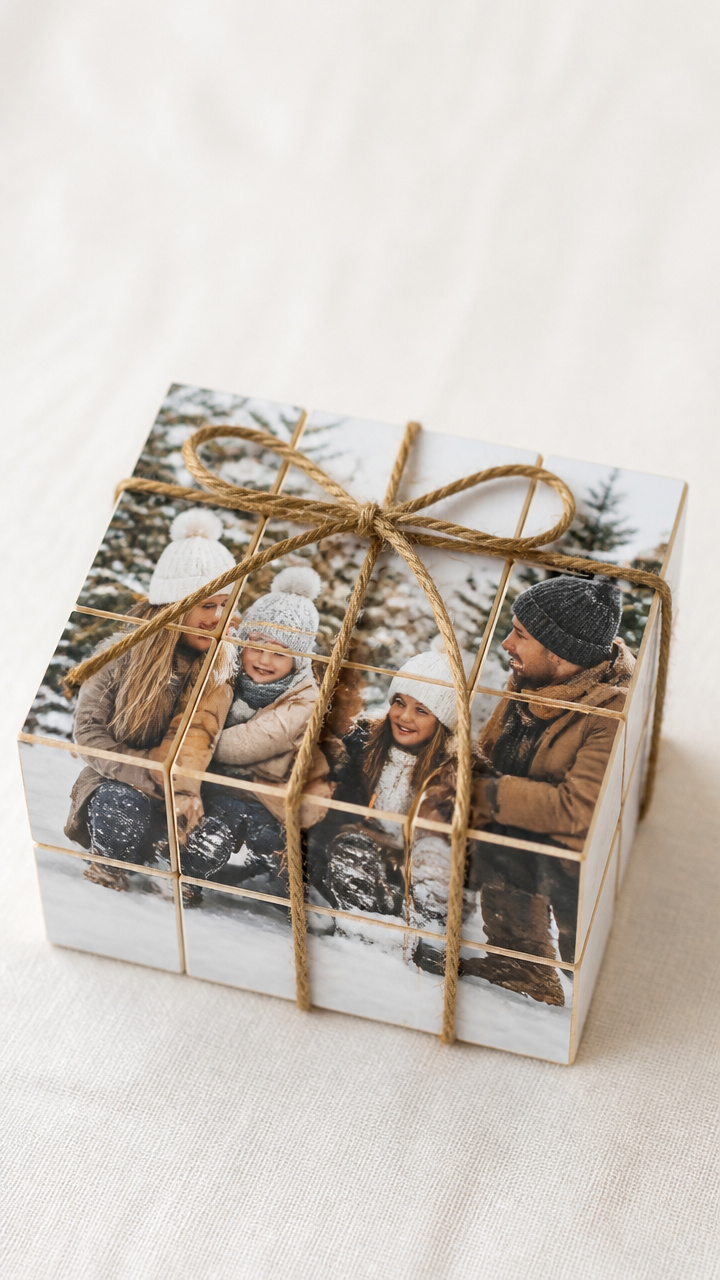
Wooden cubes wrap with favorite holiday snapshots and show all year with a twine bow on top.
Materials Needed
- 12 unfinished wood cubes, 1.5 inches
- Family holiday photo prints, trimmed to 1.5 x 4.5 inches
- Mod Podge matte finish
- Foam brush
- Scissors
- Twine
- Glue dots
How to Make It
- Cut photos into strips exactly 1.5 inches wide and 4.5 inches long.
- Wrap each strip around a cube like a band, aligning edges neatly on the back.
- Brush Mod Podge over the entire front and sides, extending slightly onto the back seam to seal.
- Let dry 1 hour, then add a glue dot to the top center and press a small twine bow into place.


You’ve got everything you need to start creating ornaments that carry love, memory, and a little sparkle. Pick one project, gather your supplies, and let the quiet magic of making fill your days.