15 DIY Christmas Ornaments to Make Before December
The air starts to feel different when the holidays draw near. There’s a quiet magic in making something with your hands, especially when it ends up on the tree year after year. These ornaments are made for slow afternoons, shared laughter, and the kind of joy that sticks around.
Each one uses different materials and techniques so you never get stuck in a loop. You’ll find unexpected textures, thoughtful details, and ideas that work whether you’re crafting alone or with kids. No repeats, no filler, just honest projects worth making.
1. Salt Dough Handprint Reindeer
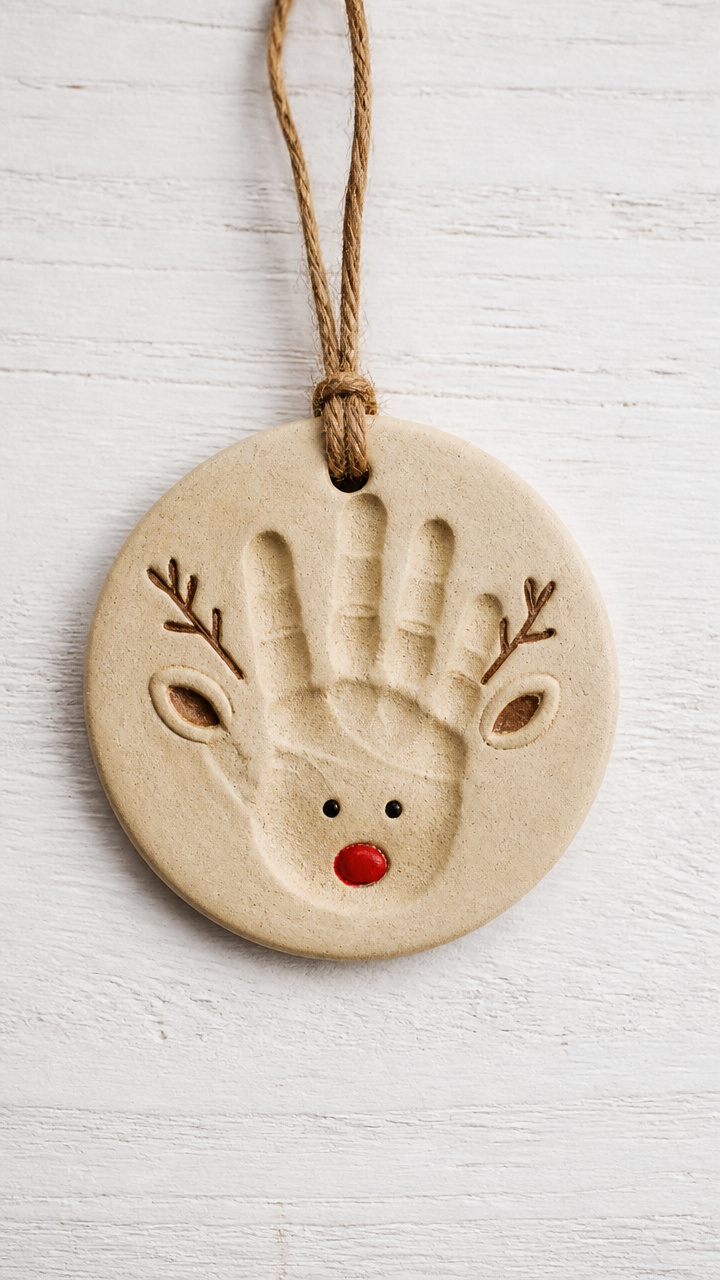
Soft beige reindeer with your child’s tiny hand as the face become instant family treasures. They hold shape well and last for years when sealed properly.
Materials Needed
- 2 cups all-purpose flour
- 1 cup table salt
- 1 cup warm water
- Pencil
- Round cookie cutter, 3-inch diameter
- Rolling pin
- Straw
- Black acrylic paint
- Red pom-pom, 0.5 inch
- Brown twist tie, 6 inches
- Clear acrylic sealer spray
- Ribbon, 12-inch green satin
How to Make It
- Mix flour, salt, and warm water in a bowl until a smooth dough forms, kneading by hand for 3 minutes until elastic.
- Roll the dough to 1/4-inch thickness on a floured surface, then cut out circles using the cookie cutter.
- Press one small hand gently into the center of each circle to form antlers, then use the straw to poke a hole near the top for hanging.
- Bake at 200°F for 3 hours until hard and dry, then let cool completely on a wire rack.
- Paint two black eyes and glue the red pom-pom below as the nose, then twist the ends of the brown twist tie into antler shapes and glue behind the handprint.
- Spray both sides with acrylic sealer and let dry for 1 hour, then thread ribbon through the hole and tie a loop.


2. Mini Knit Wool Snowcaps
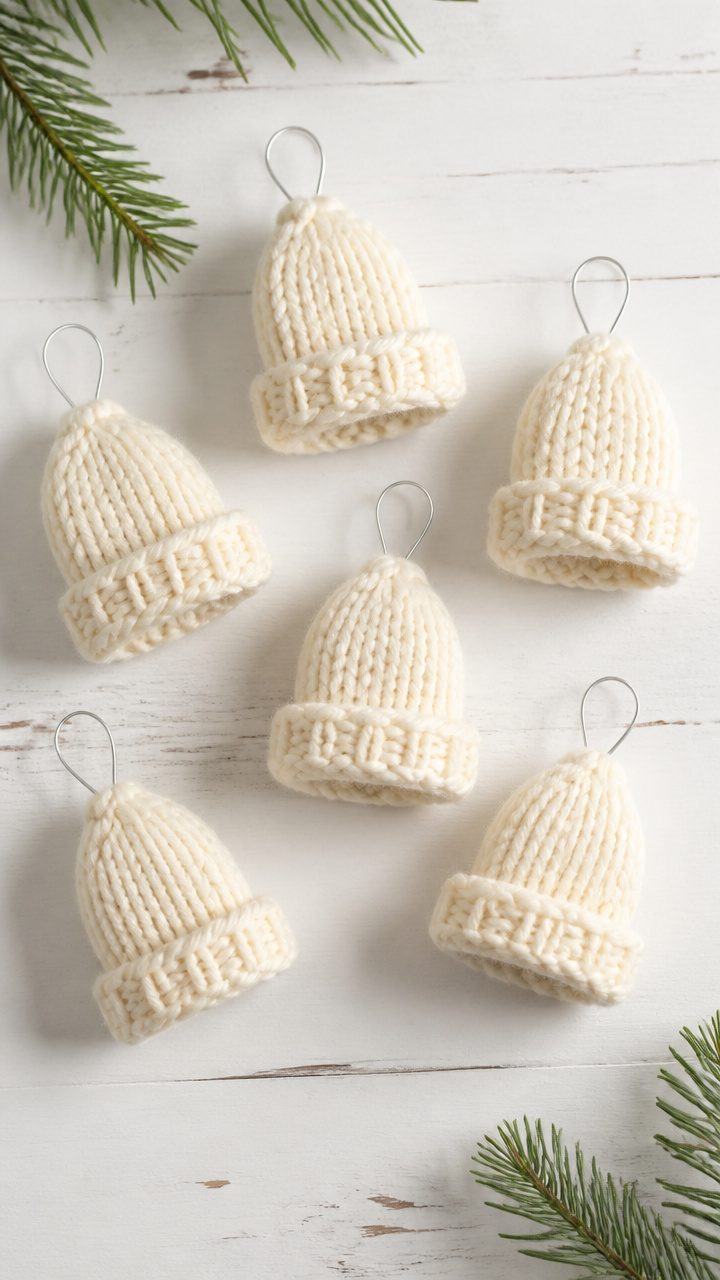
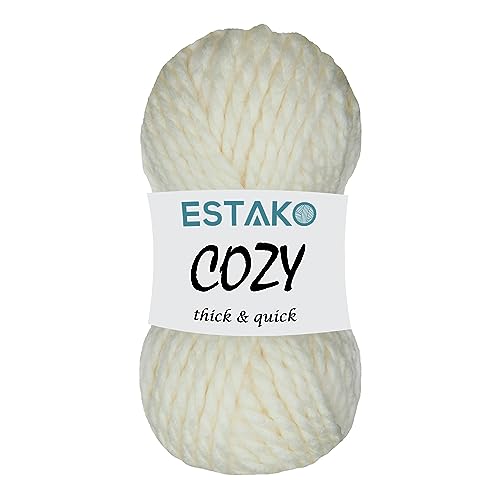
Tiny knit hats in cream wool look like snow-dusted toppers and slip over ornament hooks with ease. They’re quick and soothing to make.
Materials Needed
- Cream-colored bulky weight wool yarn
- US size 8 double-pointed knitting needles, set of 4
- Yarn needle
- Scissors
- Ornament hook, silver wire
How to Make It
- Cast on 16 stitches evenly across three double-pointed needles, joining in the round and placing a stitch marker.
- Knit every round for 1.5 inches, keeping tension even and switching to the fourth needle to distribute stitches.
- Begin decreasing by knitting two together every other stitch around, then knit one round plain.
- Knit two together every stitch around, then pull the remaining yarn through the last loops and secure on the inside.
- Weave in the tail with a yarn needle, then slide the open end over an ornament hook to hang.


3. Pressed Maple Leaf Frames
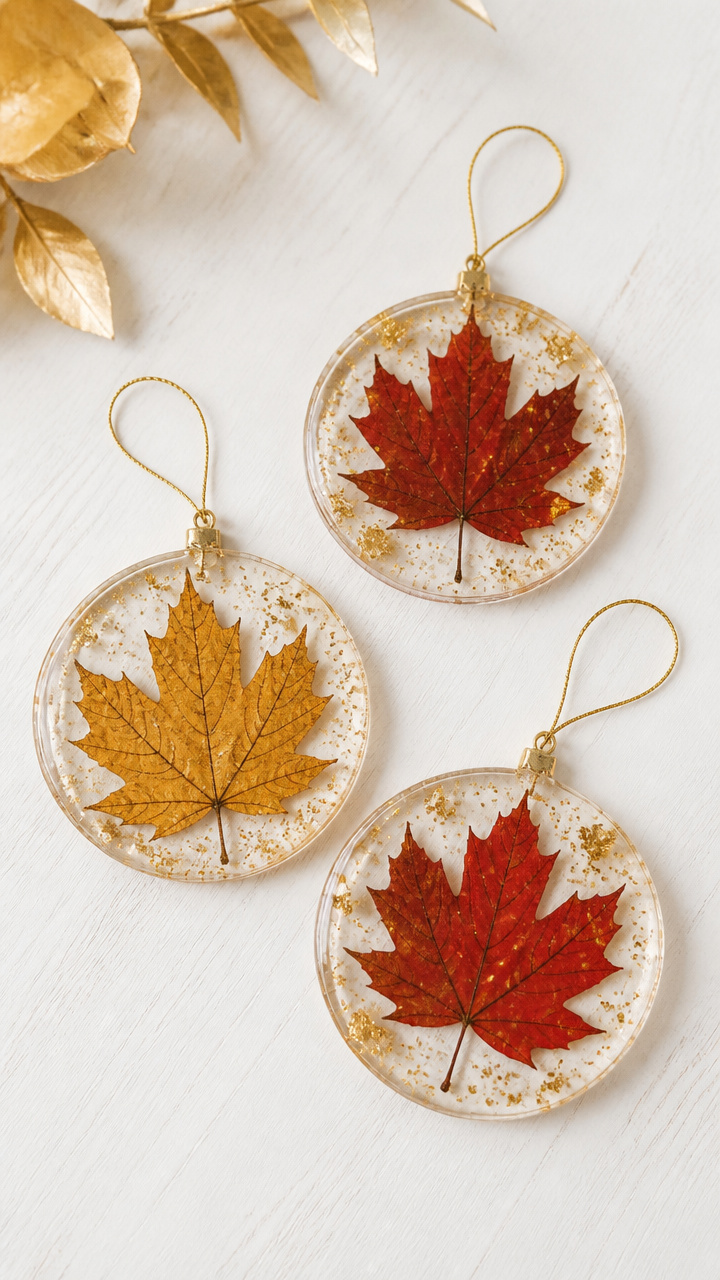
Crisp red and gold leaves encased in clear plastic shine like stained glass on the tree. Use fallen autumn leaves for a natural touch.
Materials Needed
- 5 fresh maple leaves, undamaged
- Heavy books
- Clear laminating pouch, 5×7 inch
- Laminator
- Gold glitter glue
- Circle craft punch, 2.5 inch
- Ribbon, 10-inch gold satin
How to Make It
- Place each leaf between two sheets of parchment paper and press under heavy books for 48 hours until flat and dry.
- Trim each leaf to fit inside the laminating pouch, leaving a 0.5-inch border around the edges.
- Run the pouch through the laminator, then let cool for 5 minutes before cutting around the leaf shape.
- Use the circle punch to cut a round disc from the center of each laminated leaf, leaving a frame.
- Apply a thin line of gold glitter glue around the outer edge of the frame and let dry for 30 minutes.
- Punch a small hole at the top and thread with gold ribbon, tying a secure knot.

4. Cinnamon Stick Bundles
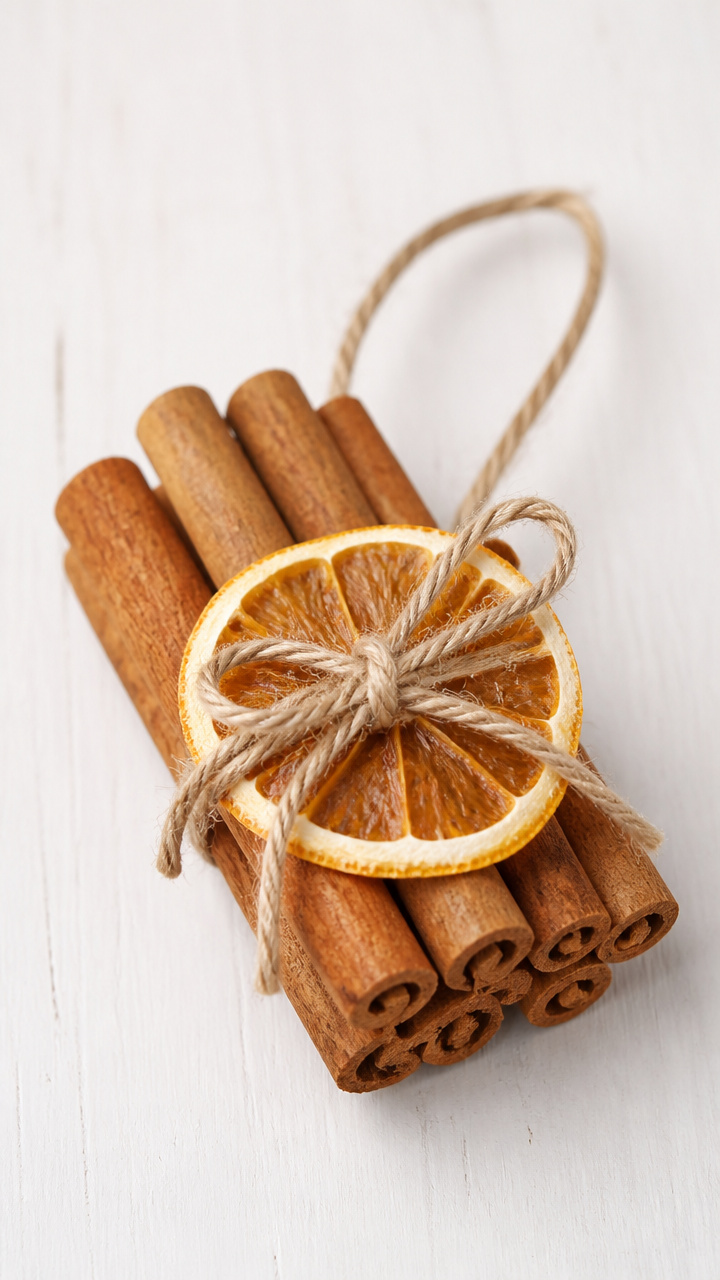
Tight bundles of cinnamon sticks tied with twine smell like holiday warmth and take five minutes to assemble.
Materials Needed
- 6 cinnamon sticks, 3 inches long
- Natural jute twine
- Scissors
- Dried orange slice, 1 inch
- Hot glue gun
- Glue sticks
How to Make It
- Lay the six cinnamon sticks side by side and wrap twine around one end, tying a double knot to secure.
- Wrap the twine down the length of the bundle, spacing wraps 0.5 inch apart, then tie another knot at the bottom.
- Cut a 6-inch piece of twine and tie it to the top knot to form a loop for hanging.
- Add a dot of hot glue to the back of the dried orange slice and press it onto the front of the bundle at mid-length.
- Let the glue set for 2 minutes before hanging.


5. Felted Wool Ball Angels
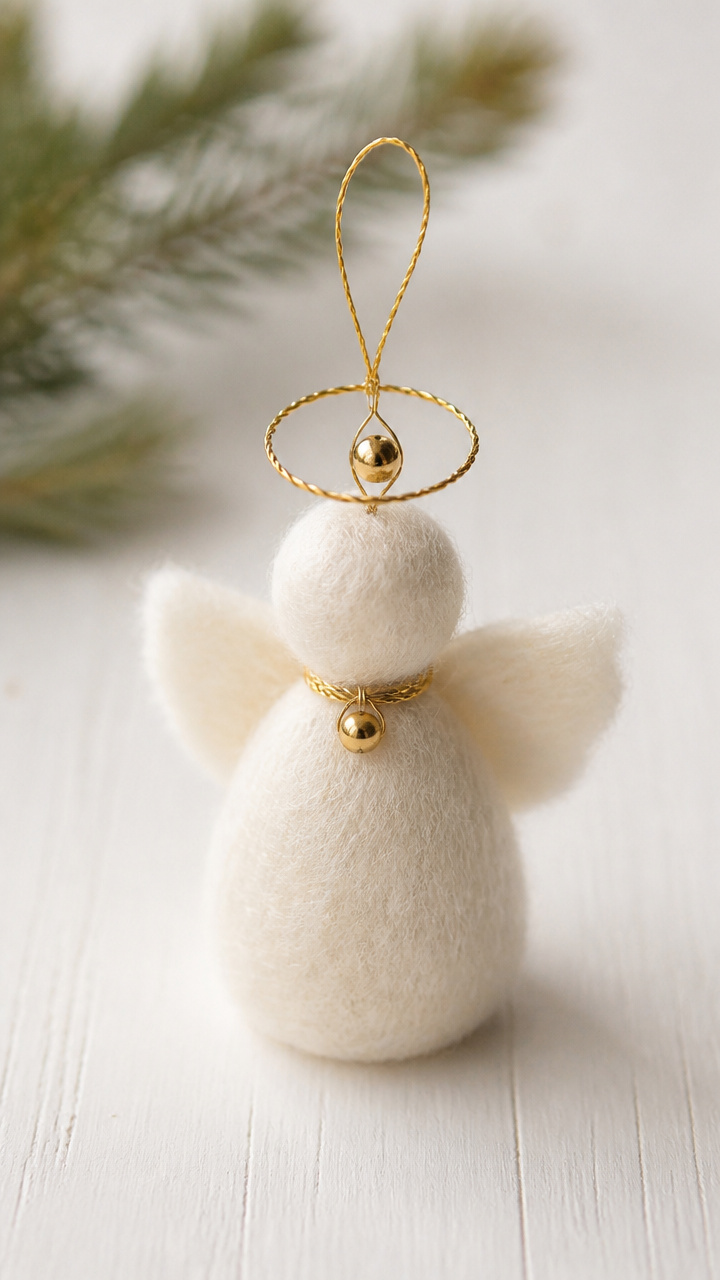
Needle-felted wool balls become soft-bodied angels with tiny wire halos. The felting process is meditative and precise.
Materials Needed
- White raw wool roving, 10 grams
- Felting needle, size 38
- Foam pad, 4×4 inches
- Gold embroidery floss, 12 inches
- Craft wire, 20 gauge, 6 inches
- Small gold bead, 3mm
- Pipe cleaner, white, 6 inches
- Ribbon, 8-inch ivory
How to Make It
- Pull off a golf ball-sized piece of wool and roll it loosely, then place it on the foam pad.
- Repeatedly poke the wool with the felting needle, turning it often, until it forms a firm sphere in 8 to 10 minutes.
- Wrap the gold floss around the middle to divide head and body, knotting tightly at the back.
- Shape the wire into a circle and twist the ends together, then thread through the top of the head and twist to secure as a halo.
- Glue the gold bead to the front center as a face, then attach the pipe cleaner arms by pushing the ends into the body at shoulder level.
- Tie the ribbon around the top knot of floss to create a hanger.


6. Pinecone Cardinal Ornaments
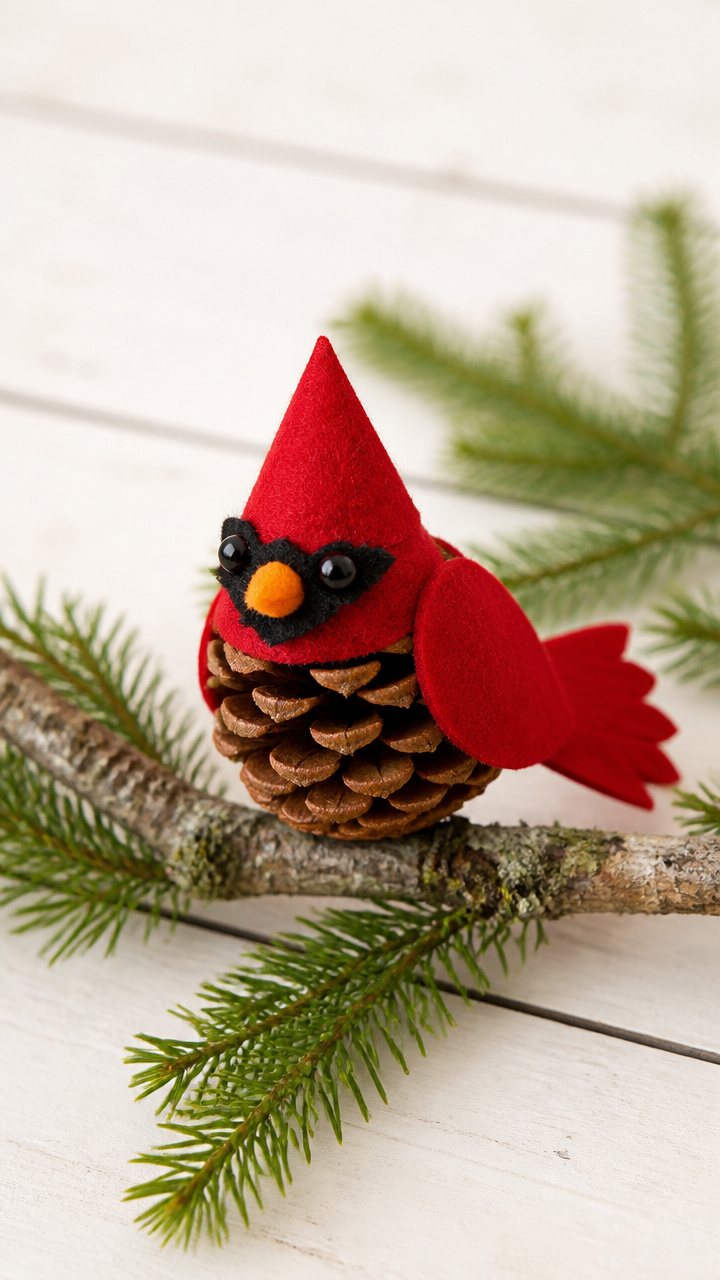
Real pinecones become bright cardinals with red felt wings and beady black eyes. They perch naturally on branches.
Materials Needed
- 1 medium pinecone, dry
- Red craft felt sheet, 4×4 inches
- Black acrylic paint
- Orange pom-pom, 0.3 inch
- White craft glue
- Small paintbrush
- Scissors
- Googly eyes, 0.25 inch, 2 per ornament
- Floral wire, 4 inches
How to Make It
- Cut two teardrop-shaped wings from the red felt, each 1.5 inches long, and glue them to the sides of the pinecone’s upper half.
- Paint two small black dots near the top front of the pinecone for wing accents and let dry for 10 minutes.
- Glue the googly eyes just below the top tip and attach the orange pom-pom beneath as the beak.
- Bend the floral wire into a loop, insert one end into the top of the pinecone, and twist the other end to form a hanger.
- Let the glue dry completely for 1 hour before hanging.


7. Cork Wine Stopper Santas
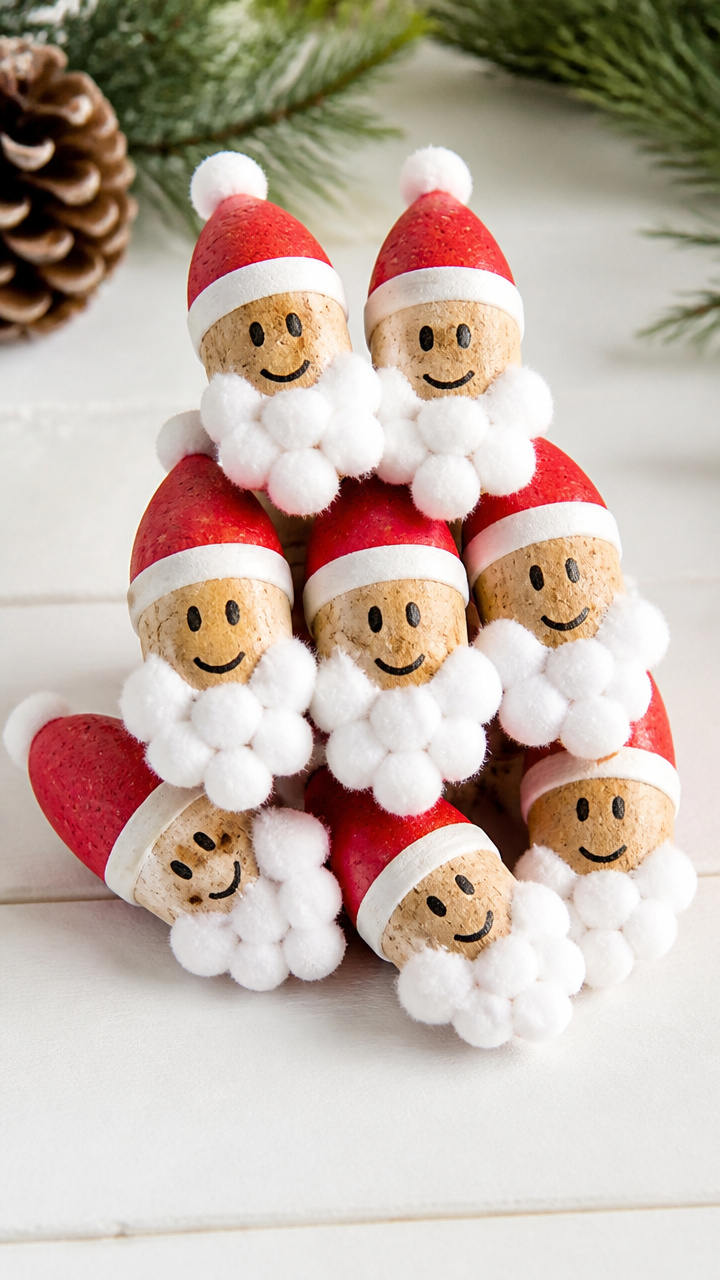
Used wine corks turn into jolly Santas with cotton ball beards and painted faces. They’re lightweight and stackable.
Materials Needed
- 1 natural wine cork
- White craft paint
- Red craft paint
- Black fine-tip paint pen
- Cotton balls, 2
- White craft glue
- Red felt scrap, 1×1 inch
- Scissors
- Toothpick
- Ribbon, 6-inch red
How to Make It
- Paint the top third of the cork white and let dry for 15 minutes, then paint the bottom third red and dry again for 15 minutes.
- Use the toothpick to apply a small dot of white glue to the center of the white section and press half a cotton ball into it for the beard.
- Let the glue set for 10 minutes, then use the black paint pen to draw two eyes and a small curved smile.
- Cut a tiny hat brim and pom-pom from the red felt, glue the brim to the base of the cotton ball, and the pom-pom on top.
- Tie the ribbon around the neck of the hat and knot at the back for hanging.


8. Beaded Ice Crystal Stars
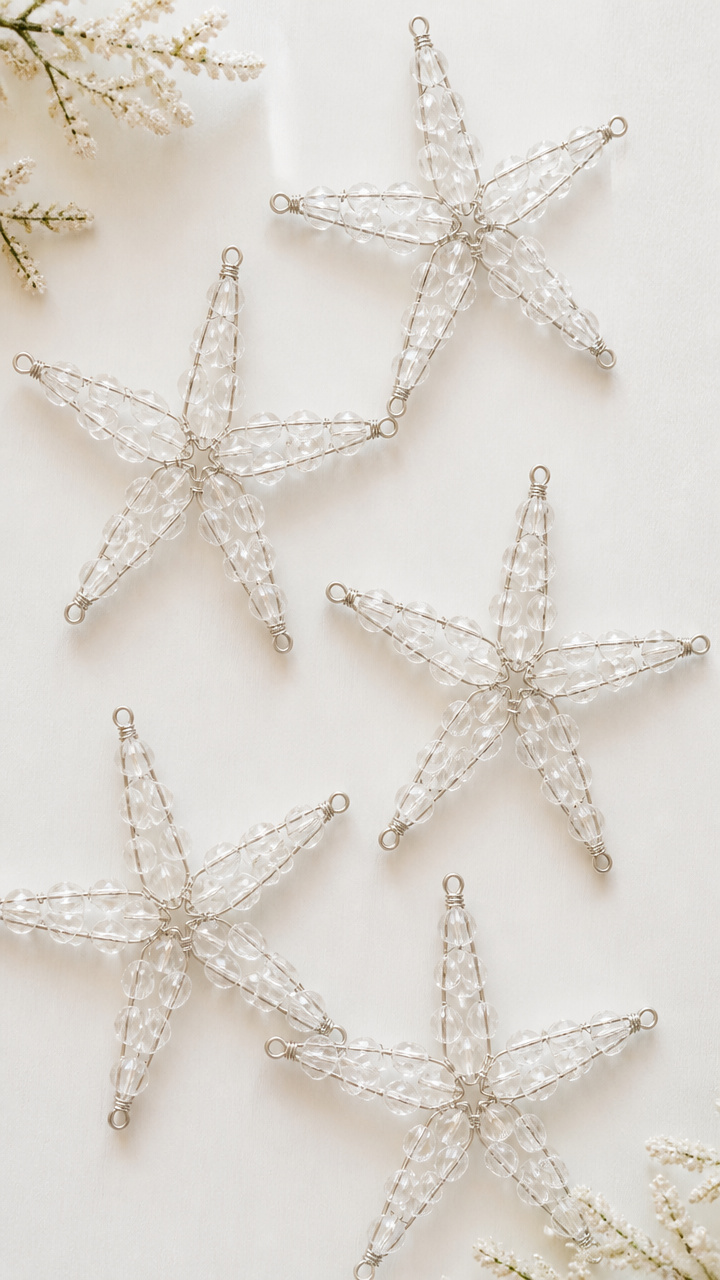
Clear glass seed beads form icy star shapes on silver wire. They catch light like frost and hold their shape perfectly.
Materials Needed
- Silver-colored craft wire, 24 gauge, 24 inches
- Clear glass seed beads, size 11/0, 50 beads
- Wire cutters
- Round-nose pliers
- Ruler
How to Make It
- Cut the wire into five 4.8-inch pieces using the wire cutters and ruler.
- Slide 10 beads onto each wire piece, then use the round-nose pliers to bend each wire into a spoke shape with a small loop at one end.
- Cross the five wires at their centers and twist the middle tightly 3 times to form a star hub.
- Spread the spokes outward into a star shape, adjusting bead positions so they are evenly spaced.
- Twist the loop end of one spoke around the base of the next to secure the frame, then trim any excess wire.


9. Mini Sweater Stocking Ornaments
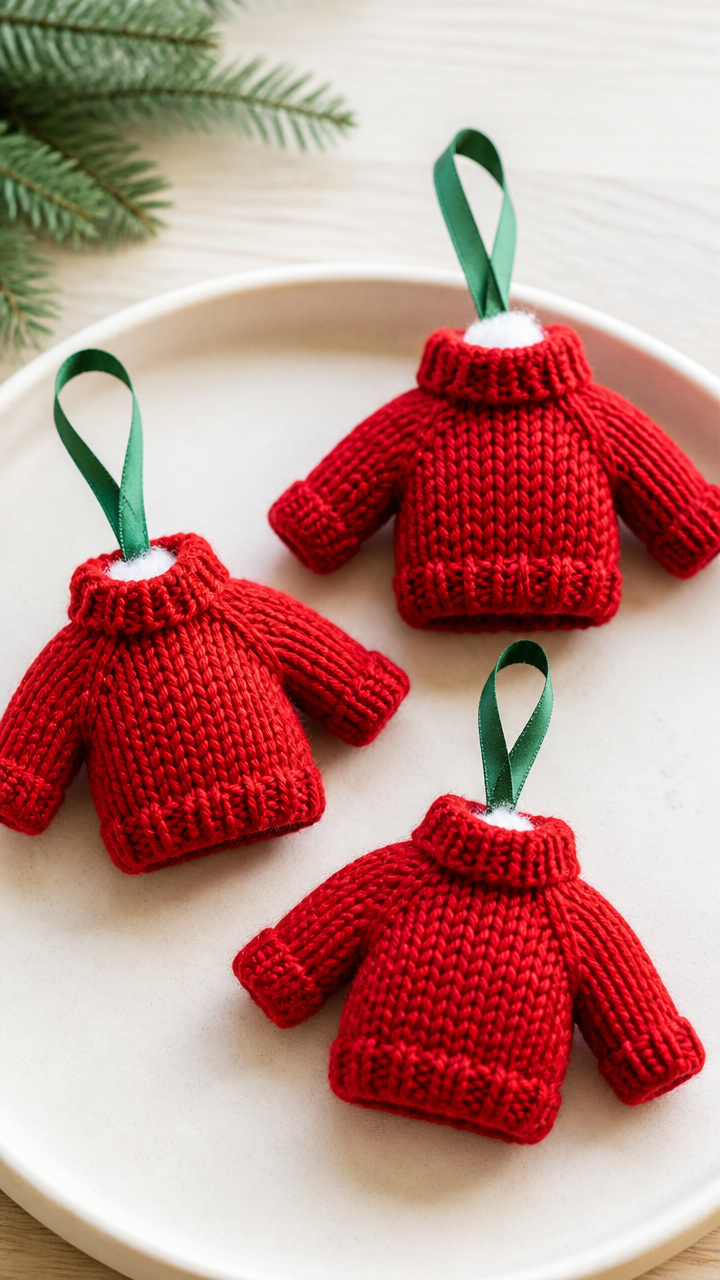
Tiny sweaters knitted in holiday colors become miniature stockings with real texture and ribbed cuffs.
Materials Needed
- Red fingering weight yarn
- US size 3 double-pointed needles, set of 4
- Yarn needle
- Scissors
- Polyester fiberfill, small pinch
- Ribbon, 7-inch green
How to Make It
- Cast on 12 stitches and distribute across three needles, joining in the round with a stitch marker.
- Knit 1, purl 1 for 1.5 inches to form the cuff, then switch to stockinette stitch for 2 inches.
- Decrease by knitting two together around the next round, then knit one plain round.
- Knit two together around again, stuff lightly with fiberfill, then pull yarn through remaining stitches and close.
- Sew a loop of green ribbon to the back top edge for hanging.


10. Wood Slice Snowmen
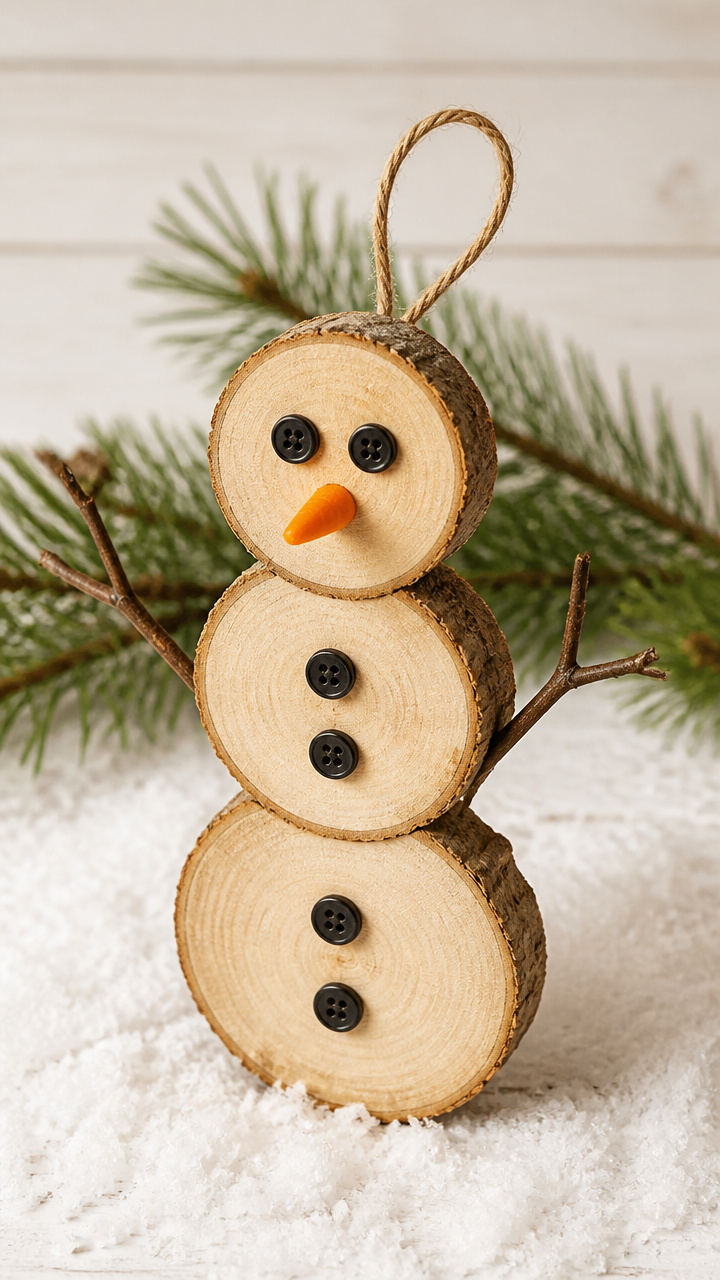
Three stacked wood slices with painted faces and twig arms become rustic snowmen that smell faintly of pine.
Materials Needed
- Three wood slices, 1.5, 1, and 0.5 inch diameters
- Black acrylic paint
- Orange acrylic paint
- Small paintbrush
- Two small twigs, 1 inch long
- White craft glue
- Black button, 0.25 inch
- Ribbon, 9-inch black checkered
How to Make It
- Stack the wood slices largest to smallest, glue the edges together, and let dry for 30 minutes on a flat surface.
- Paint two black dots for eyes and a curved smile on the top slice, then a small triangle nose with orange paint and let dry 15 minutes.
- Glue the black button below the face as a mouth accent, then attach the twigs to the sides of the middle slice as arms.
- Tie the ribbon around the neck area between top and middle slices and knot at the back for hanging.


11. Embroidered Hoop Stars
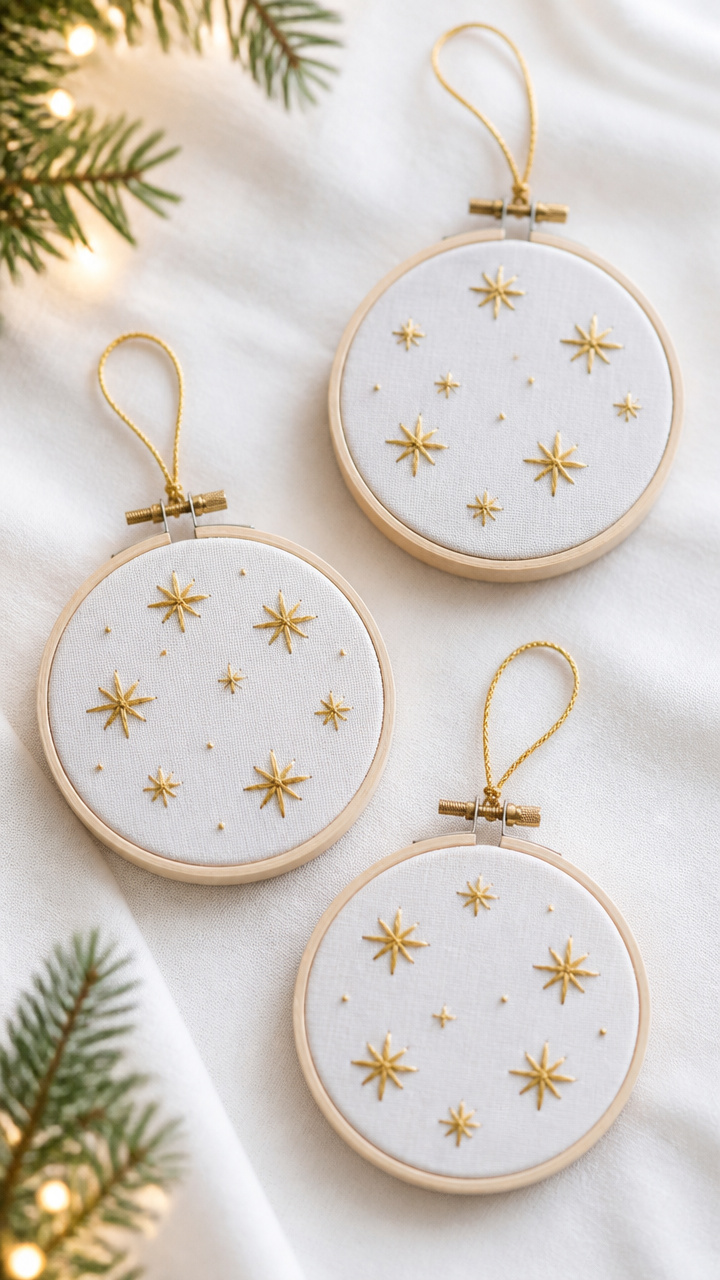
Tiny fabric stars in wooden hoops are stitched with metallic thread and glow under tree lights.
Materials Needed
- 3-inch wooden embroidery hoop
- White cotton fabric, 5×5 inches
- Gold embroidery floss
- Embroidery needle
- Scissors
- Fabric marker
- Ribbon, 8-inch navy
How to Make It
- Cut the fabric to 5 inches square and stretch it tightly in the hoop, trimming excess from the back.
- Use the fabric marker to draw a five-point star in the center, then trace over it with backstitch using double-stranded gold floss.
- Knot the thread securely on the back and trim excess, leaving a 0.5-inch tail.
- Remove the outer hoop ring and tie the navy ribbon around the top of the inner hoop, knotting to form a hanger.


12. Clay Roll Print Baubles
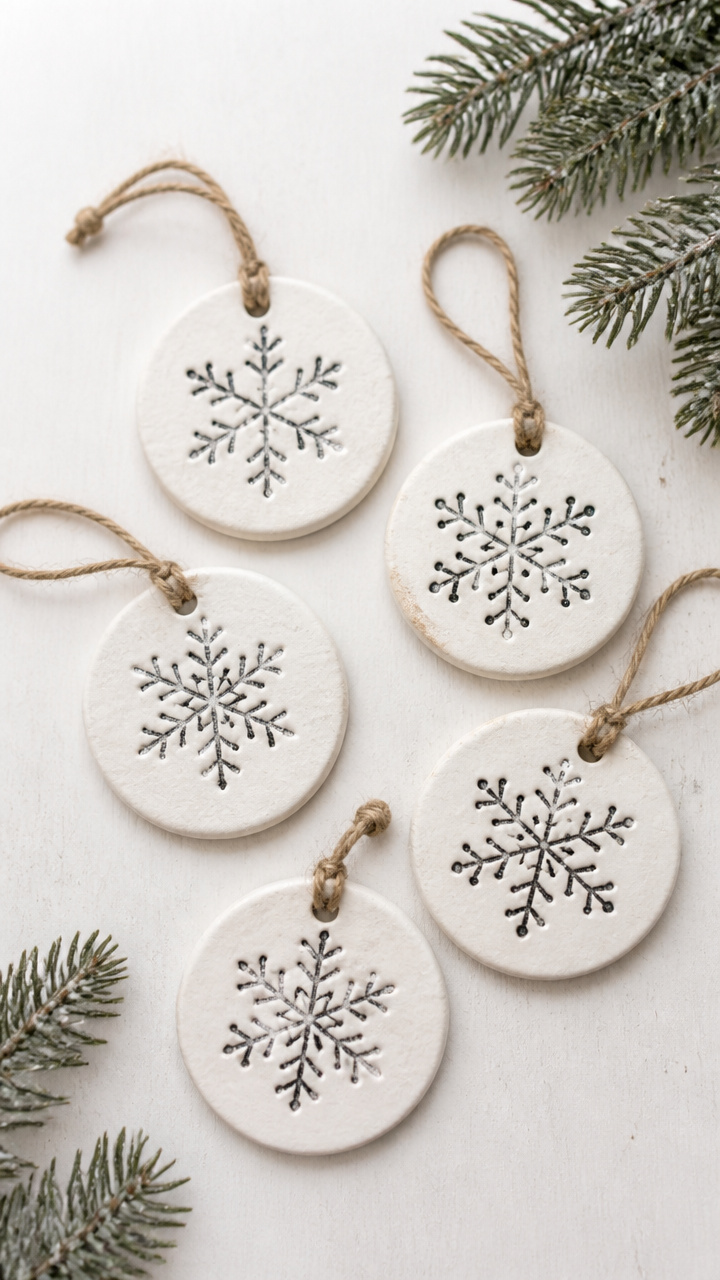
Air-dry clay discs stamped with rubber stamp patterns become elegant hanging tiles with deep texture.
Materials Needed
- White air-dry clay, 2 oz
- Pasta roller or rolling pin
- Circle cookie cutter, 2-inch
- Rubber stamp with snowflake design
- Ink pad, black archival
- Bamboo skewer
- Clear varnish, matte
- Small paintbrush
- Ribbon, 10-inch silver
How to Make It
- Roll the clay to 1/8-inch thickness using the pasta roller, then cut out a circle with the cookie cutter.
- Press the rubber stamp firmly into the ink pad, then stamp the center of the clay disc with even pressure.
- Use the skewer to poke a hole near the top edge, then let the clay dry on a flat surface for 24 hours.
- Brush both sides with a thin coat of matte varnish and let dry for 2 hours, then repeat for a second coat.
- Thread the silver ribbon through the hole and tie a loop.


13. Braided Fabric Scrap Wreaths
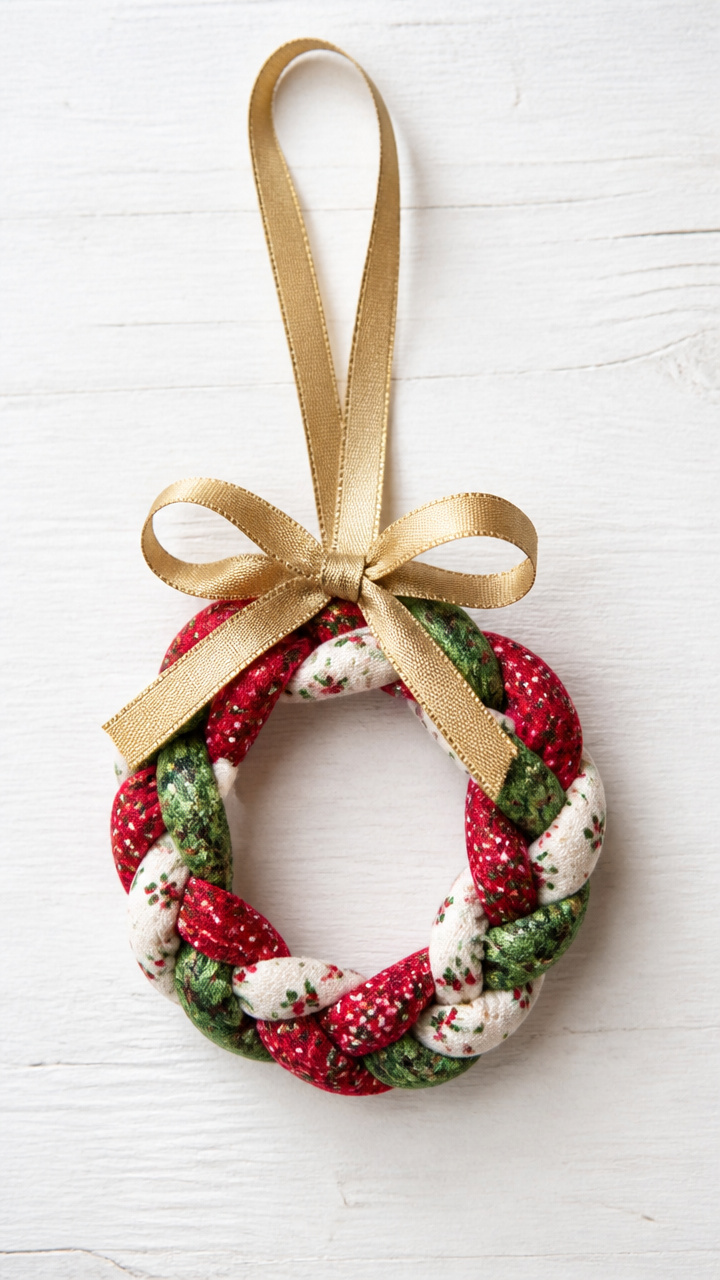
Leftover cotton fabric strips braided into tiny wreaths hold their shape and add soft color to any branch.
Materials Needed
- Three fabric strips, 1×12 inches each, in red, green, and white
- Scissors
- Hot glue gun
- Glue sticks
- Ribbon, 6-inch gold
How to Make It
- Braid the three fabric strips tightly from one end to the other, keeping tension even throughout.
- Form the braid into a circle and overlap the ends by 1 inch, then secure with a dab of hot glue on the back.
- Let the glue cool for 1 minute, then apply a second dot for extra strength.
- Glue the gold ribbon loop to the top back of the wreath and let set for 5 minutes before hanging.


14. Candy Cane Bead Rings
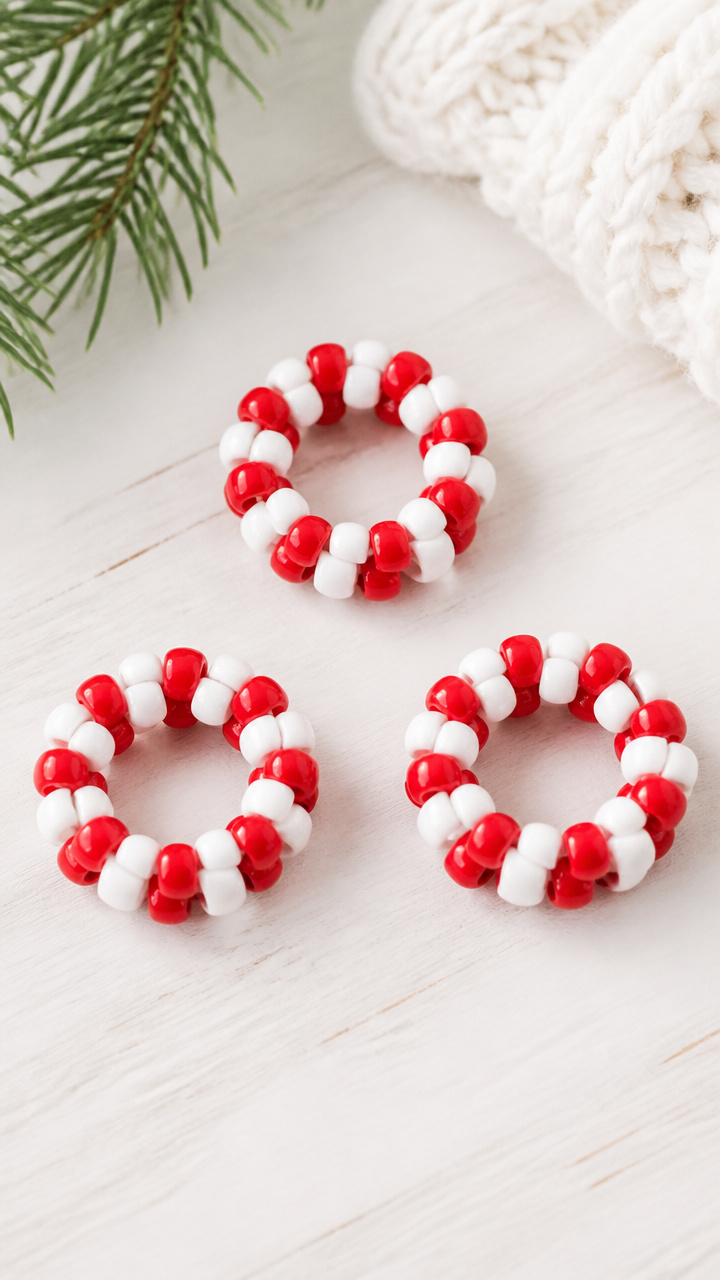
Red and white pony beads strung in spiral patterns mimic candy canes and rattle softly when touched.
Materials Needed
- Red pony beads, size 6mm, 12
- White pony beads, size 6mm, 12
- Clear stretchy cord, 12 inches
- Scissors
- Glue, fabric-safe clear
How to Make It
- Cut the cord to 10 inches and tie a tight double knot at one end.
- String beads in alternating red and white pairs, twisting each white bead 90 degrees to create a spiral stripe effect.
- Once all 24 beads are on, tie the ends together with a surgeon’s knot and add a drop of fabric glue to secure.
- Let the glue dry for 20 minutes before handling.


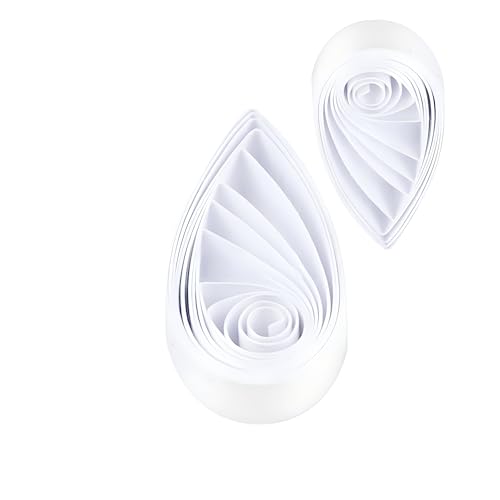
15. Quilled Paper Snowflakes
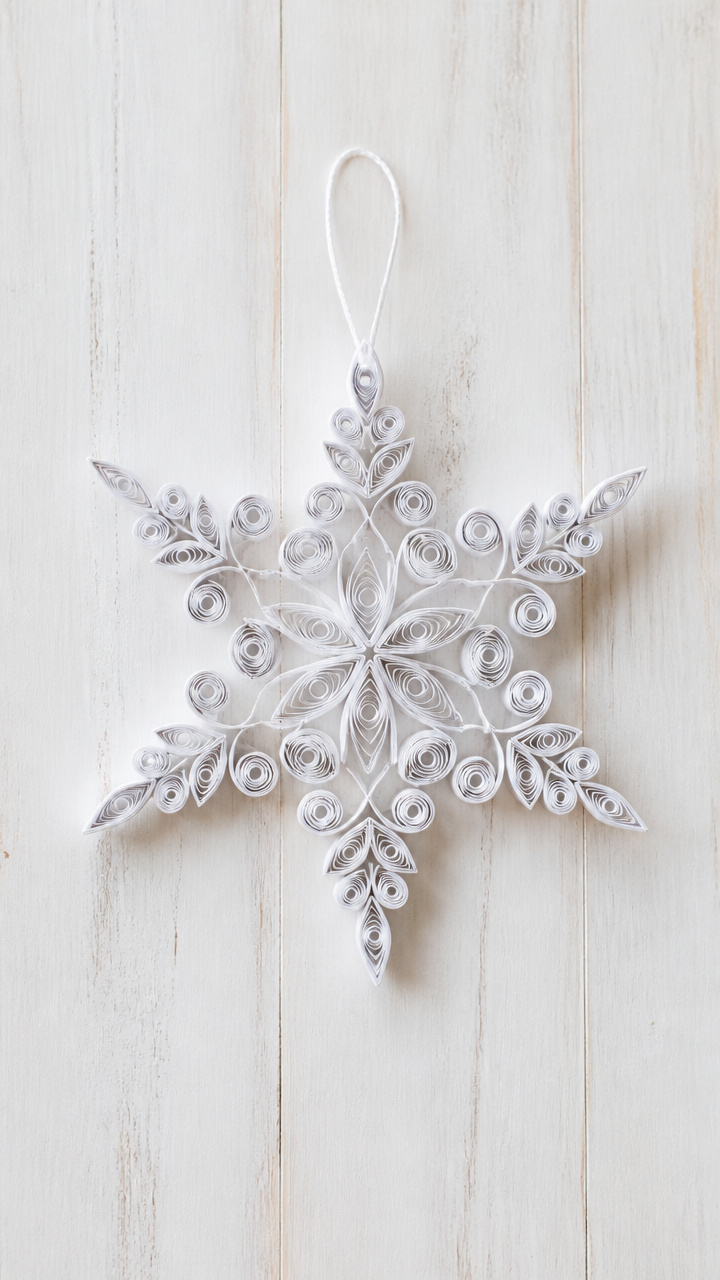
Tightly rolled paper strips form symmetrical snowflakes with delicate loops and crisp points.
Materials Needed
- White quilling paper strips, 1/4 inch wide, 12 inches long, 6 pieces
- Quilling tool
- White craft glue
- Tweezers
- Scissors
- Clear drying glue pen
- Ribbon, 7-inch icy blue
How to Make It
- Roll each paper strip tightly around the quilling tool, then squeeze one end to form a teardrop shape and glue the tail down.
- Arrange six teardrop coils in a circle, points facing outward, and glue each base to a central hub using the glue pen.
- Add a small loop of paper between each teardrop to fill gaps, gluing both ends down with tweezers.
- Let the snowflake dry flat for 30 minutes, then attach the icy blue ribbon to the back with a glue dot.


Each of these ornaments carries a little piece of your time and care. Pick one that calls to you, gather what you need, and start slow. The tree will thank you for it.