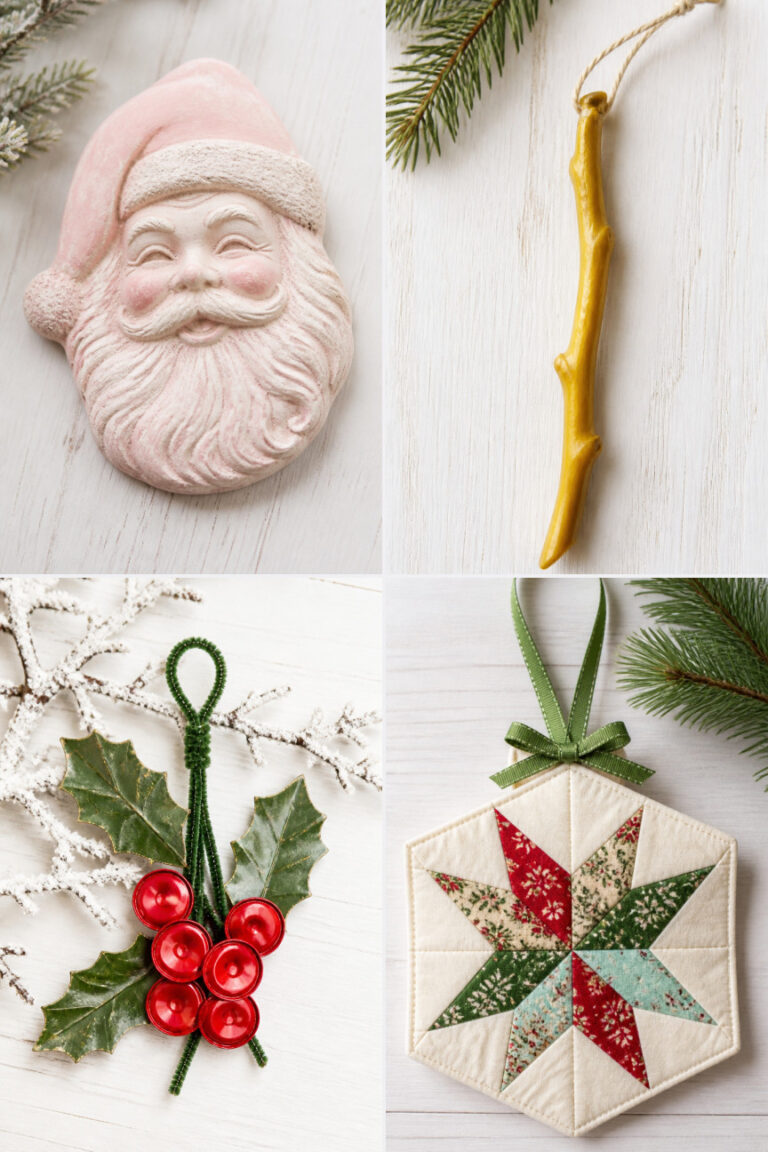
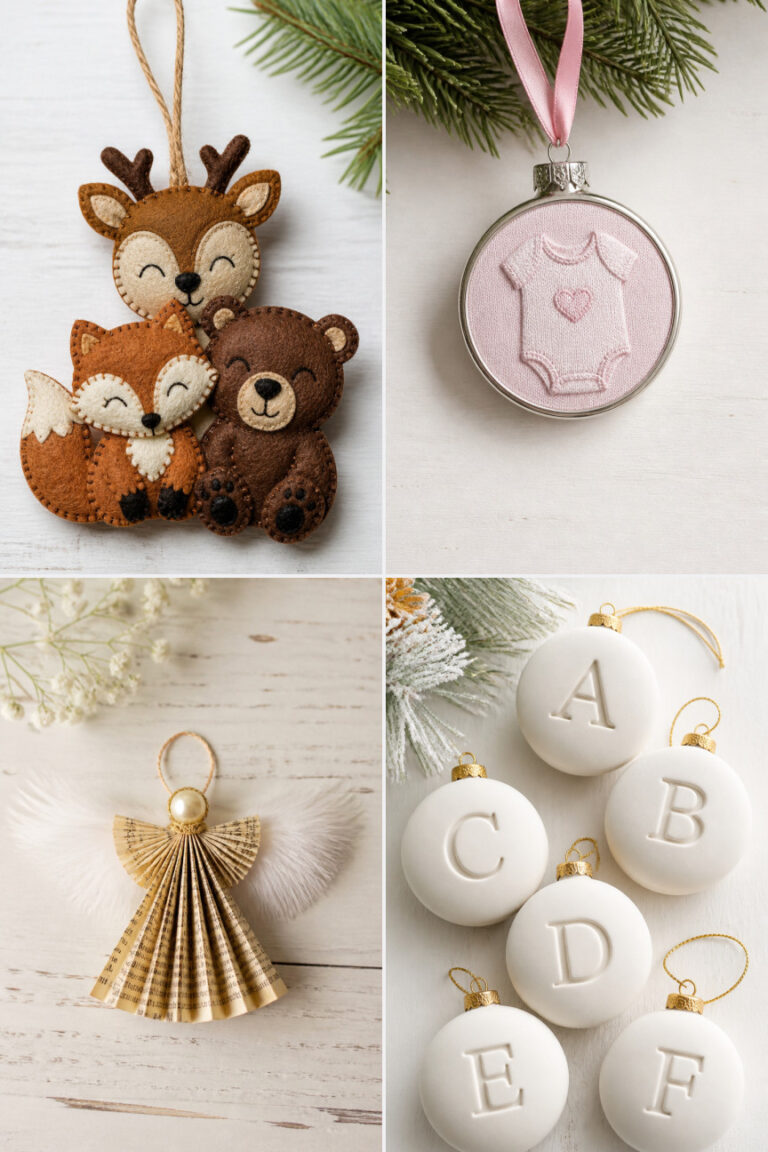
15 DIY Christmas Letter Ideas for a Cozy Holiday Pen-Pal Tradition
Opening your mailbox to find a real, handwritten letter is one of the coziest joys of the holiday season. The scratch of pen on paper, the subtle scent of ink or cinnamon, and the care tucked into every fold create a spark of genuine connection during the cold winter months.
Starting a holiday pen-pal exchange does not require fancy tools or expensive supplies. With just a few basic materials and a quiet moment to write, you can easily craft letters that feel deeply personal, warm, and festive.
Here are 15 creative DIY Christmas letter ideas to help you share the holiday spirit through thoughtful, handmade charm.
1. Cinnamon Stick Bookmark Letters
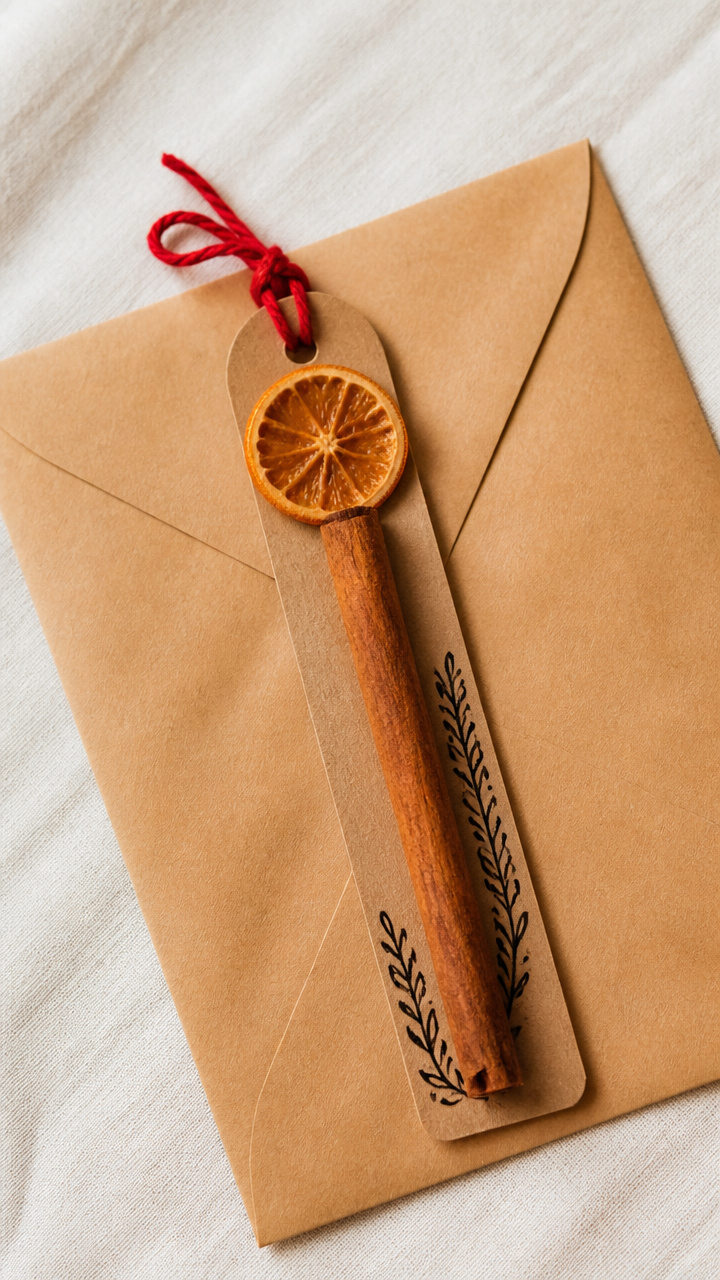
A sturdy cinnamon stick doubles as both decoration and bookmark, making this letter a gift that lingers long after it's read. The spicy scent fills the envelope and brings instant warmth.
Materials Needed
- 1 flat cinnamon stick, 4 inches long
- 1 sheet kraft brown paper, 5 x 7 inches
- red twine, 8 inches
- black fine-tip calligraphy pen
- small manila envelope, 5.25 x 7.25 inches
- dried orange slice, 1 inch wide
How to Make It
- Lay the kraft paper horizontally and center the cinnamon stick along the top edge. Wrap the twine around both the paper and stick, tying a secure double knot at the back.
- Write your message below the cinnamon stick using the calligraphy pen, leaving space at the bottom for the dried orange slice. After writing, tuck the orange slice into the fold of the paper before sealing it in the envelope.


2. Felt Tree Ornament Pockets
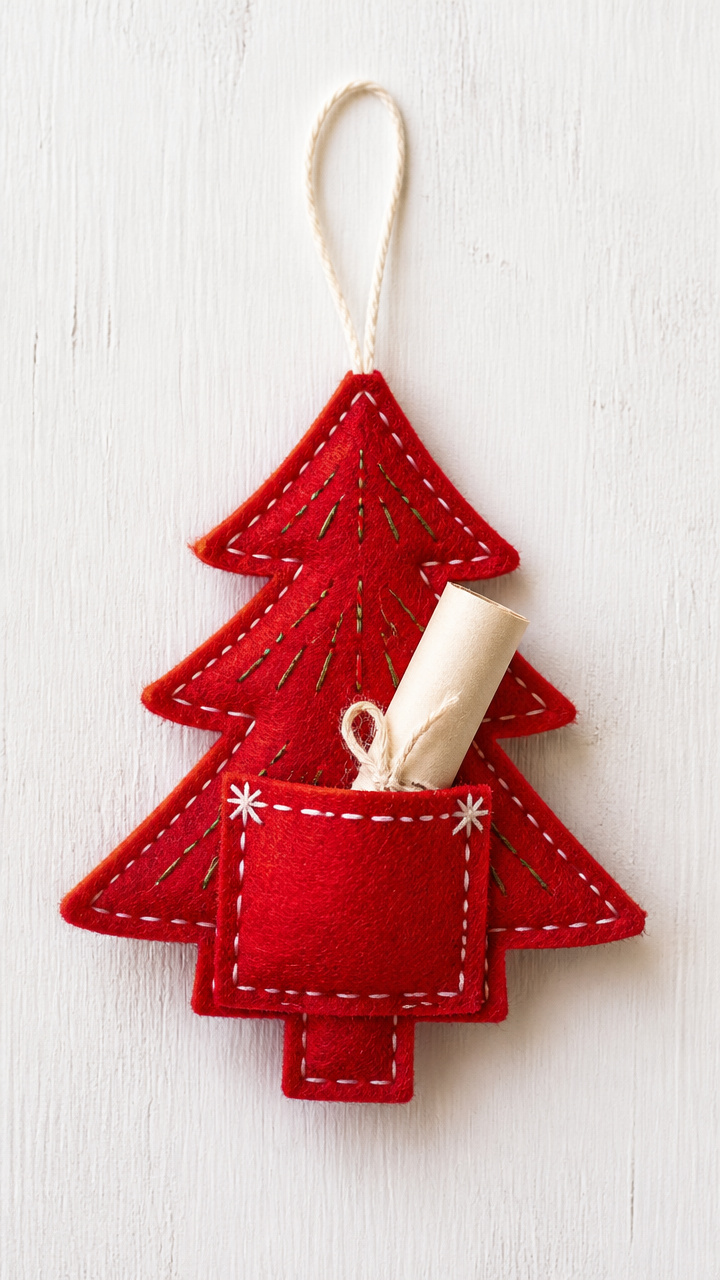
Tiny red felt trees hold a rolled letter inside their fabric pockets, creating a keepsake ornament your pen pal can hang year after year. Soft and stitch-bound, it feels like a small act of love.
Materials Needed
- red wool-blend felt sheet, 9 x 12 inches
- white embroidery floss, 1 yard
- embroidery needle
- scissors
- green fine-tip marker
- ruler
- pencil
- rolled letter on ivory linen paper, 3 inches wide
How to Make It
- Cut two identical tree shapes from the felt, each 5 inches tall with scalloped edges. Place them together and stitch around the border with a running stitch using white floss, leaving the top open.
- Before finishing the last inch, insert the rolled letter. Continue stitching to close, then draw garland lines on the front with the green marker to resemble lights.


3. Pressed Holly Sprig Envelopes
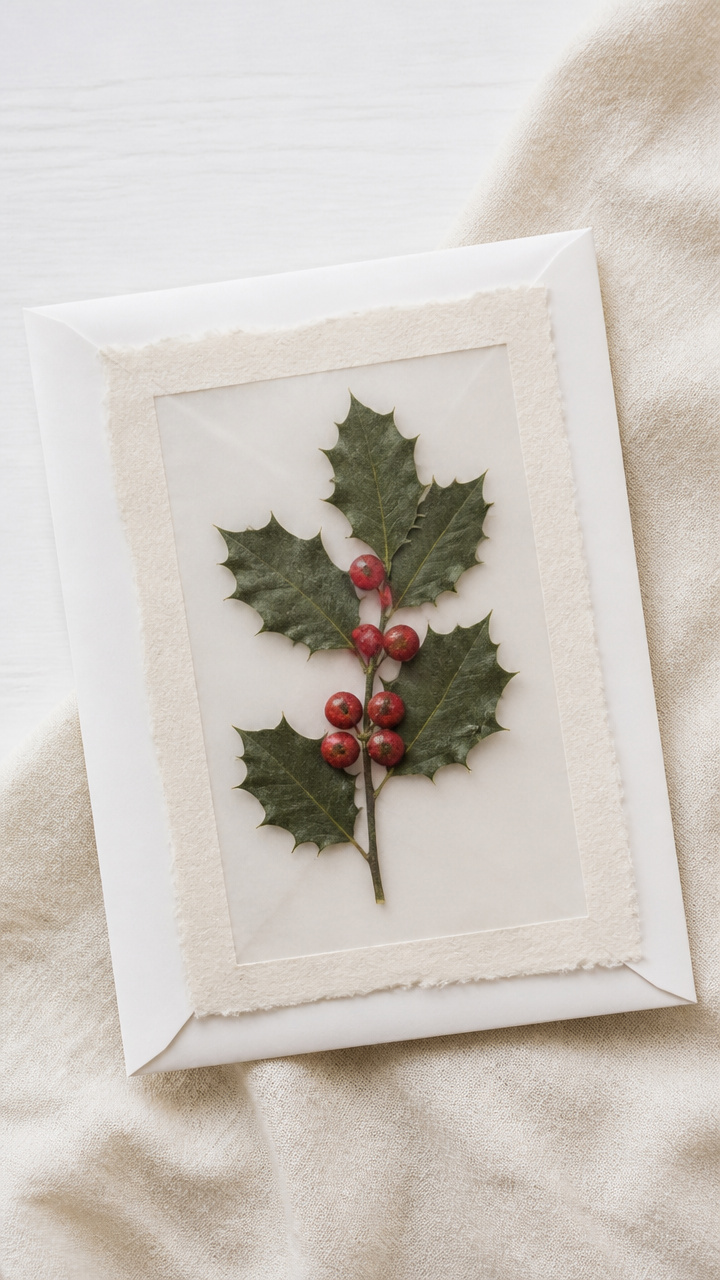
Real holly sprigs pressed between wax paper become a translucent window on your envelope, framing your handwriting like nature’s own stationery. Sharp red berries contrast beautifully against soft paper.
Materials Needed
- fresh holly sprig, 2 inches long
- wax paper, 4 x 4 inches
- iron
- parchment paper, 5 x 5 inches
- clear tape
- white A6 card, 4.5 x 6.25 inches
- black rollerball pen
How to Make It
- Place the holly sprig centered on one piece of wax paper. Cover with the second wax paper piece. Sandwich between parchment paper and iron on low heat for 20 seconds to seal and flatten.
- Trim the sealed holly square to 3 x 3 inches. Tape it over a cutout window (2.5 x 2.5 inches) on the front of the card. Write your letter inside using the rollerball pen.


4. Mini Knitted Sweater Covers
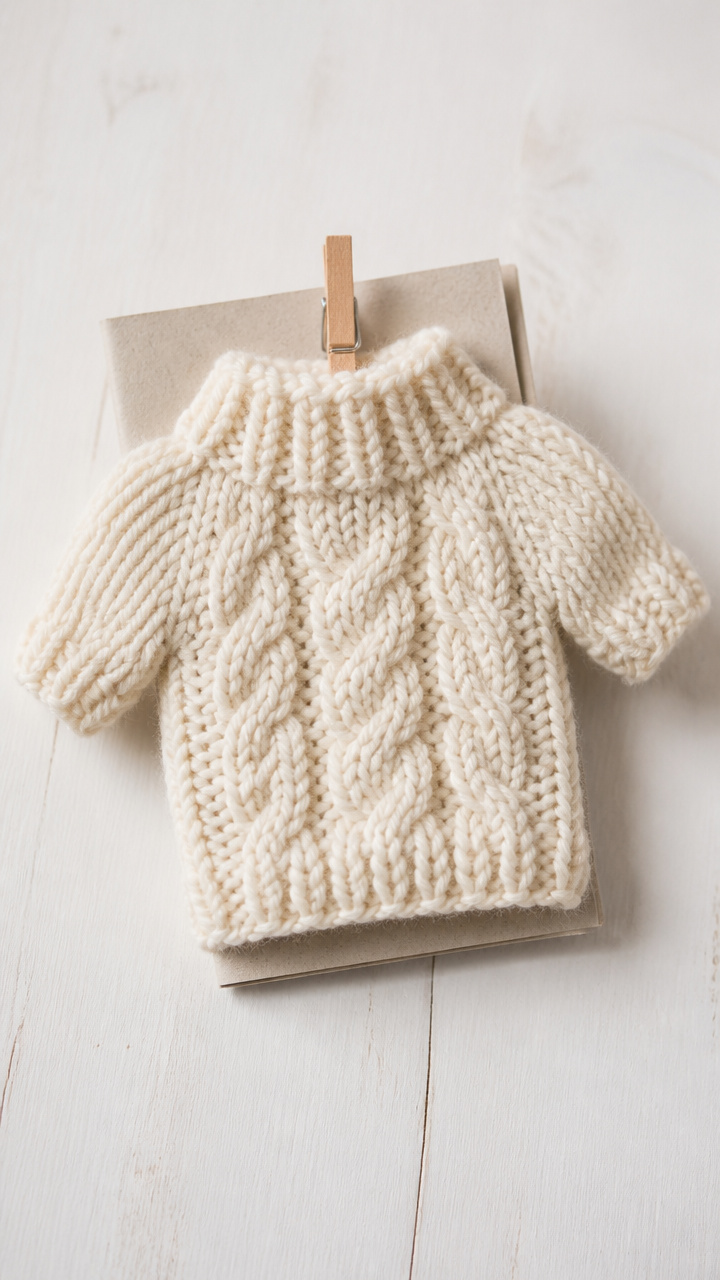
A tiny sweater knitted from cream yarn wraps around your folded letter like a cozy blanket. Delicate cable stitches give it texture and make it feel like a handmade heirloom.
Materials Needed
- cream bulky yarn, 10 yards
- pair of size 6 knitting needles
- tapestry needle
- scissors
- folded letter on oatmeal-colored notecard
- small clothespin
How to Make It
- Knit a rectangle 3 inches wide by 5 inches long in a cable stitch pattern. Bind off loosely. Weave in all ends with the tapestry needle.
- Slide the folded notecard into the knitted sleeve like a book cover. Fasten the top edge with the clothespin shaped into a heart.


5. Salt Dough Star Charms
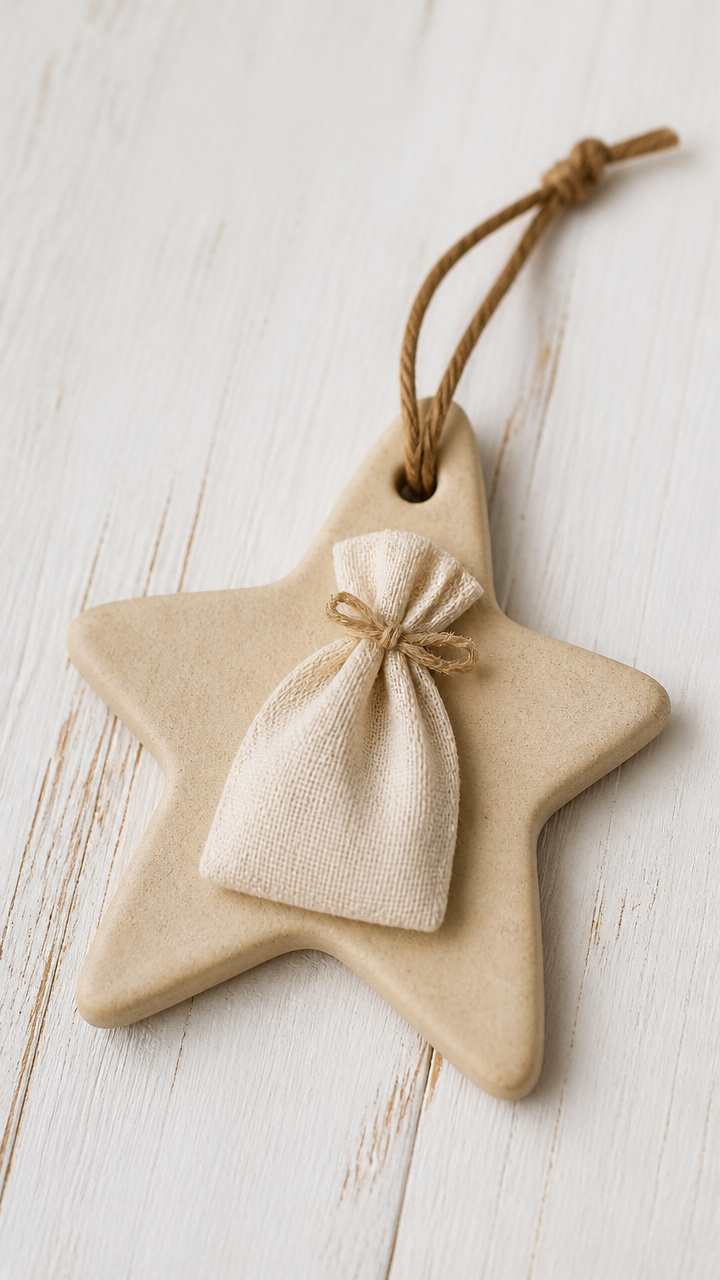
A star-shaped salt dough charm bakes firm and holds your handwritten note inside a stamped muslin pouch. Lightweight and rustic, it clinks gently when handled.
Materials Needed
- salt dough (mix: 1 cup flour, 1/2 cup salt, 1/3 cup water)
- star-shaped cookie cutter, 1.5 inches
- baking sheet
- pencil
- muslin fabric scrap, 4 x 4 inches
- brown thread, 6 inches
- hand-stamped label, 'For You'
- tiny glassine envelope, 2.5 x 3.5 inches
How to Make It
- Roll dough to 1/4 inch thick and cut out a star. Poke a hole near the top with a pencil. Bake at 200°F for 2 hours until hard. Let cool completely.
- Write your message on thin paper and place it in the glassine envelope. Sew the muslin around it, leaving the top open. Thread the cooled star onto the string and tie it to the pouch.



6. Peppermint Tea Bag Notes
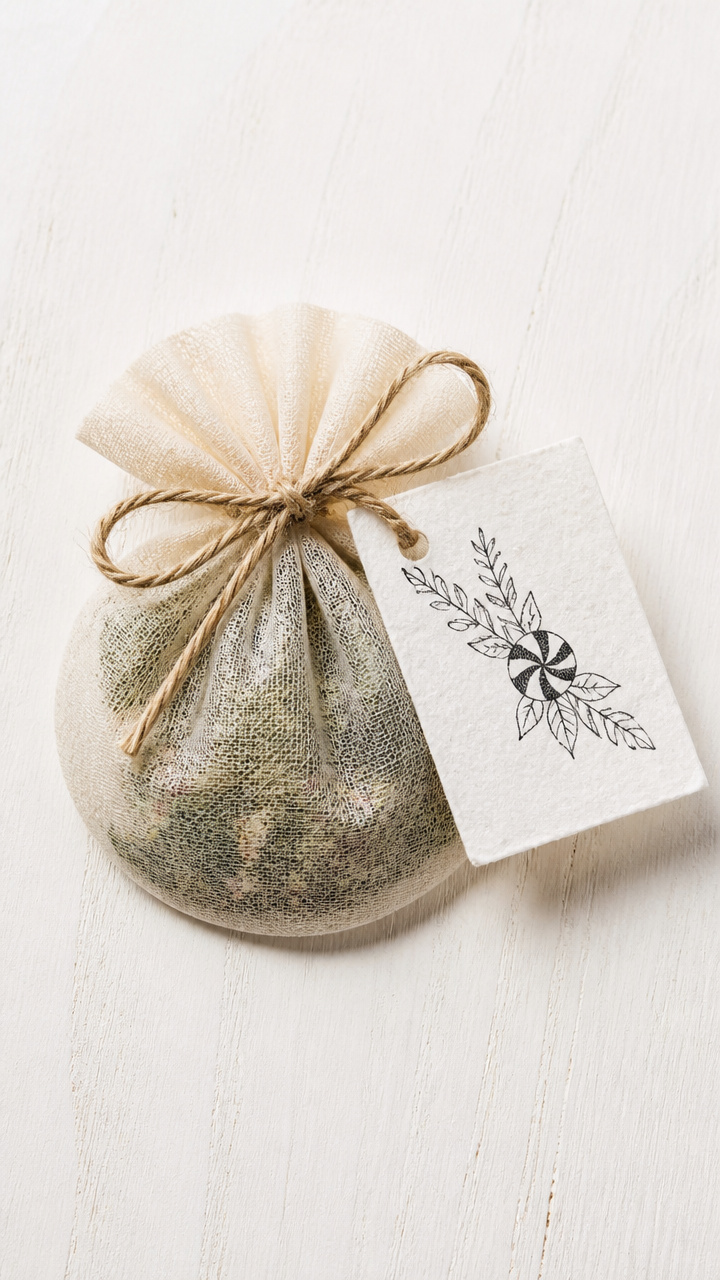
A homemade tea bag filled with crushed peppermint leaves holds a micro-letter tucked into its tag. When steeped, the note unfurls slightly, revealing a hidden message.
Materials Needed
- organic peppermint leaves, 1 tablespoon
- round tea filter papers, 2 inches diameter, 2 per bag
- hole punch
- twine, 5 inches
- water-soluble rice paper, 1.5 x 2 inches
- fine-tipped black pen
- small cellophane bag, 3 x 4 inches
How to Make It
- Grind peppermint leaves slightly with a mortar and pestle. Place half on one tea filter. Lay the rice paper on top and write your message with the pen. Cover with the second filter and press edges to seal.
- Punch a hole at the top, thread with twine, and tie the tag end to form a loop. Place in the cellophane bag and seal with a sticker.


7. Beeswax-Sealed Scroll Letters
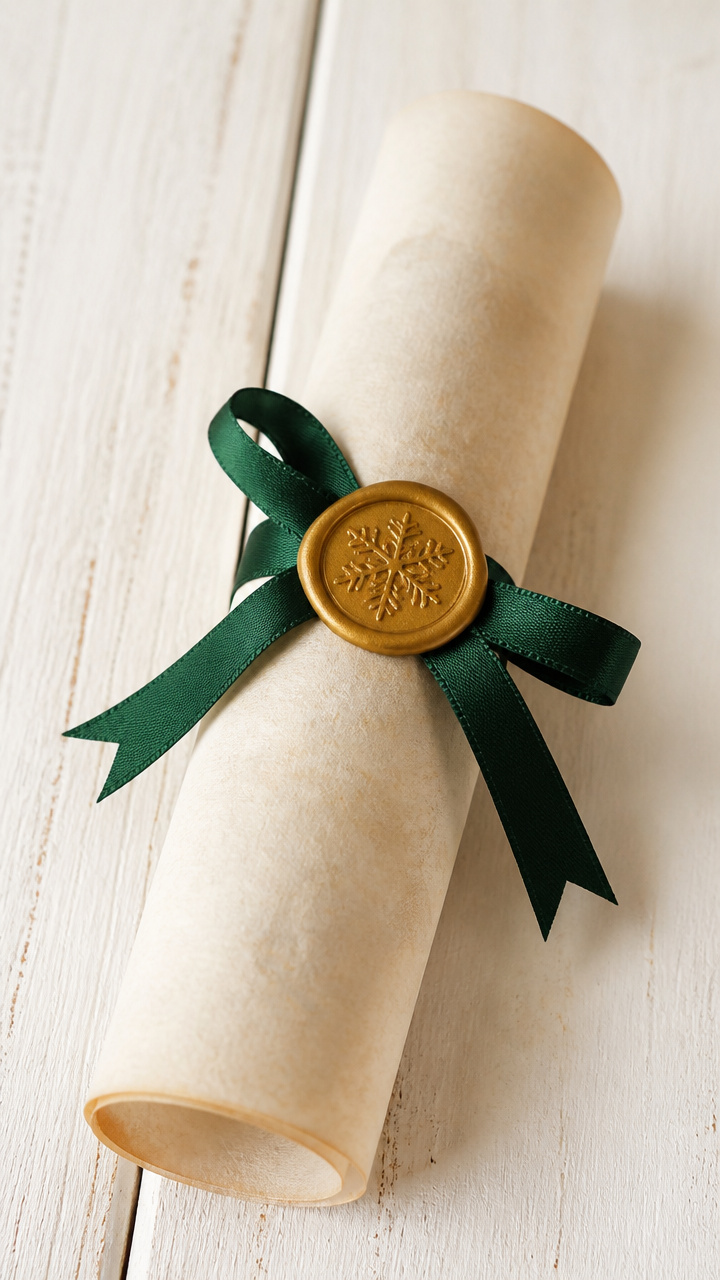
A scroll tied with forest-green ribbon and sealed with golden beeswax feels ancient and ceremonial. The wax stamp adds a personal emblem known only to you and your friend.
Materials Needed
- beeswax block, yellow
- wooden wax stamp with snowflake design
- kitchen lighter
- vellum paper, 8 x 10 inches
- forest-green satin ribbon, 12 inches
- calligraphy pen with brown ink
How to Make It
- Melt a pea-sized piece of beeswax over a flame using the lighter, rotating the stamp continuously for 15 seconds until wax flows evenly. Press firmly onto the folded vellum edge for 10 seconds.
- Unroll the vellum and write your message in calligraphy. Rewrap, tie with ribbon, and let the cooled wax seal hold the scroll closed.


8. Mini Pinecone Attachments
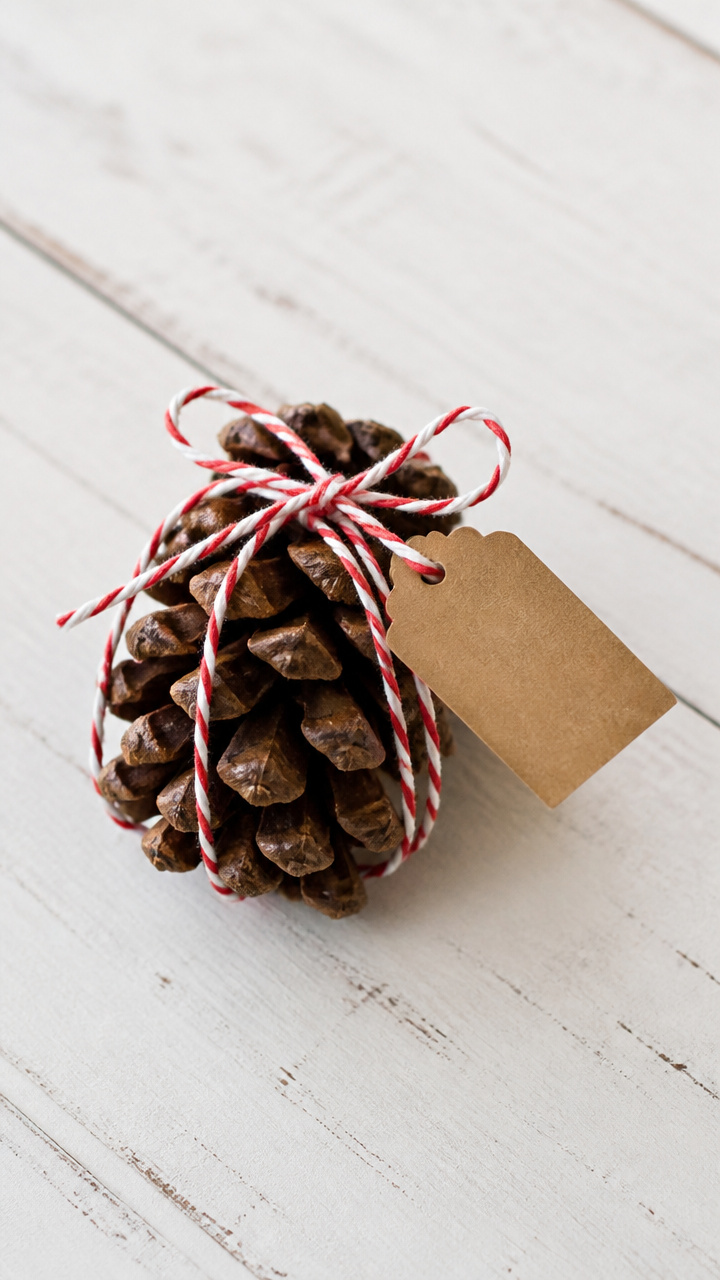
A real pinecone wrapped in baker’s twine carries a tag with your message, turning nature into a tactile greeting. Its woody scent lingers in the mailbox.
Materials Needed
- small natural pinecone, 2 inches tall
- baker’s twine, 10 inches
- manila tag, 1.5 x 3 inches
- brown gel pen
- glue dot
- clear acrylic sealer spray
How to Make It
- Spray the pinecone lightly with sealer and let dry for 10 minutes to preserve texture. Write your message on the tag using the gel pen.
- Wrap twine around the pinecone base twice and knot securely. Attach the tag with a glue dot and wrap the loose twine end around the bundle once more before sealing the knot.


9. Quilted Fabric Patch Letters
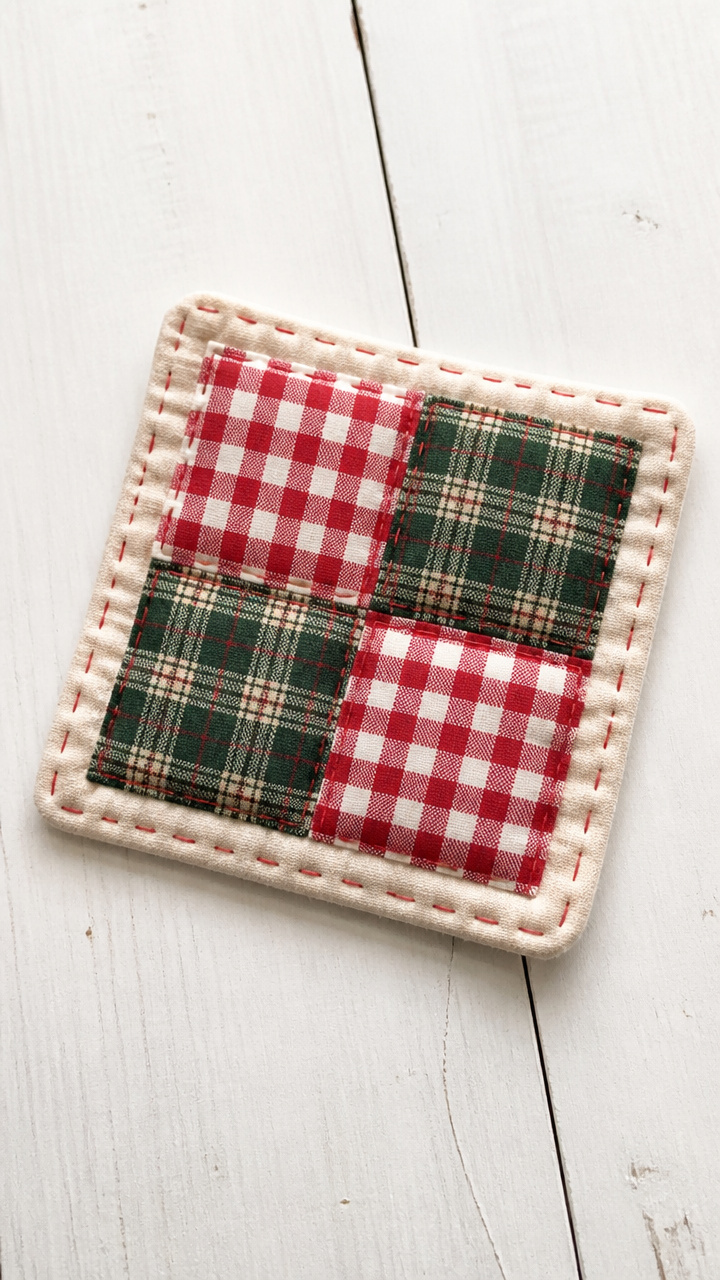
Tiny quilt squares stitched from holiday fabric scraps encase a micro-note in their folds. Each patch feels like a snippet of a family heirloom quilt.
Materials Needed
- red gingham cotton fabric, 2 inches square
- green plaid cotton fabric, 2 inches square
- batting scrap, 1.5 inches square
- quilting thread, red, 1 yard
- hand sewing needle
- mini safety pin
- vellum slip, 1 x 1.5 inches
How to Make It
- Layer the batting between the two fabric squares. Pin in place and hand-quilt around the edges with a whipstitch using red thread.
- Write your message on the vellum slip. Fold the quilted patch in half and secure with the mini safety pin, sandwiching the slip inside.


10. Hand-Stamped Kraft Tags
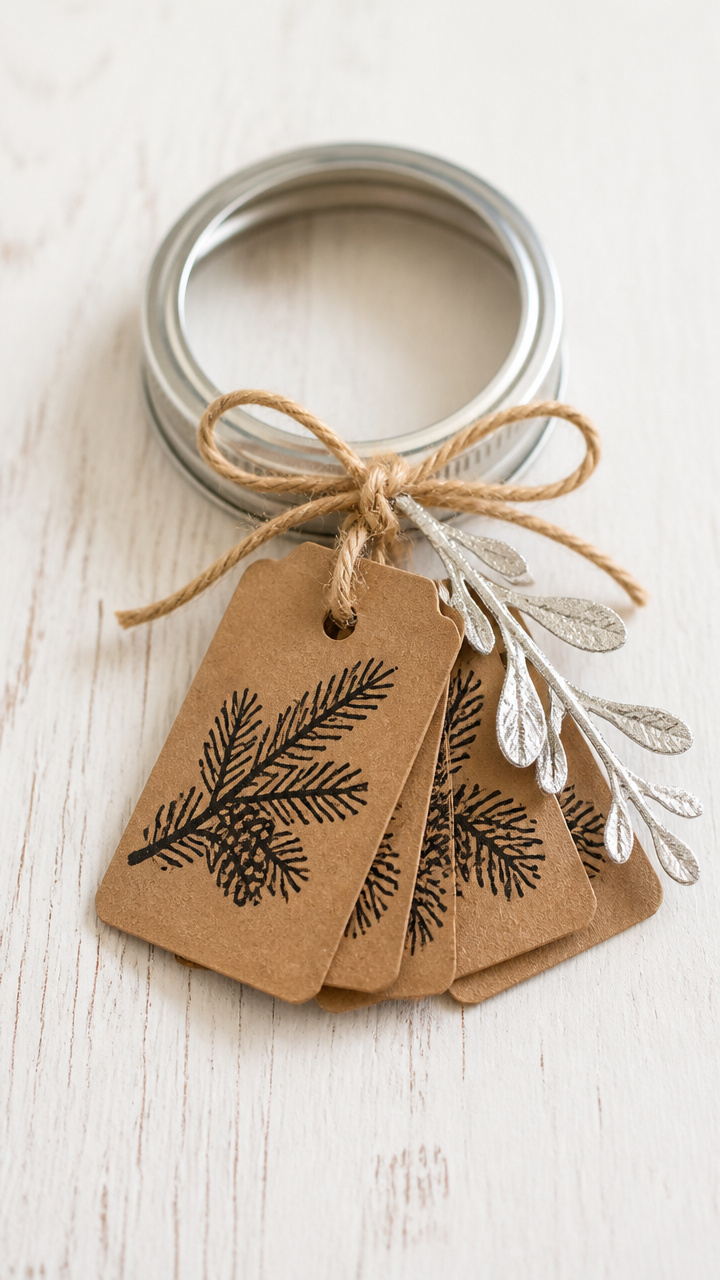
Recycled kraft tags stamped with evergreen motifs carry short messages tied to a mason jar lid ring. Simple, circular, and easy to display on a bulletin board.
Materials Needed
- recycled kraft tags, 2 x 3 inches, 1
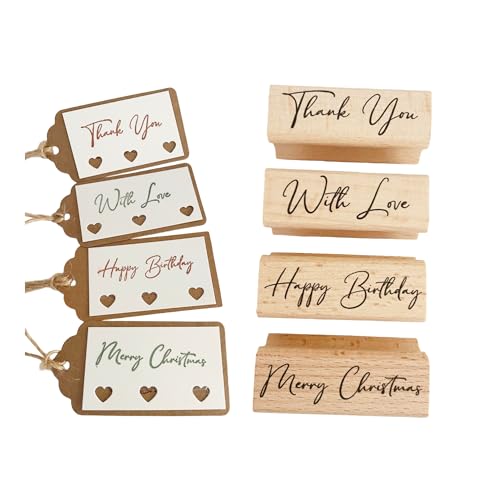
- rubber stamp with pine branch design
- jet-black ink pad
- silver metallic pen
- mason jar lid ring, 2.5 inches diameter
- hole punch
How to Make It
- Stamp the pine branch design in the top left corner of the tag using firm, even pressure. Let ink dry for 30 seconds.
- Write your message with the silver pen below the stamp. Punch a hole at the top and thread the lid ring through. Close the ring around the tag.


11. Maple Syrup Glazed Paper
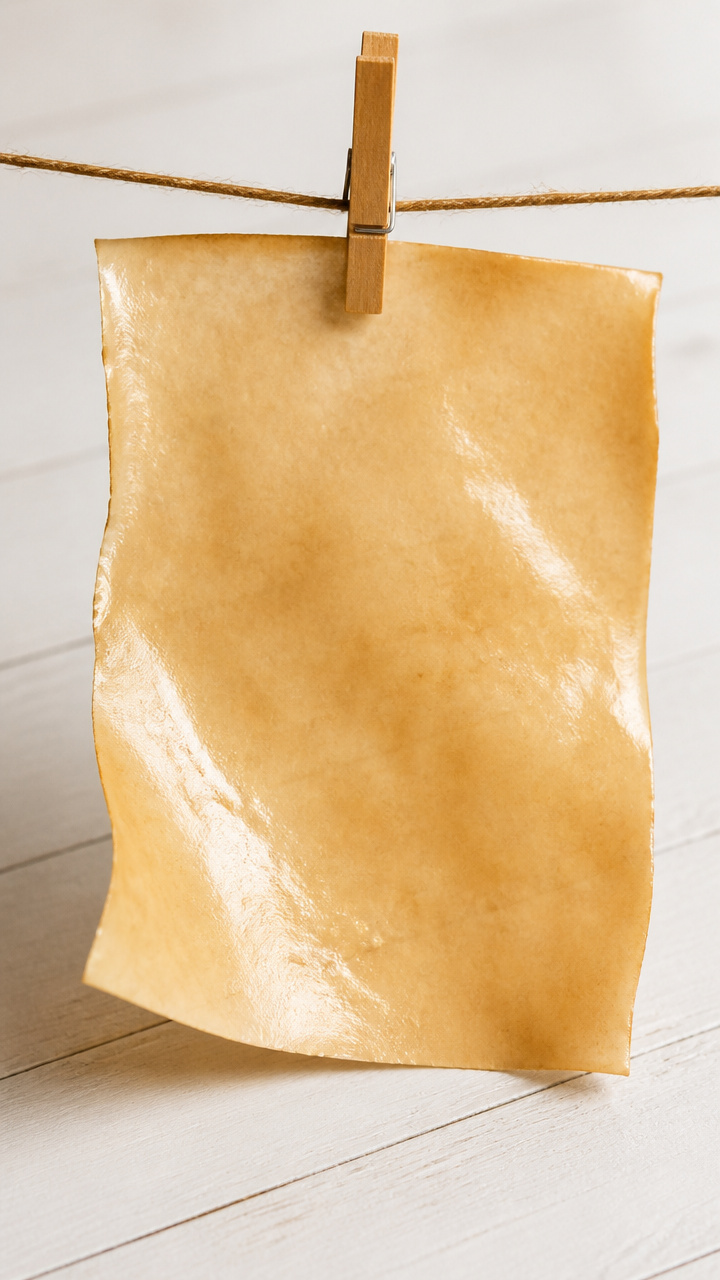
Paper brushed with real maple syrup dries glossy and slightly amber, giving your letter a sweet sheen and subtle scent. Edges curl naturally as it sets.
Materials Needed
- real maple syrup, 2 tablespoons
- small foam brush
- ivory drawing paper, 5 x 7 inches
- clothesline and pegs
- blue fountain pen
- waxed paper sheet
How to Make It
- Use the foam brush to apply syrup evenly across the paper surface. Hang on the clothesline with pegs for 3 hours until fully dry and slightly stiffened.
- Lay the dried paper on waxed paper. Write your message with the fountain pen and let ink dry for 2 minutes before folding.


12. Tiny Wool Felt Snowballs
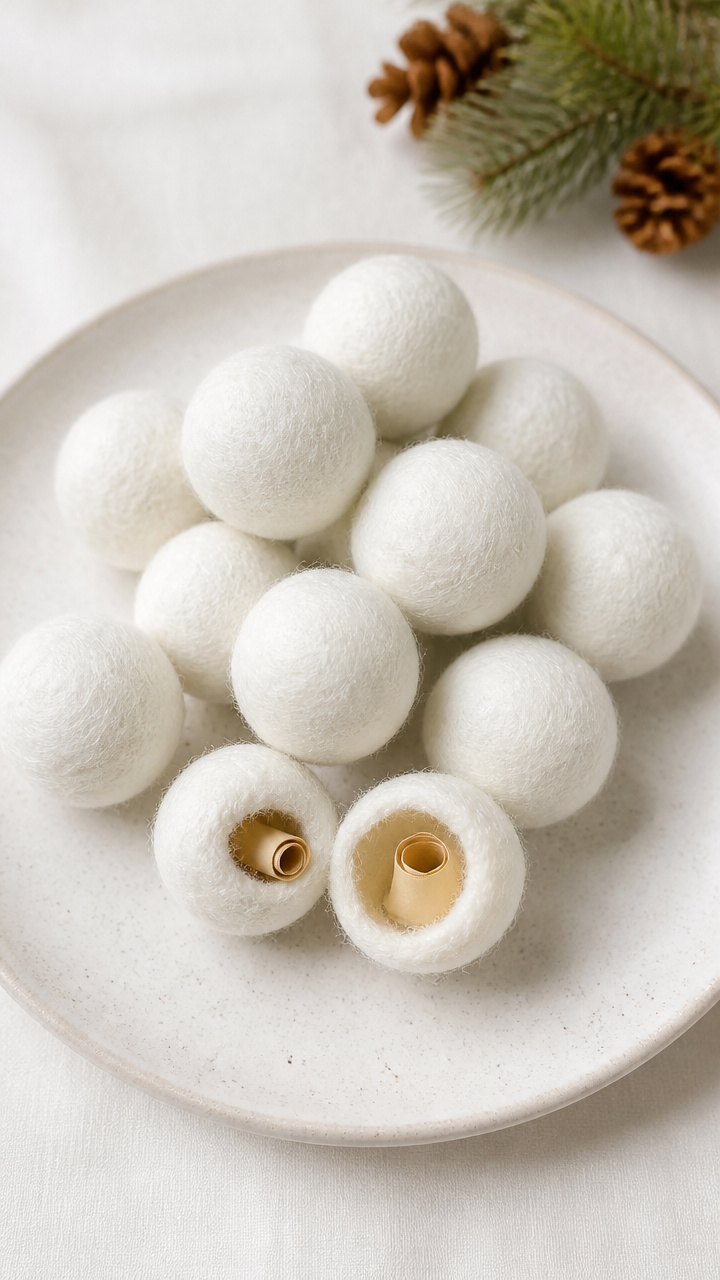
Rolled balls of white wool felt contain a rolled micro-letter inside a needle-felted cavity. They feel dense and soft, like real snow that won’t melt.
Materials Needed
- white wool roving, 10 grams
- felting needle
- foam pad
- tweezers
- micro paper scroll, 0.75 x 2 inches
- ink pen with waterproof ink
How to Make It
- Pull a handful of roving and roll tightly into a 1-inch ball. Use the felting needle on the foam pad to stab the surface evenly for 2 minutes until firm.
- Make a small slit with the needle tip, insert the micro scroll with tweezers, and continue felting around the opening for 30 seconds to seal.


13. Edible Cookie Message Boxes
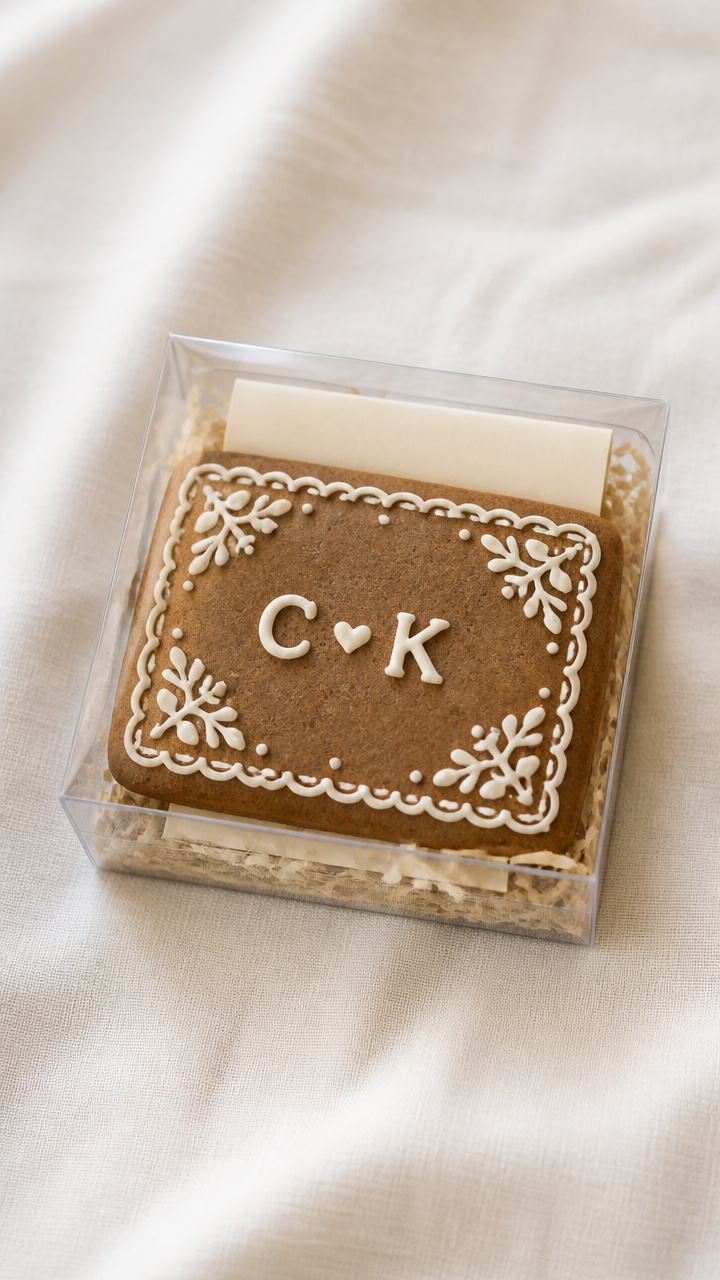
A gingerbread cookie stamped with initials holds a folded note inside a clear cellulose box. Your pen pal can eat the cookie or keep it as a spiced decoration.
Materials Needed
- rolled gingerbread dough, 1/4 inch thick
- rectangular cookie cutter, 2 x 3 inches
- initial-shaped mini stamp
- cookie icing, white
- paintbrush
- clear cellulose box, 2.2 x 3.2 x 1 inch
- lined note slip, 2 x 3 inches
How to Make It
- Cut dough with the rectangular cutter. Press the initial stamp into the top right corner. Bake at 350°F for 8 minutes. Cool completely.
- Brush cookie lightly with icing to preserve. Fold the note and place in the box. Slide the iced cookie in behind it like a backdrop.


14. Twine-Wrapped Birch Logs
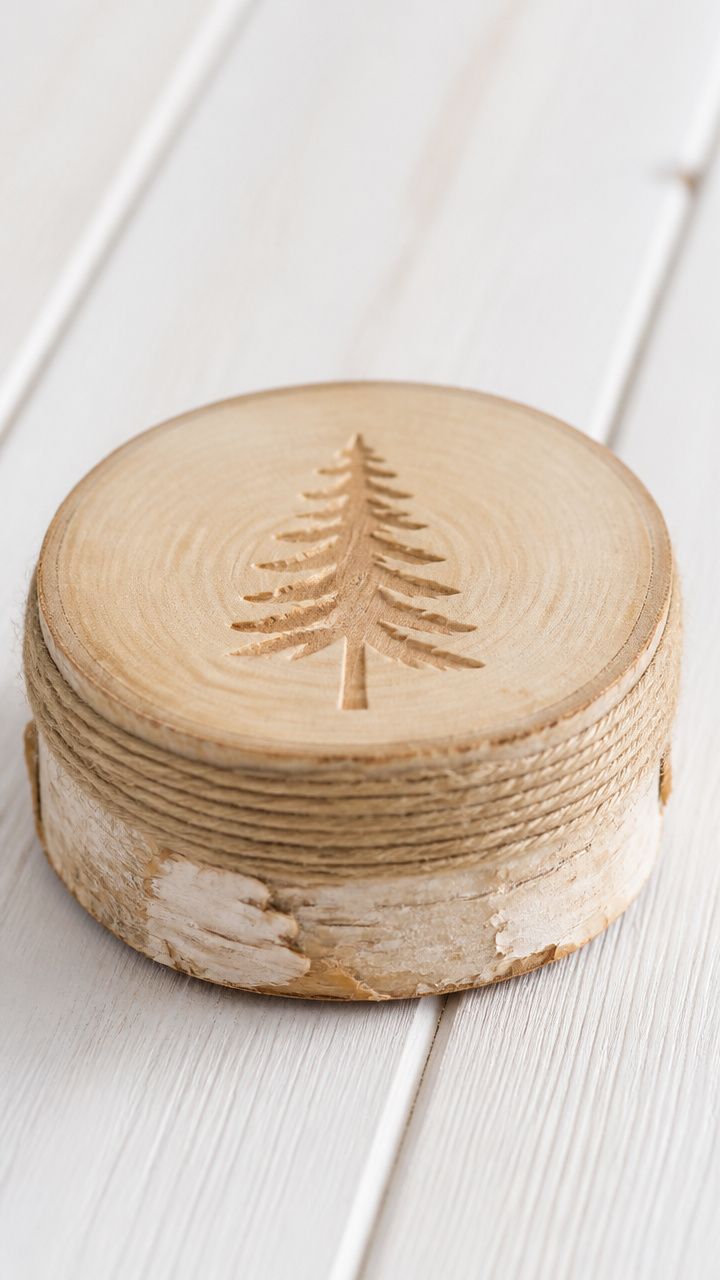
A slice of birch bark wrapped in jute twine carries a message carved into its face. The papery bark peels slightly at the edges, adding wild elegance.
Materials Needed
- birch log slice, 1 inch thick, 3 inches diameter
- jute twine, 18 inches
- wood-burning tool with fine tip
- sandpaper, 220 grit
- clear matte wood sealant
- cotton rag
How to Make It
- Lightly sand the top surface of the log slice. Use the wood-burning tool to carefully write your message in script, applying steady pressure.
- Seal the surface with a thin coat of matte sealant using the rag. Wrap twine around the log twice and knot at the top, letting the ends hang freely.


15. Linen Napkin Pocket Letters
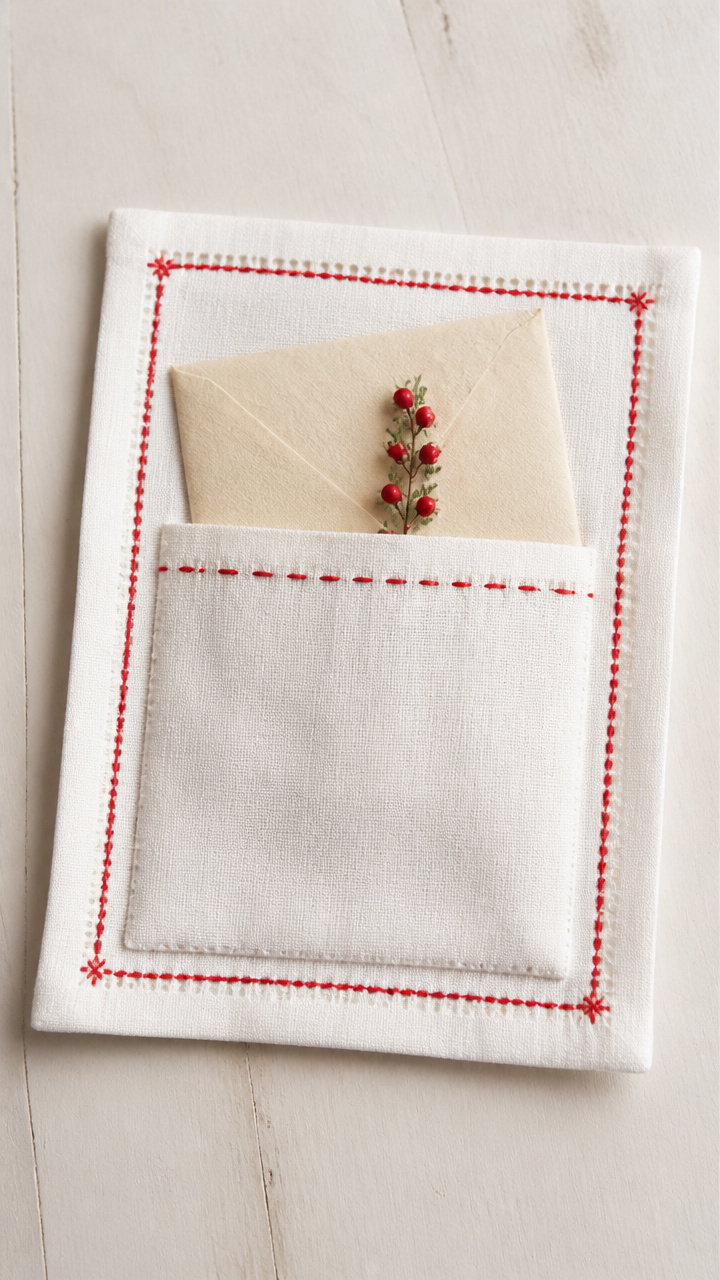
A vintage-style linen napkin sewn with a pocket holds your letter like a cherished keepsake. The hem is stitched in red thread for a festive touch.
Materials Needed
- white linen napkin, 8 x 8 inches
- red embroidery thread, 2 yards
- embroidery hoop
- sharp needle
- ruler
- fabric scissors
- folded letter on deckle-edge paper
How to Make It
- Cut a 3 x 4 inch rectangle from leftover linen. Pin it to the bottom right corner of the napkin, 1 inch from each edge. Stitch around three sides with a backstitch using red thread.
- Remove from the hoop. Insert the folded letter into the open pocket. Fold the napkin neatly and tie with cotton string.


Each of these letters carries more than words, they carry texture, scent, and time. Pick one that calls to you, gather what you need, and let your hands do the talking.