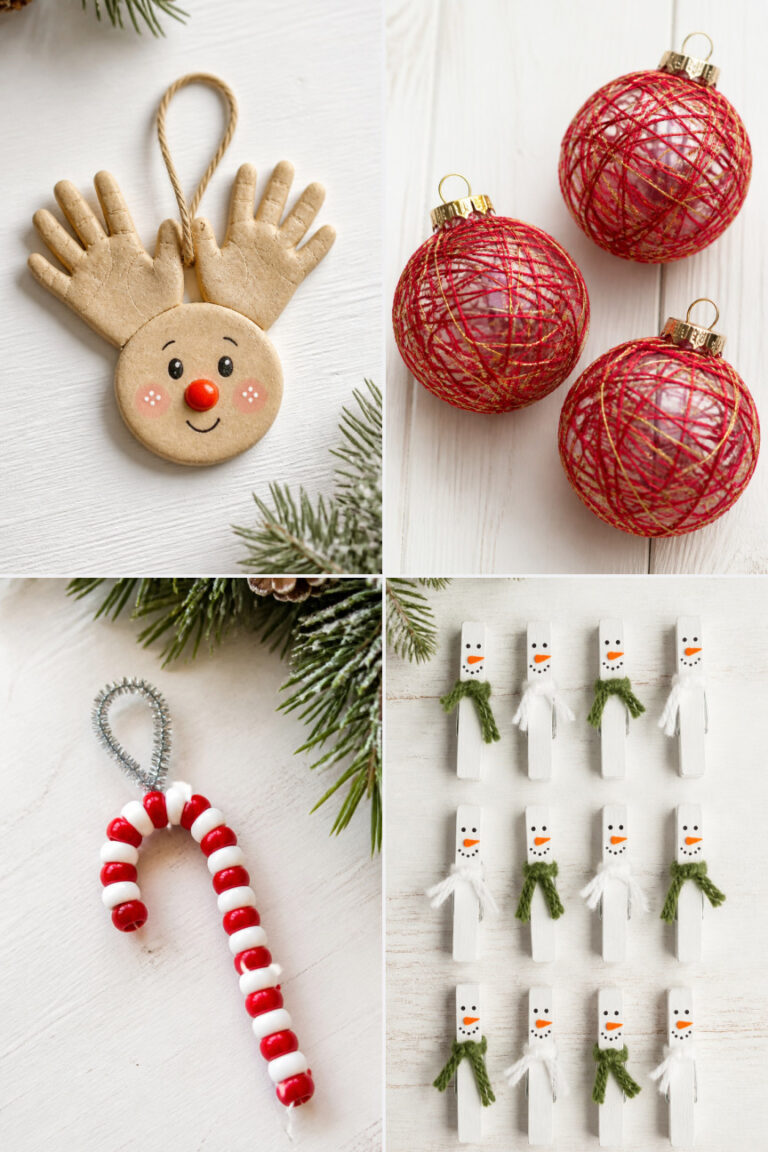
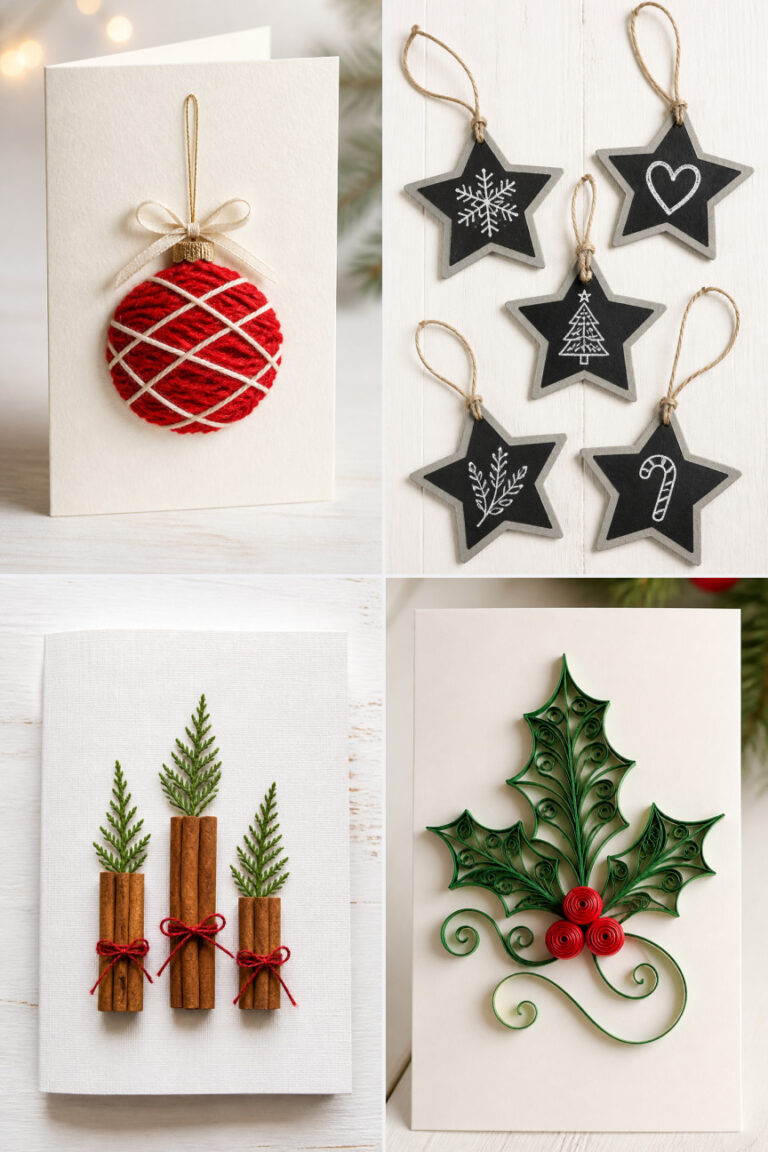
13 Cute Christmas Mail Crafts for Sending Holiday Letters
Opening the mailbox to find a thoughtfully crafted, handwritten note instantly brings the magic of the holidays to life. Adding handmade touches turns simple holiday letters into meaningful keepsakes that friends and family will happily pin to the fridge or save in a drawer long after the season ends.
You do not have to spend hours to make your envelopes stand out. Each project uses simple materials you likely already have or can easily find, featuring clear steps so you can create them all in a single cozy afternoon.
1. Mini Paper Tree Envelope Seal
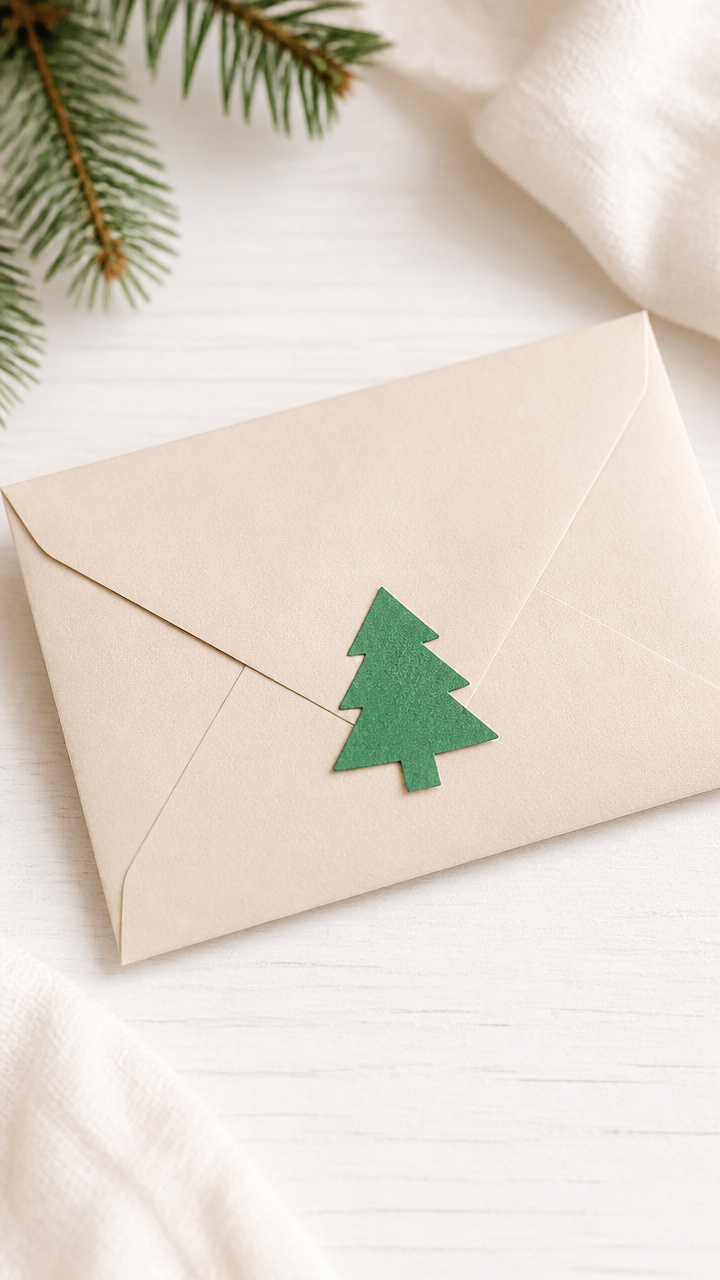
Tiny evergreen shapes cut from green cardstock become festive envelope closures that peek out when sealed. They add a forest-fresh charm without needing extra postage.
Materials Needed
- Green A4 cardstock
- Scissors
- Double-sided tape squares, 0.5 inch
- Pencil
- Ruler
How to Make It
- Draw a small triangle 1.5 inches tall and 1 inch wide on the green cardstock using pencil and ruler. Cut it out with scissors to use as a template.
- Trace and cut six more triangles of the same size. Stack them offset by 0.2 inches each time, then glue together with a dot of craft glue at the center to form a layered tree.
- Glue a double-sided tape square to the back bottom edge of the tree. Press it firmly over the flap of your closed envelope to seal.


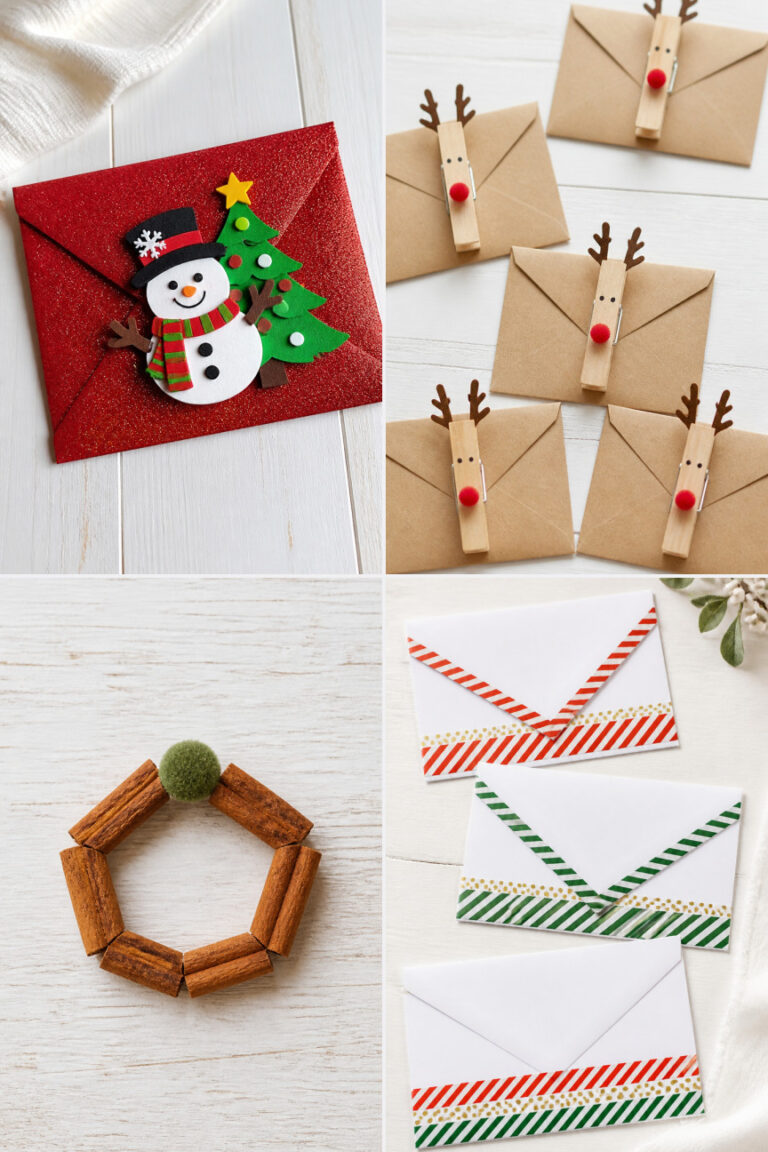
2. Cinnamon Stick Return Address Label
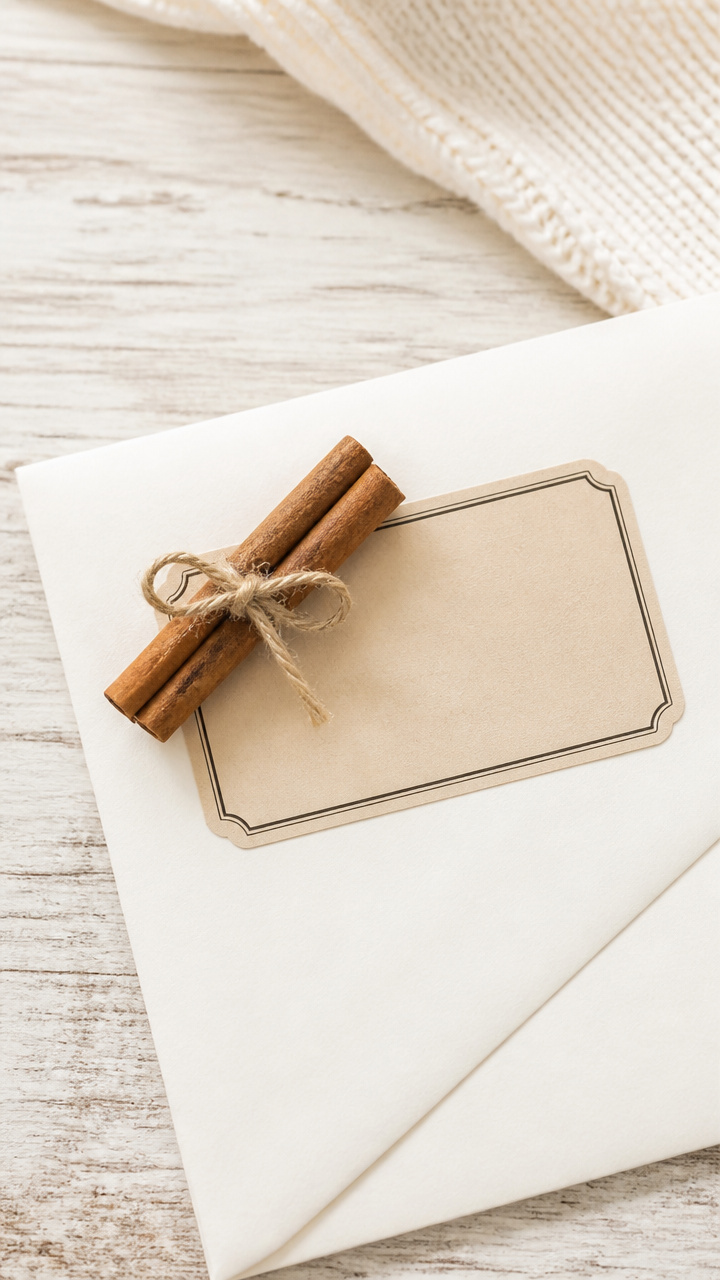
A cinnamon stick tied to the corner of your envelope gives a spicy scent and rustic detail that makes your return address unforgettable. It doubles as a tiny gift.
Materials Needed
- Cinnamon sticks, 3-inch length, 1 per envelope
- Twine, 6 inches per label
- Self-adhesive label, 1.5 x 0.75 inch
- Permanent black marker
How to Make It
- Write your return address neatly on the self-adhesive label using the permanent marker. Press it onto the top left corner of the envelope.
- Lay the cinnamon stick diagonally across the top right corner of the envelope, just behind the stamp area.
- Wrap twine around the envelope and stick once over the cinnamon stick, tying a small knot on the back. Trim ends to 0.5 inch.


3. Felt Mitten Stamp Accent
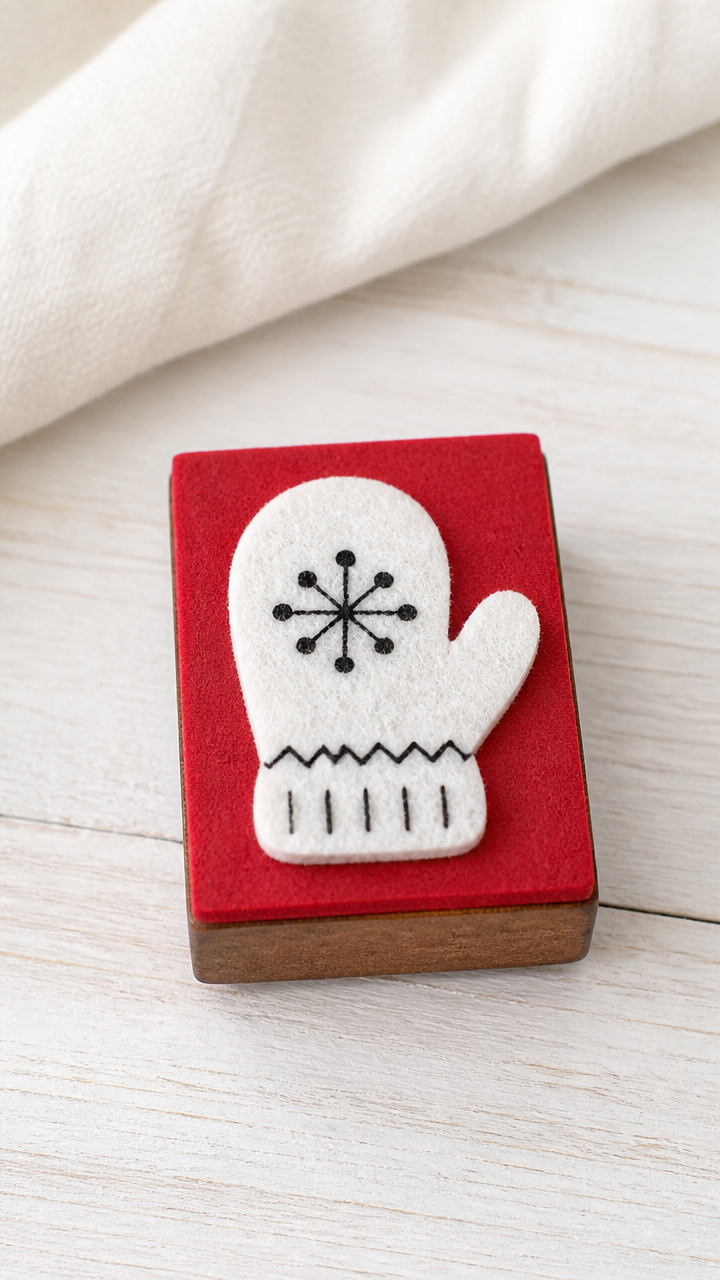
Hand-carved stamps made from felt scraps leave soft, textured mitten prints beside your letter’s address. They’re quick to make and fun to reuse year after year.
Materials Needed
- Red craft foam sheet, 6×9 inch
- White felt scrap, 2×2 inch
- Wooden block, 1.5 inch square
- Craft glue
- Black acrylic paint
- Paintbrush, fine tip
How to Make It
- Cut a mitten shape 1 inch tall from the red craft foam using scissors. Glue it centered on the wooden block and let dry for 10 minutes.
- Cut a small white oval 0.3 inch tall from the felt scrap. Glue it near the top of the mitten shape to form a cuff. Let dry completely.
- Dip the stamp face into black acrylic paint, tap off excess, and press firmly beside the address on the envelope. Lift straight up to avoid smudging.


4. Glitter-Dipped Pinecone Wax Seal
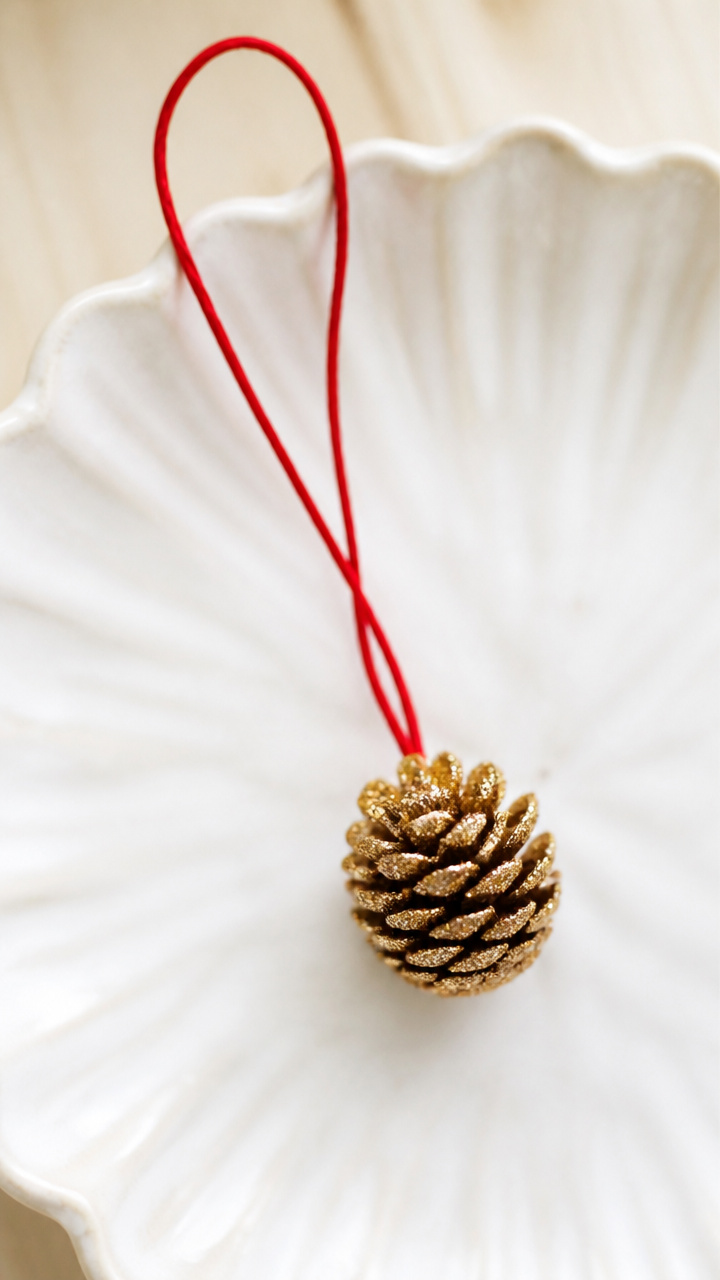
Real miniature pinecones dipped in gold glitter become one-of-a-kind wax seal charms. They dangle from the envelope flap like tiny ornaments.
Materials Needed
- Miniature pinecones, 0.75 inch tall, 1 per seal
- Gold fine glitter
- Clear-drying craft glue
- Toothpick
- Waxed paper
- Red embroidery floss, 8 inches
How to Make It
- Lay the pinecone on waxed paper. Use the toothpick to spread a thin layer of glue over all visible surfaces. Sprinkle generously with gold glitter. Let dry 15 minutes.
- Shake off excess glitter and place the pinecone on a clean sheet of waxed paper. Let cure fully for 1 hour.
- Thread red embroidery floss through the base of the pinecone and tie a loop. Knot the ends and trim to 0.5 inch. Tie the loop around the envelope flap clasp or corner.


5. Peppermint Strip Envelope Border
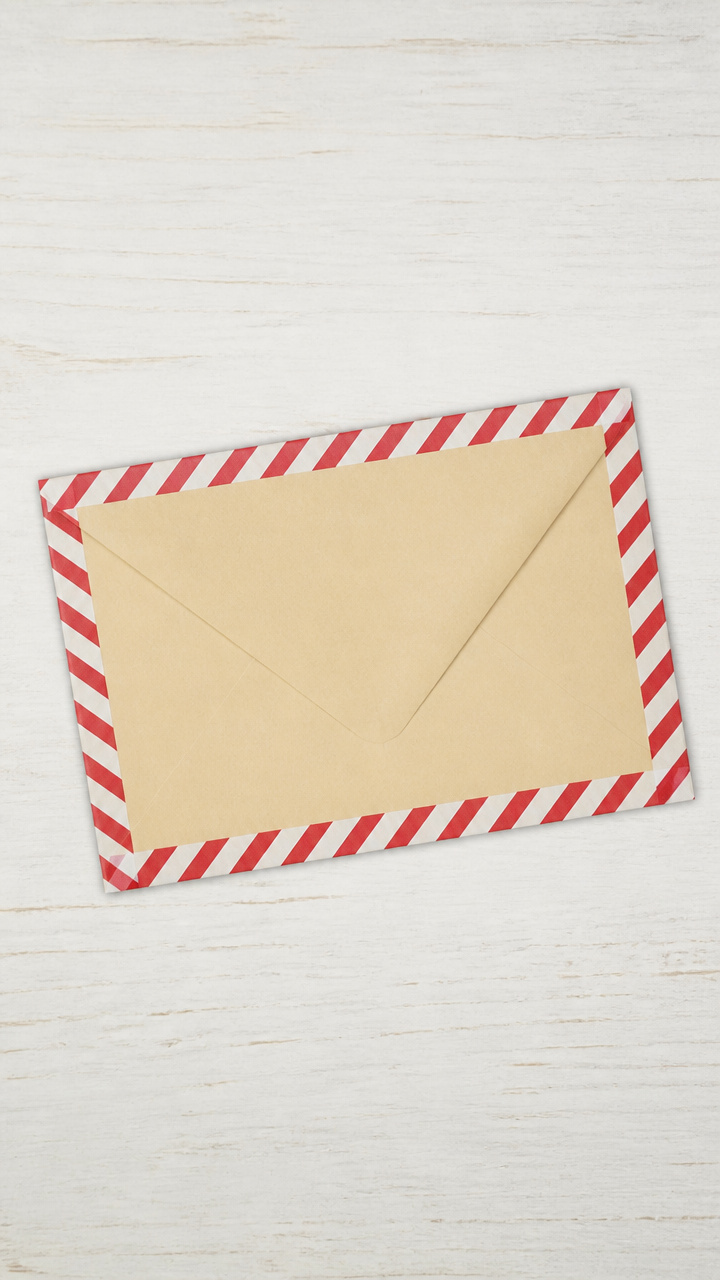
Red and white striped washi tape wraps the edges of your envelope like a candy cane ribbon. It frames your letter with bold, cheerful color.
Materials Needed
- Red-and-white striped washi tape
- Scissors
- Manila envelope, standard size
How to Make It
- Center the washi tape along the vertical edge of the envelope, starting at the top and pressing it down smoothly as you go. Overlap slightly at the bottom.
- Repeat on the opposite vertical edge. For the horizontal edges, stop the tape 0.25 inch before each corner to keep crisp lines.
- Use scissors to cut small triangles out of the corners where tape meets, then fold the tape neatly around each edge like gift wrap.


6. Hand-Drawn Snow Globe Window
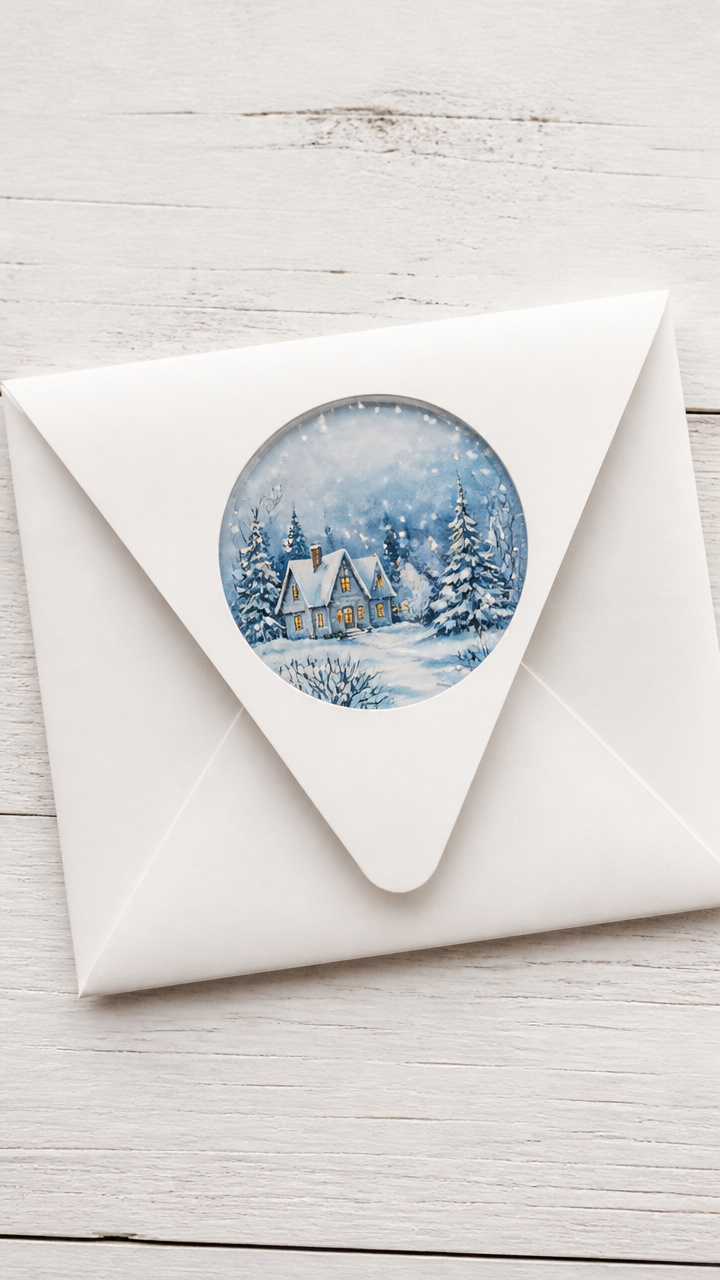
A transparent circle cut into your envelope reveals a tiny painted snow globe scene underneath. It feels like a little window into winter magic.
Materials Needed
- X-Acto knife
- Cutting mat
- Round stencil, 1.25 inch diameter
- Pencil
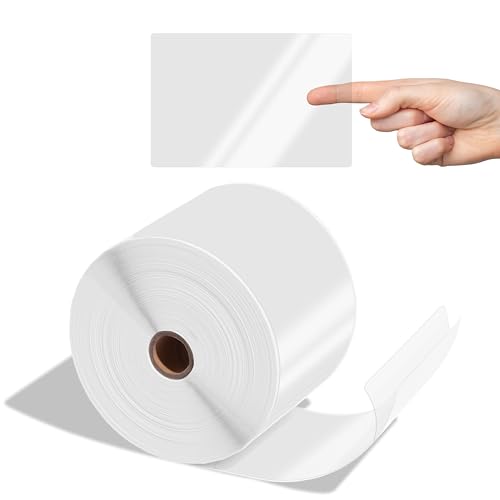
- Transparent sticker paper, 4×6 inch sheet
- Blue watercolor paint
- White gouache paint
- Fine paintbrush
How to Make It
- Place the stencil on the front of the envelope and trace lightly with pencil. Use the X-Acto knife on the cutting mat to cut out the circle. Wipe away pencil marks.
- Cut a 1.5 inch square from the transparent sticker paper. Paint a simple snow globe shape with blue watercolor using the brush. Let dry 5 minutes.
- Add three small white dots with gouache for snow inside the globe. Let dry 2 minutes, then peel and stick over the hole so the painting shows through.


7. Jingle Bell Tassel Tag
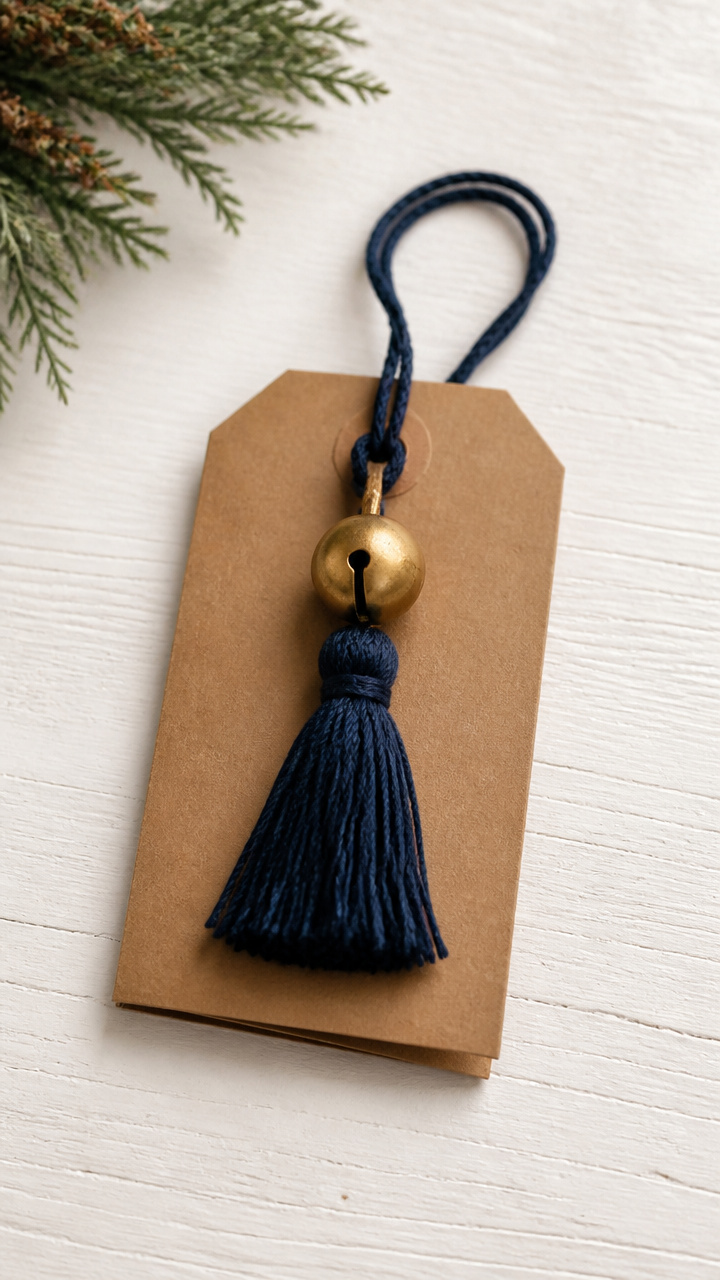
A brass bell tied to a folded kraft tag jingles softly when the envelope is moved. It draws attention with sound and shine.
Materials Needed
- Small brass jingle bell, 0.5 inch
- Kraft paper tag, 1.75 x 3 inch
- Hole punch
- Navy blue embroidery thread, 10 inches
- Glue dot
How to Make It
- Punch a hole at the top center of the kraft tag. Thread the navy embroidery thread through the hole and tie a knot at the top to form a hanger.
- Slide the brass bell onto the thread 1 inch below the knot. Wrap the thread twice around the bell wire to hold it in place.
- Press a glue dot on the back of the tag just below the bell. Stick it to the front flap of the envelope, letting the bell hang free.


8. Gumdrop Button Cluster
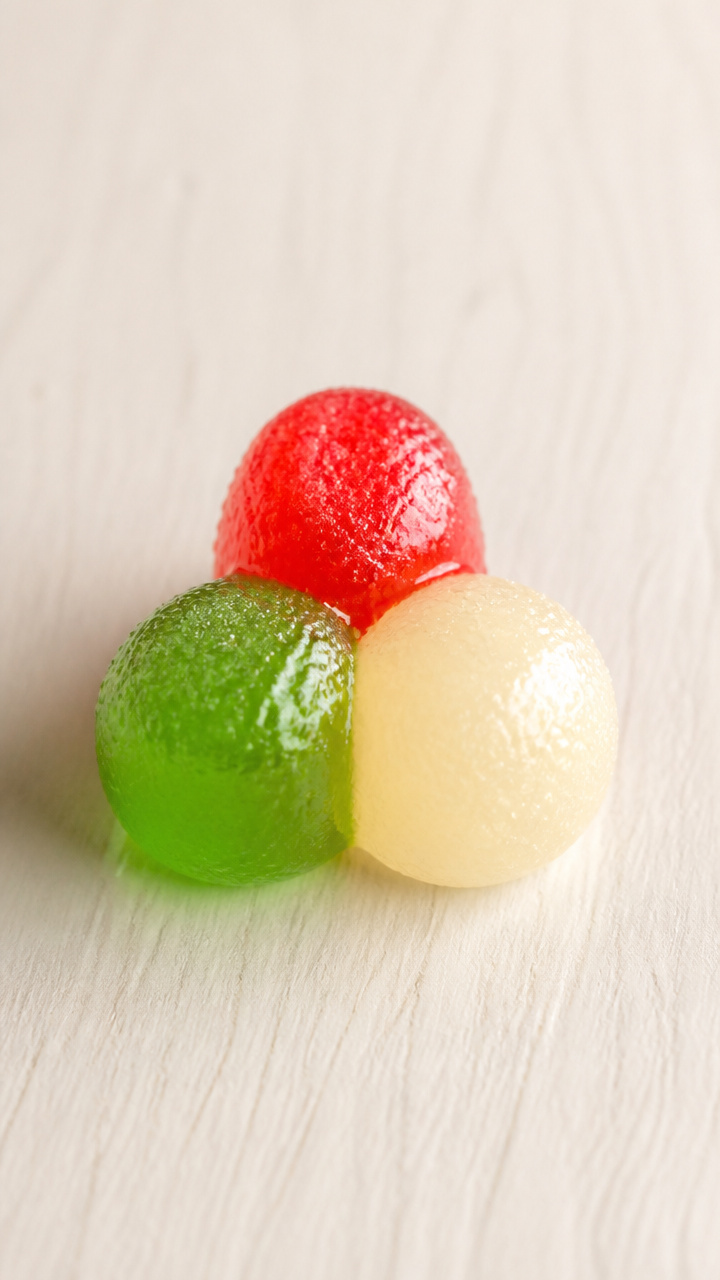
Colorful gumdrops glued into tight clusters mimic real holiday candies stuck to the envelope like edible decoration. They catch light and eyes.
Materials Needed
- Assorted colored gumdrops, 3 per cluster
- Tacky glue
- Toothpick
- Small plate
How to Make It
- Place three gumdrops on a small plate. Use the toothpick to apply a pea-sized dab of tacky glue to the bottom of each.
- Press them close together in a triangle formation on the top right corner of the envelope, just above the stamp space.
- Hold gently for 10 seconds until the glue grips. Let sit undisturbed for 30 minutes to set fully.


9. Quilled Holly Leaf Accent
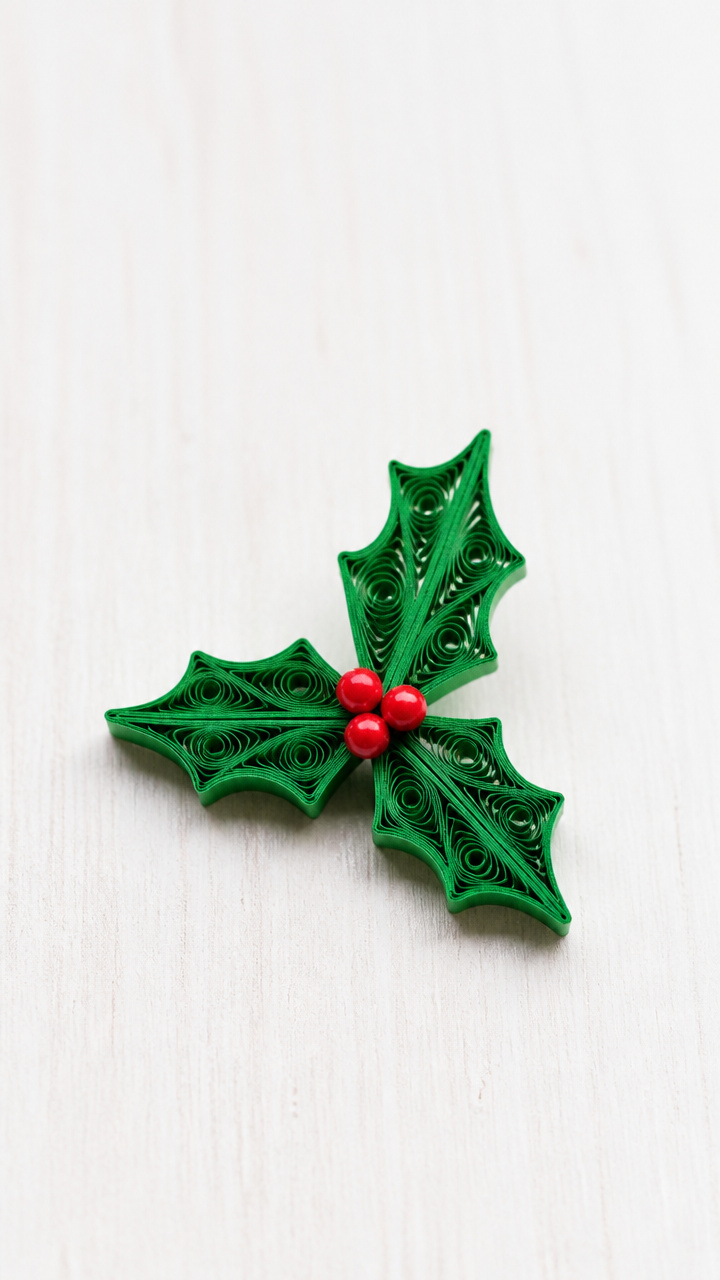
Tightly rolled green paper strips form glossy holly leaves paired with red dot beads. This delicate touch looks fancy but takes just minutes.
Materials Needed
- Green quilling paper strip, 1/8 inch wide, 12 inches long
- Slotted quilling tool
- Tacky glue
- Red seed beads, 2 mm, 3 per accent
- Tweezers
How to Make It
- Insert one end of the green strip into the slotted tool. Roll evenly until the whole strip is coiled. Pinch one side to form a teardrop leaf shape. Glue the end.
- Apply a tiny dot of glue to the base of the leaf and press it near the envelope flap closure. Hold 5 seconds until secure.
- Use tweezers to place a red seed bead at the tip of each of three veins on the leaf. Add a micro-dot of glue under each bead and let dry 10 minutes.


10. Salt-Dough Ornament Hang Tag
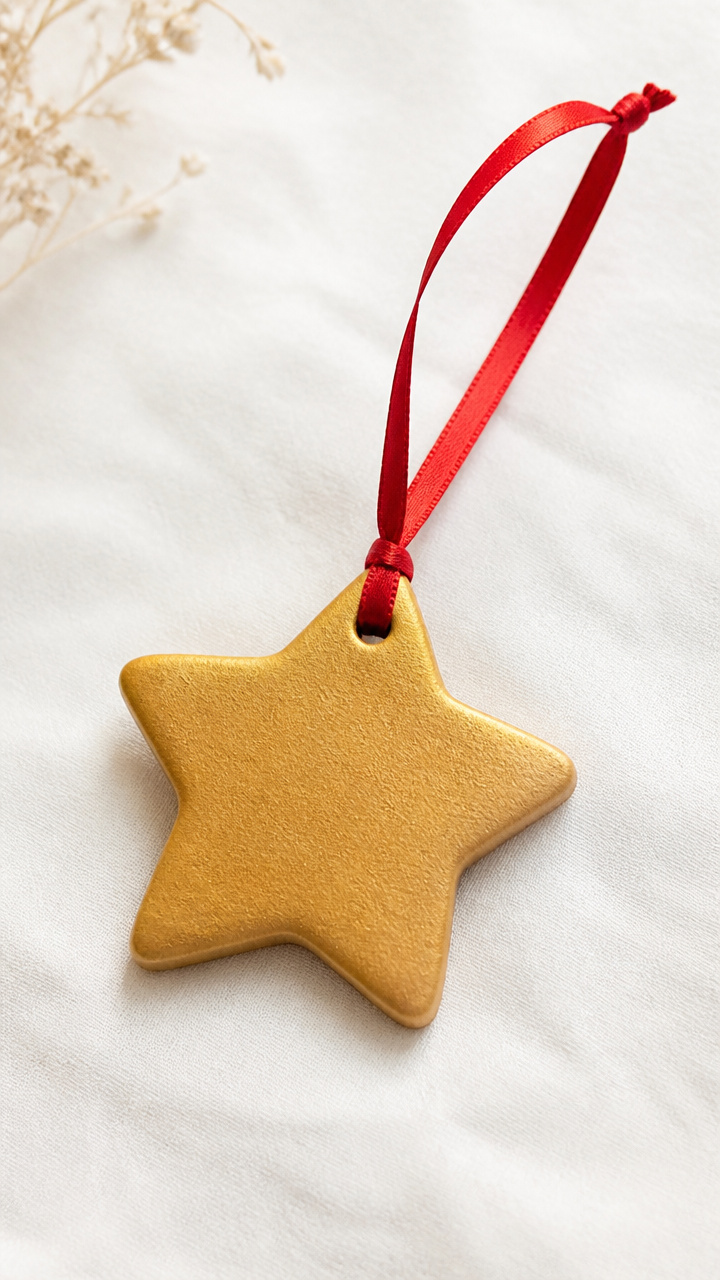
Mini salt-dough stars baked and painted become lightweight tags that hang from the envelope like keepsake ornaments. They smell faintly of home.
Materials Needed
- Homemade salt dough (mix: 1 cup flour, 0.5 cup salt, 0.3 cup water)
- Star-shaped cookie cutter, 1 inch
- Straw
- Acrylic paint, gold
- Thin red ribbon, 7 inches
- Baking sheet
- Parchment paper
How to Make It
- Roll dough to 0.2 inch thickness on a floured surface. Cut out stars with the cookie cutter. Push a straw through near the top edge to make a hanging hole.
- Place on parchment-lined baking sheet. Bake at 200°F for 2 hours, then cool completely.
- Paint each star with gold acrylic paint. Thread ribbon through the hole and tie a knot. Attach the tag to the envelope with a glue dot on the back.


11. Icicle Drip Wax Dots
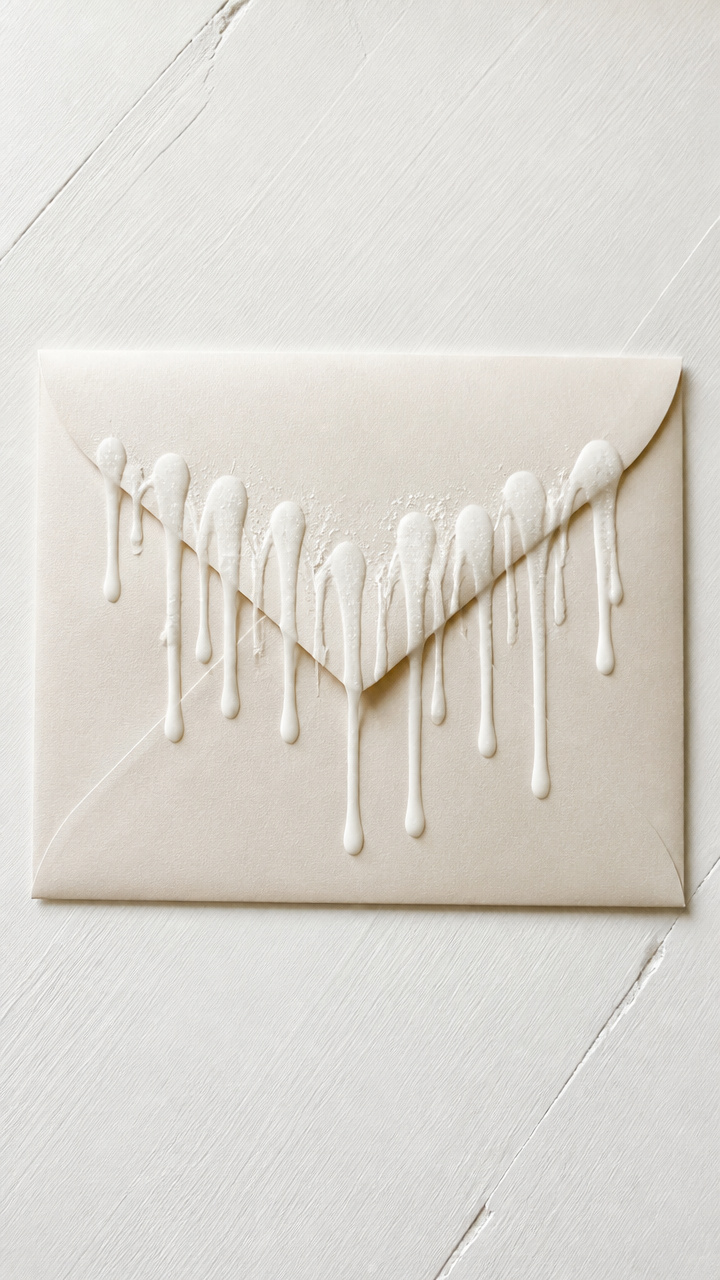
White sealing wax dripped in uneven lengths creates frosty icicles hanging from the envelope flap. The effect is elegant and wintry.
Materials Needed
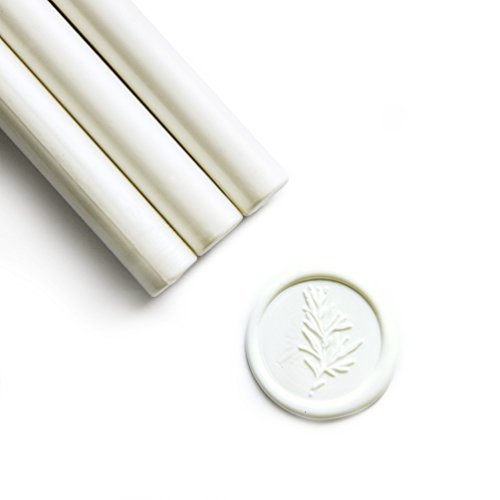
- White sealing wax stick
- Sealing wax melting spoon
- Heat source (tea candle or electric wax melter)
- Metal tray
- Envelope with closed flap
How to Make It
- Melt the wax spoon over the heat source. Hold the wax stick in the spoon until it pools, then tilt slowly to let wax drip.
- Hold the spoon over the edge of the envelope flap and let 3–5 strands of wax fall at different lengths between 0.5 and 1.5 inches.
- Wait 10 seconds for each strand to harden slightly before moving. Do not touch until fully cooled, about 1 minute.


12. Knit Stitch Washi Frame
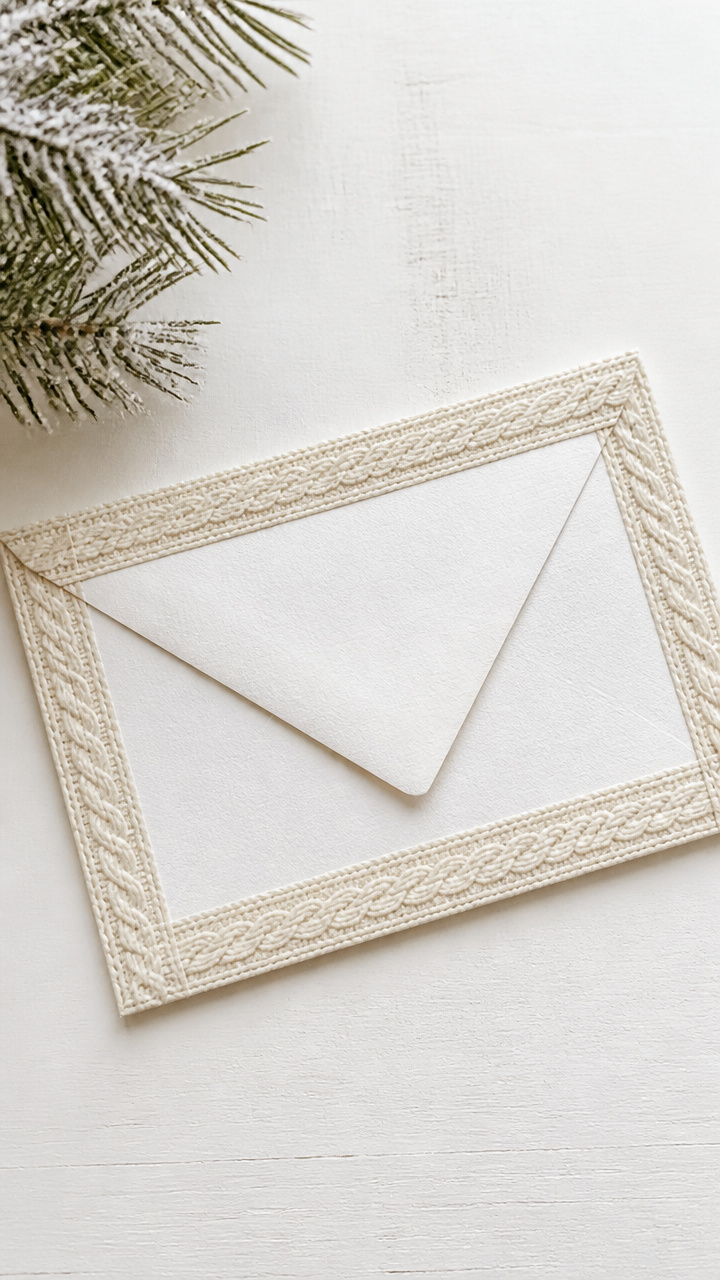
Washi tape printed with knit patterns wraps the envelope like a cozy sweater border. It adds warmth with zero bulk.
Materials Needed
- Cream knit-pattern washi tape
- Scissors
- Standard white business envelope
How to Make It
- Start at the top center of the envelope. Apply the washi tape along the top edge, pressing firmly as you go.
- Continue down the right side, wrapping neatly at the corner by folding the tape over itself at a 45-degree angle.
- Repeat around all four sides, trimming the end flush at the starting point. Burnish edges with your fingernail for durability.


13. Mini Clothespin Reindeer
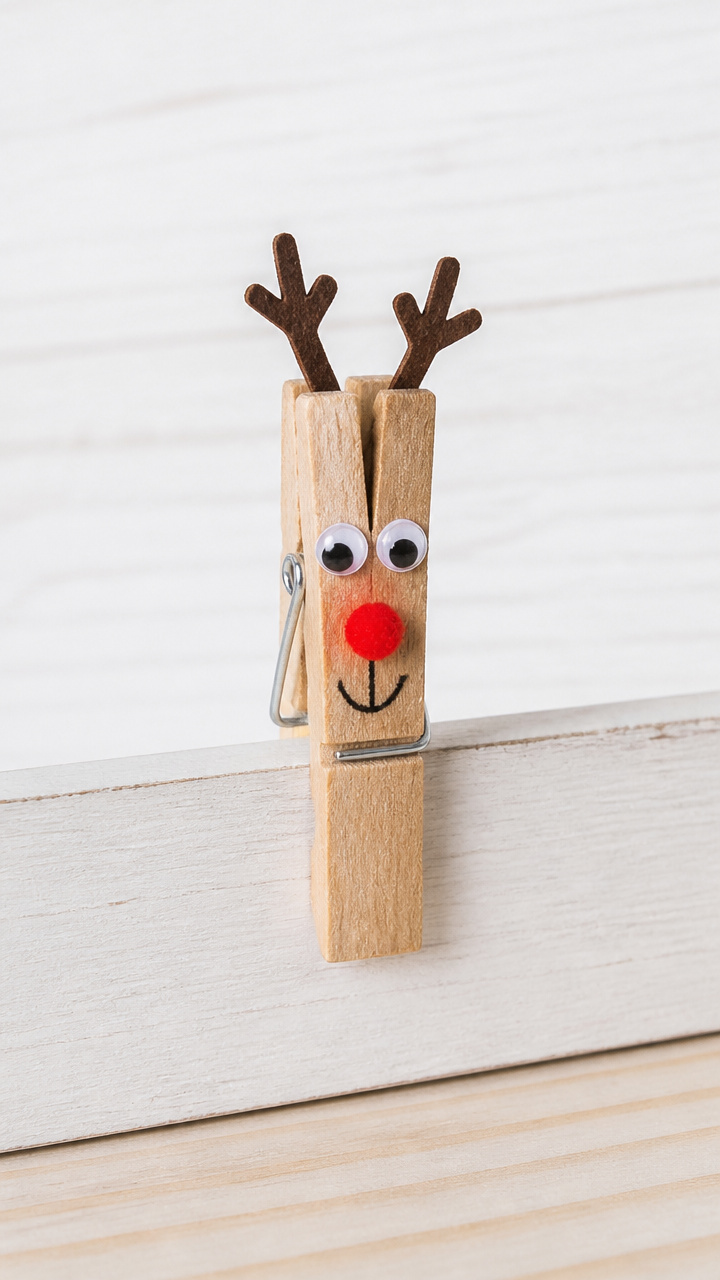
Tiny wooden clothespins become standing reindeer with drawn faces and glued-on details. They clip playfully to the envelope edge.
Materials Needed
- Mini wooden clothespins, 1.25 inch, 1 per reindeer
- Black fine-tip marker
- Red pom-pom, 0.1 inch
- Googly eyes, 0.125 inch, 2 per reindeer
- Craft glue
- Tweezers
How to Make It
- Draw two antlers and a mouth on the round end of the clothespin with the black marker. Let dry 1 minute.
- Glue one googly eye on each side of the head using tweezers for placement. Press gently and hold 5 seconds.
- Add a dot of glue to the red pom-pom and attach it below the mouth for the nose. Let dry 2 minutes, then clip the reindeer to the envelope flap.


These little crafts bring joy not just to those who receive them, but to you as you make them. Pick one that makes you smile and start gathering what you need today.