15 DIY Christmas Crafts With Mason Jars
Mason jars are sturdy, simple, and full of charm. Their clean shape and glass surface make them perfect for turning into heartfelt holiday keepsakes.
You can paint them, fill them, wrap them, or light them up. Each one becomes a little moment of joy on a windowsill, under a tree, or in someone’s hands.
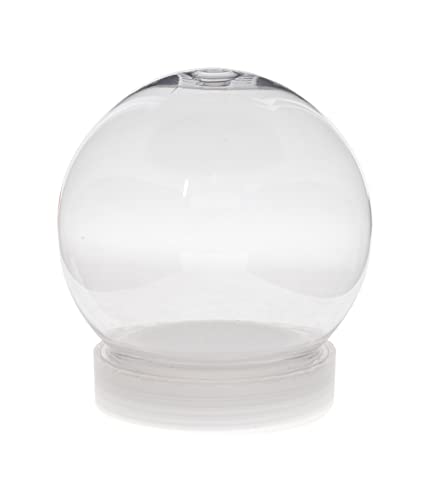
1. Peppermint Snow Globe Jars
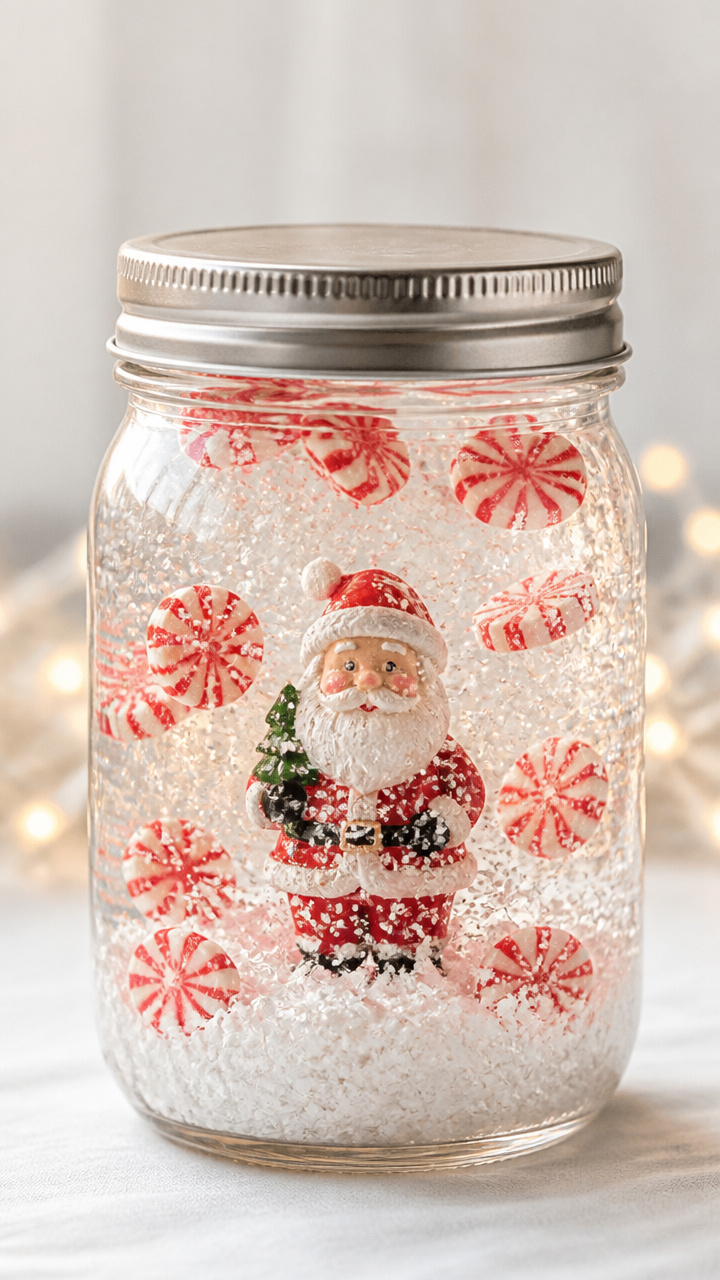
Thick swirls of red and white dance in shimmering liquid, turning a mason jar into a wintery snow globe you can hold. This one brings instant cheer to any shelf.
Materials Needed
- 1 clean 16-ounce mason jar with lid
- 1 small plastic Santa or snowman figure (about 2 inches tall)
- 1 tablespoon clear school glue
- 1 cup distilled water
- 2 tablespoons clear glycerin
- 10-12 mini red and white peppermint candies (about 0.5 inches each)
- Hot glue gun and glue sticks
How to Make It
- Use hot glue to attach the Santa figure to the inside center of the jar lid. Let it cool completely.
- Place the peppermint candies into the jar. They will act as decorative snow.
- In a cup, mix the distilled water, glycerin, and clear glue. Stir slowly to avoid bubbles.
- Pour the liquid mixture into the jar, leaving about half an inch of space at the top.
- Screw the lid tightly onto the jar. Turn it upside down to activate the swirl. Shake gently for a snowstorm effect.
2. Cinnamon Stick Candle Holders
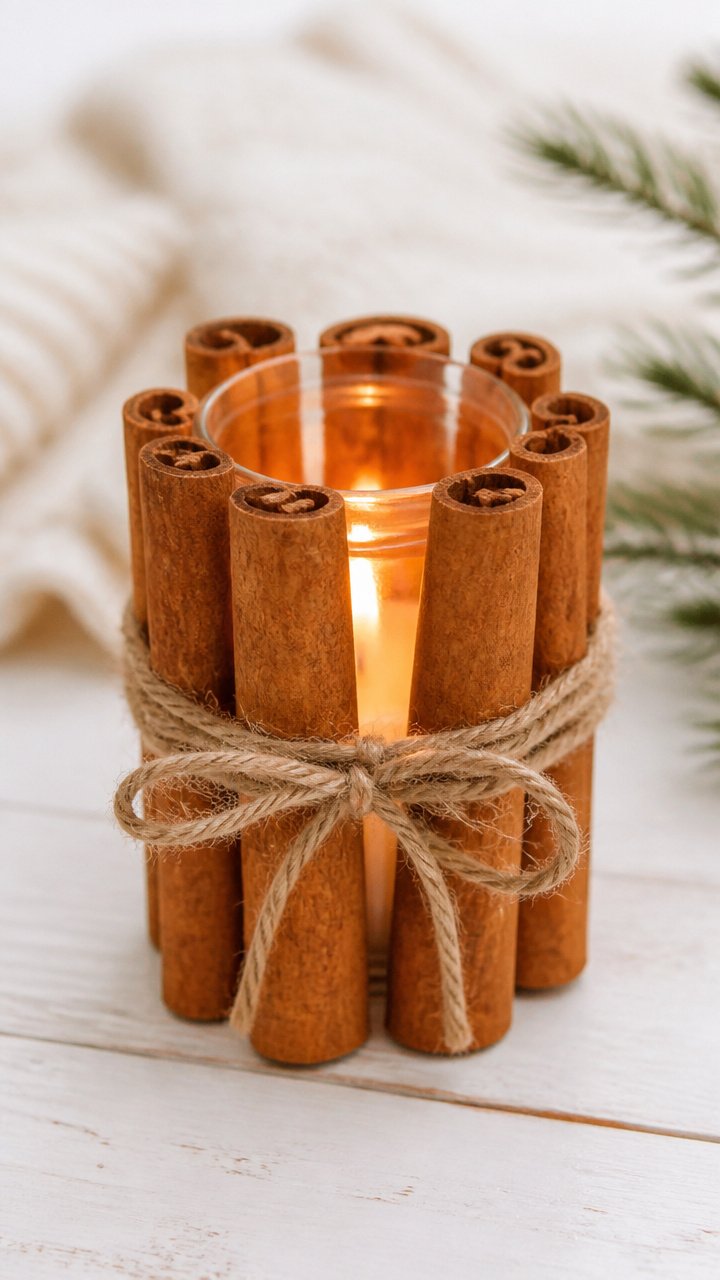
Warm brown cinnamon sticks wrapped around a jar give off a spicy holiday scent when lit. These glow softly and smell like Christmas baking.
Materials Needed
- 1 12-ounce mason jar
- 6 full-length cinnamon sticks (about 6 inches long)
- Tacky glue
- 3-inch wide natural jute ribbon (12 inches long)
- Hot glue gun
- 1 small unscented tealight candle
How to Make It
- Lay the cinnamon sticks side by side on a flat surface. Apply a thin line of tacky glue along one edge of each stick.
- Press the glued edges against the outside of the jar, wrapping them evenly around the circumference. Let dry for 2 hours.
- Wrap the jute ribbon around the neck of the jar and secure the ends with a dot of hot glue.
- Place the tealight candle inside the jar. Light carefully when in use.


3. Frosted Pinecone Centerpiece
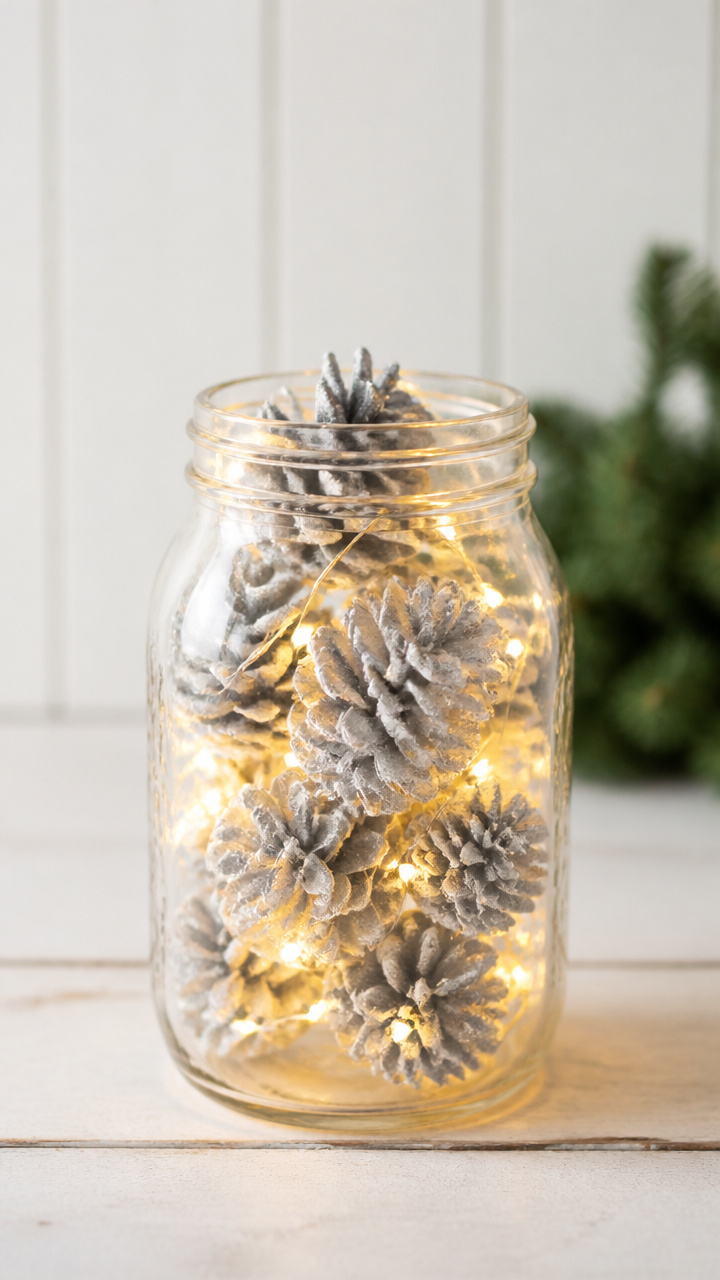
Silvery pinecones nestle in a jar like frost-covered forest treasures. This centerpiece catches the light and looks elegant on a dining table.
Materials Needed
- 1 24-ounce wide-mouth mason jar
- 8 medium pinecones (2–3 inches long)
- Silver spray paint (matte finish)
- Artists' brush (1 inch wide)
- White faux snow spray (optional)
- Small battery-operated string lights (20 bulbs, warm white)
How to Make It
- Lay the pinecones on newspaper. Spray them evenly with silver paint, turning to coat all sides. Let dry for 1 hour.
- Touch up any bare spots with the brush and let dry another 30 minutes.
- Spray lightly with faux snow if desired, focusing on the tips. Let dry 15 minutes.
- Place the string lights inside the jar, draping the battery pack over the side.
- Arrange the pinecones inside the jar on top of the lights. Turn on for a glowing effect.


4. Gingerbread Cookie Mix Jars
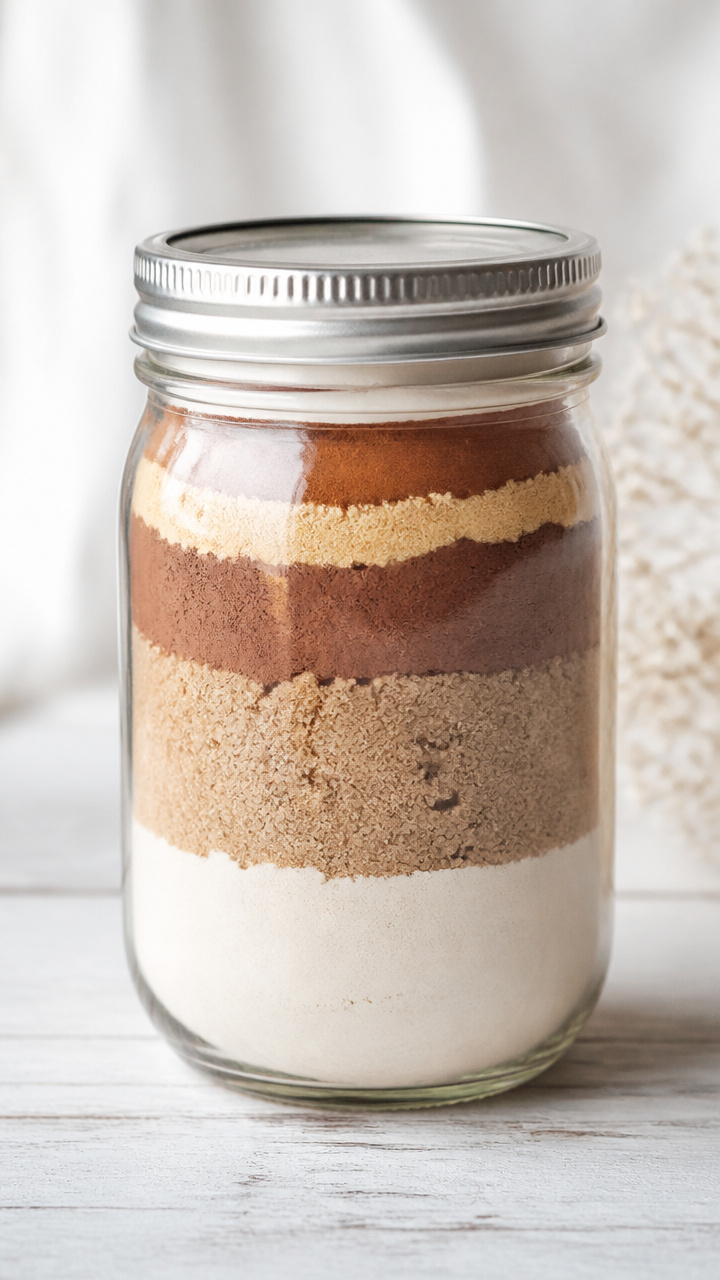
Layered ingredients inside a jar make a gift that bakes into soft gingerbread cookies. Attach the recipe and it becomes a favorite present.
Materials Needed
- 1 16-ounce mason jar
- 1/2 cup granulated sugar
- 1 cup all-purpose flour
- 1/4 cup unsweetened cocoa powder
- 1 teaspoon ground ginger
- 1/2 teaspoon ground cinnamon
- 1/4 teaspoon ground cloves
- 1/4 teaspoon salt
- Small piece of parchment paper (3×3 inches)
- Twine (10 inches long)
- Printed recipe tag (2×3 inches)
How to Make It
- Add sugar to the jar first, then gently pour in flour to avoid mixing.
- Layer cocoa powder, ginger, cinnamon, cloves, and salt on top in order.
- Tap the jar lightly on the counter to settle each layer.
- Place the parchment paper over the top and screw on the lid ring.
- Tie the twine around the neck and attach the recipe tag with instructions to bake.


5. Mini Evergreen Terrariums
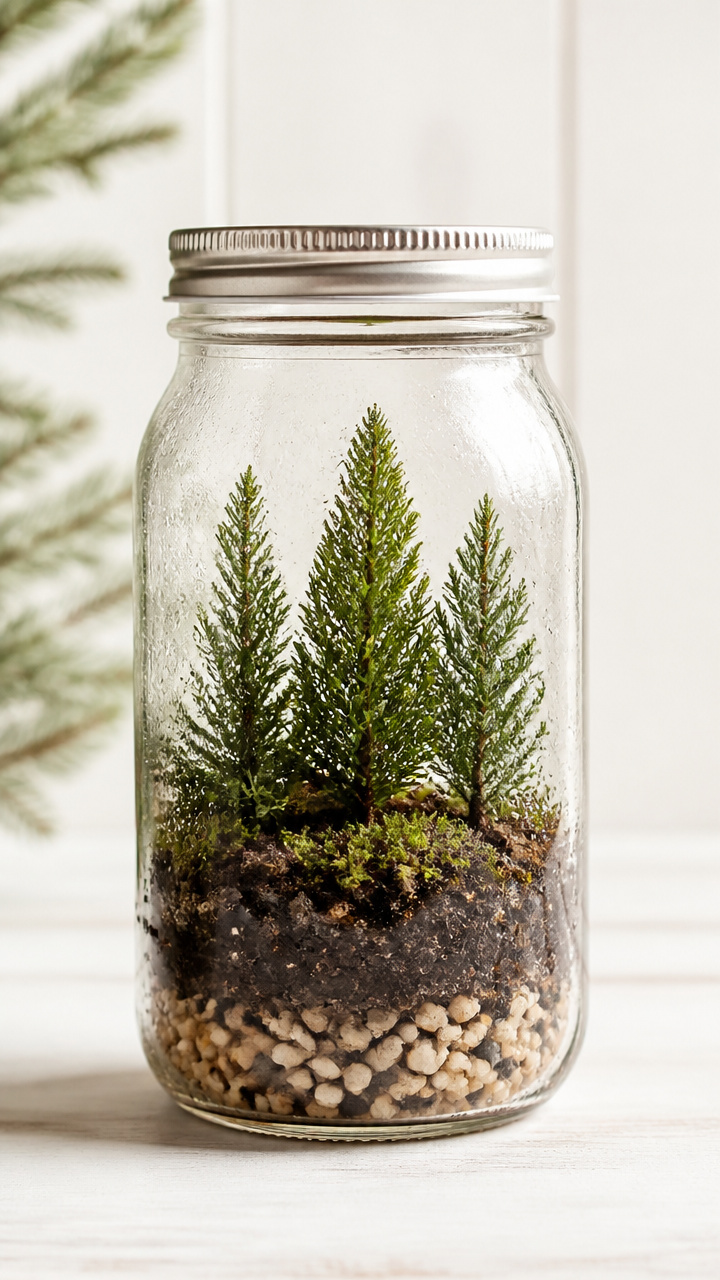
Tiny sprigs of evergreen fit perfectly in a jar, creating a living holiday scene. They last for weeks and bring the forest indoors.
Materials Needed
- 1 8-ounce mason jar with lid
- 1/2 cup small pebbles
- 1/2 cup activated charcoal (horticultural grade)
- 1 cup potting soil for succulents
- 3 small cuttings of evergreen (like cedar or fir, 2 inches long)
- Spray bottle filled with water
How to Make It
- Add pebbles to the bottom of the jar for drainage. Layer evenly.
- Sprinkle the activated charcoal over the pebbles to keep the soil fresh.
- Add potting soil, filling about one-third of the jar.
- Use tweezers or fingers to plant the evergreen cuttings upright in the soil.
- Mist lightly with the spray bottle. Close the jar and place in indirect light.


6. Glitter Dipped Snow Jars
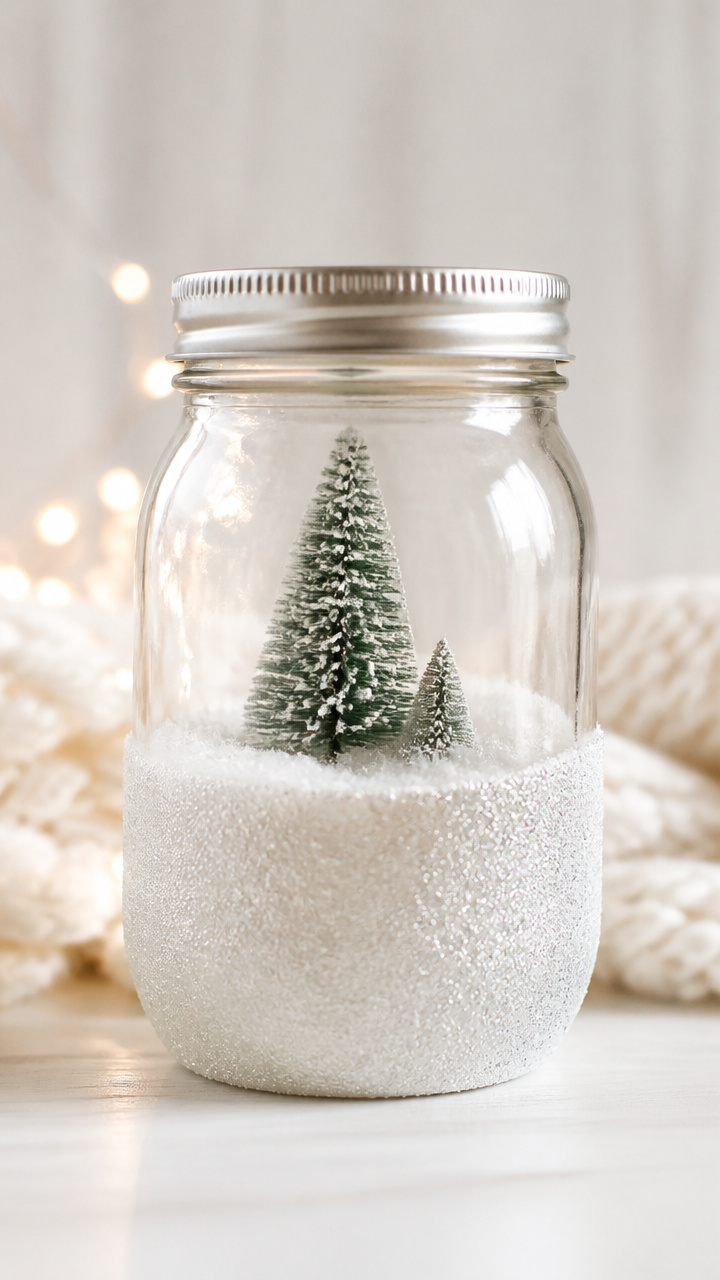
Half-dipped jars sparkle like snow has settled on their shoulders. These look magical lined up on a mantle with tea lights inside.
Materials Needed
- 1 12-ounce mason jar
- White craft glue
- Fine white glitter
- Shallow dish (8 inches wide)
- Paper plate
- Painter's tape
How to Make It
- Tape off the bottom half of the jar with painter's tape to protect the glass.
- Pour glue into the shallow dish. Dip the taped bottom edge into the glue, coating about 1 inch.
- Immediately press the glued section into the glitter on the paper plate, rotating to cover evenly.
- Let dry upright for 1 hour. Carefully peel off the tape.
- Insert a tealight candle to see the sparkle glow from within.


7. Santa’s Cocoa Mix Jars
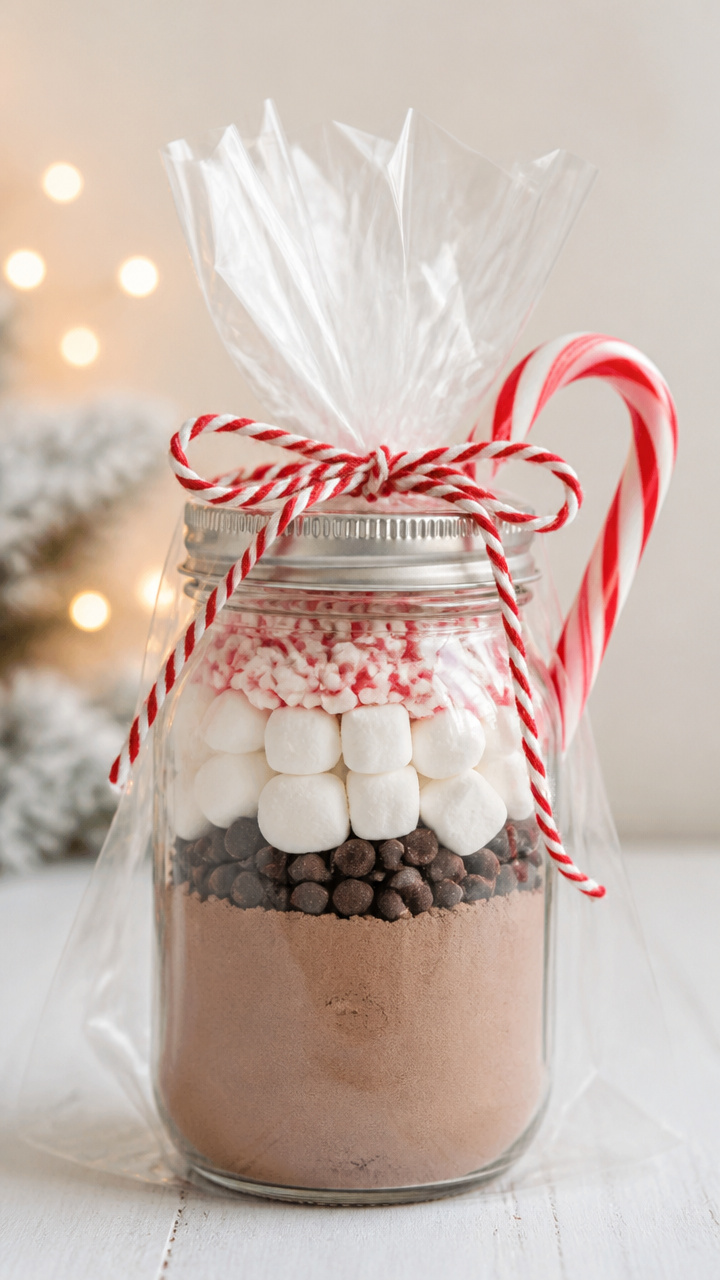
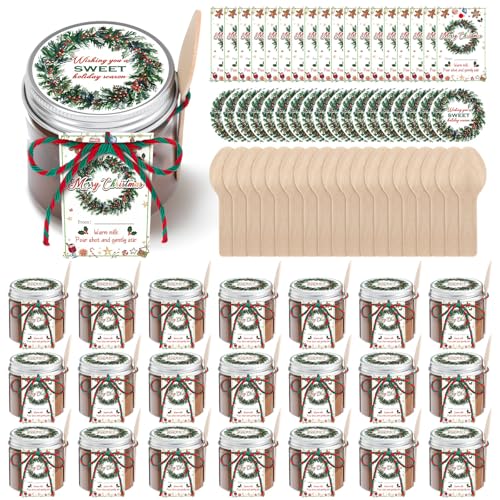
Rich cocoa, mini marshmallows, and a candy cane make a cozy drink in a jar. Wrap it up for someone who needs a warm hug in a cup.
Materials Needed
- 1 16-ounce mason jar
- 1/2 cup powdered hot chocolate mix
- 1/4 cup mini marshmallows
- 1/4 cup chocolate chips
- 1 unwrapped candy cane (regular size)
- Cellophane square (6×6 inches)
- Ribbon (12 inches long)
How to Make It
- Layer cocoa mix, chocolate chips, and marshmallows in the jar in that order.
- Gently tap the jar to settle each layer without crushing the marshmallows.
- Place the candy cane inside the jar, handle up.
- Cover the lid with cellophane and secure with ribbon in a knot.
- Attach a tag with instructions: Pour contents into mug, add 1 cup hot milk, stir.


8. Pine-Scented Bath Salt Jars
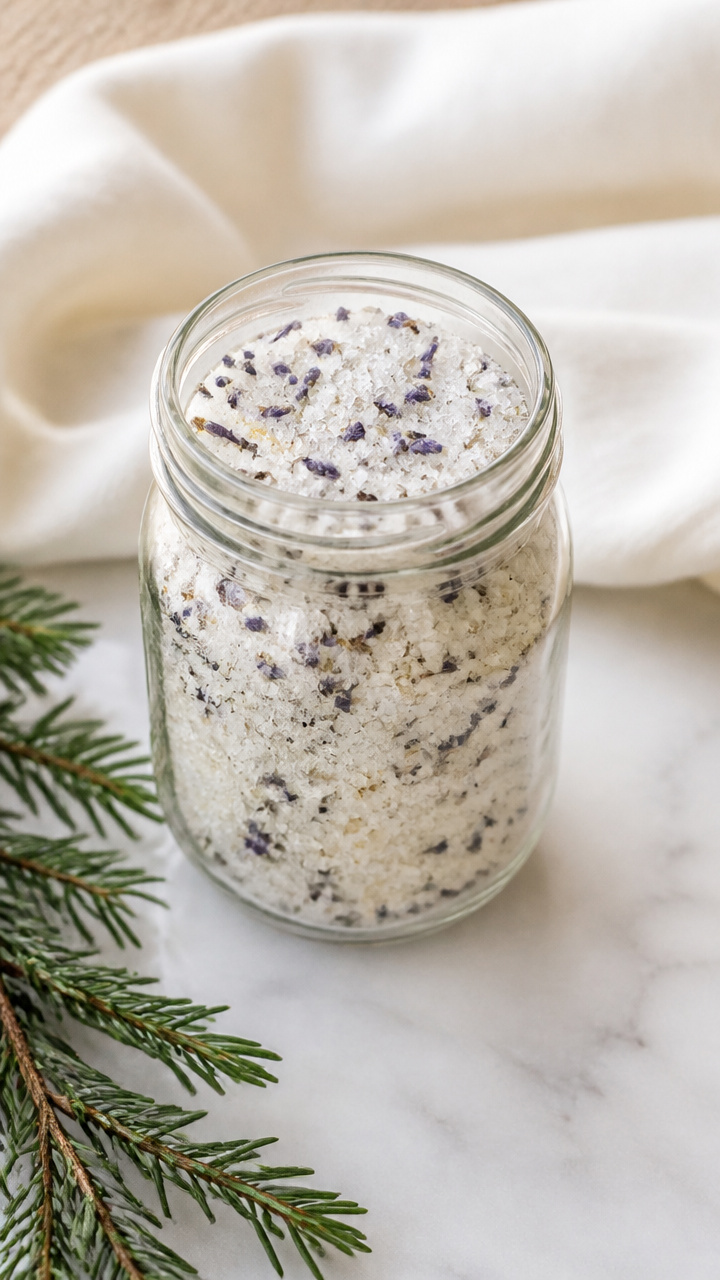
Epsom salts mixed with pine essential oil turn a jar into a soothing spa gift. It’s perfect for tired feet after holiday shopping.
Materials Needed
- 1 8-ounce mason jar
- 1 cup Epsom salt
- 10 drops pine essential oil
- 5 drops cedarwood essential oil
- 1 teaspoon dried lavender buds
- Small funnel
- Stirring stick (popsicle stick or spoon)
How to Make It
- Use the funnel to pour Epsom salt into the jar.
- Add pine and cedarwood essential oils drop by drop over the salt.
- Sprinkle in the dried lavender buds.
- Stir gently with the stick to distribute oils and herbs.
- Seal the jar and let sit for 4 hours before gifting.


9. Reindeer Food Sparkle Jars
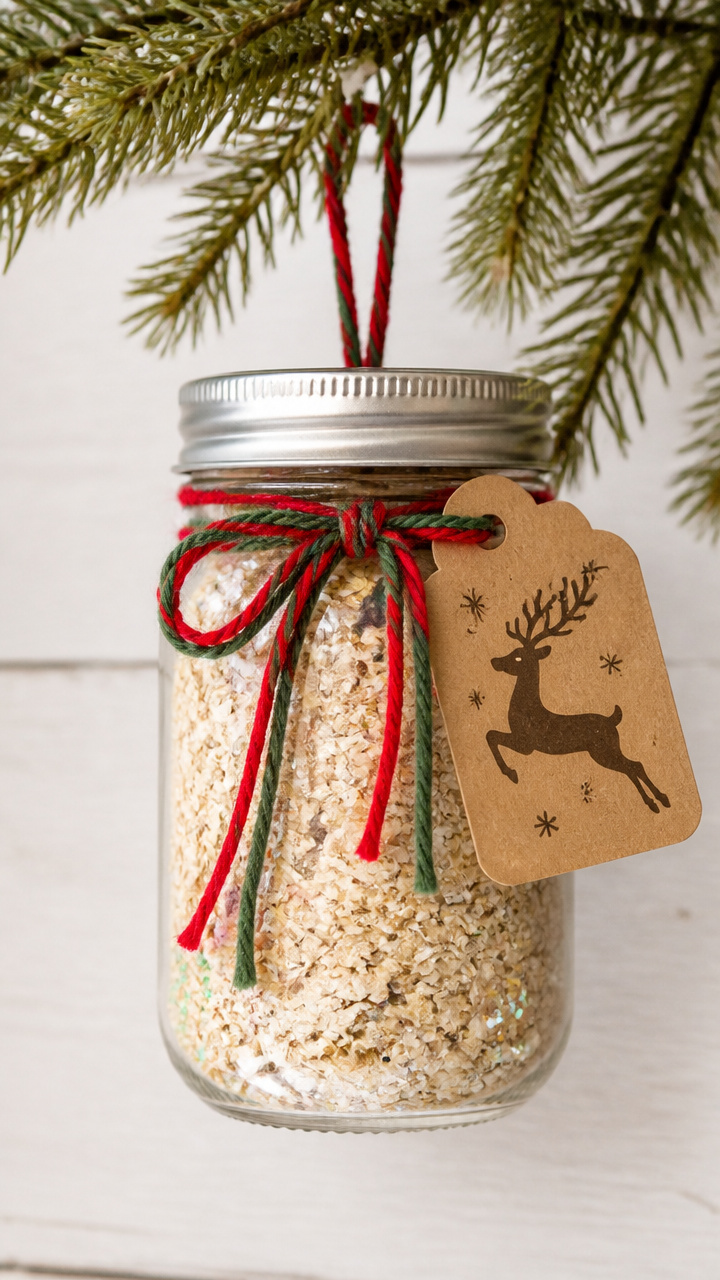
Kids love filling these with glitter and oats to feed Santa’s reindeer. Hang them on the tree as edible magic for Christmas Eve.
Materials Needed
- 1 8-ounce mason jar
- 1/2 cup rolled oats
- 1 tablespoon iridescent glitter
- Small funnel
- Printed label: 'Reindeer Food – Sprinkle on Roof Christmas Eve'
- Red and green yarn (8 inches each)
How to Make It
- Use the funnel to pour oats into the jar.
- Add glitter on top and gently shake to mix.
- Attach the printed label with tape or glue.
- Tie red and green yarn around the neck in a bow.
- Give instructions to toss a handful outside on Christmas Eve for flying reindeer.


10. Knit Sleeve Mug Warmers
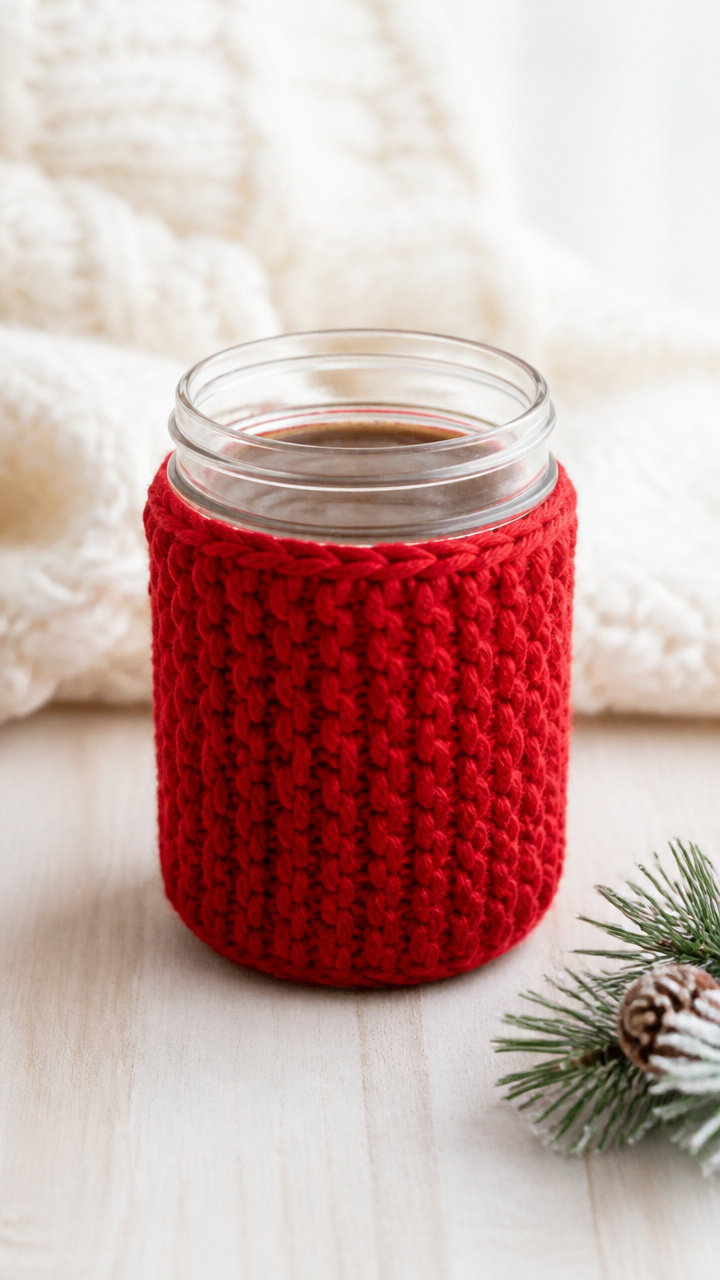
Stretchy knit fabric hugs a jar to keep hands warm around cocoa. These are quick to make and look sweet in holiday colors.
Materials Needed
- 1 12-ounce mason jar
- Red bulky yarn (about 20 yards)
- Size 10 knitting needles
- Scissors
- Tapestry needle
How to Make It
- Cast on 24 stitches using the long-tail method.
- Knit every row in garter stitch for 7 inches.
- Bind off loosely. Cut yarn, leaving a 6-inch tail.
- Use the tapestry needle to sew the short ends together into a tube.
- Slide the knit sleeve over the jar to protect hands from hot drinks.


11. Starlight Lantern Jars
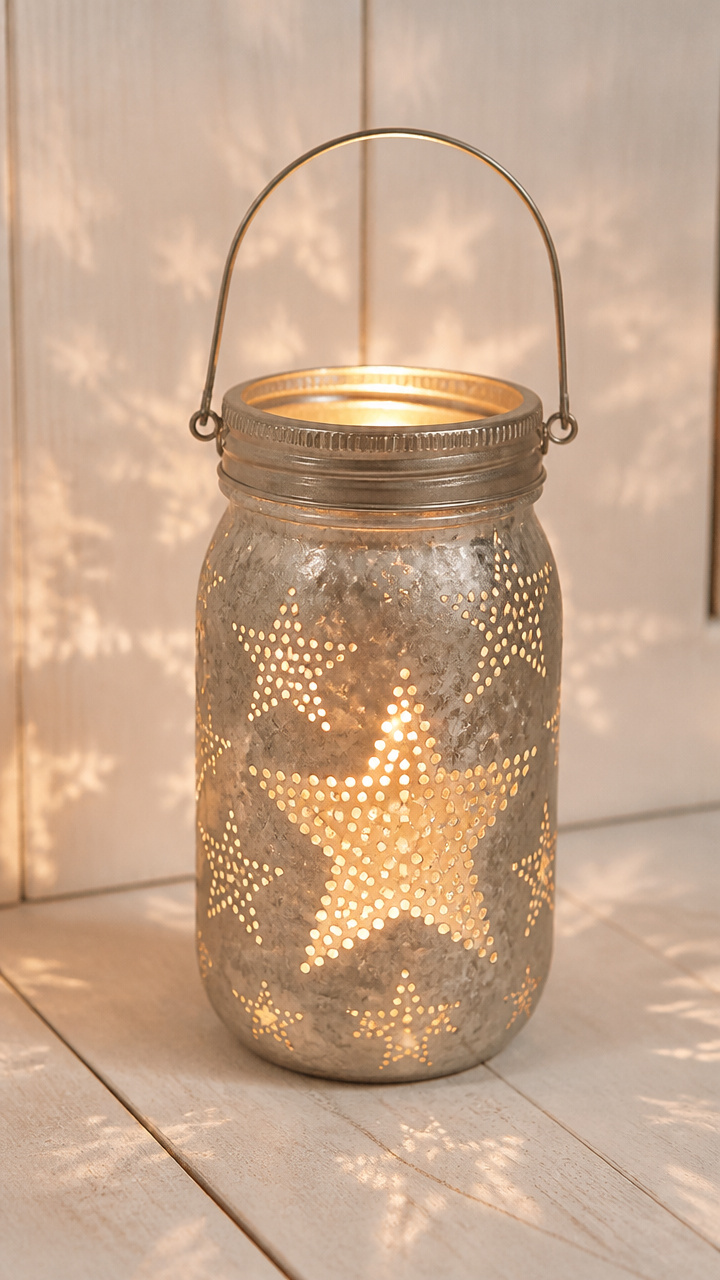
Punched tin stars on a jar cast dancing light when a candle flickers inside. These make peaceful night lights for hallways or bedrooms.
Materials Needed
- 1 16-ounce mason jar
- 1 sheet of silver aluminum flashing (6×6 inches)
- Printed star template (1 inch diameter)
- Fine-point permanent marker
- Push pin
- Pliers
- Double-sided tape
How to Make It
- Trace 8 stars from the template onto the aluminum sheet using the marker.
- Use the push pin to poke holes along the star outlines. Place the sheet on a soft surface.
- Cut out the star shapes with pliers. Smooth sharp edges by folding them slightly.
- Wrap the sheet around the outside of the jar and secure with double-sided tape.
- Place a tealight inside and light it to see stars glow on the walls.


12. Candy Cane Ornament Jars
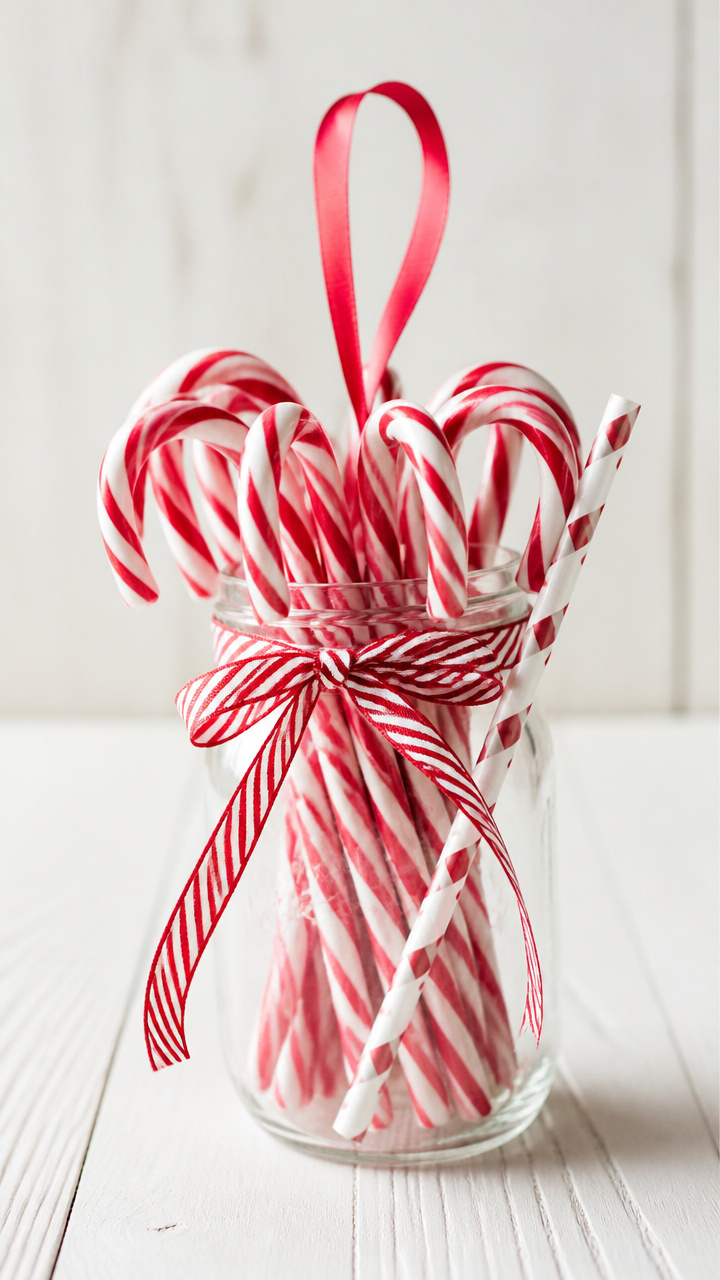
Mini candy canes stand upright in a tiny jar like cheerful holiday soldiers. Hang them on the tree with a loop of ribbon.
Materials Needed
- 1 4-ounce mason jar
- 6 mini candy canes (about 3 inches tall)
- Red and white striped paper straw (1 piece)
- Ribbon (10 inches long)
- Hole punch
- Craft glue
How to Make It
- Stand the candy canes upright inside the jar, handles down.
- Cut the paper straw to 2 inches and glue it across the mouth as a decorative seal.
- Punch a hole in the center of the lid.
- Thread the ribbon through the hole and tie the ends to form a hanger.
- Screw the lid on and hang from a tree branch.


13. No-Sew Flannel Tree Toppers
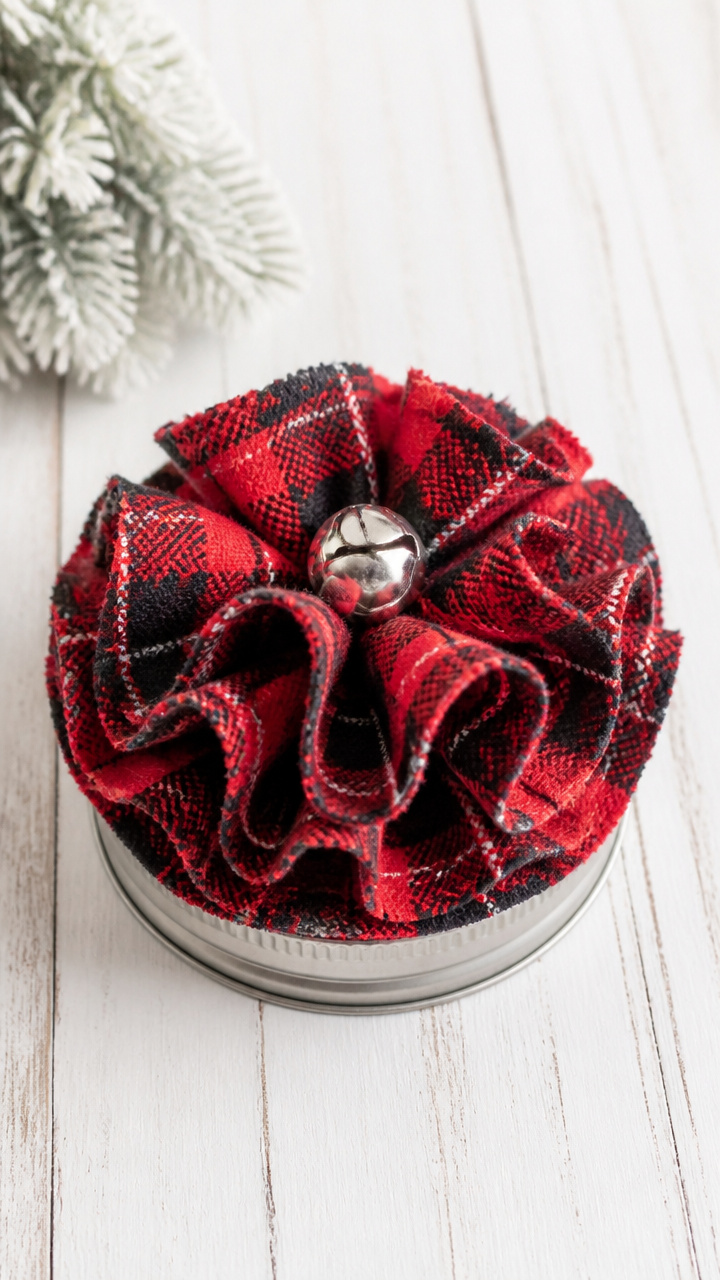
Ruffled flannel fabric turns a jar lid into a soft tree topper. No sewing needed, just tying and fluffing.
Materials Needed
- 1 mason jar lid (from a 16-ounce jar)
- Red plaid flannel fabric (12×12 inches)
- Scissors
- Hot glue gun
- 1 small jingle bell
How to Make It
- Cut the flannel into 1-inch wide strips, each about 12 inches long.
- Place the lid upside down. Apply a dot of hot glue to one end of a strip.
- Press the glued end to the center of the lid. Wrap the strip around to form a rosette, adding glue every inch.
- Continue until the lid is covered and the rosette is full.
- Glue the jingle bell to the center top. Place on a jar to use as a decoration.


14. Layered Ornament Display Jars
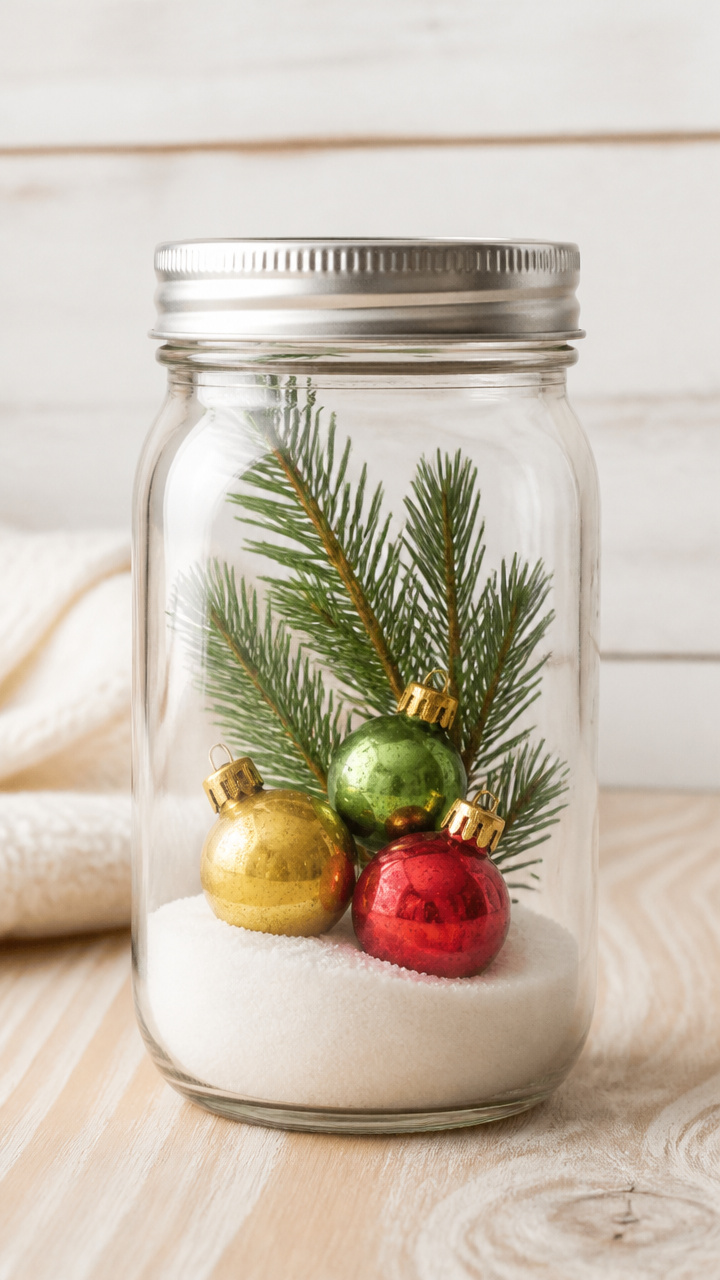
Tiny vintage-style ornaments nestle in sand inside a jar, creating a 3D holiday scene. It’s like a snow globe without the liquid.
Materials Needed
- 1 24-ounce wide-mouth mason jar
- 1/2 cup clean white sand
- 3 miniature glass ornaments (red, gold, green, 1 inch each)
- Small pine sprig (2 inches long)
- Tweezers
- Craft tweezers
How to Make It
- Pour sand into the jar to a depth of 1 inch. Tap to level.
- Use tweezers to place the ornaments upright in the sand, spacing them evenly.
- Tuck the pine sprig between the ornaments to look like a tiny tree.
- Adjust positioning until the scene looks balanced.
- Leave uncovered or place lid on top for storage.


15. Hand-Stamped Gift Tags Jars
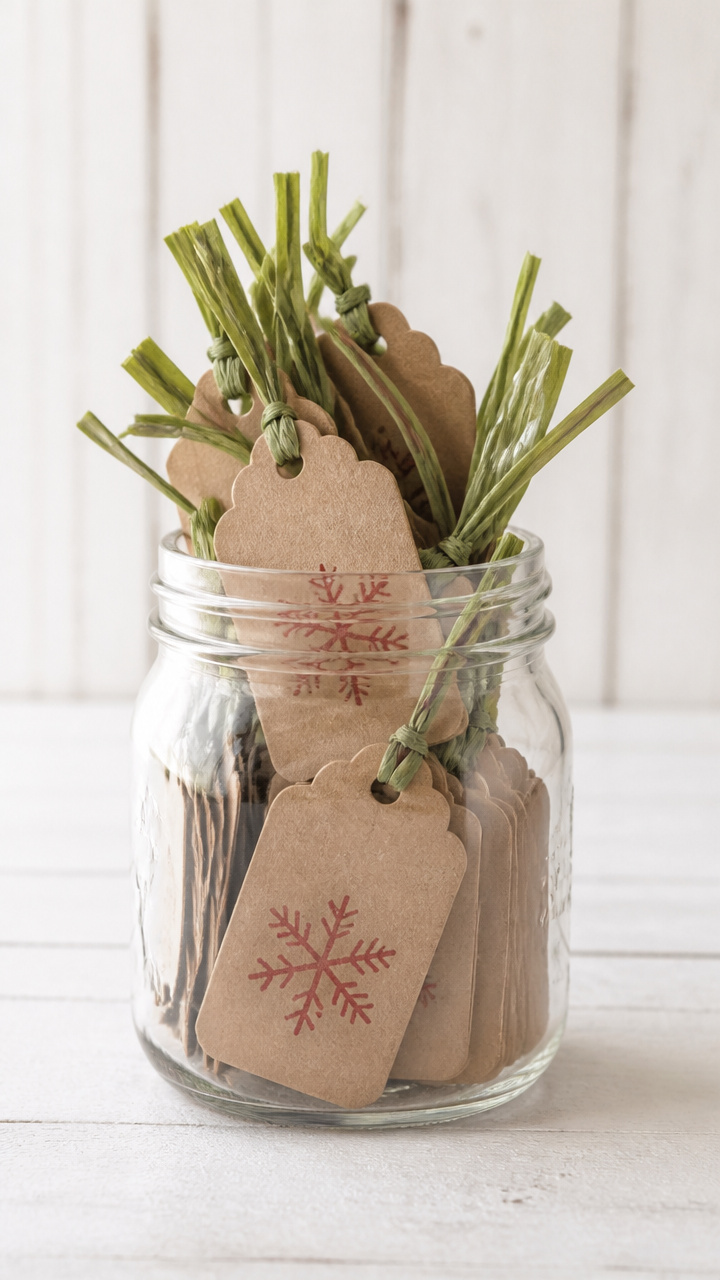
Blank tags and ink stamps live together in a jar for last-minute wrapping. Pull one out, stamp, and tie to any present.
Materials Needed
- 1 8-ounce mason jar
- 20 blank kraft paper gift tags (2×3 inches)
- Red craft ink pad
- Small rubber snowflake stamp
- Hole punch
- Green raffia (20 pieces, 8 inches long)
How to Make It
- Punch a hole in the top corner of each gift tag.
- Stack the tags and place them inside the jar.
- Drop the ink pad and stamp into the jar on top of the tags.
- Cut raffia into 8-inch lengths and add to the jar.
- When wrapping, stamp a tag, thread raffia through the hole, and tie to the gift.


Each of these jars holds more than supplies or light. It holds a piece of your time, your care, your holiday spirit. Pick one, gather what you need, and start creating something warm and real.