17 Christmas Crafts Using Pinecones and Natural Materials
A quiet walk in the woods holds everything you need to create warm, handmade holiday decor. Gathering pinecones, twigs, and dried seed pods brings the fresh scent of winter forests indoors, turning simple natural treasures into timeless pieces for your home.
Each of these 17 crafts uses basic tools and materials you can easily collect or already have on hand. They are designed for real hands and real kitchens, celebrating the beauty found in natural textures, honest imperfections, and the pure joy of making.
1. Pinecone Owls with Acorn Caps

Soft brown pinecone bodies paired with tiny acorn caps make charming little owls that look like they’ve just landed on your mantel. Their wide eyes and perky tufts give them personality without needing much space.
Materials Needed
- 40 medium pinecones
- 80 acorn caps
- Black craft foam sheet
- Orange craft foam sheet
- Hot glue gun and glue sticks
- White acrylic paint
- Small paintbrush
- 12-inch wooden skewer
How to Make It
- Use the skewer to gently widen the base of each acomp cap so it fits snugly onto a pinecone scale tip.
- Cut 80 small circles from black foam for eyes and 80 tiny triangles from orange foam for beaks.
- Glue two black circles and one orange triangle near the top of each pinecone to form a face.
- Press an acorn cap firmly onto each side of the pinecone just below the eyes to create ears.


2. Cinnamon Stick Wreath with Pinecone Clusters
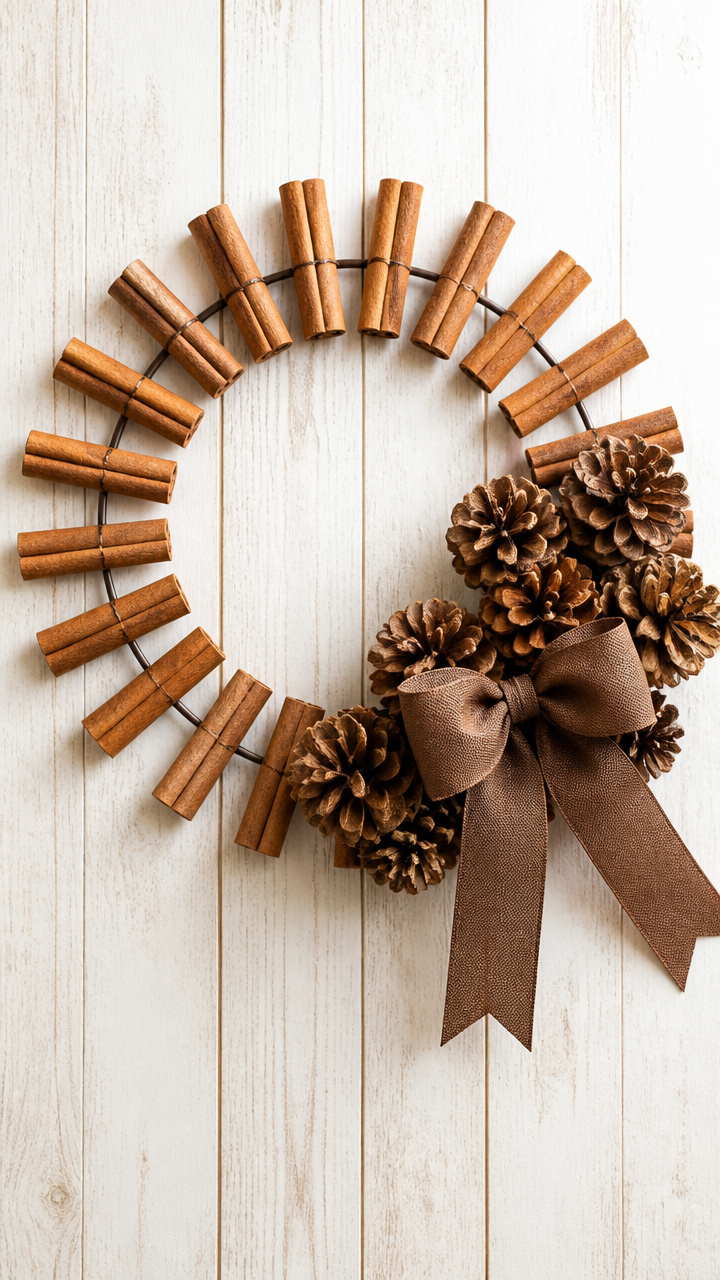
A full, spiced-scented wreath made from cinnamon sticks bound tightly around a wire frame holds clusters of pinecones at irregular intervals. It smells like mulled cider and looks rich against a painted door.
Materials Needed
- 18 cinnamon sticks, 6 inches long
- 12-inch metal wreath frame
- Floral wire, 22-gauge, 10 feet
- 6 large pinecones
- Scissors
- Brown ribbon, 1.5 inches wide, 3 feet
How to Make It
- Lay three cinnamon sticks side by side and wrap floral wire tightly around one end to bind them together.
- Attach each bundle to the wreath frame by wrapping the wire around both bundle and frame every inch all the way around.
- Break three pinecones into smaller pieces and group them into six clusters.
- Tuck each cluster into gaps around the wreath using floral wire to secure them in place.
- Tie a bow from the ribbon and attach it at the bottom with wire.


3. Pinecone Angels with Feather Wings
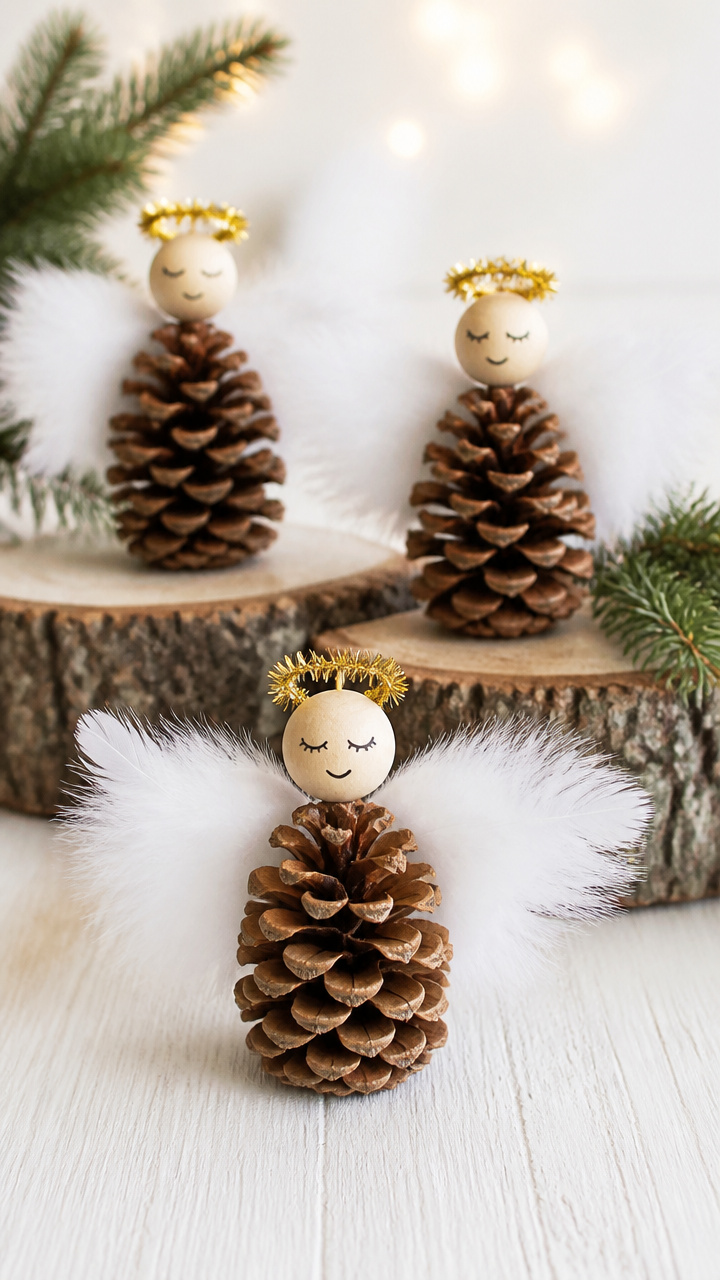
Delicate angel figures with pinecone skirts and soft white feather wings stand quietly on shelves or tree branches. Each one has a tiny wooden bead face and a golden halo made from wire.
Materials Needed
- 30 small pinecones
- 30 white goose feathers, 4 inches long
- 30 round wooden beads, 15mm
- Gold chenille stems, size 11, 30 count
- Craft glue
- Fine-tipped marker, black
- Wire cutters
How to Make It
- Cut each chenille stem in half and twist one end into a small loop to form a halo.
- Glue the flat side of each wooden bead to the top of a pinecone.
- Draw two small eyes and a mouth on each bead with the marker.
- Slide the straight end of each halo through the center top of the bead.
- Glue two feathers side by side behind each angel’s back and let dry completely.


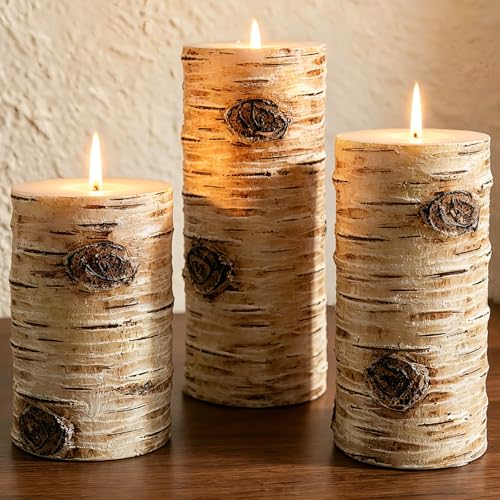
4. Birch Bark Candle Holders
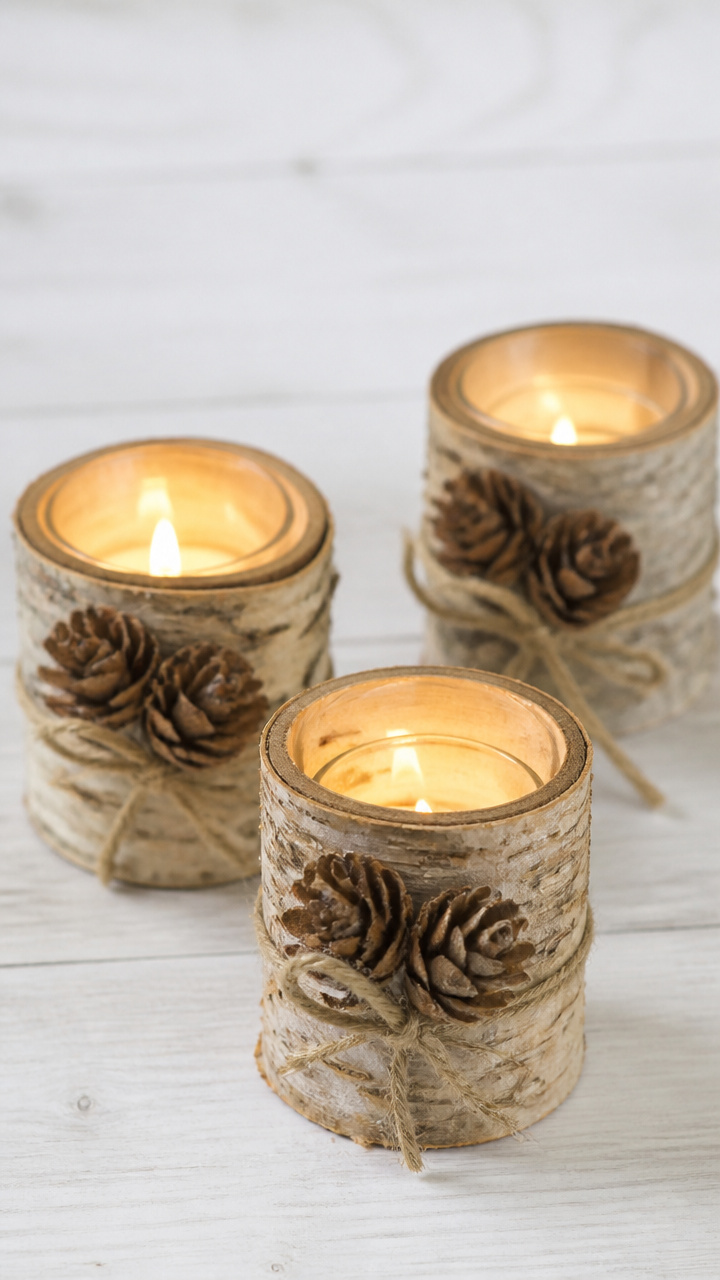
Strips of peeling birch bark wrapped around glass votive holders glow warmly when lit from within. Tucked pinecone tips peek out from beneath the bark for a subtle forest feel.
Materials Needed
- 12 birch bark strips, 4×6 inches
- 12 clear glass votive holders, 3 inches tall
- 12 small pinecones
- Double-sided tape
- Scissors
- Tealight candles
How to Make It
- Cut each pinecone in half crosswise using scissors to expose the inner spiral pattern.
- Place a piece of double-sided tape along one short edge of each bark strip.
- Wrap the bark snugly around each votive holder, pressing the taped edge to secure it.
- Tuck half a pinecone under the bottom edge of the bark so it sticks out slightly.
- Insert a tealight candle before lighting.


5. Pinecone Reindeer Ornaments
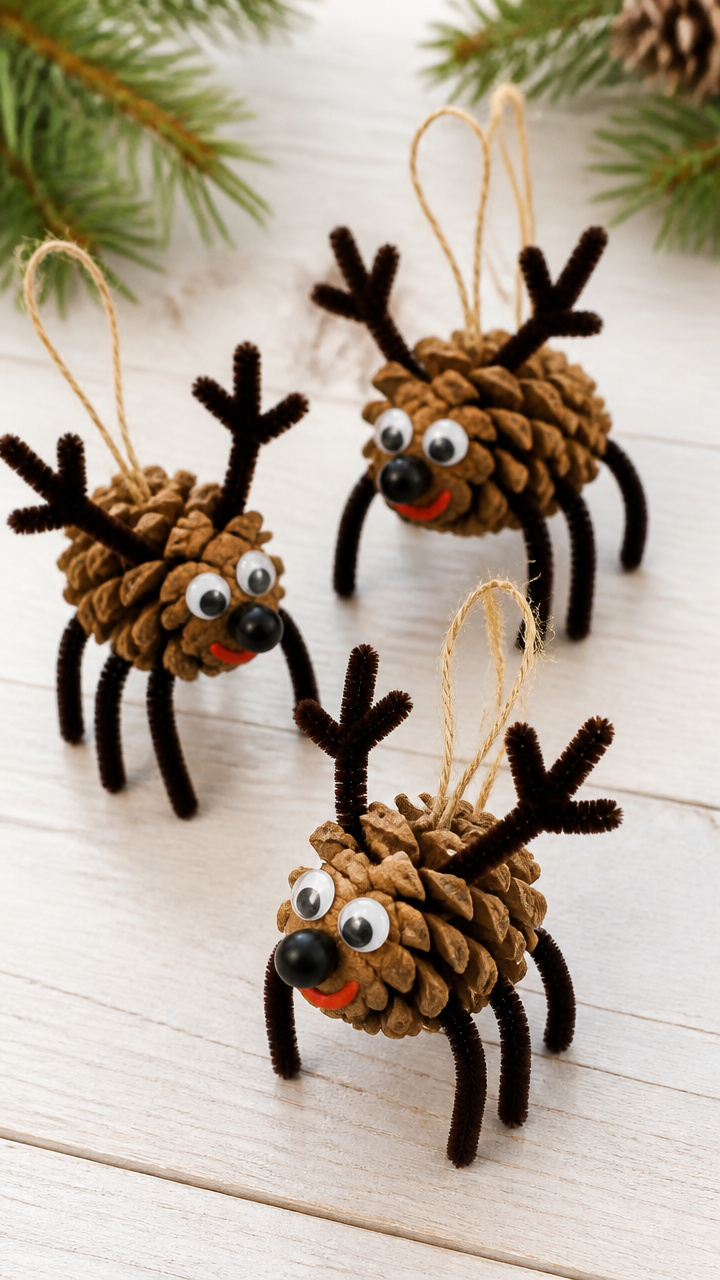
Mini reindeer ornaments with bent pipe cleaner legs and googly eyes turn small pinecones into playful characters. Hang them low on the tree where kids can see them clearly.
Materials Needed
- 50 small pinecones
- 100 black pipe cleaners, 6 inches
- 100 small black craft beads, 6mm
- 100 googly eyes, 8mm
- Red craft paint
- Fine brush
- Craft glue
How to Make It
- Cut each pipe cleaner in half and bend each piece into four equal segments to form legs.
- Glue two legs to the underside of each pinecone spaced apart for balance.
- Glue one googly eye to each side of the top front of the pinecone.
- Slide a small bead onto the end of a toothpick, dip in red paint, and dot each reindeer's nose.
- Let dry completely before adding string for hanging.


6. Dried Orange Slice Garland
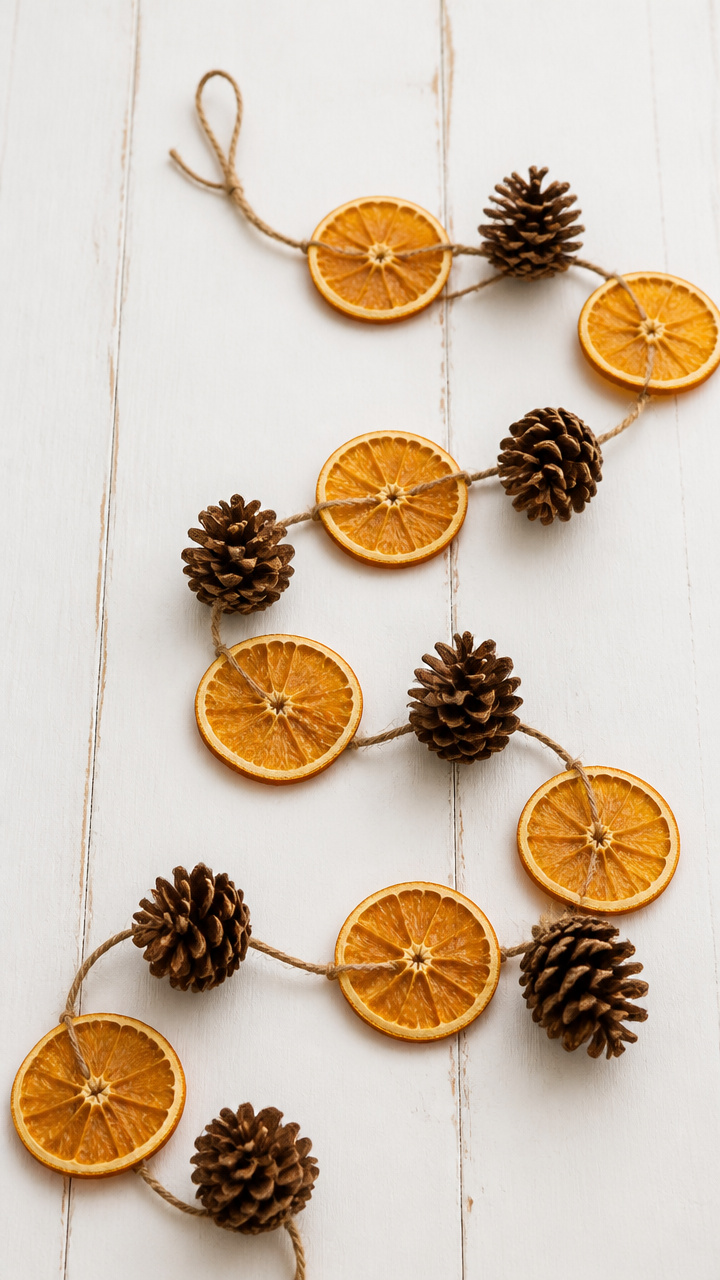
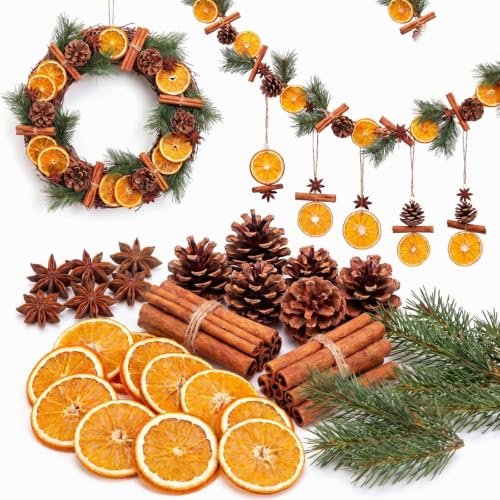
Sliced oranges dried until crisp are strung alternately with closed pinecones for a garland that crackles faintly when touched and fills the room with citrus warmth.
Materials Needed
- 24 oranges
- 24 small pinecones
- Baking sheet
- Parchment paper
- Olive oil spray
- 12 feet of jute twine
- Large needle
How to Make It
- Preheat oven to 170°F and line a baking sheet with parchment.
- Slice each orange into 1/4-inch rounds and lay them flat on the tray.
- Lightly spray both sides with olive oil and bake for 4 hours, flipping once halfway.
- Thread the twine through each dried orange and pinecone alternately using the needle.
- Tie knots between each item to keep spacing even.


7. Pinecone Fire Starter Cones
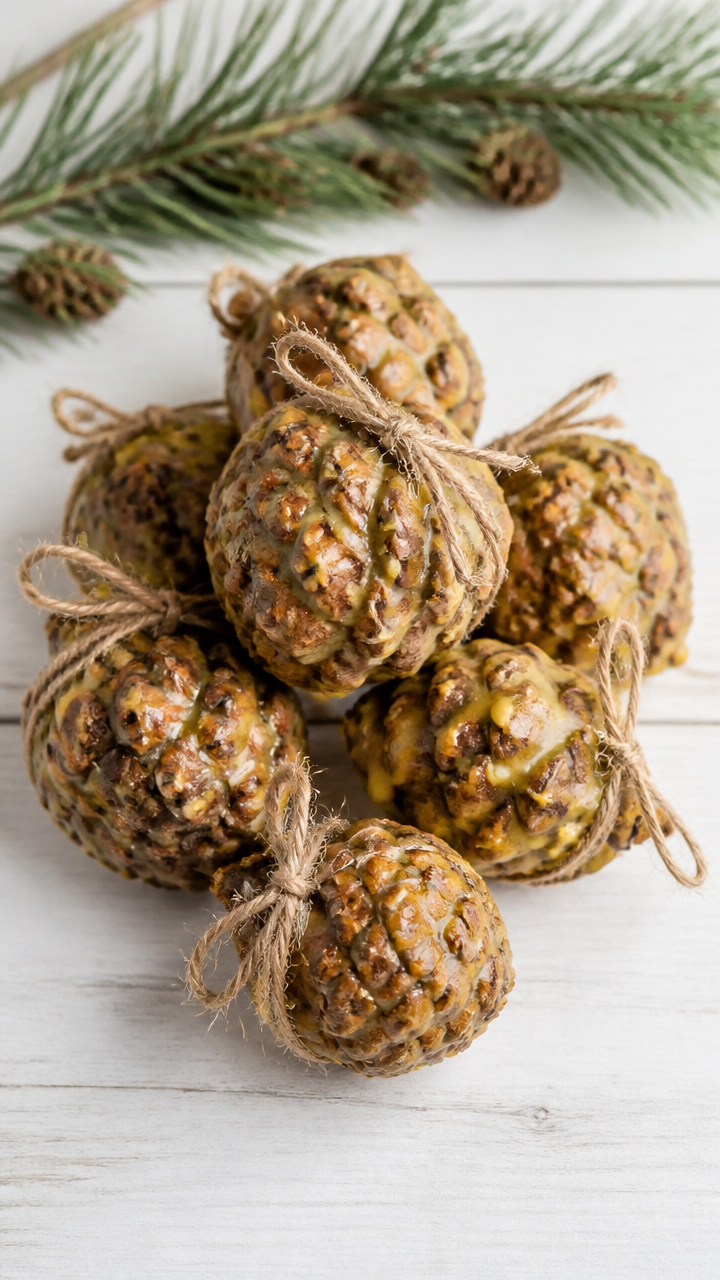
Wax-dipped pinecone bundles with crumpled paper inside catch flame easily and burn steadily in fireplaces or outdoor pits. They’re practical gifts wrapped in twine.
Materials Needed
- 40 small pinecones
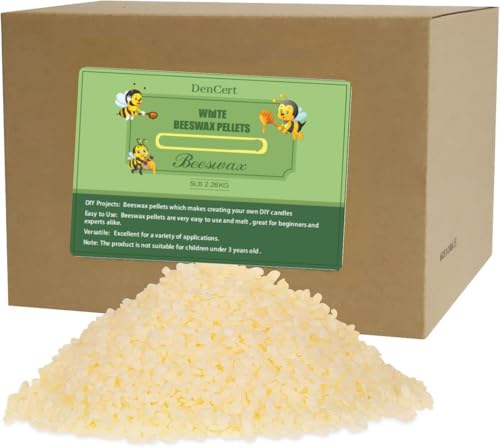
- Beeswax pellets, 1 cup
- Double boiler
- Newspaper, torn into 2-inch squares
- Jute twine, 20 feet
- Silicone brush
How to Make It
- Crumple five newspaper squares and tuck them deep into the center of each pinecone.
- Melt beeswax in the double boiler over medium heat until fully liquid.
- Dip the top half of each pinecone into the wax and let excess drip off for 5 seconds.
- Lay dipped pinecones on a nonstick surface to cool for 15 minutes.
- Tie bundles of three together with twine for storage.


8. Twine-Wrapped Pinecone Ornaments
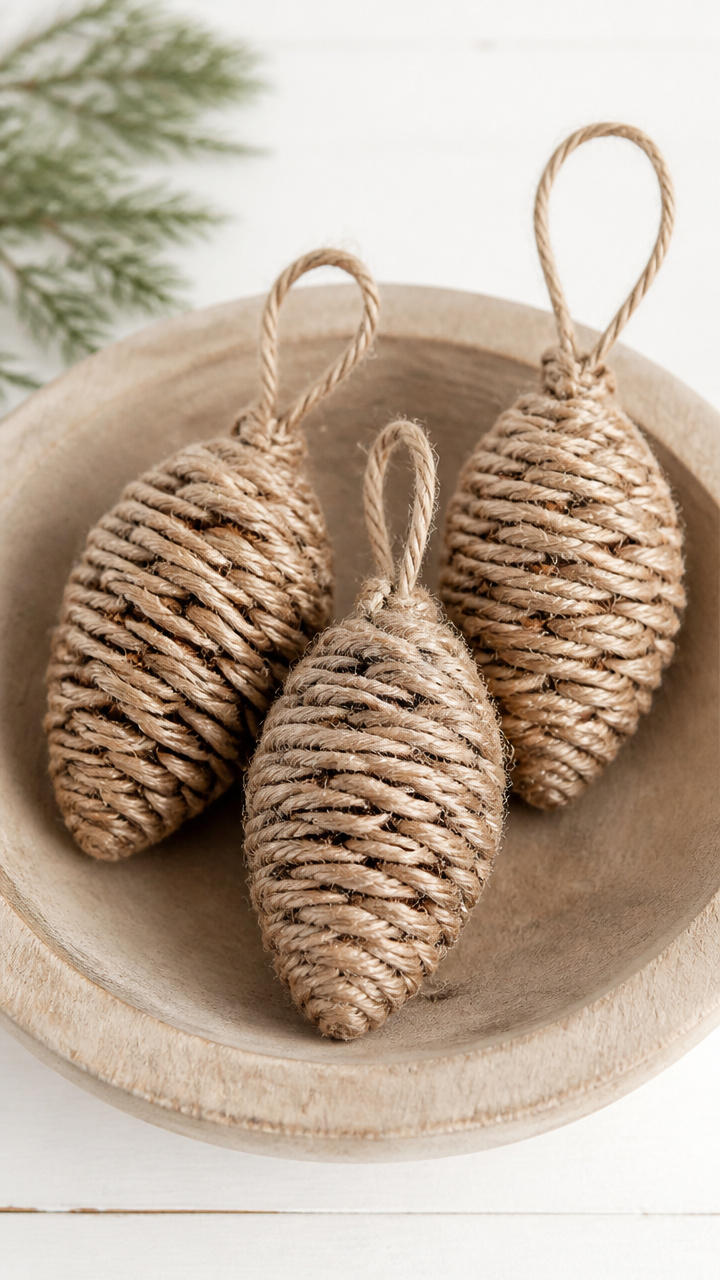
Natural cotton twine wound tightly around closed pinecones creates textured ornaments with no glue or paint needed. The knot at the top doubles as a hanger.
Materials Needed
- 36 closed pinecones
- Cotton twine, size 5, 100 yards
- Scissors
How to Make It
- Cut a 24-inch length of twine and tie one end securely to the stem of a pinecone.
- Begin wrapping the twine tightly around the base, overlapping slightly with each pass.
- Continue wrapping upward toward the tip, keeping tension firm but not crushing scales.
- When you reach the top, tie a knot and trim the end close to the cone.
- Leave the starting knot long enough to use as a hanger.

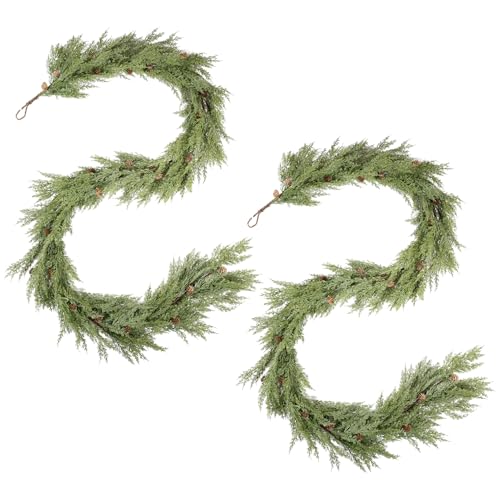
9. Pinecone and Cedar Garland
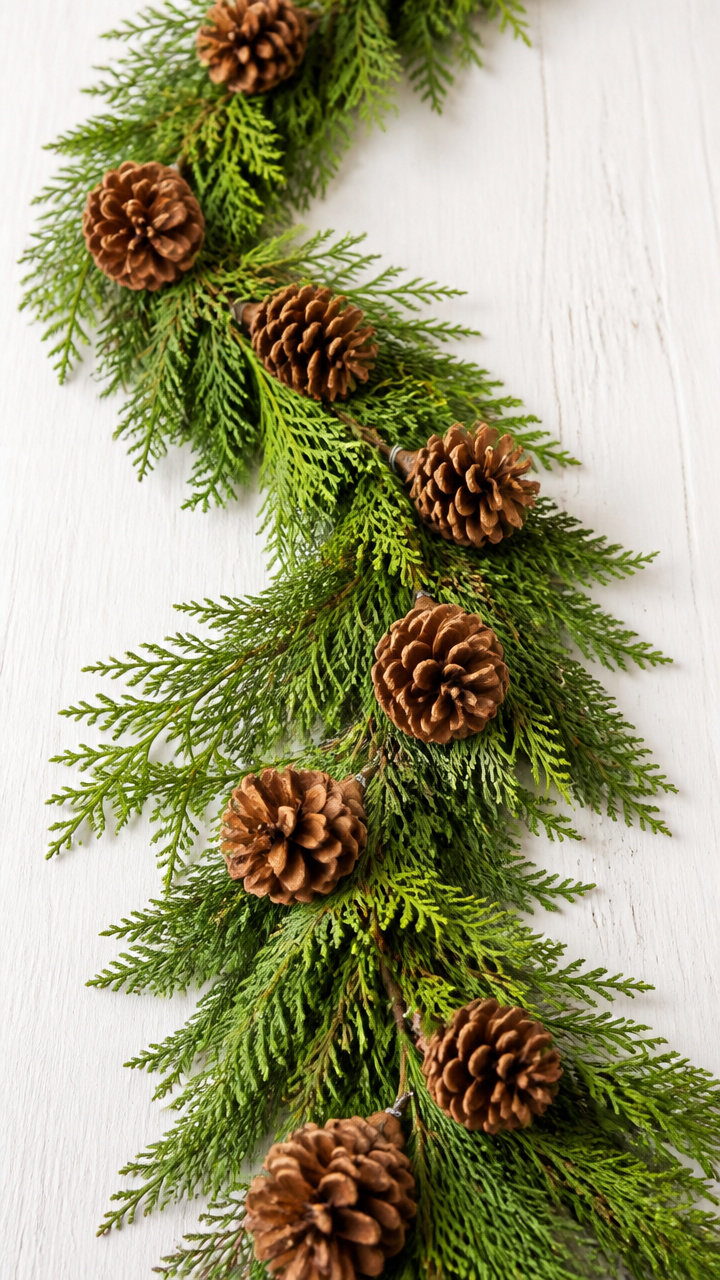
Long strands of flat cedar boughs interlaced with whole pinecones release a fresh evergreen scent when hung near windows. It lasts for weeks without drying out.
Materials Needed
- 6 feet of fresh cedar boughs
- 18 medium pinecones
- Floral wire, 18-gauge, 3 feet
- Wire cutters
- Pruning shears
How to Make It
- Trim cedar boughs into 8-inch sections using pruning shears.
- Lay three sections side by side and wrap floral wire around the stems every 2 inches.
- Slide a pinecone between two cedar sections and wrap wire around its base to hold it.
- Continue adding cedar and pinecones every 4 inches until the garland reaches desired length.
- Trim any stray needles flush with the branch ends.

10. Pinecone Salt Dough Ornaments
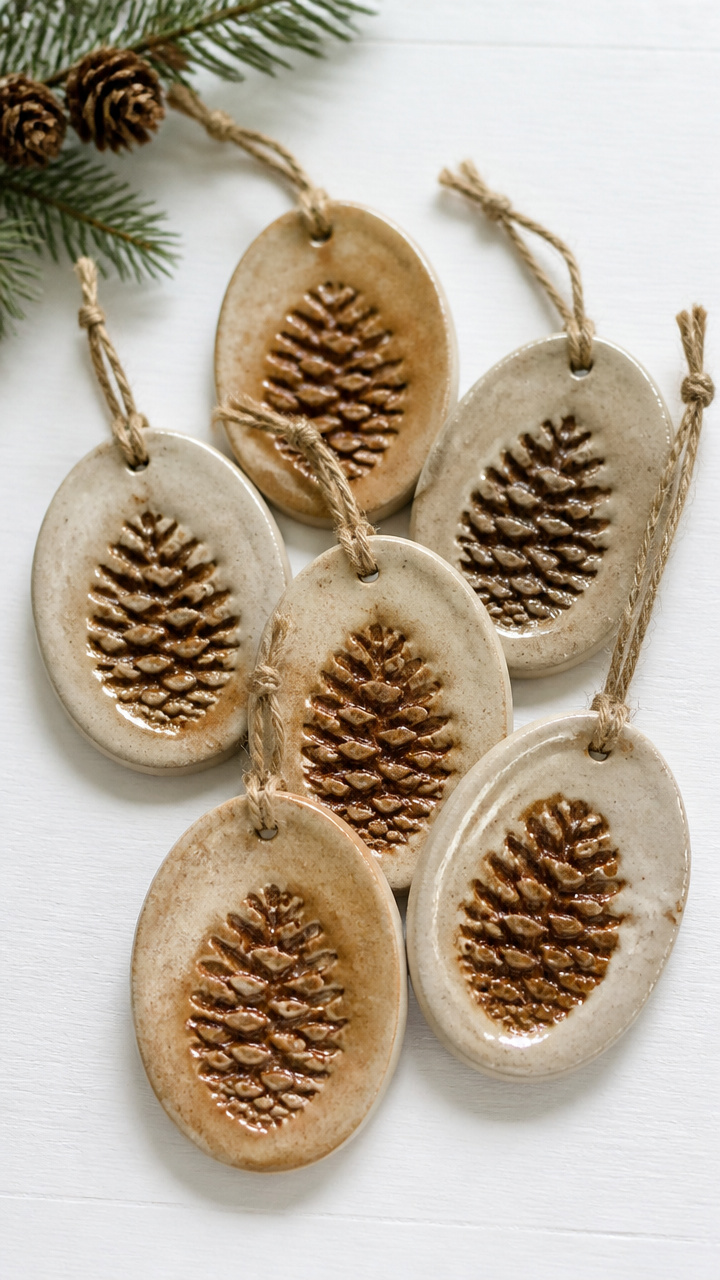
Salt dough impressions pressed with pinecone bottoms create rustic keepsakes stamped with nature’s own pattern. A coat of clear glaze protects them year after year.
Materials Needed
- 2 cups all-purpose flour
- 1 cup table salt
- 3/4 cup warm water
- Rolling pin
- Pinecones, various sizes
- Plastic drinking straw
- Clear acrylic sealer spray
- Ribbon, 1/8 inch, 10 feet
How to Make It
- Mix flour, salt, and water in a bowl until a smooth dough forms, kneading for 3 minutes.
- Roll dough to 1/4-inch thickness on a floured surface.
- Press the base of each pinecone firmly into the dough to leave a detailed imprint.
- Use the straw to poke a hole near the top edge of each ornament.
- Bake at 200°F for 3 hours, then spray both sides with sealer and thread ribbon through holes.
11. Pinecone Bird Feeders
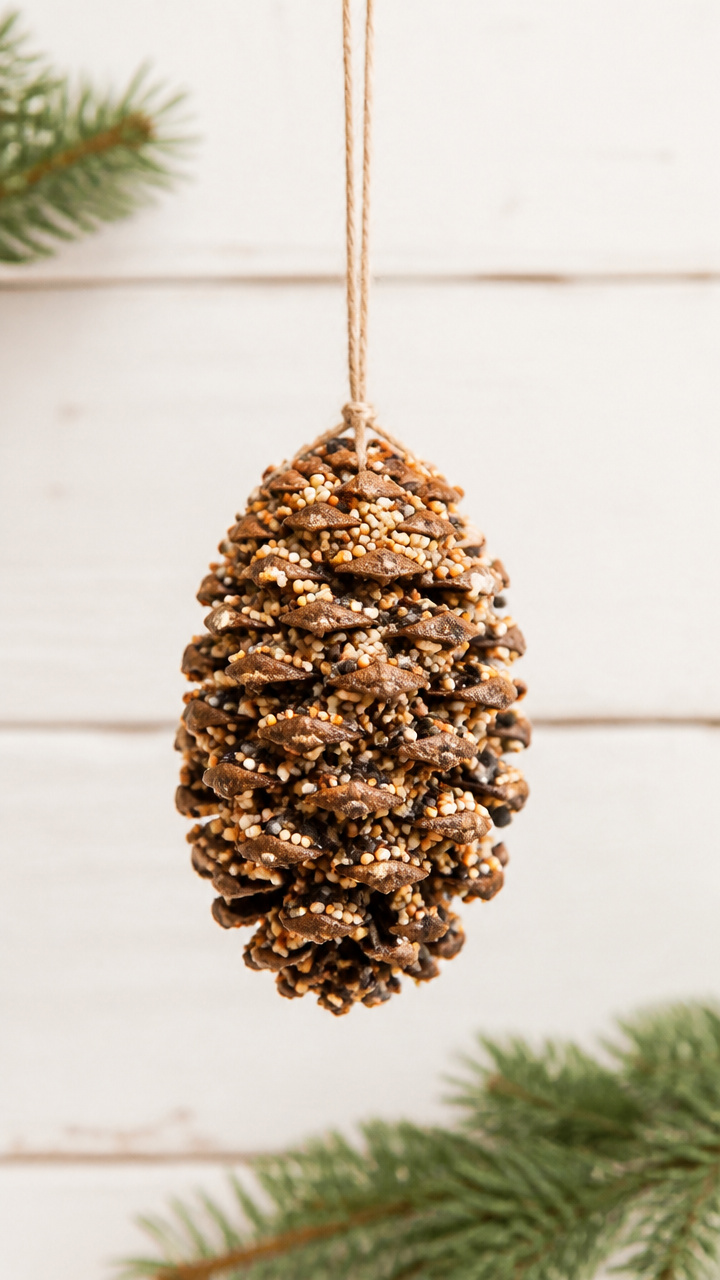
Coated in peanut butter and rolled in birdseed, these pinecones become simple feeders that draw chickadees and finches right up to your window.
Materials Needed
- 24 medium pinecones
- 1 cup creamy peanut butter
- 2 cups mixed birdseed
- Butter knife
- String, 24 feet
- Shallow bowl
How to Make It
- Tie a 12-inch string around the stem of each pinecone and knot securely.
- Using the knife, spread peanut butter into the crevices of each pinecone.
- Pour birdseed into the bowl and roll each coated pinecone in it until fully covered.
- Hang them high in trees away from predators and wait for birds to find them.


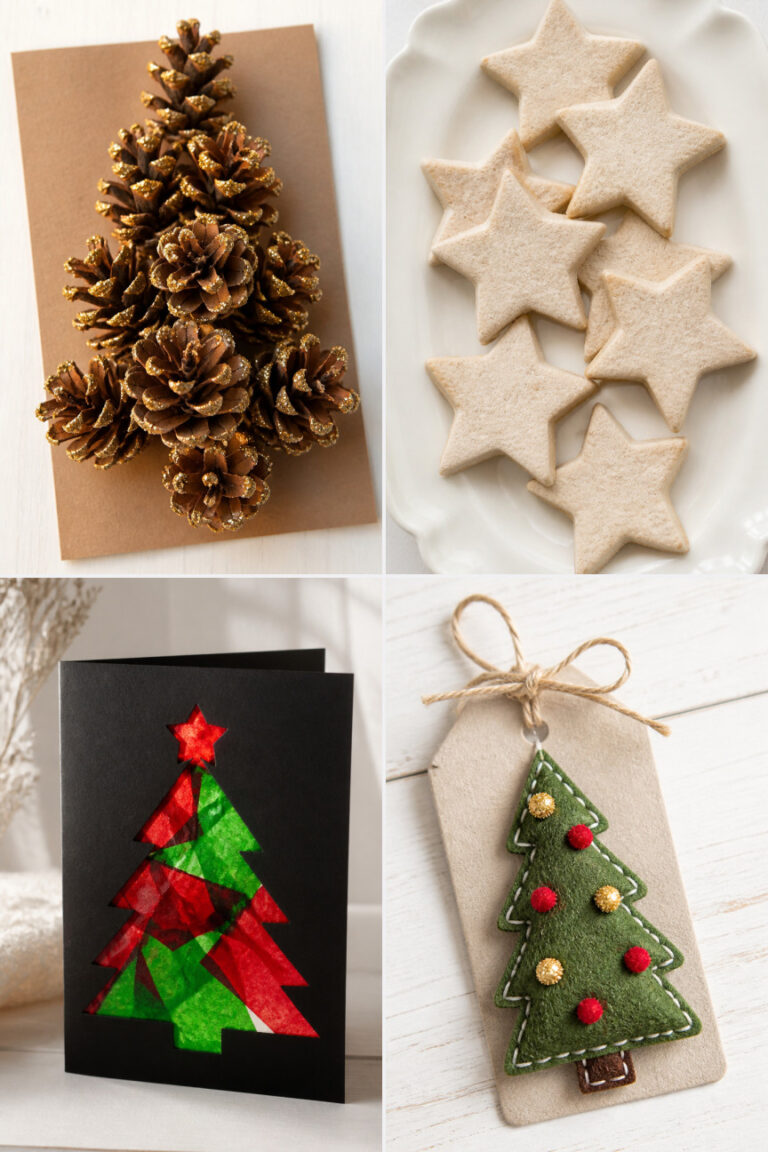
12. Pinecone Christmas Tree Centerpiece
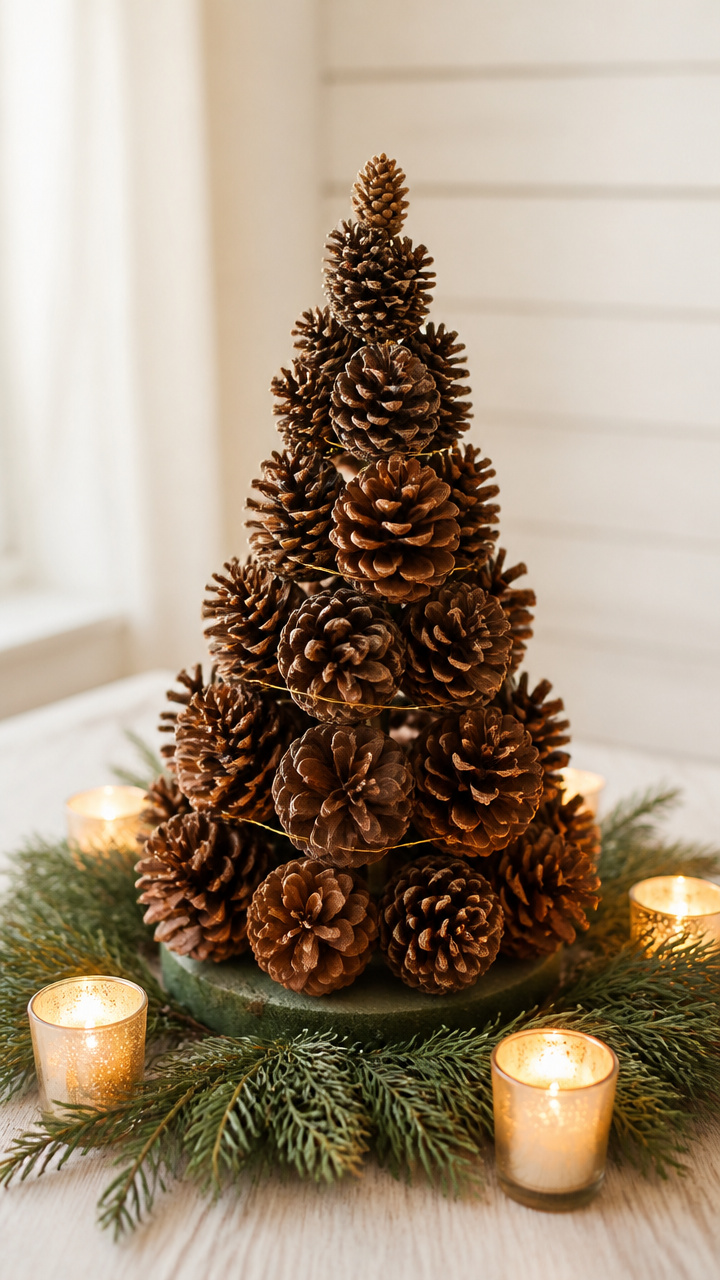
A tiered arrangement of pinecones in graduated sizes stands in for a tree on tabletops. Wrapped in gold wire, it catches candlelight beautifully.
Materials Needed
- 1 large pinecone
- 2 medium pinecones
- 3 small pinecones
- Gold craft wire, 20-gauge, 10 feet
- Floral foam block, 4×4 inches
- Wire cutters
- Scissors
How to Make It
- Push the pointed end of the large pinecone into the center of the foam block.
- Wrap 6 inches of gold wire around the base of each medium pinecone and twist tight.
- Position the medium pinecones around the large one, slightly lower, and press their stems into the foam.
- Repeat with small pinecones at the outer edge, wiring each base.
- Trim any loose wire ends with cutters.


13. Pinecone Luminaries with Beeswax Candles

Hollowed pinecones hold miniature beeswax candles that flicker through the gaps in the scales. Set them in a stone circle on your patio for soft evening light.
Materials Needed
- 24 closed pinecones
- 24 beeswax tea lights, 1.5 inches
- Melon baller
- Heat-resistant dish
- Matches
How to Make It
- Use the melon baller to scoop out a 1-inch deep cavity in the center base of each pinecone.
- Place each hollowed pinecone on the heat-resistant dish.
- Set one beeswax tea light into each cavity, pressing gently to seat it.
- Light carefully with a match and let burn no more than 2 hours at a time.


14. Pinecone Wreath Base with Moss
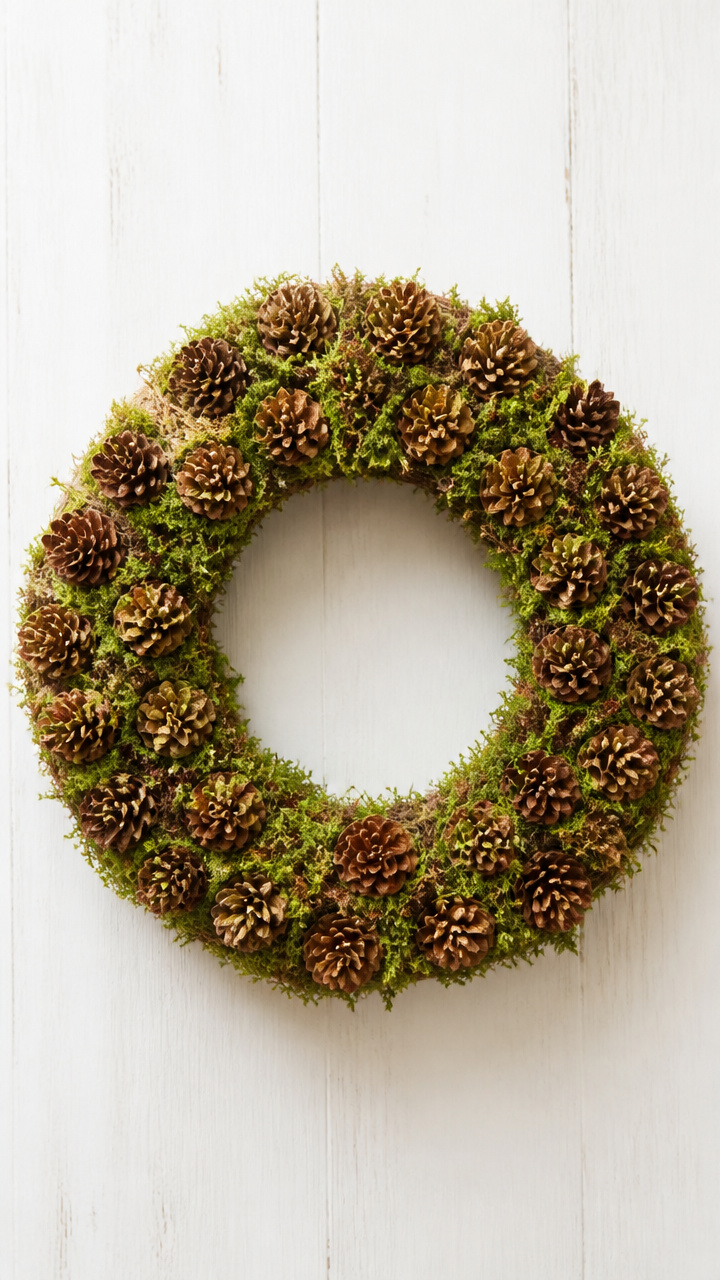
A sturdy grapevine wreath frame layered with sphagnum moss and studded with pinecones becomes a lush, earthy base ready for ribbons or left as-is.
Materials Needed
- 12-inch grapevine wreath frame
- Loose sphagnum moss, 100 cubic inches
- Hot glue gun and glue sticks
- 36 small pinecones
- Scissors
How to Make It
- Pull moss into golf ball-sized clumps and press them into the grapevine frame.
- Glue each clump in place with three dabs of hot glue around the base.
- Continue layering moss until the entire frame is thickly covered.
- Glue pinecones point-side out at random intervals across the moss.
- Trim any stray vines with scissors for a clean edge.


15. Pinecone Snowmen
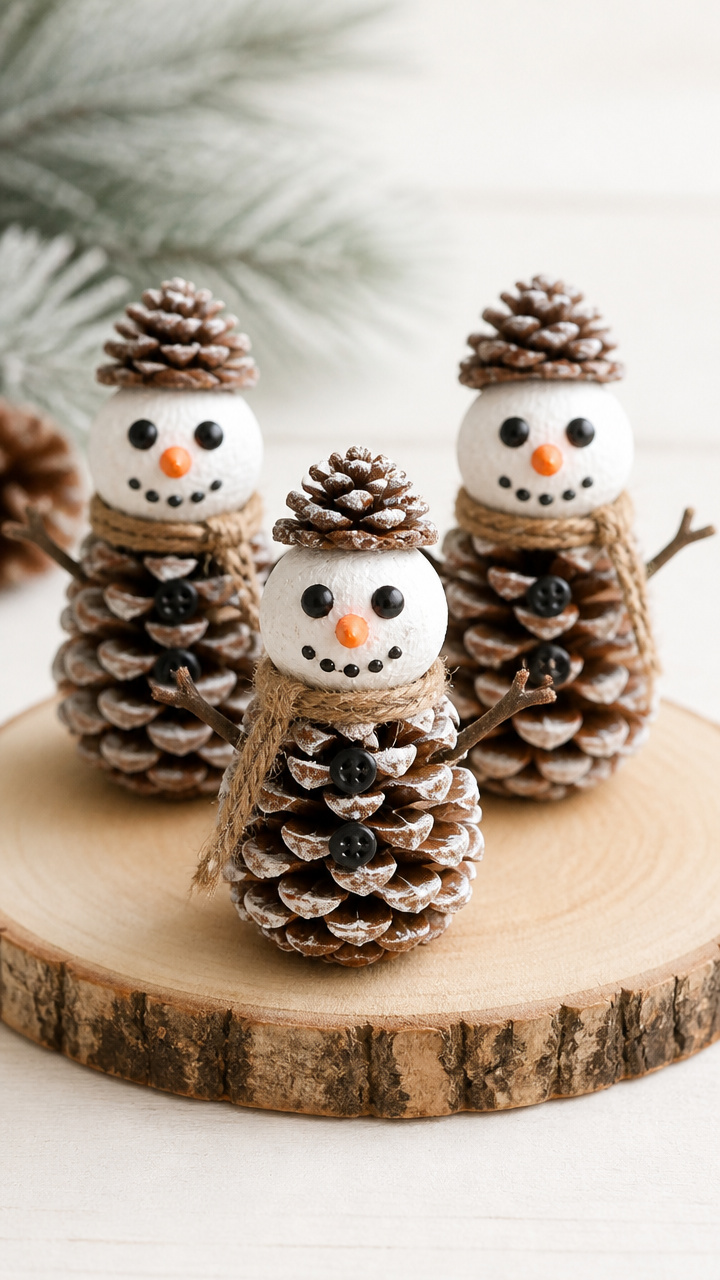
Stacked pinecones with carrot noses and twig arms become cheerful snowmen that don’t melt. Perfect for windowsills or as part of a larger village scene.
Materials Needed
- 24 pinecones
- Orange craft foam
- 12 short twigs, 3 inches
- Black buttons, 8mm, 48 count
- Craft glue
- Scissors
- Wooden skewer
How to Make It
- Select two pinecones of different sizes for each snowman body and stack the larger below.
- Cut 24 tiny triangles from orange foam and glue one to the middle section of each snowman.
- Glue two buttons for eyes just above each nose.
- Push a short twig into each side of the middle section to form arms.
- Use the skewer to apply extra glue inside contact points before stacking.


16. Pressed Leaf and Pinecone Coasters
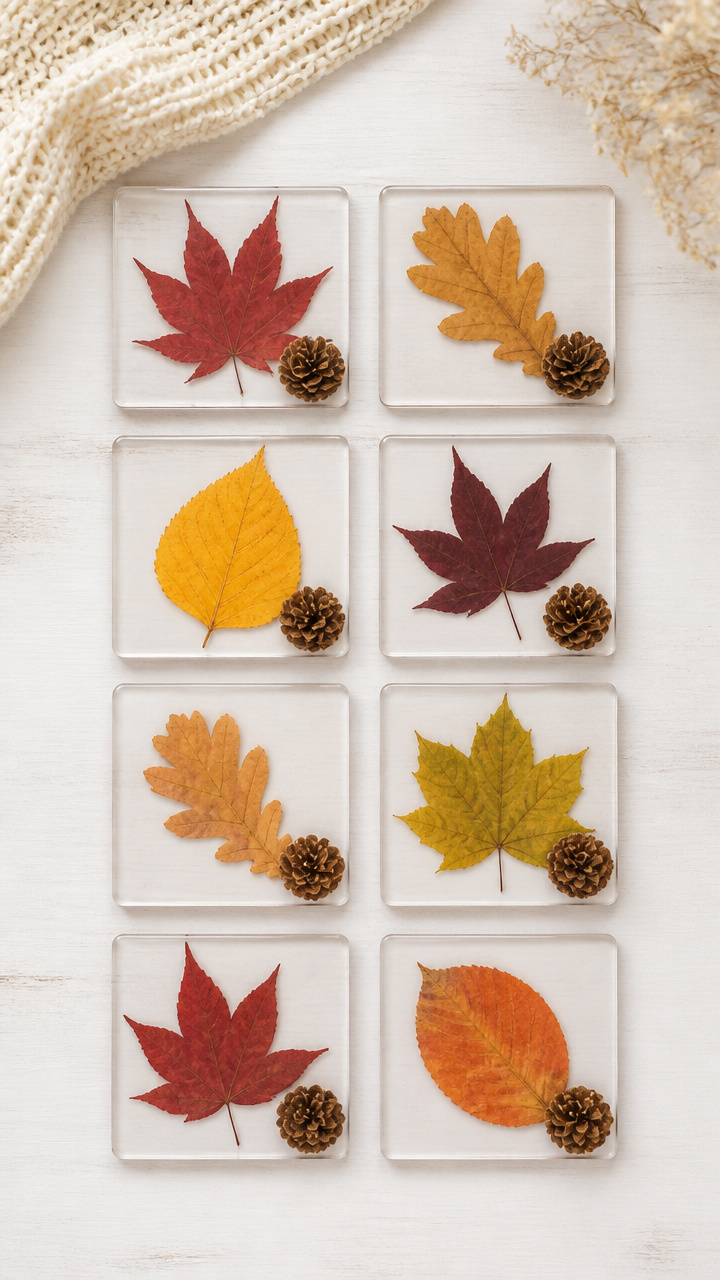
Fall leaves sandwiched between clear self-adhesive sheets and trimmed around the edges are anchored at one corner by a glued-on pinecone tip.
Materials Needed
- 8 fall leaves, undamaged
- Self-laminating sheets, 8.5×11 inches, 8 count
- 4 small pinecones
- Craft scissors
- Craft glue
- Ruler
How to Make It
- Choose a leaf and place it centered on the sticky side of a laminating sheet.
- Peel the backing from the second sheet and lay it smoothly on top.
- Trim 1/4 inch around the leaf using scissors and ruler for straight edges.
- Break each pinecone into individual scales and select four pointed ones.
- Glue one scale to the bottom right corner of each coaster and let dry 2 hours.


17. Pinecone Wind Chime
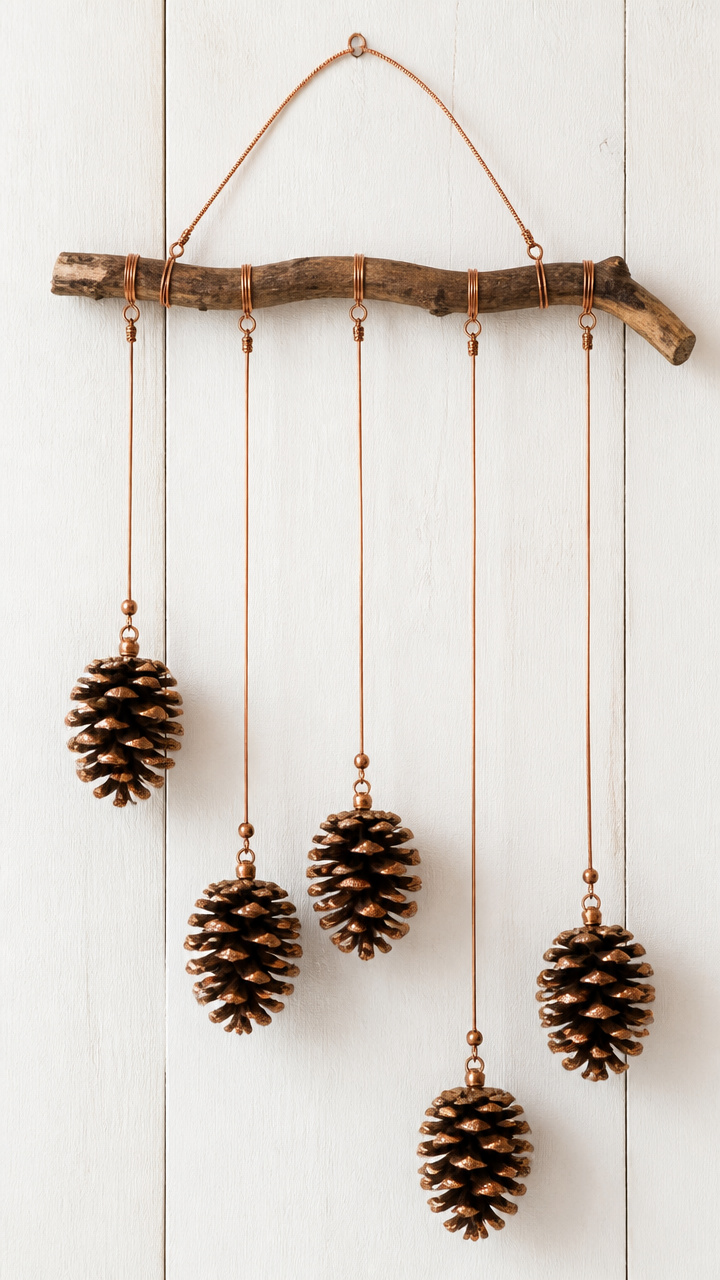
Five lengths of copper wire threaded with pinecone halves and suspended from a fallen branch create soft tapping sounds when the breeze picks up.
Materials Needed
- 1 fallen hardwood branch, 18 inches long
- 10 pinecones
- Copper wire, 18-gauge, 10 feet
- Wire cutters
- Drill with 1/8-inch bit
- Pliers
- Small wooden beads, 10 count
How to Make It
- Cut each pinecone in half lengthwise using wire cutters.
- Drill a small hole through the flat top edge of each half.
- Cut five 12-inch wires and thread one pinecone half onto each, letting it rest in the middle.
- Tie knots above and below each cone to hold it in place, adding a wooden bead above each knot.
- Twist the top ends of the wires around the branch 4 inches apart and hang from a hook.


These crafts aren’t perfect, and that’s exactly what makes them special. Gather your pinecones, roll up your sleeves, and let the season’s quiet magic come alive through your hands.