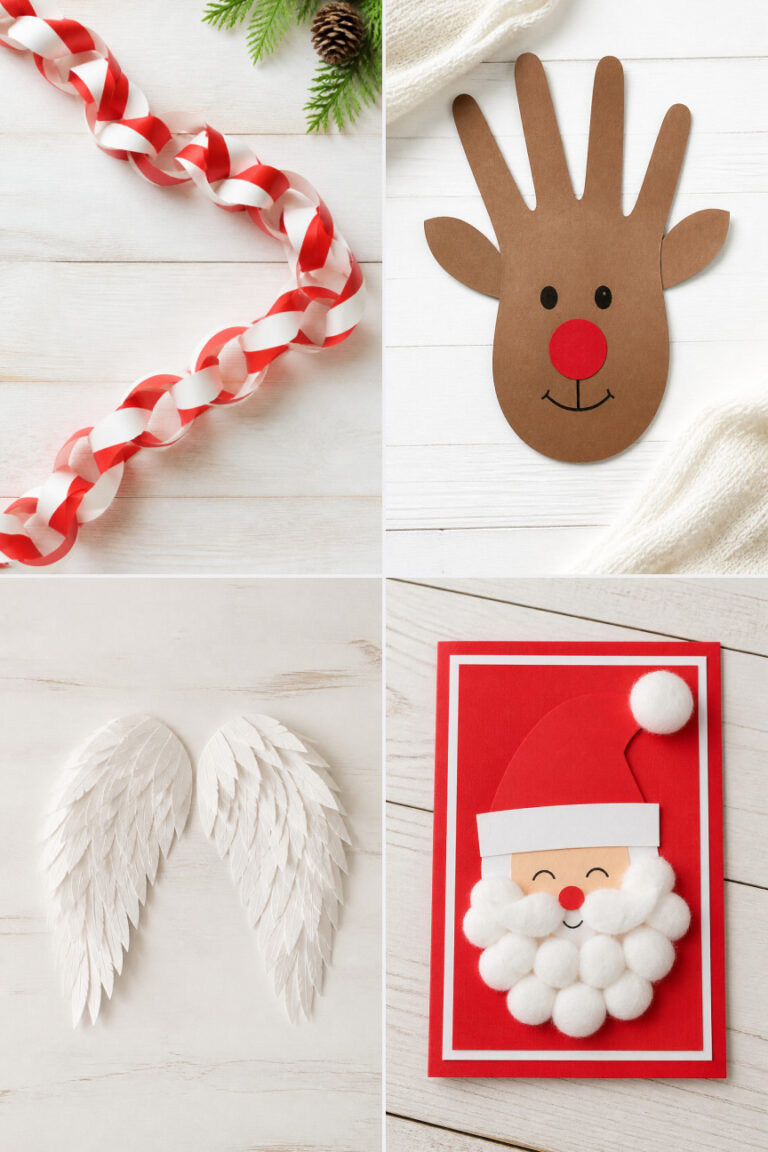
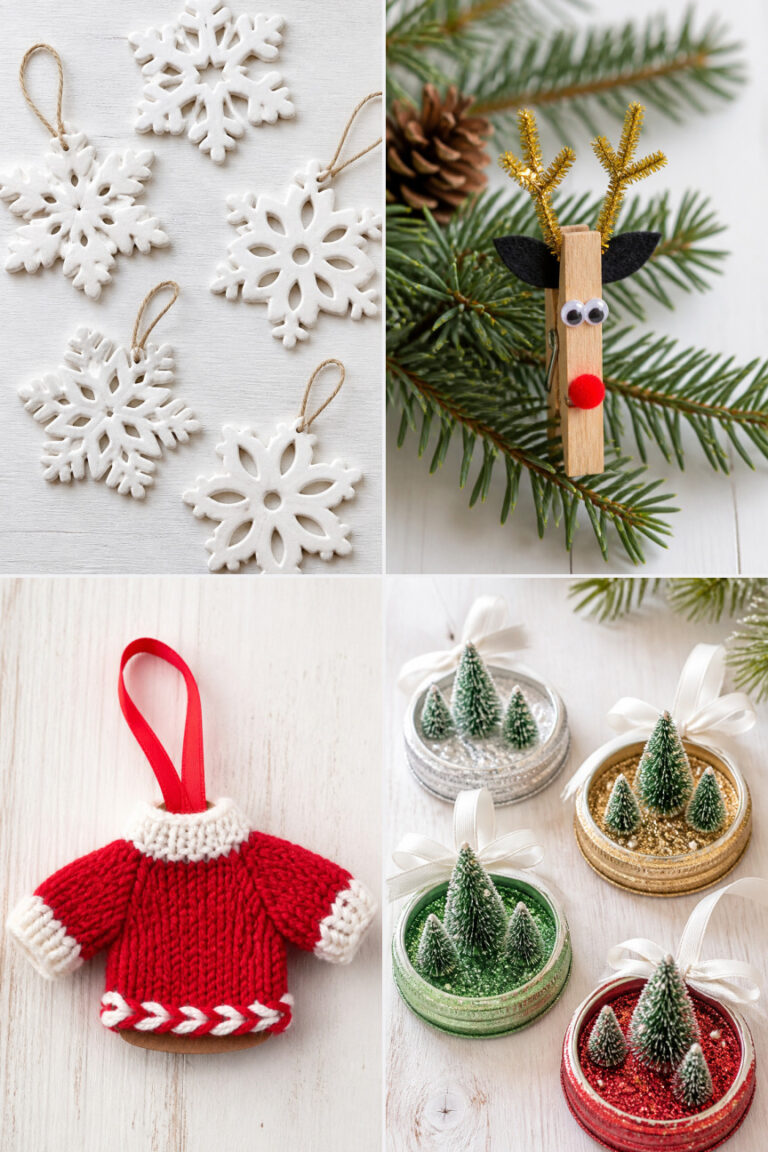
15 Easy Paper Christmas Ornaments for Kids
Gather your little ones and some simple supplies, because the holiday season is the perfect time to make something handmade together. These paper ornaments bring joy to create and look charming on any tree or window.
Each project uses everyday materials and takes less than an hour. You’ll find glue, scissors, and colorful paper transformed into keepsakes that kids will remember making for years.
1. Striped Paper Chain Reindeer
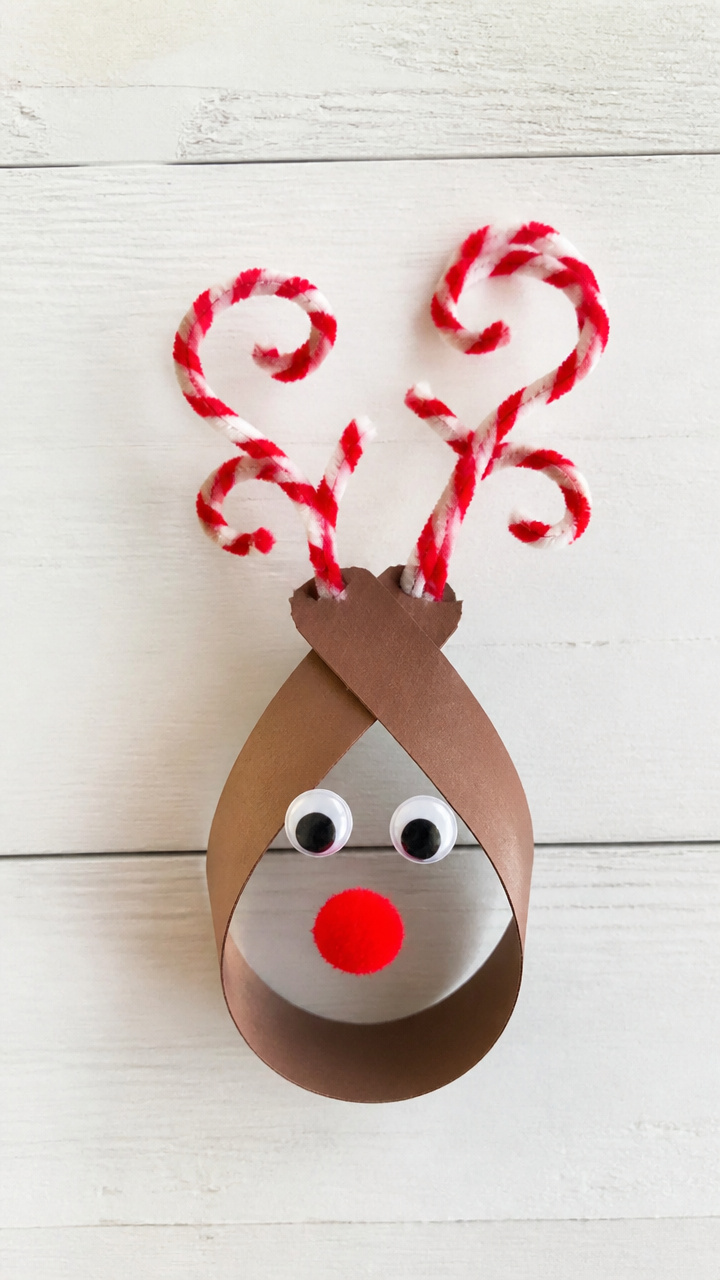
Bright paper strips twist into playful reindeer faces with bold eyes and curly antlers. This craft combines cutting, gluing, and folding in a way that keeps small hands busy and proud.
Materials Needed
- Red pom-pom, 1 cm diameter, 1
- Googly eyes, 8 mm, 2
- Black marker
- Brown construction paper, 22 x 30 cm, 1 sheet
- White and red yarn scraps, 10 cm each
- Glue stick
- Scissors
How to Make It
- Cut the brown paper into 1 cm wide strips, three at 25 cm long and one at 10 cm long.
- Form a small loop with the 10 cm strip and glue the ends to make the reindeer nose base.
- Glue the red pom-pom onto the center of the loop and add googly eyes just above it.
- Bend two 25 cm strips into loose spirals to form antlers and glue them to the back of the head.
- Cut tiny triangles from white yarn and glue them as teeth, then use the black marker to draw pupils.
- Twist the third 25 cm strip into a neck coil and attach it below the head with glue.


2. Folded Snowflake Stars
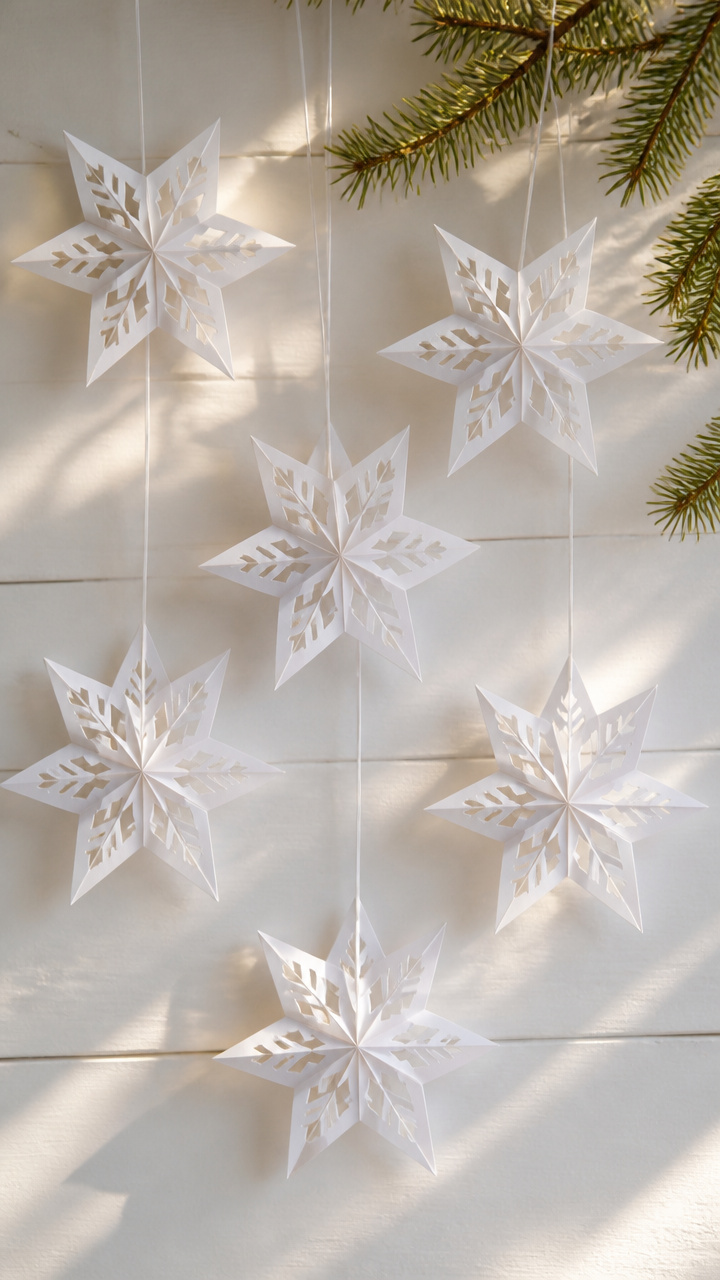
Delicate six-pointed stars emerge from simple folds and snips, made entirely from white printer paper. These shimmer like frost when hung near light.
Materials Needed
- A4 white printer paper, 3 sheets
- White thread, 15 cm length
- Clear tape
- Pencil
- Scissors
How to Make It
- Fold one sheet diagonally into a triangle, then fold it into thirds like a letter, aligning edges neatly.
- Use the pencil to sketch small triangular and diamond-shaped cutouts along the folded edges.
- Cut out the shapes with scissors, then unfold carefully to reveal the snowflake star.
- Repeat with two more sheets to make a set of three.
- Punch a tiny hole at one tip and thread with white thread, securing with a dot of tape.


3. Candy Cane Puppet Ornaments
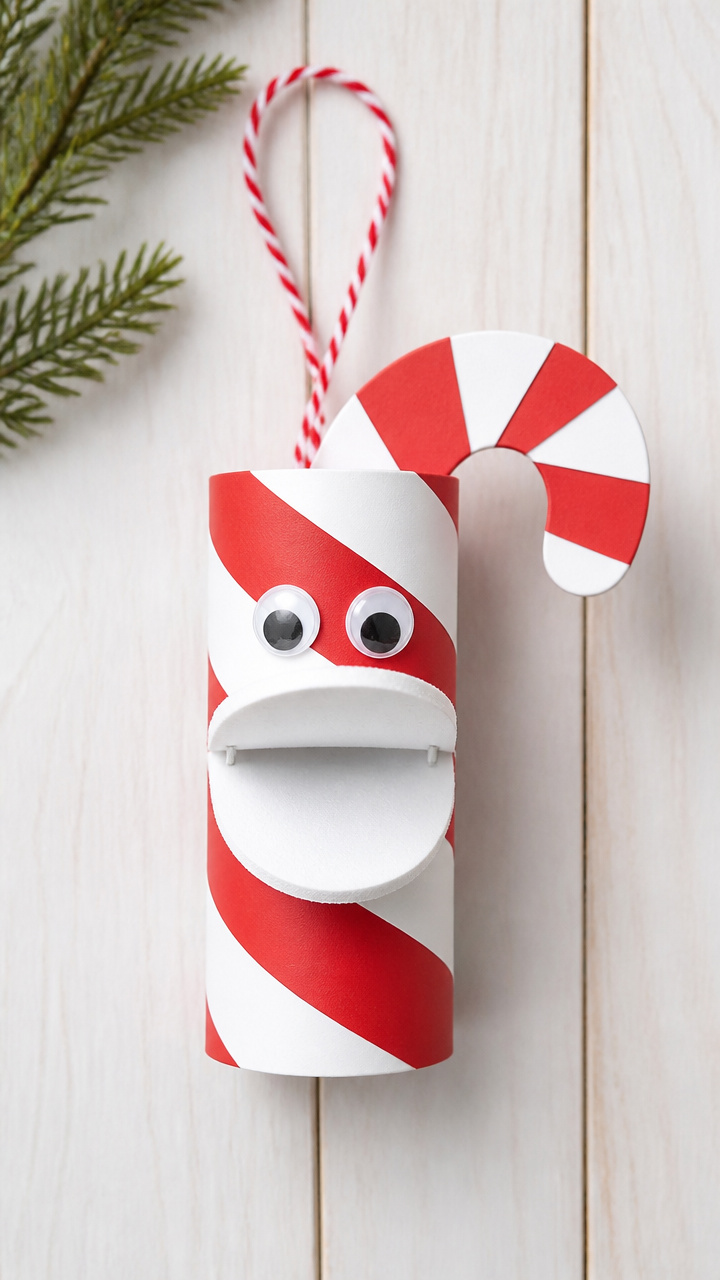
Stiff paper tubes become jolly candy cane puppets with moving mouths. Kids love sliding their fingers inside to make them talk.
Materials Needed
- Cardboard toilet paper roll, 1
- Red and white acrylic paint
- Paintbrush, size 6
- White craft foam sheet, 15 x 20 cm
- Glue stick
- Scissors
- Black marker
- Popsicle stick, 1
How to Make It
- Paint the toilet paper roll with alternating red and white curved stripes, let dry for 20 minutes.
- Cut a mouth shape from the bottom third of the roll, removing a U-shaped section.
- Cut a semicircle from white craft foam to fit behind the mouth opening and glue it in place.
- Draw candy swirl details with the black marker on the painted stripes.
- Glue the popsicle stick vertically to the back so it sticks out below as a handle.


4. Layered Tree Silhouettes
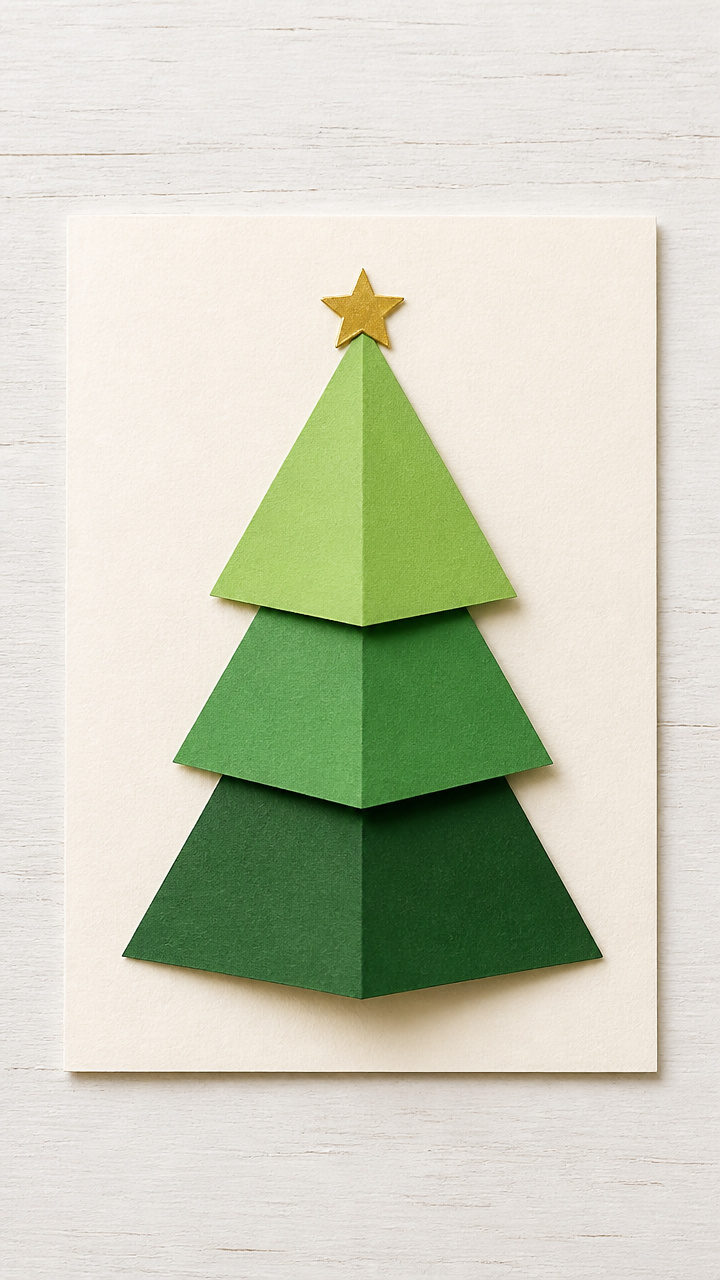
Stacked green triangles form a textured Christmas tree with depth and shadow. A gold star perches at the top like it just landed.
Materials Needed
- Light green, medium green, dark green cardstock, 15 x 20 cm each
- Gold star sticker, 2 cm, 1
- Pencil
- Ruler
- Scissors
- Glue stick
- Green yarn, 12 cm length
How to Make It
- Use the ruler and pencil to draw three identical triangles, 8 cm tall, on each green cardstock sheet.
- Cut out all three triangles and layer them point-down with slight offsets to show each color.
- Glue the layers together starting with dark green on bottom, then medium, then light on top.
- Tie the yarn into a loop and glue it to the back top edge for hanging.
- Press the gold star sticker to the very tip of the tree.



5. Peppermint Button Wreaths
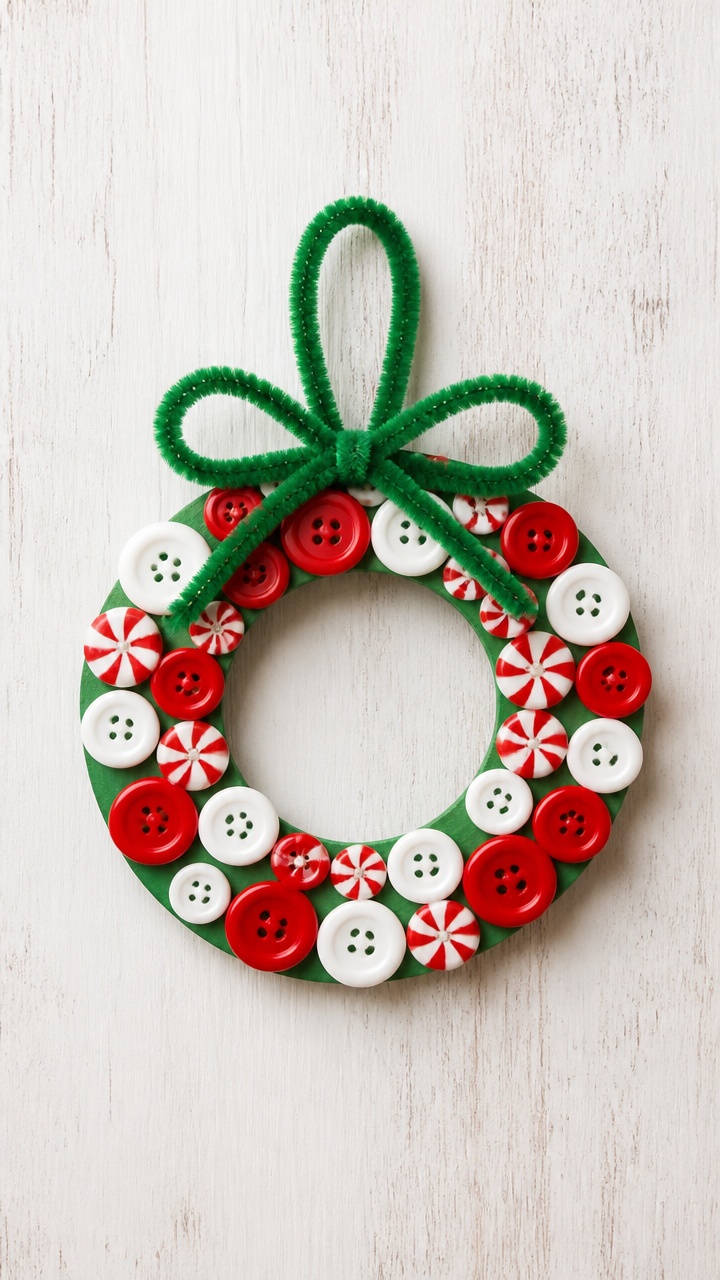
Flat cardboard circles host real buttons in red and white, arranged like peppermints. The texture invites little fingers to touch.
Materials Needed
- Cardboard circle, 8 cm diameter, 1
- Red and white buttons, various sizes, 12 total
- Hot glue gun and glue stick
- Green pipe cleaner, 20 cm
- Scissors
- Red acrylic paint
How to Make It
- Paint the edge of the cardboard circle with red acrylic paint and let dry for 15 minutes.
- Arrange six white and six red buttons around the outer rim in alternating order.
- Use the hot glue gun to secure each button firmly to the cardboard.
- Shape the pipe cleaner into a bow and glue it at the top of the wreath.
- Attach a short thread loop to the back with hot glue for hanging.


6. Paper Plate Angel Faces
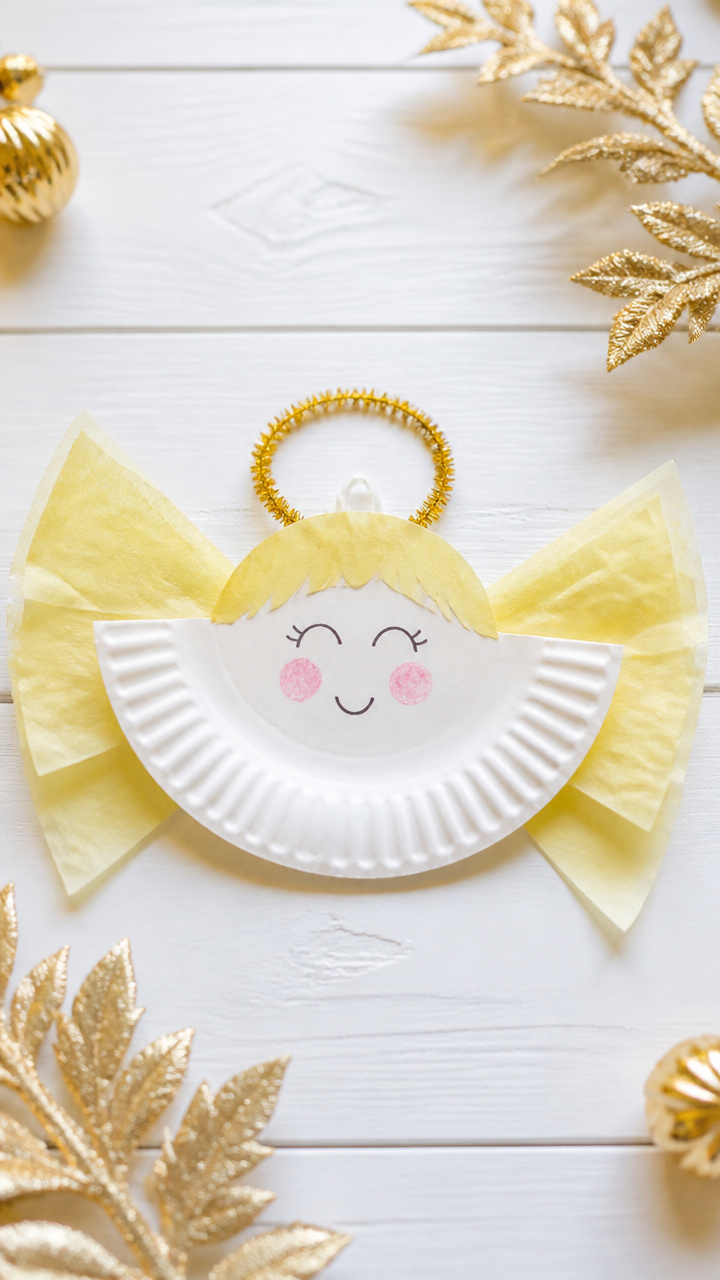
Half a paper plate curves into a sweet angel face with soft tissue wings. Gold glitter traces her halo for a heavenly glow.
Materials Needed
- White paper plate, 9 inch, 1
- Yellow tissue paper, 15 x 15 cm
- Glitter glue, gold
- Pink crayon
- Scissors
- Glue stick
- String, 10 cm
How to Make It
- Cut the paper plate in half with scissors and use one half for the face curve.
- Color cheeks with the pink crayon in soft circular motions.
- Cut fringe strips from the yellow tissue paper and curl them slightly to make hair.
- Glue the fringe across the top edge of the plate half to form a halo of hair.
- Draw a tiny smile and press string through the sides to hang.
- Squeeze gold glitter glue in a circle above the head and let dry completely.


7. Salt Dough Handprint Santas
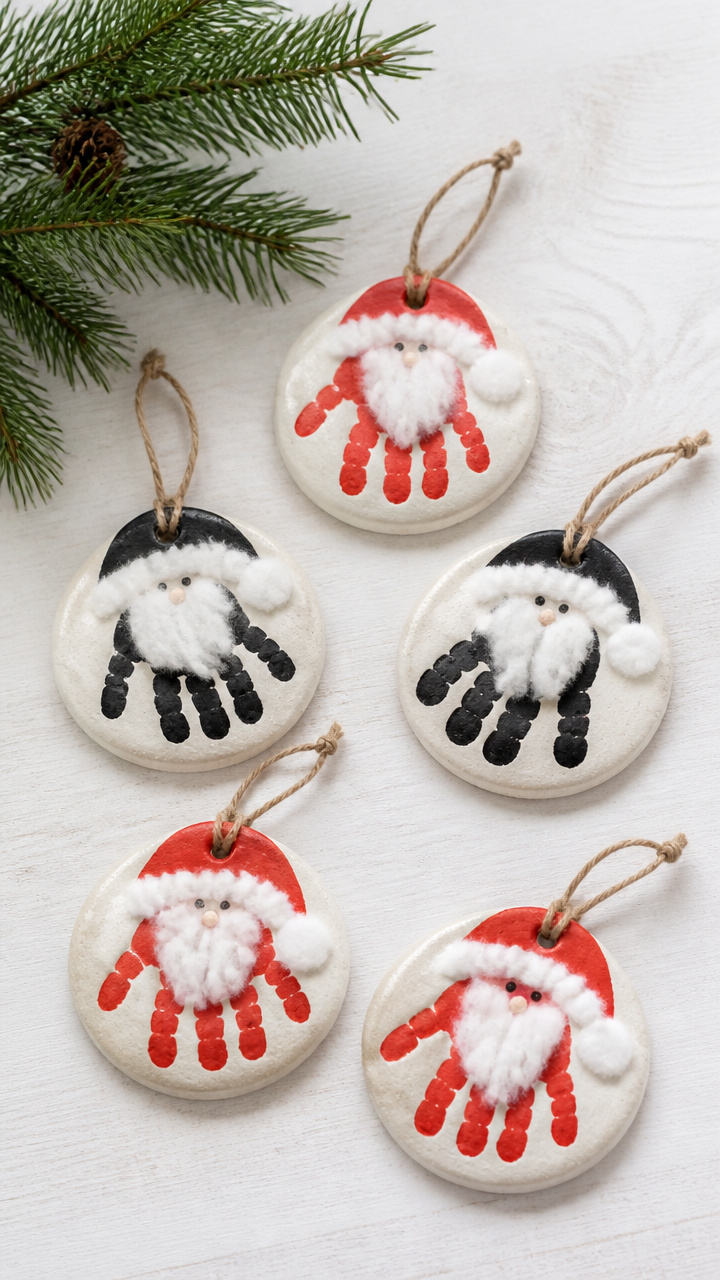
Mini salt dough rounds hold tiny handprints turned into jolly Santas with cotton beards. They smell faintly of flour and warmth as they bake.
Materials Needed
- Homemade salt dough (mix 1 cup flour, 1/2 cup salt, 1/3 cup water)
- Rolling pin
- Circular cookie cutter, 6 cm
- Straw
- Red and black acrylic paint
- White craft glue
- Cotton balls, small pieces
How to Make It
- Roll the dough to 1/4 inch thickness and cut out three circles using the cookie cutter.
- Press one fingertip gently into each circle to leave a thumbprint 'face'.
- Use the straw to poke a hole near the top edge for hanging.
- Bake at 200°F for 3 hours until hard, then let cool.
- Paint red hats with black bands and glue cotton ball bits below the print for beards.


8. Foil Star Mobiles
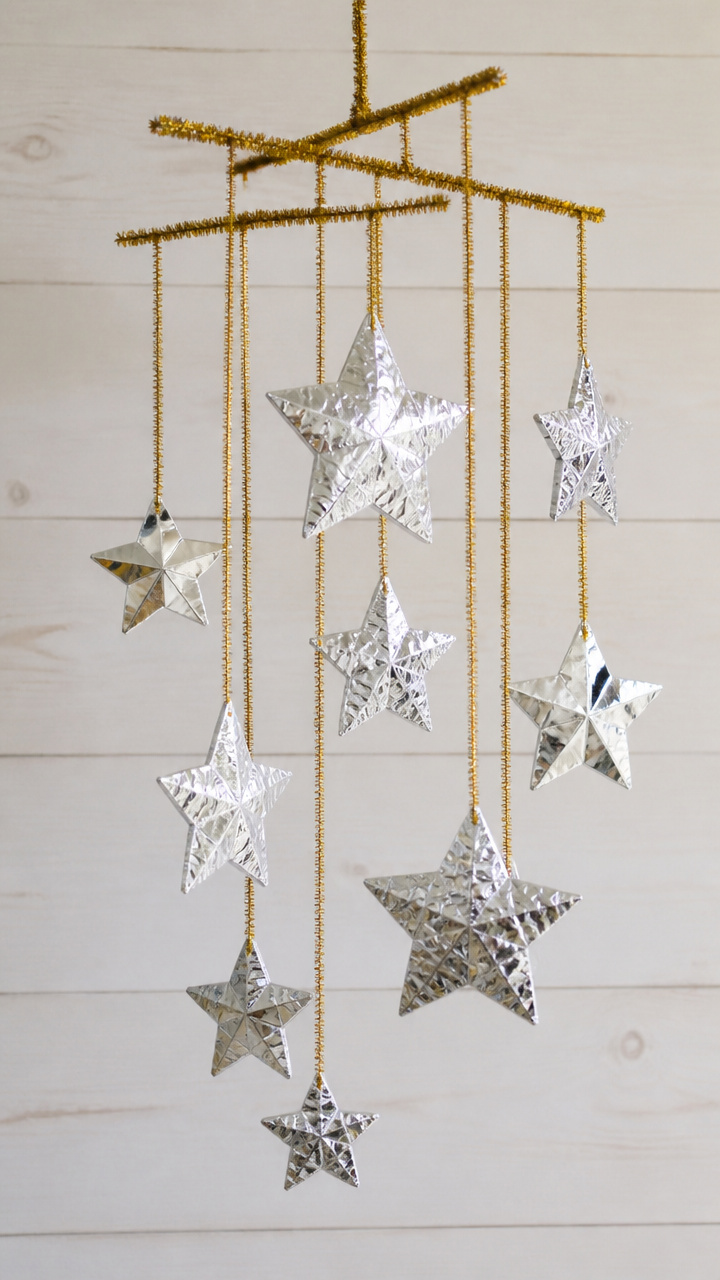
Shiny foil squares fold into three-dimensional stars that dangle at different heights. They catch light like real stars.
Materials Needed
- Silver aluminum foil, 20 x 20 cm sheet
- Gold chenille stem, 15 cm, 3
- Hole punch
- Scissors
- Ruler
- Pencil
How to Make It
- Fold the foil square diagonally, then fold into a narrow triangle twice more to make a small wedge.
- Cut a small notch near the wide end and unfold to reveal a four-pointed star.
- Recrease each fold sharply to give the star shape and rigidity.
- Punch a hole at one point and thread each star onto a separate chenille stem.
- Bend the end of each stem into a hook and arrange them to hang at staggered lengths.


9. Tissue Paper Lanterns
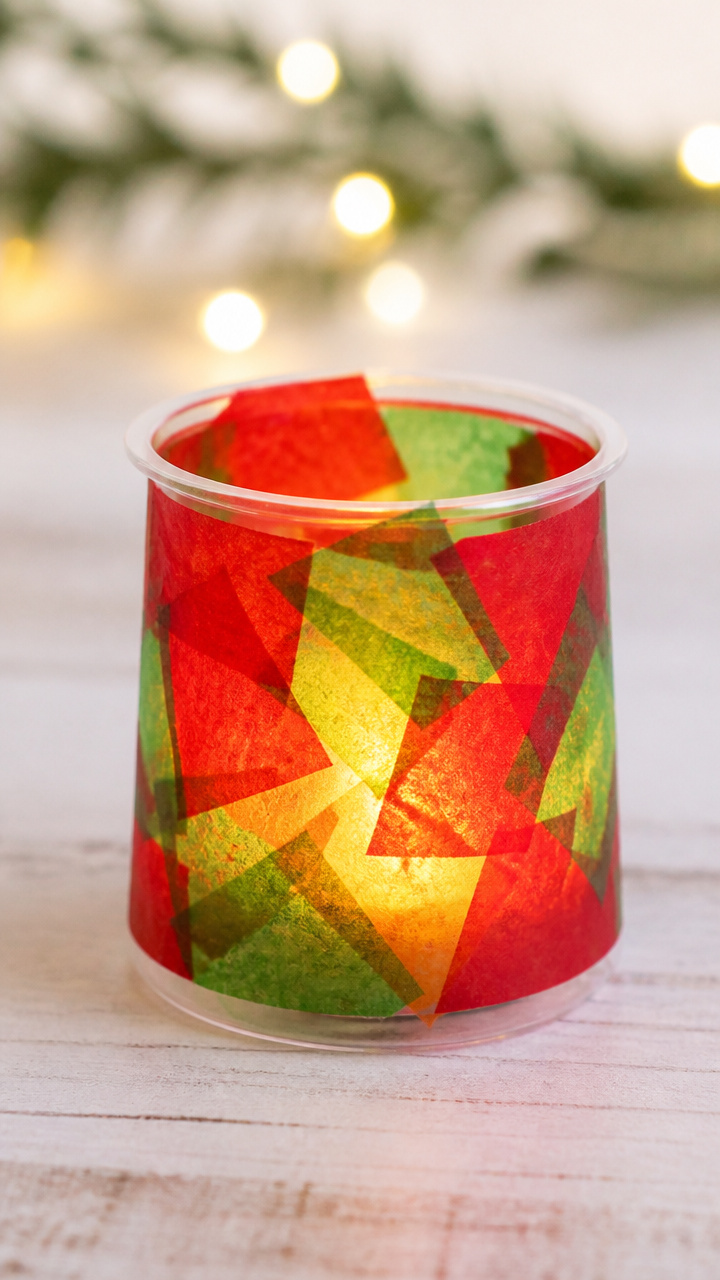
Layered tissue cups open into glowing lanterns with a tea light inside. The colors bloom like stained glass.
Materials Needed
- Red and green tissue paper, 20 x 20 cm each
- White glue
- Small clear plastic cup, 3 oz, 1
- Scissors
- Battery-powered tea light
How to Make It
- Cut both tissue papers into 2 cm wide strips, about 20 cm long.
- Glue strips vertically around the outside of the cup, overlapping slightly and covering it completely.
- Alternate red and green strips in a random pattern for a festive mix.
- Let the glue dry for 30 minutes until firm.
- Place the tea light inside and turn it on to see the glow.


10. Pinecone Feather Trees
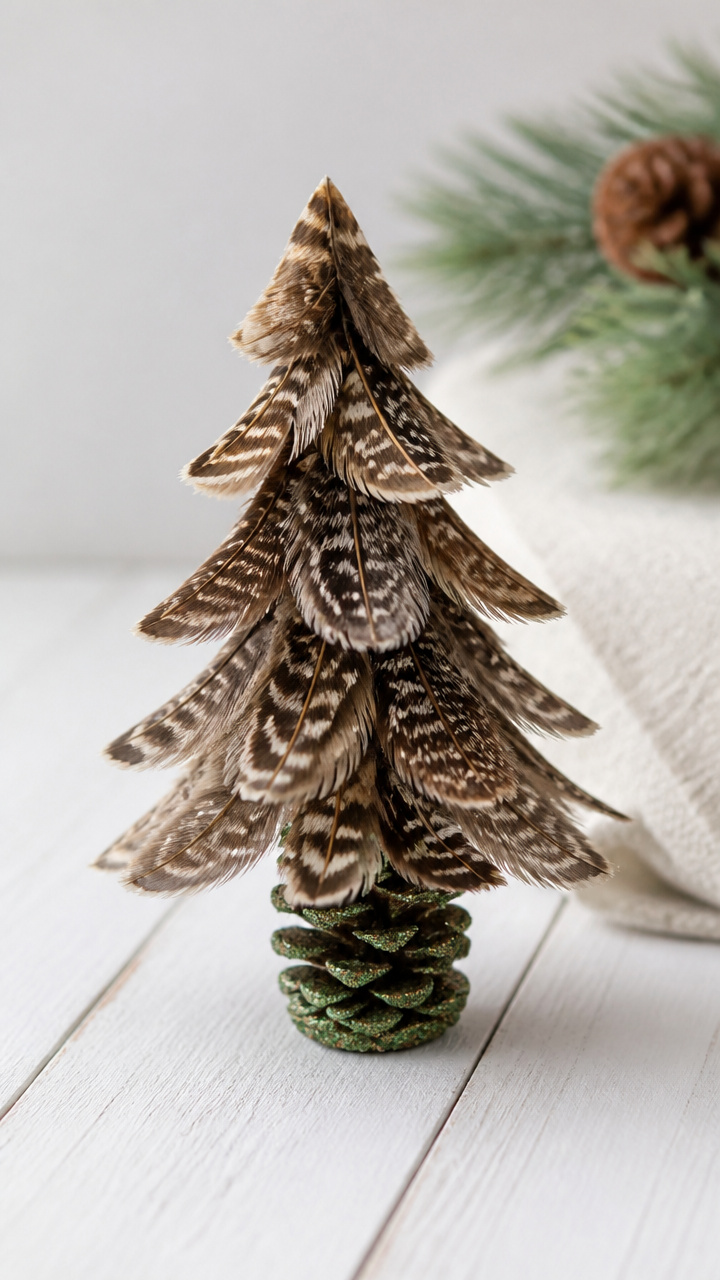
Turkey feathers fan out into feathery evergreens with brown cones as trunks. No two trees look alike.
Materials Needed
- Natural turkey feather, 15 cm long, 1
- Small pinecone, 4 cm tall, 1
- Brown acrylic paint
- Paintbrush
- Hot glue gun
- Green glitter
How to Make It
- Lay the feather flat and paint the quill stem brown, letting it dry for 10 minutes.
- Sprinkle green glitter along the barbs and shake off excess.
- Apply hot glue to the base of the pinecone and press it onto the painted end of the quill.
- Hold for 30 seconds until set.
- Let dry fully before displaying on a shelf or hanging with thread.


11. Popcorn and Cranberry Garlands

Real popcorn kernels and cranberries string into classic garlands that smell like the holidays. They’re sturdy enough to drape on a tree.
Materials Needed
- Air-popped popcorn, 2 cups
- Fresh cranberries, 1 cup
- Embroidery thread, white, 3 meters
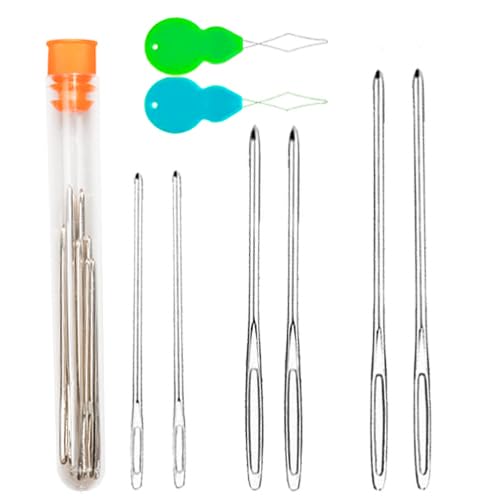
- Large-eye blunt needle, 1
- Baking sheet
- Parchment paper
How to Make It
- Lay parchment paper on the baking sheet and spread popcorn in a single layer to cool completely.
- Thread the needle with 30 cm of thread and knot the end.
- Push the needle through a popcorn kernel, then a cranberry, repeating the pattern down the line.
- Tie a loop at each end after finishing to connect garlands.
- Store in a cool place and use within a week to avoid mold.


12. Construction Paper Bells

Bold red and yellow arcs curve into shiny bells with jingle sound tags. When hung, a breeze makes them whisper.
Materials Needed
- Red construction paper, 22 x 30 cm, 1 sheet
- Yellow metallic paper, 15 x 20 cm, 1 sheet
- Brass fastener, 1 inch, 1
- Hole punch
- Scissors
- Glue stick
How to Make It
- Cut the red paper into a large bell shape, 12 cm tall with a rounded bottom and flat top.
- Cut a small rectangle, 2 x 4 cm, from yellow metallic paper for the clapper.
- Punch a hole at the top center of the bell and another through the clapper’s top edge.
- Insert the brass fastener through both holes and spread the legs at the back.
- Glue a ribbon loop to the top back for hanging.


13. Mitten Cutout Pair
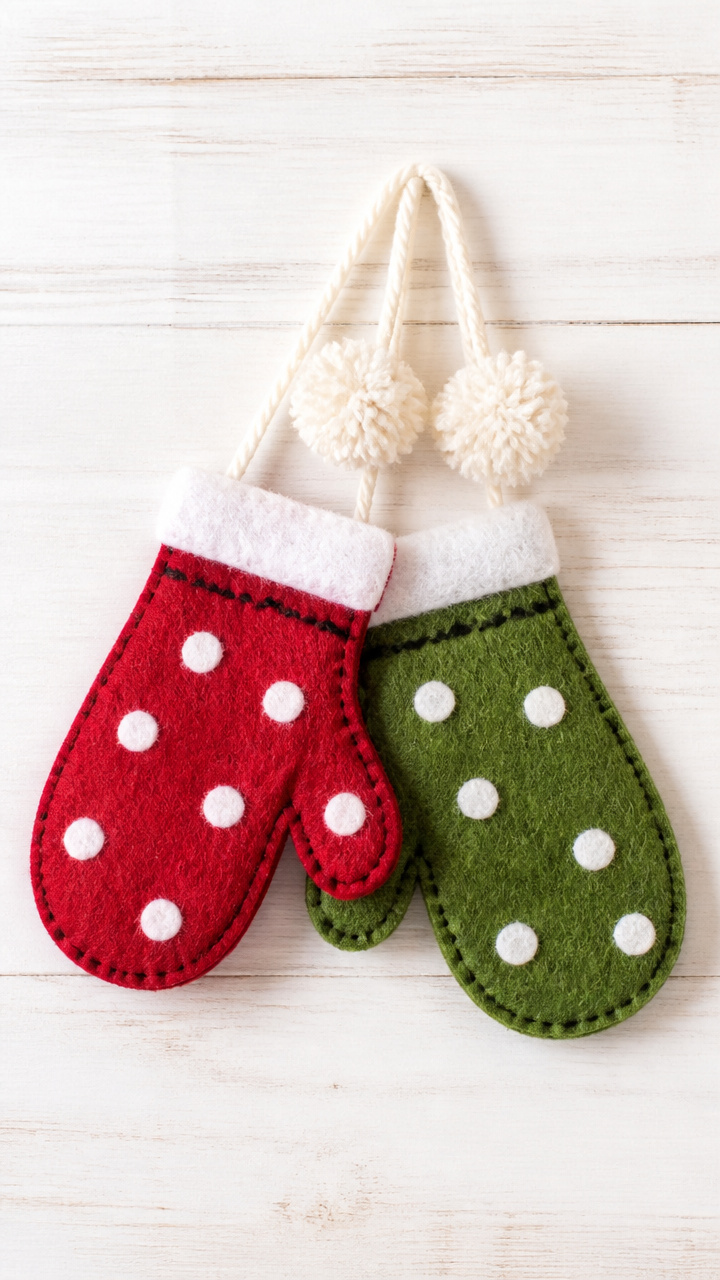
Two fuzzy mittens dangle side by side with polka dots and pom-poms. They look like they’ve been left by the fireplace.
Materials Needed
- Felt sheets: red and green, 15 x 20 cm each
- White fabric paint pen
- Black embroidery floss, 20 cm
- Yarn pom-pom, 2 cm, 2
- Needle
- Scissors
- Glue gun
How to Make It
- Draw a mitten shape, 10 cm tall, on both felt sheets and cut out two pairs.
- Stack one red and one green mitten together and sew around the edges with backstitch using black floss.
- Leave the top open and turn right side out.
- Dab polka dots with the white fabric paint pen and let dry.
- Glue a pom-pom at the wrist and attach a yarn hanger to the top.


14. Spool Santa Clauses
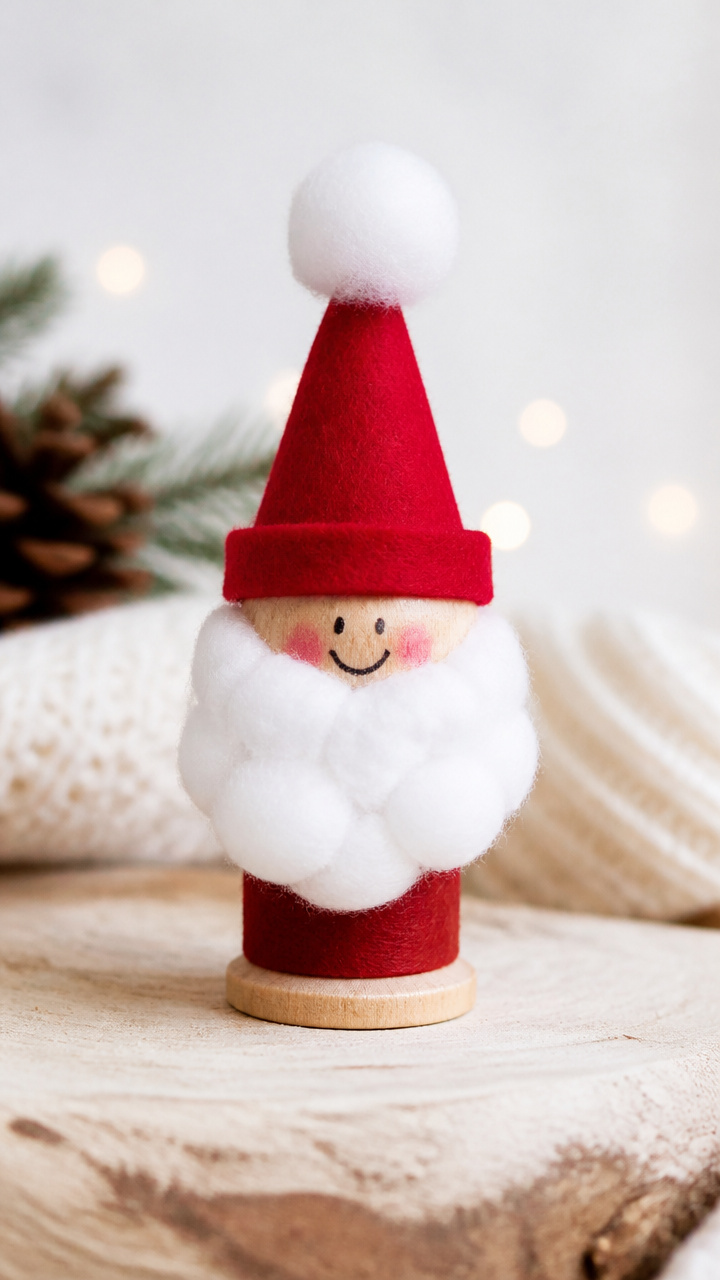
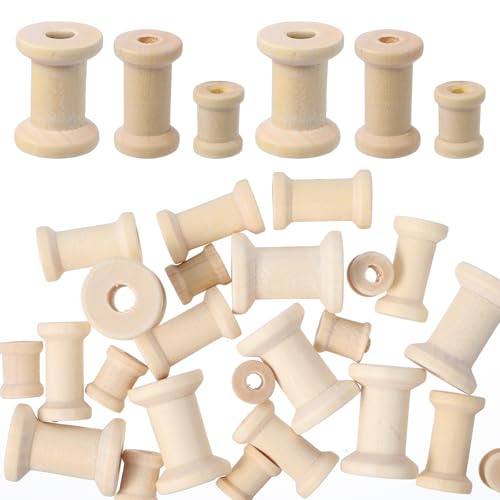
Wooden thread spools grow cotton-ball beards and hat brims to become merry Santas. Their smiles are drawn with care.
Materials Needed
- Empty wooden thread spool, 3 cm tall, 1
- Cotton balls, 3
- Red felt scrap, 5 x 5 cm
- Black marker
- White craft glue
- Scissors
- Tiny black bead, 3 mm, 2
How to Make It
- Pull apart cotton balls and glue them around the top rim of the spool for the beard.
- Cut a small rectangle from red felt and wrap it around the base of the spool for the hat.
- Glue the seam and fold the top edge down slightly to mimic a brim.
- Draw rosy cheeks and a smile with the black marker.
- Glue black beads above the beard for eyes and let dry fully.


15. Origami Jumping Frogs
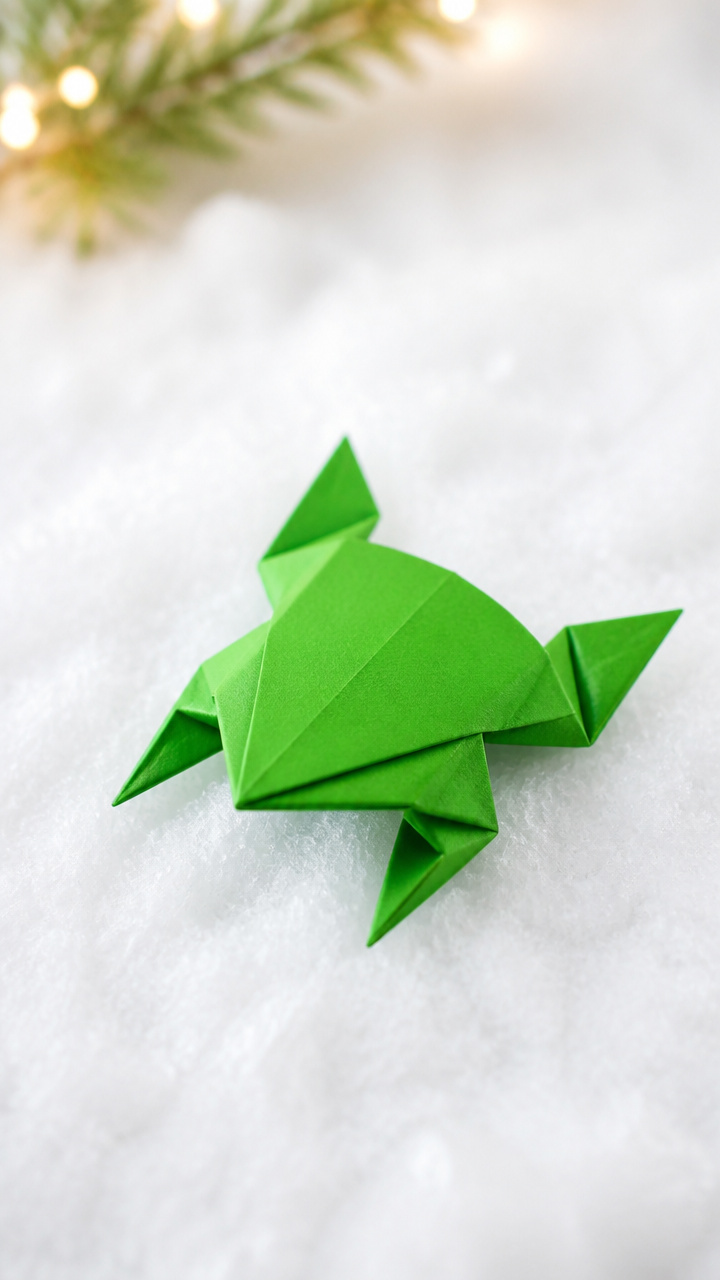
Green paper folds into clever frogs that hop when pressed at the back. They add whimsy to a winter scene.
Materials Needed
- Green origami paper, 15 x 15 cm, 1 sheet
- Pencil
- Ruler
- Scissors
How to Make It
- Fold the paper in half diagonally both ways and crease, then unfold.
- Fold all four corners to the center point to make a smaller square.
- Fold the new top and bottom edges to the center line, then unfold partially to form legs.
- Tuck the side flaps inward to create front feet and fold the bottom triangle up for stability.
- Press the back gently and release to make the frog hop forward.


You now have everything you need to start crafting joyful ornaments with kids. Each one is simple, meaningful, and full of personality. Grab your scissors and glue, and let the holiday making begin.