15 Rustic DIY Christmas Ornaments for a Farmhouse Tree
There’s something special about decorating with handmade ornaments. Each one carries a little piece of your time, care, and creativity. When you hang these on your tree, they bring warmth and charm that store-bought ones just can’t match.
These designs use simple materials and honest techniques. Think burlap, wood, twine, and vintage touches that feel at home in a cozy kitchen or by a crackling fire. You don’t need fancy tools or years of crafting to make them shine.
1. Mini Wooden Ladder Ornament
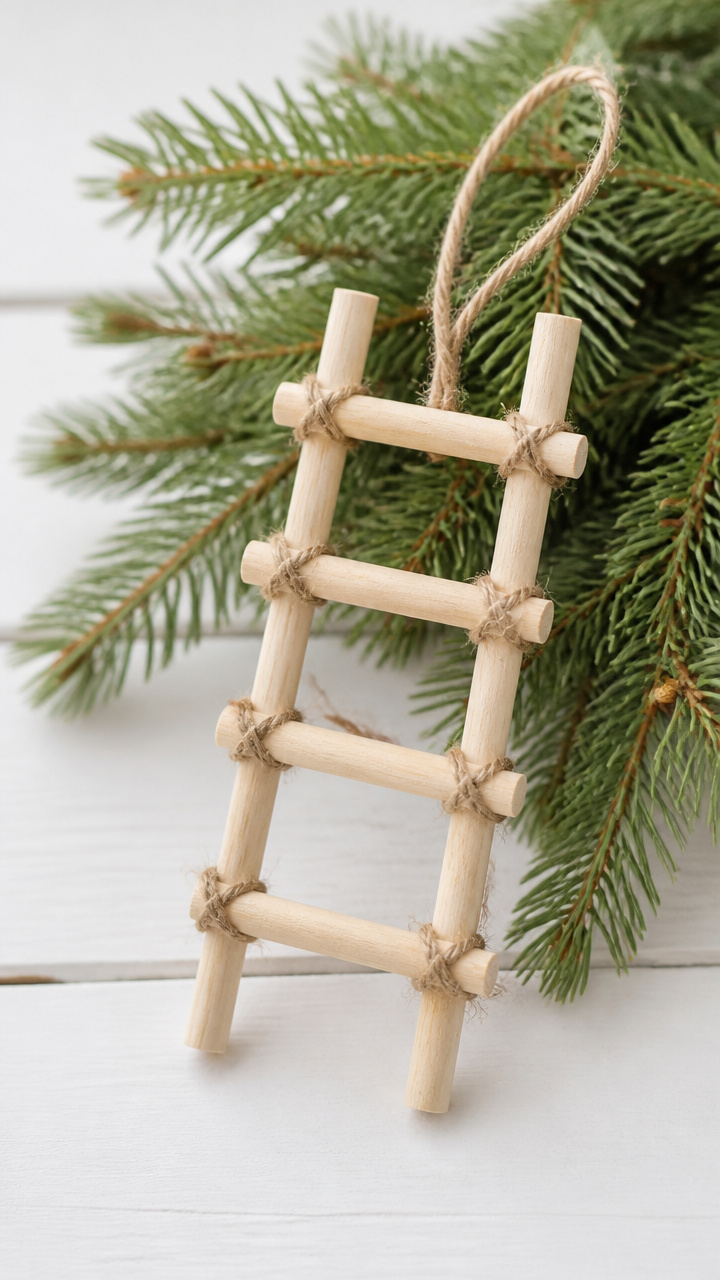
Smooth pine dowels and twine form a tiny ladder that leans right against your tree branches. It looks like it belongs in a country barn but fits perfectly among green boughs.
Materials Needed
- 3 six-inch pine dowels, 1/4 inch diameter
- 2 four-inch pieces jute twine
- wood glue
- small handsaw
- hot glue gun with glue sticks
- fine-grit sandpaper
How to Make It
- Cut each dowel into three equal parts using the handsaw, making twelve 2-inch pieces total.
- Sand the cut edges until smooth so they won’t splinter.
- Lay two of the short dowels parallel on your work surface, spaced 1 inch apart.
- Glue a third dowel across the top ends of the parallel pieces to form a rung, then add the second rung at the bottom.
- Wrap jute twine around the top of the ladder twice and knot it tightly to create a hanger.


2. Burlap Bow Star
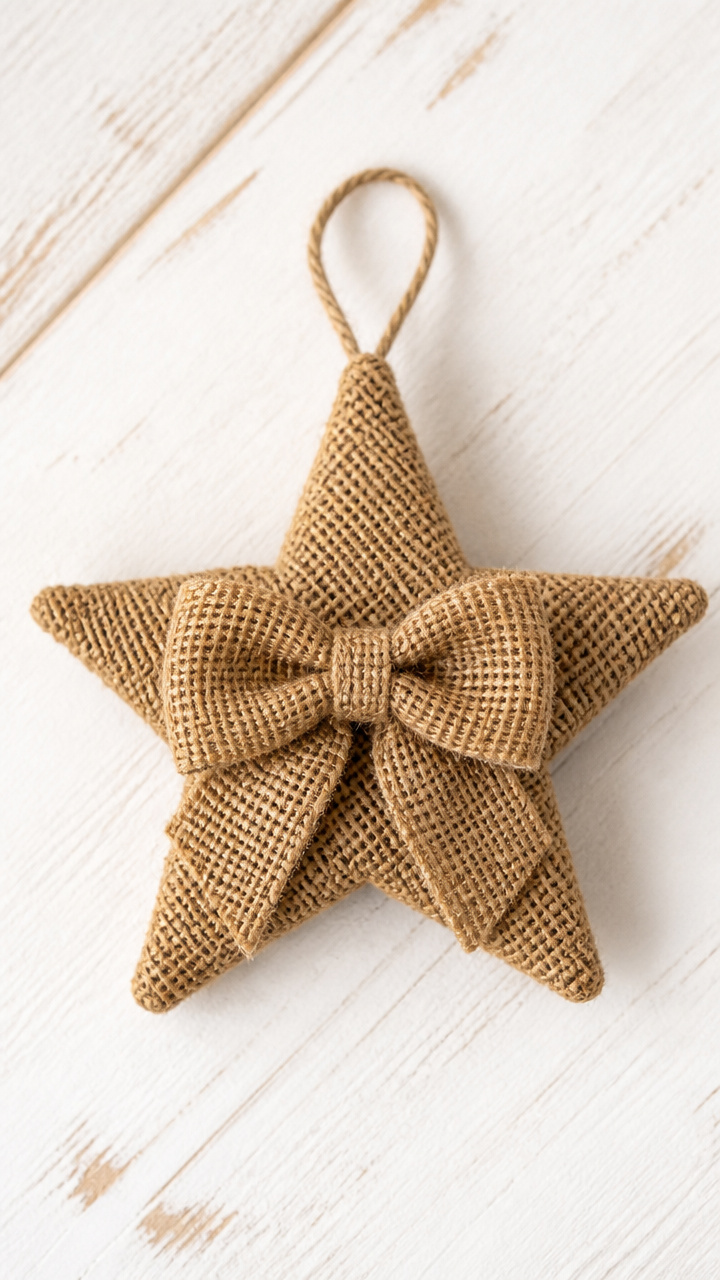
A five-pointed star wrapped in soft burlap with a center bow gives a homespun glow. The texture catches light gently and feels lived-in from the first use.
Materials Needed
- pre-cut wooden five-point star, 4 inches wide
- burlap ribbon, 2.5 inches wide, 1 yard length
- brown thread
- needle
- scissors
- fabric glue
How to Make It
- Cut the burlap ribbon into five 6-inch strips for the points and one 8-inch strip for the bow.
- Wrap each point of the wooden star tightly with a burlap strip, folding the edges neatly as you go.
- Secure each wrap with a dab of fabric glue under the edge before pressing down.
- Tie the 8-inch strip into a small bow with even loops and two tails.
- Stitch the bow to the center of the star using the needle and brown thread for a secure hold.


3. Vintage Button Wreath
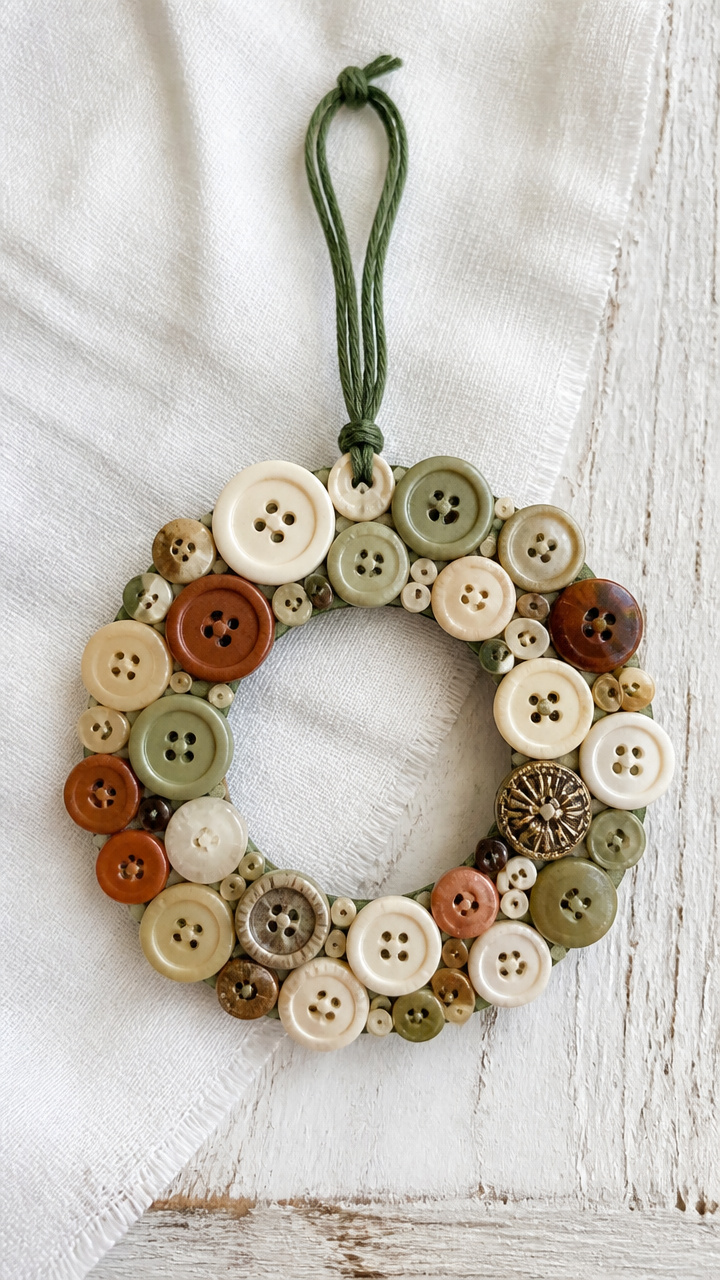
Mismatched buttons in cream, rust, and sage form a full circle ornament that celebrates imperfection. Each button has its own story and shape.
Materials Needed
- 12 assorted vintage-style buttons, 1 to 1.5 inches in diameter
- cardboard circle, 3 inches in diameter
- green embroidery floss
- needle
- craft knife
- hot glue gun
How to Make It
- Use the craft knife to cut a small hole in the center of the cardboard circle.
- Arrange the buttons in a circular pattern around the edge of the cardboard, overlapping slightly.
- Thread the needle with green floss and sew each button through its holes into the cardboard for security.
- Fill gaps between buttons with hot glue if needed to keep them tight.
- Tie a loop of floss through the center hole for hanging.


4. Cinnamon Stick Ring
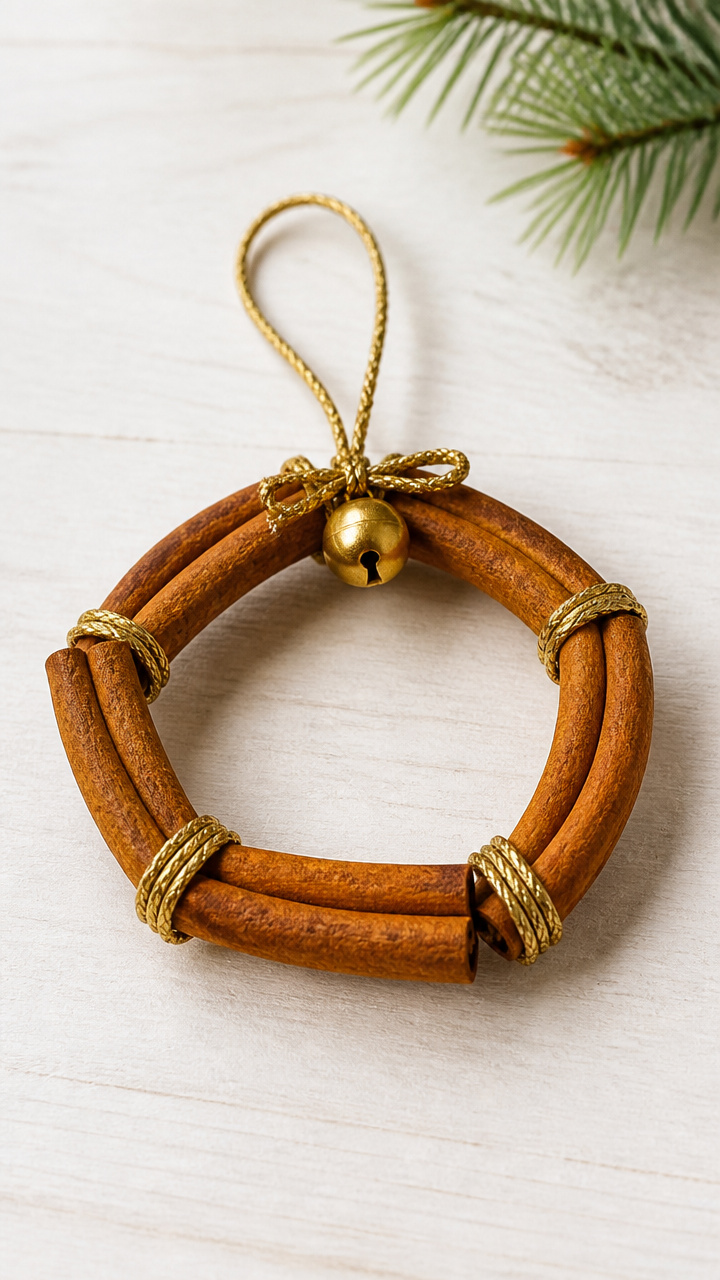
Three cinnamon sticks bound together release a sweet spice scent when touched. This simple ring brings fragrance and rustic color to bare branches.
Materials Needed
- 3 whole cinnamon sticks, 6 inches long
- gold metallic cord, 12 inches long
- hot glue gun
- small gold bell
- scissors
How to Make It
- Lay the three cinnamon sticks side by side and align their ends evenly.
- Wrap the gold cord tightly around one end, securing it with a dot of hot glue underneath.
- Continue wrapping the cord around all three sticks, moving toward the other end in a spiral.
- Glue the end of the cord down once fully wrapped.
- Tie the gold bell to the top wrap with a small knot so it dangles freely.

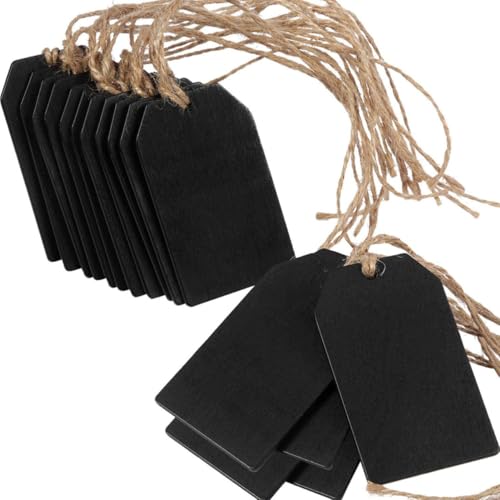
5. Chalkboard Wood Slice Tag
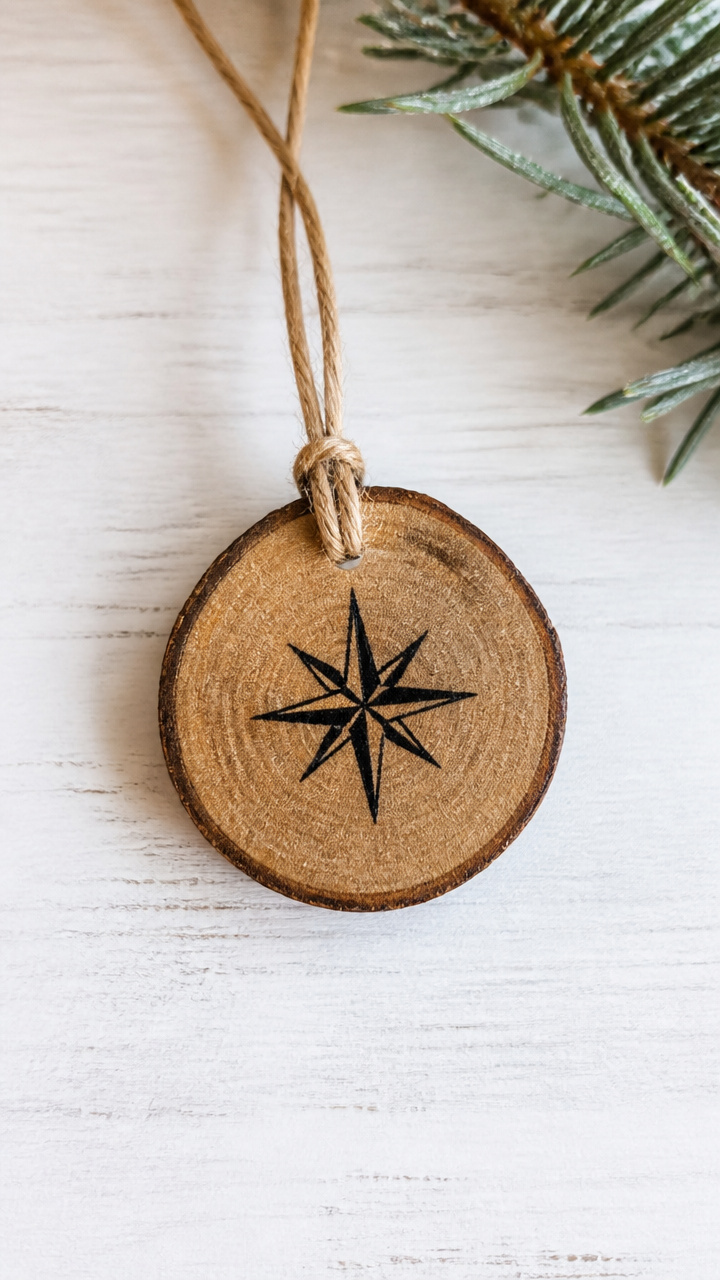
A stained wood slice with a hand-written word like Joy or Peace feels personal and changeable. Use chalk to refresh the message every season.
Materials Needed
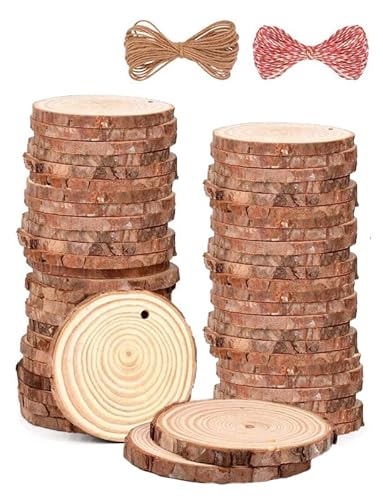
- round wood slice, 2.5 inches diameter, 1/4 inch thick
- black liquid chalk marker
- natural hemp twine, 10 inches long
- sandpaper
- clear matte sealant spray
How to Make It
- Lightly sand the face of the wood slice to remove rough spots.
- Spray one coat of sealant on both sides and let dry for 20 minutes.
- Write a single word like Peace or Noel on the surface using the chalk marker.
- Wipe off any excess with a dry cloth after writing to prevent smudging.
- Thread the hemp twine through a pre-drilled hole and tie the ends to form a loop.

6. Linen Napkin Pinecone
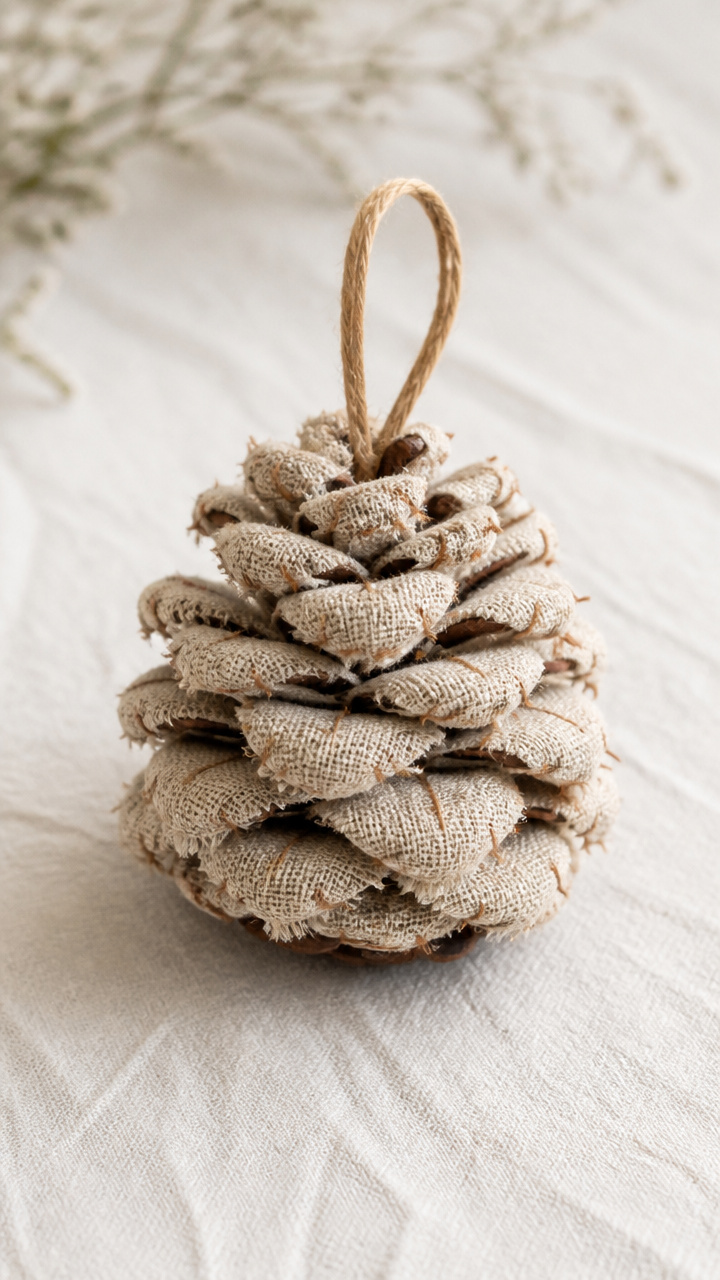
A real pinecone wrapped in torn linen scraps mimics a bird’s nest and holds natural shape. The fabric adds soft contrast to the rough cone.
Materials Needed
- 1 medium dried pinecone
- linen scrap, 4×4 inches, beige
- brown craft thread
- needle
- scissors
- hot glue gun
How to Make It
- Tear the linen into uneven strips about 1 inch wide.
- Start wrapping the base of the pinecone with a linen strip, gluing the end down with hot glue.
- Continue wrapping upward, layering strips and securing every few turns with glue.
- Thread the needle with brown thread and stitch through the top scale of the cone for strength.
- Tie a loop of thread to the stitched point for hanging.


7. Mason Jar Lid Snowflake
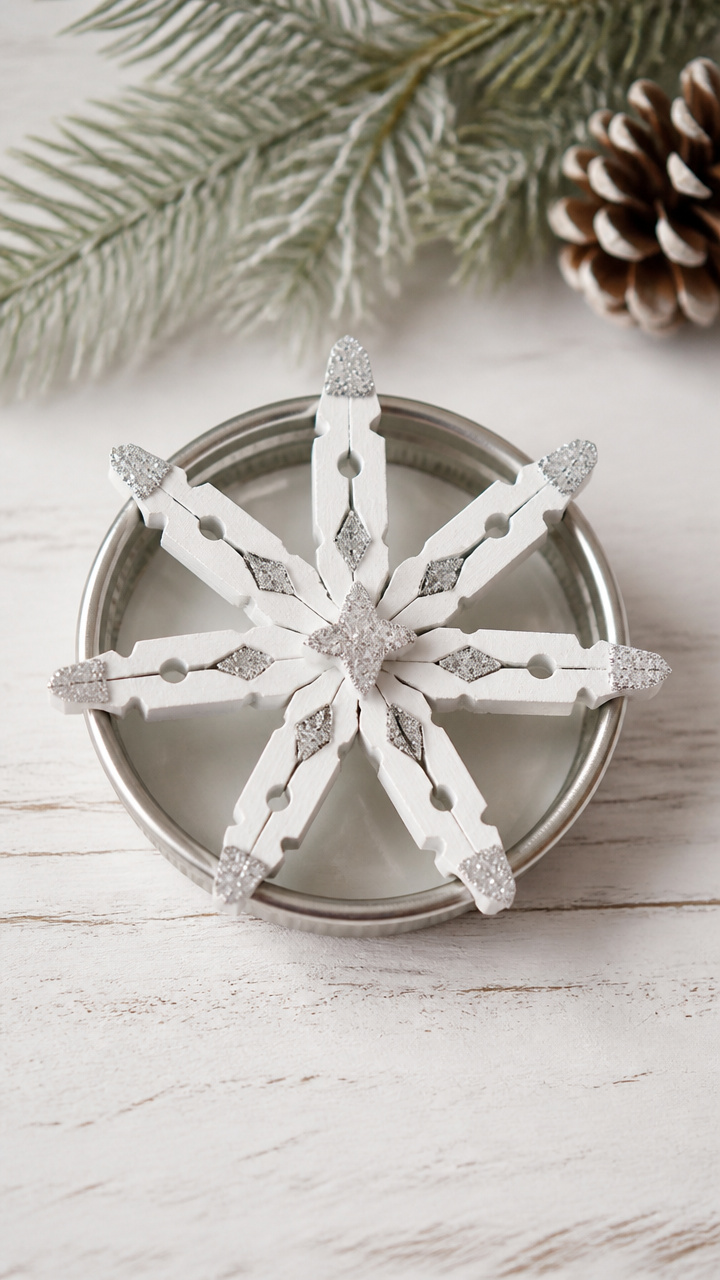
White-painted clothespins clipped inside a jar lid become a snowy geometric shape. It’s clever, lightweight, and sparkles faintly in candlelight.
Materials Needed
- one metal mason jar lid, 2.5 inches wide
- 3 white mini clothespins
- white acrylic paint
- paintbrush
- hot glue gun
- silver glitter glue pen
How to Make It
- Paint each clothespin completely with white acrylic paint and let dry for 15 minutes.
- Open each clothespin and clip it onto the inner rim of the jar lid, spacing them evenly like rays.
- Glue each clothespin where it touches the lid to prevent slipping.
- Draw fine lines along the edges of the pins with the glitter glue pen.
- Let the glue dry completely before adding a loop of clear fishing line for hanging.


8. Twine-Wrapped Grapevine Ball
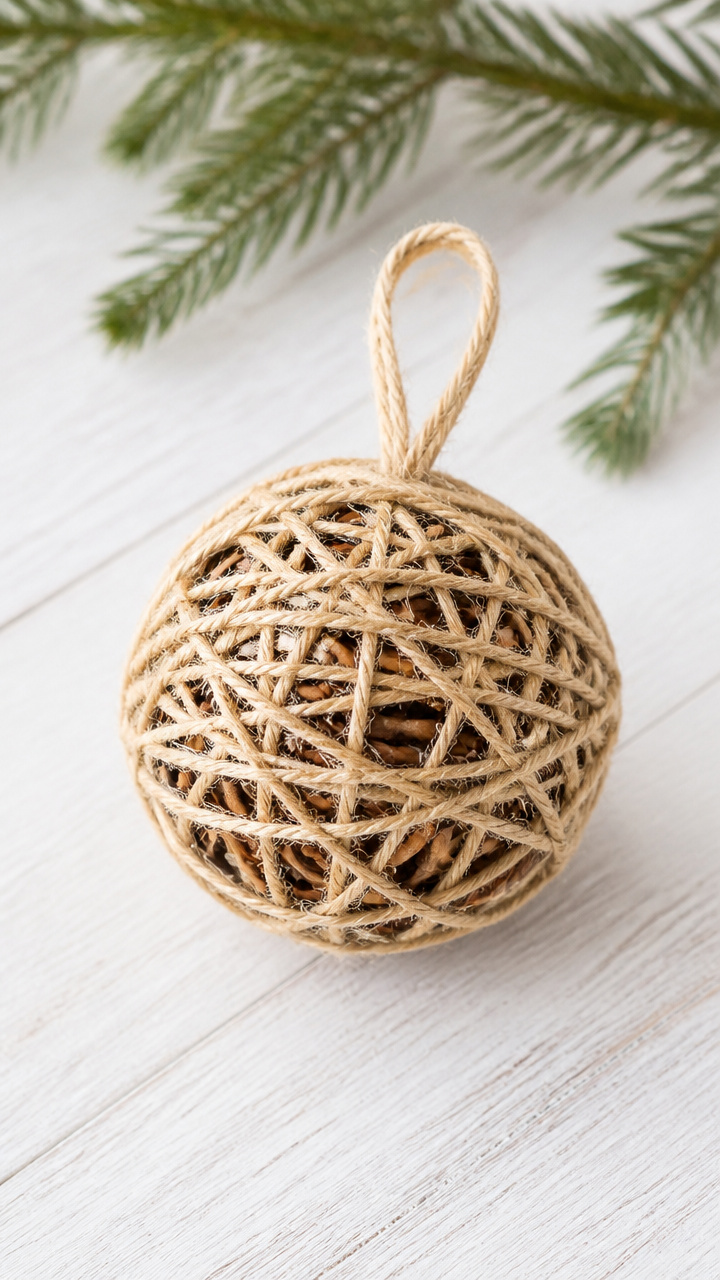
A grapevine ball covered in creamy twine becomes a textured sphere that blends into a neutral palette. It feels organic and full without being heavy.
Materials Needed
- grapevine ball, 2 inches in diameter
- cream cotton twine, 10 yards
- hot glue gun
- scissors
- clear-drying craft glue
How to Make It
- Place a small dot of hot glue on the starting point of the grapevine ball.
- Press the end of the twine into the glue and hold for 10 seconds.
- Wrap the twine tightly around the ball in random directions, covering all visible vine.
- Apply a drop of craft glue every inch to anchor the twine as you go.
- Tie off the end with a knot and glue it down, then attach a matching twine hanger.


9. Felt Fox Ornament
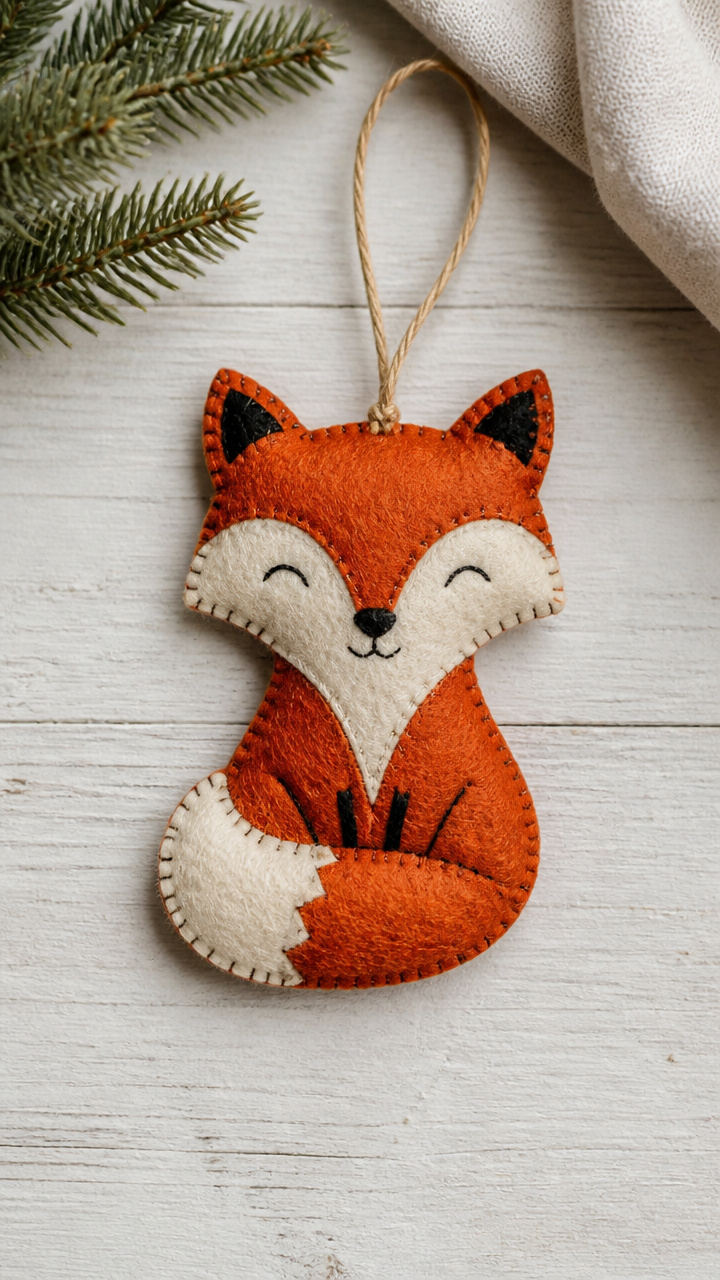
A flat fox cut from burnt orange and cream felt has hand-stitched details and a friendly face. It adds woodland charm with soft color.
Materials Needed
- burnt orange felt sheet, 6×9 inches
- cream felt sheet, 6×9 inches
- embroidery needle
- black embroidery floss
- scissors
- fox stencil (print at 3 inches tall)
- pencil
- polyester stuffing
How to Make It
- Trace the fox stencil onto the orange felt and cut out two identical shapes.
- Cut two small triangle ears from the cream felt.
- Stitch the ears to the front fox piece using black floss in a backstitch.
- Place the front and back pieces together and sew around the edge with a whipstitch, leaving the tail base open.
- Add a pinch of stuffing near the head before closing the seam completely, then thread a cream floss loop through the top.


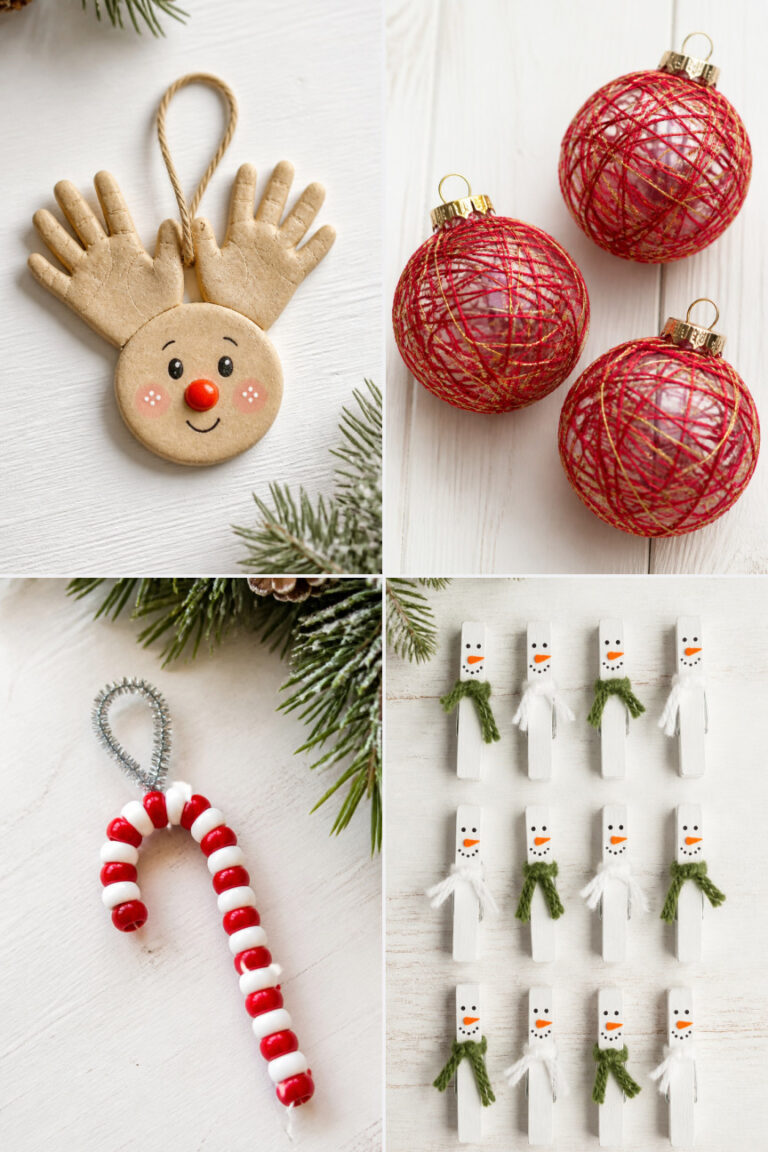
10. Salt Dough Handprint Reindeer
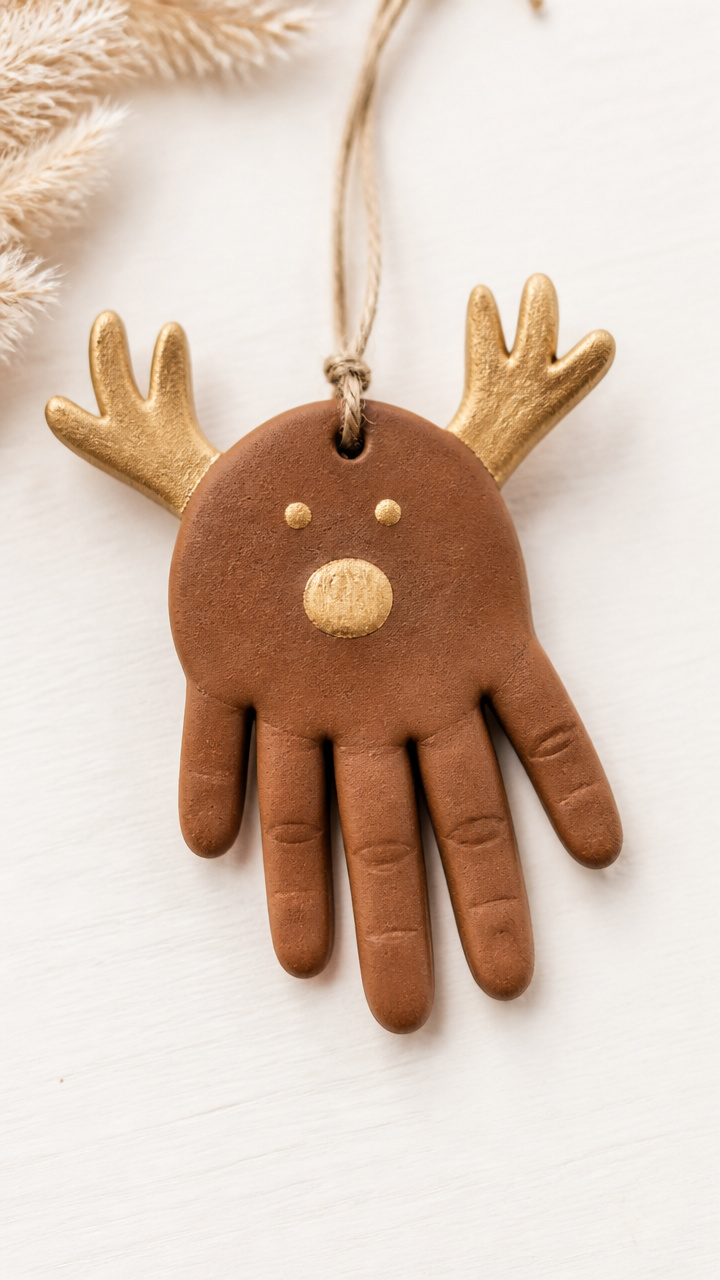
A child’s handprint shaped into a reindeer with added antlers and eyes becomes a keepsake. Bake it firm and finish with watercolor wash.
Materials Needed
- homemade salt dough (1 cup flour, 1/2 cup salt, 1/3 cup water)
- rolling pin
- cookie cutter, 3-inch circle
- plastic straw
- watercolor paints: brown and gold
- paintbrush
- baking sheet
- parchment paper
How to Make It
- Mix the salt dough ingredients in a bowl until smooth, then roll it to 1/4 inch thickness.
- Press a child’s hand into the dough, fingers pointing down, and cut around it with the rolling pin.
- Use the straw to poke a hole near the wrist for hanging.
- Bake on a parchment-lined sheet at 200°F for 3 hours until hard and dry.
- Paint the hand brown and add gold antlers and eye dots with the brush, then thread twine through the hole.


11. Mini Washboard Initial
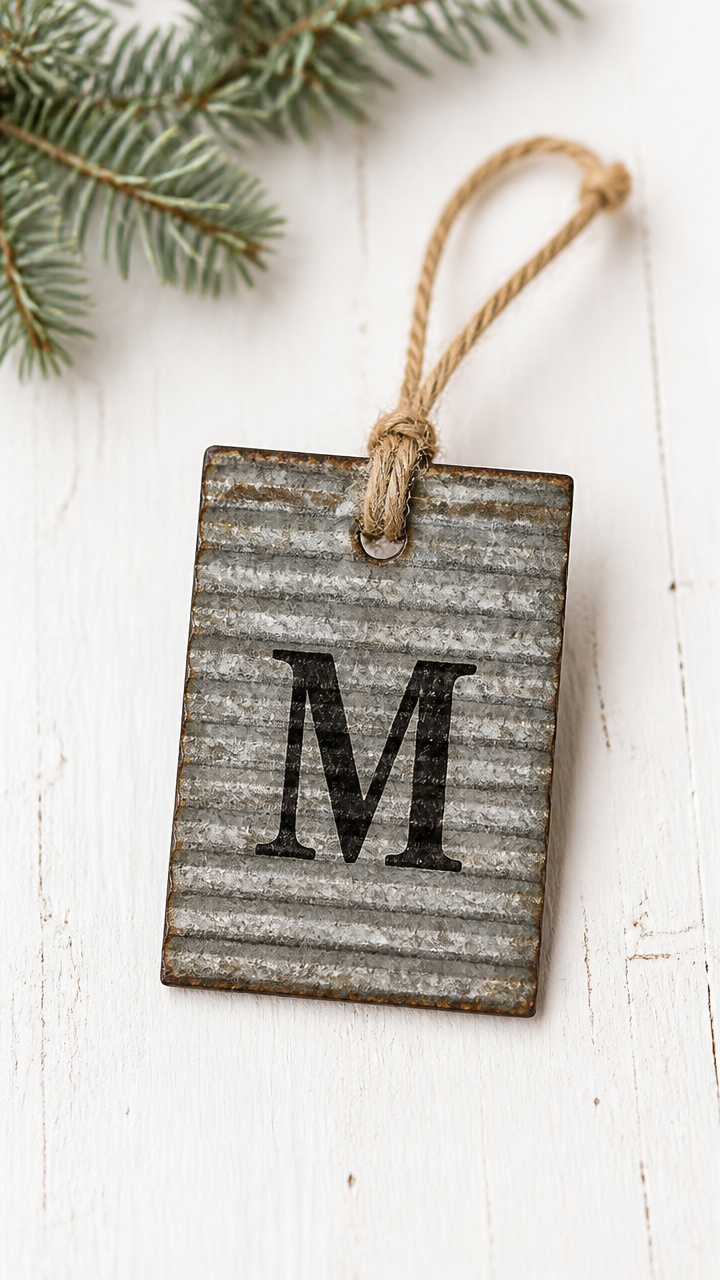
A scrap of vintage-style washboard stamped with a single letter brings industrial farmhouse flair. The ridges catch light and shadow beautifully.
Materials Needed
- rectangular washboard scrap, 3×4 inches
- alphabet rubber stamp, 1 inch tall
- black ink pad
- jute ribbon, 8 inches long
- drill with 1/16 inch bit
- paintbrush
How to Make It
- Clean the washboard surface with a dry brush to remove dust.
- Press the rubber stamp firmly into the ink pad until fully coated.
- Stamp a single letter onto the center of the washboard, applying even pressure.
- Let the ink dry for 5 minutes without touching.
- Drill a small hole at the top edge and thread the jute ribbon through to make a loop.


12. Dried Orange Slice Garland Piece
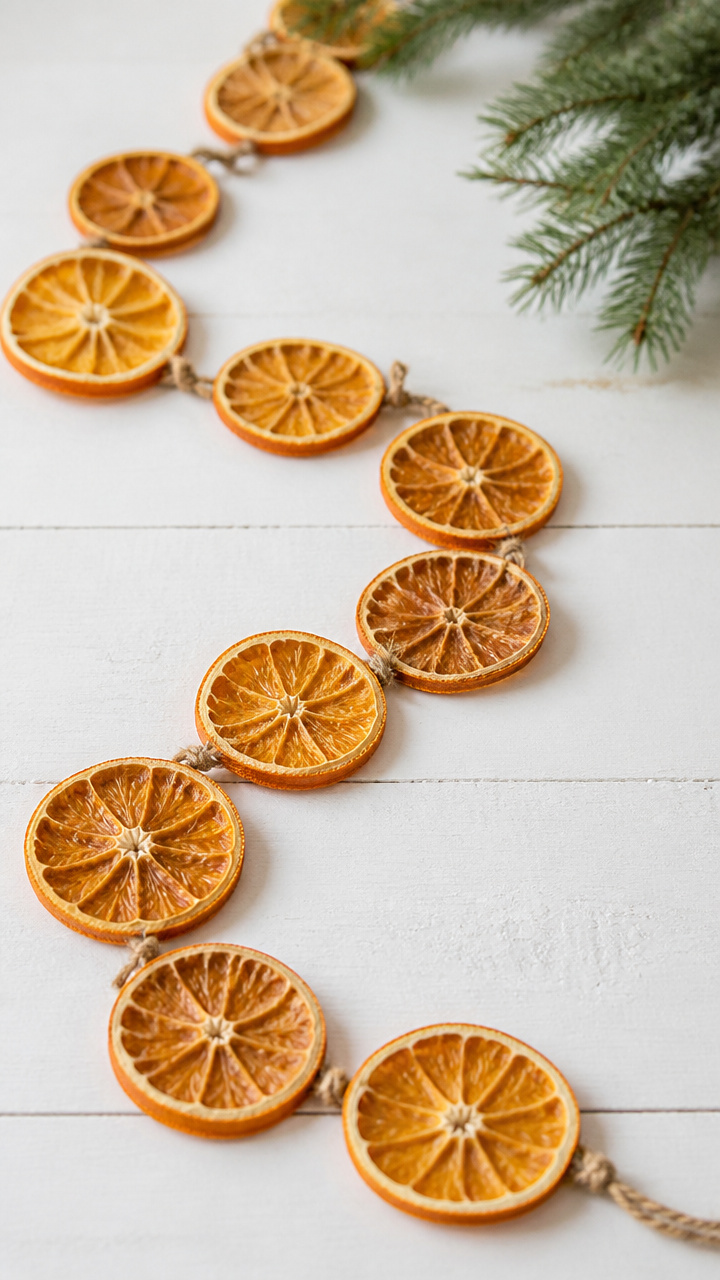
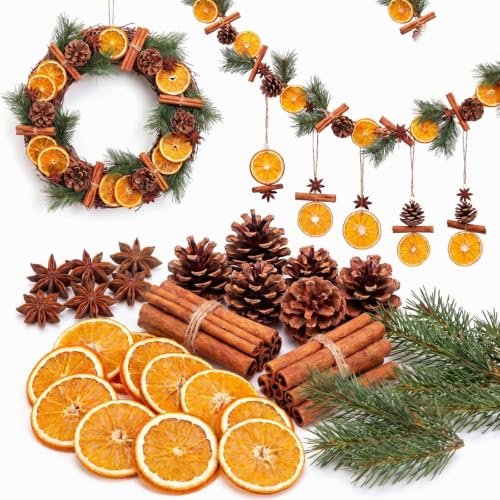
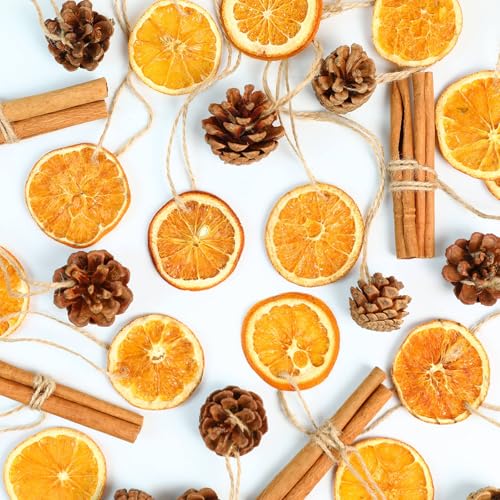
A real orange slice dried until crisp holds its bright color and citrus scent. String it with others or hang it solo for a pop of warm tone.
Materials Needed
- 1 fresh orange
- knife
- baking sheet
- parchment paper
- oven
- hole punch
- cotton string, 6 inches
How to Make It
- Slice the orange into 1/4 inch thick rounds using the knife.
- Place the slices on a parchment-lined baking sheet without overlapping.
- Bake at 200°F for 4 hours, flipping every hour until dry and crisp.
- Let cool completely, then use the hole punch to make a top hole.
- Thread cotton string through and knot to create a hanger.

13. Galvanized Metal Bell
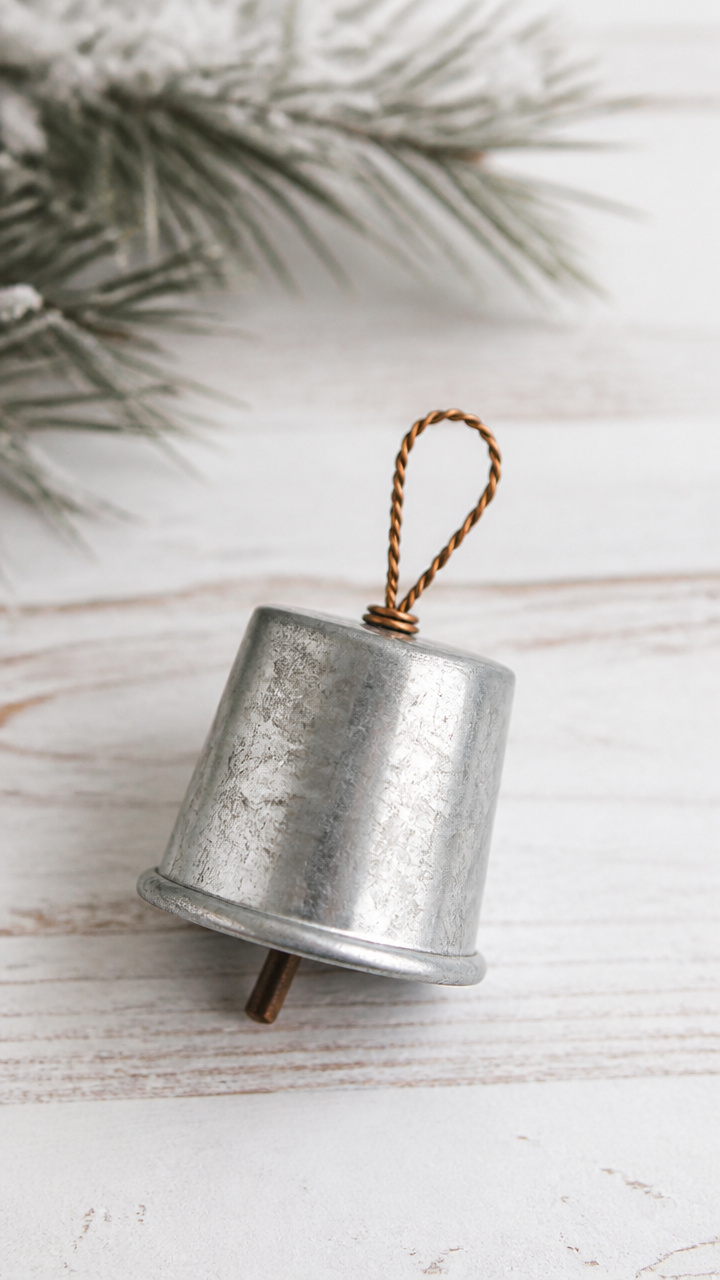
A small galvanized cup turned upside down mimics an old farm bell. Tap it lightly and it rings with a soft, tinny chime.
Materials Needed
- galvanized steel cup, 1.5 inches tall
- copper wire, 18 gauge, 6 inches long
- round-nose pliers
- metal file
- clear enamel spray
How to Make It
- File the rim of the cup to remove any sharp edges.
- Bend the copper wire into a U-shape using the pliers.
- Insert the ends of the wire into the cup’s opening so the bend sits on top like a handle.
- Spray the entire piece with one coat of clear enamel to prevent rust.
- Let dry for 30 minutes, then tie a hemp cord to the wire for hanging.


14. Cross-Stitched Flour Sack Square
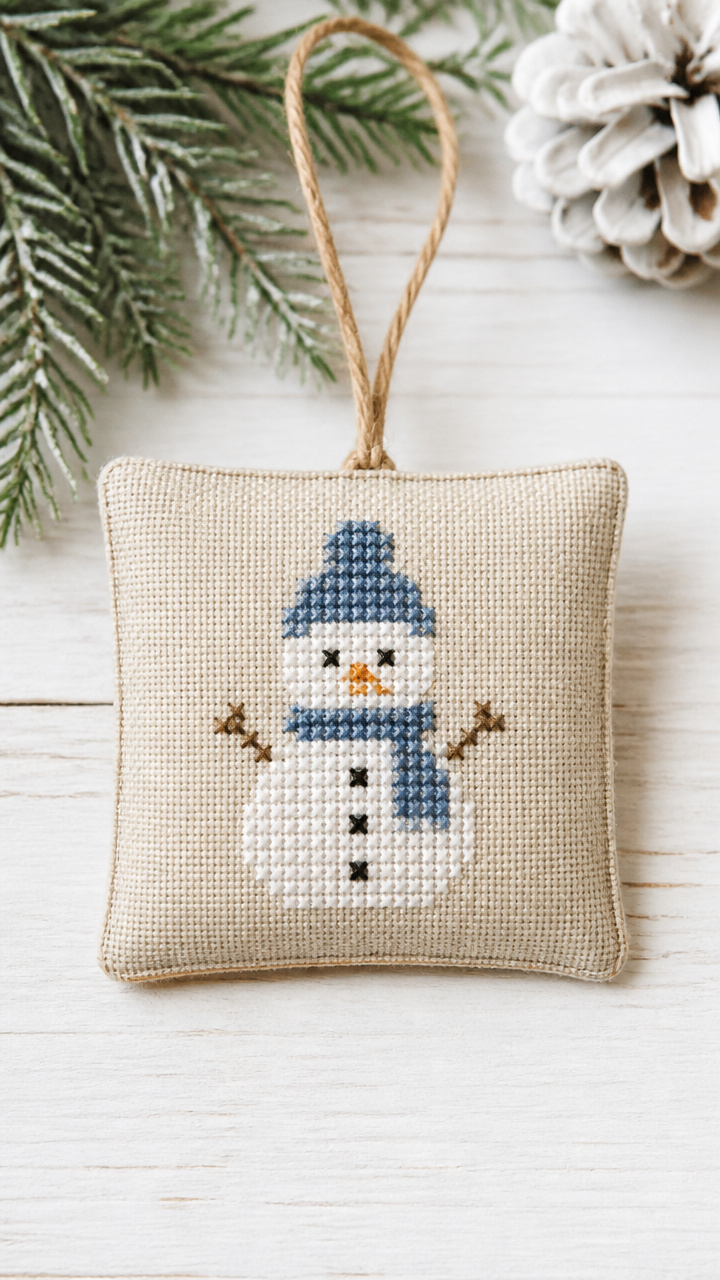
A tiny cross-stitch of a snowman on unbleached flour sack cloth looks like it came from a country cupboard. The weave adds subtle texture.
Materials Needed
- unbleached flour sack square, 3×3 inches
- embroidery hoop, 3 inches
- white embroidery floss
- blue embroidery floss
- tapestry needle
- scissors
- iron
How to Make It
- Stretch the flour sack square in the embroidery hoop and tighten the screw.
- Use the tapestry needle to stitch a simple snowman with three white circles and a blue scarf.
- Keep stitches even and spaced in a loose grid pattern to follow the fabric weave.
- Remove from the hoop and press lightly with the iron on low heat.
- Hem the edges with small running stitches and thread a ribbon through the top corner.
15. Clay Farm Animal Charm

A tiny pig or sheep shaped from air-dry clay stands on its own or hangs by a loop. Its rounded form feels comforting in your palm.
Materials Needed
- pink air-dry clay, 1 ounce
- clay sculpting tool set
- toothpick
- acrylic paint: pink and black
- paintbrush
- clear varnish
- thin red ribbon, 7 inches
How to Make It
- Roll the clay into a small oval for the body and flatten slightly on the bottom.
- Shape legs, head, and ears separately and press them into place.
- Use the toothpick to add facial details like eyes and snout lines.
- Let dry overnight until fully hardened.
- Paint with pink and black accents, then seal with varnish and attach the ribbon through a drilled hole.


You’ve got everything you need to start slow and savor each piece. These ornaments aren’t about perfection, they’re about presence. Pick one that calls to you and begin today.