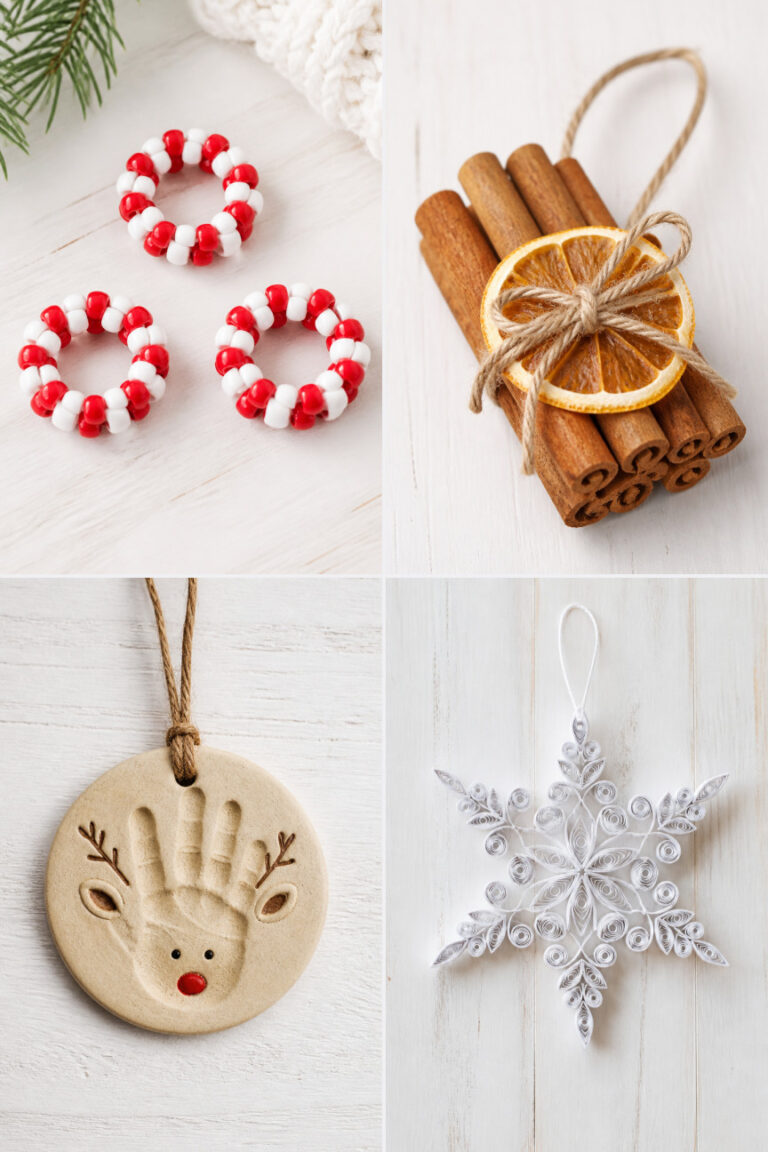
13 Easy Christmas Crafts for Kids to Make Before the Holidays
The air is getting crisp, and that cozy holiday feeling is settling in. It’s the perfect time to gather your kids, clear a spot at the table, and start making simple handmade treasures that bring joy all season long.
These crafts are designed with little hands and big imaginations in mind. Each one uses common materials, takes under an hour, and results in something real you can display, gift, or keep.
1. Pinecone Reindeer Ornaments
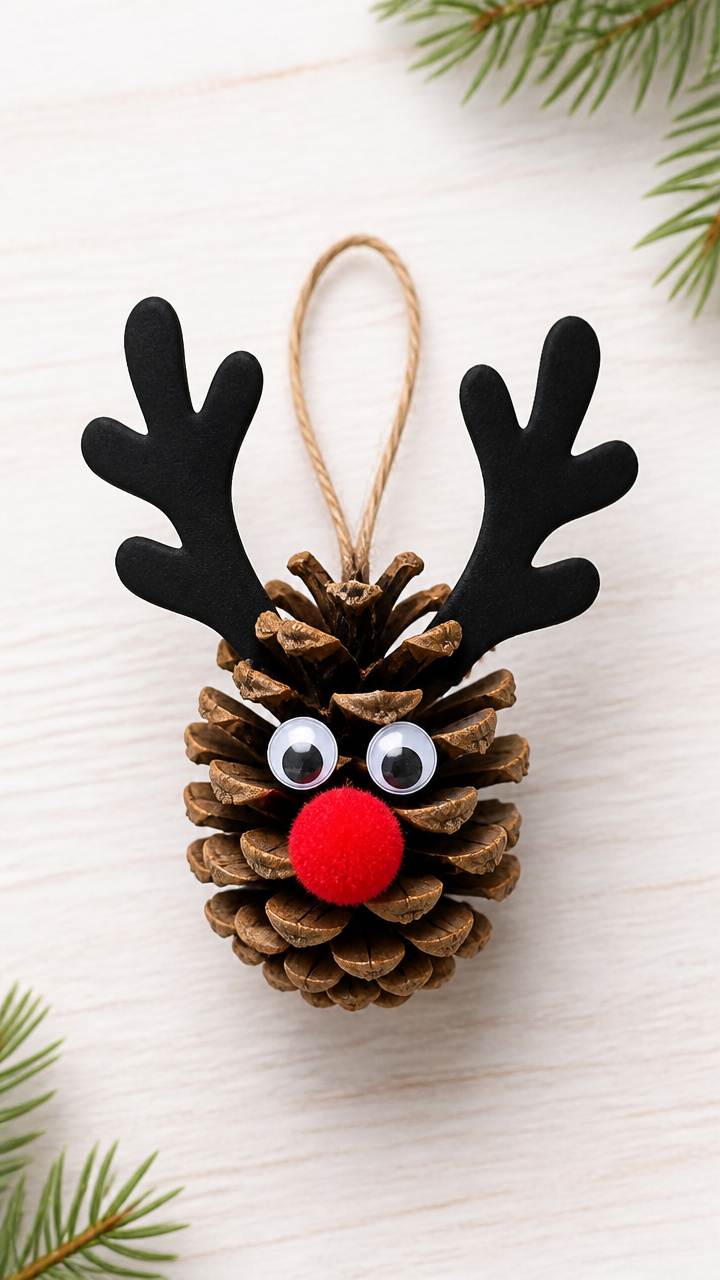
Rough pinecones become sweet forest animals with just a few additions. These tiny reindeer make rustic ornaments kids love to hang on the tree.
Materials Needed
- Small dry pinecones, 1 per ornament
- Black craft foam, 2 inches by 2 inches
- Red pom-pom, 0.5 inch diameter, 1 per reindeer
- Googly eyes, 0.25 inch, 2 per reindeer
- Pipe cleaners, brown, 6 inches long, 1 per reindeer
- White school glue
- Tacky glue
- Scissors
- Hole punch
How to Make It
- Cut two antler shapes from the brown pipe cleaner, each about 3 inches long, bending the ends into small loops.
- Twist the base of both antlers together to form a V shape, then press the twisted end into the top of the pinecone.
- Use tacky glue to attach two googly eyes near the front of the pinecone.
- Glue the red pom-pom below the eyes for the nose.
- Cut two ear shapes from black craft foam and glue them just behind the eyes.
- Let dry completely for 2 hours, then punch a hole at the top and thread a string for hanging.


2. Salt Dough Handprint Keepsakes
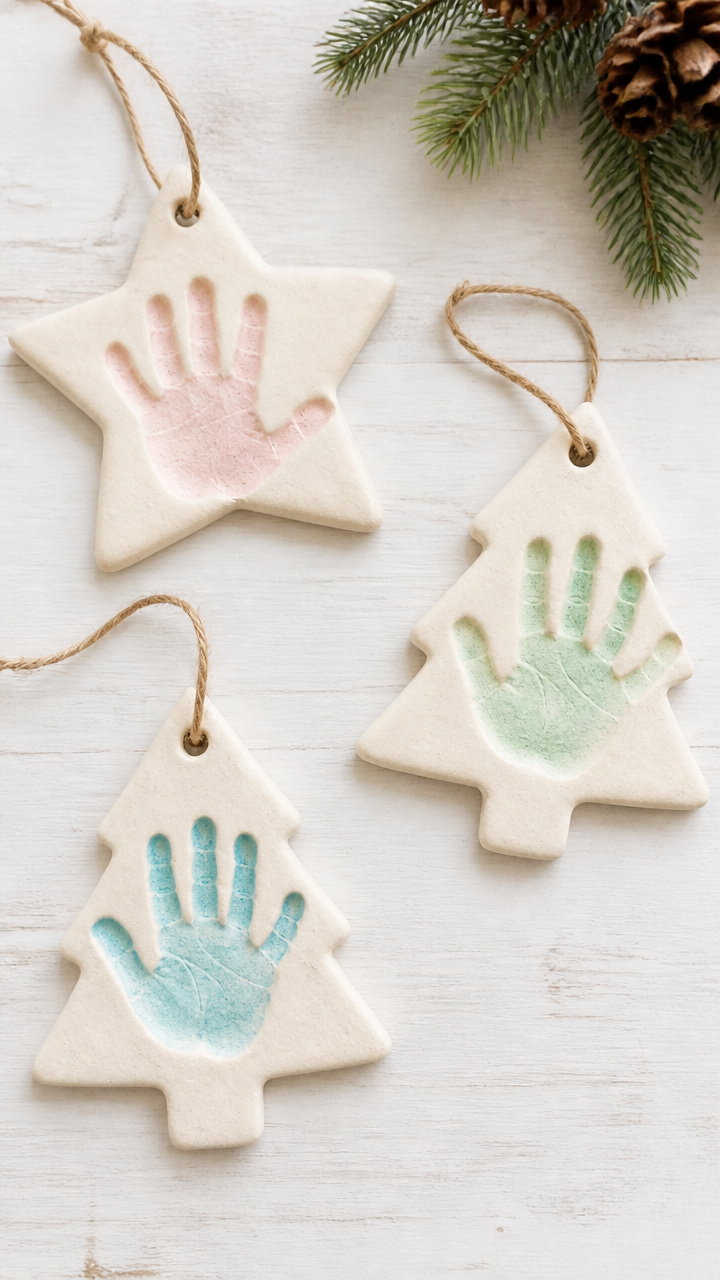
Soft salt dough captures tiny handprints in lasting keepsakes. These rustic charms can be painted and hung year after year.
Materials Needed
- All-purpose flour, 2 cups
- Table salt, 1 cup
- Water, 3/4 cup
- Rolling pin
- Straw, standard size
- Cookie cutters, festive shapes like stars or trees
- Baking sheet
- Parchment paper
- Acrylic paint, assorted colors
- Clear varnish spray
- Ribbon, 1/8 inch wide, 12 inches per ornament
How to Make It
- Mix flour, salt, and water in a bowl until a smooth dough forms, adding a teaspoon more water if too dry.
- Roll the dough to 1/4 inch thickness on a floured surface.
- Press a child’s hand gently into the dough to leave a full print, then use a cookie cutter to shape around it.
- Push a straw through the top edge to create a hanging hole.
- Place on a parchment-lined baking sheet and bake at 200°F for 3 hours until hard.
- Cool completely, then paint with acrylics and seal with varnish. Thread ribbon through the hole.


3. Cotton Ball Snowmen
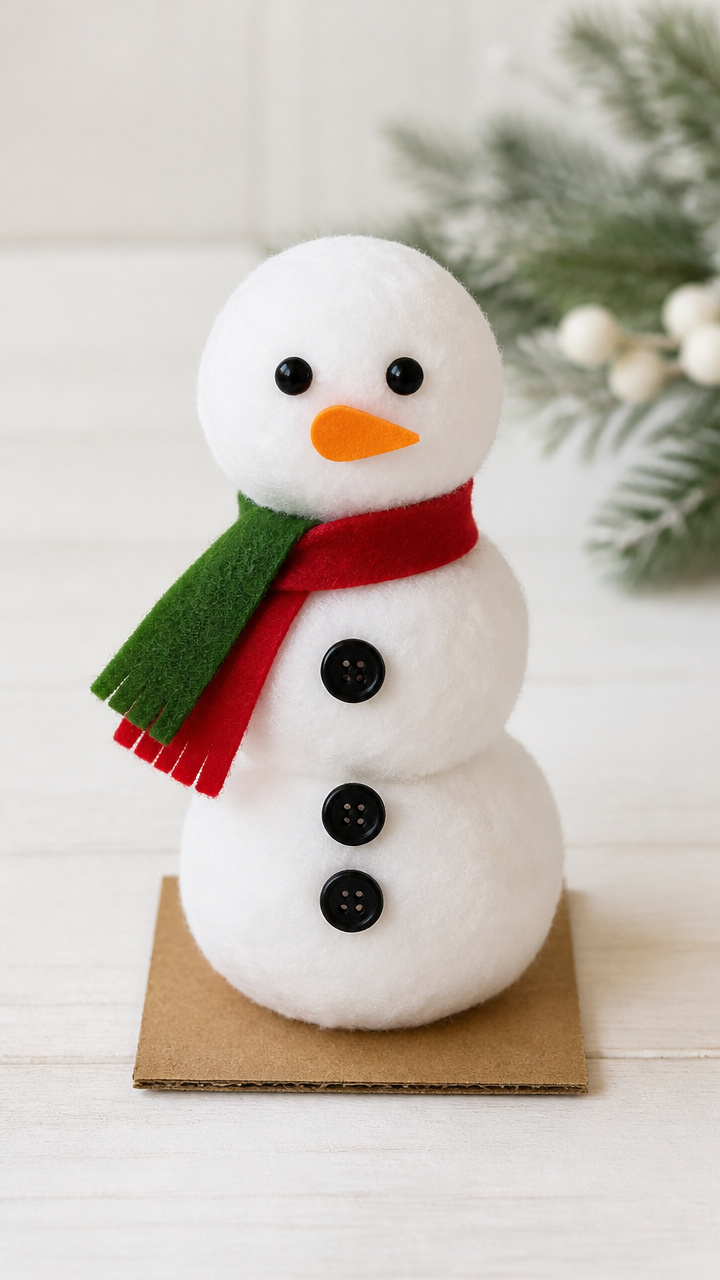
Fluffy cotton balls stack into cheerful snowmen with bright button eyes and scarf details. These soft figures stand proudly on shelves or windowsills.
Materials Needed
- Large cotton balls, white, 3 per snowman
- Cardboard, 4×4 inch square, 1 per snowman
- Black buttons, 0.25 inch, 2 per snowman
- Orange craft foam, 1 inch square per snowman
- Felt scraps, red and green, 2×2 inches each
- School glue
- Googly eyes, optional
- Scissors
How to Make It
- Glue three cotton balls in a vertical stack on the cardboard base, pressing gently to secure.
- Glue two black buttons as eyes on the top ball.
- Cut a small triangle from orange craft foam and glue it as a carrot nose.
- Cut a 1-inch strip of felt and wrap it around the middle cotton ball as a scarf, gluing the ends down.
- Let dry for 1 hour before displaying.


4. Popsicle Stick Elf Dolls
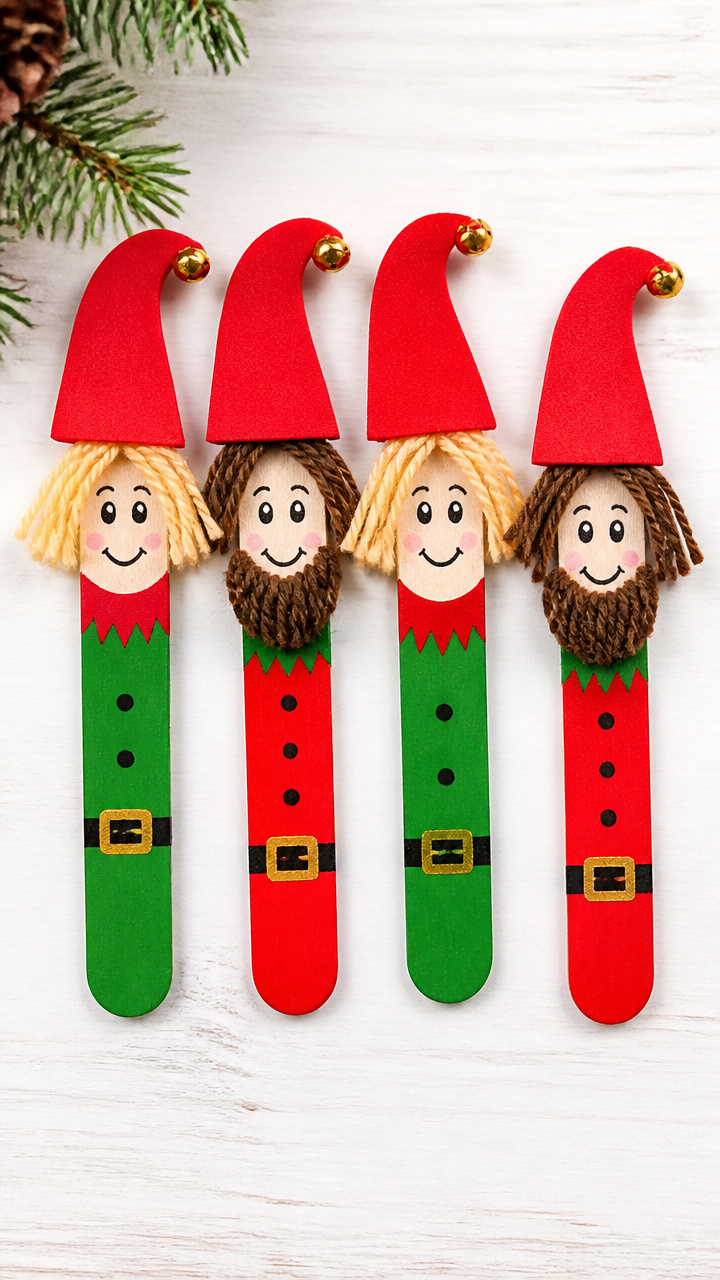
Colorful popsicle sticks turn into jolly elves with yarn hair and marker faces. These little dolls stand on their own and spark imaginative play.
Materials Needed
- Colored popsicle sticks, 1 per doll
- Yarn, red or brown, 6 inches
- Black marker
- Red craft foam, 1×1 inch per doll
- Glue stick
- Scissors
- Tacky glue
How to Make It
- Draw a face on the top half of the popsicle stick using the black marker, including eyes, nose, and smile.
- Cut a 1-inch wide strip of red craft foam and fold it into a tiny hat brim, gluing it near the top of the stick.
- Cut a 3-inch piece of yarn and glue one end inside the top of the hat fold for hair.
- Use tacky glue to secure everything, letting it dry for 30 minutes.
- Stand upright on flat surfaces once dry.


5. Paper Plate Wreaths
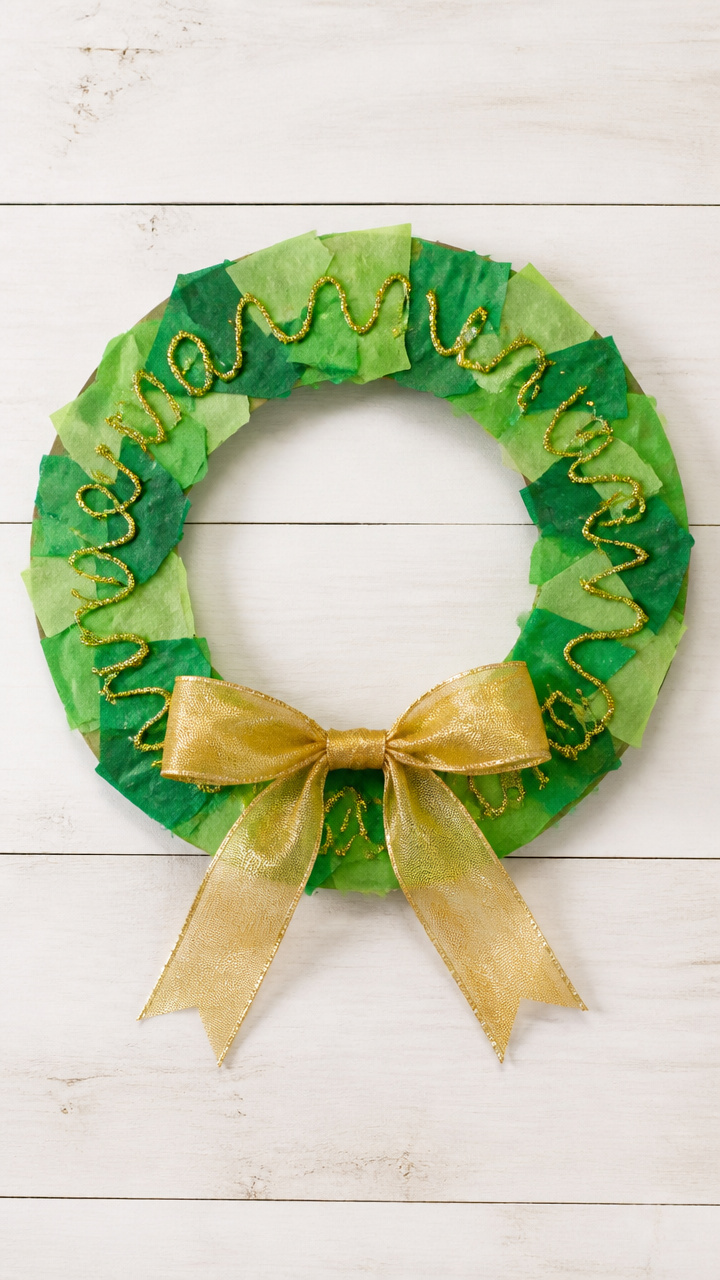
Plain paper plates become lush wreaths with torn tissue paper and glitter glue. These vibrant decorations shine on doors or walls.
Materials Needed
- Green paper plates, 9 inch, 1 per wreath
- Green tissue paper, 2 sheets per wreath
- Gold glitter glue
- Glue stick
- Scissors
- Ribbon, 10 inch length per wreath
- Hole punch
How to Make It
- Cut out the center of the paper plate to leave a 2-inch wide ring.
- Tear tissue paper into 1-inch squares and set aside.
- Use a glue stick to coat the outer edge of the plate ring, then press tissue paper pieces all around to cover completely.
- Squeeze gold glitter glue over the tissue paper in a swirling pattern.
- Let dry for 1 hour, punch a hole at the top, and thread ribbon for hanging.

6. Candy Cane Bird Feeders
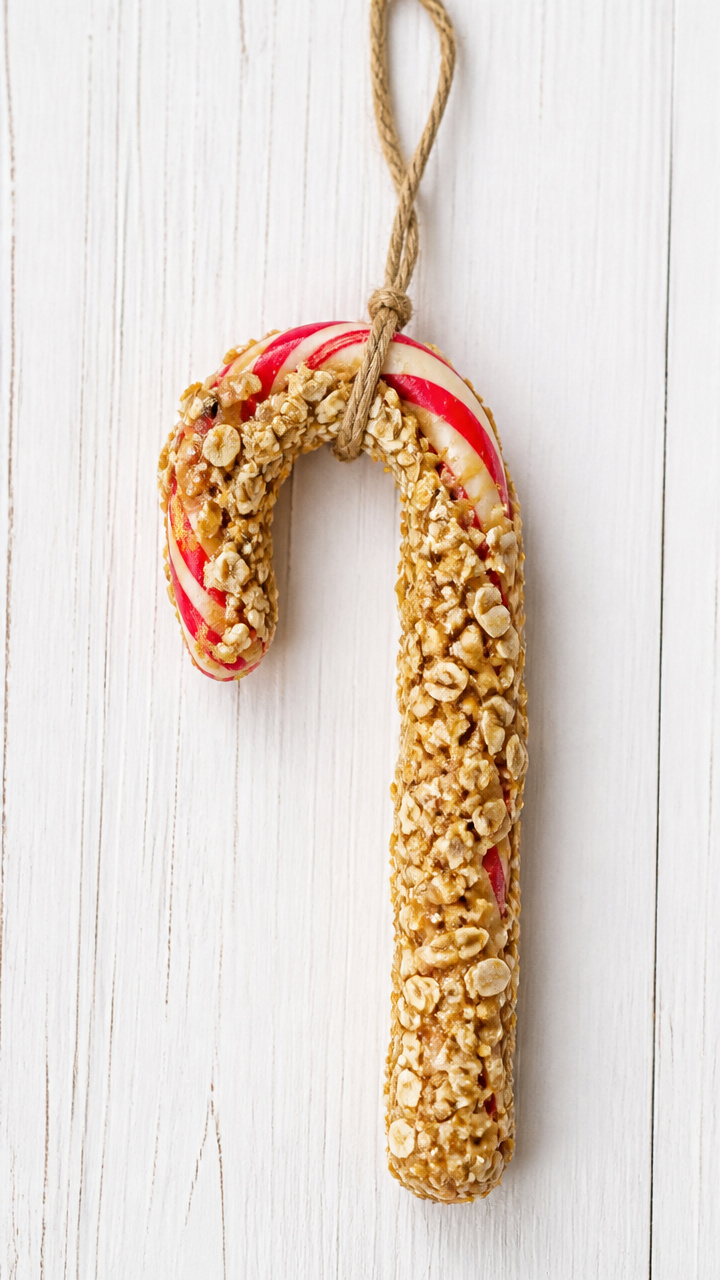
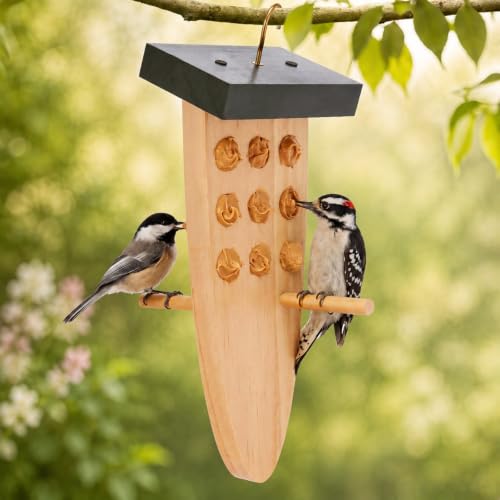
Shaped peanut butter and oats cling to candy canes for edible outdoor treats. Hang these near a window to watch birds enjoy the snack.
Materials Needed
- Unbent candy canes, 4 inch, 1 per feeder
- Peanut butter, 1/4 cup per feeder
- Old-fashioned oats, 1/2 cup per feeder
- String, 12 inch length per feeder
- Mixing bowl
- Spoon
- Baking sheet
- Parchment paper
How to Make It
- Melt peanut butter slightly in a microwave for 20 seconds, then stir in oats until sticky.
- Lay a candy cane on a parchment-lined tray with the hook facing up.
- Press the oat mixture firmly around the candy cane, covering all sides.
- Tie a string around the top curve before the mixture sets.
- Chill on the tray for 1 hour, then hang outside on a tree branch.


7. Fingerprint Gingerbread Ornaments
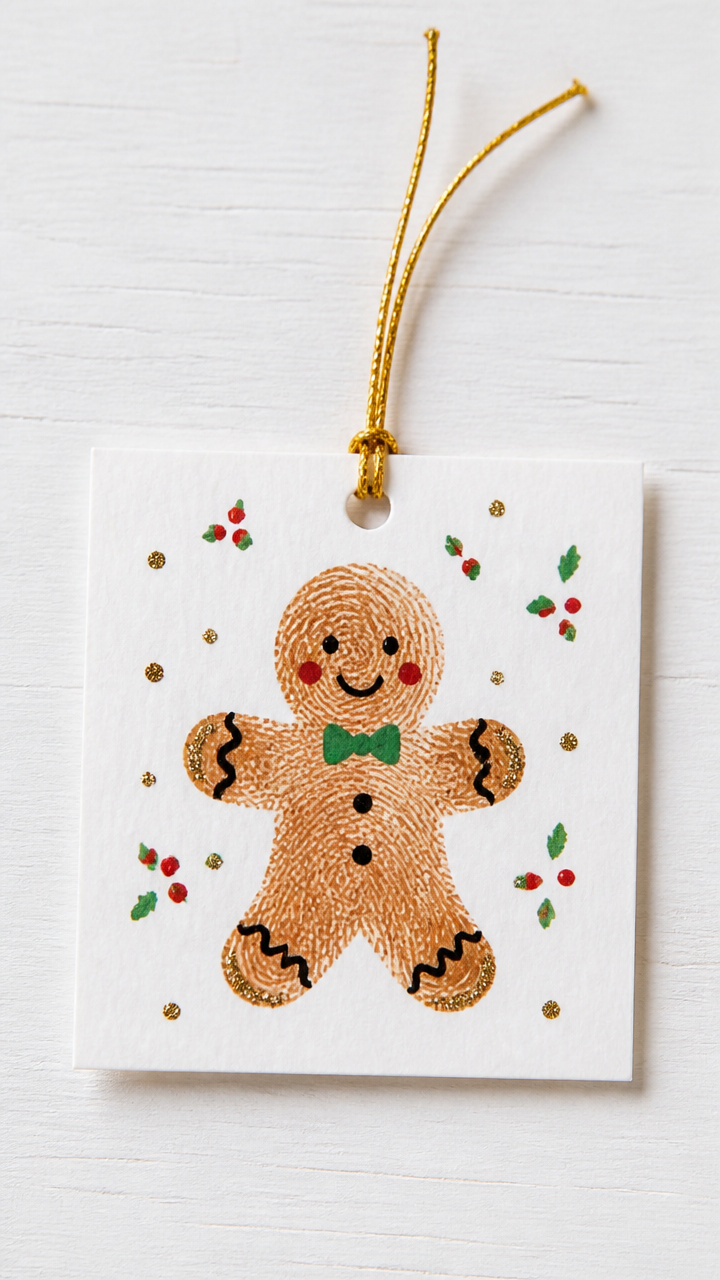
Inky fingerprints grow into gingerbread people with drawn-on details. These playful keepsakes fit perfectly on the tree or in a scrapbook.
Materials Needed
- White cardstock, 3×3 inch square, 1 per ornament
- Brown washable ink pad
- Fine black marker
- Red and green markers
- Glitter glue, gold
- Hole punch
- Ribbon, 8 inch length per ornament
How to Make It
- Press a fingertip into the brown ink pad and stamp it once onto the cardstock to make a body.
- Repeat with a smaller finger to make arms and legs branching from the body.
- Let the ink dry for 5 minutes, then draw on facial features and clothing with the black marker.
- Add red and green buttons or scarves with colored markers.
- Outline with gold glitter glue and let dry 2 hours. Punch a hole and thread ribbon.


8. Toilet Paper Roll Angels
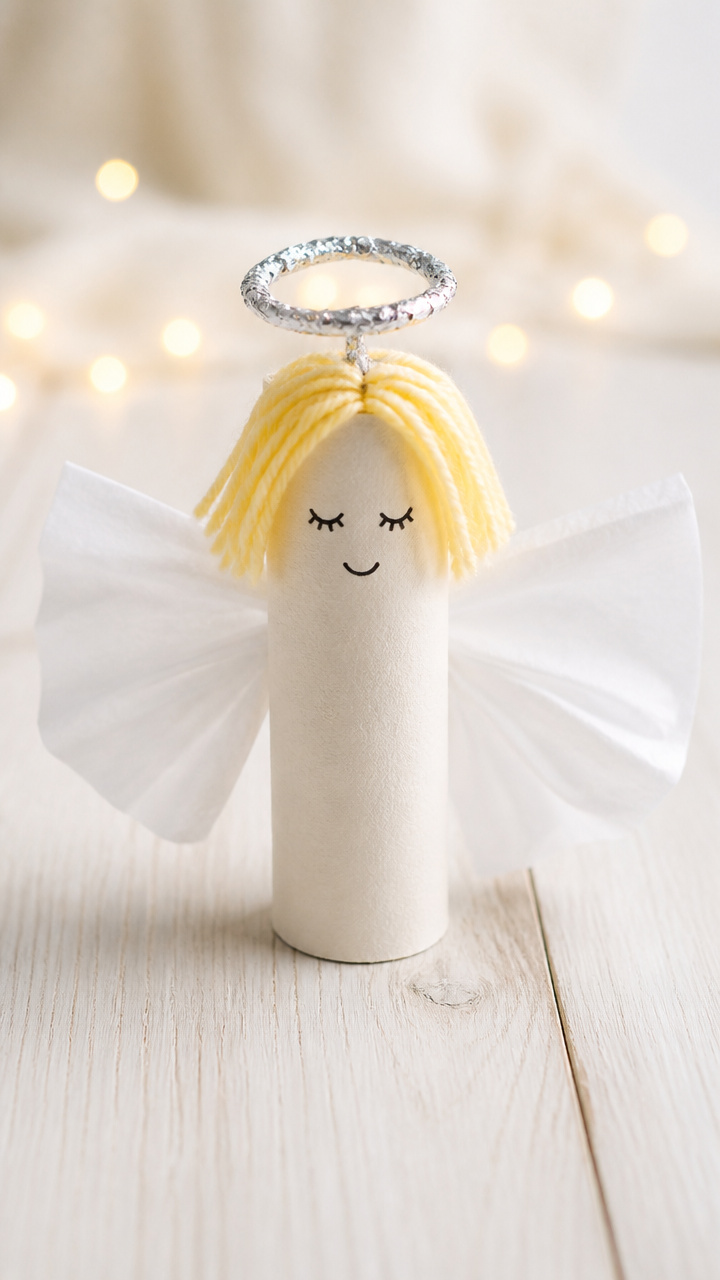
Empty toilet paper rolls rise into delicate angels with foil halos and tissue wings. These gentle figures glow on nightstands or mantels.
Materials Needed
- Toilet paper rolls, 1 per angel
- White tissue paper, 6×6 inch square per angel
- Aluminum foil, 3×3 inch square per angel
- Yellow yarn, 4 inches per angel
- School glue
- Glue stick
- Scissors
- Gold glitter glue
How to Make It
- Cut the toilet paper roll in half horizontally, then use one half standing upright.
- Crumple yellow yarn and glue it at the top back of the roll for hair.
- Cut two 3-inch wings from tissue paper and glue them to the back with a glue stick.
- Roll foil into a small ring and glue it above the roll for a halo.
- Dab gold glitter glue along the wing edges and let dry 1 hour.


9. Cinnamon Ornament Shapes
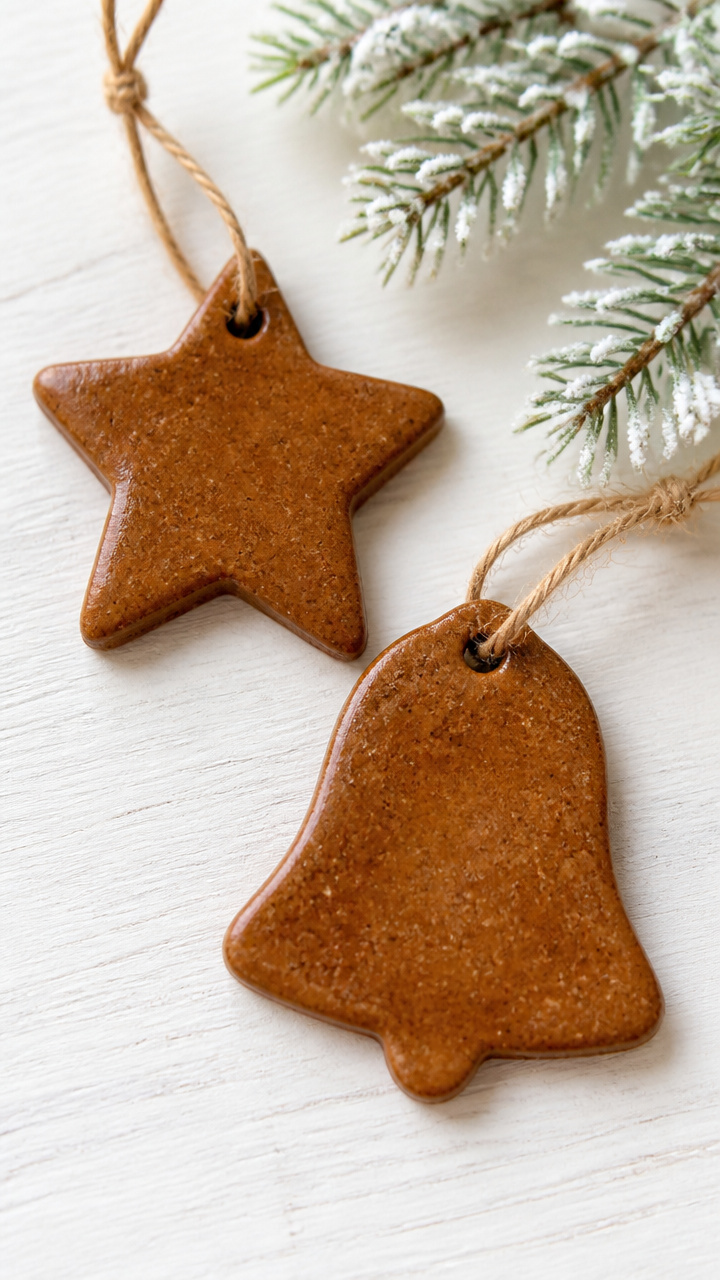
Warm cinnamon scent fills the room as kids press dough into festive molds. These spiced ornaments last for years with a light varnish.
Materials Needed
- Ground cinnamon, 1 cup
- Applesauce, 1/2 cup
- Mixing bowl
- Spoon
- Cookie cutters, star or bell shaped
- Baking sheet
- Parchment paper
- Clear varnish
- Ribbon, 8 inches per ornament
How to Make It
- Mix cinnamon and applesauce in a bowl until a stiff dough forms, adding a spoonful more applesauce if too dry.
- Roll dough to 1/4 inch thickness and cut shapes with cookie cutters.
- Place on a parchment-lined baking sheet and dry overnight at room temperature.
- Once hard, spray both sides lightly with clear varnish and let dry 1 hour.
- Punch holes and thread ribbon for hanging.


10. Crayon Melt Snow Globes
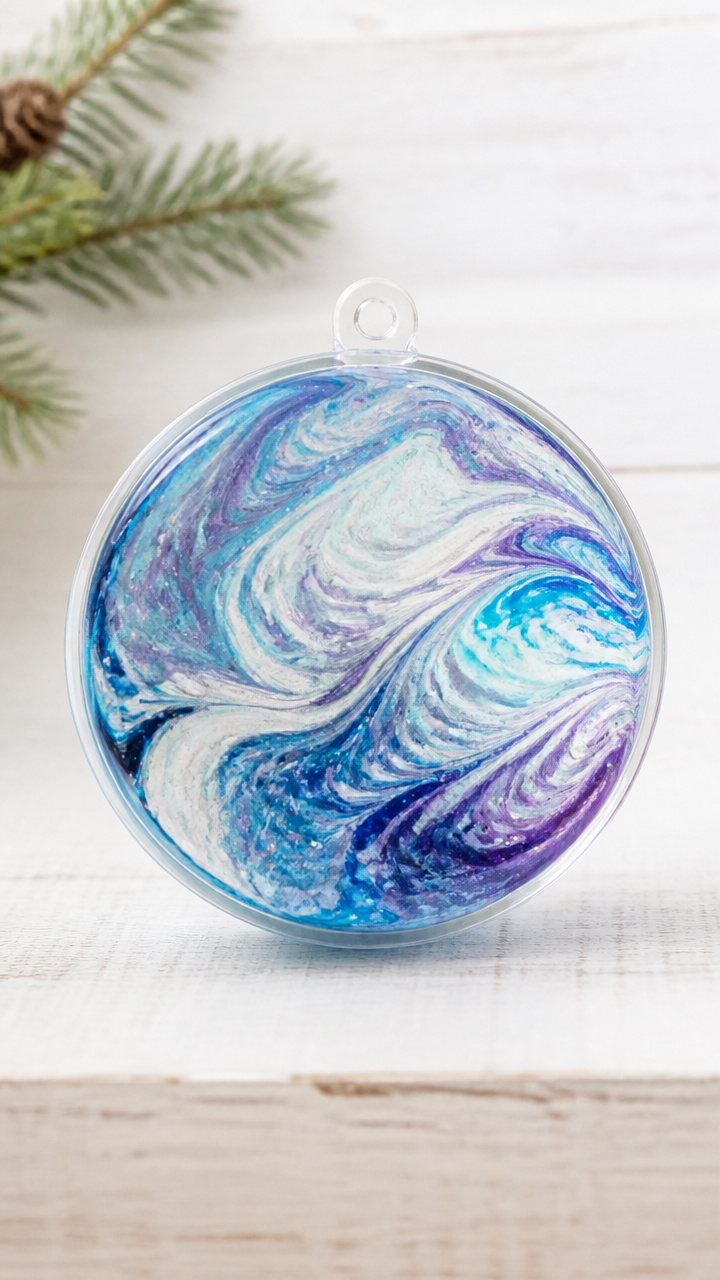
Broken crayons melt into colorful wax discs that swirl like snow when shaken. These sensory globes double as sun catchers.
Materials Needed
- Clear plastic ornaments, 3 inch, 1 per globe
- Crayon pieces, peeled, 5 different winter colors
- Hot plate
- Metal mold, muffin tin section
- Popsicle stick
- Glue gun
- Distilled water
- Glycerin, 1 teaspoon
How to Make It
- Arrange crayon pieces in a muffin tin section and melt on a hot plate at low heat for 10 minutes.
- Stir with a popsicle stick until fully liquid, then pour into a cooled ornament half.
- Let wax set for 2 hours, then glue both halves together with a hot glue gun.
- Fill the other half with distilled water and glycerin, insert the wax disc, and seal tightly.


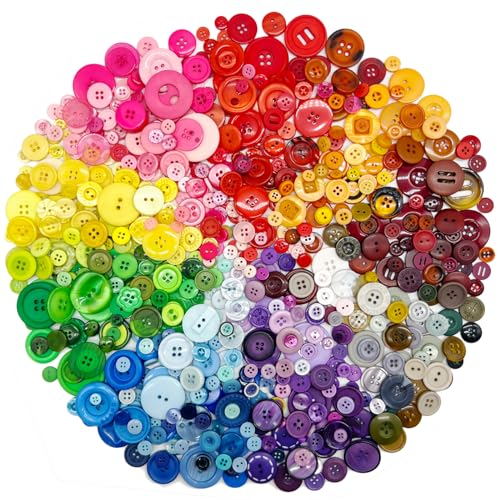
11. Button Tree Art
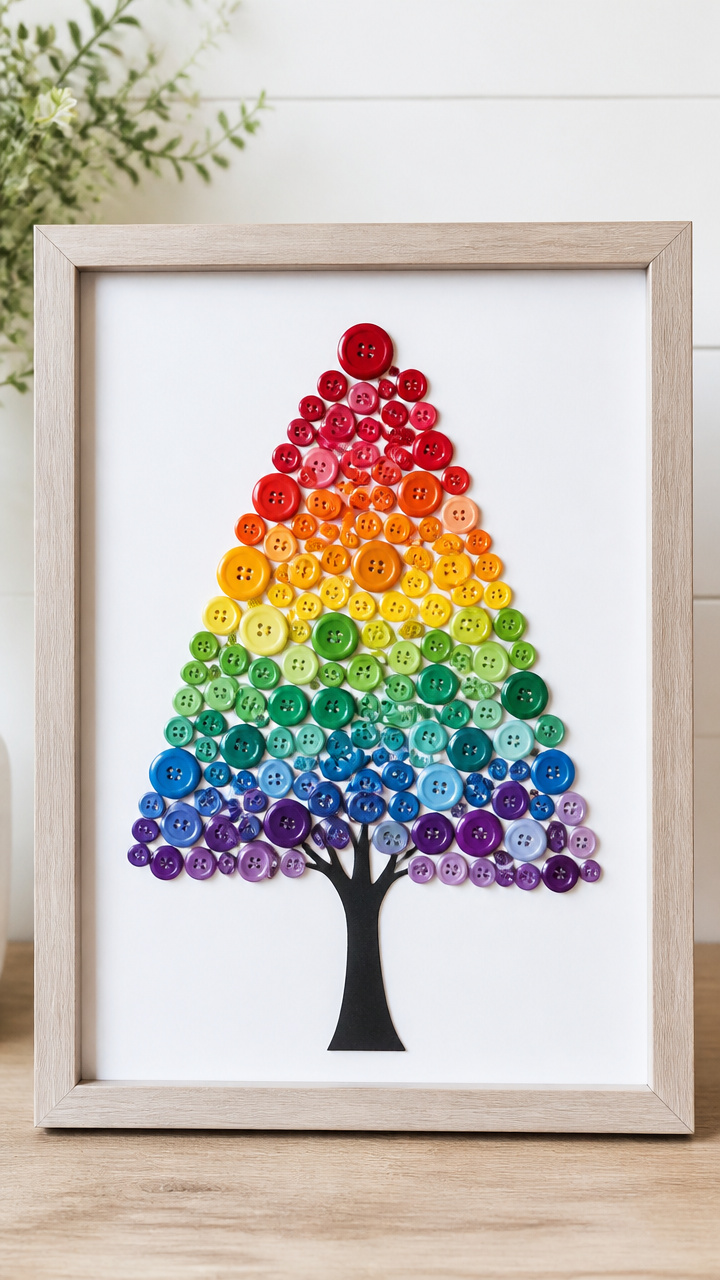
Colorful buttons climb up a drawn trunk to form a bright holiday tree. This framed piece adds handmade cheer to any wall.
Materials Needed
- A4 white drawing paper, 1 sheet per project
- Black marker
- Assorted buttons, 20 per tree
- White school glue
- Picture frame, 8×10 inch
How to Make It
- Draw a simple tree trunk and branches in the center of the paper using the black marker.
- Glue buttons along the branches starting with larger ones at the bottom and smaller toward the top.
- Let dry completely for 2 hours.
- Place in a frame and hang where light catches the buttons.


12. Clothespin Nativity Figures
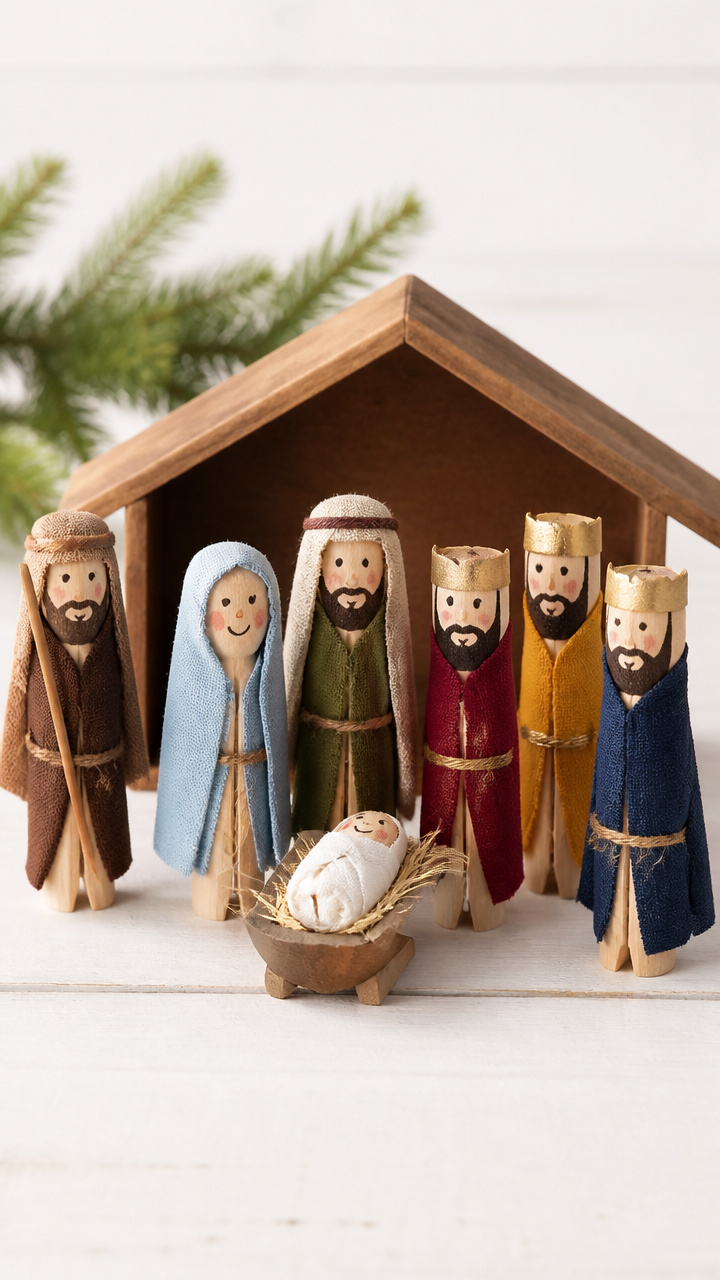
Wooden clothespins become Mary, Joseph, and shepherds with fabric scraps and markers. These tiny figures fit in palm-sized mangers or displays.
Materials Needed
- Wooden clothespins, 1 per figure
- Fabric scraps, 2×2 inches, assorted colors
- Acrylic paint, skin tone
- Fine brush
- Black marker
- School glue
- Scissors
How to Make It
- Paint the clothespin head with skin tone and let dry for 20 minutes.
- Draw facial features with the black marker.
- Cut fabric into 1.5-inch squares and wrap around the clothespin body like a robe, gluing at the back.
- Fold the clothespin legs slightly outward to help the figure stand.
- Let dry 30 minutes before placing in a stable scene.


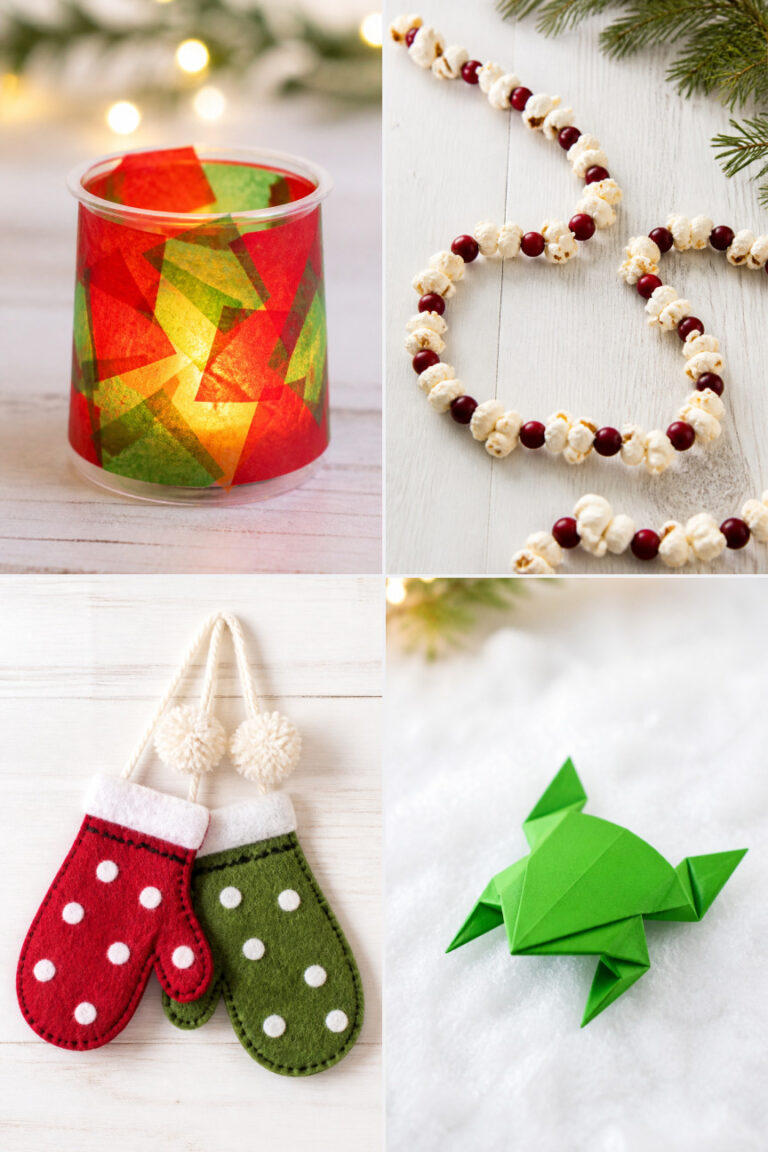
13. Tissue Paper Lanterns
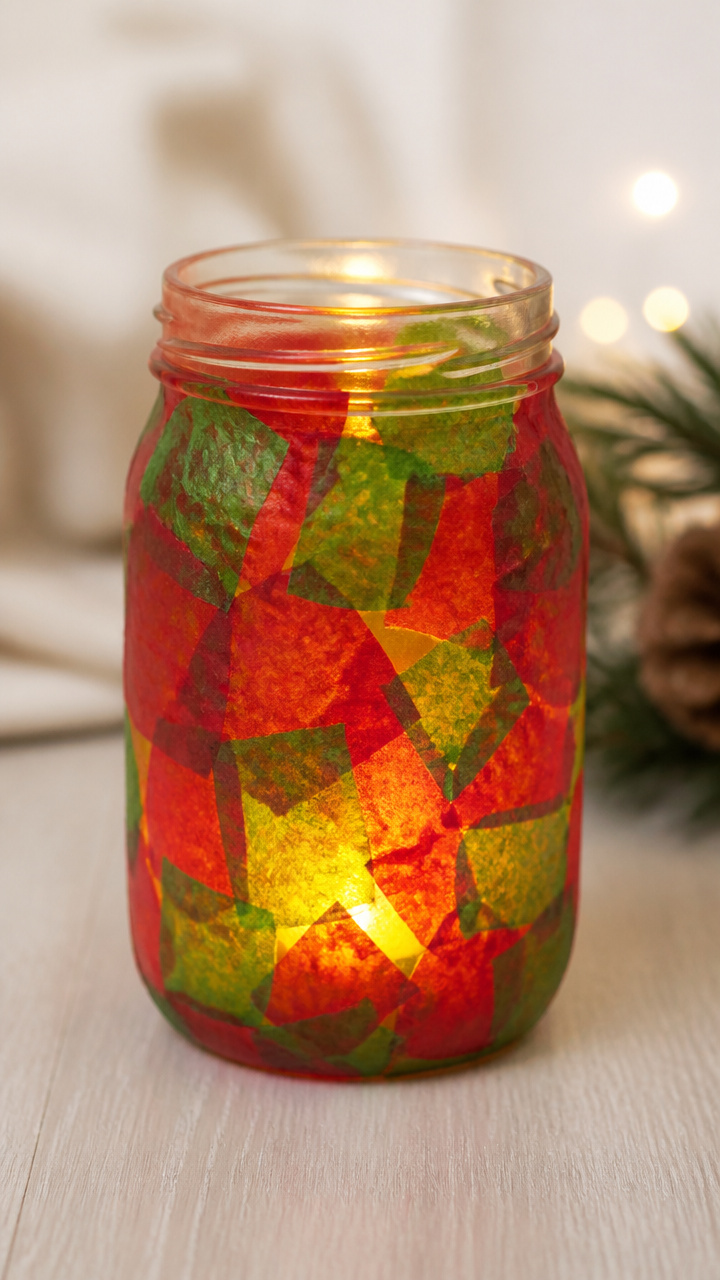
Layered tissue paper wraps around jars to create glowing lanterns when lit. These soft lights add warmth to dinner tables or bedrooms.
Materials Needed
- Glass mason jar, 8 oz, 1 per lantern
- Tissue paper, red and green, 2 sheets each
- Mod Podge
- Foam brush, 1 inch
- Tea light, battery operated
- Scissors
How to Make It
- Cut tissue paper into 2-inch strips.
- Brush a thin layer of Mod Podge on the outside of the jar.
- Wrap red and green strips around the jar, overlapping slightly, and press smooth.
- Seal with another layer of Mod Podge and let dry 2 hours.
- Place a tea light inside and turn on at dusk.


You’ve got everything you need right here to fill your home with handmade magic. Grab your supplies, call the kids, and start creating memories that last far beyond the season.