21 Handmade Christmas Crafts for Adults to Start Early
The quiet rhythm of crafting brings a kind of calm that the holiday season often needs. When you make something with your hands, you're not just creating decor or gifts, you're weaving moments of focus and care into tangible keepsakes.
Starting early means no last-minute rush. Each of these projects gives you room to slow down, enjoy the process, and finish with pride. These are thoughtful, doable ideas that look beautiful and won't clutter your workspace.
1. Cinnamon-Sugar Candle Jars
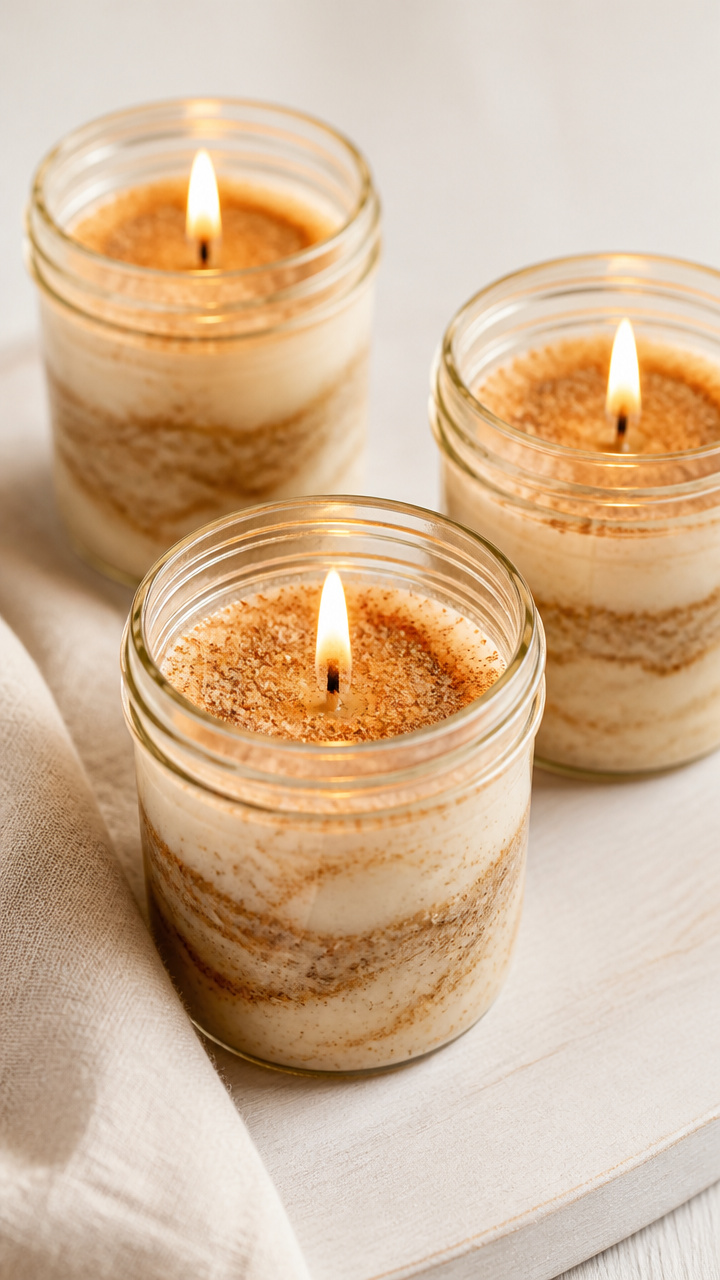
Small glass jars glow warmly and smell like spiced winter mornings. These make cozy nightstand lights or simple hostess gifts.
Materials Needed
- 4 small mason jars, 4 oz each
- 4 soy wax melts, unscented
- 4 cotton wicks with metal bases
- 1/4 cup ground cinnamon
- 3 tablespoons granulated sugar
- double boiler or heat-safe bowl and saucepan
- scissors
How to Make It
- Fill the saucepan with 2 inches of water and place the bowl on top to create a double boiler. Add the soy wax melts and heat until fully melted, about 10 minutes.
- Press one wick base into the center of each jar bottom. Carefully pour the melted wax into each jar, filling three-quarters full.
- While the wax is still soft, sprinkle a mix of cinnamon and sugar evenly over the surface of each jar. Use about 1 teaspoon per jar.
- Let the jars sit undisturbed for 2 hours until the wax is completely set. Trim each wick to 1/4 inch using scissors.


2. Felted Wool Ornaments
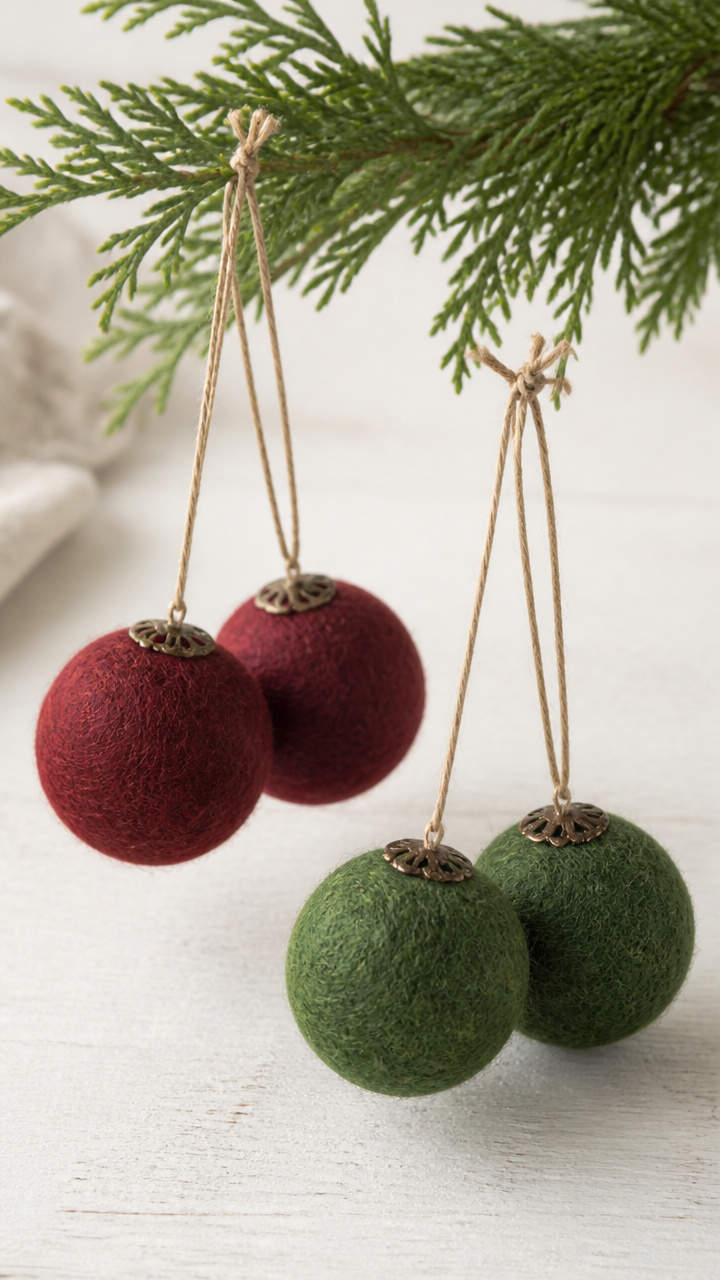
Soft wool balls in deep red and forest green hang gently on your tree. They add quiet texture and don’t jingle when touched.
Materials Needed
- 100% raw merino wool roving, 1/2 ounce each in burgundy and pine green
- plastic mesh tablecloth, 18×18 inches
- bubble wrap, 18×18 inches
- dish soap, 2 tablespoons
- hot water, 3 cups
- rubber bands, 2
- wooden dowel, 6 inches long
How to Make It
- Lay the mesh flat and place a handful of wool roving in the center. Roll the bubble wrap over it and secure both layers with rubber bands.
- Mix hot water and dish soap in a basin. Submerge the rolled bundle and gently roll it back and forth on the counter for 5 minutes.
- Unwrap the bundle and shape each wool ball with your fingers, adding more hot soapy water if needed. Continue rolling until firm.
- Rinse under cool water, squeeze out excess moisture, and let dry overnight on a towel.


3. Maple Wood Spoon Charcuterie Set
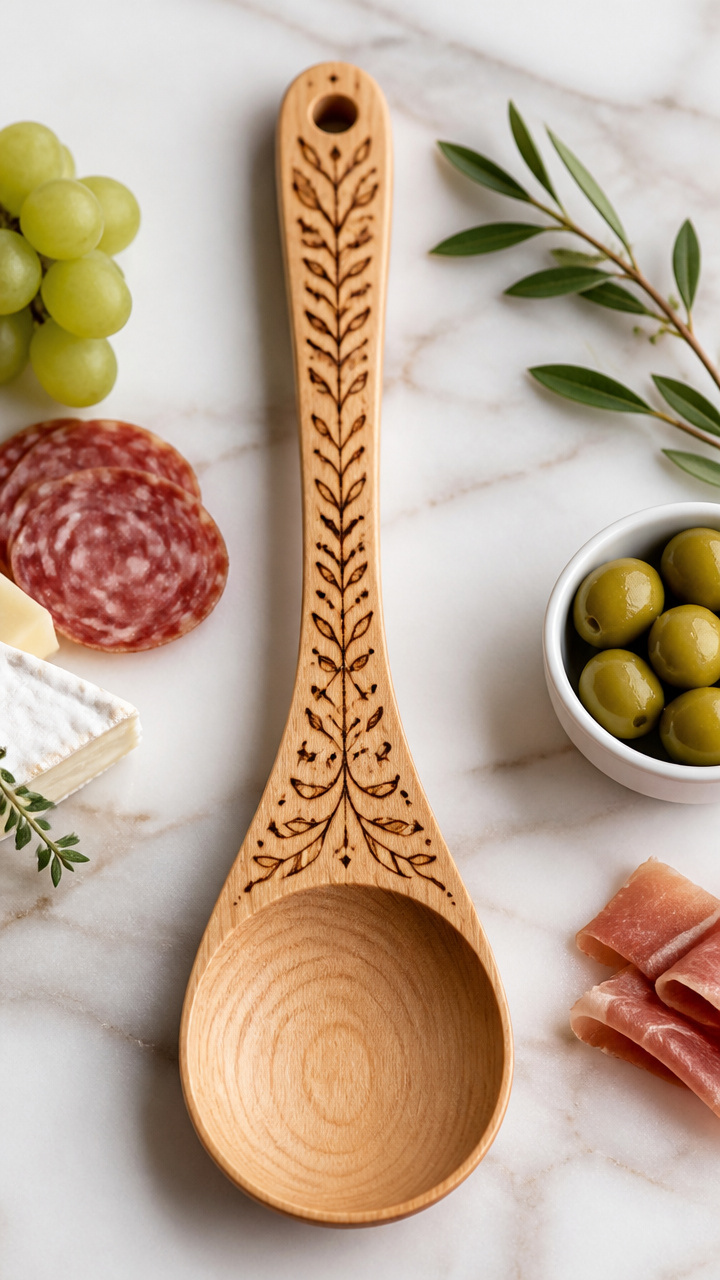
A hand-burned wooden spoon becomes a centerpiece for cheese boards. Personalize it with names or short phrases.
Materials Needed
- unfinished maple wood spoon, 12 inches long
- wood-burning tool with fine point tip
- pencil
- food-safe mineral oil, 2 ounces
- soft cloth
How to Make It
- Sketch your design lightly on the spoon handle with a pencil, such as a name or 'Joy' in cursive.
- Plug in the wood-burning tool and wait 5 minutes for it to heat. Trace over the pencil lines with steady, even pressure.
- Wipe away any remaining pencil marks with a dry cloth. Apply food-safe mineral oil to the entire spoon using a soft cloth.
- Let the oil soak in for 1 hour, then buff with a clean cloth until smooth.

4. Knitted Cable Scarf
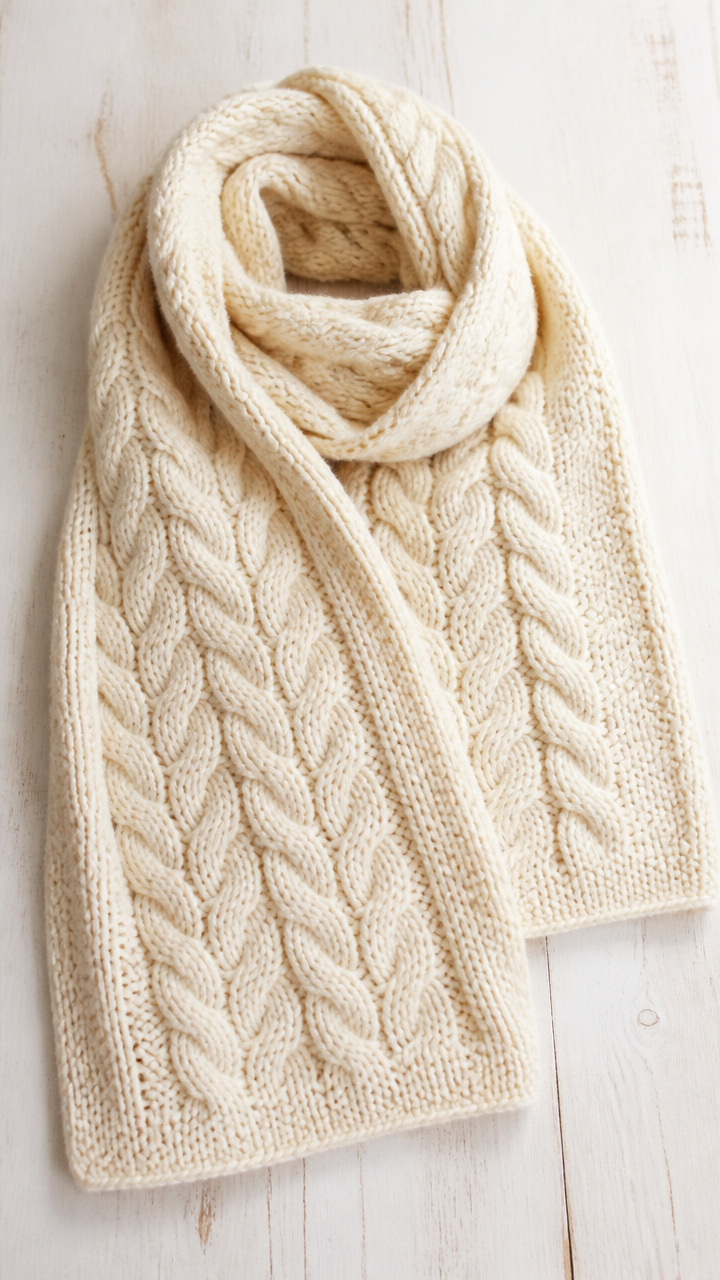
Thick cream wool wraps your neck with classic braided patterns. This one uses beginner-friendly cable knitting.
Materials Needed
- worsted weight cream wool yarn, 350 yards
- size 8 (5 mm) straight knitting needles
- cable needle
- scissors
- yarn needle
How to Make It
- Cast on 24 stitches loosely. Knit every row for 2 inches to create the border.
- Begin the cable pattern by slipping 3 stitches to the cable needle and holding it in front. Knit next 3 stitches, then knit 3 from cable needle.
- Repeat the cable row every 6 rows, keeping 3 knit stitches between each cable. Work until scarf measures 60 inches.
- Bind off loosely. Weave in ends with a yarn needle and trim.



5. Pressed Pinecone Wreath
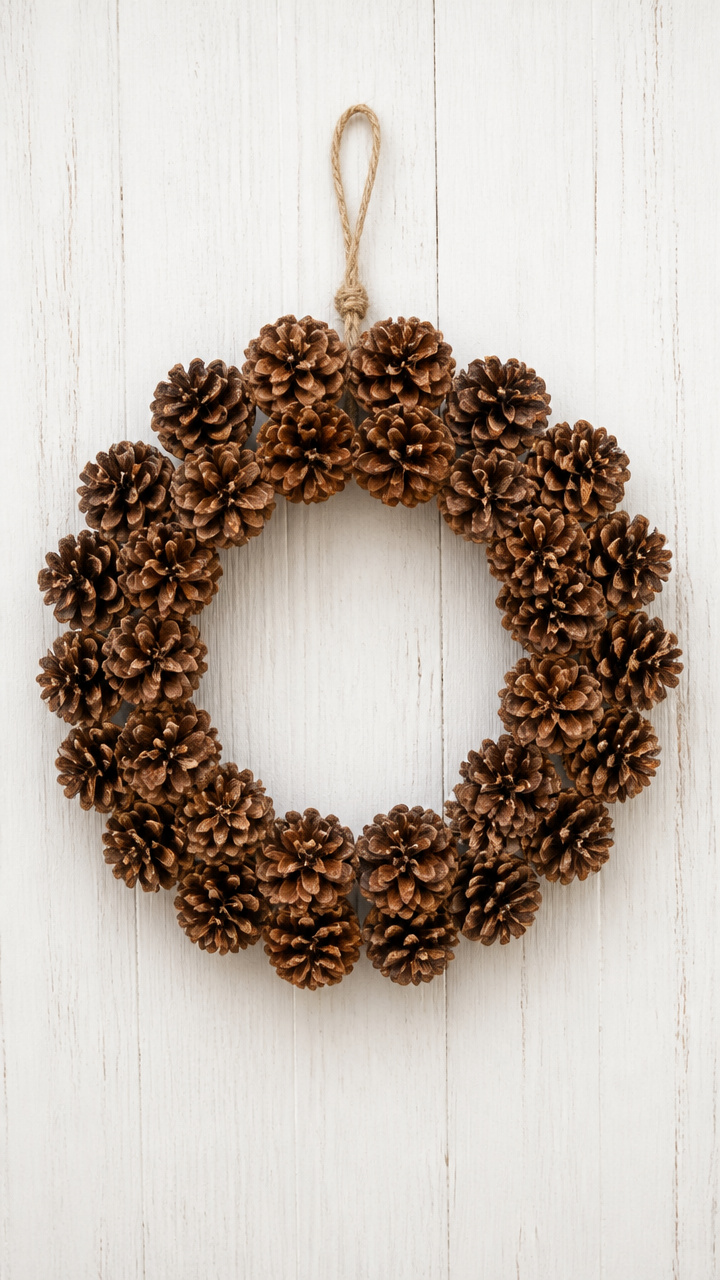
Real pinecones curve slightly after drying and form a natural ring. No glue, no wire, just their own shape holding tight.
Materials Needed
- 24 medium brown pinecones
- oven
- baking sheet
- twine, 1 yard
- hot glue gun and 1 glue stick
How to Make It
- Preheat oven to 200°F. Place pinecones on a baking sheet and bake for 2 hours to dry and open them fully.
- Let cool completely. Arrange them in a circle, pressing the base of each into the tip of the next to interlock.
- Tie twine around two opposite sides to hold the shape. Add a drop of hot glue at each major junction for extra security.
- Leave as is or hang with a loop of twine tied at the top.


6. Embroidered Linen Tea Towels
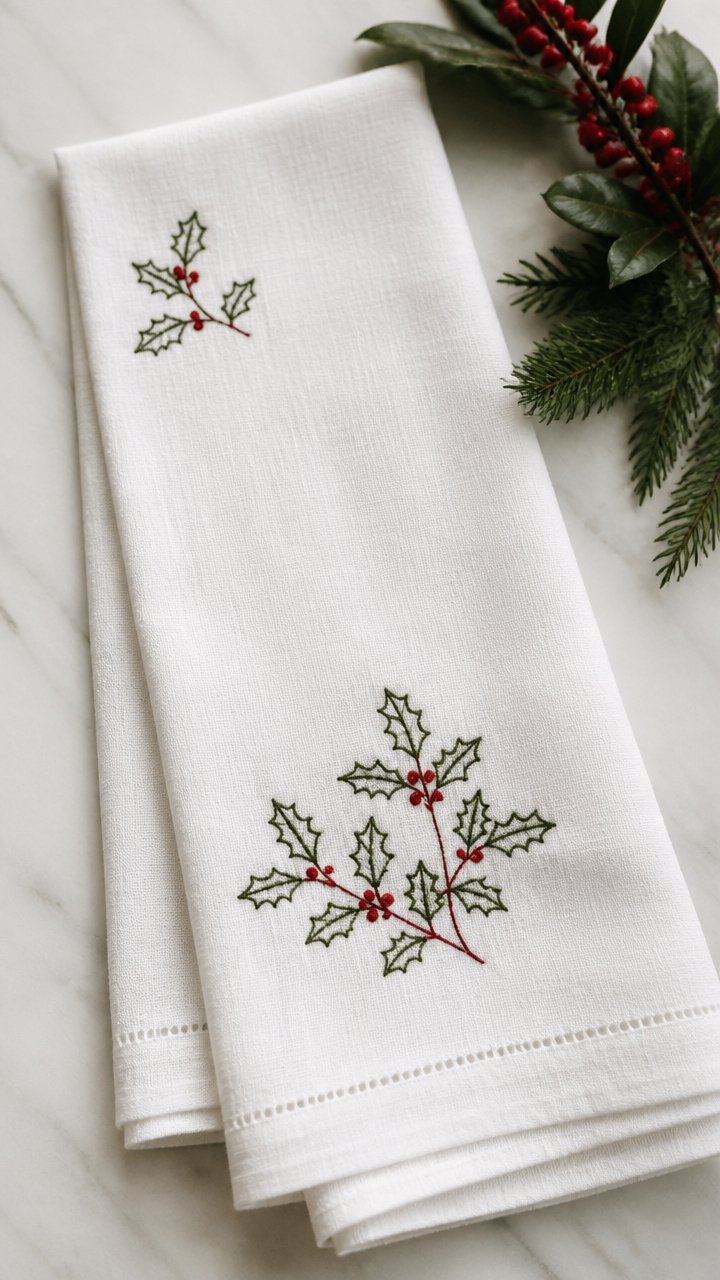
Simple white towels gain delicate holly sprigs stitched in red thread. Useful and pretty, they dry dishes and decorate kitchens.
Materials Needed
- plain linen tea towel, 18×28 inches
- embroidery hoop, 7 inches
- red embroidery floss, 2 skeins
- embroidery needle
- water-soluble fabric marker
- scissors
How to Make It
- Stretch the towel fabric in the embroidery hoop and tighten the screw. Draw a small holly sprig near one corner with the fabric marker.
- Thread the needle with 18 inches of red floss. Use split stitch for stems and satin stitch for berries and leaves.
- Work slowly, pulling the thread gently to avoid puckering. Rehoop as needed to reach new areas.
- When done, remove the hoop and rinse the towel lightly to erase any marker lines. Air dry flat.


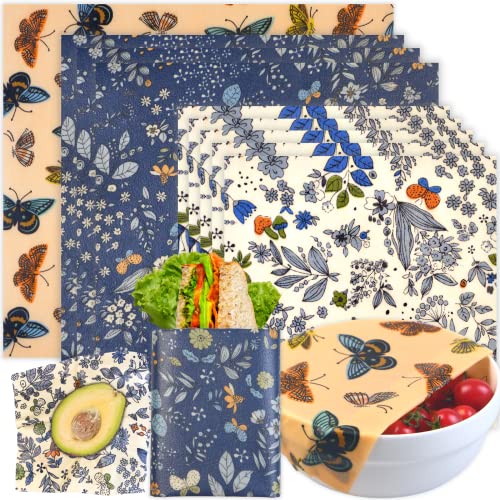
7. Beeswax Food Wraps
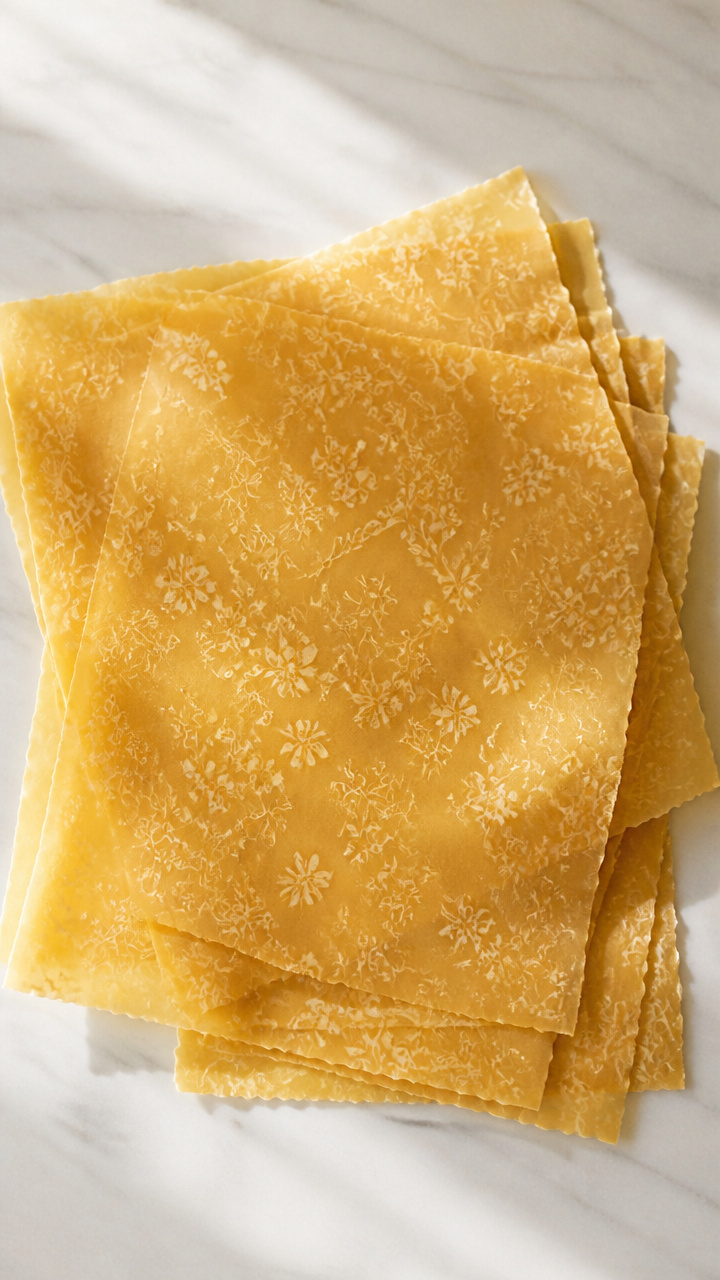
Reusable wraps seal bowls or cover bread with natural tackiness. They’re washable and last up to a year.
Materials Needed
- organic cotton fabric, 12×12 inches, unbleached
- beeswax pellets, 1/4 cup
- jojoba oil, 1 teaspoon
- pine resin, 1 teaspoon
- baking sheet
- parchment paper
- oven
How to Make It
- Preheat oven to 200°F. Line a baking sheet with parchment paper and lay the fabric flat on top.
- Sprinkle beeswax pellets, jojoba oil, and pine resin evenly over the fabric. Spread gently with a spoon.
- Bake for 5 minutes until wax melts and soaks through. Lift a corner to check—if dry spots remain, return for 1 more minute.
- Remove and let cool for 10 minutes. Store flat or rolled. To use, warm with hands to mold over containers.


8. Hand-Poured Citrus Votive Holders
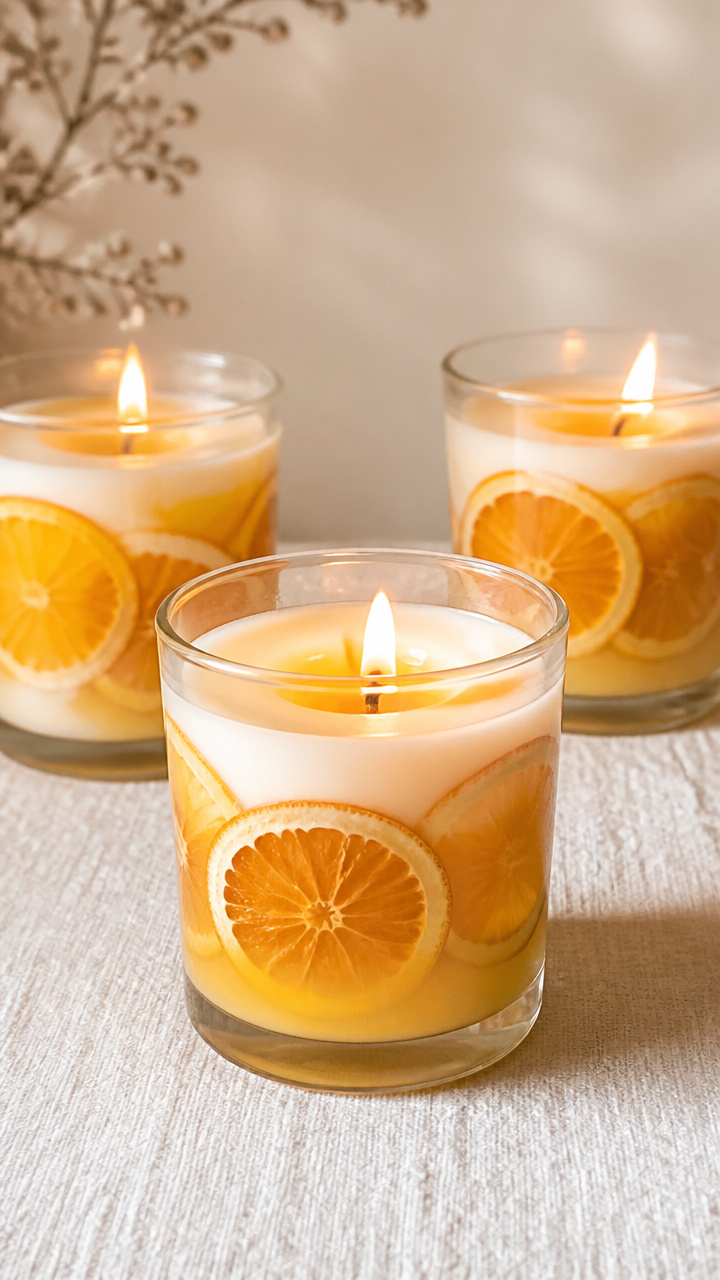
Clear glass tumblers hold layers of colored wax with thin orange peel slices suspended inside. Light shines through softly.
Materials Needed
- 4 clear glass tumblers, 3 oz
- white soy wax flakes, 8 ounces
- orange peel, thinly sliced, 4 pieces
- yellow liquid candle dye, 10 drops
- cotton wicks with tabs
- double boiler
- glue dots, 4
How to Make It
- Melt soy wax in a double boiler over medium heat, stirring occasionally until clear, about 12 minutes.
- Add yellow dye and stir for 30 seconds. Let cool slightly for 2 minutes to avoid cracking the glass.
- Place one wick tab in each tumbler center. Secure with a glue dot. Pour a thin layer of wax into each glass.
- Lay one orange slice flat on top of each wet layer. Wait 3 minutes, then fill the rest of the glass slowly. Cool 3 hours.


9. Leather Gift Tags with Stamping
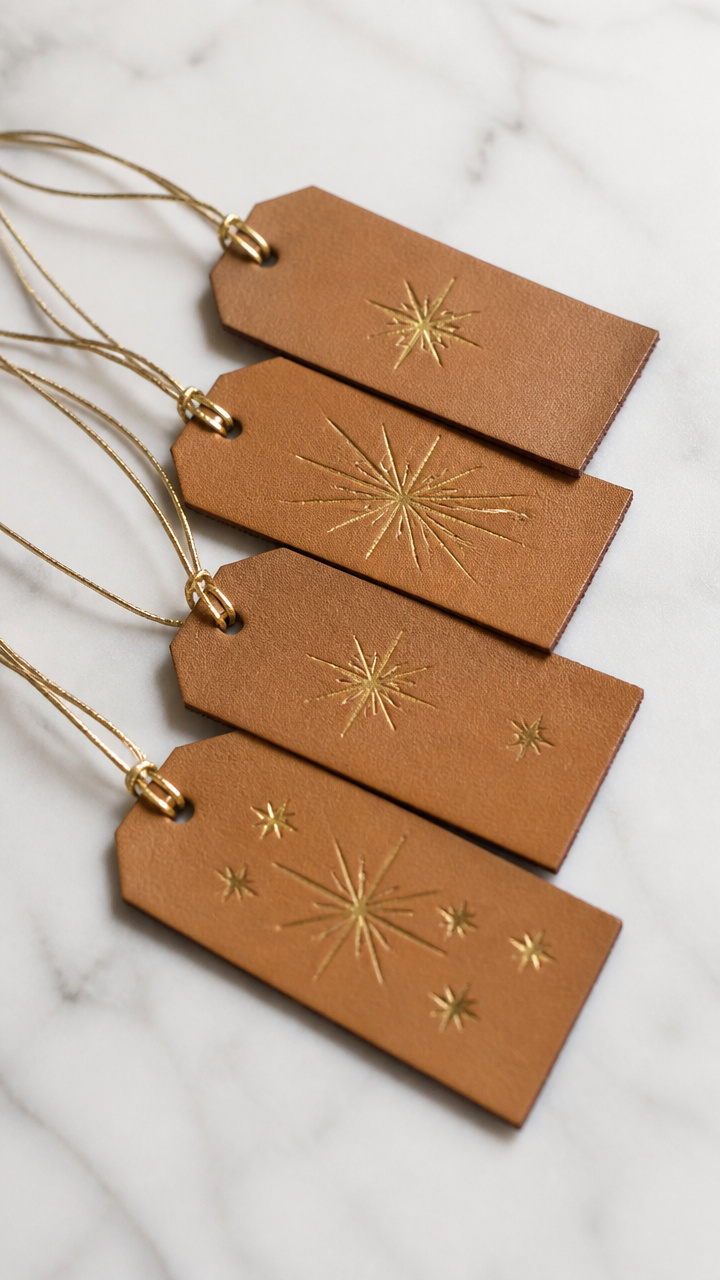
Sturdy tan leather tags bear crisp stamped names and tiny stars. They stay on packages all season without tearing.
Materials Needed
- vegetable-tanned leather sheet, 4×6 inches, 2mm thick
- leather stamping tool set with letter and star stamps
- rawhide mallet
- ruler
- hole punch for leather
- gold acrylic paint
- small brush
How to Make It
- Cut the leather into 6 rectangles, each 1.5×3 inches, using a ruler and sharp craft knife.
- Position the letter stamps one by one to spell a name. Tap each firmly with the mallet to leave a clean impression.
- Dip the brush in gold paint and rub lightly over the stamped letters. Wipe excess with a fingertip.
- Punch a hole in the top corner of each tag. Thread with twine when ready to use.


10. Quilted Cotton Napkin Rings
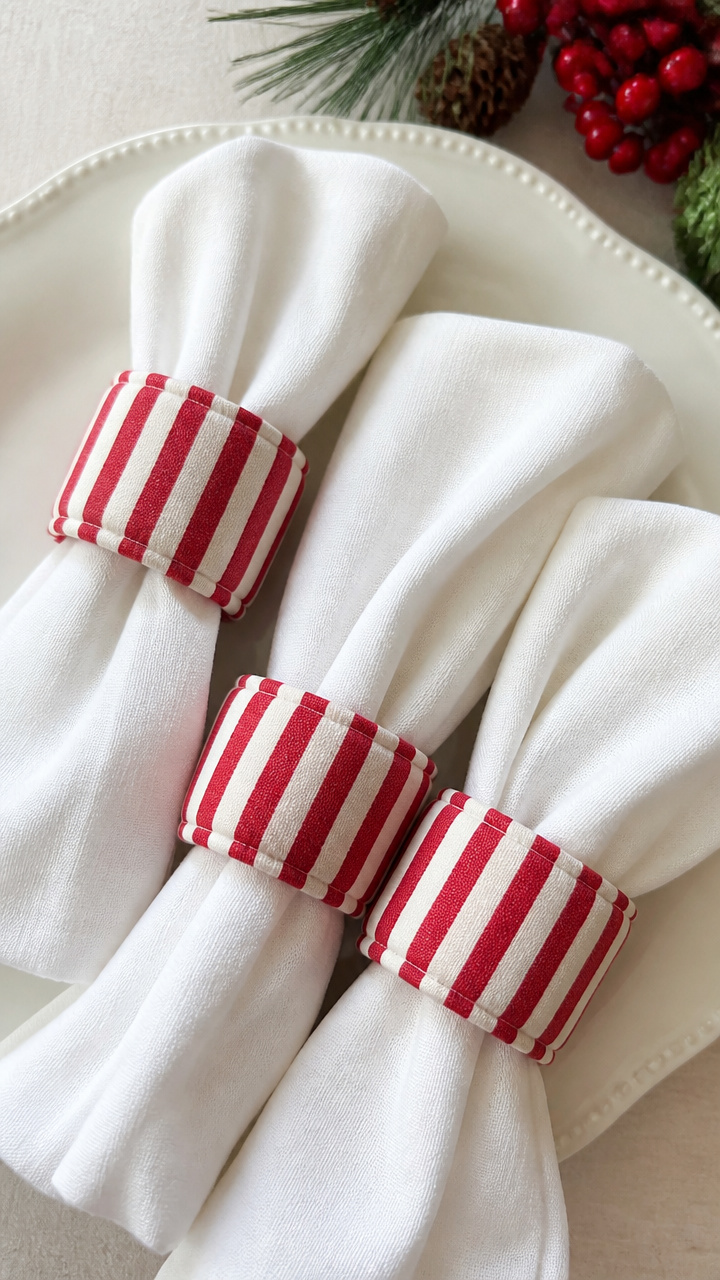
Stripes of red and white cotton are quilted into snug rings. They keep napkins tidy and add handmade charm to tables.
Materials Needed
- red cotton fabric, 6×12 inches
- white cotton fabric, 6×12 inches
- batting, 6×12 inches
- rotary cutter
- quilting ruler
- sewing machine
- thread
- iron
How to Make It
- Layer the red fabric, batting, and white fabric together. Pin around edges to hold. Cut into three 2-inch-wide strips.
- Sew a straight line down the center of each strip. Then sew two more lines, 1/2 inch from center on each side.
- Fold each strip into a circle, overlapping ends by 1/2 inch. Pin and sew closed with a 1/4 inch seam.
- Press seams flat with an iron. Slide over folded napkins to serve.


11. Twine-Wrapped Grapevine Wreath
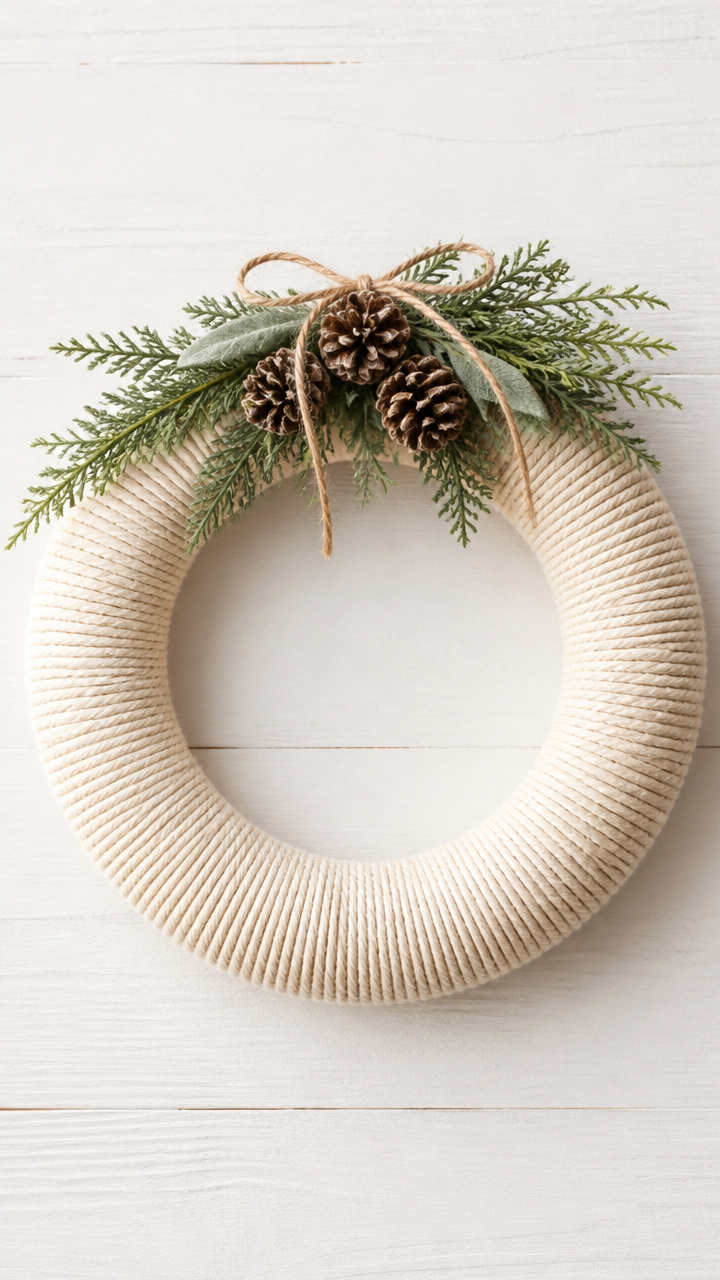
A plain grapevine wreath gains softness with creamy cotton twine wrapped tightly around every branch.
Materials Needed
- grapevine wreath base, 10 inches
- cotton twine, 100 yards
- fabric scissors
- hot glue gun and 1 glue stick
How to Make It
- Secure one end of twine to the wreath with a dab of hot glue. Wrap the twine tightly around the base, covering old vine completely.
- Keep tension even as you wind, moving in a spiral around the circle. Overlap slightly to hide gaps.
- After completing the circle, add another drop of glue to secure the end. Press and hold for 10 seconds.
- Let dry 5 minutes before hanging. Dust with a dry cloth if needed.


12. Clay Holiday Baubles
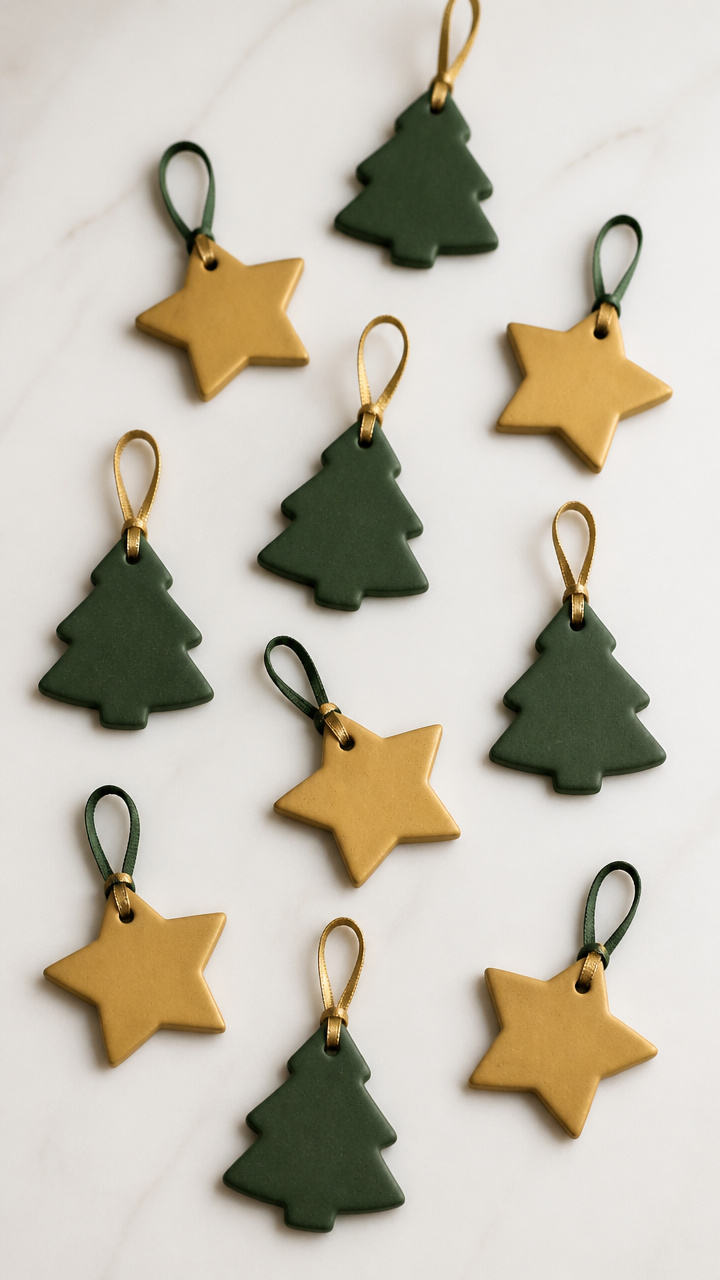
Air-dry clay shapes cut into stars and trees hold a matte finish and a ribbon loop. They feel solid and last years.
Materials Needed
- white air-dry clay, 1/2 pound
- star cookie cutter, 2 inches
- tree cookie cutter, 2 inches
- plastic straw
- acrylic paint in forest green and gold
- paintbrush
- ribbon, 1/4 inch wide, 2 feet
How to Make It
- Roll the clay to 1/4 inch thickness on a floured surface. Cut out 6 shapes using the cookie cutters.
- Use the straw to poke a hole at the top of each ornament for hanging. Let dry on a rack for 24 hours.
- Paint each piece with one coat of green or gold. Let dry 1 hour, then apply a second coat.
- Cut ribbon into 6-inch lengths. Thread one through each hole and knot to form a hanger.


13. Spice-Infused Potpourri Simmer Pots
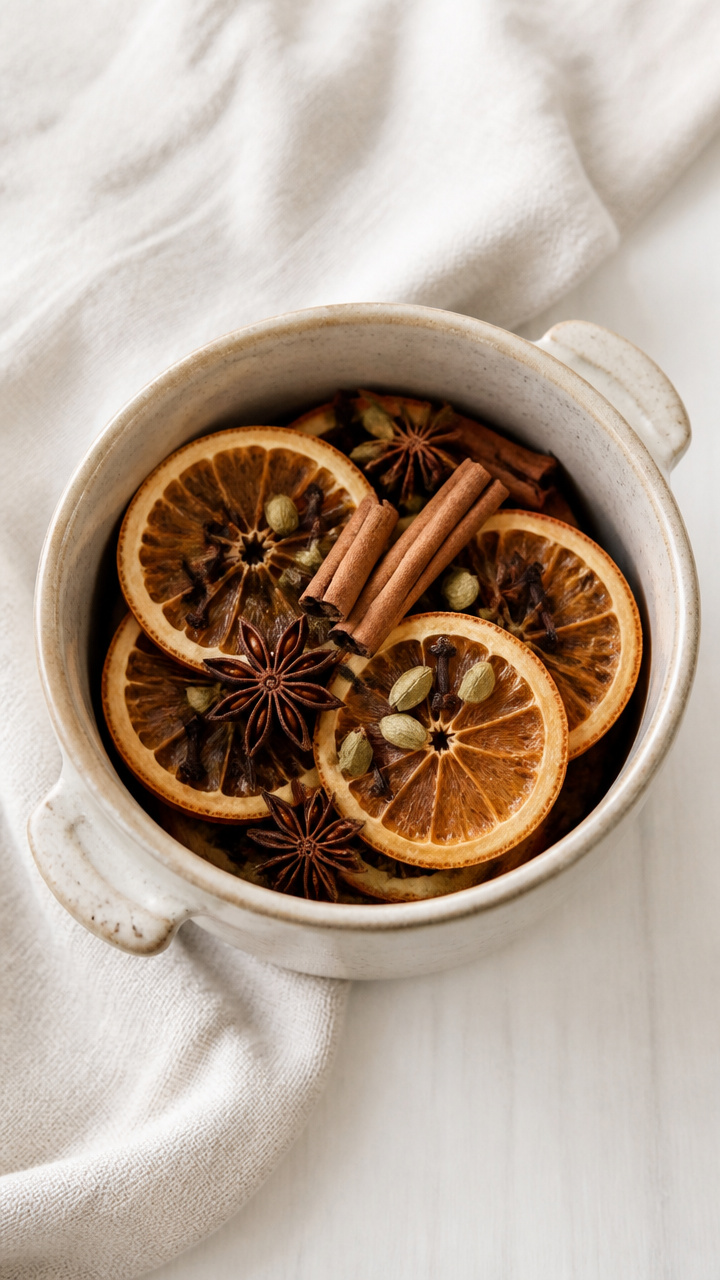
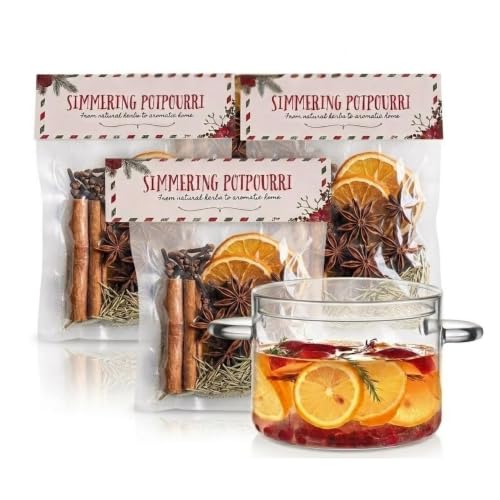
Small stoneware crocks hold dried citrus and spices. Simmered with water, they scent the whole house naturally.
Materials Needed
- 4 stoneware crocks, 6 oz
- dried orange slices, 8 pieces
- whole cloves, 2 tablespoons
- cinnamon sticks, 4
- star anise, 4 pods
- cardamom pods, 8
- resealable kraft bags, quart size, 4
How to Make It
- Place 2 orange slices, 1 cinnamon stick, 1 star anise, 2 cardamom pods, and 1 tablespoon cloves into each crock.
- Seal each crock with a lid. Store in a cool, dark place until ready to use.
- To simmer, empty one crock into a small pot. Add 2 cups water and heat on low for 2 hours.
- Refill water as needed. After use, compost the solids and wash the pot.


14. Cross-Stitch Bookmarks
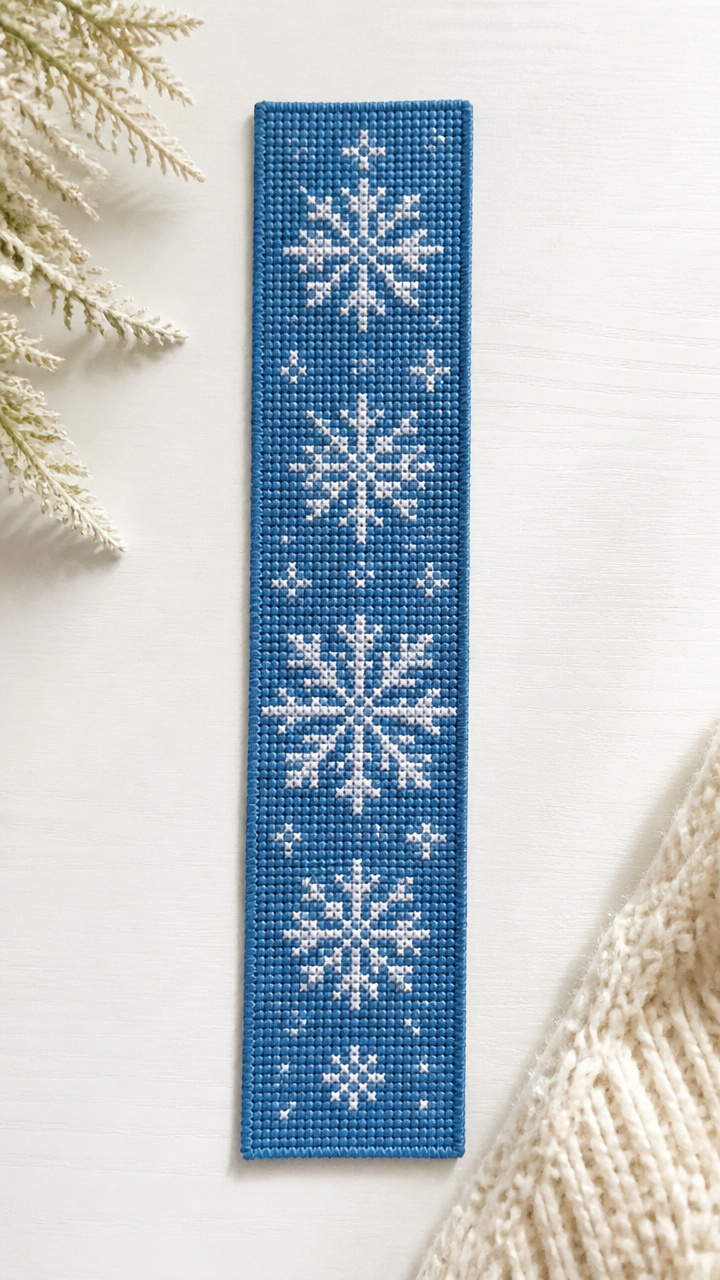
Narrow linen strips hold tiny snowflakes in blue thread. Slide one into a novel and carry handmade calm wherever you go.
Materials Needed
- evenweave linen fabric, 3×8 inches
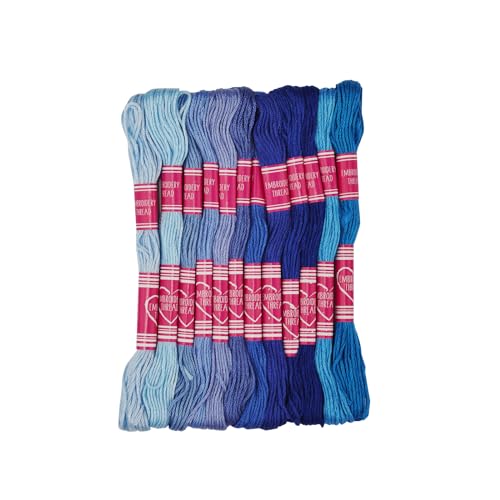
- blue embroidery floss, 1 skein
- tapestry needle
- embroidery hoop, 5 inches
- scissors
- fray-check solution
How to Make It
- Center the fabric in the hoop and tighten. Thread the tapestry needle with 18 inches of blue floss.
- Stitch a single snowflake in the middle using cross-stitch, about 10 stitches wide. Keep tension gentle.
- Remove from hoop and trim fabric to 1 inch beyond stitching on all sides.
- Apply fray-check to all edges. Let dry 30 minutes before use.


15. Wool Dryer Ball Garland
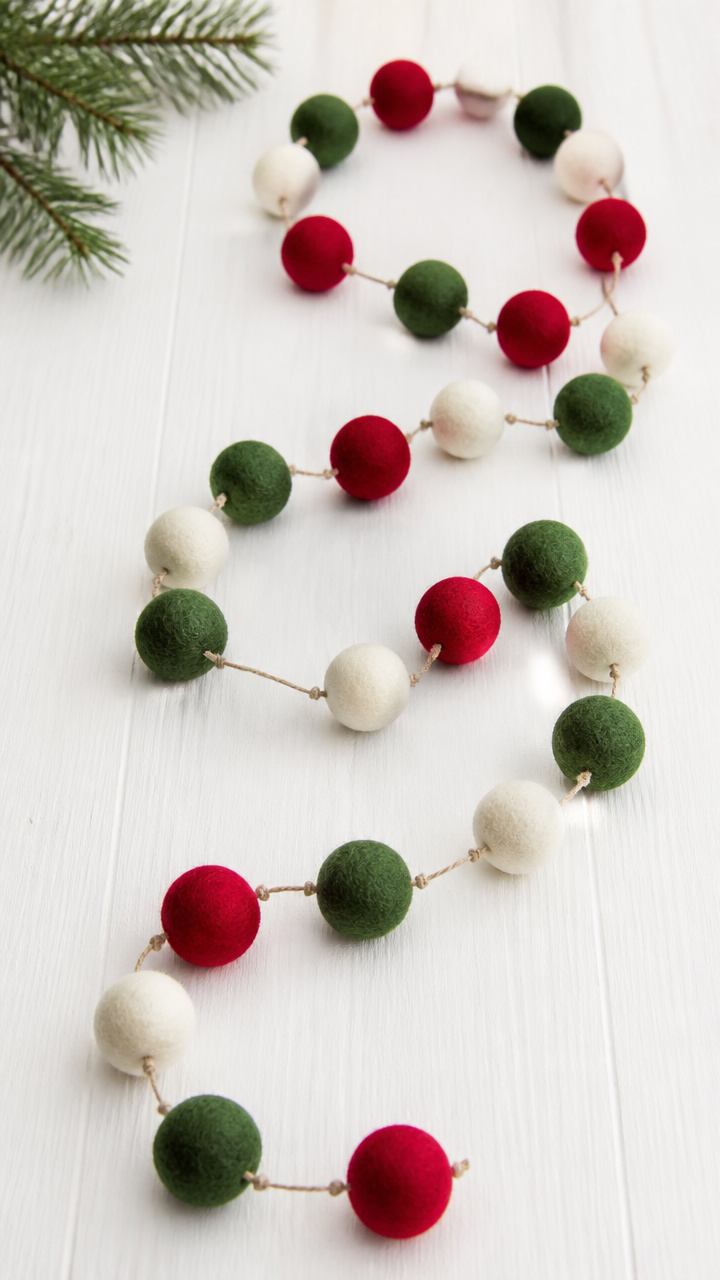
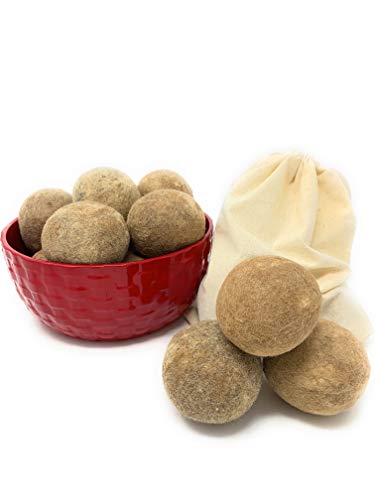
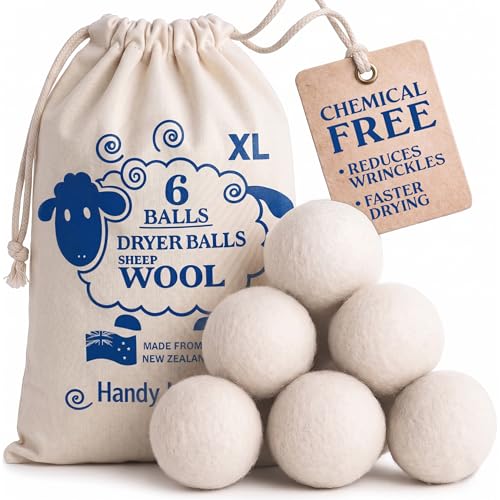
Felted wool balls in red, cream, and evergreen link together with thin cord. Toss it in the dryer or drape on a banister.
Materials Needed
- felted wool balls, 2 inches, 6 each in red, cream, and evergreen
- waxed linen cord, 5 feet
- tapestry needle
- scissors
How to Make It
- Thread the tapestry needle with the entire length of waxed linen cord.
- String one ball at a time, alternating colors in a repeating pattern. Push each snugly against the last.
- Knot the ends securely after the final ball. Leave 3 inch tails for hanging.
- Tumble in the dryer with laundry or hang on a railing for decoration.

16. Calligraphy Holiday Cards
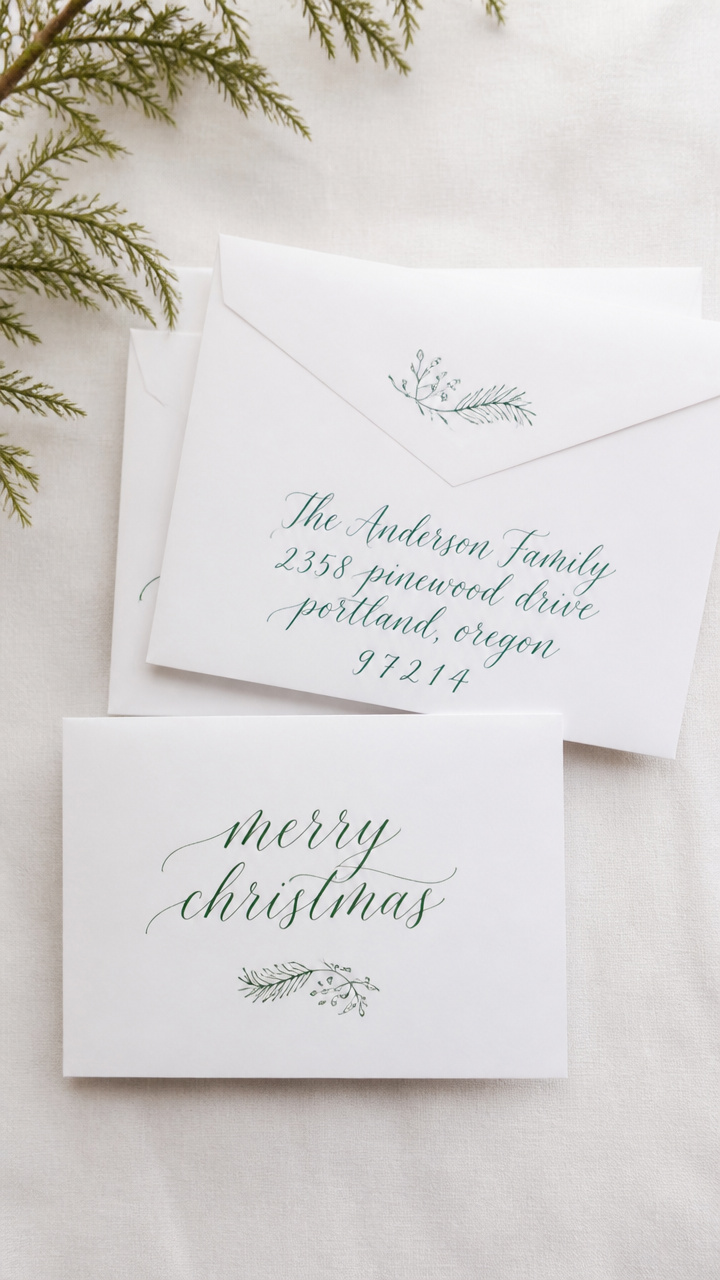
Heavy cotton cards carry elegant script in deep green ink. Each envelope gets a hand-written address for personal touch.
Materials Needed
- cotton cardstock, A6 size, 10 sheets
- calligraphy pen with italic nib
- green calligraphy ink
- ruler
- pencil
- envelopes, 10
- bone folder
How to Make It
- Use a ruler and pencil to draw light guidelines across each card, spaced 1/2 inch apart.
- Dip the calligraphy nib in green ink. Write 'Season’s Greetings' in slanted script on the front of each card.
- Let ink dry 5 minutes. Fold each card in half and crease sharply with a bone folder.
- Write each recipient's name and address on an envelope by hand. Insert card and seal.


17. Stenciled Doormat
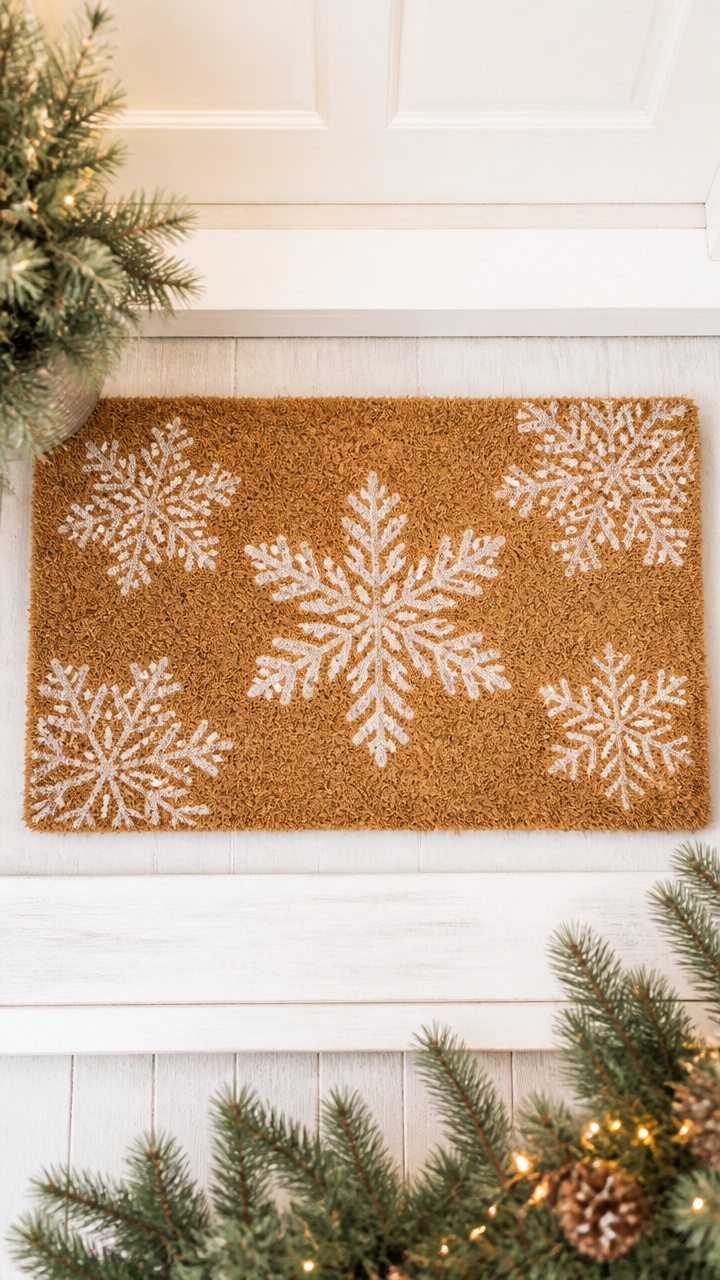
Coir mat welcomes guests with crisp white lettering. The stencil keeps edges sharp and the message clear.
Materials Needed
- natural coir doormat, 18×30 inches
- snowflake stencil, 6×6 inches
- acrylic paint in white, 4 oz
- foam pouncer
- painter’s tape
- newspaper
How to Make It
- Slide newspaper under the mat to prevent bleed. Tape the stencil flat in one corner.
- Dip the foam pouncer in white paint and dab off excess. Pounce gently over the stencil openings.
- Wait 30 seconds, then carefully lift the stencil. Realign and repeat to create a border.
- Let dry 4 hours before placing outside. Shake out weekly to refresh.


18. Braided Yarn Wall Hanging
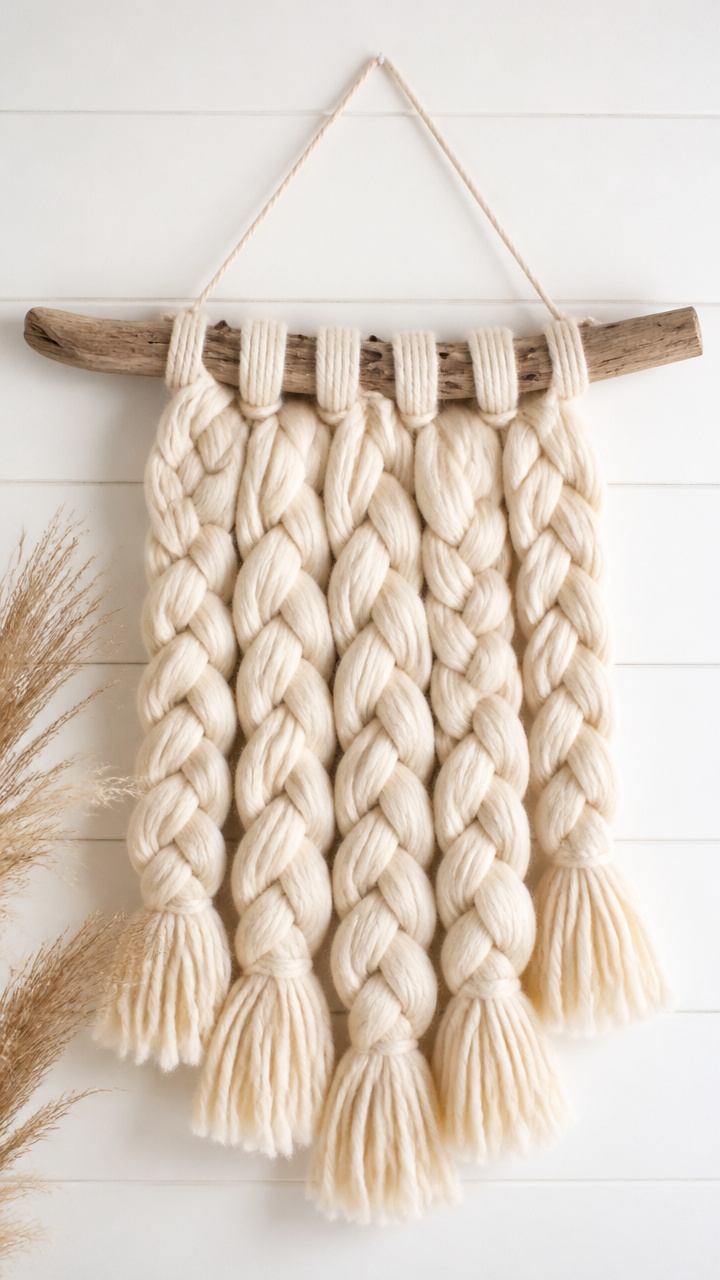
Three thick yarn strands twist into a rustic wall piece. Hang it above a bed or beside a window for soft color.
Materials Needed
- chunky cream yarn, 3 skeins
- driftwood branch, 12 inches long
- scissors
- measuring tape
How to Make It
- Cut three lengths of yarn, each 60 inches long. Tie them together in a knot at one end.
- Attach the knotted end to the center of the driftwood with a double knot. Spread strands evenly.
- Braid the three strands tightly from the top to the bottom. Keep tension firm but not stiff.
- Tie another knot at the end to secure. Trim fringe to 2 inches with scissors.


19. Salt-Dough Gift Boxes
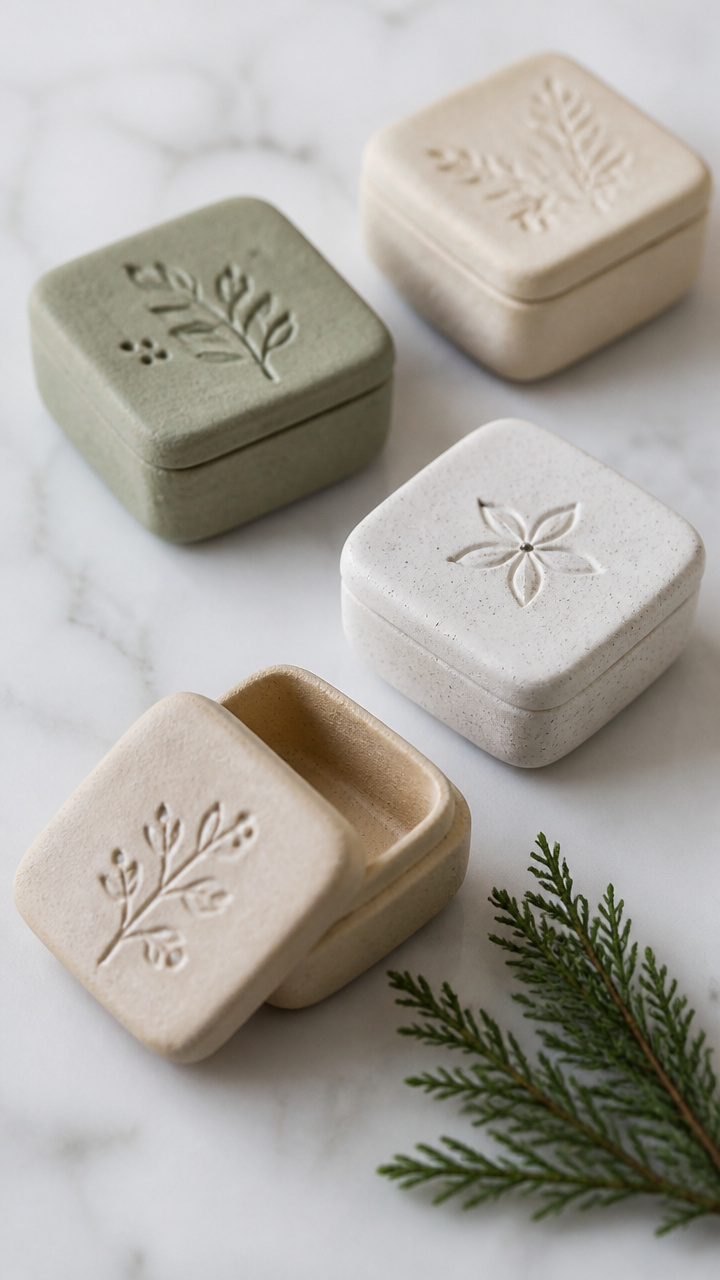
Edible dough bakes into sturdy boxes that hold small treats. Paint them with food-safe colors or leave natural.
Materials Needed
- all-purpose flour, 1 cup
- table salt, 1/2 cup
- water, 1/2 cup
- rolling pin
- square cookie cutter, 3 inches
- baking sheet
- parchment paper
- pastry brush
How to Make It
- Mix flour, salt, and water in a bowl until a smooth dough forms. Knead 2 minutes on a floured surface.
- Roll dough to 1/4 inch thickness. Cut 8 squares with the cookie cutter. Use 4 for bases, 4 for lids.
- Place bases on a parchment-lined baking sheet. Bake at 250°F for 2 hours until hard.
- Cool completely. Brush insides with water and press lid edges to seal. Fill with homemade candies.


20. Linen Sachets with Lavender
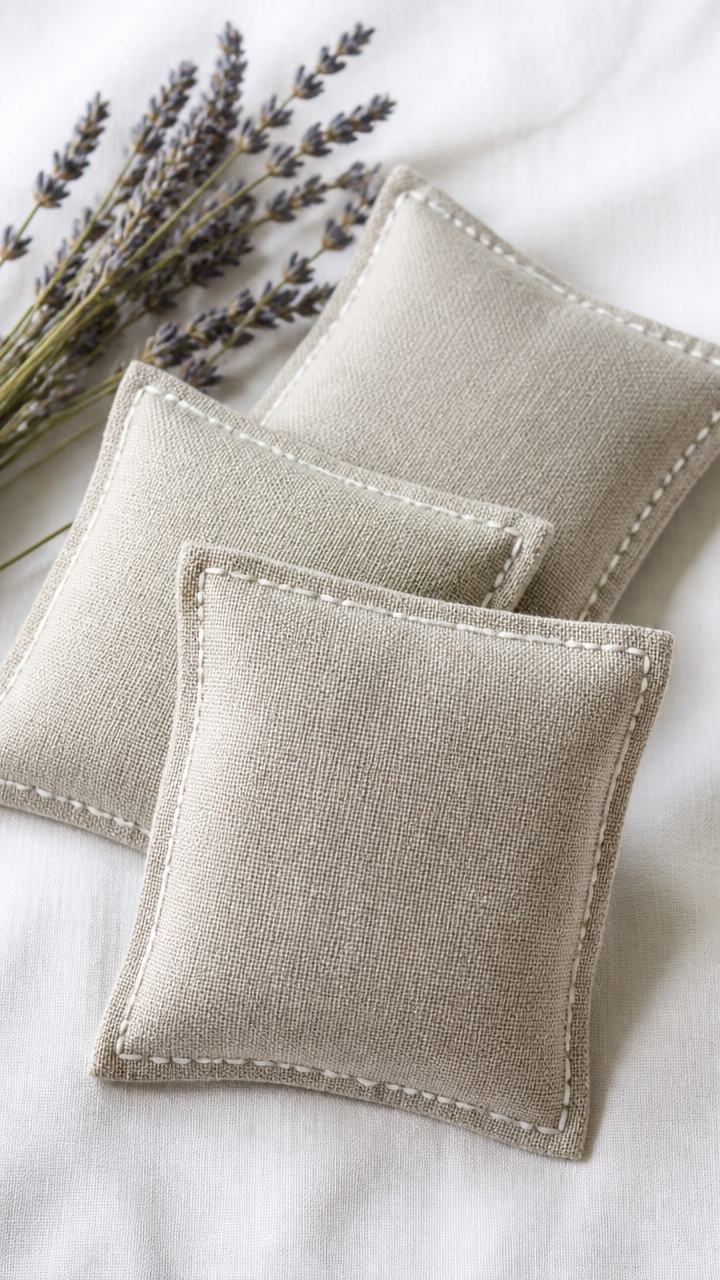
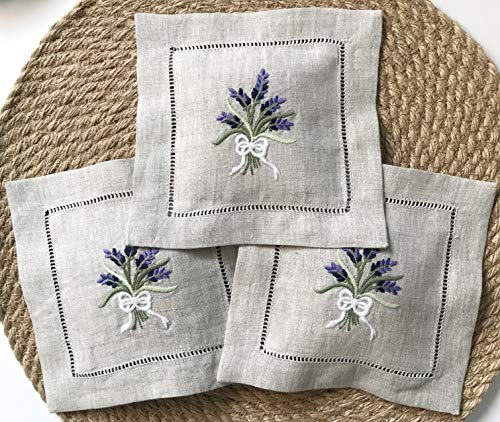
Tiny fabric pouches release calming scent inside drawers. Stitch them quickly and tuck one into each gift.
Materials Needed
- linen fabric, 5×5 inches
- dried lavender buds, 1/4 cup
- sewing needle
- white thread
- scissors
- ruler
- straight pins
How to Make It
- Cut two 4×4 inch squares from the linen. Stack and pin together. Sew around three edges with a 1/4 inch seam.
- Turn right side out. Fill with 2 tablespoons of lavender buds.
- Fold the raw edge inward 1/4 inch and hand-stitch the opening closed with small whip stitches.
- Press gently with fingers. Place in a drawer or give with a note.


21. Painted Wooden Coasters
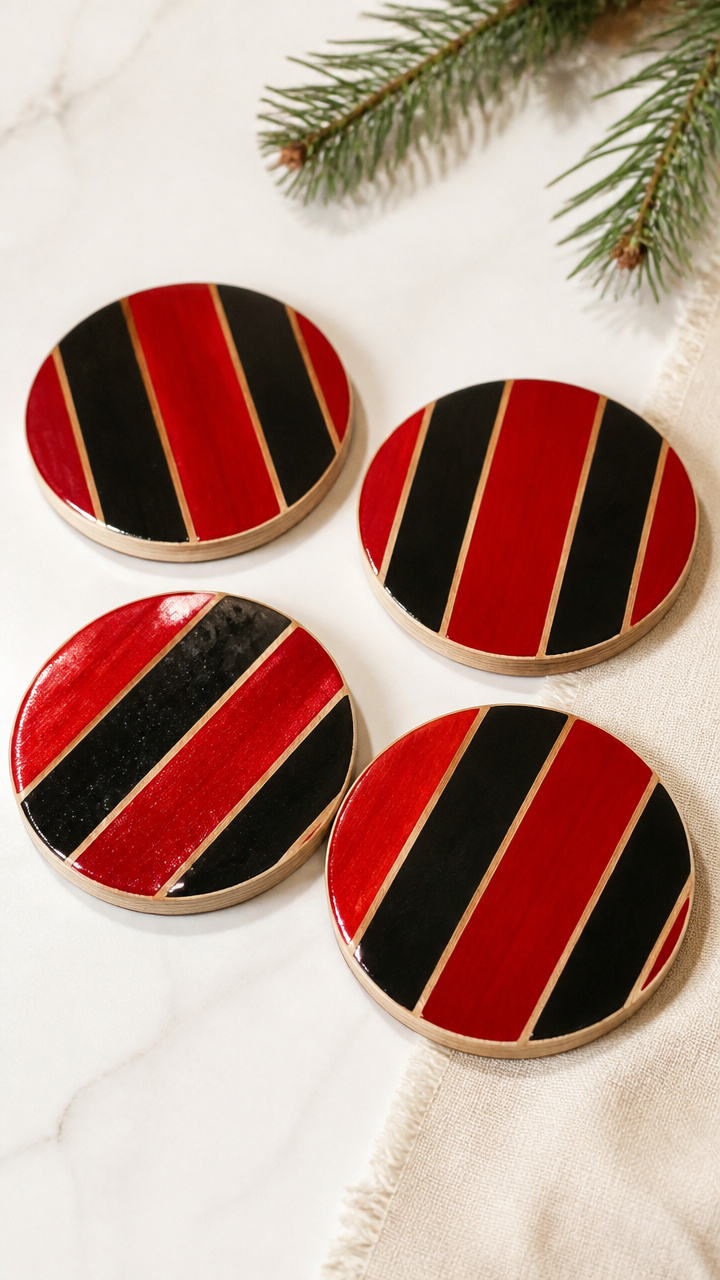
Plain birch rounds get a modern stripe pattern in glossy red and black. Seal them so spills don’t soak in.
Materials Needed
- birch wood coasters, 4 inches, 4
- acrylic paint in red and black, 2 oz each
- fine paintbrush
- painter’s tape, 1/4 inch wide
- clear polyurethane sealer, 2 oz
- foam brush
How to Make It
- Wipe each coaster with a dry cloth. Apply painter’s tape diagonally across one coaster to create a stripe guide.
- Paint the exposed wood with red acrylic. Let dry 30 minutes. Peel tape carefully.
- Use black paint to outline the stripe edge with a fine brush. Repeat on all four coasters.
- Once fully dry, seal both sides with polyurethane using a foam brush. Wait 2 hours between coats. Apply 2 coats total.


Each of these crafts carries your attention and care into the season. Pick one that calls to you and gather what you need today.