15 Easy Thanksgiving Crafts for Adults to Make This November
The air is cooler, the light is golden, and there’s a quiet kind of magic in making something with your hands. These crafts are made for grown-ups who want to slow down, create warmth, and add a personal touch to the season.
Each one fits into a busy life. You don’t need a craft room or years of experience. Just a few materials, a little time, and the desire to make something real.
1. Maple Leaf Salt Dough Ornaments
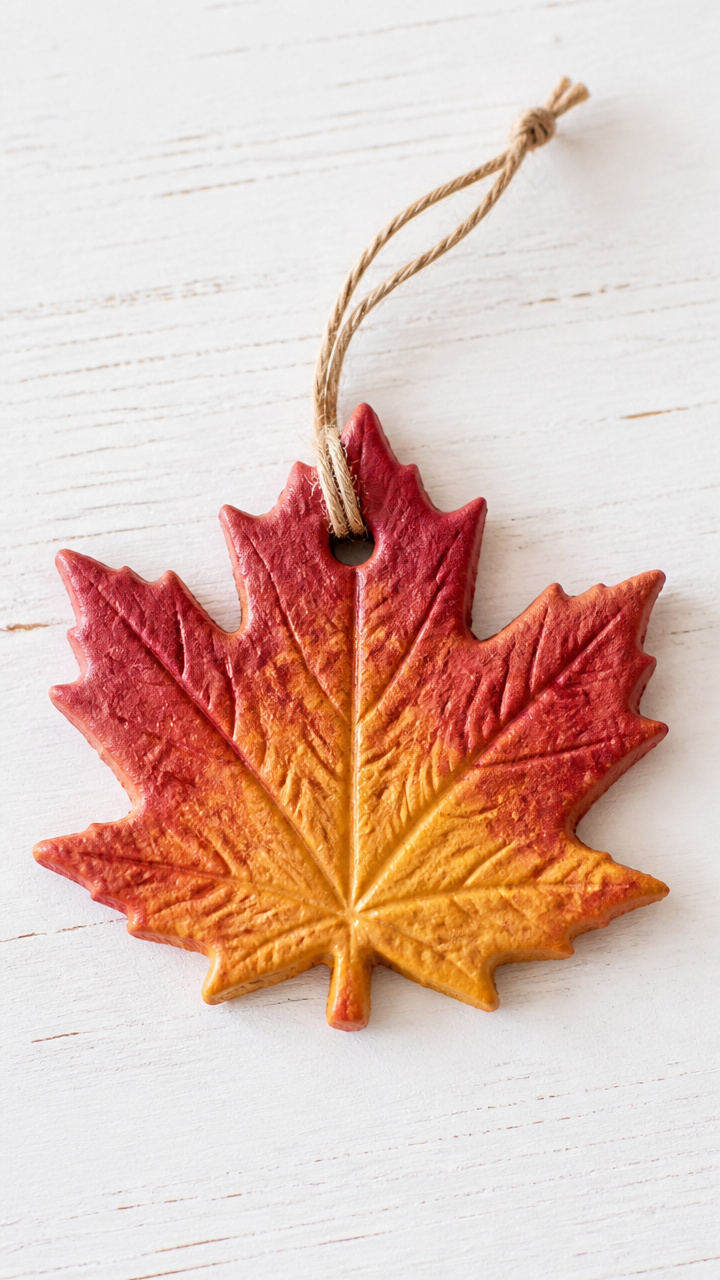
Crisp maple leaves pressed into soft dough become keepsake ornaments you can paint and hang year after year. They hold the shape of the season in a way store-bought decor never does.
Materials Needed
- 2 cups all-purpose flour
- 1 cup fine sea salt
- 1 cup warm water
- Real maple leaves, cleaned and dried
- Rolling pin
- Straw
- Baking sheet
- Parchment paper
- Natural twine, 12 inches per ornament
- Matte acrylic sealer spray
How to Make It
- Mix flour, salt, and warm water in a bowl until a smooth dough forms, kneading by hand for 3 minutes until elastic.
- Roll the dough to 1/4 inch thick on a floured surface, then press whole maple leaves gently into the dough, vein side down.
- Use a knife to cut around each leaf, then remove the leaf carefully. Poke a hole at the top with a straw for hanging.
- Place ornaments on a parchment-lined baking sheet and bake at 200°F for 3 hours, flipping halfway. Let cool completely.
- Thread twine through the holes, then seal with two light coats of matte acrylic sealer, letting dry 15 minutes between coats.


2. Twine-Wrapped Mini Pumpkins
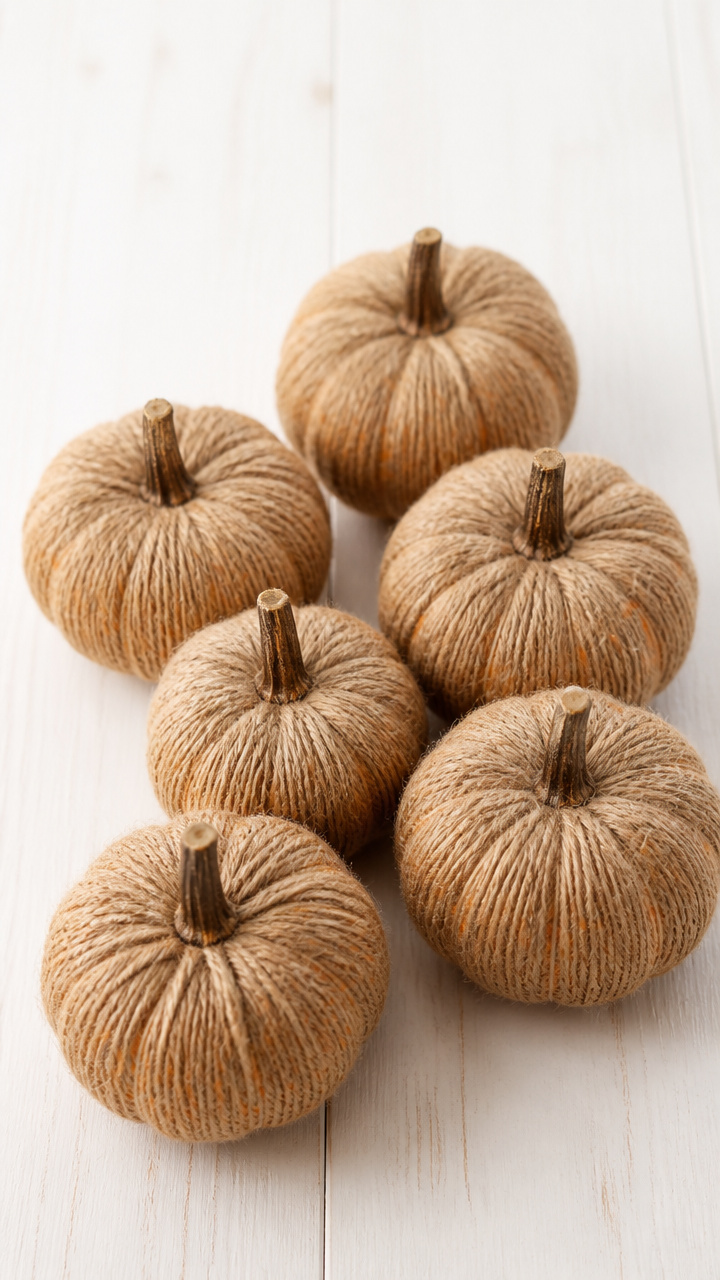
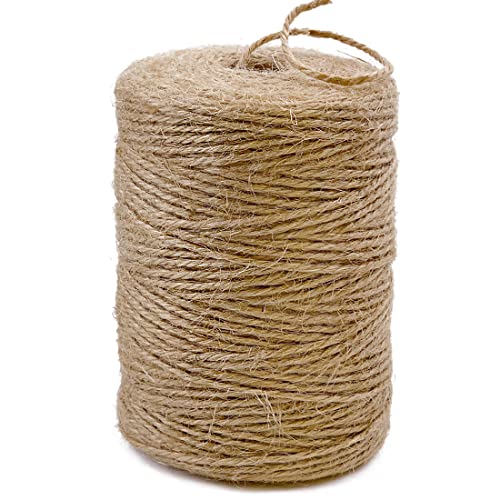
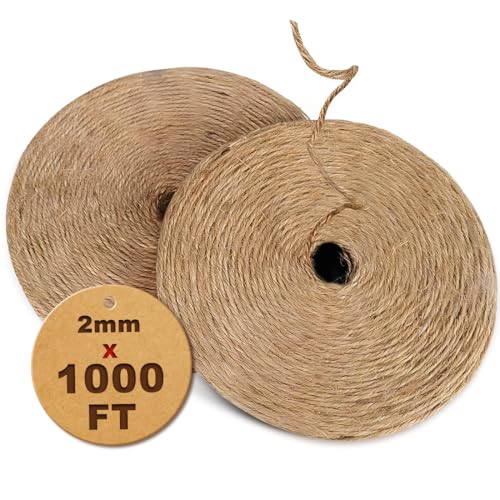
Tiny orange pumpkins wrapped tightly in natural twine become rustic centerpieces that last through the season. The wrapping rhythm is soothing, almost meditative.
Materials Needed
- 6 miniature faux pumpkins, 2 inches tall
- Natural jute twine, 100 yards
- Hot glue gun
- Glue sticks, 6 needed
- Scissors
How to Make It
- Apply a small dot of hot glue to the base of a pumpkin and press the end of the twine into it, holding for 10 seconds.
- Wrap the twine tightly around the pumpkin, adding a new dot of glue every inch to secure and prevent unraveling.
- Continue wrapping until the entire pumpkin is covered, then glue the end in place and trim excess with scissors.
- Repeat for all six pumpkins. Let glue set for 15 minutes before arranging together in a bowl or tray.

3. Pressed Herb Candle Holders
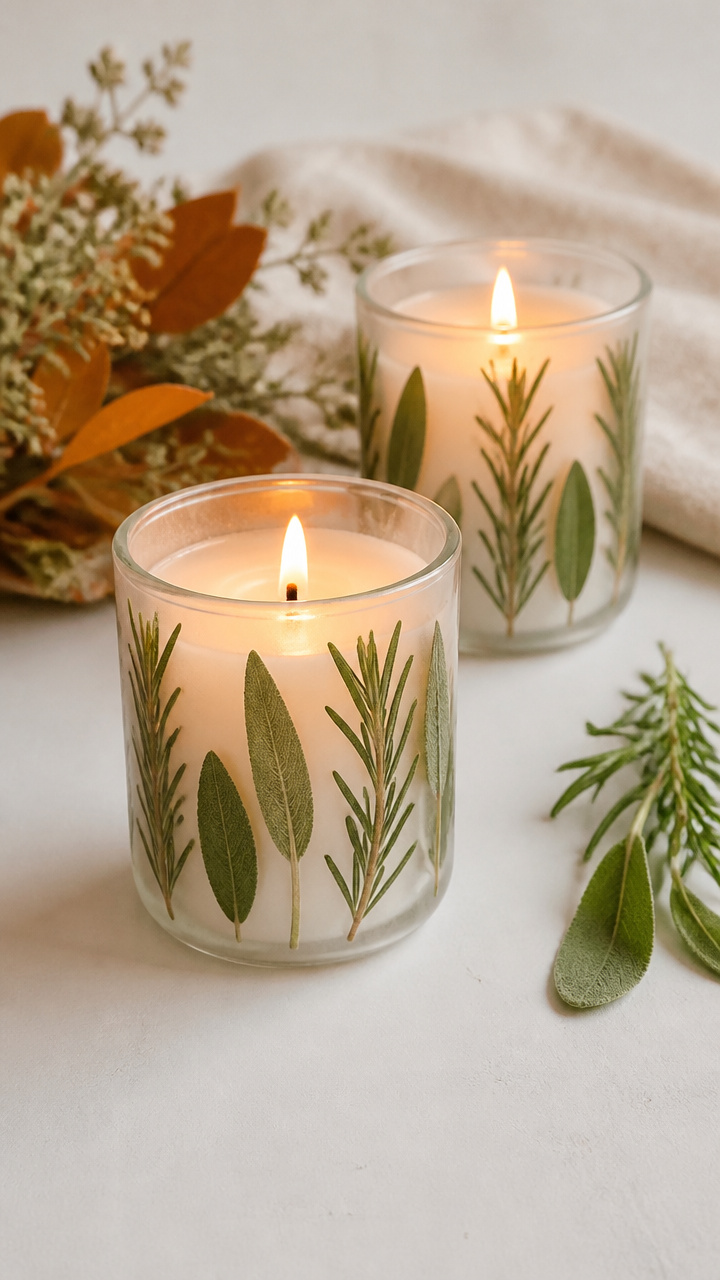
Rosemary and sage pressed between glass jars glow softly when lit from within. These candles smell like a home-cooked meal even before the oven turns on.
Materials Needed
- 6 clear glass votive jars, 3 inches tall
- Dried rosemary sprigs, 18 total
- Dried sage leaves, 18 total
- Mod Podge matte finish, 4 oz
- Small foam brush, 1 inch wide
- Tealight candles, 6 unscented
- Ribbon, 1/4 inch wide, brown linen, 72 inches total
How to Make It
- Clean each jar with rubbing alcohol and let dry. Brush a thin layer of Mod Podge onto the outside of the jar.
- Press 3 rosemary sprigs and 3 sage leaves evenly around the jar, overlapping slightly. Brush another layer of Mod Podge over the herbs to seal.
- Let dry flat for 2 hours. Once dry, tie a 12-inch piece of ribbon around the rim and knot it once.
- Place one tealight inside each jar. Light only when unattended if using flameless candles.


4. Fabric Scrap Table Runners
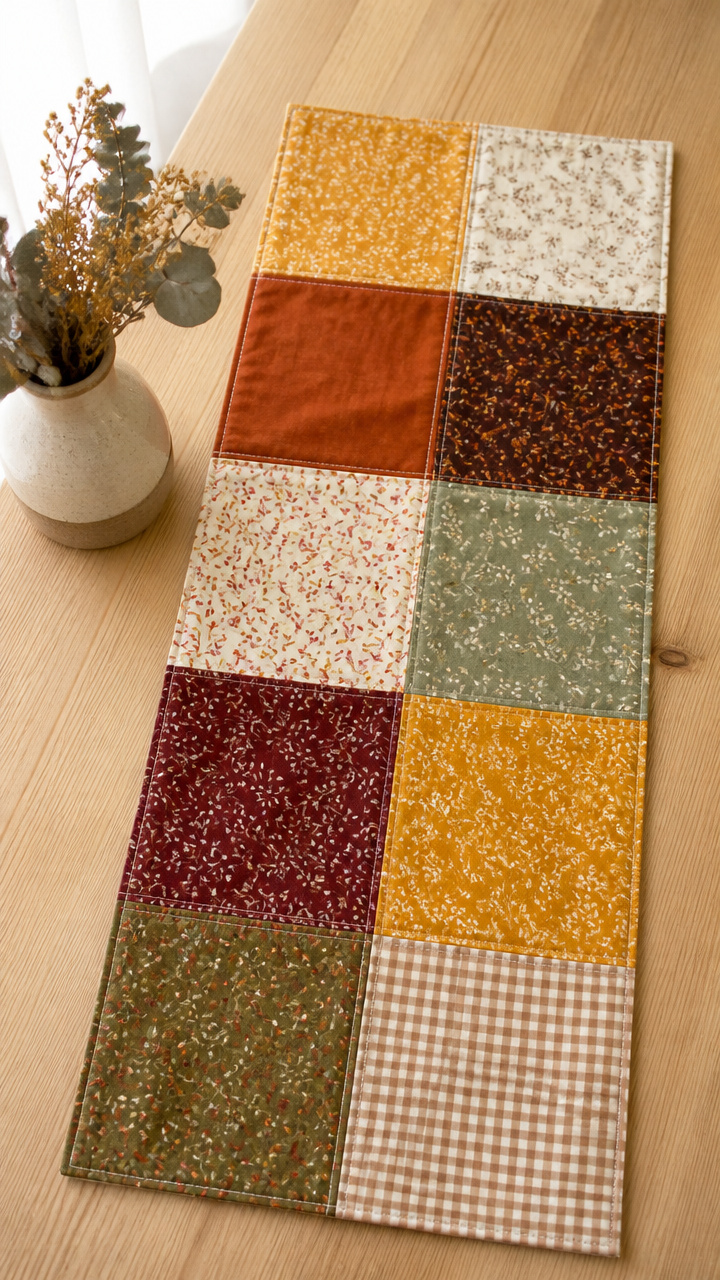
Leftover cotton fabric stitched into a patchwork runner adds color and charm to any table. Each square tells a story if you remember where the cloth came from.
Materials Needed
- 10 cotton fabric scraps, 6×6 inches each, assorted fall colors
- White thread, 1 spool
- Sewing machine
- Iron
- Rotary cutter
- Cutting mat
- Ruler
- 1 yard muslin backing fabric
- 1 yard fusible batting
How to Make It
- Lay out the fabric scraps in a pleasing order, then sew them edge to edge into two rows of five using a 1/4 inch seam allowance.
- Press seams open with the iron. Join the two rows together to form a 12×30 inch rectangle.
- Layer the muslin backing, fusible batting, and top piece with right sides up. Pin together.
- Stitch around the edge with a 1/2 inch seam, leaving a 3 inch gap. Turn right side out through the gap and press flat.
- Topstitch 1/4 inch from the edge, closing the gap as you go, to finish the runner.


5. Wood Slice Name Cards
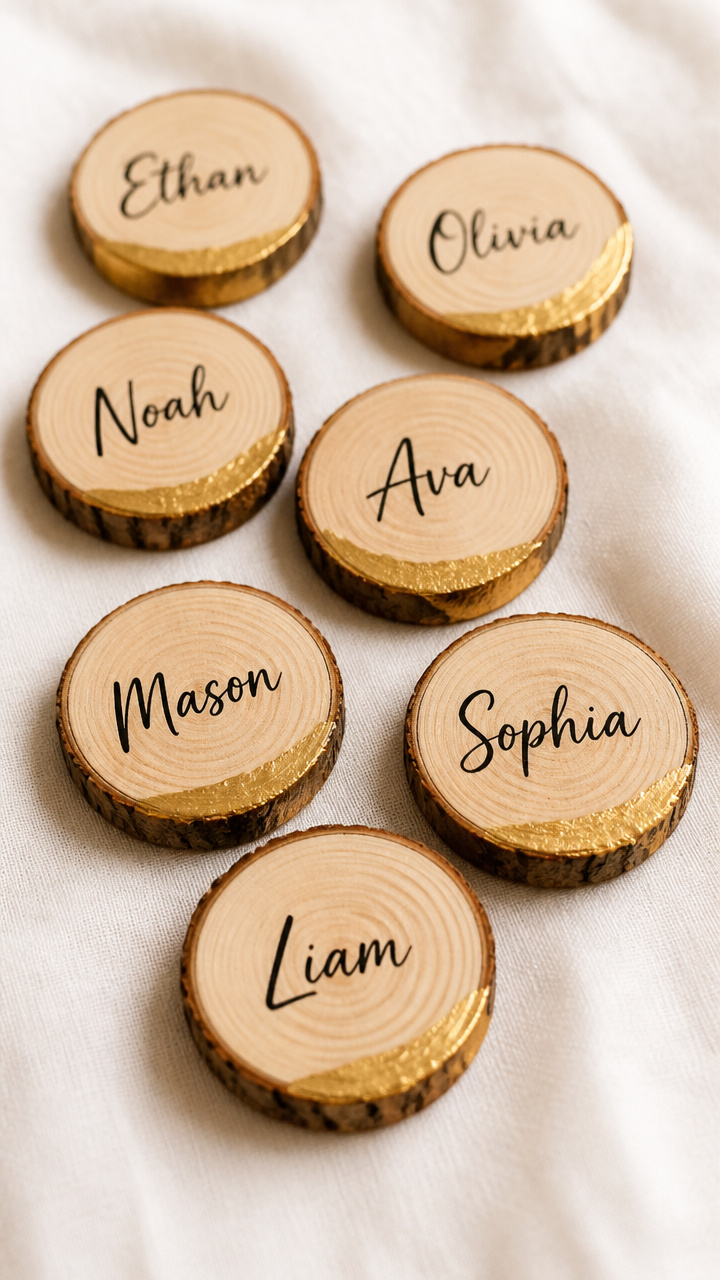
Thin wood slices with handwritten guest names make place settings feel special. The grain gives each card its own character.
Materials Needed
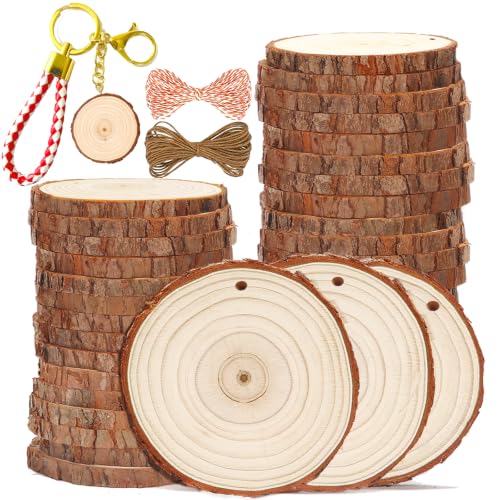
- 12 wood slices, 2 inches diameter, sanded smooth
- Black fine-tip permanent marker
- Gold metallic paint pen
- Ruler
- Pencil
- Small stencil letters, optional
How to Make It
- Wipe each wood slice with a dry cloth to remove dust. Use the pencil and ruler to lightly mark a center line across the face.
- Write one guest’s name in cursive with the black marker along the line, pressing lightly so ink doesn’t bleed.
- Outline the first letter of each name with the gold paint pen for a subtle accent. Let dry for 20 minutes.
- Erase any visible pencil marks with a soft eraser. Place one card at each setting.


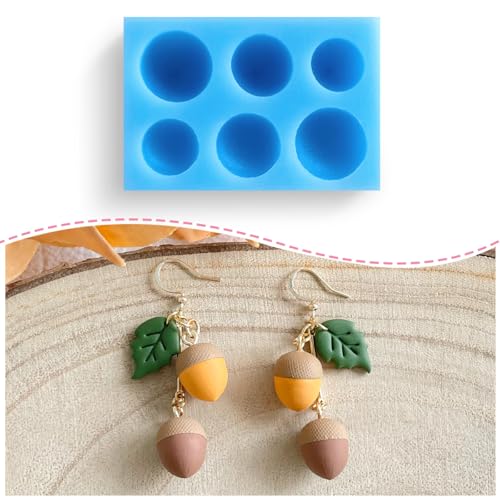
6. Clay Acorn Napkin Rings
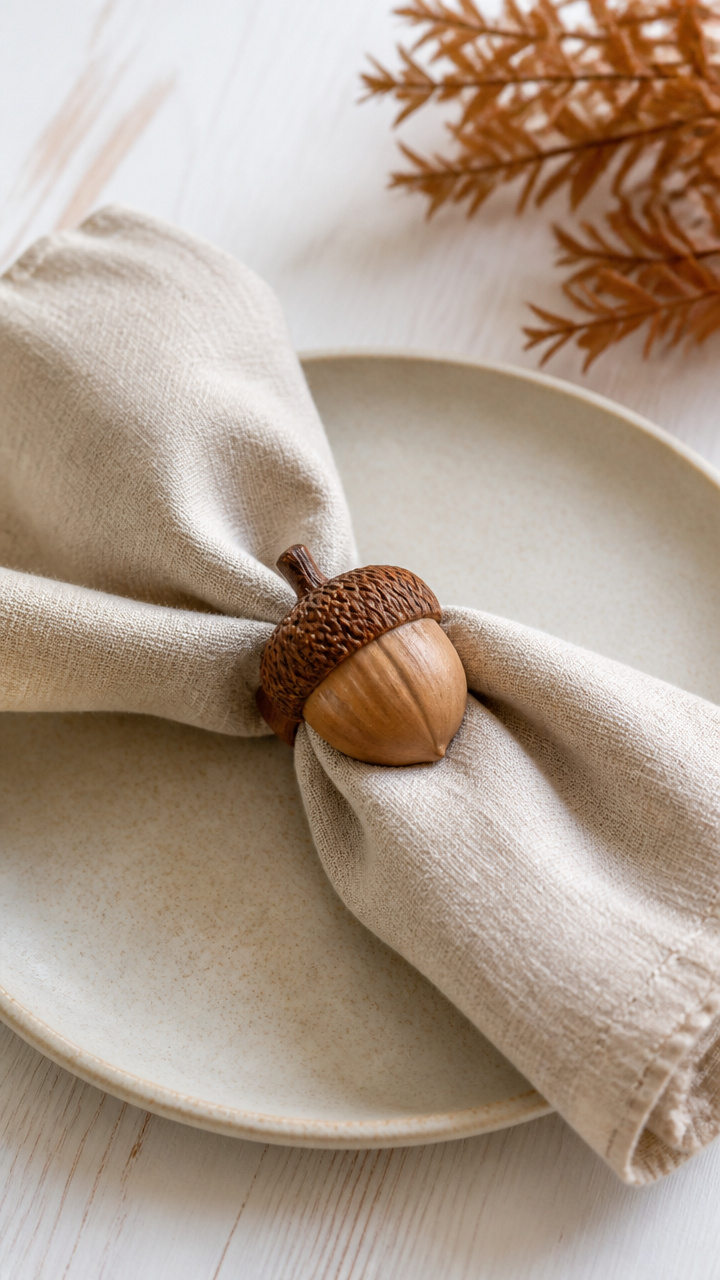
Hand-sculpted acorns made from polymer clay sit snugly around cloth napkins. They’re tiny treasures guests will notice and remember.
Materials Needed
- Brown polymer clay, 1 block
- Beige polymer clay, 1 block
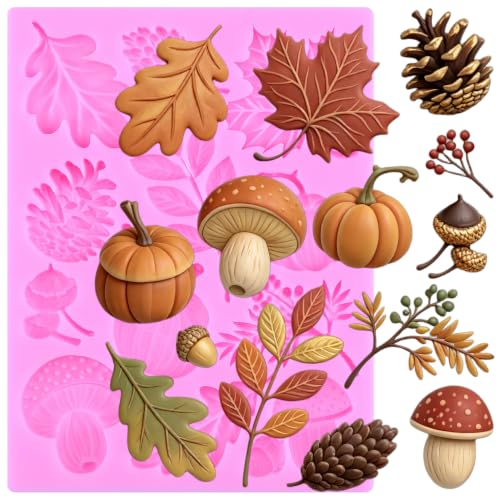
- Acorn mold, silicone, 1 piece
- Rolling pin
- Blade tool
- Oven-safe baking sheet
- Parchment paper
- Clear gloss varnish, 2 oz
How to Make It
- Condition the brown and beige clays by hand for 2 minutes until pliable. Roll small balls of brown clay to fit the acorn cap section of the mold.
- Press the brown clay into the cap half, then fill the nut half with beige clay. Press halves together gently in the mold.
- Remove the molded acorn and use the blade to trim any excess. Repeat to make 8 acorns.
- Bake on a parchment-lined baking sheet at 275°F for 15 minutes. Let cool completely.
- Brush a thin coat of gloss varnish over each acorn and let dry for 1 hour before slipping onto folded napkins.

7. Calligraphy Thankful Jar
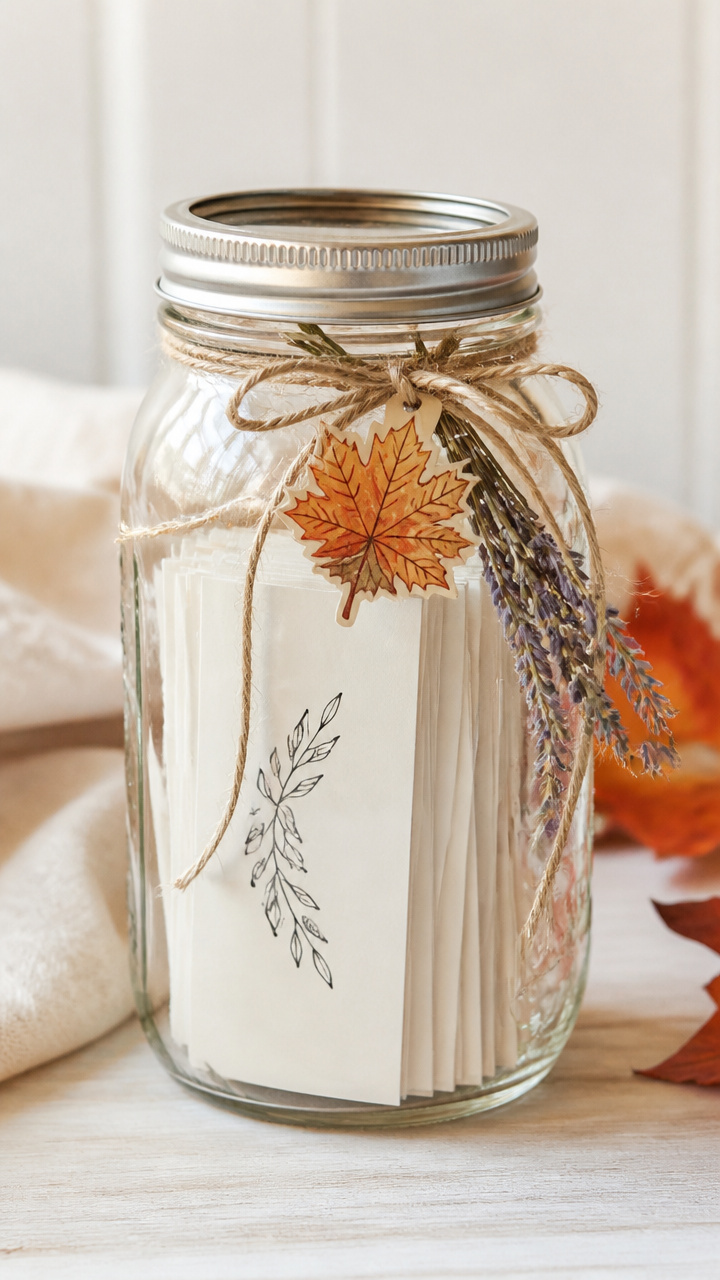
A mason jar filled with handwritten reasons to be thankful becomes a centerpiece people return to all evening. The act of writing them feels like gratitude made visible.
Materials Needed
- 1 large mason jar, 32 oz
- Black calligraphy pen, broad nib
- Small blank cards, 2×3 inches, 20 pieces
- Twine, 18 inches
- Fall-themed sticker, 1 inch, 5 pieces
- Dried lavender sprig, 1 piece
How to Make It
- Write one reason to be thankful on each card using the calligraphy pen, such as 'crisp morning walks' or 'my sister's laugh'.
- Fold each card in half and stack them inside the jar. Tie the twine around the neck and knot it once.
- Affix a sticker to the front of the jar for decoration. Tuck the lavender sprig under the twine.
- Place the jar on the table where guests can pull out a card and read it aloud during dinner.


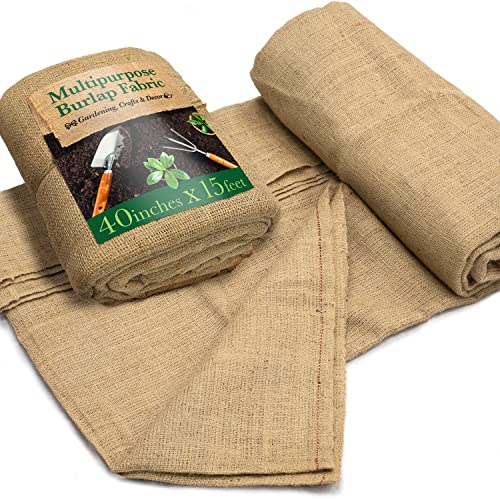
8. Burlap Harvest Banner
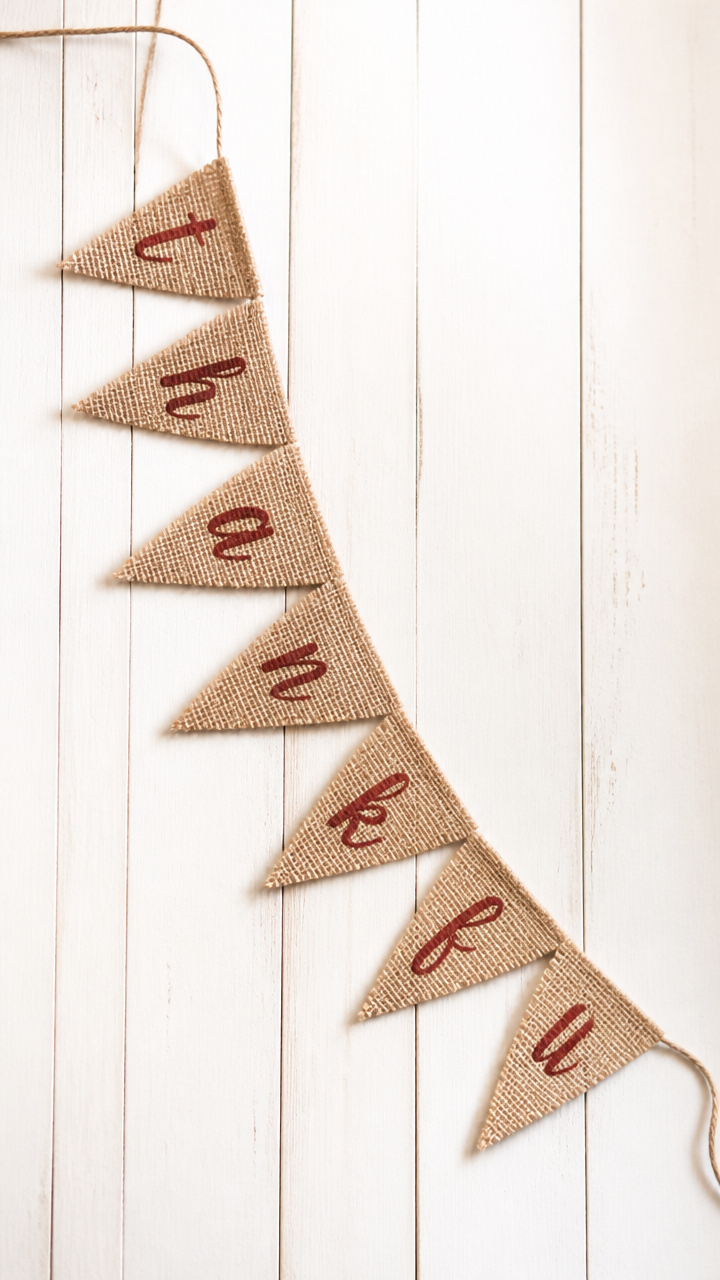
A string of burlap triangles spells out 'thankful' in earthy tones. It drapes easily across a mantel or wall with zero damage.
Materials Needed
- Burlap fabric, 1/2 yard
- Scissors
- Ruler
- Chalk pencil
- Red fabric paint
- Paintbrush, 1/2 inch flat
- Twine, 6 feet
- Clothespins, 7
How to Make It
- Cut the burlap into 7 rectangles, each 6×8 inches, using the ruler and chalk pencil to mark before cutting.
- Paint one letter of 'thankful' on each rectangle with red fabric paint, using block letters centered on the fabric.
- Let paint dry for 1 hour. Flip each piece over and iron on low heat with a cloth barrier to set the paint.
- Tie the twine between two hooks or nails. Clip each burlap flag to the twine with a clothespin, spacing evenly.


9. Gilded Pinecone Centerpiece
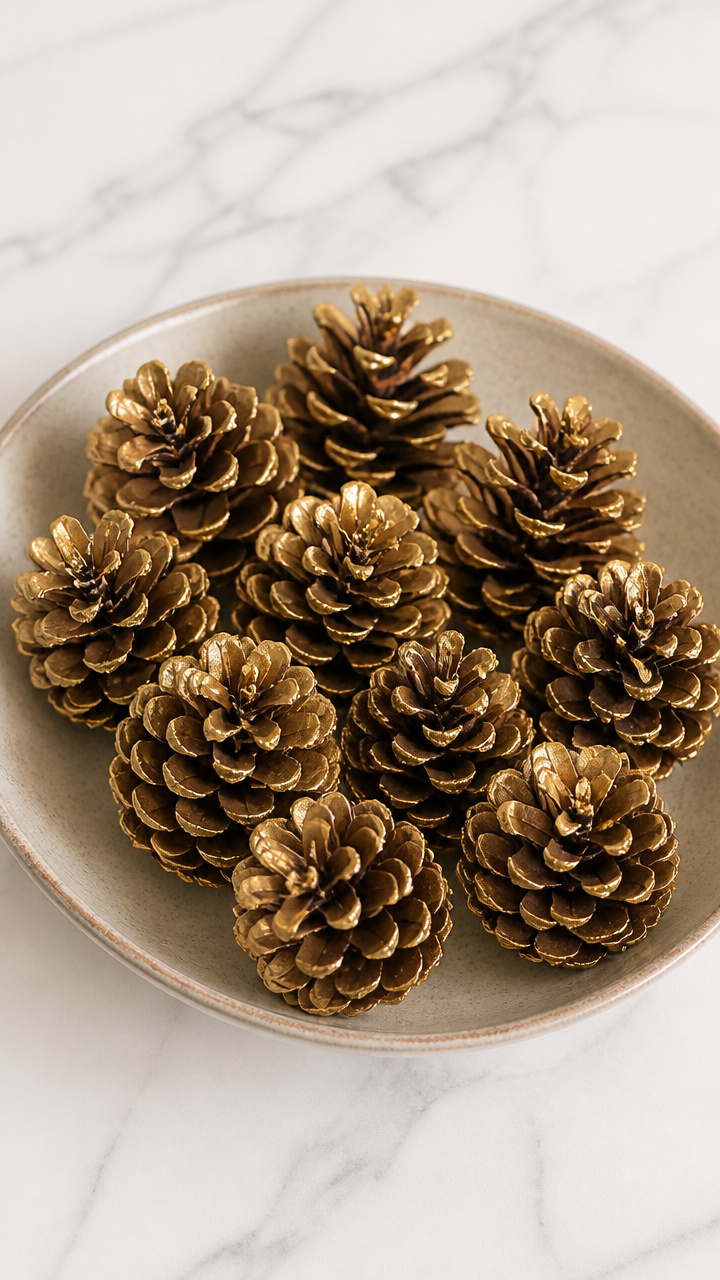
Pinecones dipped lightly in gold paint catch the light without looking flashy. Arranged in a bowl, they anchor the table with quiet elegance.
Materials Needed
- 12 medium pinecones, clean and dry
- Gold acrylic paint, 2 oz
- Shallow dish
- Paper plate
- Brush, 1 inch wide
- Large ceramic bowl, 8 inches diameter
- Dried eucalyptus, 3 sprigs
How to Make It
- Pour gold paint into the shallow dish to a depth of 1/4 inch. Dip the tip of each pinecone into the paint, covering about 1 inch of the top.
- Place each dipped pinecone on the paper plate to dry for 45 minutes, rotating once halfway through.
- Once dry, arrange all 12 pinecones in the ceramic bowl, clustering tightly in the center.
- Weave the eucalyptus sprigs around the base of the pinecones for soft contrast and a hint of scent.


10. Embroidered Linen Tea Towels
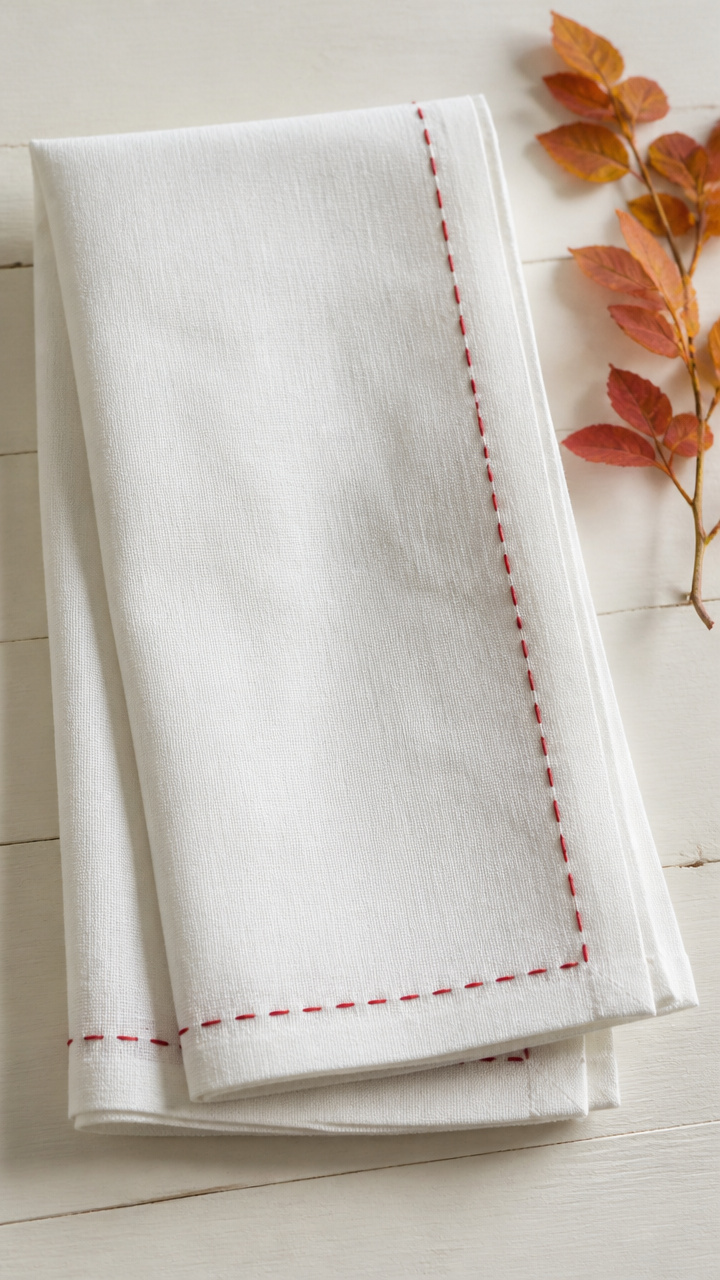
Simple running stitch around the border of a tea towel gives it heirloom charm. It works beautifully as a napkin or gift wrap later.
Materials Needed
- 4 white linen tea towels, 18×28 inches
- Red embroidery floss, 1 skein
- Embroidery needle, size 7
- Scissors
- Water-soluble fabric marker
How to Make It
- Use the fabric marker to draw a 1 inch border inside each edge of a towel. Knot one strand of floss onto the needle.
- Begin stitching along the marked line using a running stitch, keeping stitches even at 1/8 inch long with equal spaces.
- Continue around all four sides, re-knotting as needed. Repeat for all four towels.
- Rinse the towels under cool water to dissolve the marker lines. Hang to dry. Iron flat before use.


11. Cinnamon Stick Bundles
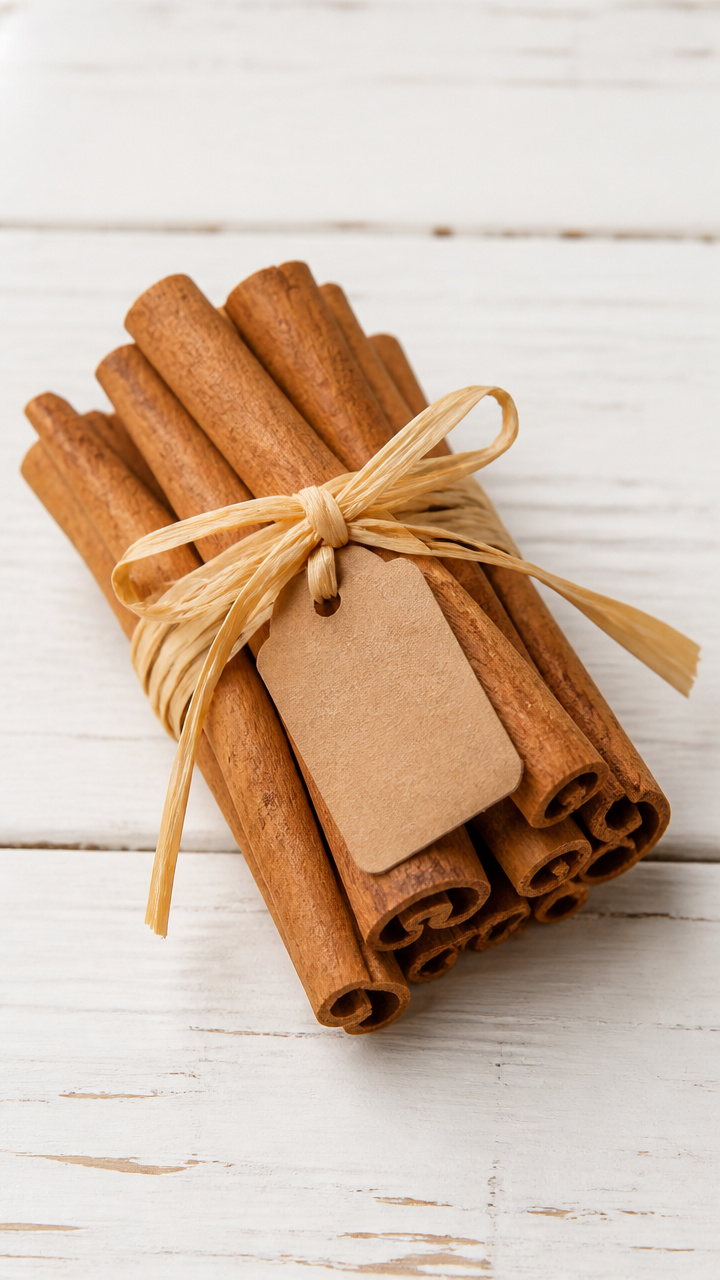
Tied bundles of cinnamon sticks release warmth with every brush of air. They look tidy on a windowsill or tucked beside a candle.
Materials Needed
- 18 cinnamon sticks, 6 inches long
- Three 6-inch lengths of raffia
- Hot glue gun
- Glue stick
- Small tag, kraft paper, 1 per bundle
How to Make It
- Group 6 cinnamon sticks together into a tight bundle. Wrap raffia around one end and tie a double knot.
- Add a small dot of hot glue to the knot to secure it, holding for 10 seconds until set.
- Repeat to make three bundles. Write one word per tag—'grateful', 'gather', 'give'—and tie each to a bundle with extra raffia.
- Place bundles upright in a small vase or lay them across a serving platter.


12. Leaf Print Gift Tags
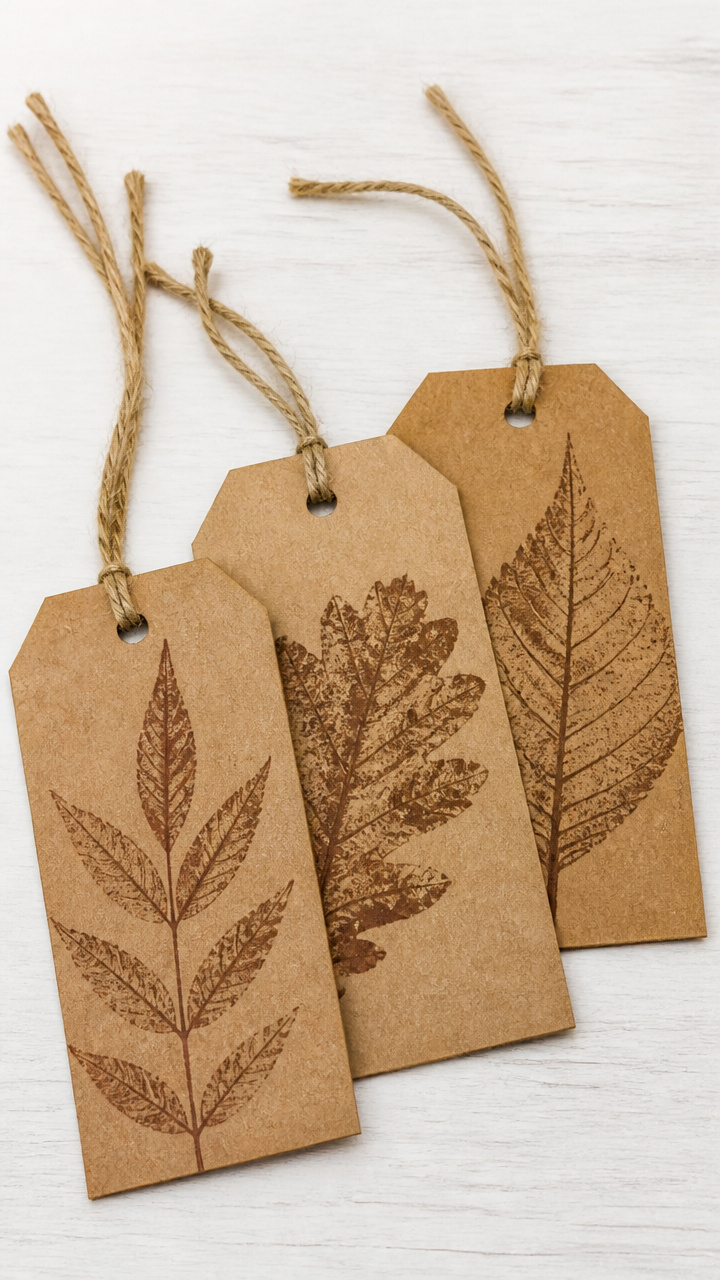
Real leaves stamped onto cardstock create one-of-a-kind tags. The veined patterns look like nature designed them just for this.
Materials Needed
- 10 fresh leaves with clear veins, 3 inches long
- A6 kraft cardstock, 10 pieces
- Brown fabric ink pad
- Bone folder
- Hole punch
- Natural twine, 10 lengths of 6 inches
How to Make It
- Press each leaf flat with the bone folder for 30 seconds to remove curl. Dab the back of a leaf onto the ink pad.
- Press the leaf firmly onto a cardstock tag, holding for 5 seconds without shifting. Lift straight off.
- Repeat for all 10 tags, letting ink dry for 20 minutes. Use the hole punch at the top corner of each.
- Thread a length of twine through each hole to attach to gifts or place settings.


13. Woven Wheat Stalk Decor
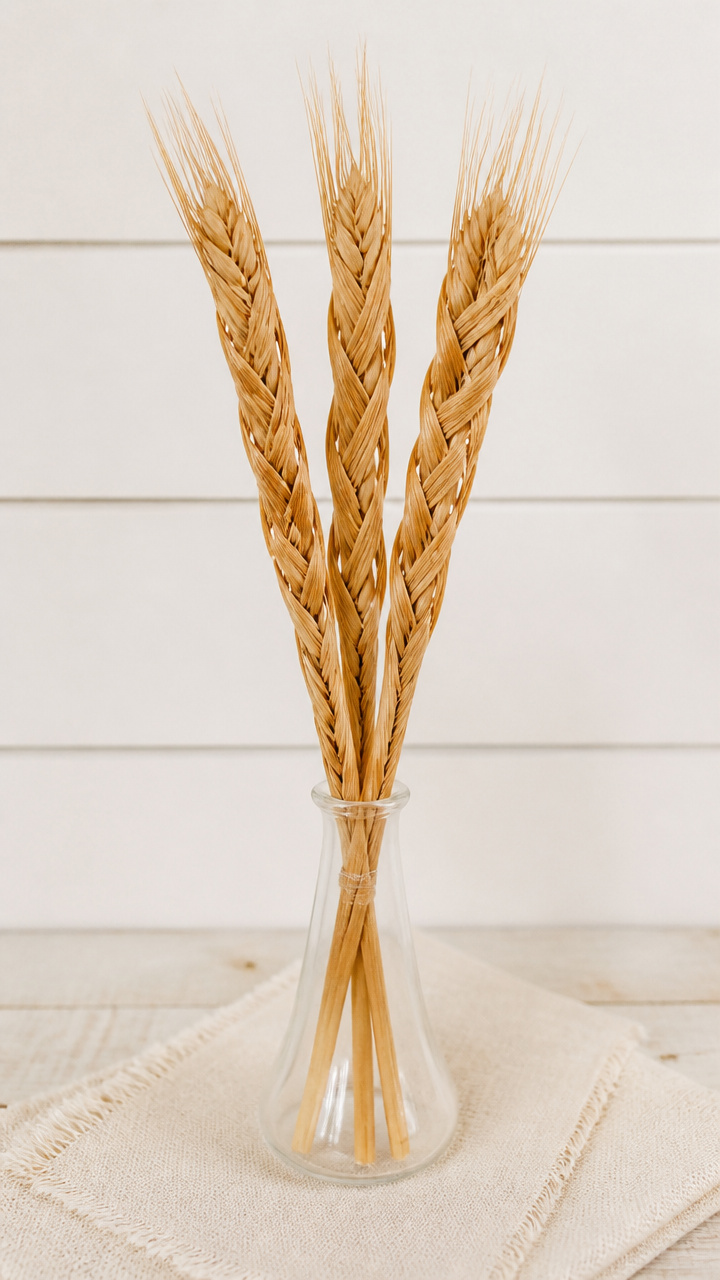
Three stalks of wheat woven into a tight braid stand upright in a jar like a promise of abundance. They stay fresh-looking for months.
Materials Needed
- 9 dried wheat stalks, 12 inches long
- Scissors
- Clear rubber band
- Small clear vase, 4 inches tall
- Water, 1/2 cup
How to Make It
- Group three stalks together and braid them tightly from base to tip, securing the end with a rubber band.
- Repeat to make two more braids. Trim all loose ends with scissors for a clean finish.
- Stand all three braids side by side in the vase. Add 1/2 cup of water to keep them supple for display.
- Place on a side table or near the entryway where their golden hue catches the light.


14. Painted Mason Jar Lamps
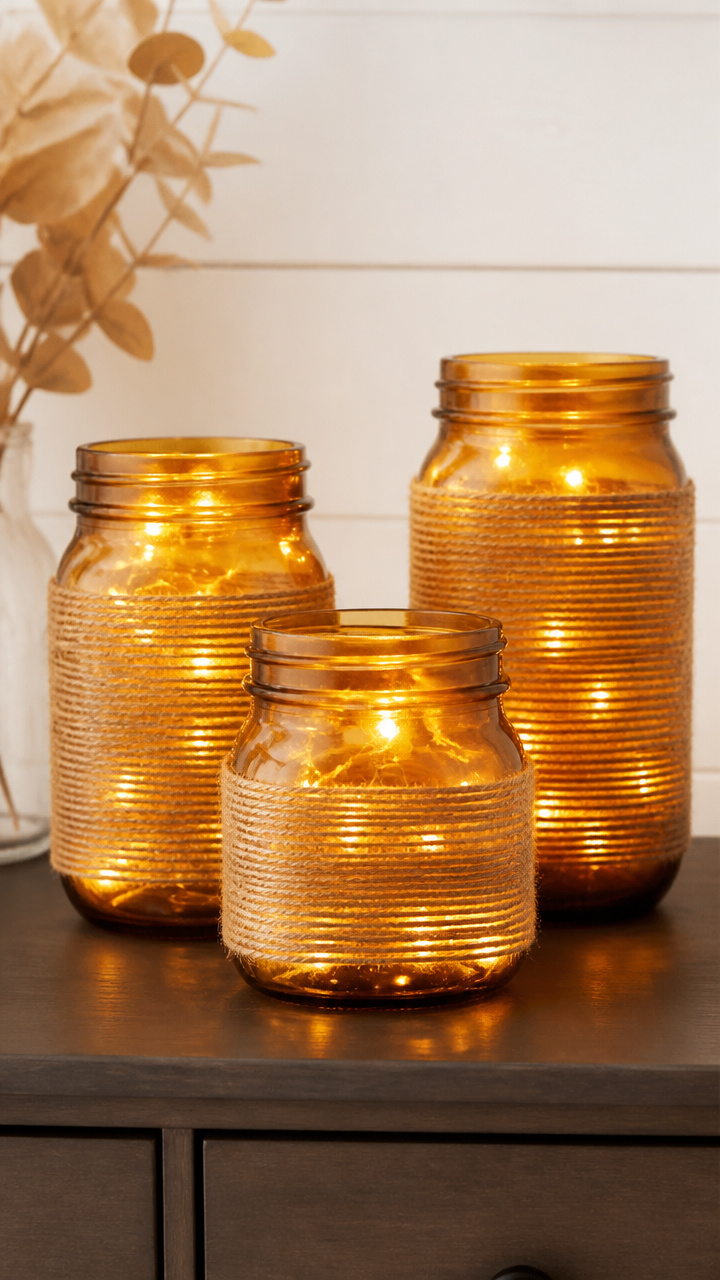
Mason jars painted with translucent glaze glow like lanterns when lit. The soft amber light sets the mood without a single wire.
Materials Needed
- 3 quart-sized mason jars
- Amber glass paint, 4 oz
- Foam brush, 2 inch
- Plastic palette
- Battery-powered fairy lights, warm white, 20 bulbs
- Jute ribbon, 1/2 inch wide, 36 inches
How to Make It
- Pour a small amount of amber paint onto the palette. Use the foam brush to apply a thin, even coat to the outside of one jar.
- Let dry for 30 minutes. Apply a second coat and wait another 30 minutes. Repeat for all three jars.
- Insert one string of fairy lights into each jar, coiling the battery pack at the bottom.
- Tie jute ribbon around the neck of each jar and knot it. Turn on the lights at dusk for a golden glow.


15. Felt Pumpkin Pincushions
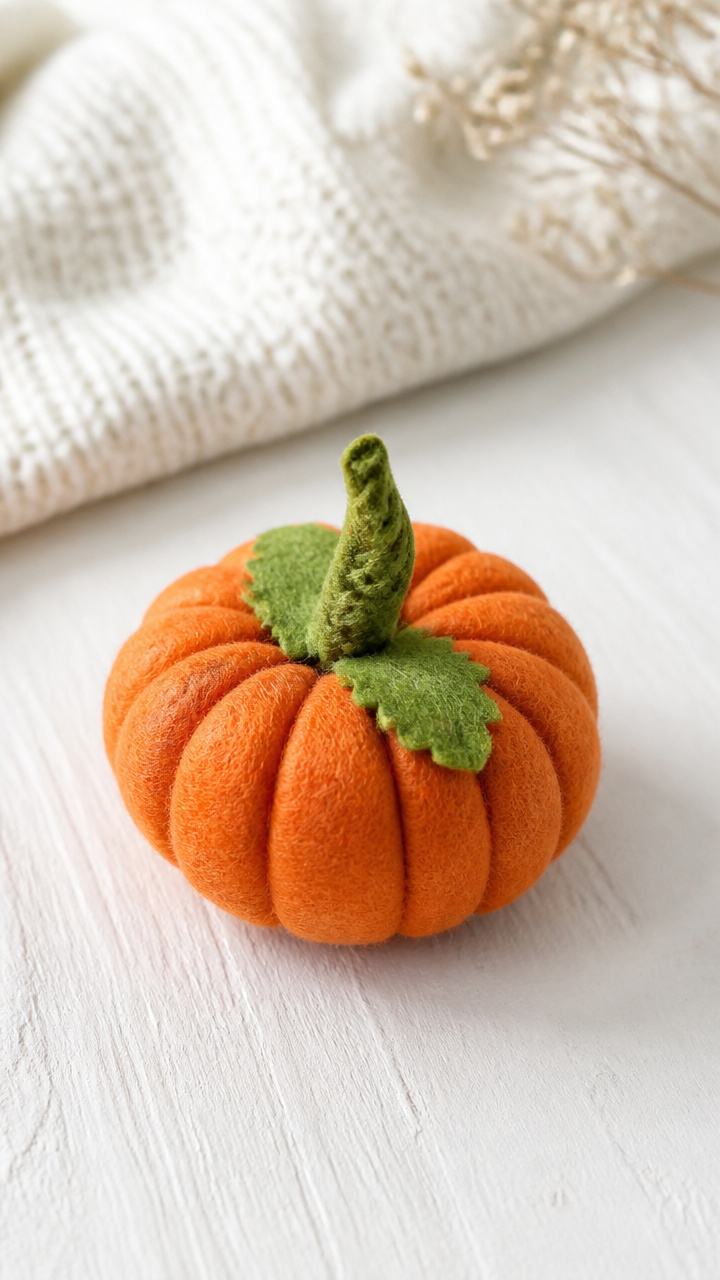
Soft orange felt pincushions shaped like pumpkins hold needles and double as decor. The gathers at the top mimic real pumpkin ridges.
Materials Needed
- Orange felt sheet, 9×12 inches
- Green felt scrap
- Polyester stuffing, 1/2 cup
- Needle
- Green thread
- Scissors
- Pins
- Template printed: pumpkin shape, 3 inches tall
How to Make It
- Trace the pumpkin template onto the orange felt twice and cut out both shapes. Cut a 1 inch x 2 inch strip from green felt for the stem.
- Place the two pumpkin pieces together and sew around the edge with a running stitch, leaving a 1 inch gap.
- Turn right side out and stuff firmly with polyester filling. Continue sewing shut the gap with a ladder stitch.
- Roll the green strip and glue one end to form a coil. Stitch it to the top center of the pumpkin as the stem.


You don’t need perfection to make something meaningful. Grab a pair of scissors, find a quiet corner, and let your hands lead. These crafts are ready whenever you are.