15 Easy November Crafts Using Leaves, Pinecones, and Acorns
The air turns crisp, the trees let go in bursts of red and gold, and nature drops its treasures right at your feet. Gather up those fallen leaves, pinecones, and acorns to create small handmade joys that bring the warmth of the season indoors.
These crafts are simple but satisfying, using what you can collect on a walk or find near a park bench. Each one gives you something real to hold, hang, or gift with care.
1. Pressed Leaf Bookmarks
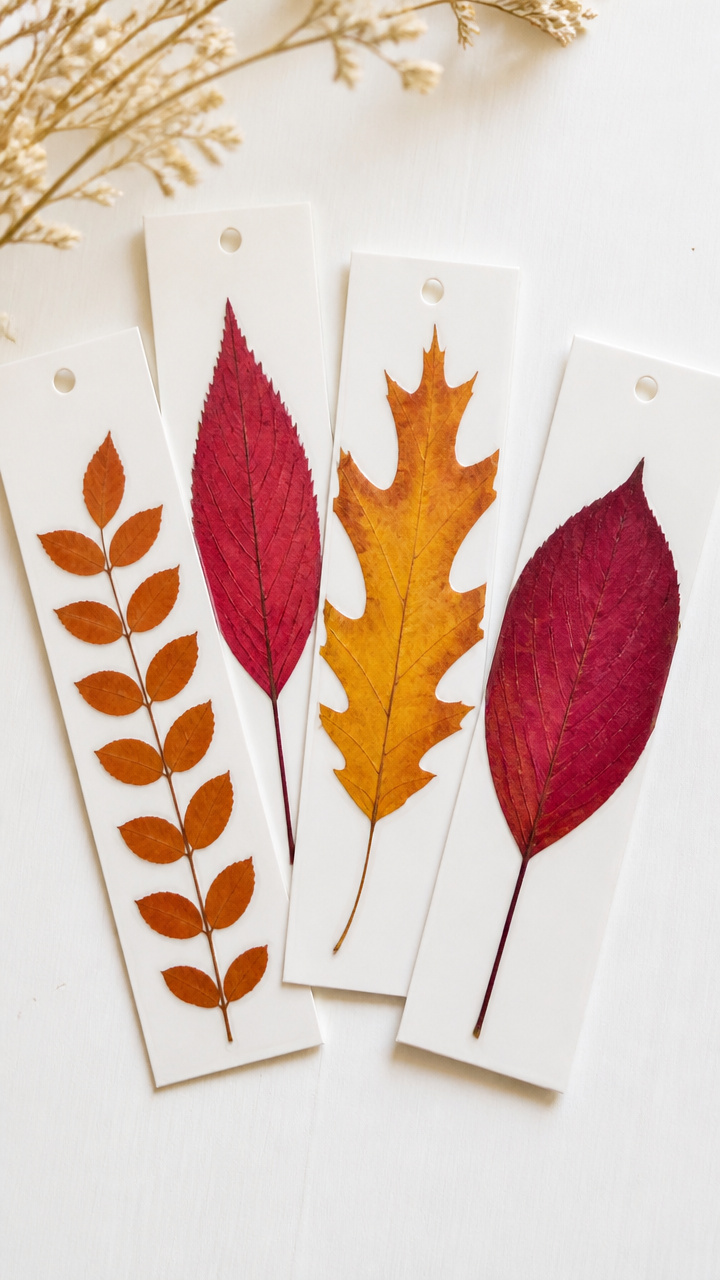
Delicate leaf silhouettes become keepsake bookmarks that slip neatly into your favorite novel. The colors stay vibrant for months when pressed correctly.
Materials Needed
- 5 fresh flat leaves with defined veins
- 2 sheets A4 white cardstock
- 1 heavy book
- Clear contact paper 12×18 inches
- Scissors
- Hole punch
- Ribbon 12 inches long
How to Make It
- Choose unbroken leaves and wipe them gently with a dry cloth to remove dirt.
- Place each leaf between two sheets of cardstock inside a heavy book and leave undisturbed for 5 days.
- Trim contact paper to 2×6 inches and sandwich the pressed leaf inside, smoothing out air bubbles.
- Cut excess contact paper, punch a hole at the top, and thread ribbon through.


2. Pinecone Fire Starter Ornaments
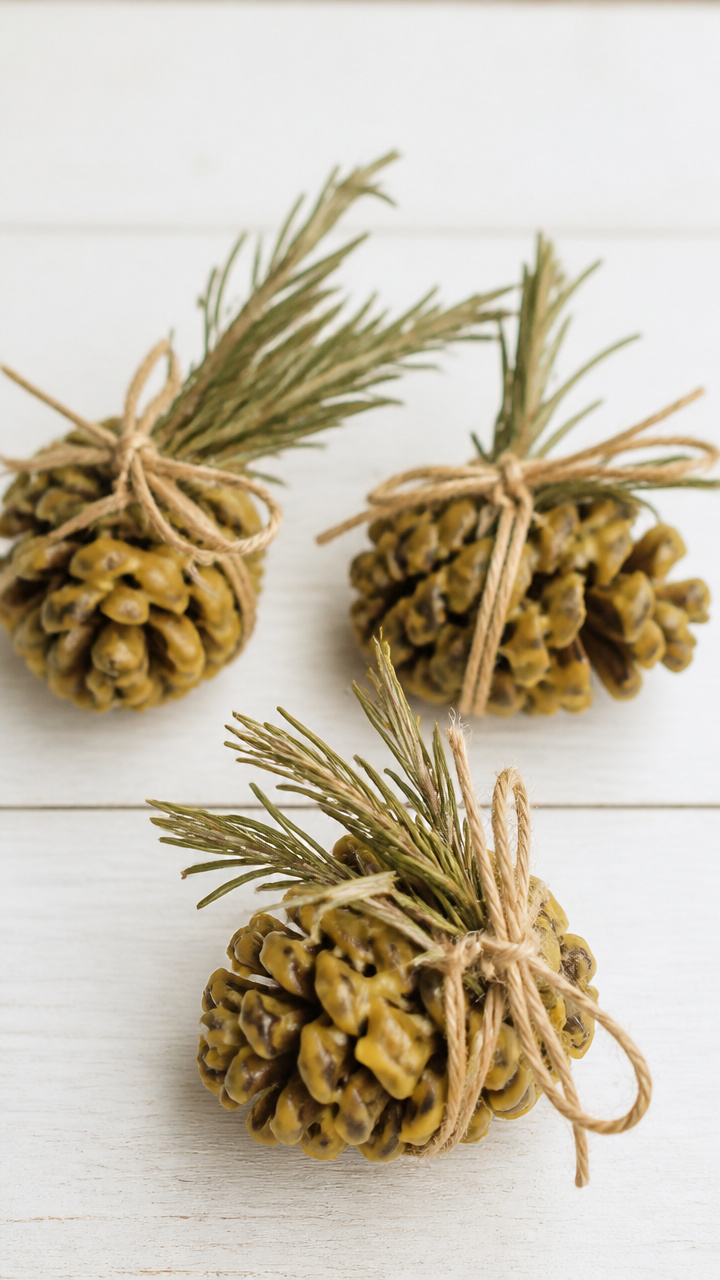
Small bundles wrapped in twine hold pinecones coated in wax and dried herbs. They make rustic gifts that spark cozy fires.
Materials Needed
- 6 medium pinecones
- Beeswax pellets 1/2 cup
- Dried rosemary sprigs 3
- Small heatproof bowl
- Double boiler setup
- Twine 18 inches per cone
- Mini clothespin
How to Make It
- Melt beeswax pellets in a double boiler over low heat for 8 minutes until fully liquid.
- Dip each pinecone into melted wax, letting excess drip off, then place on parchment paper.
- Press a rosemary sprig into the wax while still tacky and let cool for 10 minutes.
- Wrap twine around base of cone, tie with a knot, and clip a mini clothespin to the end for hanging.

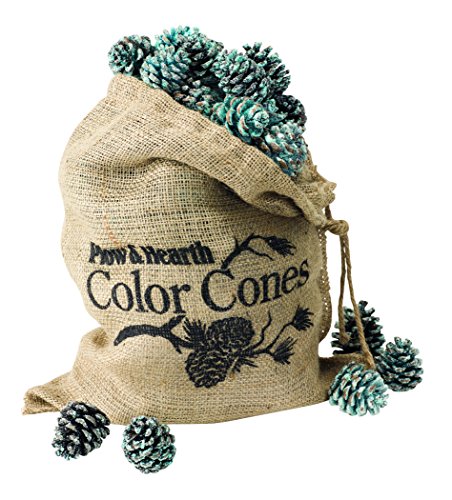

3. Acorn Cap Bird Feeders
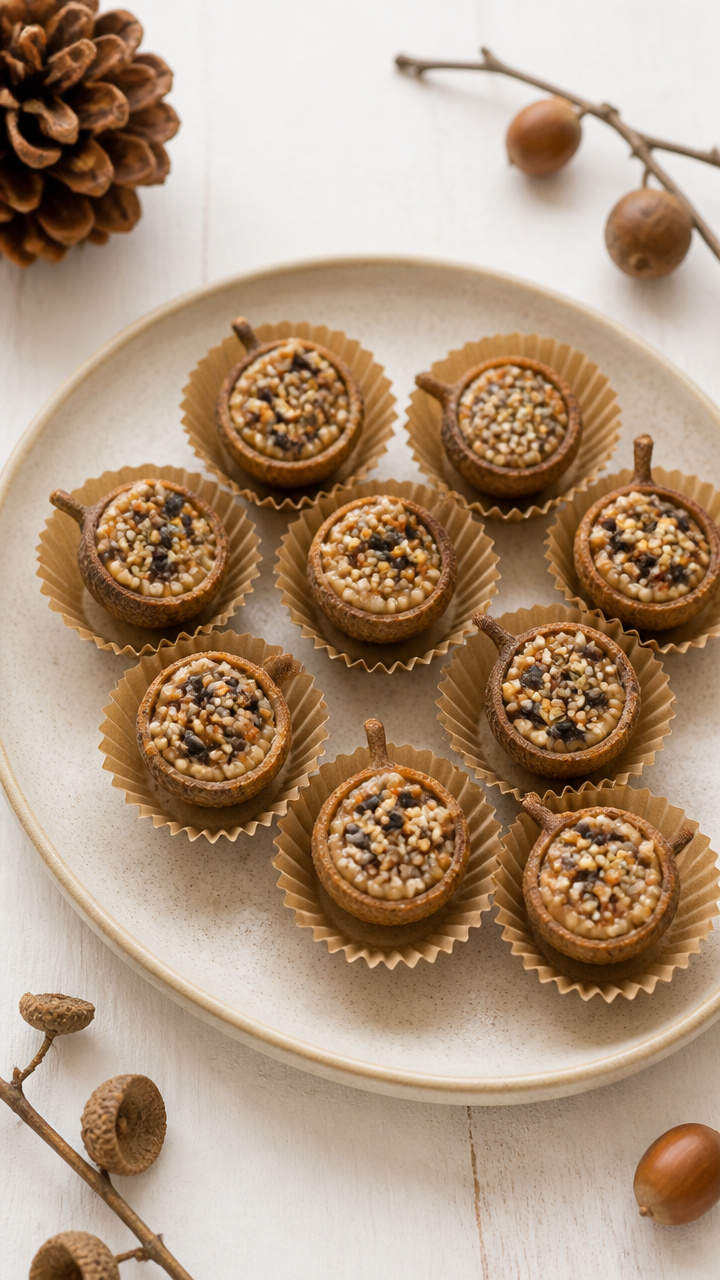
Tiny caps from acorns cradle peanut butter and birdseed, creating bite-sized treats for chickadees and nuthatches.
Materials Needed
- 10 acorn caps
- Smooth peanut butter 1/4 cup
- Birdseed mix 1/2 cup
- Small spoon
- Parchment paper
- Mini cupcake liners
How to Make It
- Scoop 1 teaspoon peanut butter into each acorn cap using the back of a spoon.
- Roll the filled cap in birdseed, pressing gently so seeds stick to all sides.
- Place each feeder on a parchment-lined tray and chill for 20 minutes to set.
- Store in mini cupcake liners until ready to place outdoors on a tree branch.


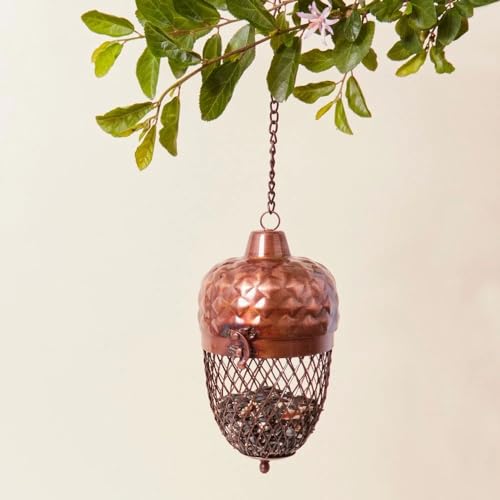
4. Leaf Print Gift Tags
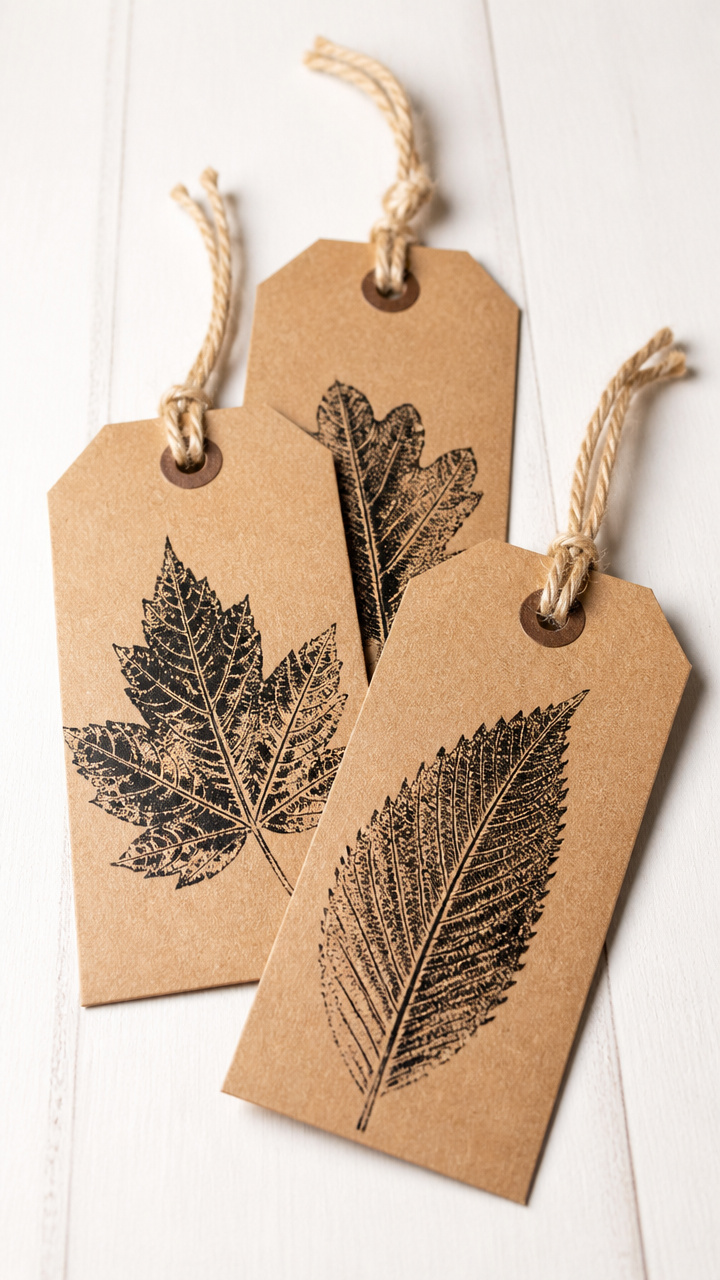
Crisp leaf shapes stamped in ink become personalized tags for autumn presents. Each print captures the unique texture of real foliage.
Materials Needed
- 4 sturdy leaves with raised veins
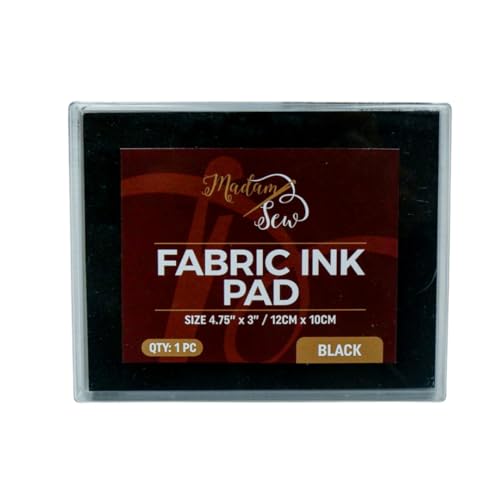
- Black fabric ink pad
- A6 kraft paper tags 10 count
- Fine black marker
- Ruler
- Hole punch
- Baker's twine 6 inches per tag
How to Make It
- Press a leaf firmly onto the ink pad, covering the entire underside without sliding.
- Place the inked side down onto a kraft tag and press with even hand pressure for 5 seconds.
- Lift the leaf straight up to reveal the print and let dry for 3 minutes.
- Use the marker to write a name or message below the print, add a hole, and thread twine.


5. Pinecone Salt Scrub Jars
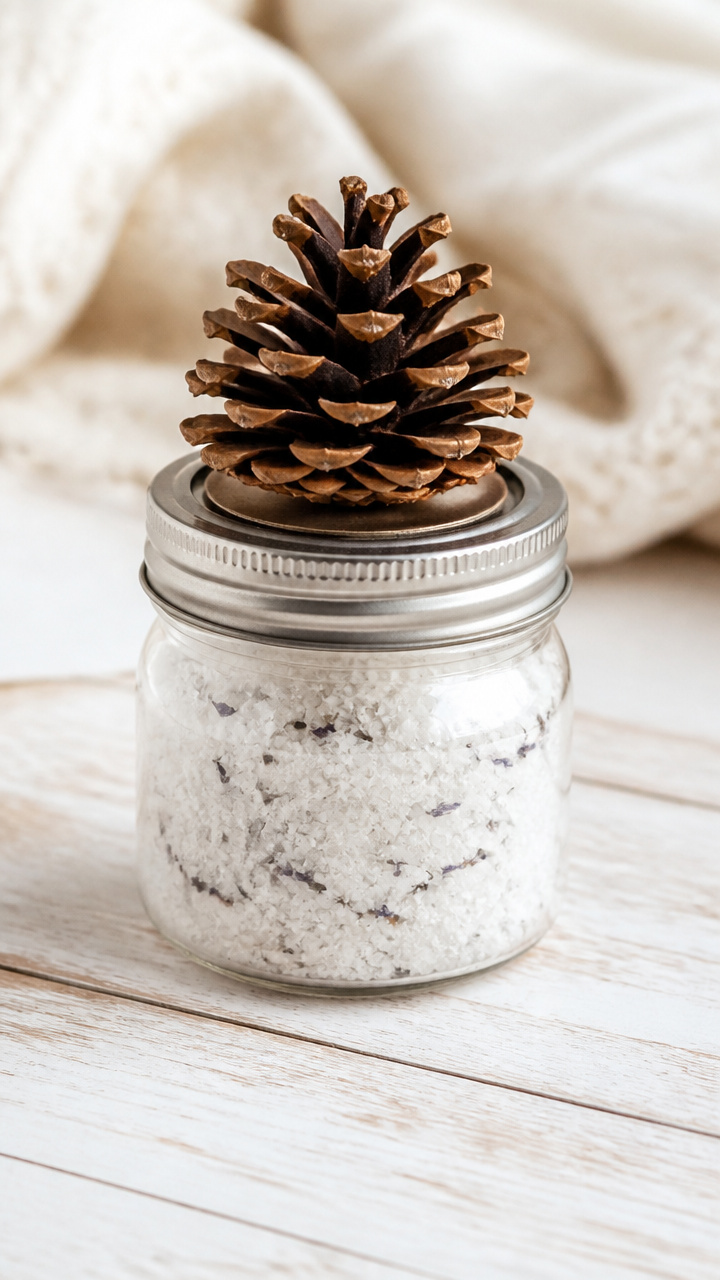
A decorative pinecone tops a jar filled with homemade exfoliating scrub. It looks like a woodland treasure and feels luxurious on skin.
Materials Needed
- 1 large closed pinecone
- 8 oz mason jar with lid
- Epsom salt 1/2 cup
- Coconut oil 1/4 cup
- Lavender essential oil 10 drops
- Hot glue gun with glue stick
How to Make It
- Mix Epsom salt, coconut oil, and lavender oil in a bowl until evenly blended.
- Spoon the mixture into the mason jar and seal with the lid.
- Apply hot glue to the bottom of the pinecone and press it firmly onto the center of the lid.
- Let the glue cool for 5 minutes before handling.
6. Acorn Top Pendants
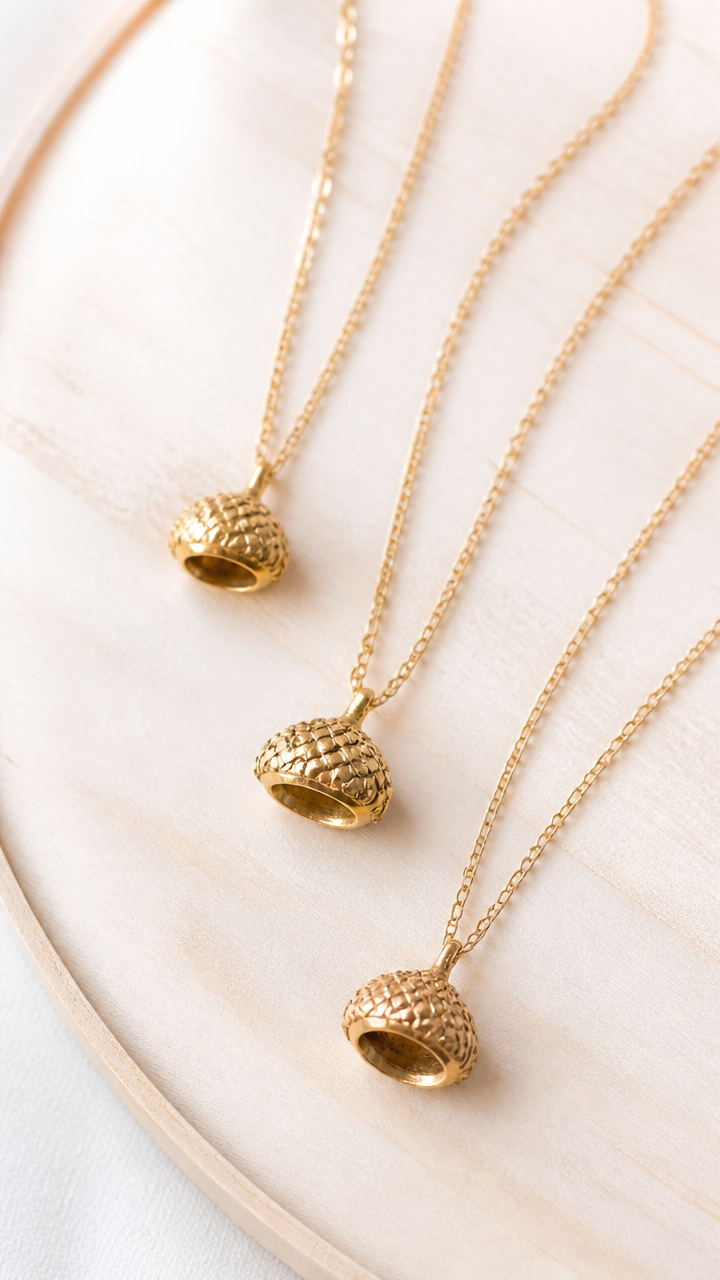
Polished acorn caps become tiny metallic charms strung on delicate chains. They catch light like miniature crowns.
Materials Needed
- 8 acorn caps
- Gold acrylic paint 1 oz
- Small paintbrush size 0
- Jewelry pliers
- Jump rings 8 mm 4 pieces
- Gold chain 18 inches
- Clasp set with split rings
How to Make It
- Paint the outside of each acorn cap with gold acrylic, covering completely and avoiding the inner rim.
- Let dry flat for 1 hour, then apply a second coat and dry overnight.
- Open a jump ring with pliers, slide on a painted cap and a chain link, then close the ring securely.
- Attach the clasp to both ends of the chain using split rings and pliers.


7. Crispy Leaf Wall Art
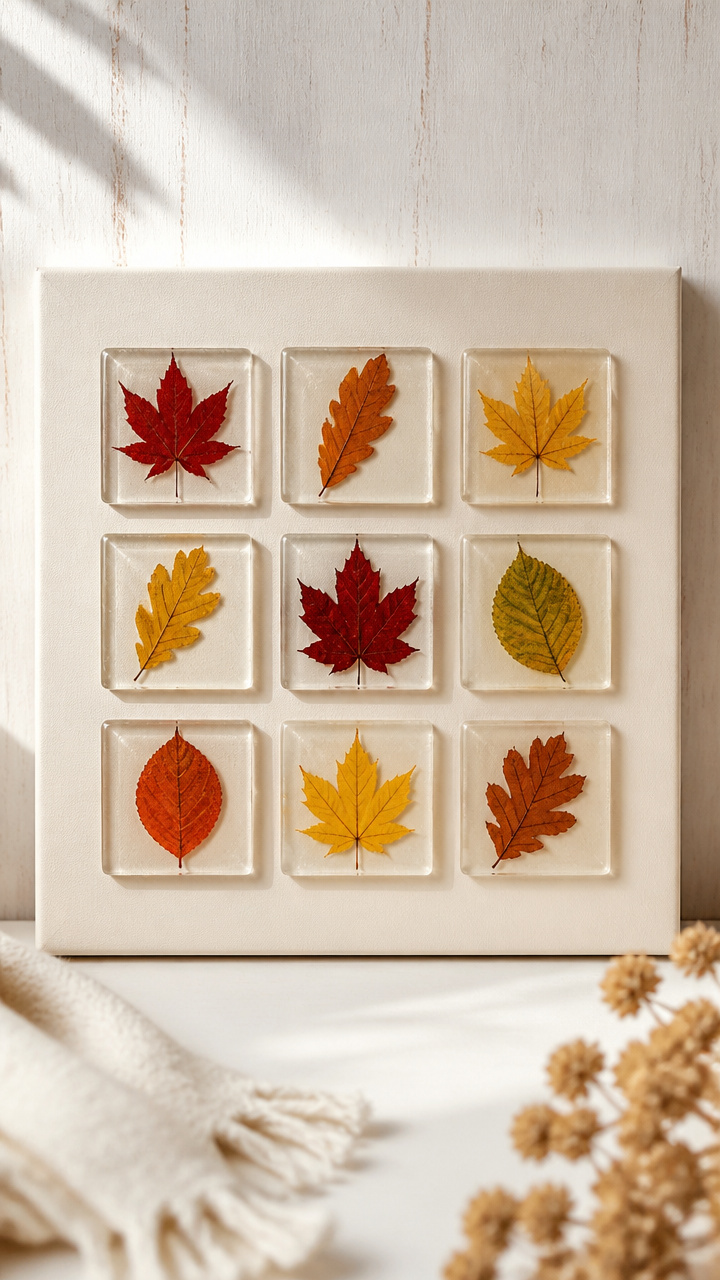
Leaves sealed in resin squares form a modern grid on canvas. The glossy finish deepens their natural hues.
Materials Needed
- 9 colorful flat leaves
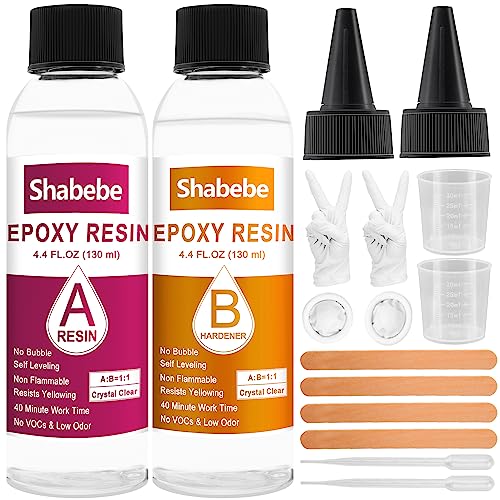
- Epoxy resin kit 8 oz
- Disposable gloves
- Silicone molds 2×2 inch square 9 pieces
- Canvas board 12×12 inches
- Tacky glue
- Level surface
How to Make It
- Mix resin and hardener in a cup according to package instructions and stir for 2 minutes.
- Pour a thin layer into each silicone mold, place one leaf on top, then fill to the brim.
- Set molds on a level surface and cover with a box to avoid dust, curing for 24 hours.
- Glue each cured resin square onto the canvas in a 3×3 grid, spacing evenly with tacky glue.


8. Pinecone Wind Chime
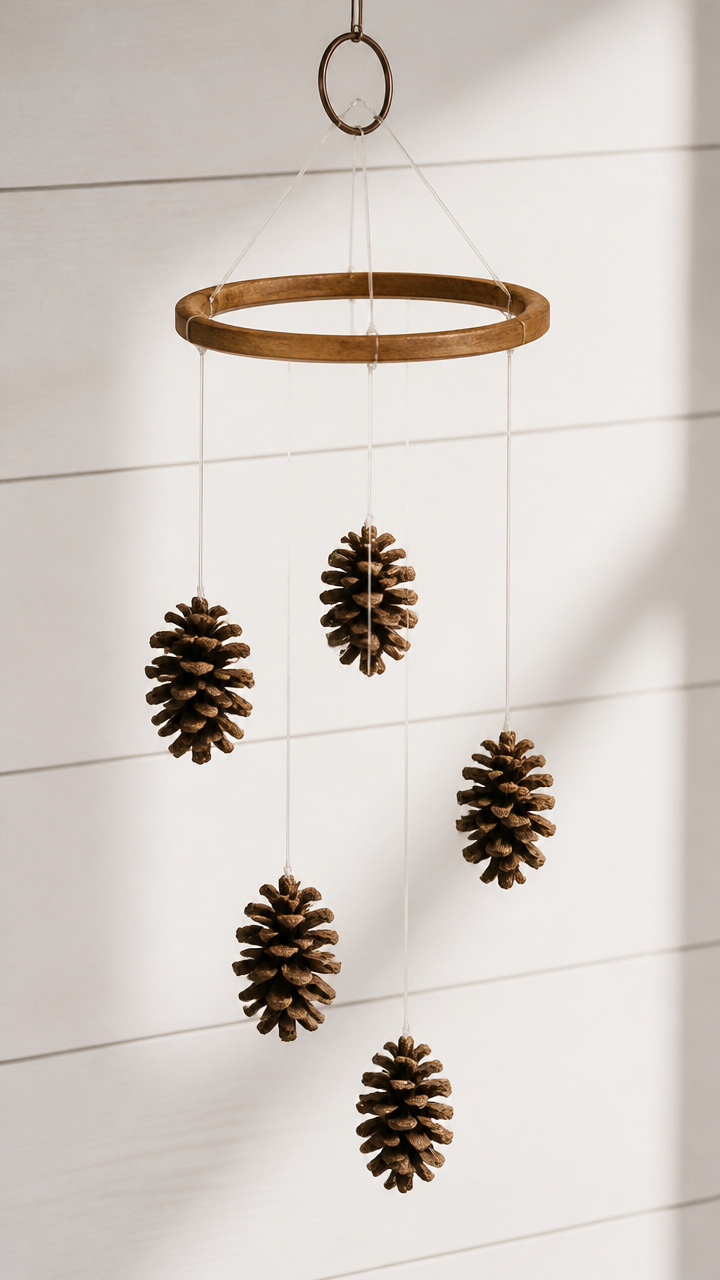
Five pinecones dangle at different lengths, tapping together in the breeze to make soft wooden tones.
Materials Needed
- 5 small pinecones
- Wooden embroidery hoop 8 inch
- Nylon fishing line 20 lb test 3 yards
- Scissors
- Drill with 1/16 inch bit
- Metal ring 1.5 inch
- Light sandpaper
How to Make It
- Sand each pinecone lightly to smooth rough edges and wipe clean.
- Drill a small hole through the top scale of each pinecone.
- Cut five fishing line pieces: 6, 8, 10, 12, and 14 inches, thread each through a pinecone and knot below.
- Tie the top of each line to the embroidery hoop at equal distances, then attach the metal ring to the top for hanging.


9. Leaf Confetti Table Scatter
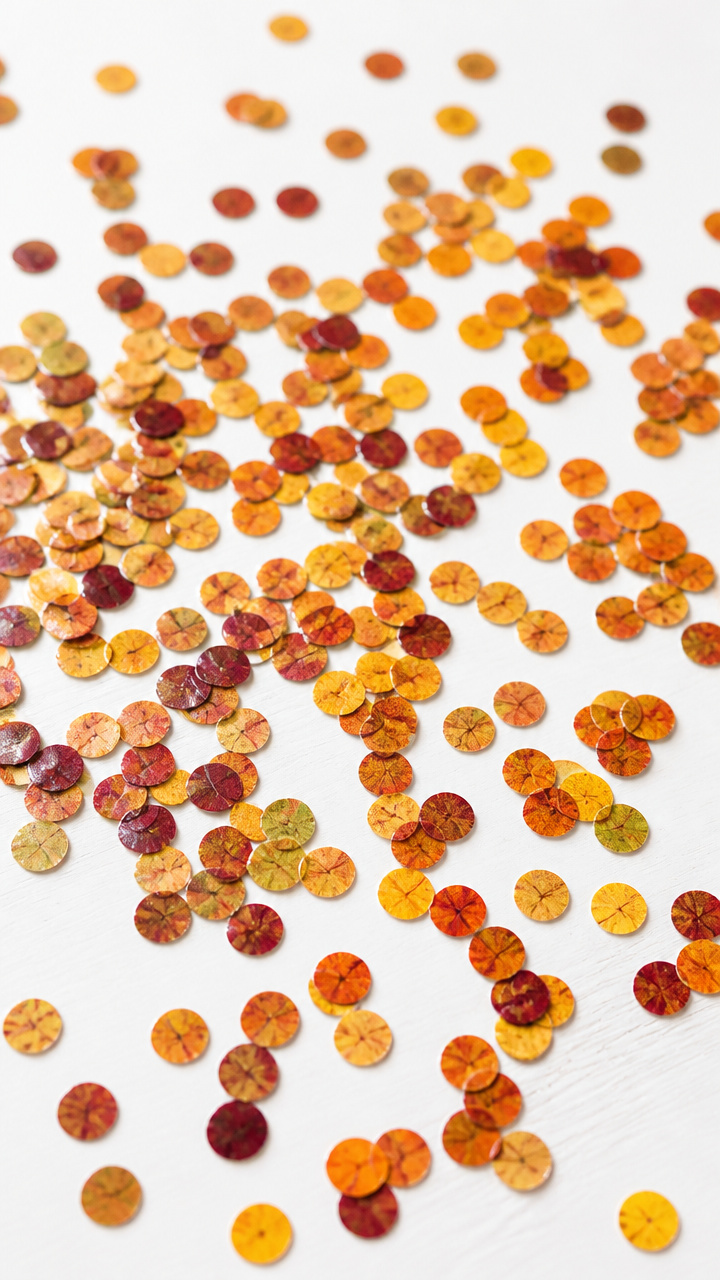
Tiny punched leaf shapes sparkle across tables like autumn snow. They’re perfect for seasonal dinners or celebrations.
Materials Needed
- 10 dry colorful leaves
- Circle paper punch 3/4 inch
- Waxed paper sheet
- Iron
- Flat tray
- Storage envelope
How to Make It
- Place a leaf between two sheets of waxed paper and iron on low heat for 10 seconds to flatten.
- Let cool, then use the paper punch to cut uniform circles from each leaf.
- Repeat with all leaves and collect confetti in a tray.
- Store in an envelope away from moisture until ready to scatter.


10. Acorn Stamp Patterns
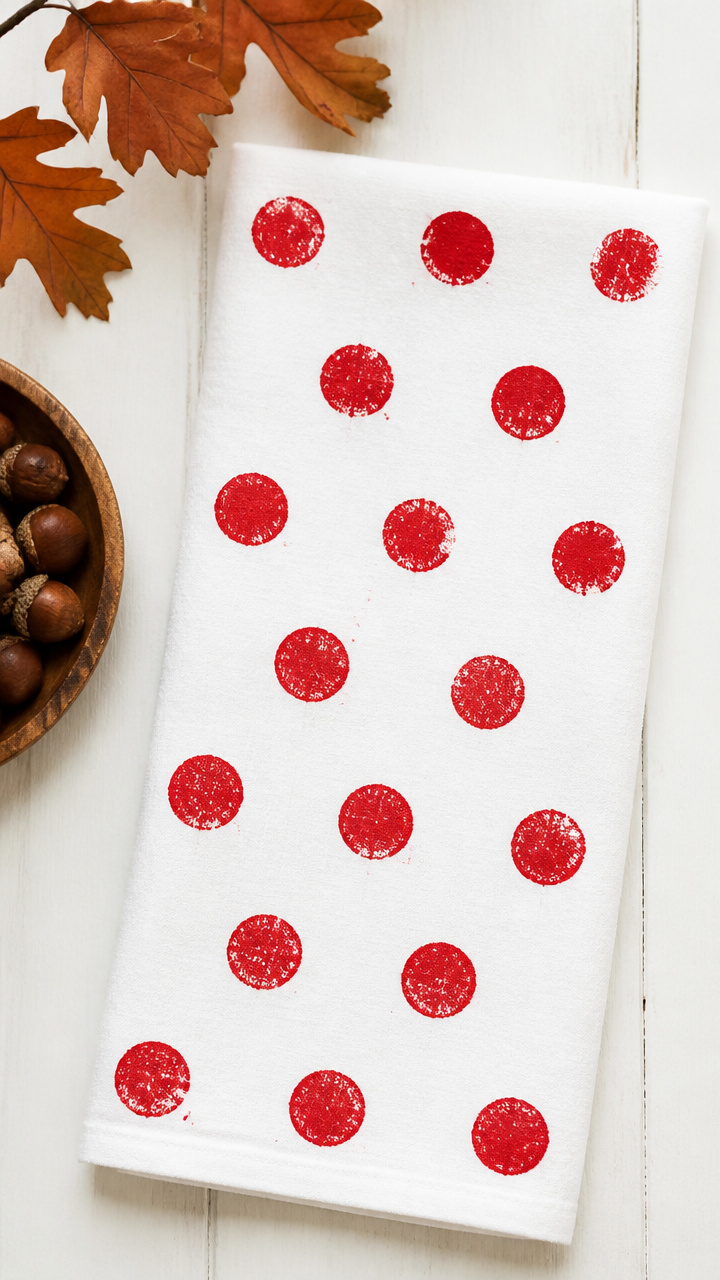
The round base of an acorn becomes a natural stamp for repeating dot designs on paper or fabric.
Materials Needed
- 6 acorns with flat bottoms
- Red fabric paint
- Shallow plastic plate
- White cotton tea towel
- Paper towels
- Ruler
How to Make It
- Wipe each acorn with a damp paper towel and let dry for 10 minutes.
- Pour a dime-sized pool of paint onto the plate and roll the acorn base in it evenly.
- Stamp the acorn in staggered rows across the tea towel, cleaning the base with a paper towel every 3 stamps.
- Let the towel dry flat for 4 hours, then heat-set the design with an iron on cotton setting for 3 minutes.


11. Pinecone Twig Place Holders
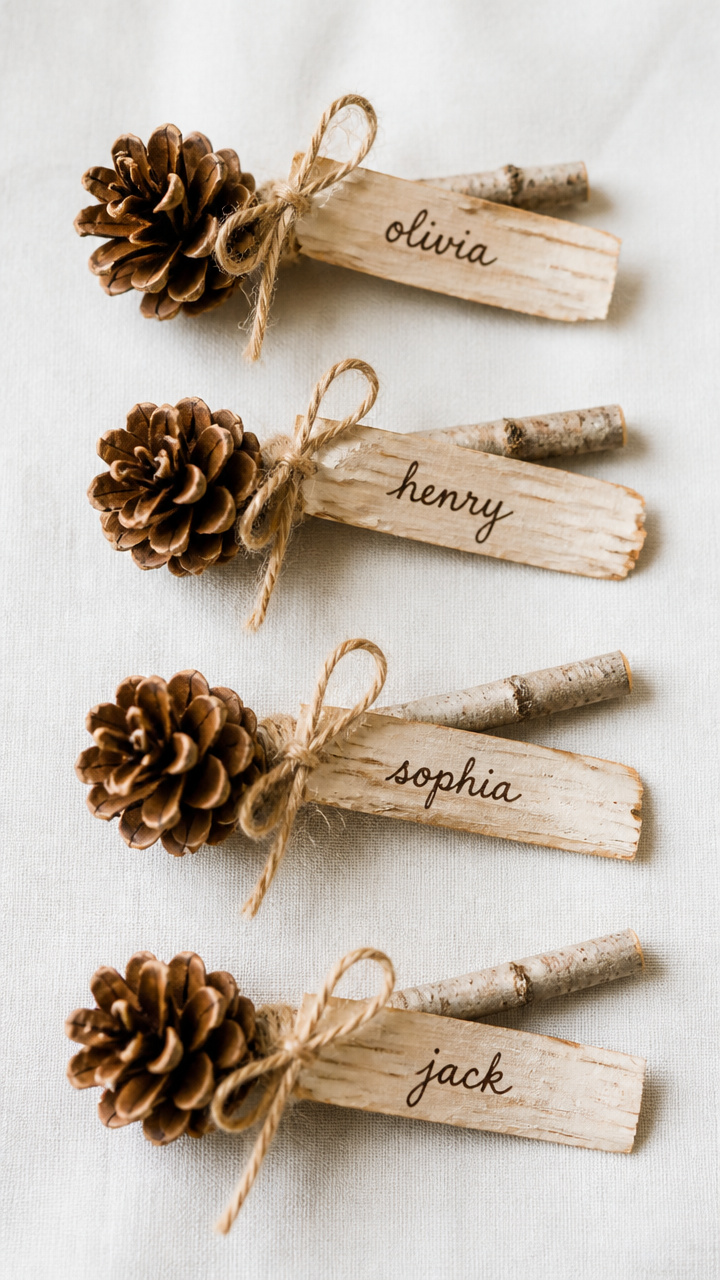
Short twigs paired with mini pinecones label seats at your table with quiet charm. Names are written on delicate bark strips.
Materials Needed
- 6 small pinecones
- 6 birch twigs 4 inches long
- Natural jute string 12 inches per piece
- Pencil
- Craft knife
- Bark strips 1×3 inches 6 pieces
How to Make It
- Tie a pinecone to one end of each twig using jute string and a double knot.
- Carve a shallow notch 1 inch from the top of each twig with the craft knife.
- Slide a bark strip into the notch and use the pencil to write a guest's name in cursive.
- Place one at each seat with the name facing outward.


12. Leaf Skeleton Lanterns
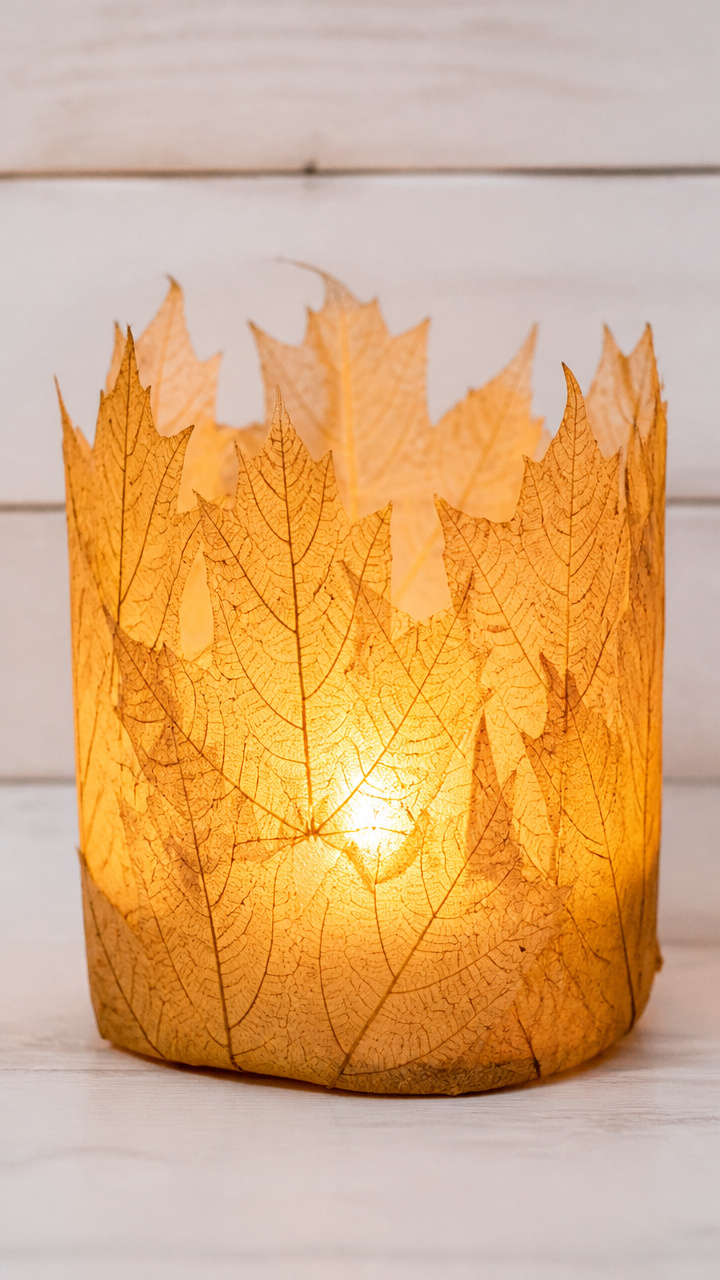
Boiled leaves lose their soft tissue, leaving behind lacy vein frames that glow softly when lit from within.
Materials Needed
- 4 large maple leaves
- 1 quart water
- 1/4 cup baking soda
- Saucepan
- Soft toothbrush
- Parchment paper
- LED tea light
How to Make It
- Simmer leaves in water and baking soda for 30 minutes until soft tissue lifts easily.
- Remove a leaf, place on a flat surface, and gently brush away pulp with a toothbrush, leaving only veins.
- Rinse the skeleton under cool water and lay flat on parchment to dry overnight.
- Place each dried frame over an LED tea light to watch the pattern glow.


13. Acorn Button Coasters
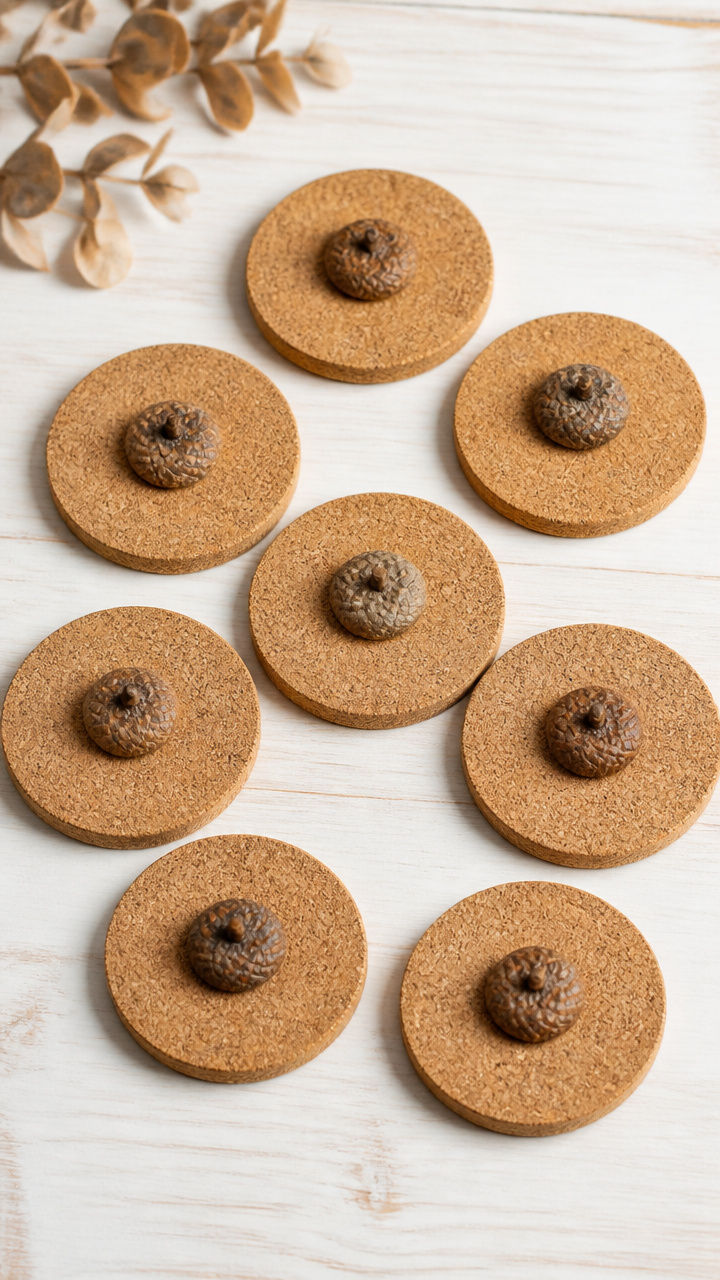
Real acorn tops glued to cork rounds mimic buttons and add earthy texture to your coffee table.
Materials Needed
- 8 acorn caps
- Cork trivets 4 inch diameter 4 pieces
- Strong craft glue
- Small clamp
- Circular stencil 3 inch
How to Make It
- Arrange four acorn caps face down around the edge of a cork trivet, spaced evenly.
- Apply a pea-sized dab of glue under each cap and press firmly onto the cork.
- Use a small clamp to hold each cap in place for 10 minutes while the glue sets.
- Repeat for remaining trivets and let cure fully for 2 hours before use.


14. Pinecone Napkin Rings
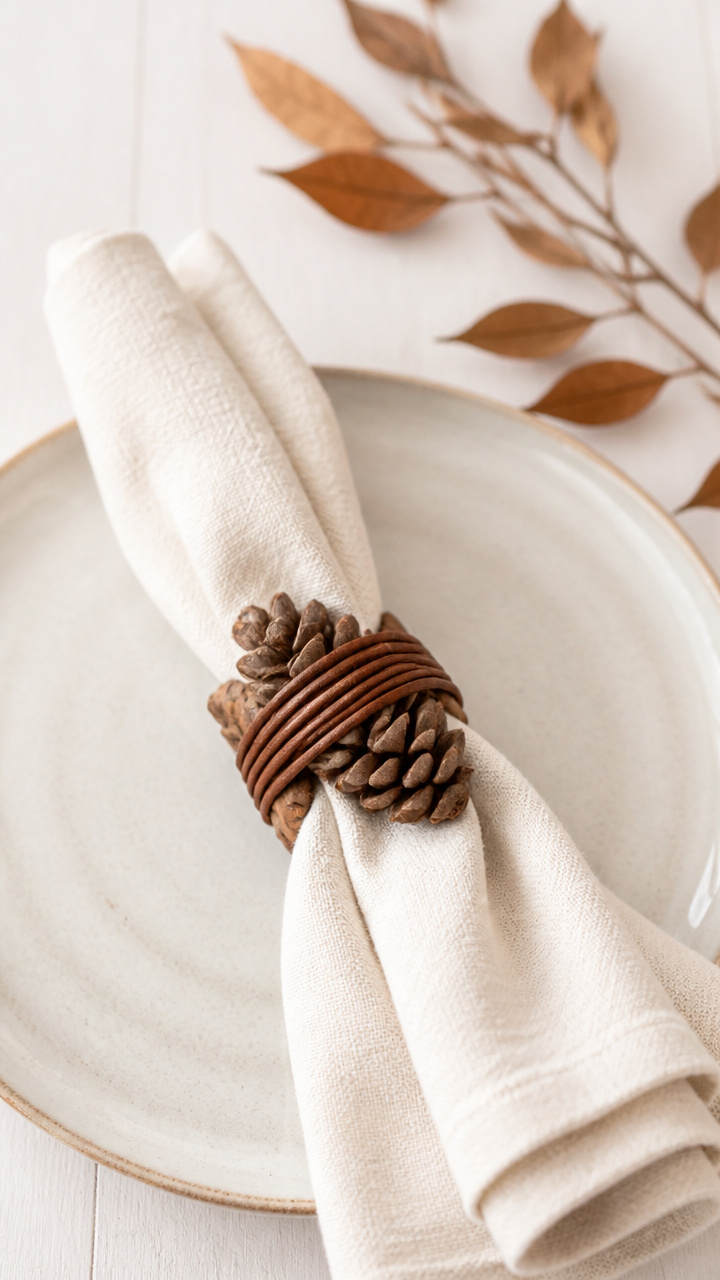
Slender pinecones wrapped in leather cord become reusable napkin holders with organic flair.
Materials Needed
- 4 narrow pinecones
- Leather cord 1/8 inch thick 24 inches per ring
- Hot glue gun
- Dinner napkins
- Scissors
How to Make It
- Apply a small dot of hot glue to the base of a pinecone and press one end of the leather cord onto it.
- Wrap the cord tightly around the cone’s length, overlapping slightly, adding glue every inch.
- When you reach the tip, secure the end with another glue dot and trim excess.
- Slide a folded napkin through the cord loop to hold it in place.


15. Leaf Bark Frames
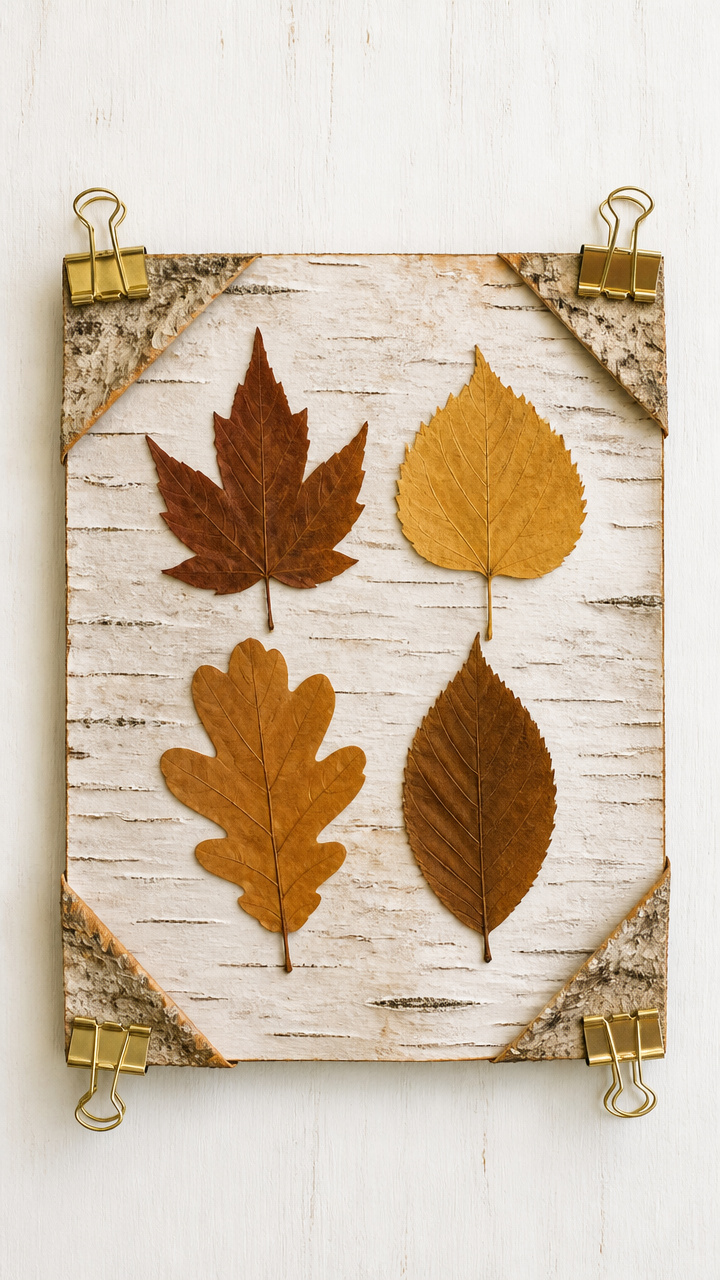
Fall leaves mounted on birch bark create rustic photo corners that clip onto display wire with tiny pins.
Materials Needed
- 4 pressed leaves
- Birch bark sheet 6×8 inches
- Precision knife
- Ruler
- Double-sided tape
- Mini binder clips 4
- Display wire kit
How to Make It
- Cut the birch bark into four 3×3 inch squares using the ruler and precision knife.
- Place one leaf in each corner of a bark square, 1/2 inch from the edges, and secure with small pieces of double-sided tape.
- Clip each finished frame to the display wire using a mini binder clip at the top edge.
- Adjust spacing and hang the wire on two nails.


You’ve got everything you need waiting outside your door. Bundle up, take a walk, and come back with pockets full of ideas. These little creations will warm your home and hands all season long.