17 Cute Thanksgiving Crafts to Make With Paper Plates
Gather around the table, gather your supplies, and get ready to make something sweet. These paper plate crafts bring warmth and cheer to your home without fuss or waste.
Perfect for kids, great for gifting, each one uses simple tools you already have. Let’s make memories with scissors, glue, and a little imagination.
1. Turkey Plate Wreath
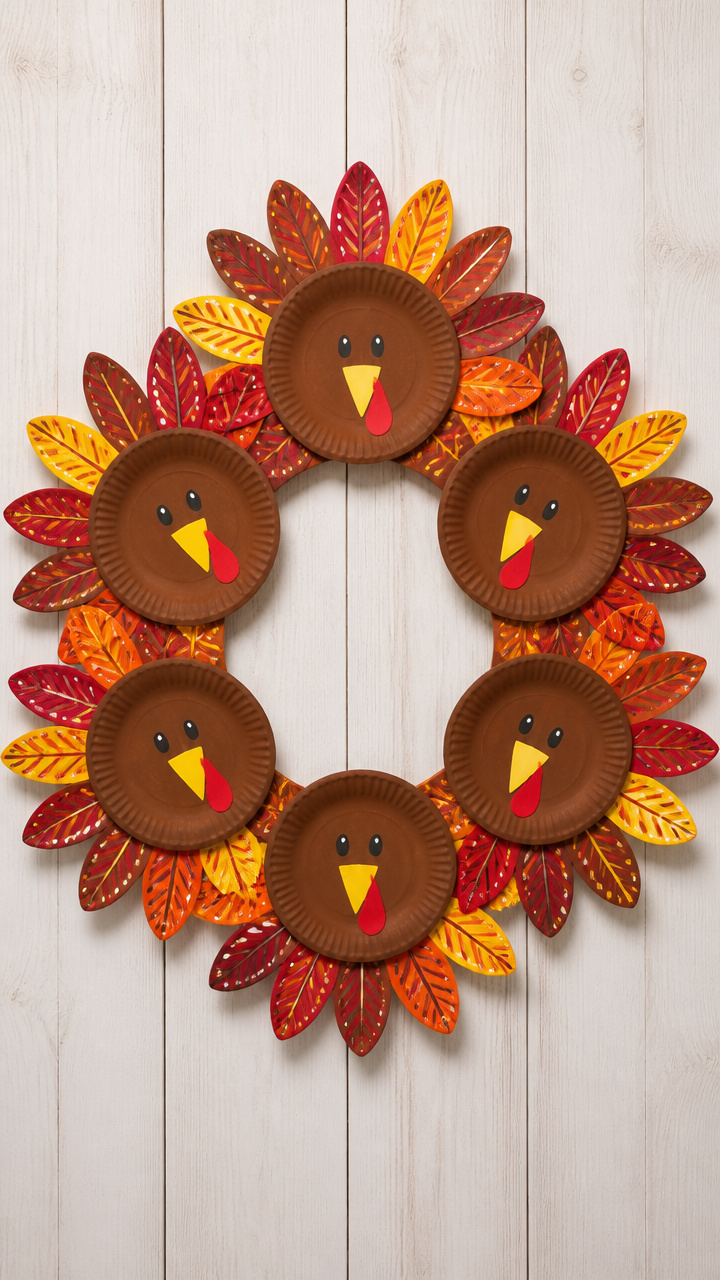
A round, cheerful wreath made from mini turkeys fans out like sunbeams on your door. Each tiny bird shows off its own feather pattern so no two look alike.
Materials Needed
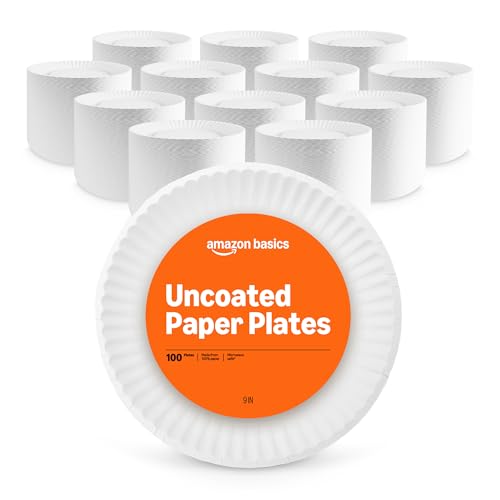
- 6 small paper plates (9 inch)
- brown acrylic paint
- paintbrush
- scissors
- glue stick
- colored construction paper (red, orange, yellow, brown)
- black marker
- 24 inch length of twine
How to Make It
- Cut each plate in half to create 12 half-circles. Paint the outer curve of each half with brown paint and let dry for 20 minutes.
- Cut feather shapes from colored construction paper, 3 per turkey, using different colors for variety.
- Glue three feathers fanned out at the straight edge of each half-plate. Add a smaller red wattle and orange beak cut from paper below the curved top.
- Draw two eyes with the black marker near the center of the curve.
- Arrange all 12 halves in a circle, curved edges facing out, and glue the flat ends together at the back onto a cardboard ring made from a larger cut-down box flap.
- Tie twine across the back for hanging.


2. Thankful Tree Display
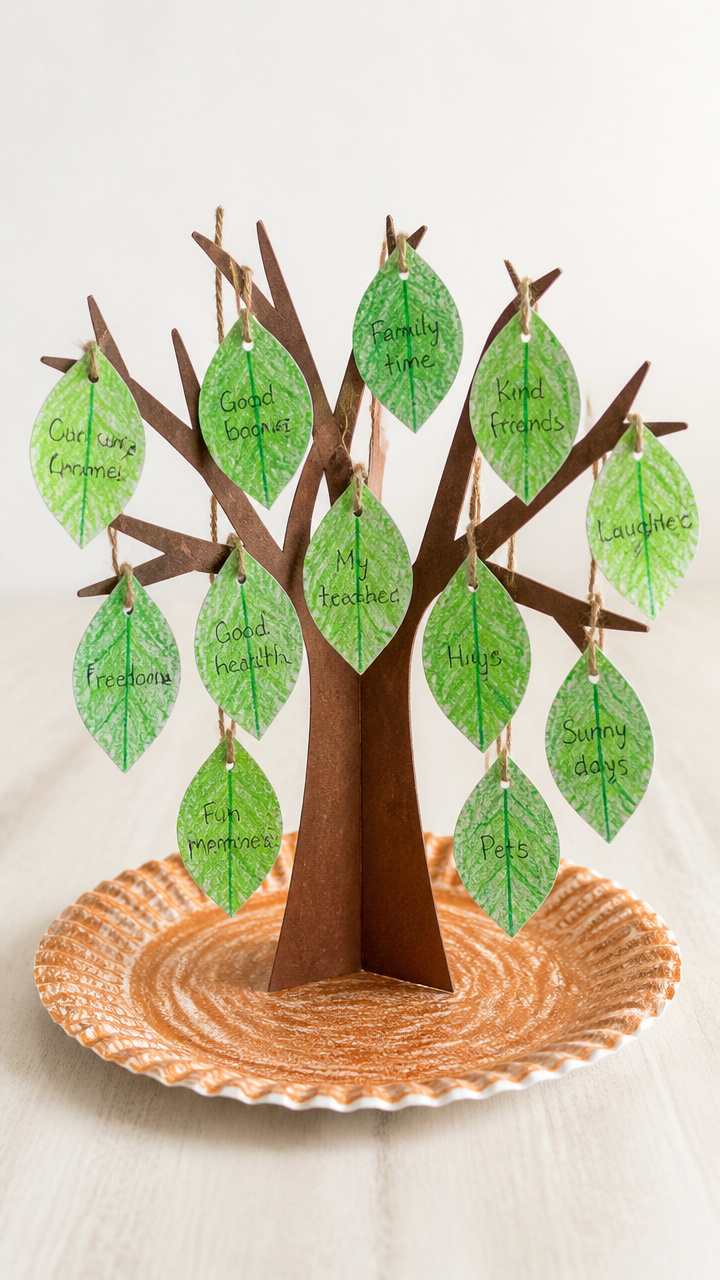
Leaves with handwritten notes of gratitude hang from a sturdy trunk made of rolled paper. This centerpiece grows fuller as everyone adds their thoughts.
Materials Needed
- 1 large paper plate (10 inch)
- brown cardstock (8.5 x 11 inch)
- green crayon
- hole punch
- ruler
- pencil
- scissors
- glue stick
- white letter-size paper
- string (12 inches)
How to Make It
- Cut the rim off the plate to leave a flat circle. Use scissors to snip evenly spaced slits around the outer edge every 1 inch.
- Roll the brown cardstock into a tight tube 9 inches tall and glue the seam. Slide it through the center hole of the plate and glue in place.
- Cut 15 leaf shapes from white paper. Write one thing you're thankful for on each with pencil.
- Color the edges of each leaf with green crayon to give them a soft border.
- Punch a hole at the base of each leaf and thread string through to make a hanger. Clip each string into a slit around the plate's edge.
3. Cornucopia Treat Holder
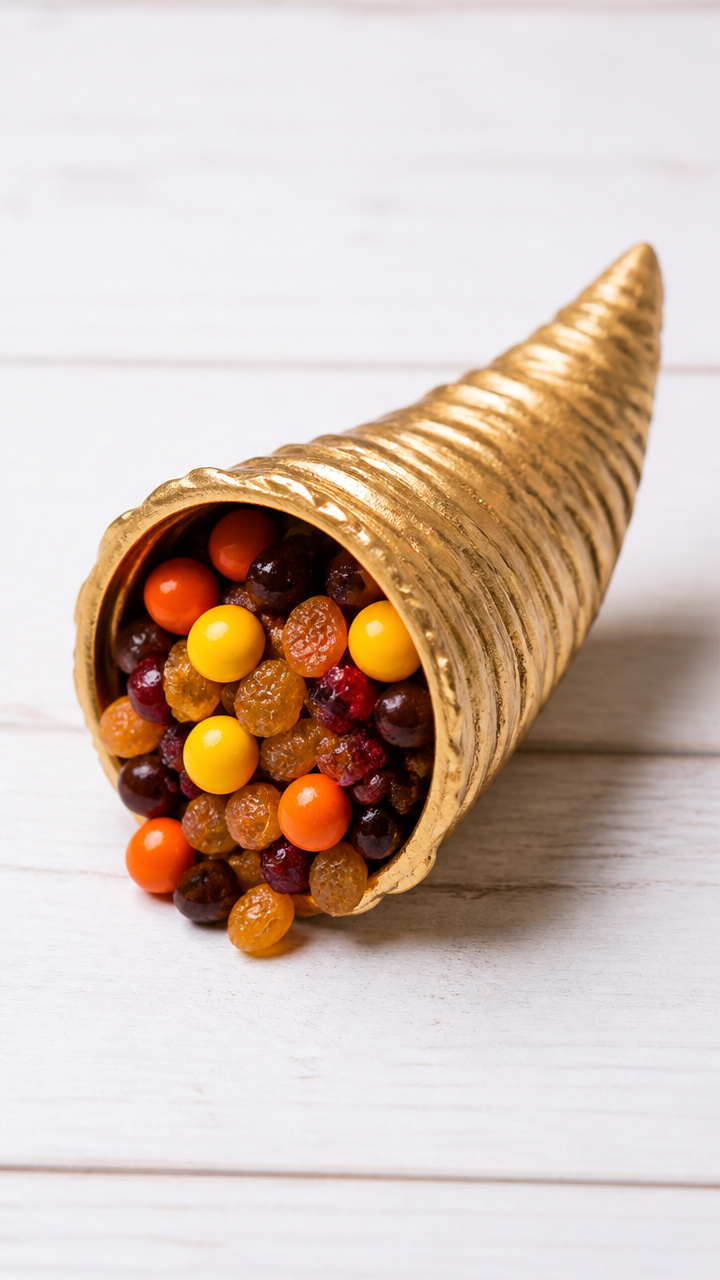
A cone-shaped horn brims with candy or dried fruit, wrapped like a gift at each guest's seat. The golden finish makes it feel rich and festive.
Materials Needed
- 1 paper plate
- yellow acrylic paint
- paintbrush
- scissors
- ruler
- pencil
- glue stick
- orange tissue paper
- small candies or snacks (¼ cup)
How to Make It
- Cut a straight line from the edge to the center of the plate. Overlap the cut edges to form a cone and glue the seam shut.
- Paint the outside of the cone with yellow paint and let dry completely for 30 minutes.
- Crumple orange tissue paper into small balls and glue them inside the cone, covering the bottom third.
- Fill the rest with candies or snacks before placing it at a setting.


4. Paper Plate Pilgrim Hat
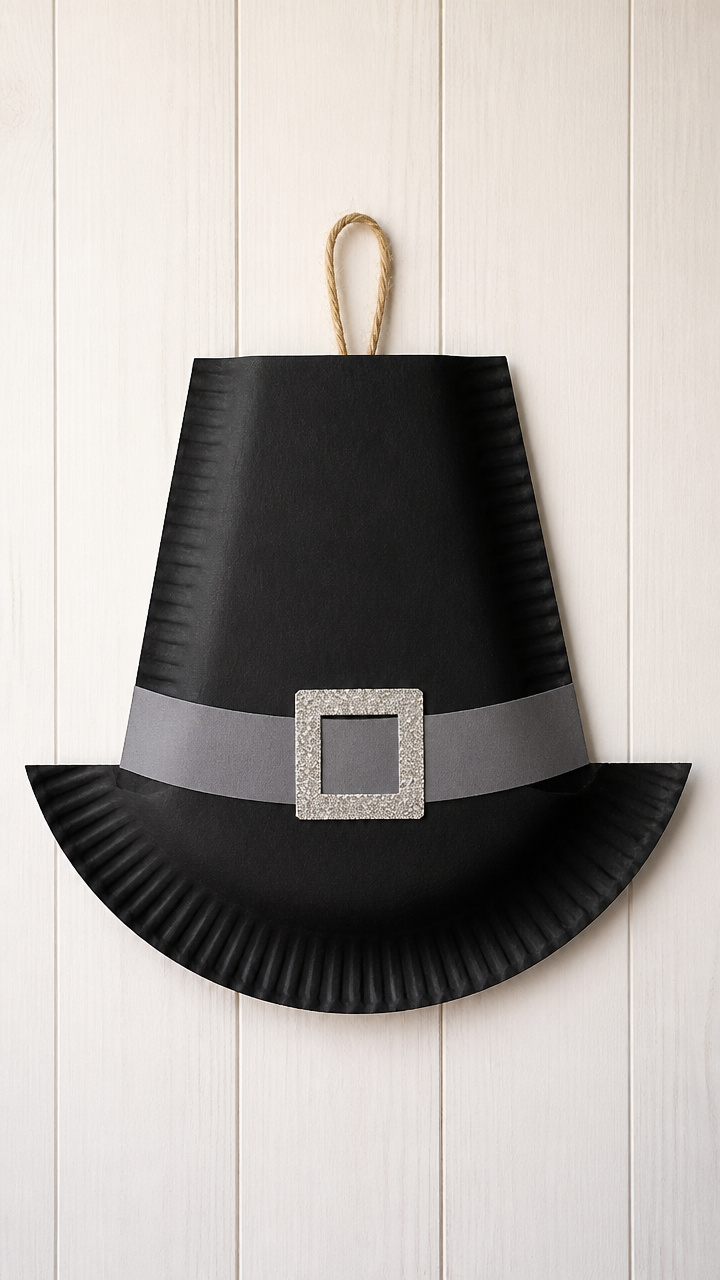
A classic black hat with a wide brim sits proudly on the wall or a shelf. The silver buckle gives it just enough detail to stand out.
Materials Needed
- 1 paper plate
- black acrylic paint
- paintbrush
- scissors
- white glue
- gray cardstock (4 x 2 inch)
- ruler
- pencil
How to Make It
- Paint the entire plate black and set aside to dry for 25 minutes.
- Cut a 2 inch wide strip from the outer rim of the plate. Cut a 1.5 inch high rectangle from the center to form the hatband gap.
- Cut a 2 inch square from gray cardstock and shape it into a buckle by drawing lines with pencil to mimic rivets.
- Glue the gray buckle centered on the hatband strip.
- Glue the hatband around the base of the painted plate, aligning the cutout window over the buckle.


5. Handprint Turkey Platter
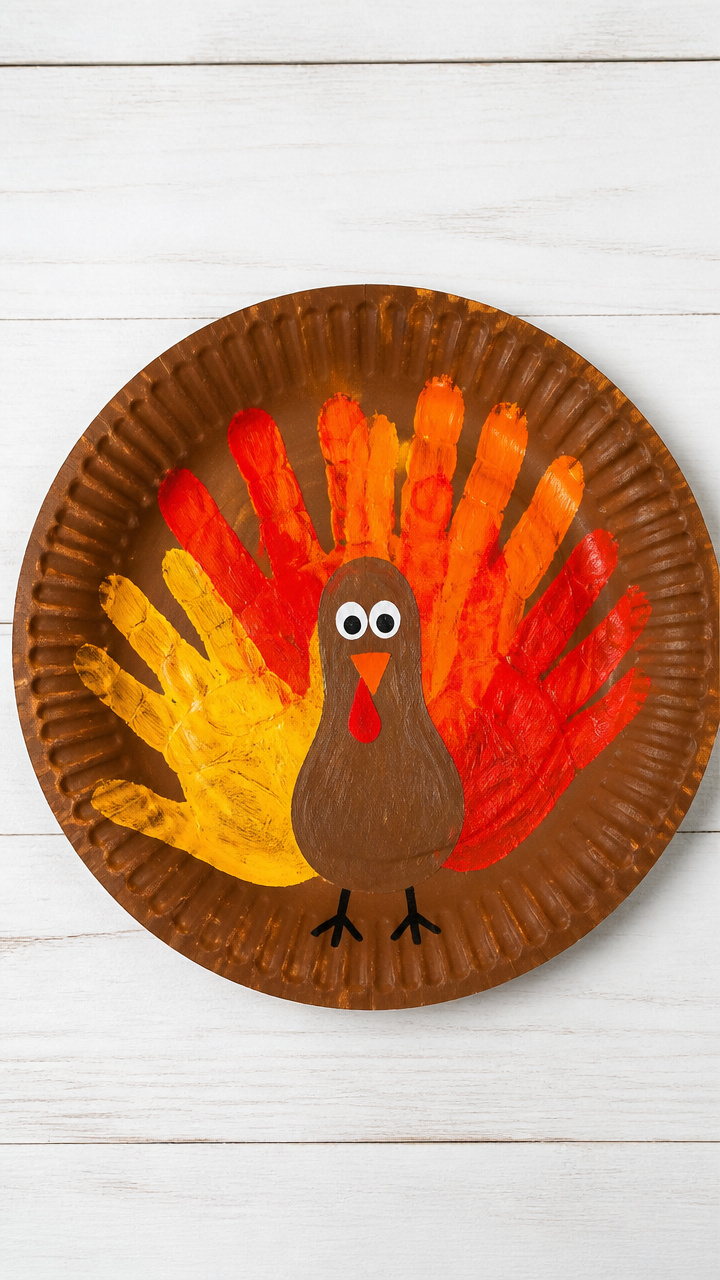
A child's hand becomes the tail fan of a plump turkey that doubles as a serving tray. Use washable paint so little hands stay clean.
Materials Needed
- 1 paper plate
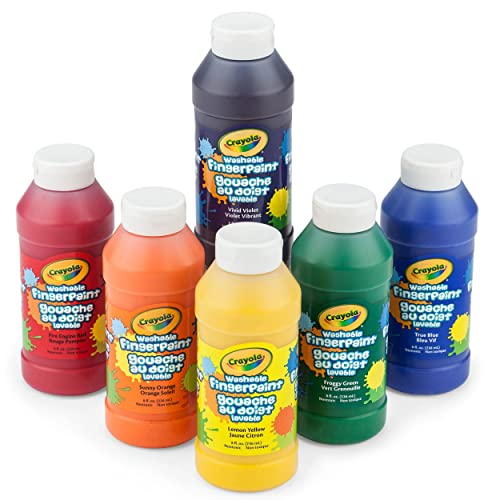
- brown washable paint
- red, orange, yellow finger paints
- paper towel
- paintbrush
- black marker
- baby wipe
How to Make It
- Paint the palm and fingers of your child's hand with brown paint, then press firmly in the center of the plate. Lift straight up and let dry 15 minutes.
- Use baby wipes to clean their hand immediately after.
- Paint five feather shapes behind the handprint using red, orange, and yellow finger paints. Let dry 10 minutes.
- Draw a round turkey head and beak above the wrist area with black marker, adding an eye and wattle.


6. Fall Leaf Wind Spinner
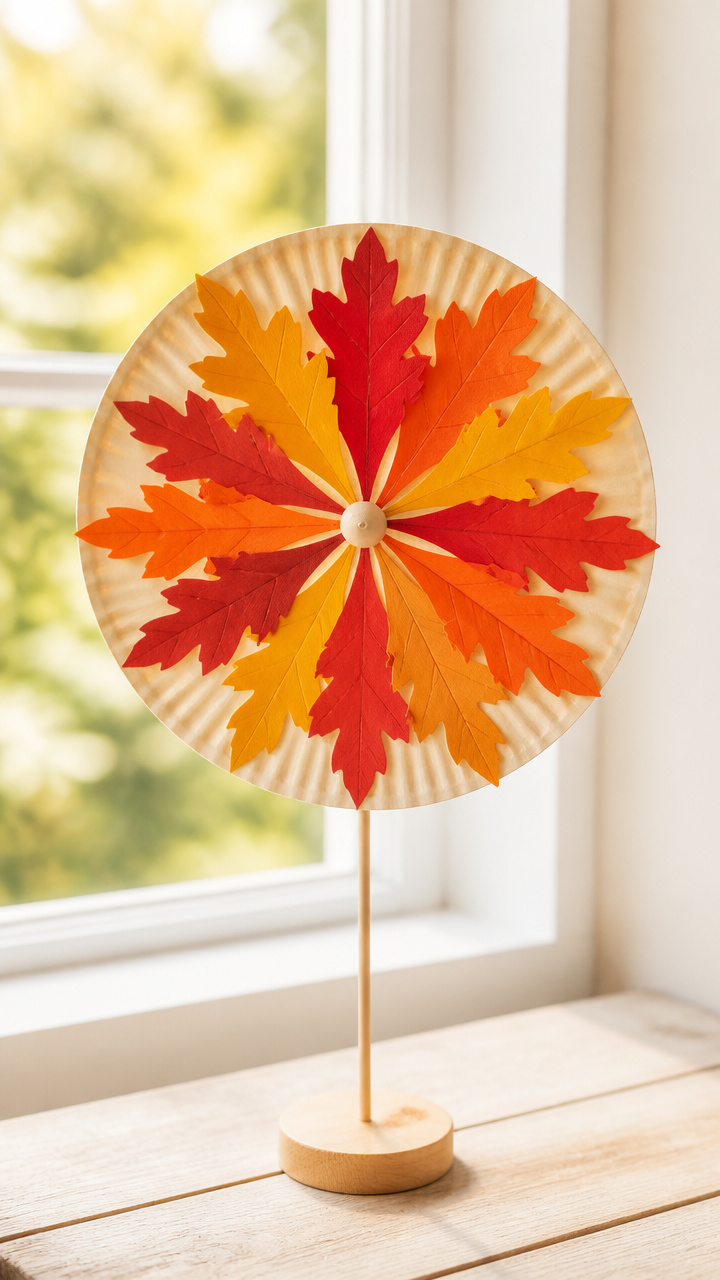
Spinning leaves catch the breeze near a window, flashing color as they turn. A brass fastener lets it pivot smoothly on its axis.
Materials Needed
- 1 paper plate
- scissors
- ruler
- pencil
- red, orange, and yellow markers
- 12 inch wooden skewer
- single-hole punch
- brass paper fastener (2 inch)
- small bead
How to Make It
- Draw a spiral from the edge of the plate toward the center using pencil, about 1 inch wide. Cut along the line with scissors.
- Color sections of the spiral with red, orange, and yellow markers, alternating shades for contrast.
- Punch a hole at the center of the spiral. Slide the bead onto the skewer tip, then push the skewer through the hole.
- Secure the spiral with the brass fastener through the plate and into the skewer, allowing room for spinning.


7. Gratitude Chain Garland
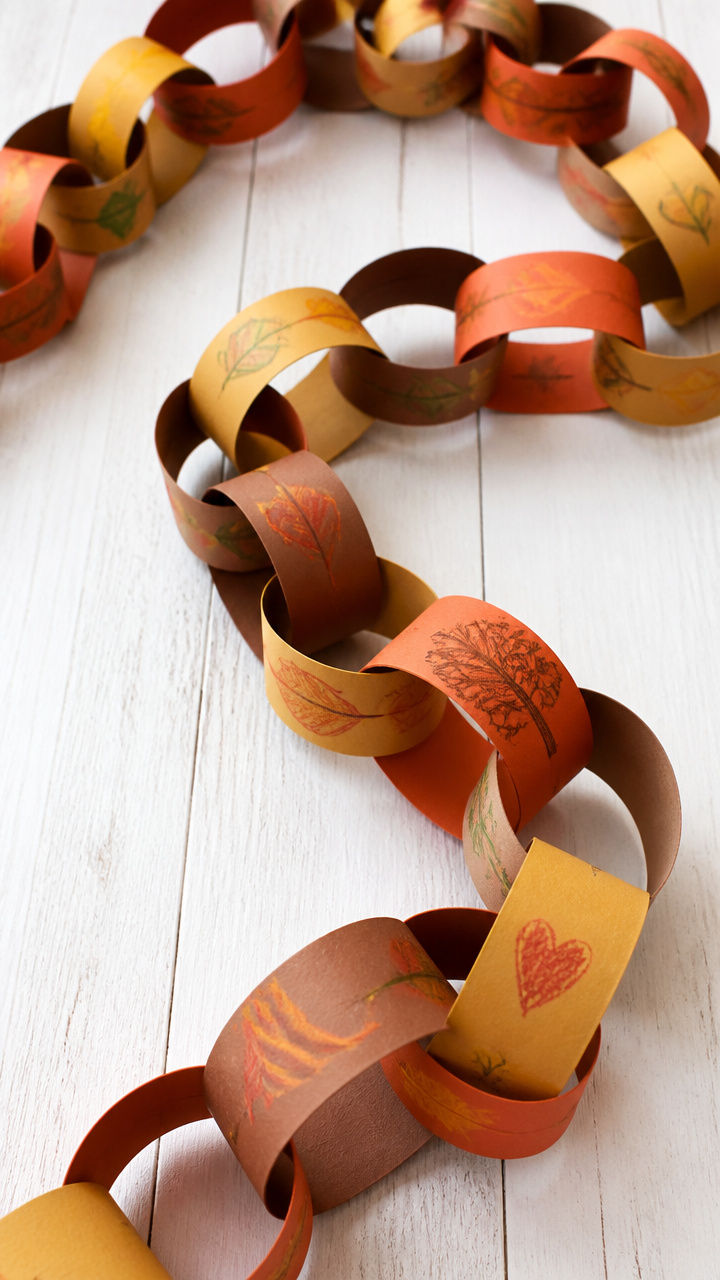
Interlocking loops hold messages of thanks written in crayon. Hang it across a mantel where everyone can read the kind words.
Materials Needed
- 3 paper plates
- scissors
- crayons (brown, gold, rust)
- ruler
- pencil
- glue stick
- white paper scraps (2 x 6 inch)
How to Make It
- Cut each plate into 1 inch wide strips using scissors, working around the rim and inner circle separately.
- Color each strip with crayon, pressing firmly to cover completely in warm tones.
- Write one gratitude thought on each white paper scrap. Curl each end with your finger.
- Form a loop by gluing the ends of a strip together. Thread one scrap through and glue its ends to close the second loop, linking them.
- Repeat until all strips are linked in a long chain.


8. Owl Harvest Centerpiece
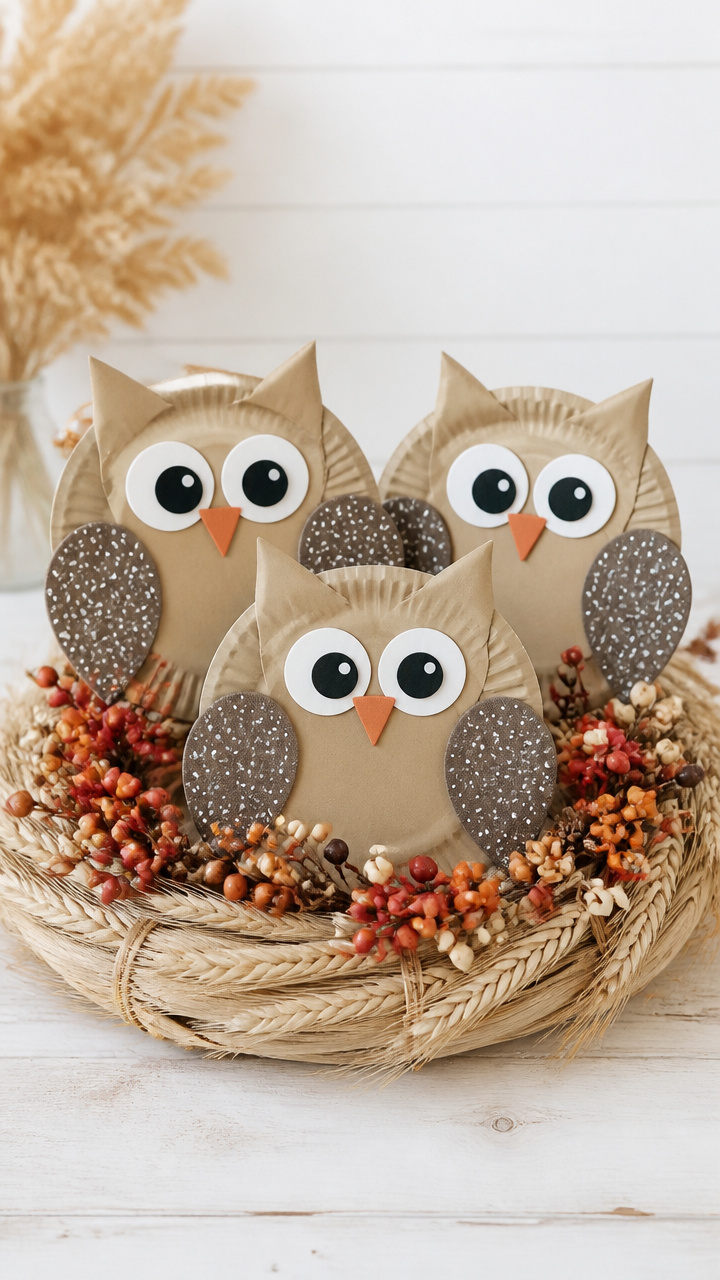
Big-eyed owls perch on a ring of wheat-colored plates, guarding a nest of faux berries. Their speckled wings add woodland charm.
Materials Needed
- 3 paper plates
- tan acrylic paint
- paintbrush
- black and white craft foam sheets
- scissors
- glue stick
- fake cranberries (½ cup)
- brown yarn (6 inches)
How to Make It
- Paint the faces of all three plates tan and let dry for 20 minutes.
- Cut one plate in half. Glue each half vertically on opposite sides of a full plate to form wings.
- From black foam, cut two 1.5 inch circles. From white foam, cut slightly smaller circles and glue them on to make eyes.
- Glue the eyes near the top center of the front plate. Add a small triangle beak from leftover black foam.
- Sprinkle fake cranberries in the center. Wrap yarn around the base once and tie in a knot to look like a twig nest.
9. Thanksgiving Place Cards
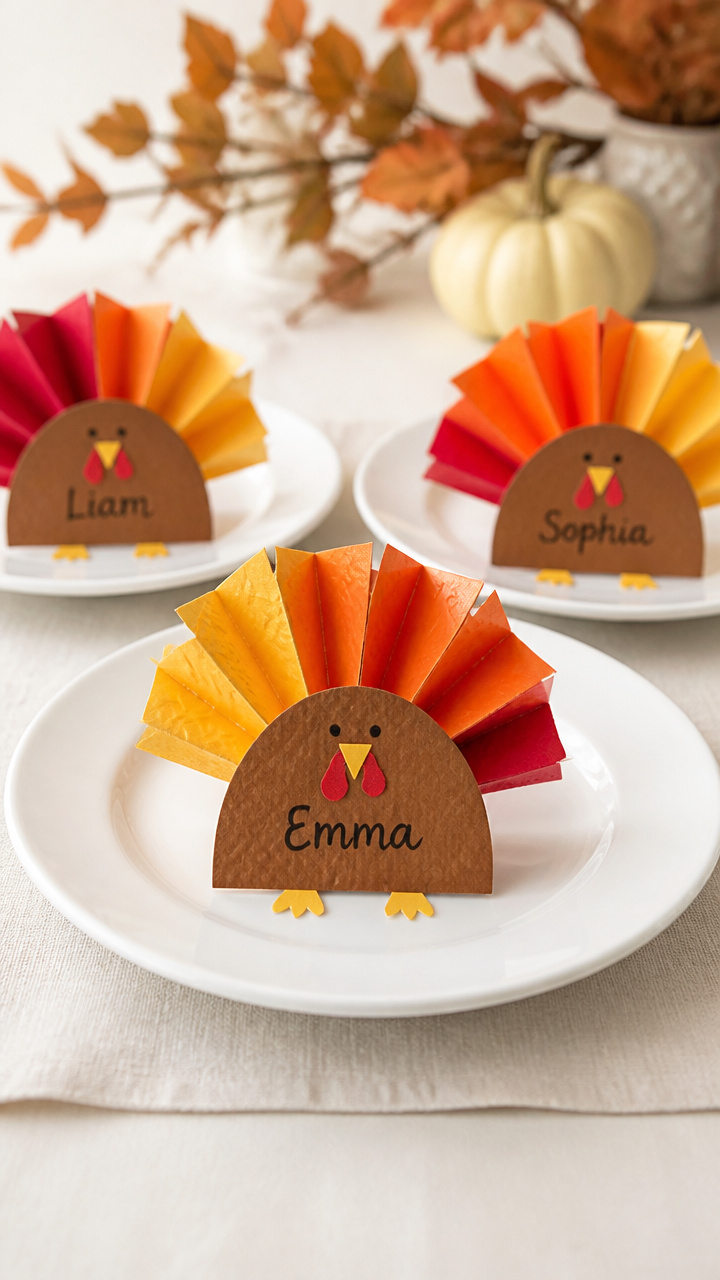
Each guest finds their name on a mini turkey perched at their plate. Feathers are folded for dimension and tucked under the bird's body.
Materials Needed
- 6 paper plates
- brown watercolor paint
- watercolor brush
- scissors
- ruler
- pencil
- calligraphy pen
- glue stick
- construction paper (red, yellow, orange)
How to Make It
- Cut each plate into quarters. Paint one quarter piece brown and let dry for 15 minutes.
- Fold three feather shapes in half lengthwise from colored paper. Write the guest's name on the front with the calligraphy pen.
- Cut a small wattle from red paper and a beak from yellow. Glue them below the rounded edge of the quarter.
- Add two dots for eyes with the pen tip.
- Slide the folded base of each feather under the front of the turkey so they fan upward.


10. Pilgrim Bonnet Window Hanging
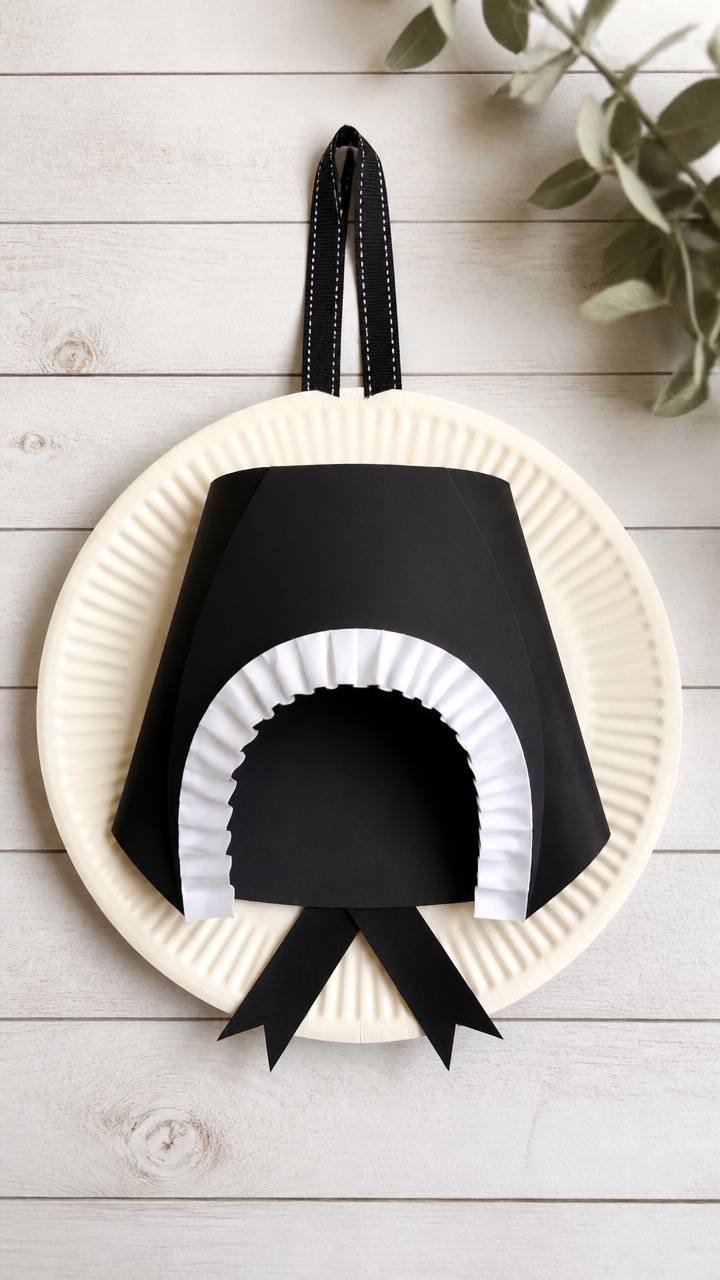
A delicate bonnet dangles from a ribbon, casting soft shadows in the light. Black paper and white fringe give it authentic texture.
Materials Needed
- 1 paper plate
- black construction paper (8.5 x 11 inch)
- white printer paper
- scissors
- glue stick
- ruler
- pencil
- 10 inch ribbon
How to Make It
- Cut the outer rim off the plate to keep only the center circle. Set aside the rim.
- Cut a 2 inch wide strip from the black paper, 11 inches long. Glue it around the edge of the circle to form the bonnet brim.
- Cut fringe lines 1 inch deep along one 8.5 inch edge of the white paper. Roll it into a loose cylinder and glue the seam.
- Glue the fringed edge down to the back of the circle so the ruffles face forward.
- Punch two holes at the top and thread ribbon through for hanging.


11. Harvest Sun Wall Art
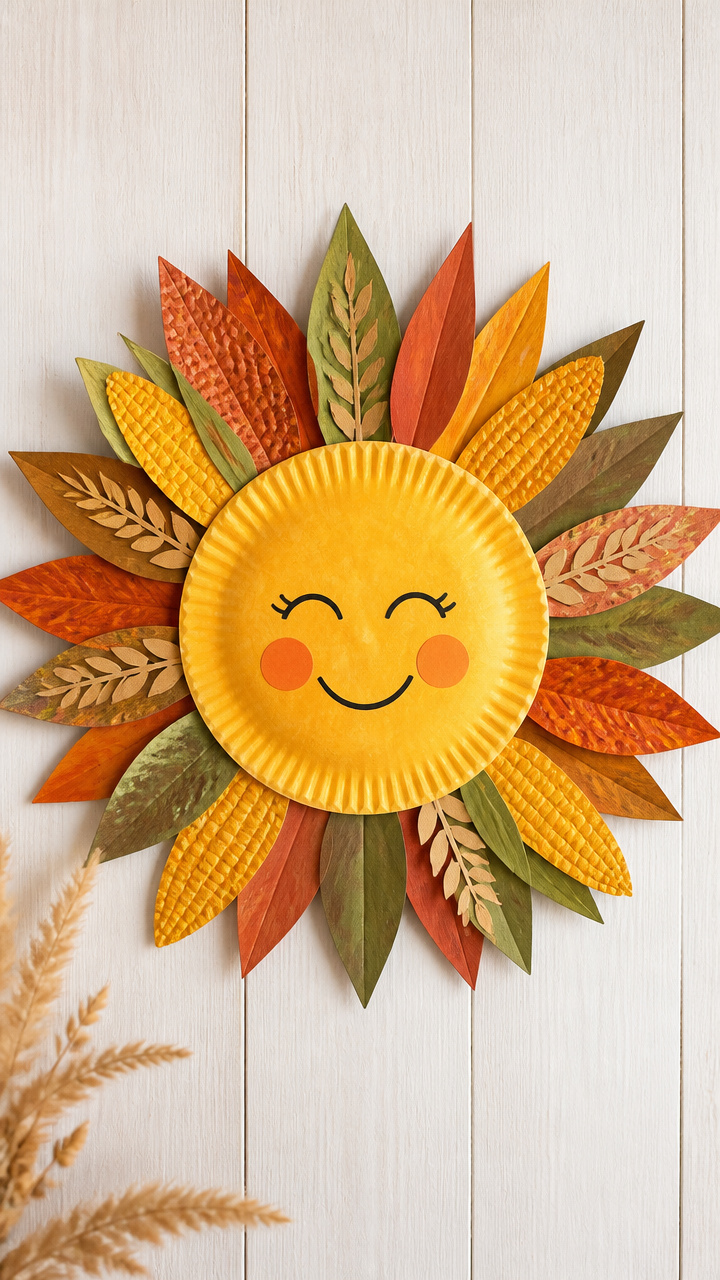
Rays of corn, squash, and wheat stretch from a smiling sun face. This bright piece works as a classroom gift or kitchen decor.
Materials Needed
- 1 paper plate
- yellow acrylic paint
- paintbrush
- construction paper (orange, brown, green)
- scissors
- glue stick
- black marker
How to Make It
- Paint the entire plate yellow and let dry for 20 minutes.
- Cut 8 long triangles from orange paper, 1 inch wide at the base and 4 inches long. These are your rays.
- Glue the rays evenly spaced around the back edge of the plate so they fan out.
- Cut small shapes from brown and green paper to represent corn kernels, squash, and wheat bundles. Glue them along the rays.
- Draw a simple smiling face in the center with black marker.
12. Turkey Napkin Rings
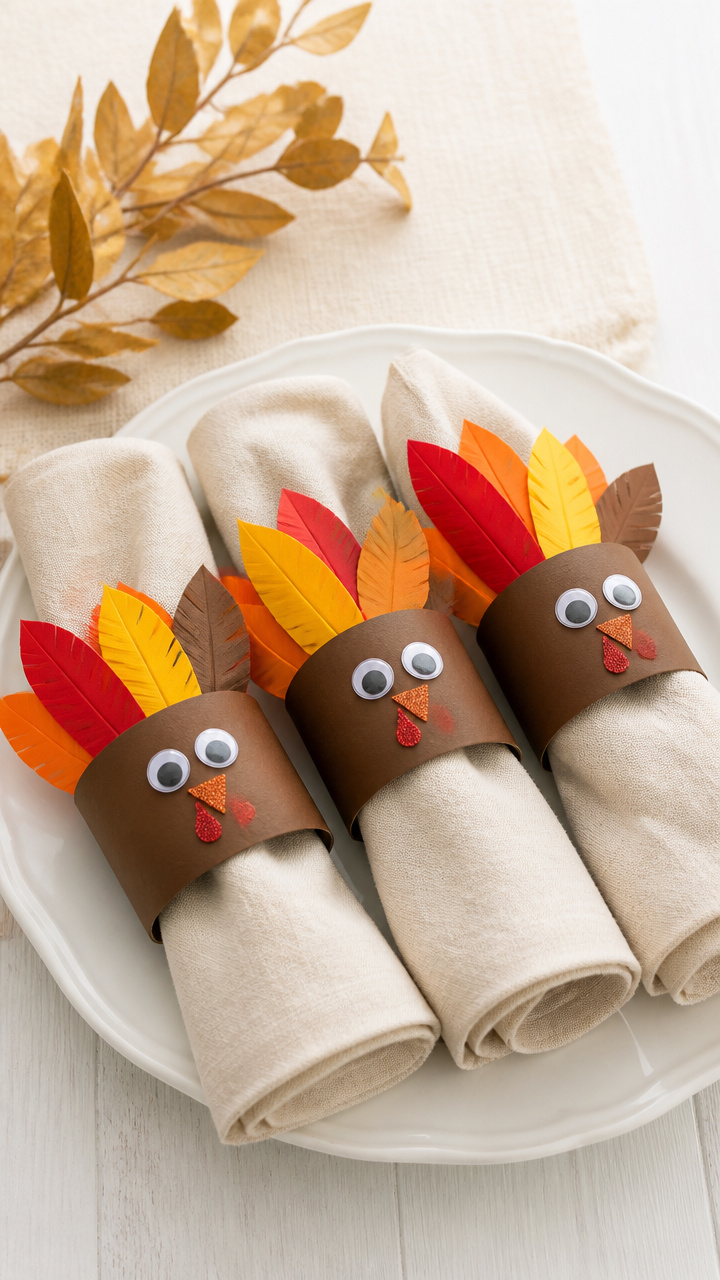
Tiny turkeys wrap around cloth napkins with feather tails peeking out. Use glitter glue on the beak for a subtle sparkle.
Materials Needed
- 4 paper plates
- brown acrylic paint
- paintbrush
- scissors
- glue stick
- red and yellow glitter glue
- construction paper (red, orange, yellow)
How to Make It
- Cut four 2 inch wide rings from the outer rims of the plates. Paint them brown and let dry for 15 minutes.
- Cut feather stacks of three from colored paper, 1.5 inches long. Glue them to the back of each ring so they fan upward.
- Cut small beaks from yellow paper and wattles from red. Add a dot of glitter glue to each.
- Glue the beak and wattle to the front of the ring. Let dry 5 minutes before slipping on a napkin.

13. Thanksgiving Countdown Wheel
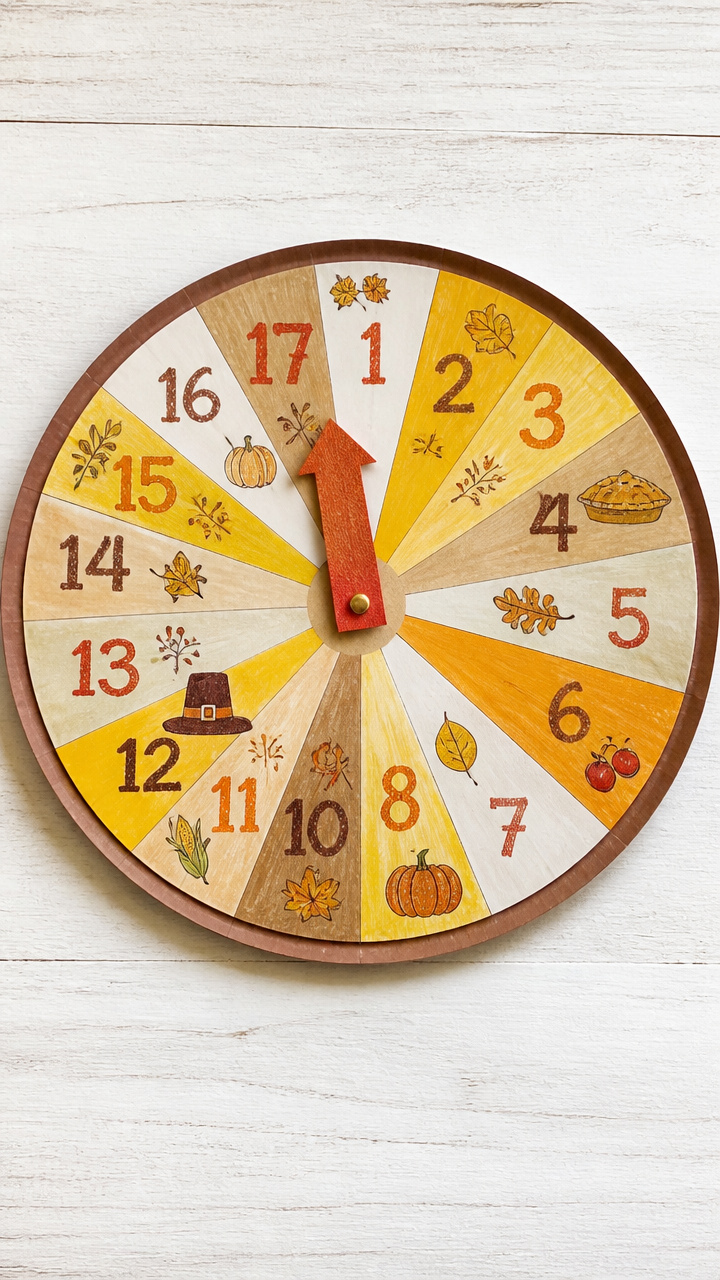
Each day, spin the arrow to reveal a new activity like baking pie or calling Grandma. Kids love watching the numbers drop.
Materials Needed
- 1 paper plate
- brad fastener (1 inch)
- pencil
- ruler
- crayons
- scissors
- black marker
How to Make It
- Divide the plate into 10 equal slices with pencil and ruler. Number each slice from 10 to 1 using the marker.
- Write a Thanksgiving-themed activity next to each number, such as 'Make cookies' or 'Draw a turkey'.
- Cut an arrow shape from leftover plate material, 5 inches long. Color it with crayons.
- Poke a hole in the center of the plate and through the base of the arrow. Join them with the brad fastener so the arrow spins freely.
14. Floating Leaf Mobile
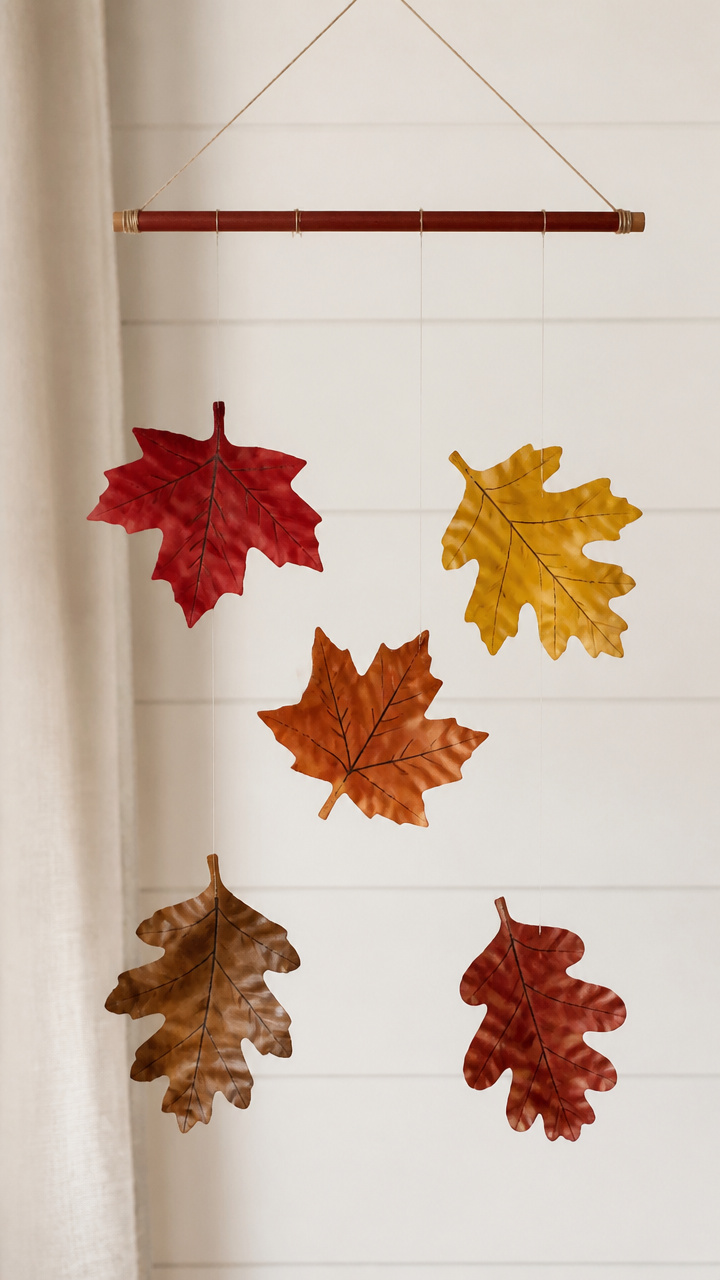
Delicate leaves drift at different heights beneath a painted branch. Fishing line keeps them nearly invisible as they sway.
Materials Needed
- 5 paper plates
- acrylic paints (red, gold, rust, brown)
- paintbrush
- scissors
- clear fishing line (36 inches total)
- wooden dowel (8 inch)
- glue stick
How to Make It
- Cut leaf shapes from each plate using real leaves as stencils if desired. Paint each with warm colors and let dry 20 minutes.
- Cut a small notch at the base of each leaf. Tie a 6 inch piece of fishing line into the notch.
- Wrap fishing line around the dowel at varied points and secure with glue. Space them so leaves won’t tangle.
- Tie a 12 inch support line to each end of the dowel for hanging.
15. Turkey Puppet Stick
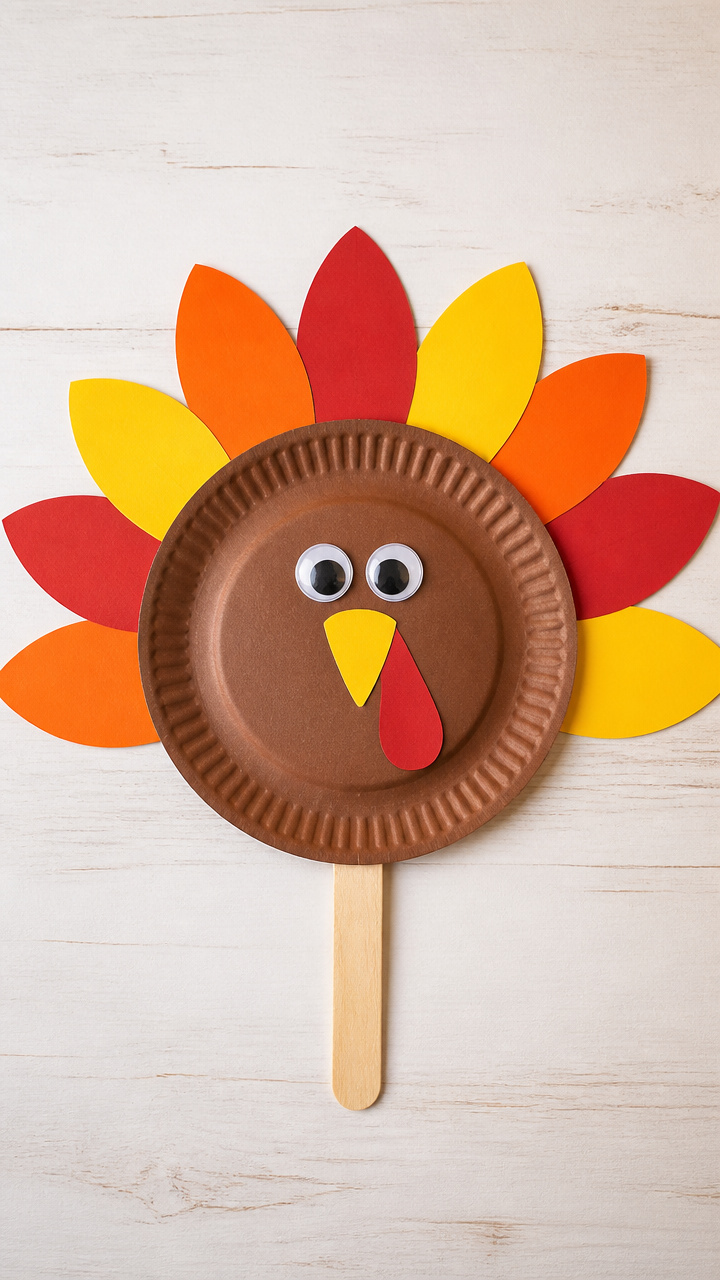
Wiggle the head and tail of this goofy turkey during dinner stories. A popsicle stick makes it easy to lift and move.
Materials Needed
- 1 paper plate
- brown acrylic paint
- paintbrush
- popsicle stick
- glue stick
- construction paper (red, orange, yellow)
- scissors
- black marker
How to Make It
- Paint half of the plate brown and let dry for 15 minutes.
- Cut feather shapes from colored paper, 3 for the tail, and glue them to the curved edge of the half-plate.
- Cut a wattle from red paper and a beak from orange. Glue them below the flat edge.
- Draw eyes with the black marker above the beak.
- Glue the popsicle stick to the back of the flat edge so it extends downward for holding.
16. Mini Harvest Baskets
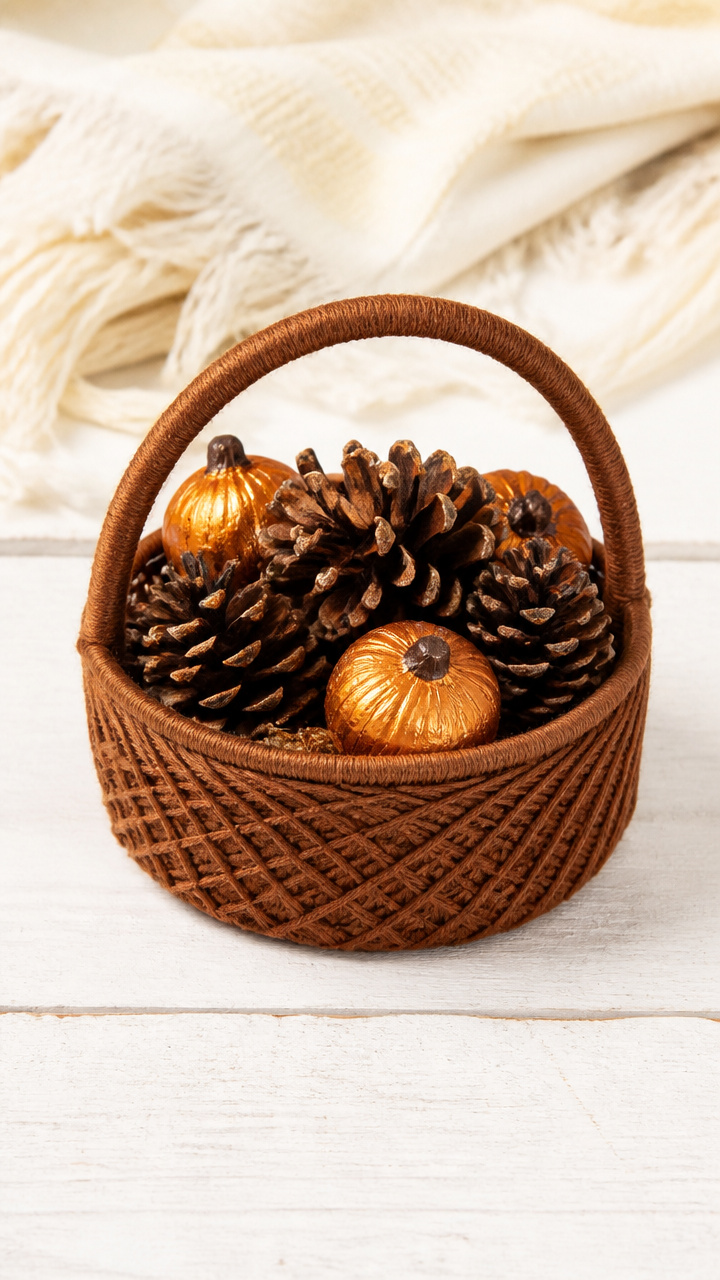
Little baskets hold pinecones or chocolate pumpkins on side tables. Crisscrossed yarn mimics woven wicker.
Materials Needed
- 4 paper plates
- scissors
- ruler
- pencil
- brown yarn
- glue stick
- acrylic paint (tan)
- paintbrush
How to Make It
- Cut a 1 inch wide strip from the rim of each plate. Paint the strips tan and let dry 20 minutes.
- Weave five vertical strands of yarn across the open center of each strip, gluing ends at the back.
- Bend the strip into a shallow U-shape and glue the two ends together to form a basket.
- Let dry flat for 10 minutes before filling with small treats.


17. Family Tree Platter
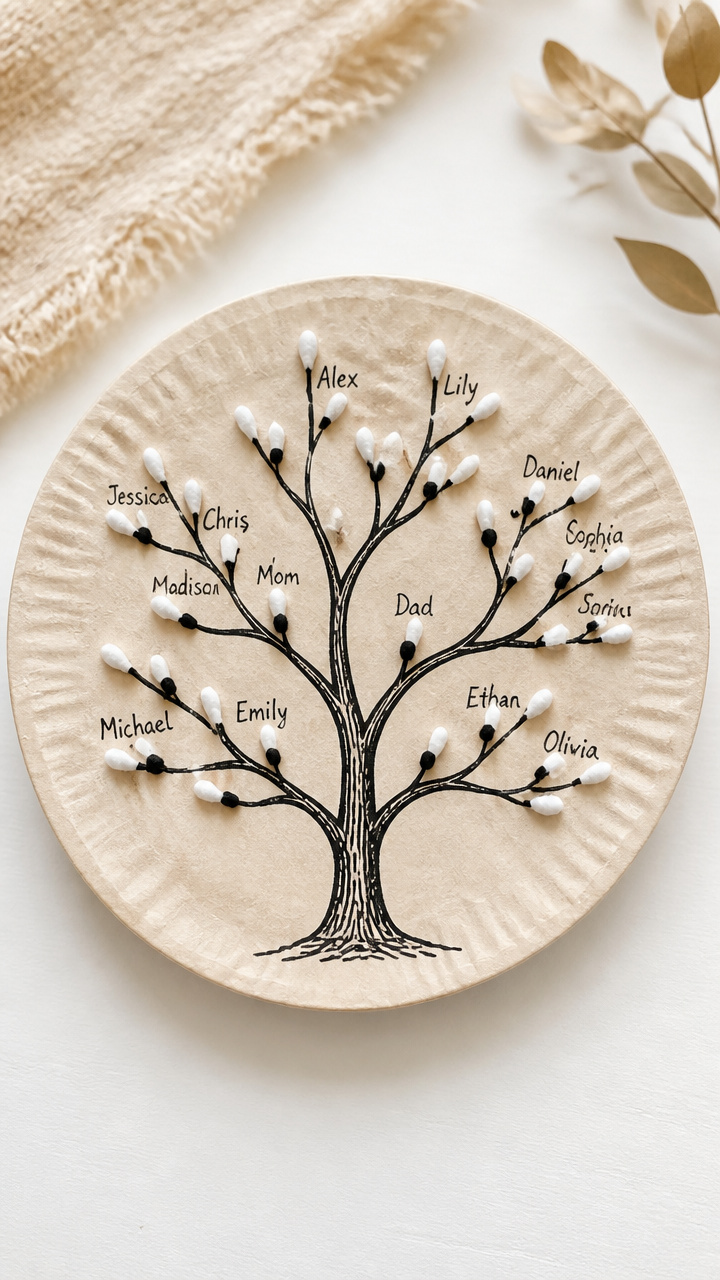
Hand tracings become branches filled with names of loved ones. This keepsake grows more meaningful year after year.
Materials Needed
- 1 paper plate
- black marker
- ruler
- scissors
- white glue
- cotton swabs
- red paint
- family photo (2 x 3 inch)
How to Make It
- Trace each family member's hand on the plate with black marker, fanning them from the bottom center to form tree branches.
- Cut small leaves from scrap paper and write each person's name on one.
- Glue the leaves to the tips of each finger branch.
- Dip a cotton swab in red paint and dot berries along the branches between names.
- Glue the family photo in the center of the plate trunk area.
Grab your plates and start creating something cozy today. These ideas are simple enough for little helpers and special enough to keep out all season.