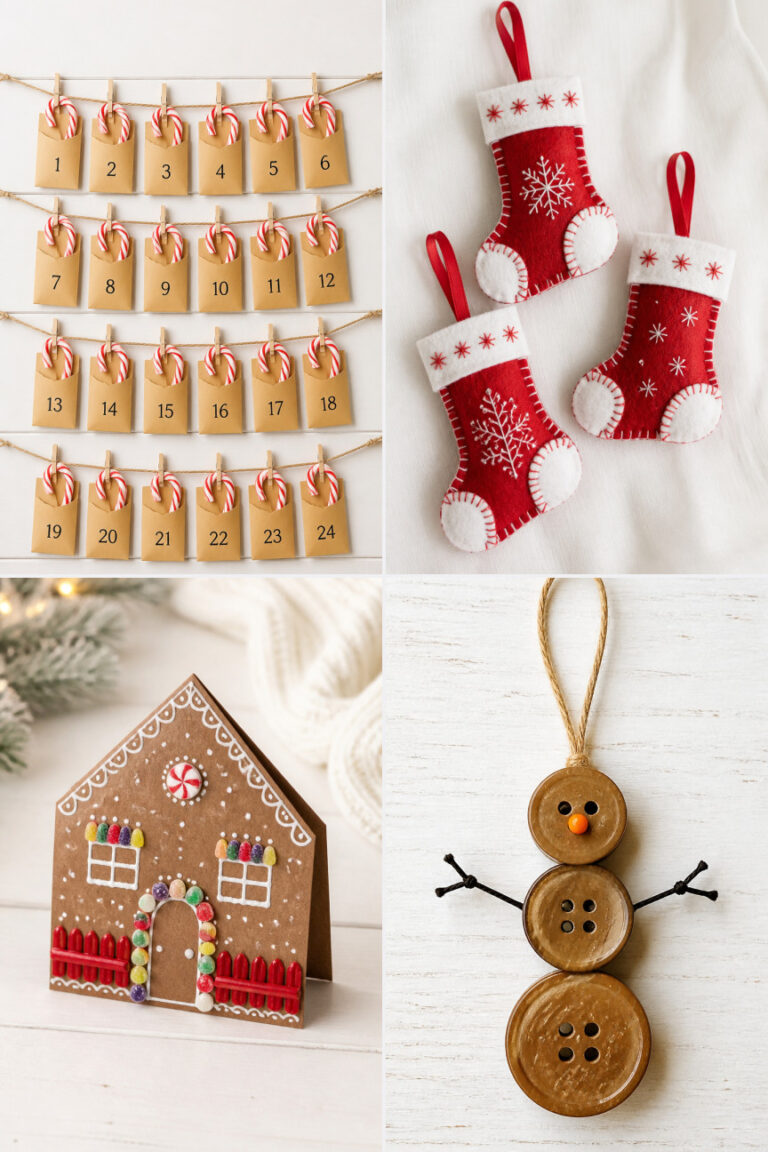
15 Last-Minute Christmas Crafts You Can Make in One Afternoon
The holiday rush is real, but your handmade touch doesn’t have to wait. With a few simple supplies and one quiet afternoon, you can create thoughtful gifts and cheerful decorations that feel personal and full of heart.
These crafts are chosen for speed, charm, and ease. Each one uses common materials and finishes fast—no complicated tools or hours of effort.
1. Mini Pinecone Wreaths
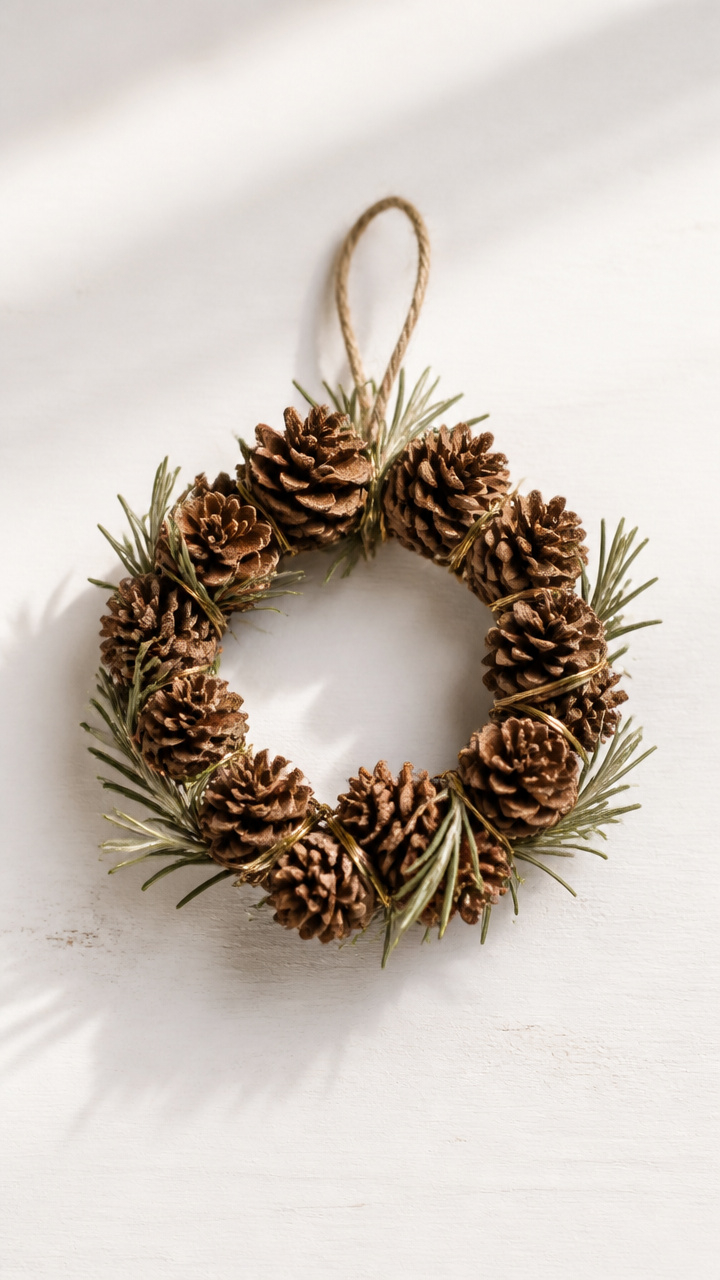
Tiny wreaths made from pinecones add rustic charm to gifts or windowsills. They’re quick to assemble and look like they came from a boutique.
Materials Needed
- 12 small pinecones
- 12-inch lengths of gold wire (6 pieces)
- dried rosemary sprigs (6)
- hot glue gun
- glue sticks
How to Make It
- Gather three pinecones and arrange them in a circle, tips pointing outward.
- Wrap a gold wire around the base where the pinecones meet and twist tightly to secure.
- Glue a dried rosemary sprig to the bottom of each wreath for a festive accent.
- Let dry for 5 minutes before hanging with twine or placing as a table accent.


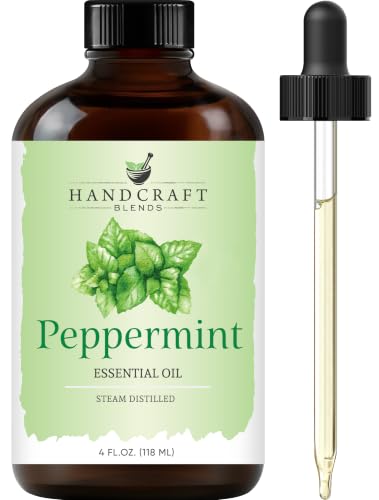
2. Peppermint Bath Salts
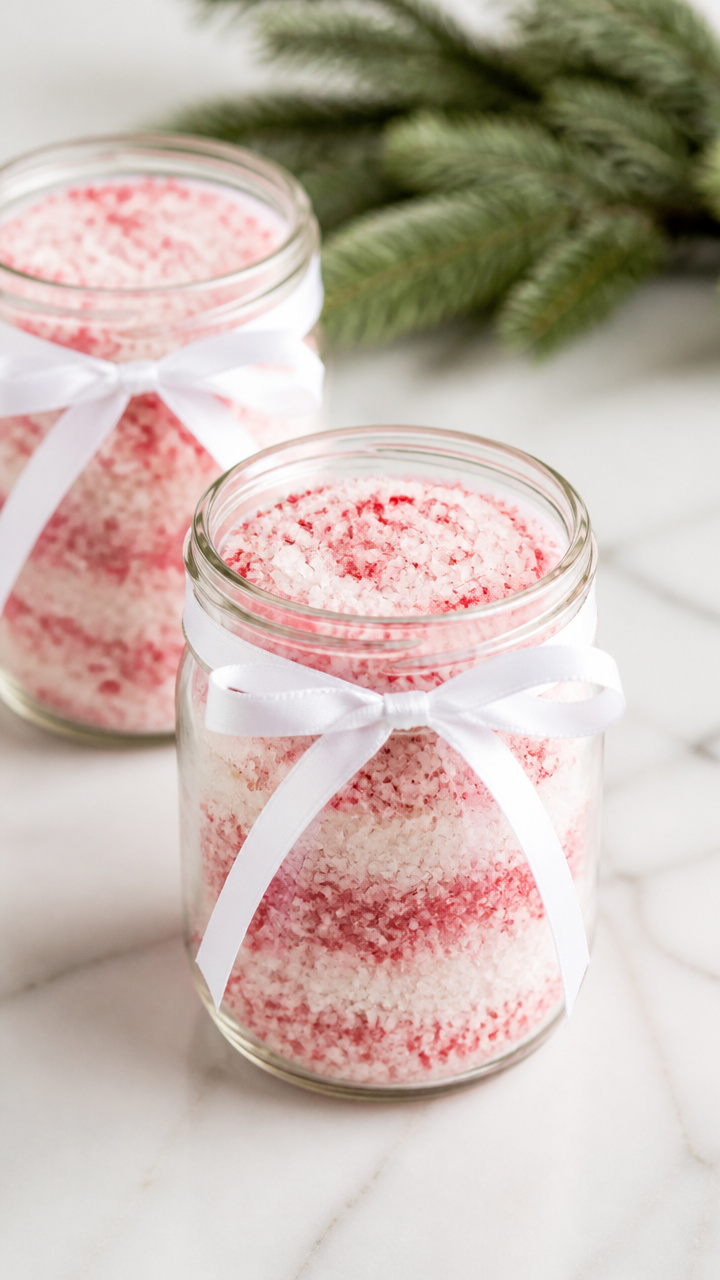
Fragrant bath salts in holiday jars make a spa-like gift. Peppermint oil gives a refreshing tingle and fills the room with cheer.
Materials Needed
- Epsom salt (2 cups)
- baking soda (1 cup)
- peppermint essential oil (20 drops)
- red food coloring (3 drops)
- 8-ounce mason jars (3)
- white ribbon (1 yard)
How to Make It
- Mix Epsom salt and baking soda in a large bowl until evenly combined.
- Add peppermint oil and red food coloring, stirring until pink and speckled.
- Spoon mixture into three mason jars, filling to the top.
- Tie a white ribbon around the lid for a crisp finish.


3. Cinnamon Stick Bundles
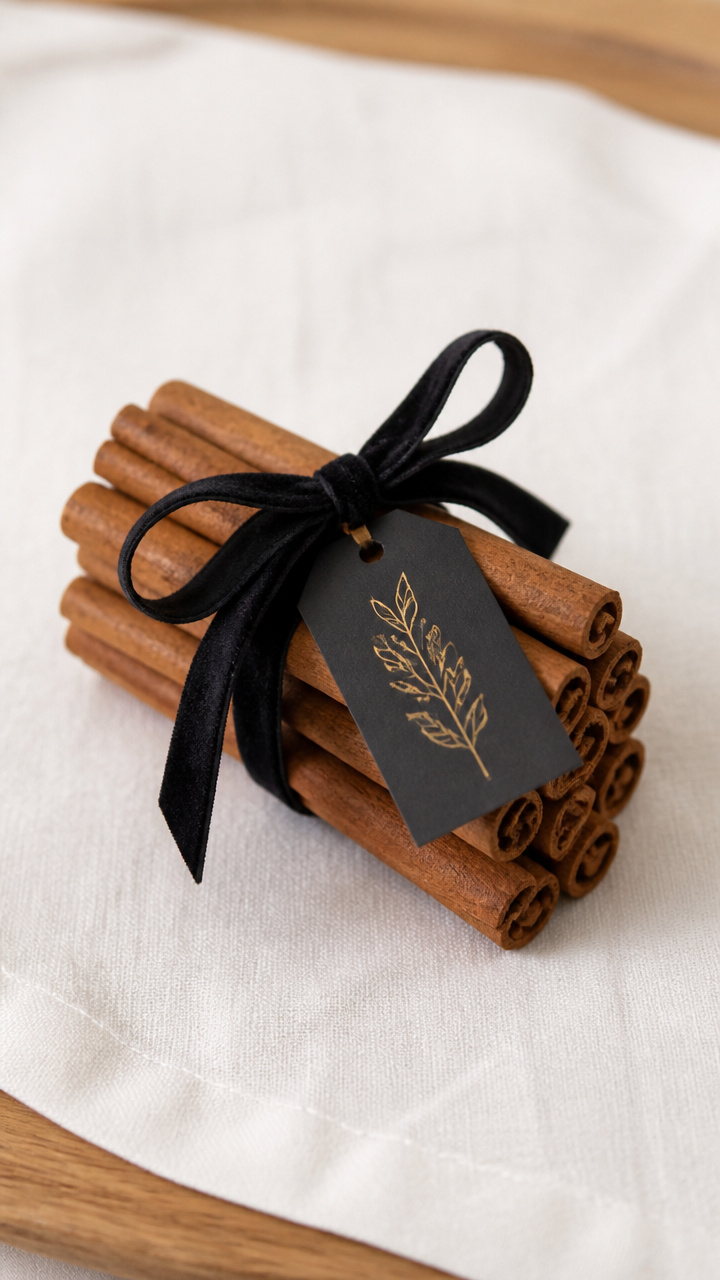
Bundled cinnamon sticks tied with velvet ribbon smell amazing and double as place card holders. They bring warmth to any table setting.
Materials Needed
- 15 cinnamon sticks
- black velvet ribbon (1/4 inch wide, 3 feet)
- gold calligraphy pen
- scissors
- packing tape
How to Make It
- Group five cinnamon sticks together and align ends evenly.
- Wrap black velvet ribbon around the center and tie a tight knot.
- Use a gold calligraphy pen to write a guest’s name on a small tag.
- Attach the tag to the bundle with packing tape wrapped once around the stick.


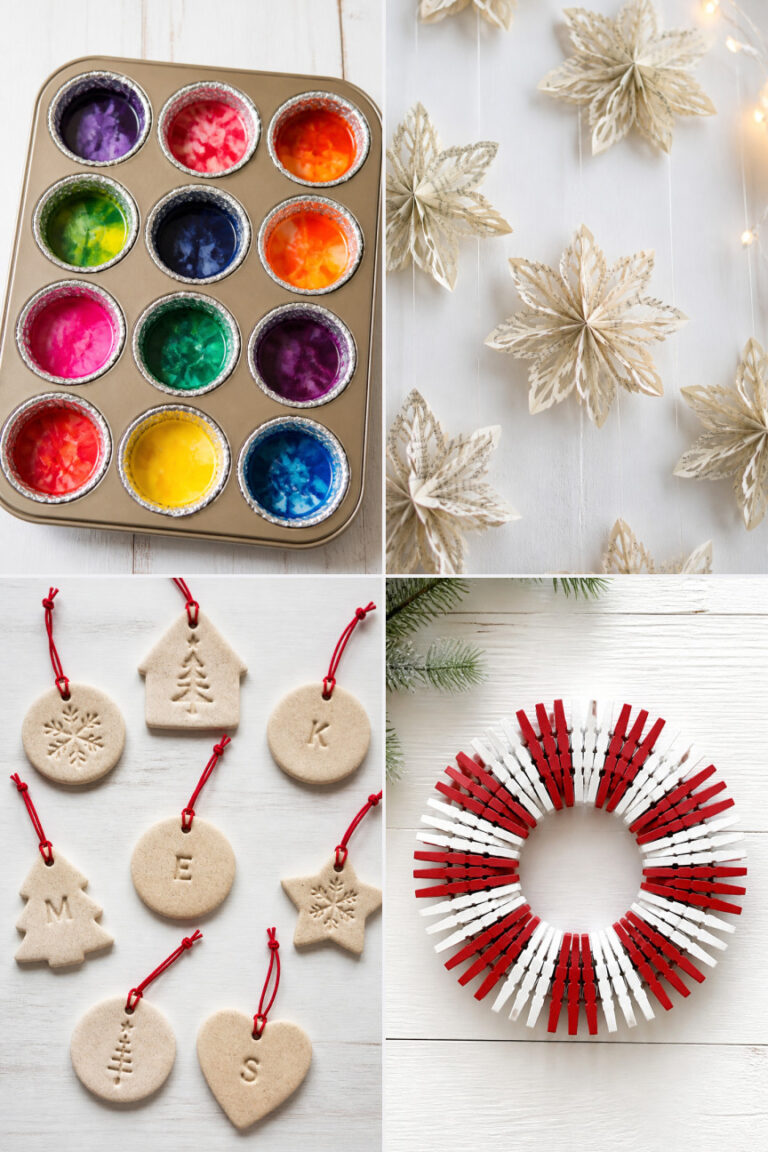
4. Salt Dough Ornaments
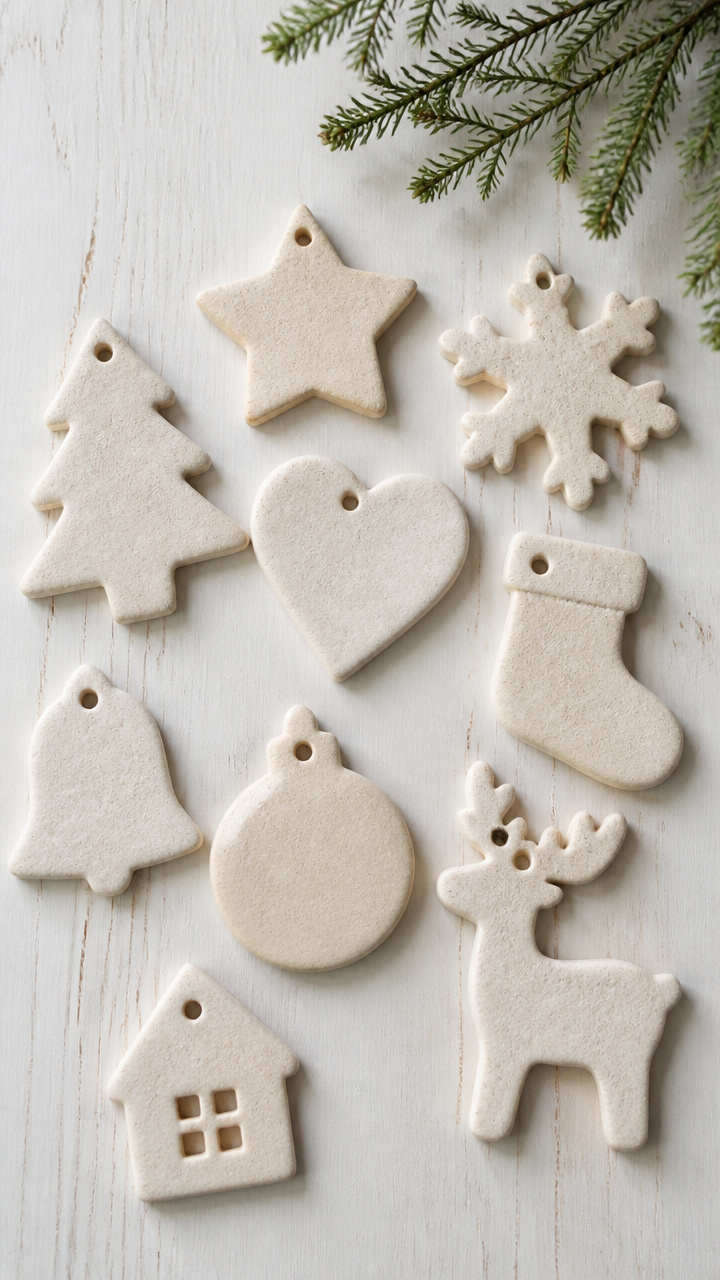
Simple ornaments shaped by hand carry memories for years. Kids love pressing shapes, and you only need three pantry staples.
Materials Needed
- flour (2 cups)
- table salt (1 cup)
- water (3/4 cup)
- rolling pin
- straw (for hole punching)
- parchment paper
- acrylic paint (green and gold)
How to Make It
- Mix flour, salt, and water in a bowl until a smooth dough forms.
- Roll dough to 1/4 inch thickness and cut into stars or trees using a knife.
- Punch a hole near the top with a straw before baking.
- Bake at 200°F for 3 hours, then cool and paint with green and gold designs.


5. Candy Cane Treat Bags
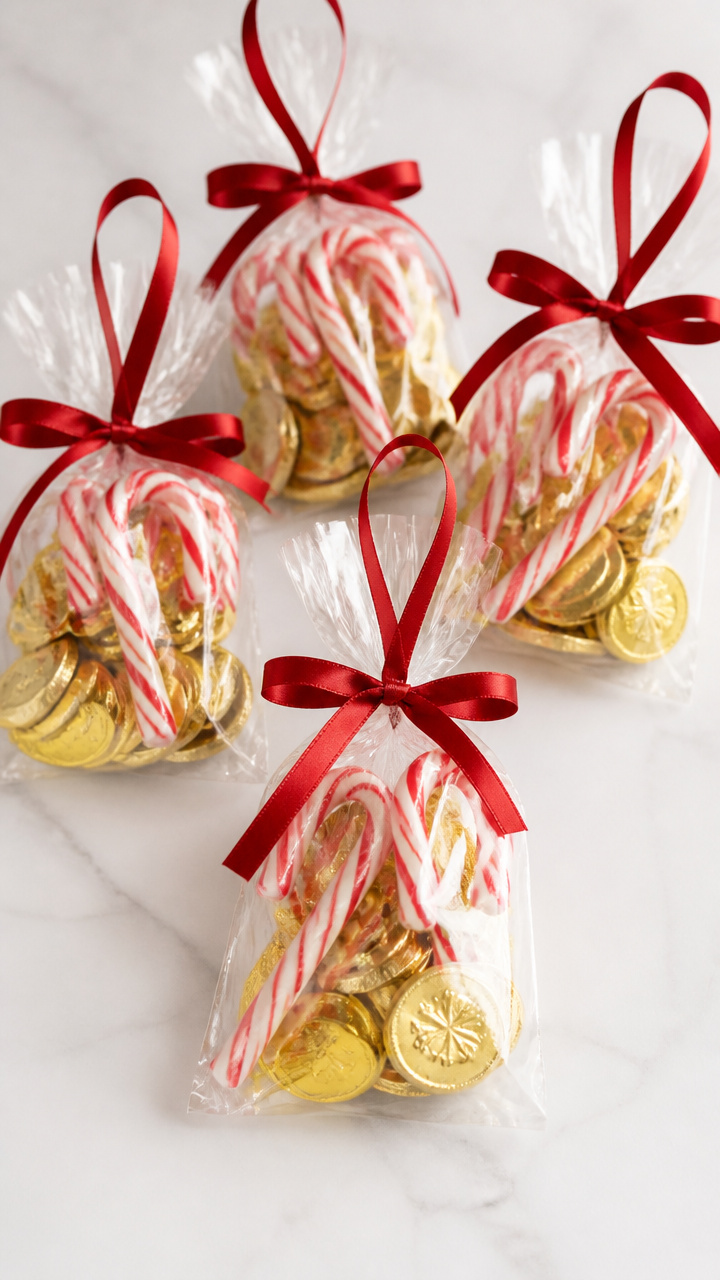
Clear treat bags twisted with ribbons turn candies into instant gifts. A candy cane adds whimsy and doubles as a stirrer.
Materials Needed
- clear cellophane treat bags (12)
- candy canes (12)
- chocolate coins (24)
- red satin ribbon (1 yard)
- scissors
How to Make It
- Fill each cellophane bag with two chocolate coins.
- Slide a candy cane into the bag so it stands upright.
- Twist the top closed and wrap red satin ribbon around the neck once.
- Knot the ribbon securely so the candy cane peeks out like a flag.


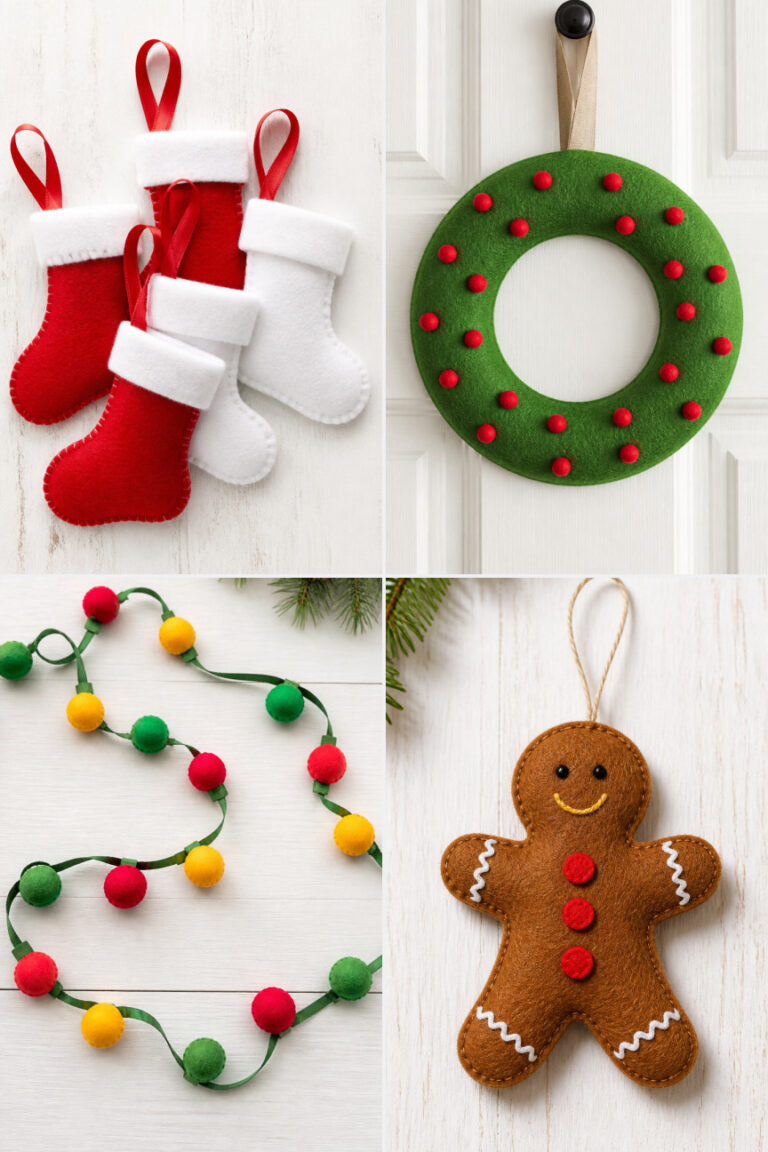
6. Felt Stocking Tags
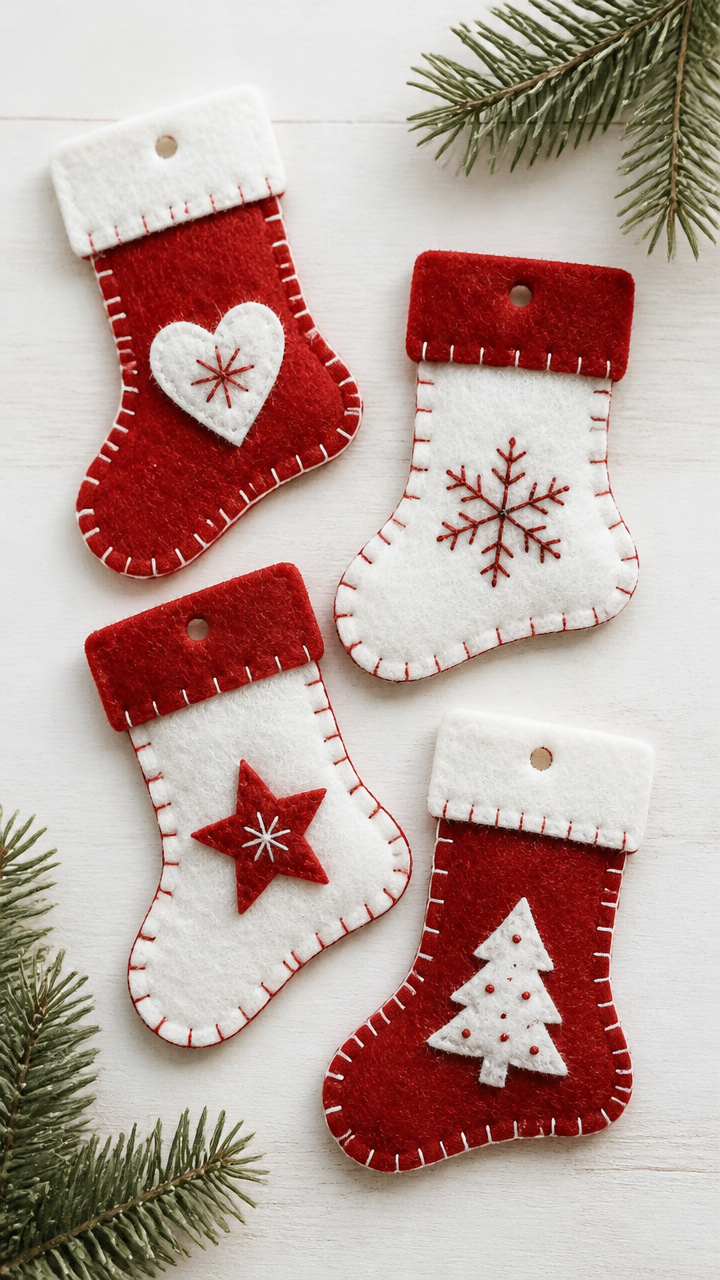
Soft felt tags personalize presents without wrapping fuss. Hand-stitching gives them heirloom charm in under an hour.
Materials Needed
- red felt sheets (2)
- white felt sheet (1)
- embroidery needle
- white embroidery floss (1 spool)
- scissors
- hole punch
How to Make It
- Cut 12 stocking shapes from red felt, each 3 inches tall.
- Cut 12 small white cuffs and glue to the top back edge of each stocking.
- Thread the needle with white floss and stitch a simple running stitch along the cuff edge.
- Punch a hole at the top and thread twine through for gift attachment.


7. Map Paper Orbs
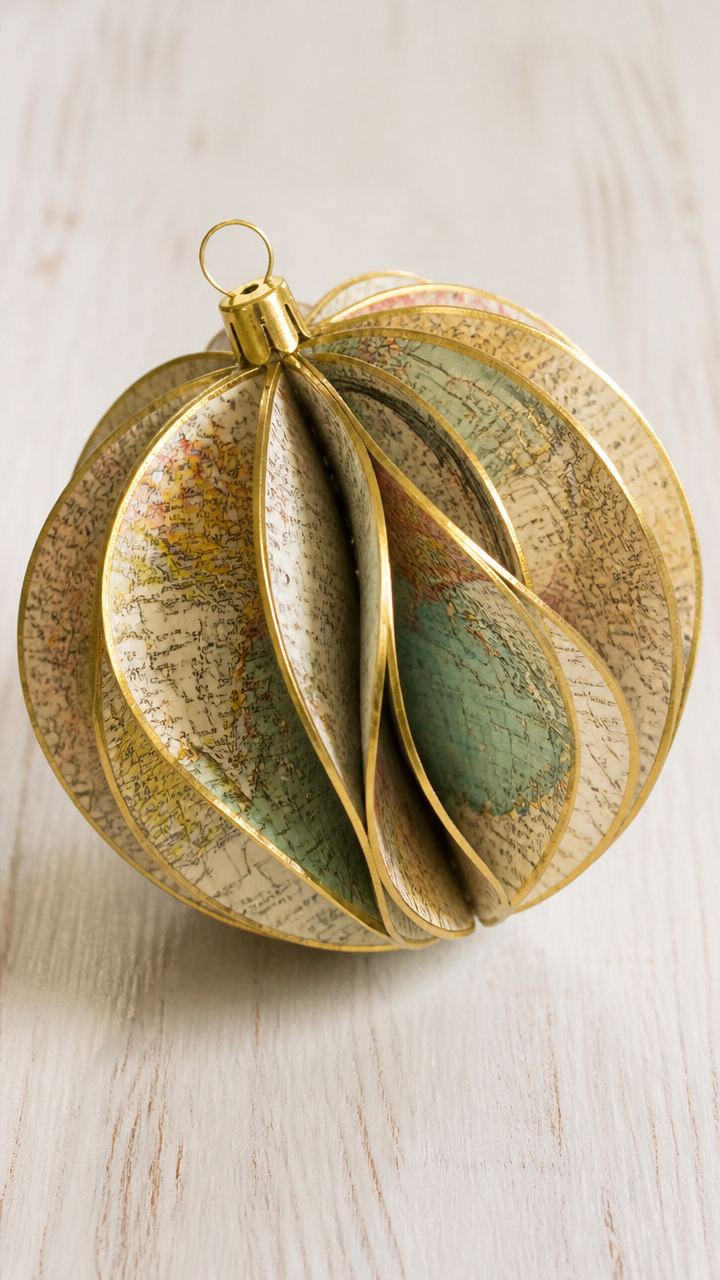
Ornaments made from old atlas pages curl into shiny globes. The metallic edges catch light and hint at faraway places.
Materials Needed
- old atlas pages (6 sheets)
- scissors
- mod podge
- foam brush
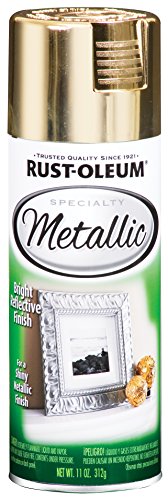
- gold spray paint
- ornament hooks (6)
How to Make It
- Cut atlas pages into 1-inch strips, 6 inches long.
- Coat a strip with mod podge and wrap tightly around a pencil to curl.
- Repeat with 15 strips, then fan and glue ends together into a ball shape.
- Spray lightly with gold paint and attach an ornament hook when dry.


8. Knit Hat Mini Trees
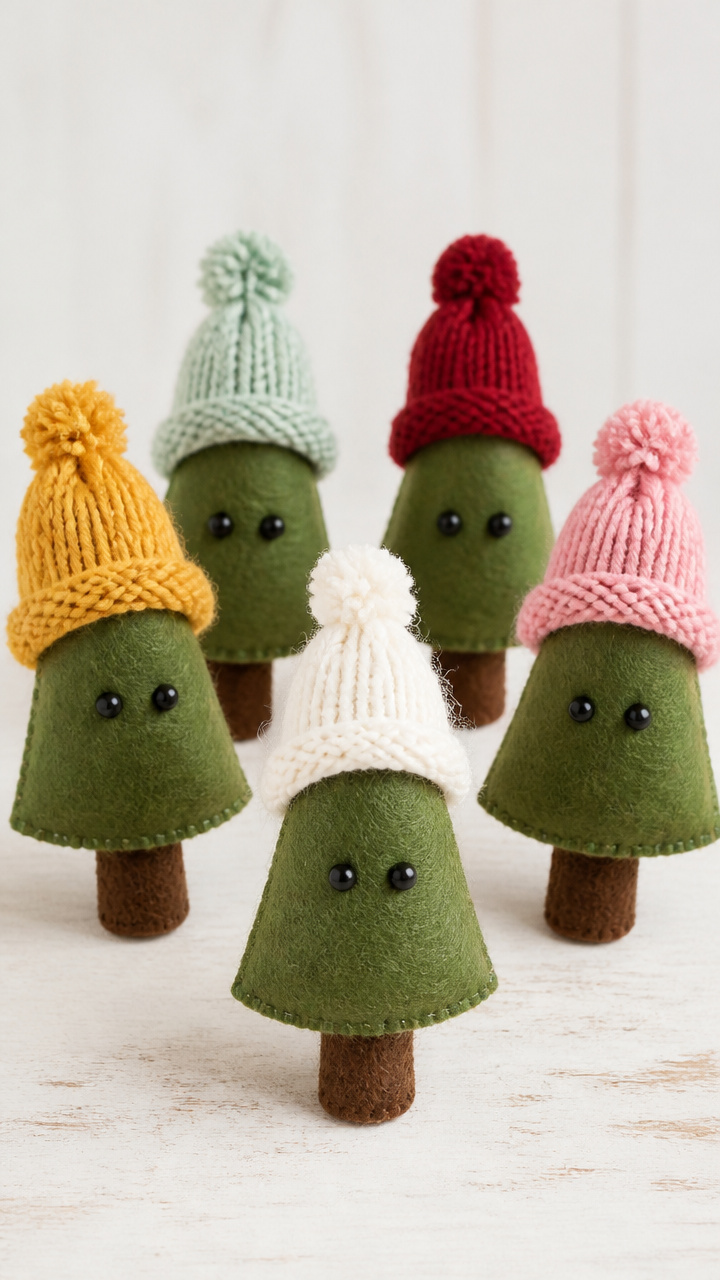
Tiny trees wear leftover yarn hats and smile with button eyes. These sit sweetly on shelves or desks.
Materials Needed
- green felt (1 sheet)
- brown felt (1 sheet)
- assorted yarn scraps (6 colors)
- black buttons (12 mm, 6)
- fabric glue
- scissors
How to Make It
- Cut six tree trunks from brown felt, each 2 inches tall.
- Cut six tree tops from green felt, shaped like stacked triangles.
- Glue trunk to top, then glue a black button near the base for eyes.
- Wrap a yarn scrap around the base like a scarf and secure with a dot of glue.


9. Calligraphy Gift Labels
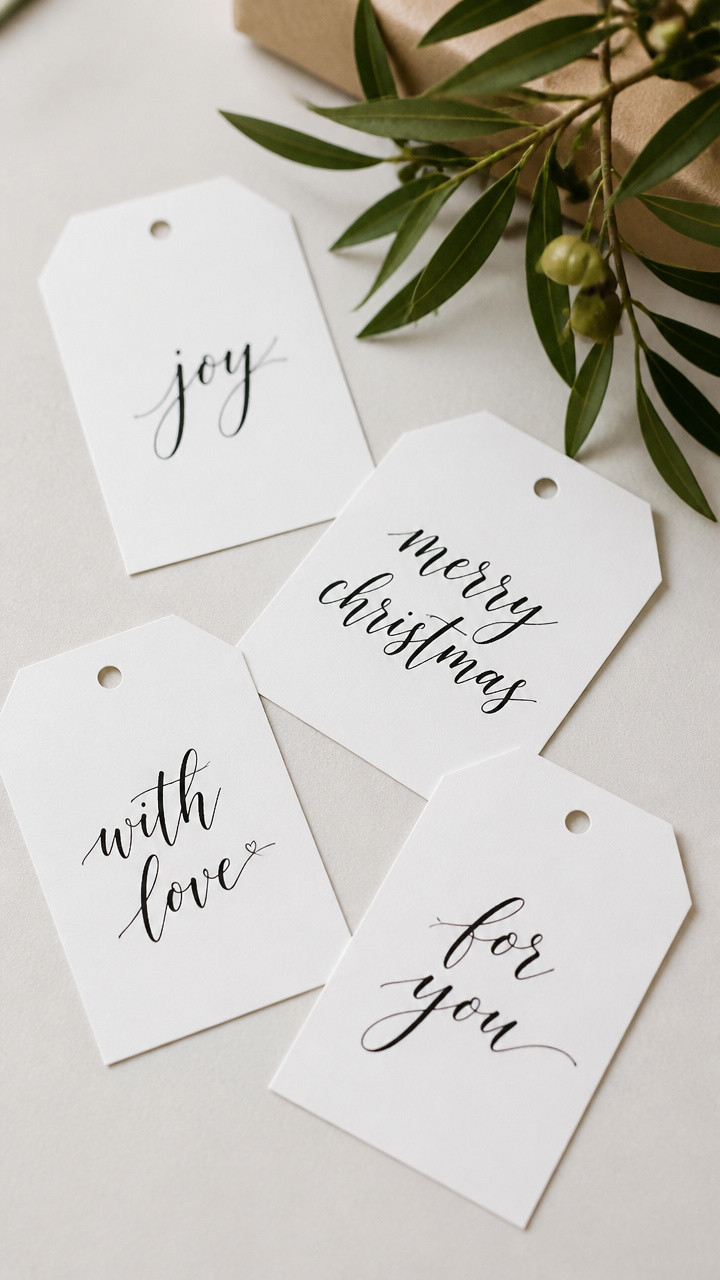
Hand-lettered labels turn plain tags into keepsakes. Brush pens make thick and thin lines easy, even for beginners.
Materials Needed
- white cardstock (A6 size, 10)
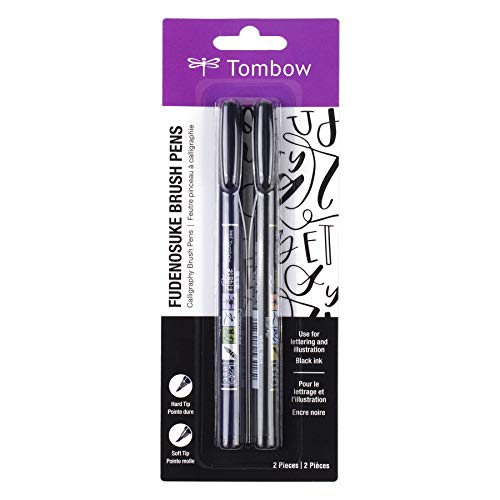
- brush pen (black)
- ruler
- pencil
- eraser
- hole punch
- twine (1 yard)
How to Make It
- Cut cardstock into 2.5 x 3.5 inch rectangles using ruler and scissors.
- Lightly draw a line across the bottom third with pencil.
- Use the brush pen to write names in flowing script above the line.
- Punch a hole at the top corner and thread twine through for tying.


10. Cranberry Garland
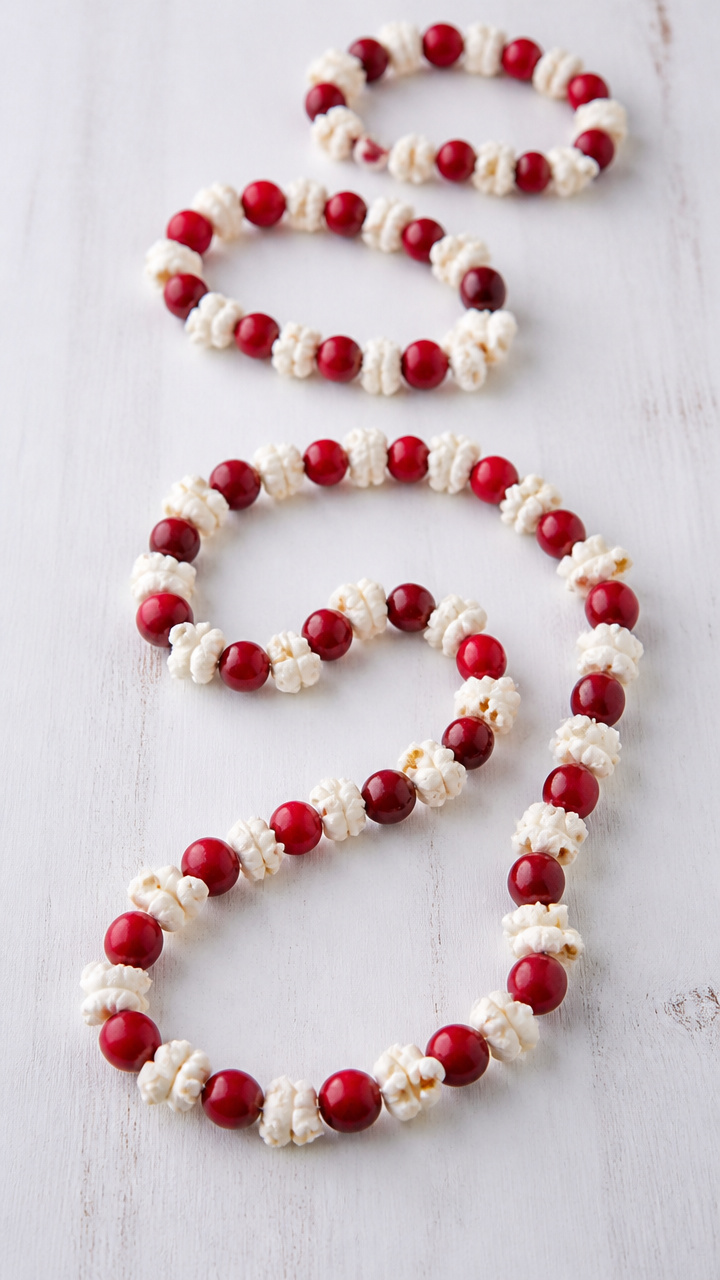
Bright red garlands strung by hand drape beautifully over mantels. The tart scent lingers as it dries.
Materials Needed
- fresh cranberries (2 cups)
- unpopped popcorn (2 cups)
- needle and white thread (36 inches)
- large-eye sewing needle
- baking sheet
How to Make It
- Thread the needle and knot the end of the thread.
- String alternating popcorn and cranberries onto the thread, pulling gently.
- Continue until the strand reaches 6 feet, then knot the end.
- Lay flat on a baking sheet overnight to dry before hanging.


11. Mug Wrap with Candy
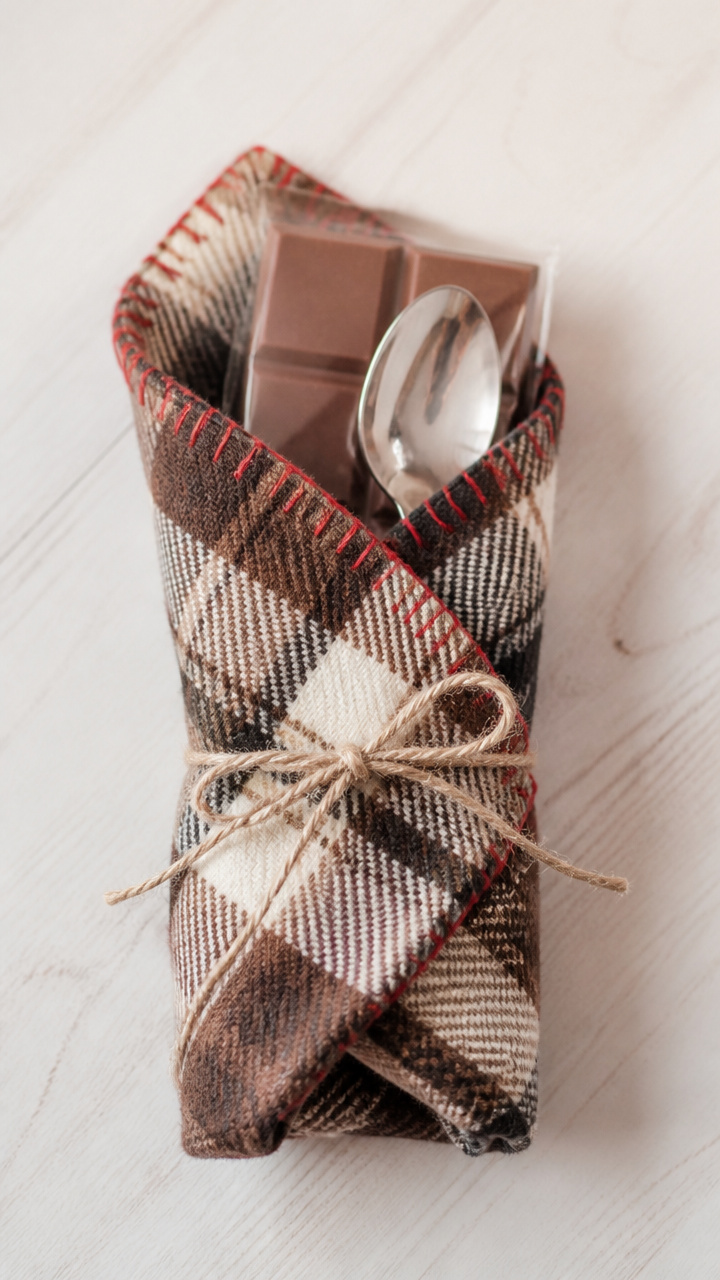
A candy bar wrapped in fabric becomes a cozy gift. Add a spoon and you’ve got an instant cocoa kit.
Materials Needed
- fat quarter of flannel (18×22 inches)
- chocolate bar (1.5 oz)
- spoon (6 inches)
- fabric marker
- ruler
- sewing needle and red thread
How to Make It
- Cut flannel into a 14×14 inch square using ruler and fabric marker.
- Place chocolate bar in center and fold corners up to meet in middle.
- Insert spoon under folded layers and hand-stitch once to hold.
- Leave unstitched if preferred, just tie with red thread.


12. Paper Snowflake Window Clings
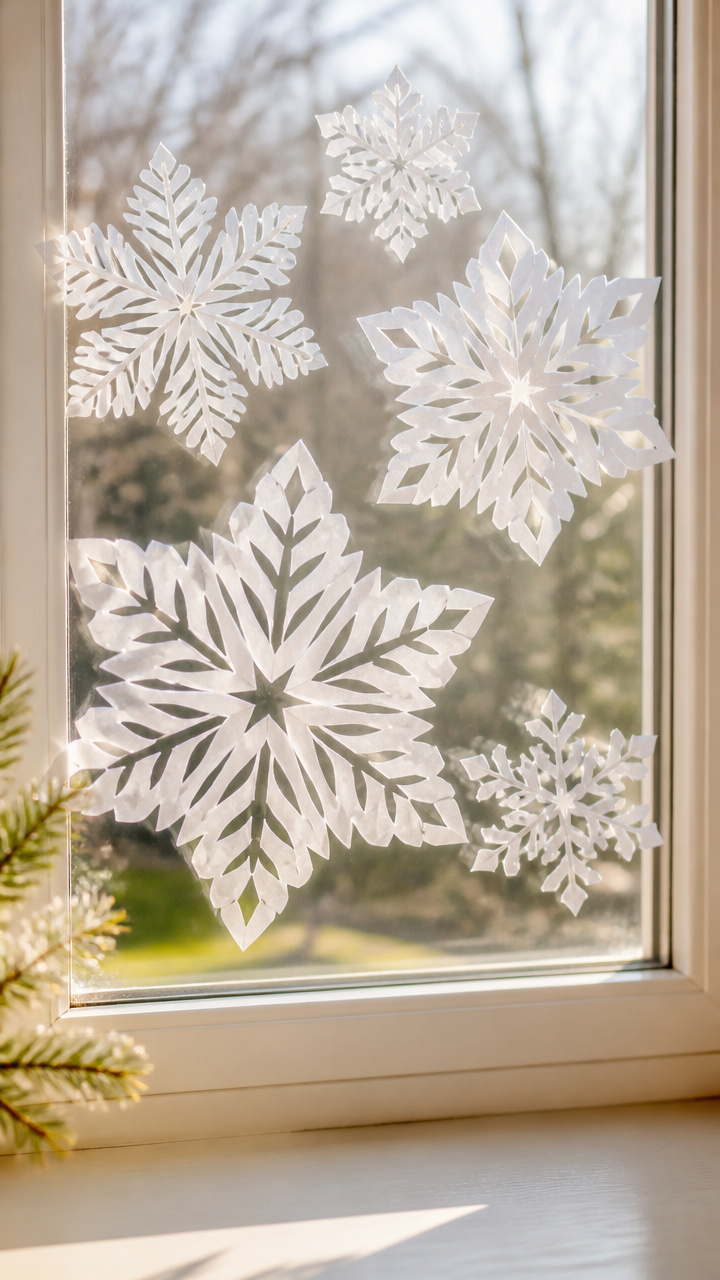
Snowflakes that stick to glass without tape are magic. Cornstarch paste makes them glossy and sturdy.
Materials Needed
- white printer paper (5 sheets)
- scissors
- cornstarch (1/4 cup)
- water (1/4 cup)
- small saucepan
- paintbrush
How to Make It
- Bring cornstarch and water to a boil in a saucepan, stirring constantly for 2 minutes.
- Remove from heat and let cool slightly.
- Fold paper into eighths and cut snowflake shapes from the edges.
- Unfold and coat both sides with cornstarch paste using a brush, then dry flat for 2 hours.

13. Lavender Sachets
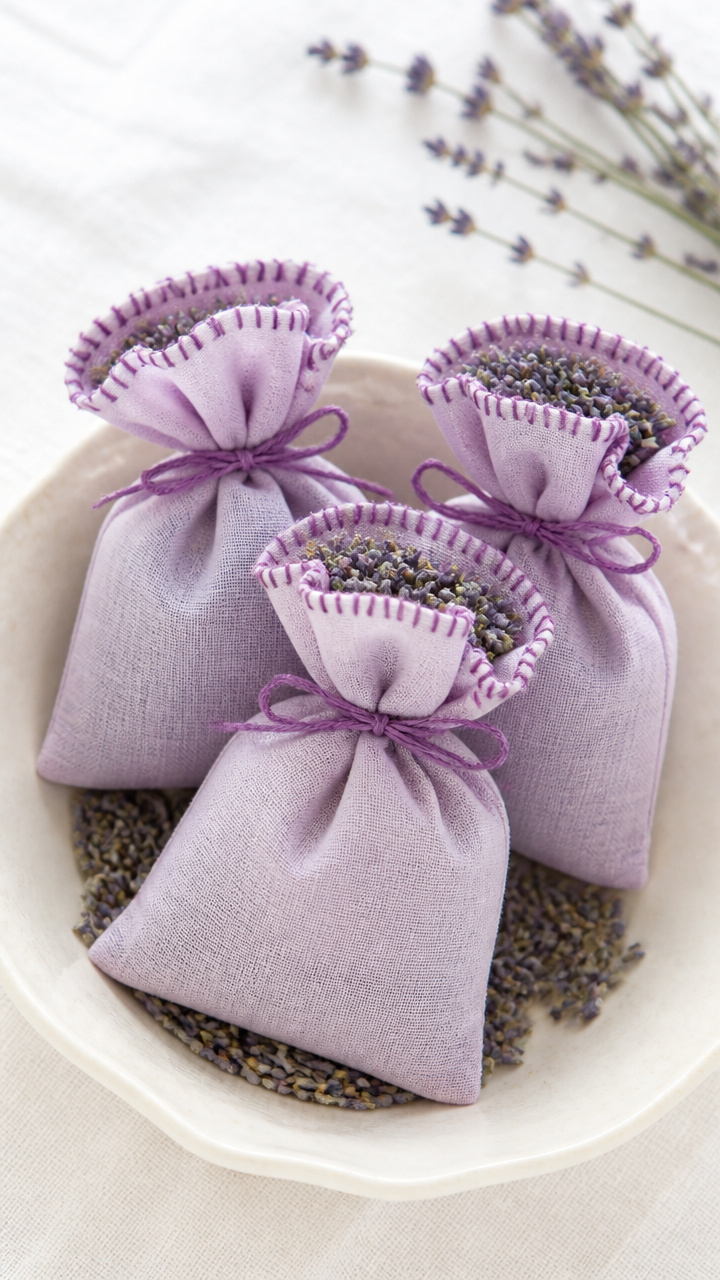
Little fabric pouches filled with lavender keep drawers smelling fresh. Sew one for each family member.
Materials Needed
- cotton fabric scraps (6 squares, 4×4 inches)
- dried lavender buds (1/2 cup)
- sewing needle
- purple thread
- scissors
- ruler
How to Make It
- Place two fabric squares together, right sides facing.
- Stitch around three edges with a 1/4 inch seam using purple thread.
- Turn right side out and fill with 2 tablespoons of lavender buds.
- Fold the open edge inward and hand-stitch shut with small stitches.


14. Jingle Bell Bookmarks
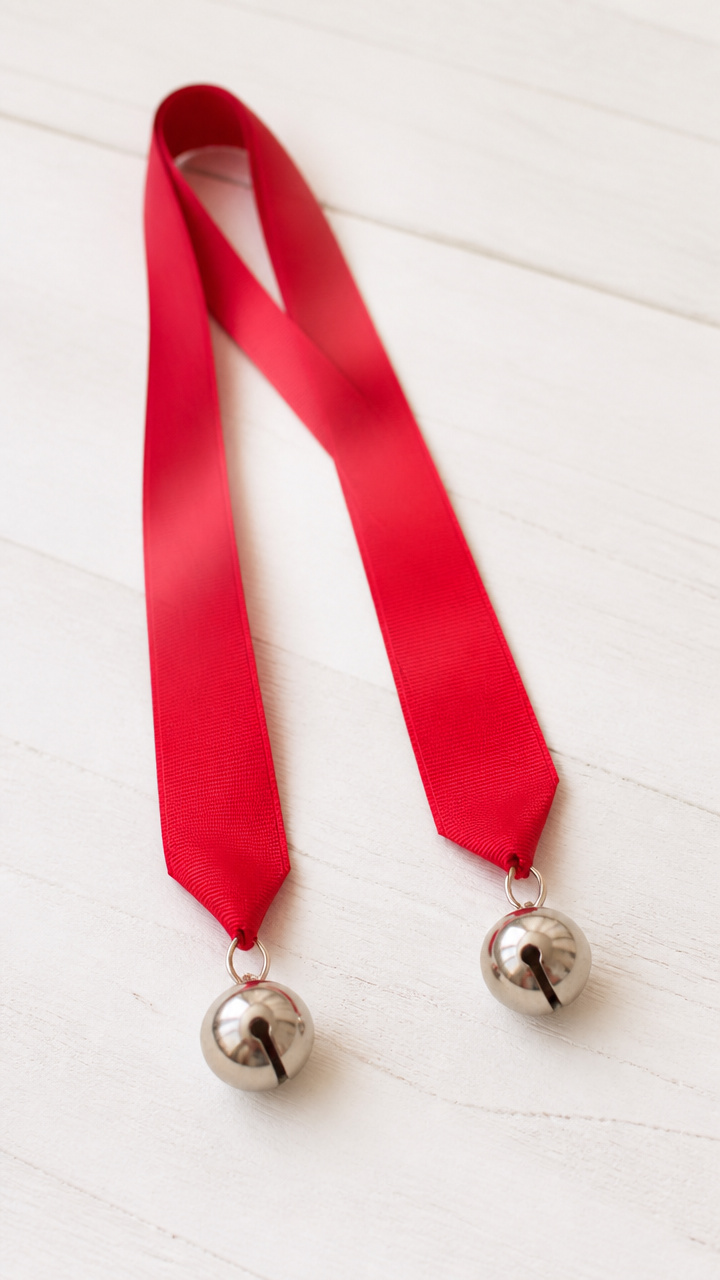
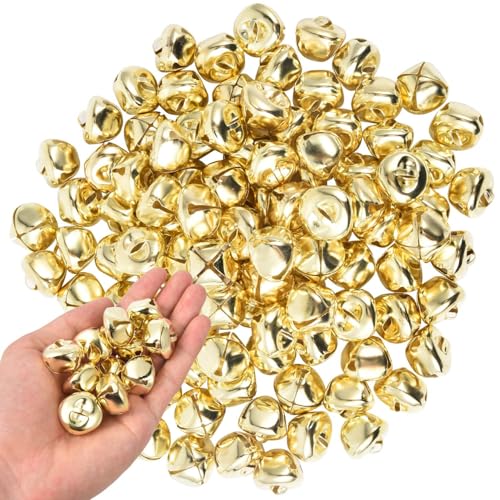
Shiny bells dance from ribbon tails and mark your page with a soft chime. They take ten minutes each.
Materials Needed
- wide ribbon (1/2 inch, red, 12 inches long, 6 pieces)
- jingle bells (12 mm, 6)
- jump rings (6)
- pliers
- hole punch
How to Make It
- Punch a hole at the top center of each ribbon piece.
- Open a jump ring with pliers and slide through the hole and a bell.
- Close the jump ring tightly so the bell hangs free.
- Trim fringe at the bottom edge with scissors for flair.


15. Pine Slice Coasters
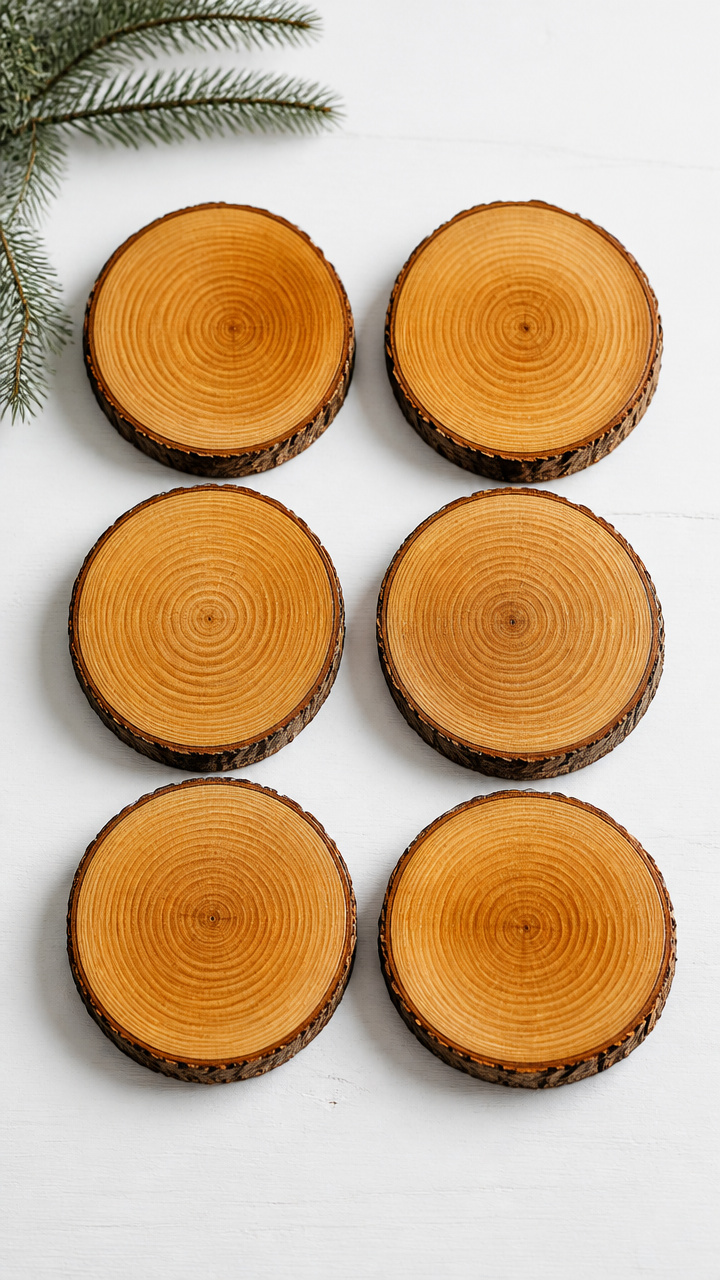
Thin slices of pine wood sanded smooth become natural coasters. A coat of sealant protects your furniture.
Materials Needed
- pine log (3 inch diameter, 1 inch thick slices, 6)
- sandpaper (220 grit)
- clear wood sealant
- foam brush
- paper towels
How to Make It
- Sand each pine slice with 220 grit sandpaper until smooth and splinter-free.
- Wipe away dust with a dry paper towel.
- Apply wood sealant with a foam brush, covering top and sides.
- Let dry for 2 hours, then apply a second coat.

You don’t need days to make something meaningful. With these ideas, your hands can create joy in just a few hours. Pick one that speaks to you and start where you are.