15 DIY Christmas Garland Crafts to Make Before December
There’s something special about a handmade garland that store-bought decor just can’t match. The way it sways gently with a bit of ribbon, the warmth of natural materials, the pride in saying you made it yourself—it all adds up to holiday magic.
These fifteen garlands each bring their own charm and require no two same supplies or methods. Whether you love working with fabric, paper, nature, or kitchen staples, there’s a project here that will spark joy and inspire creativity.
1. Cinnamon Stick and Orange Slice Garland
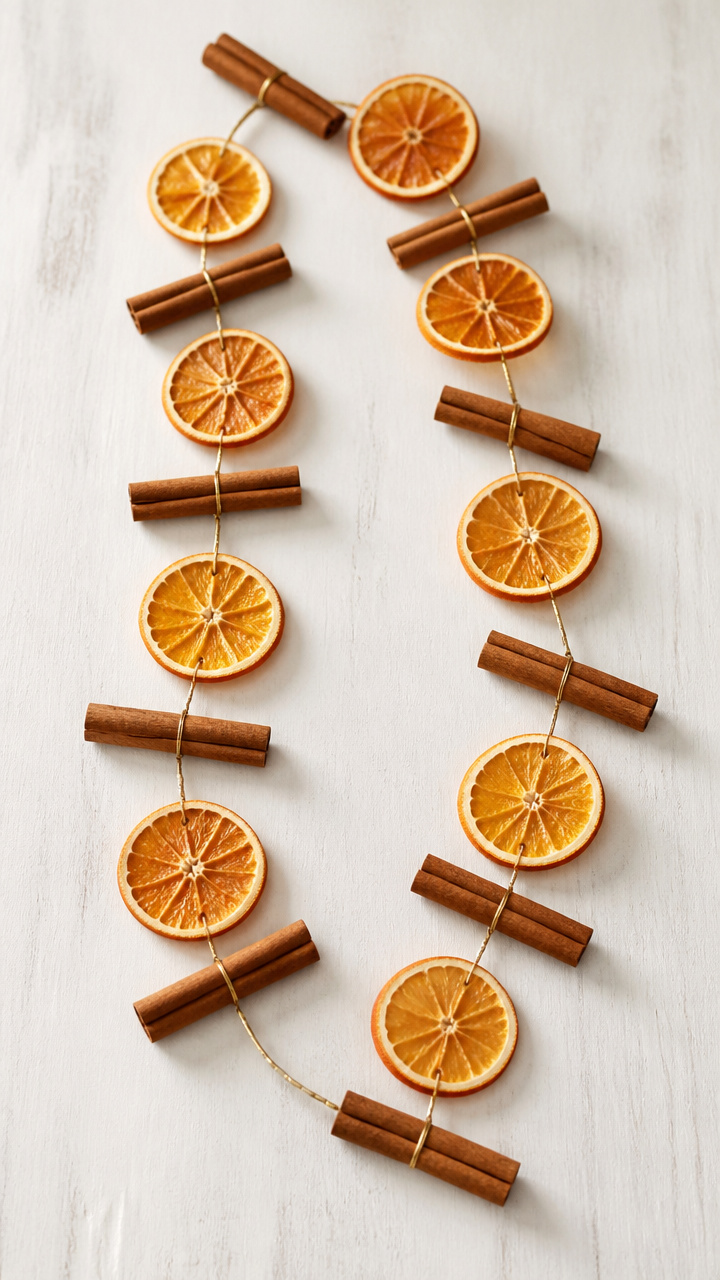
Rich with spice and citrus, this garland fills your home with the true scent of the season while looking rustic and elegant on any mantel.
Materials Needed
- 20 cinnamon sticks, each about 3 inches long
- 10 dried orange slices, 1/4 inch thick
- thin gold wire, 25 feet
- small hole punch tool
- scissors
How to Make It
- Lay out the dried orange slices and use the hole punch to make a small hole at the top edge of each slice.
- Cut 12-inch lengths of gold wire. Thread one end through an orange slice and twist the end to secure.
- Add a cinnamon stick by threading the wire through its center and twisting again to hold it in place.
- Continue alternating orange slices and cinnamon sticks, using a new wire segment for each pair, until the garland reaches desired length.


2. Felt Ball Pomander Chain
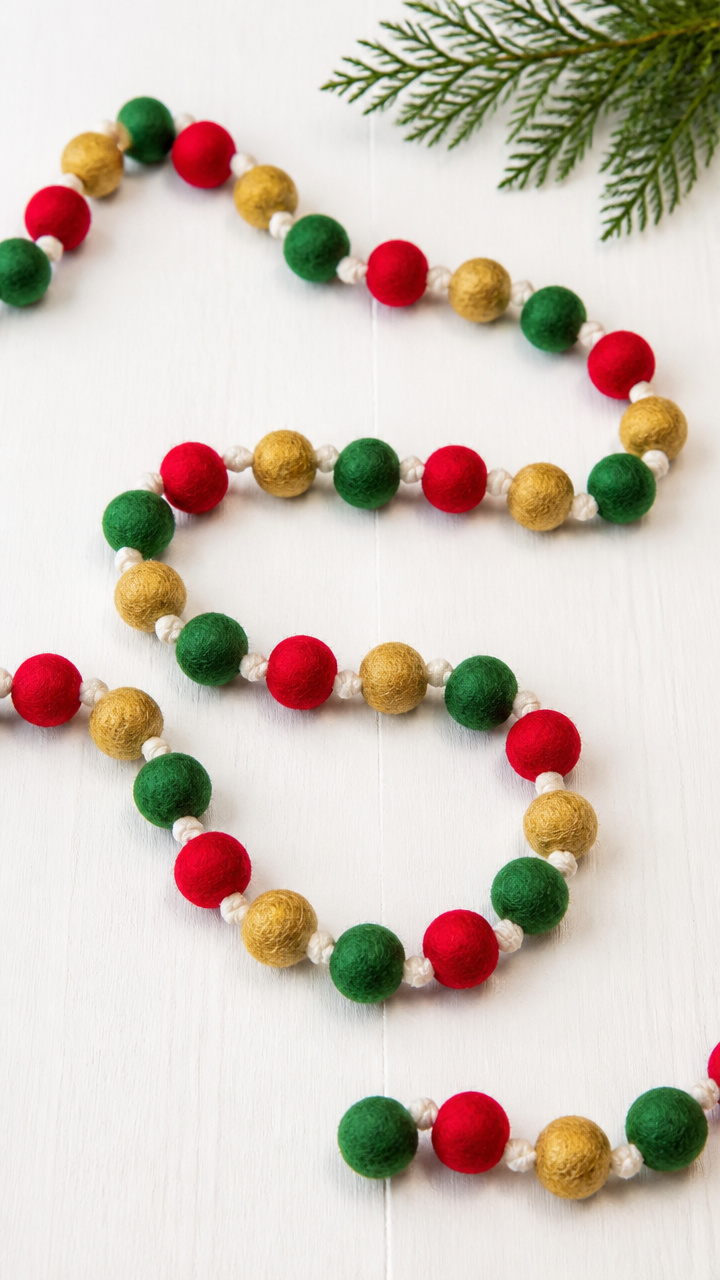
Soft spheres in jewel tones drape like festive bunting and add cozy texture to bare stair rails or tree branches.
Materials Needed
- 30 felt balls in red, green, and gold, 1 inch diameter
- embroidery floss in white, 2 spools
- tapestry needle with large eye
- scissors
How to Make It
- Thread the tapestry needle with 36 inches of white embroidery floss and knot one end.
- Push the needle through the center of a felt ball so the knot rests against it.
- String a second ball and tie a secure overhand knot between each ball to keep them spaced.
- Repeat until all 30 balls are strung, trimming excess thread at the end and securing with another knot.


3. Pinecone Tassel Garland
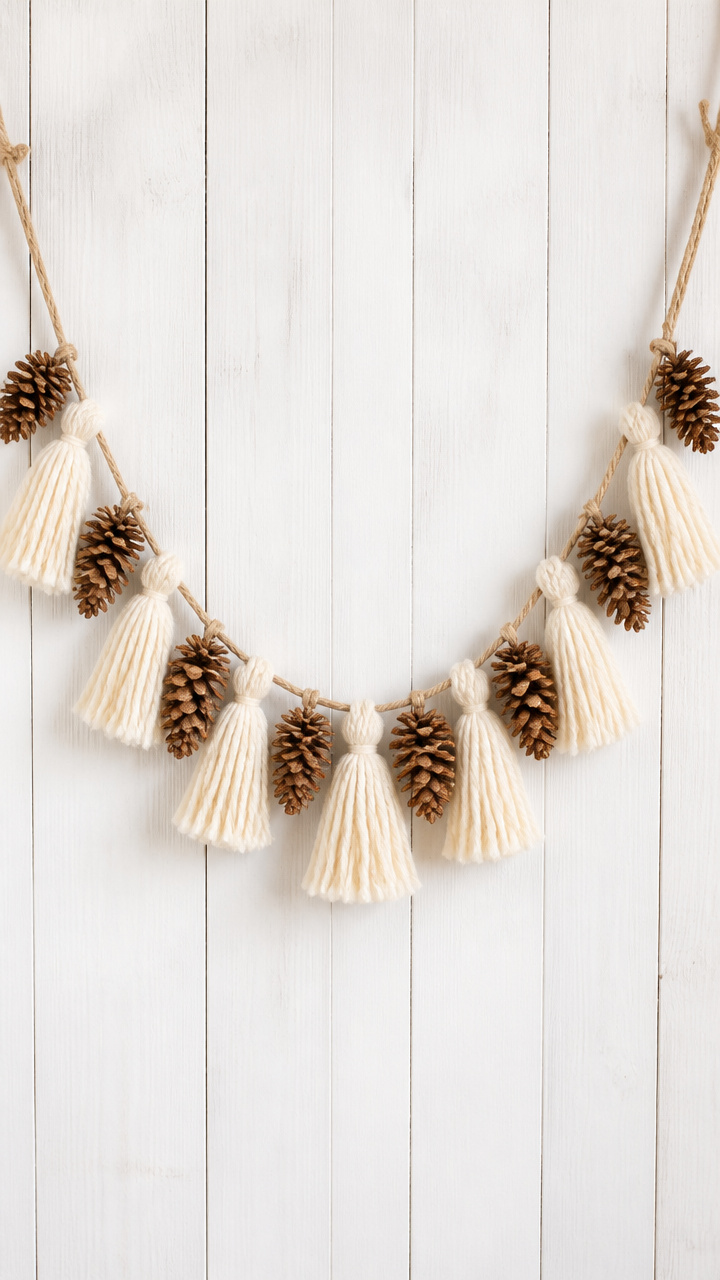
Mini pinecones tipped with fluffy tassels swing lightly in drafts, bringing woodland whimsy to windows and doors.
Materials Needed
- 15 small pinecones, cleaned and dried
- yarn in cream, 80 yards
- hot glue gun and glue sticks
- scissors
- wooden skewer
How to Make It
- Wrap yarn around four fingers 15 times, then slide off and tie tightly in the middle with a 6-inch tail.
- Cut the outer loops and trim ends to form a tassel, then set aside.
- Use hot glue to attach the tassel’s knot to the top of a pinecone, pressing gently until secure.
- Repeat for all pinecones. Tie a 48-inch piece of yarn between each pinecone to create hanging links.

4. Salt Dough Ornament Strands
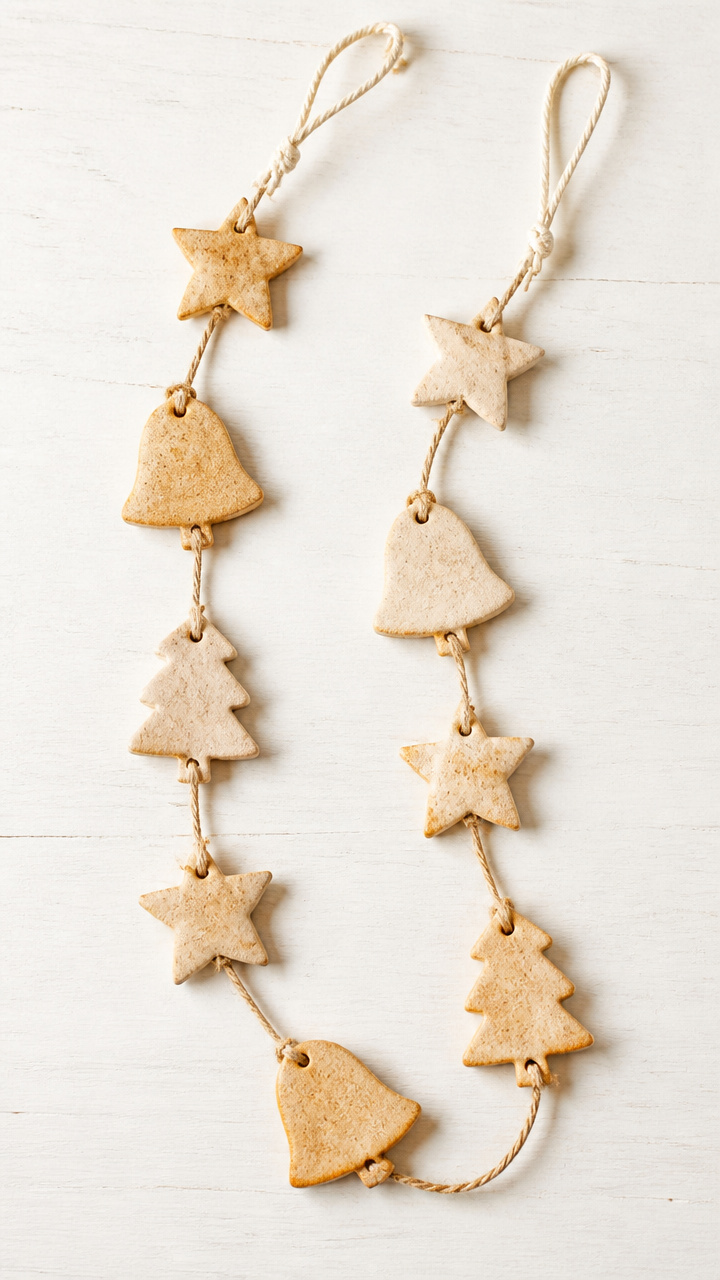
Simple dough shapes baked into keepsakes become a garland that children love to help make and see year after year.
Materials Needed
- 2 cups all-purpose flour
- 1 cup table salt
- 3/4 cup warm water
- rolling pin
- cookie cutters in star, tree, and bell shapes
- pencil
- baking sheet
- parchment paper
- red ribbon, 20 feet
How to Make It
- Mix flour, salt, and water in a bowl until a smooth dough forms, then roll it to 1/4 inch thickness.
- Cut shapes with cookie cuters and use a pencil to poke a small hole near the top edge of each.
- Place on a parchment-lined baking sheet and bake at 200°F for 3 hours until hard.
- Cool completely, then thread ribbon through each hole and tie knots between ornaments to space them evenly.


5. Ribbon Wreath Loop Garland

Loose fabric loops in velvet and satin cascade like holiday streamers, perfect for brightening dull walls.
Materials Needed
- 2 yards velvet ribbon, 2 inches wide, in forest green
- 2 yards satin ribbon, 2 inches wide, in ruby red
- fabric scissors
- ruler
- rotary cutter and mat (optional)
How to Make It
- Cut both ribbons into 10-inch strips using the ruler and fabric scissors for clean edges.
- Take one strip and fold it in half to form a loop, then pull one end through to make a knot at the base.
- Continue tying loops along a central cord made from leftover ribbon scraps, spacing each 2 inches apart.
- Alternate colors as you go until the garland measures 6 feet long, then trim ends evenly.


6. Crocheted Snowflake Chain
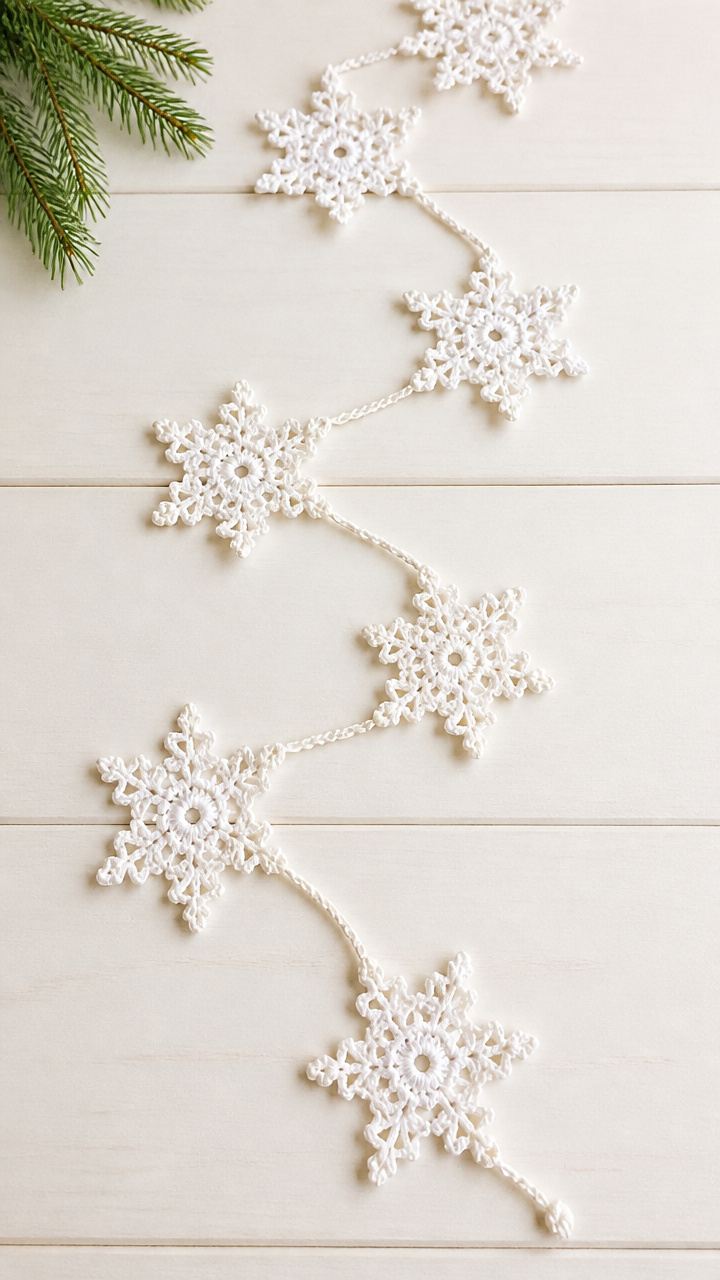
Tiny snowflakes linked by fine chains shimmer like frost and look delicate strung across a mirror or bookshelf.
Materials Needed
- size 10 crochet cotton thread in white, 3 balls
- steel crochet hook size 7 (1.65 mm)
- scissors
- stitch marker
How to Make It
- Chain 12 and join with a slip stitch to form a ring.
- Work 12 double crochets into the ring, place a stitch marker to mark the round.
- Chain 5, skip one stitch, single crochet into next, repeat around to create points.
- Fasten off, leaving a 6-inch tail. Use tail to sew snowflakes onto a thread chain every 4 inches.


7. Maple Seed Helicopter Garland
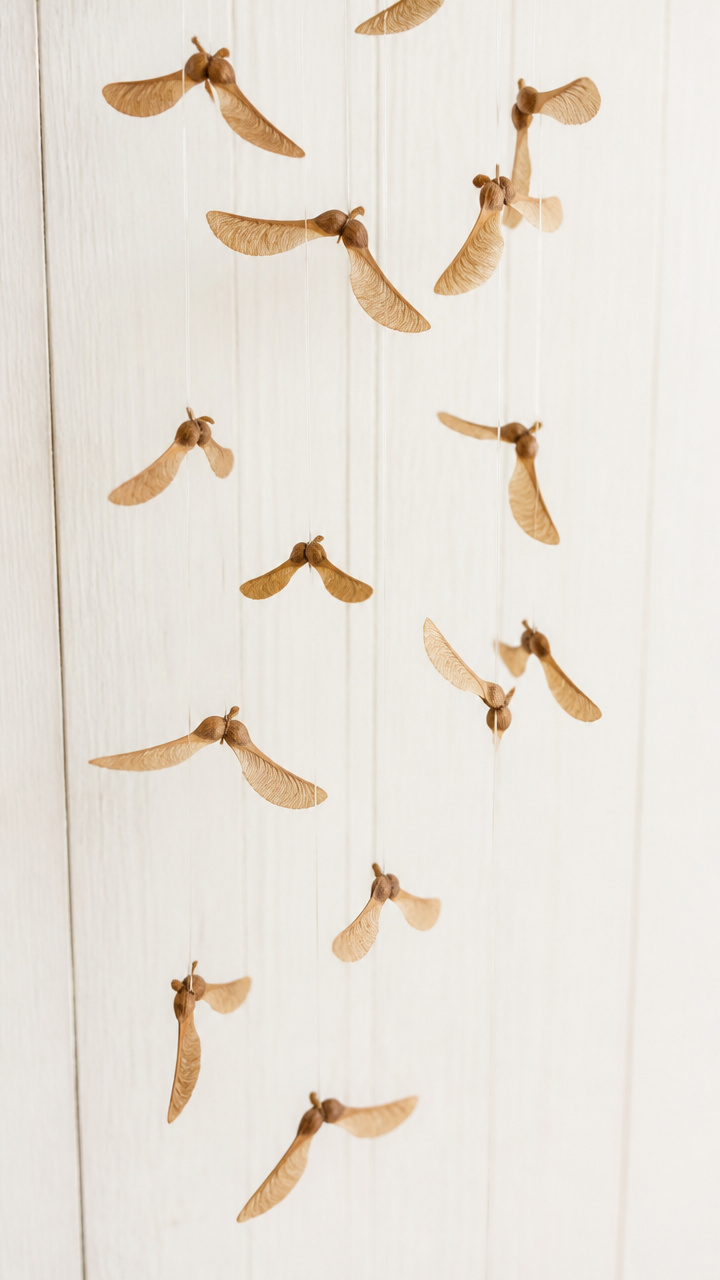
Nature’s tiny spinning seeds twirl gently when hung, creating a kinetic display full of quiet wonder.
Materials Needed
- 40 maple seed pods (helicopters), collected dry
- clear fishing line, 50 lb test, 15 feet
- needle with large eye
- tweezers
- scissors
How to Make It
- Thread the needle with fishing line and knot one end.
- Use tweezers to guide the needle through the thicker end of a seed pod without cracking it.
- Slide each pod down the line and tie a small overhand knot behind it to hold in place.
- Space pods 2 inches apart until the strand is full, then knot the end and trim.


8. Vintage Book Page Banners
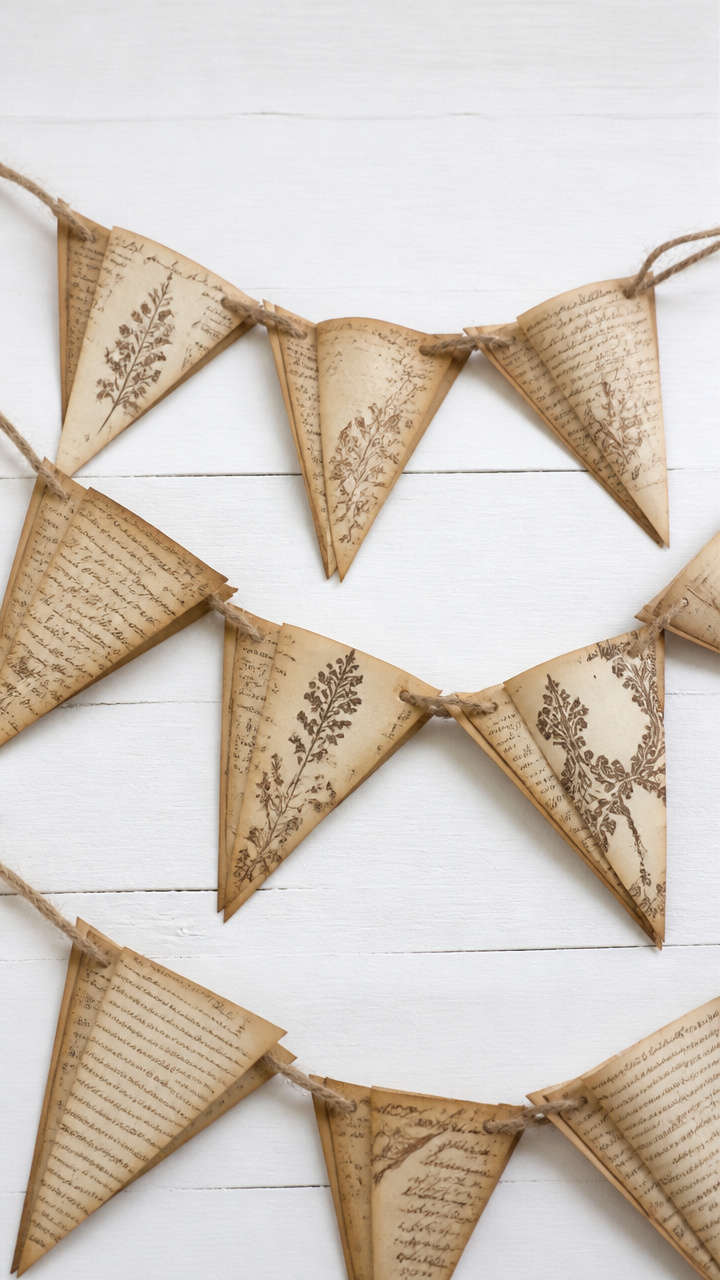
Faded script and old illustrations folded into pennants whisper stories from Christmases past.
Materials Needed
- 10 sheets antique book pages or printed vintage text
- craft glue
- ruler
- pencil
- scissors
- twine, 7 feet
- brown marker
How to Make It
- Cut each page into 6-inch wide triangles with a 9-inch height.
- Fold the top 1/2 inch of each triangle back to create a clean header edge.
- Glue the folded edge onto twine, spacing each banner 3 inches apart.
- Use the brown marker to darken edges slightly for an aged effect before hanging.


9. Knit Scrappy Yarn Garland
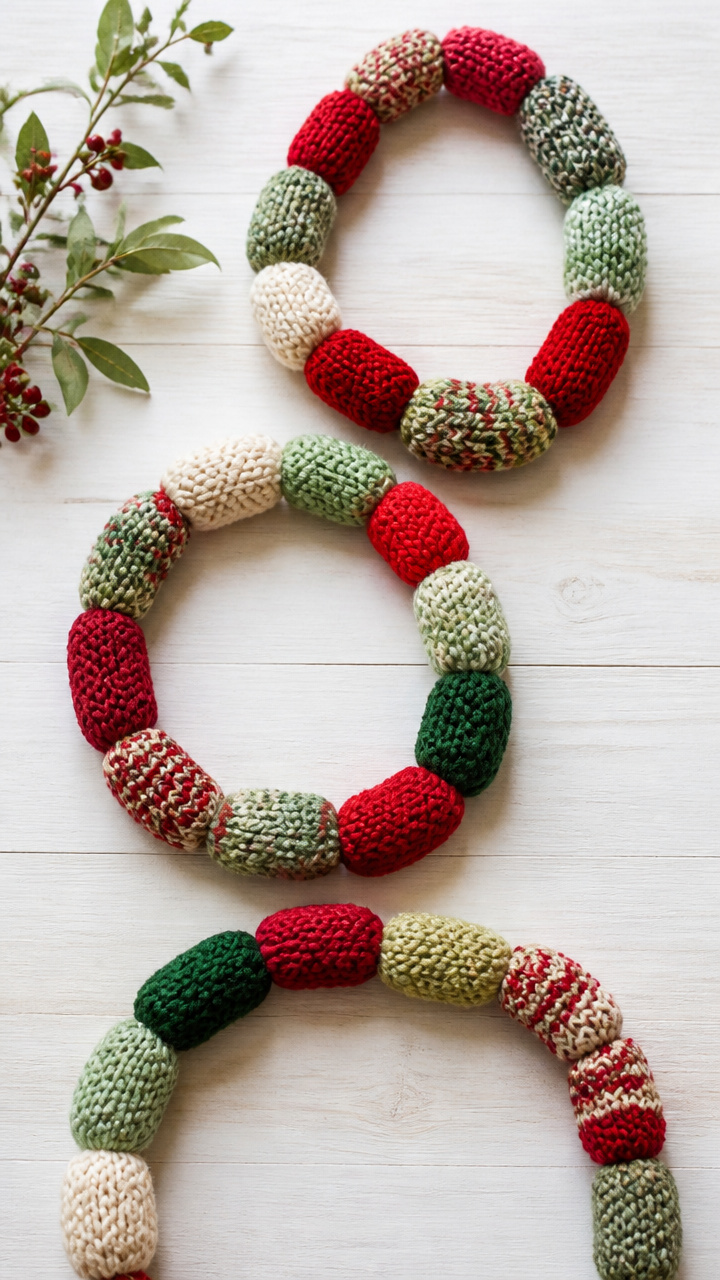
Leftover yarns knitted into short tubes puff up like caterpillars, adding soft volume to any surface.
Materials Needed
- assorted scrap yarns in holiday colors, 4 oz total
- US size 8 knitting needles
- darning needle
- scissors
How to Make It
- Cast on 4 stitches and knit every row for 4 inches to form a tube.
- Bind off loosely and thread the tail through the last stitches to close.
- Pull tight and knot. Slide the little pillow onto a long string of matching yarn.
- Repeat in different colors, spacing each 3 inches apart until garland is 5 feet long.


10. Pressed Flower and Twig Garland
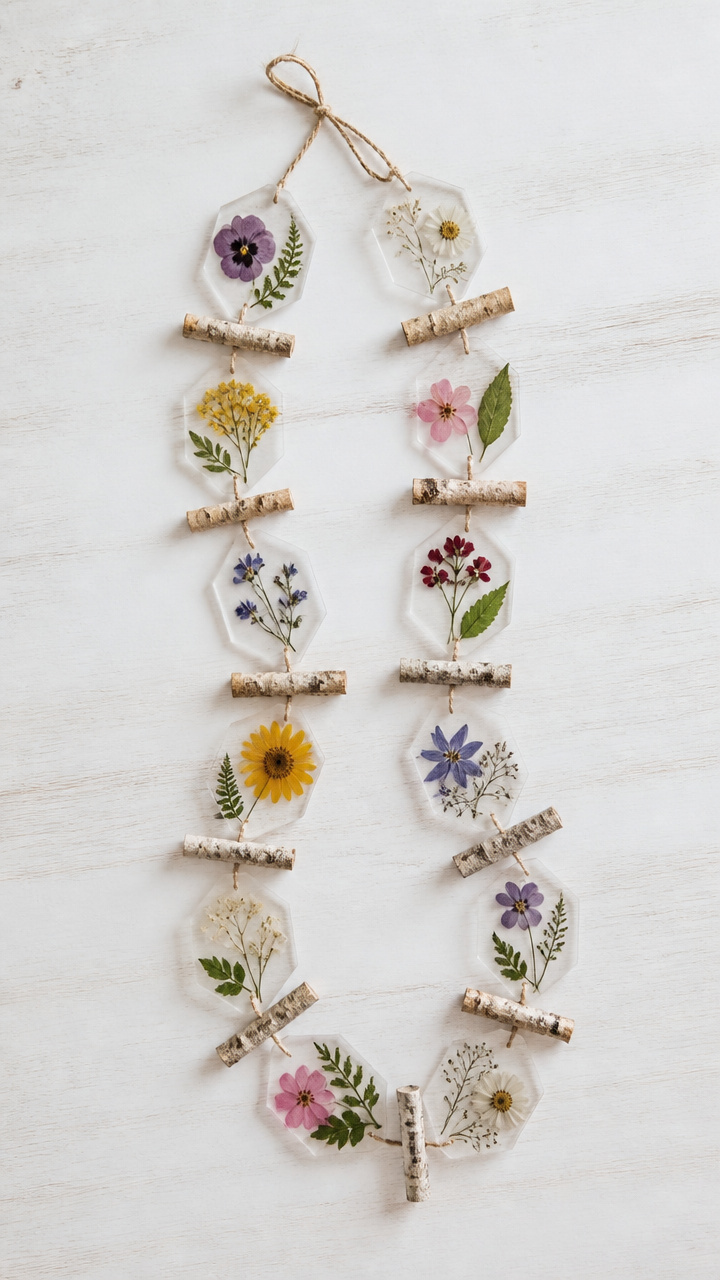
Delicate blooms sandwiched between wood accents bring subtle beauty to quiet corners of your home.
Materials Needed
- 12 pressed flowers, flat and colorful
- 6 birch twigs, 6 inches long and pencil-thick
- clear self-adhesive laminating sheets, 9×12 inches, 2 sheets
- utility knife
- ruler
- jute cord, 8 feet
- hot glue
How to Make It
- Cut laminating sheets into 3×4 inch rectangles and place one flower on each.
- Seal with second sheet using adhesive side down, pressing firmly.
- Trim edges with utility knife, leaving a small border.
- Glue a twig vertically behind each rectangle and tie jute cord between them every 5 inches.


11. Mini Clothespin Reindeer Chain
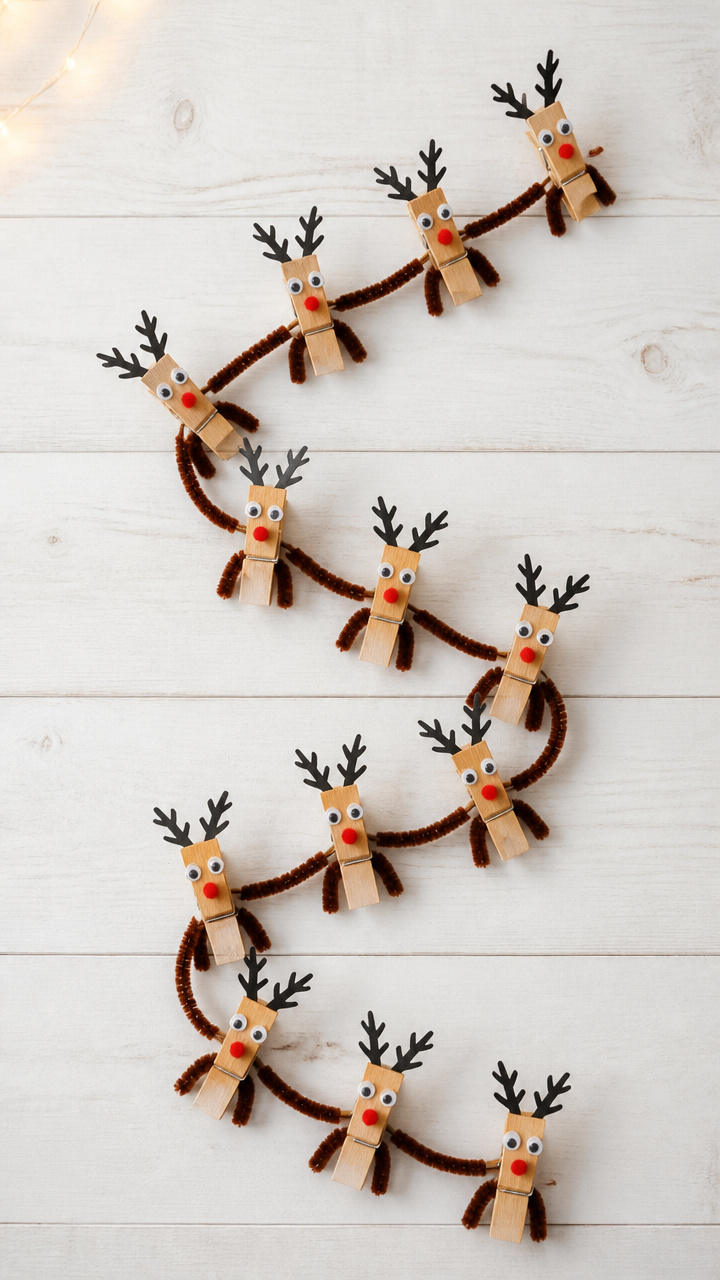
Wooden clothespins become playful reindeer with a few crafty tweaks and hang ready to lead Santa’s team.
Materials Needed
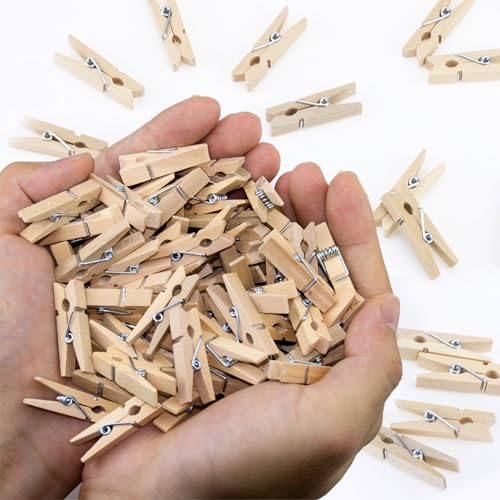
- 12 wooden mini clothespins
- black and red acrylic paint
- paintbrush size 1
- googly eyes, 10 mm, 24 pieces
- brown pipe cleaners, 12 inches long, 12 pieces
- hot glue gun
- string, 6 feet
How to Make It
- Paint each clothespin brown and let dry for 20 minutes.
- Glue on two googly eyes near the top opening and use black paint for pupils.
- Cut pipe cleaners in half and twist one piece around the top for antlers.
- Paint a red dot on the bottom for the nose. Tie each to string 4 inches apart.


12. Beaded Cranberry Icicle Garland
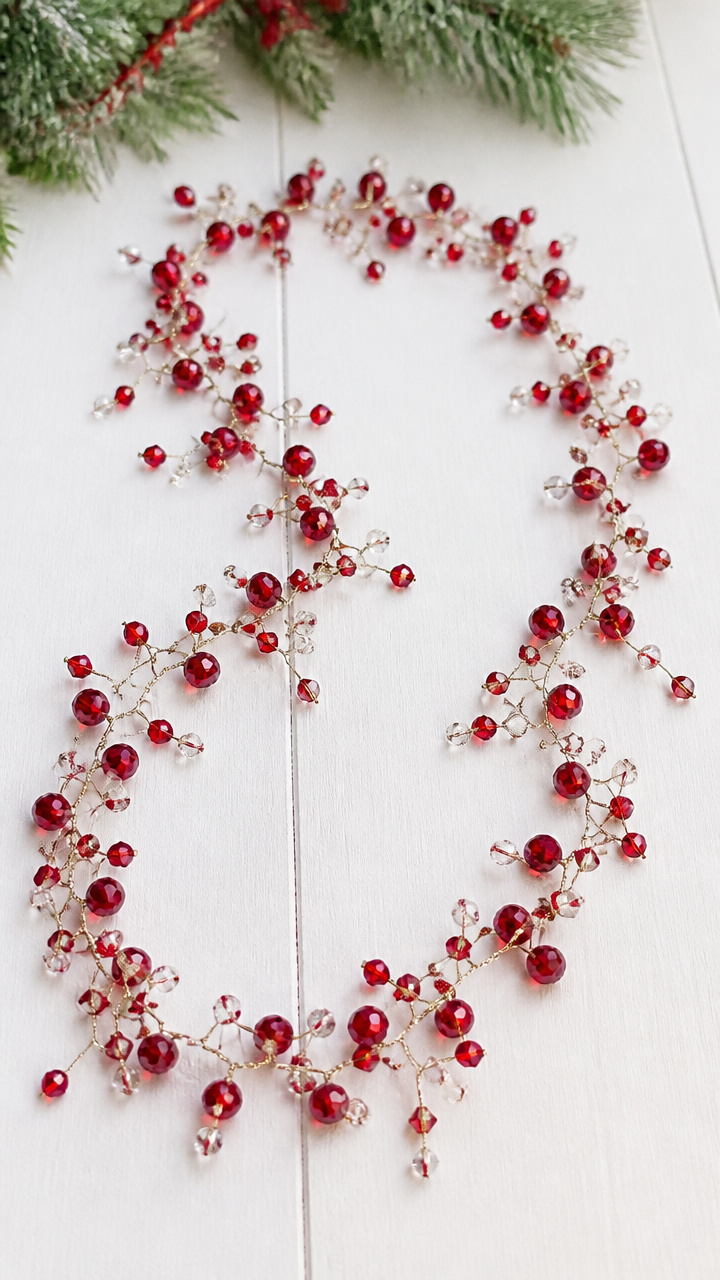
Shiny red beads mimic frozen berries and catch the light like real ice on winter mornings.
Materials Needed
- 50 faceted red glass beads, 8 mm
- 50 clear crystal spacer beads, 4 mm
- beading wire, 24 gauge, 10 feet
- wire cutters
- chain-nose pliers
How to Make It
- Cut 12-inch lengths of beading wire.
- String one red bead, then one spacer, and knot below to form a drop.
- Attach each wire strand to a main horizontal wire every 3 inches using wrapped loops.
- Use pliers to bend and secure connections so strands hang straight and even.


13. Origami Starburst Chain
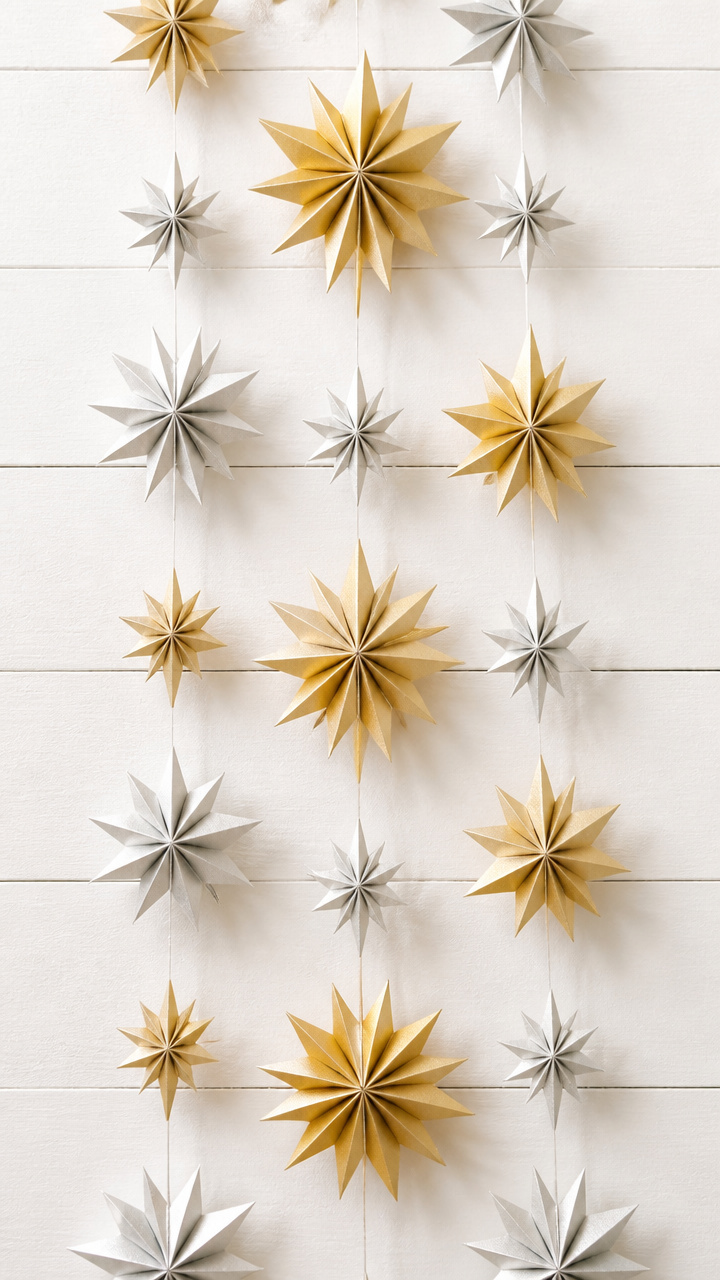
Folded paper stars fan out in radiant patterns, turning simple paper into dazzling displays.
Materials Needed
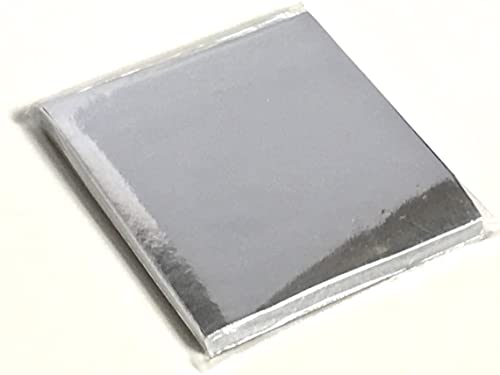
- 30 sheets origami paper, 6×6 inches, gold and silver
- ruler
- pencil
- double-sided tape
- fishing line, 6 feet
How to Make It
- Fold each paper square diagonally both ways and crease well.
- Bring each corner to the center point, pressing flat to form a smaller square.
- Fold in half vertically, then unfold slightly to puff into a 3D star.
- Use double-sided tape to attach each star to fishing line every 5 inches.

![[Taro's Origami Studio] Standard 6 Inch One Sided 20 Colors 100 Sheets Square Easy Fold Premium Japanese Paper for Beginner (Gold and Silver Included) Made in Japan](https://m.media-amazon.com/images/I/517oe5lt9uL._SL500_.jpg)
14. Waxed Citrus Round Garland

Thin orange and lemon wheels coated in beeswax become fragrant, translucent jewels when dried.
Materials Needed
- 6 oranges, sliced 1/4 inch thick
- 3 lemons, sliced 1/4 inch thick
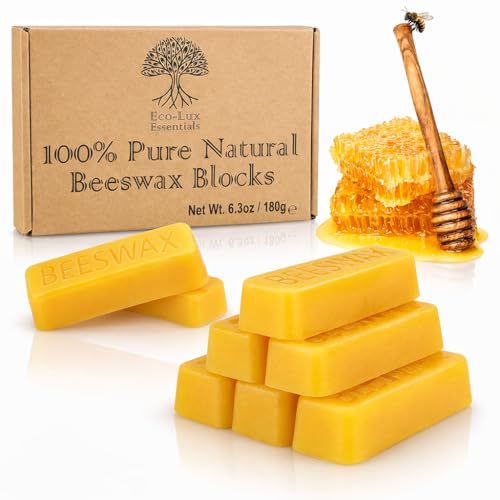
- beeswax block, 4 oz
- double boiler setup
- parchment paper
- baking rack
- hole punch
- cotton twine, 5 feet
How to Make It
- Simmer citrus slices in water for 10 minutes to soften, then drain and dry on racks overnight.
- Melt beeswax in a double boiler and dip each slice for 10 seconds.
- Lay on parchment to cool and harden, which takes 15 minutes.
- Punch a hole at the top and string with twine, spacing each 1 inch apart.


15. Quilted Fabric Scrap Bunting
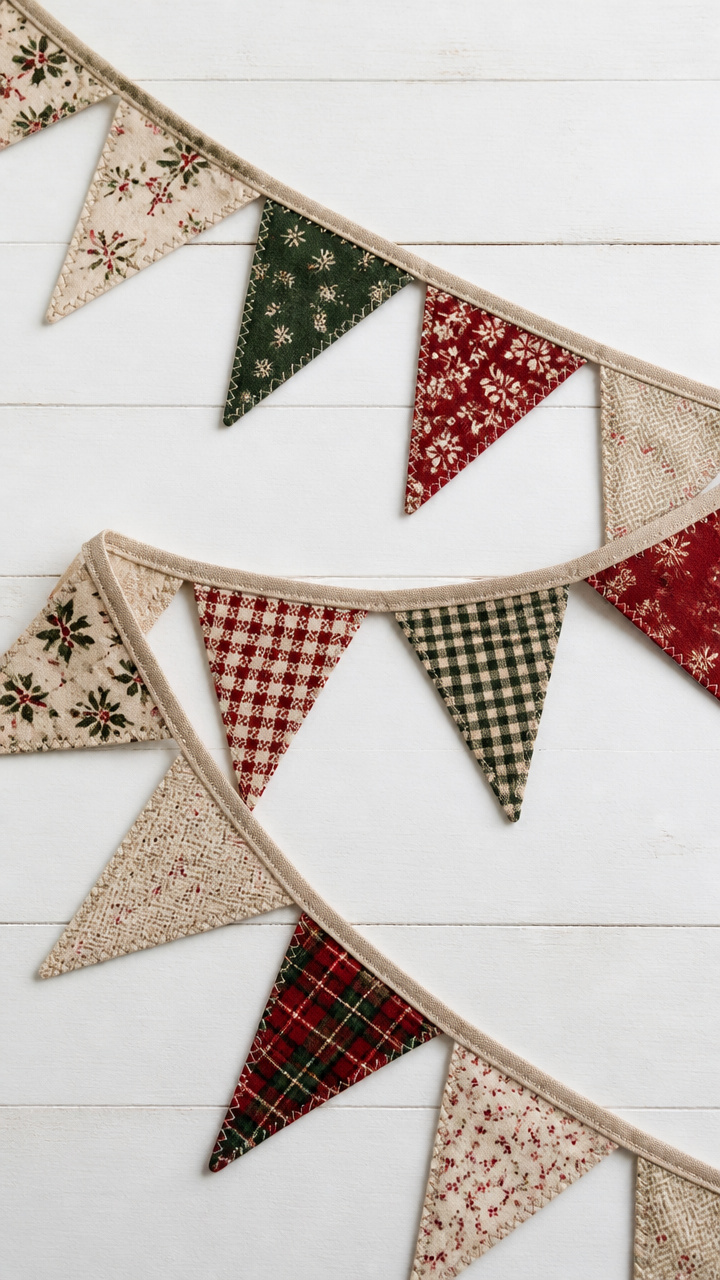
Remnants of flannel and cotton stitched into patchwork flags celebrate heritage and handwork.
Materials Needed
- 10 fabric scraps, 5×7 inches each, assorted holiday prints
- sewing machine
- thread to match
- rotary cutter
- ruler
- iron
- bias tape, 2 yards
How to Make It
- Cut each scrap into a 5-inch triangle using rotary cutter and ruler.
- Press edges under with iron and pin neatly.
- Sew each triangle onto bias tape with 2 inches between, using a straight stitch.
- Backstitch at start and end to secure threads before hanging.


Each of these garlands carries its own story and sparkle. Pick one that speaks to your style and start gathering what you need—you’ve got everything it takes to make something beautiful.