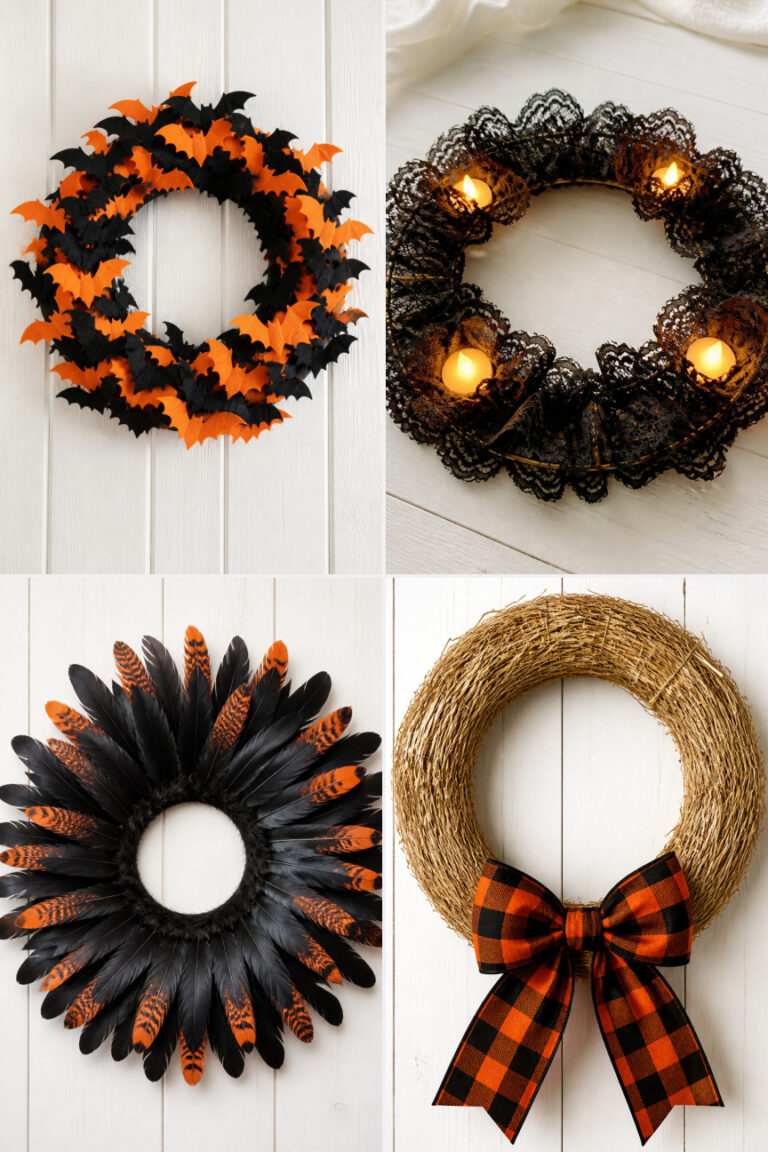
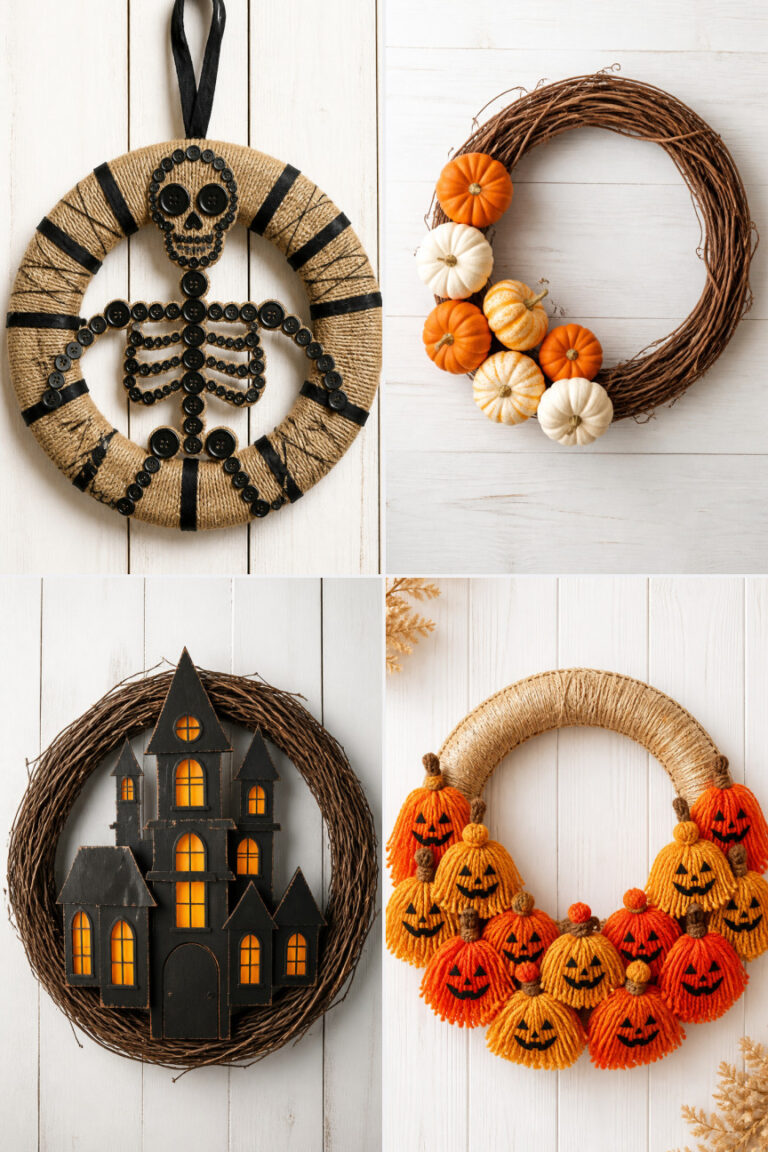
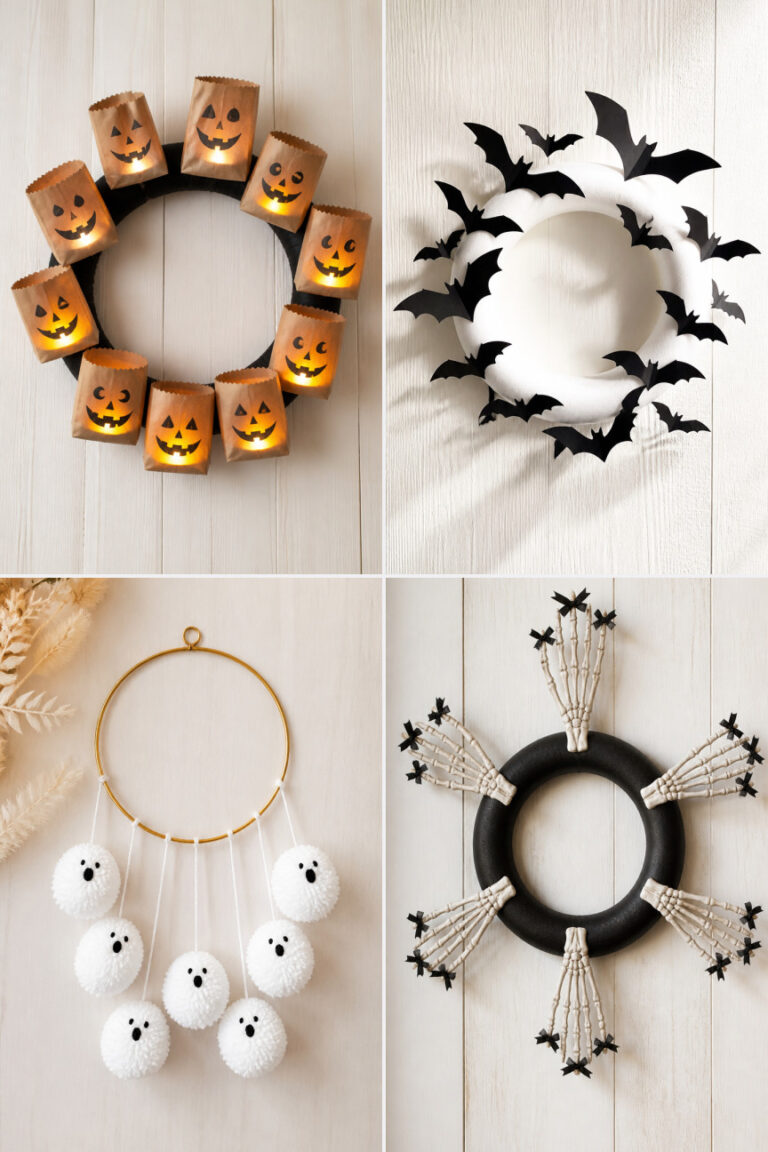
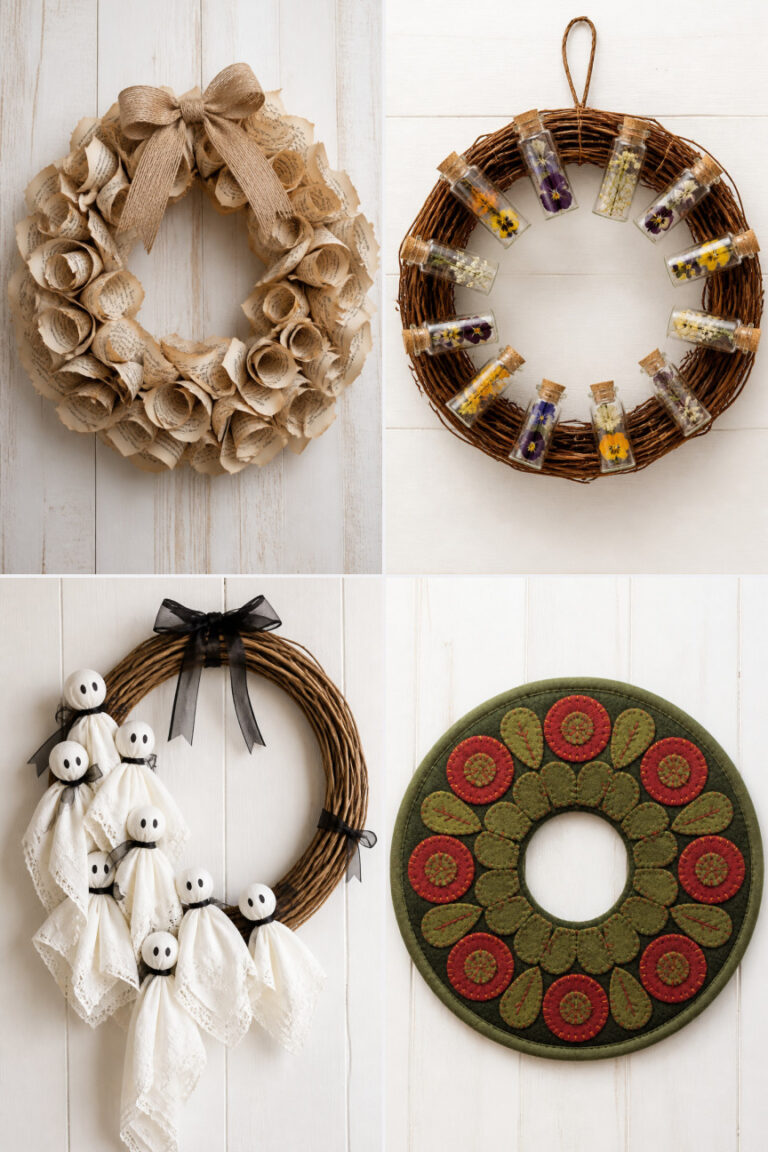
20 DIY Halloween Wreath Ideas for Your Front Door
Halloween is the perfect time to give your front door a little personality. A handmade wreath adds charm and sets the mood before anyone even rings the bell.
You don’t need fancy tools or years of crafting experience. With simple materials and clear steps, you can create something that feels uniquely yours. Each of these ideas stands on its own, with no repeats in style or supplies.
1. Spooky Black Lace Wreath

Delicate black lace wrapped around a wreath form gives an eerie vintage feel, like something pulled from a haunted parlor. It catches the wind just right and flutters like ghostly fingers.
Materials Needed
- 18-inch wire wreath frame
- 3 rolls 2-inch-wide black cotton lace trim
- Hot glue gun
- Glue sticks
- Scissors
How to Make It
- Cut the lace into 12-inch strips, about 15 total.
- Lay one strip across the front of the wreath frame and loop both ends behind the wire, pulling tight.
- Secure each loop with a dab of hot glue where it meets the frame.
- Continue adding strips side by side until the entire front is covered and no wire shows.
- Trim any uneven ends with scissors for a clean finish.


2. Mini Pumpkin Patch Wreath

Tiny real pumpkins wired onto a straw base create a fresh, seasonal look that smells like autumn. This wreath brings warmth without being too spooky.
Materials Needed
- 14-inch straw wreath base
- 12 miniature orange pumpkins (about 1.5 inches wide)
- Floral wire, 22-gauge, 6-foot length
- Wire cutters
- Pruning shears
How to Make It
- Use pruning shears to trim each pumpkin stem to 1 inch long.
- Cut 6-inch lengths of floral wire and twist one around the stem of a pumpkin.
- Attach the pumpkin to the straw base by twisting the wire tightly around both stem and base.
- Space pumpkins evenly around the wreath, alternating slightly inward and outward for depth.
- Check stability by gently shaking the wreath; reinforce loose ones with extra wire if needed.


3. Glow-in-the-Dark Spider Web
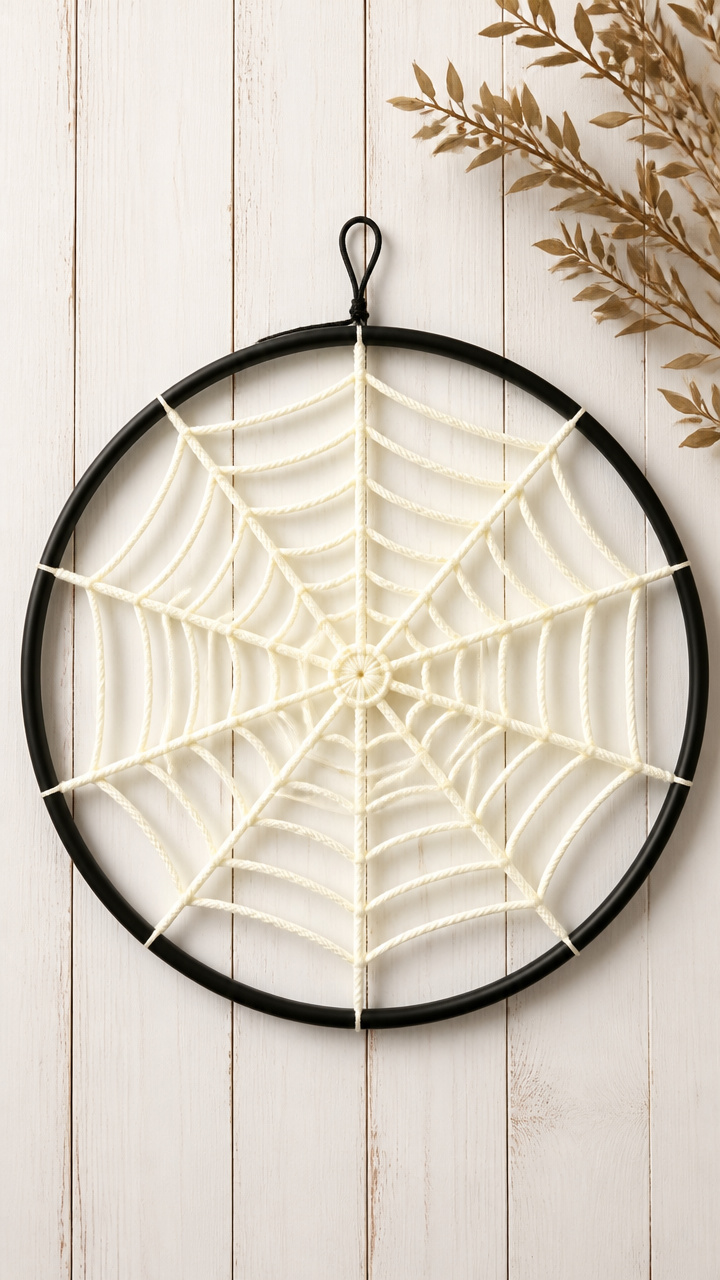
A web made from glow-in-the-dark yarn stretches across a dark hoop, revealing itself only when the sun goes down. It’s subtle during the day and magical at night.
Materials Needed
- 16-inch black embroidery hoop
- Glow-in-the-dark white yarn, 50-yard skein
- Fabric stiffener spray
- Spray bottle
- Clothespins
How to Make It
- Remove the inner hoop and lay the outer ring flat.
- Tie one end of the yarn to the top of the hoop and begin wrapping it diagonally across to the opposite side.
- Continue crisscrossing the yarn to form a web pattern, spacing strands about 1 inch apart.
- Once full, secure the end with a knot and trim excess.
- Spray the entire web lightly with fabric stiffener and let dry overnight, using clothespins to hang it upright.


4. Creepy Crawly Pipe Cleaner Wreath
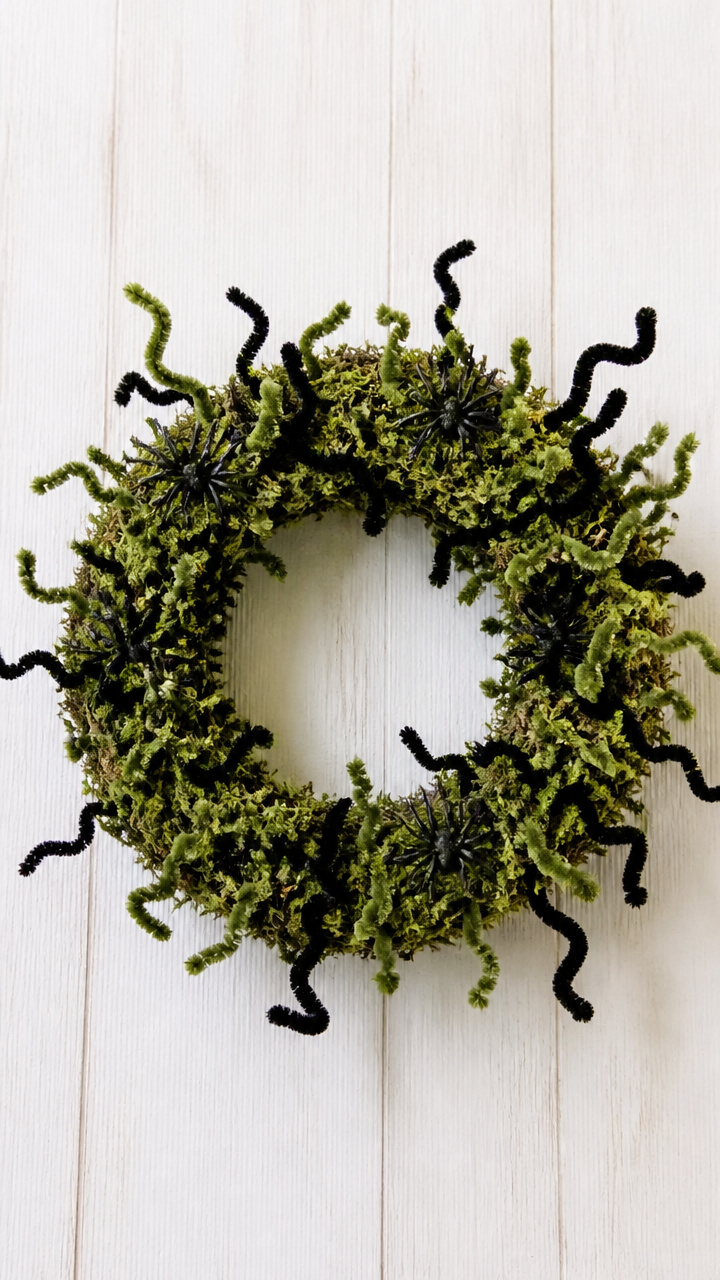
Twisted green and black pipe cleaners sprout from a mossy base like mutant vines with bugs hiding in the tangle. Kids love spotting the hidden critters.
Materials Needed
- 12-inch moss-covered foam wreath
- 10 black pipe cleaners
- 6 green pipe cleaners
- Hot glue gun
- Plastic spiders, 15 pieces
How to Make It
- Cut each pipe cleaner into thirds, giving you 48 short stems.
- Bend one end of each piece into a small hook to mimic twisted roots.
- Push the straight end into the moss base, spacing them evenly around the wreath.
- Angle some upward, some sideways to create wild growth.
- Glue one spider to the end of every third pipe cleaner, letting legs dangle freely.


5. Paper Bat Colony Wreath
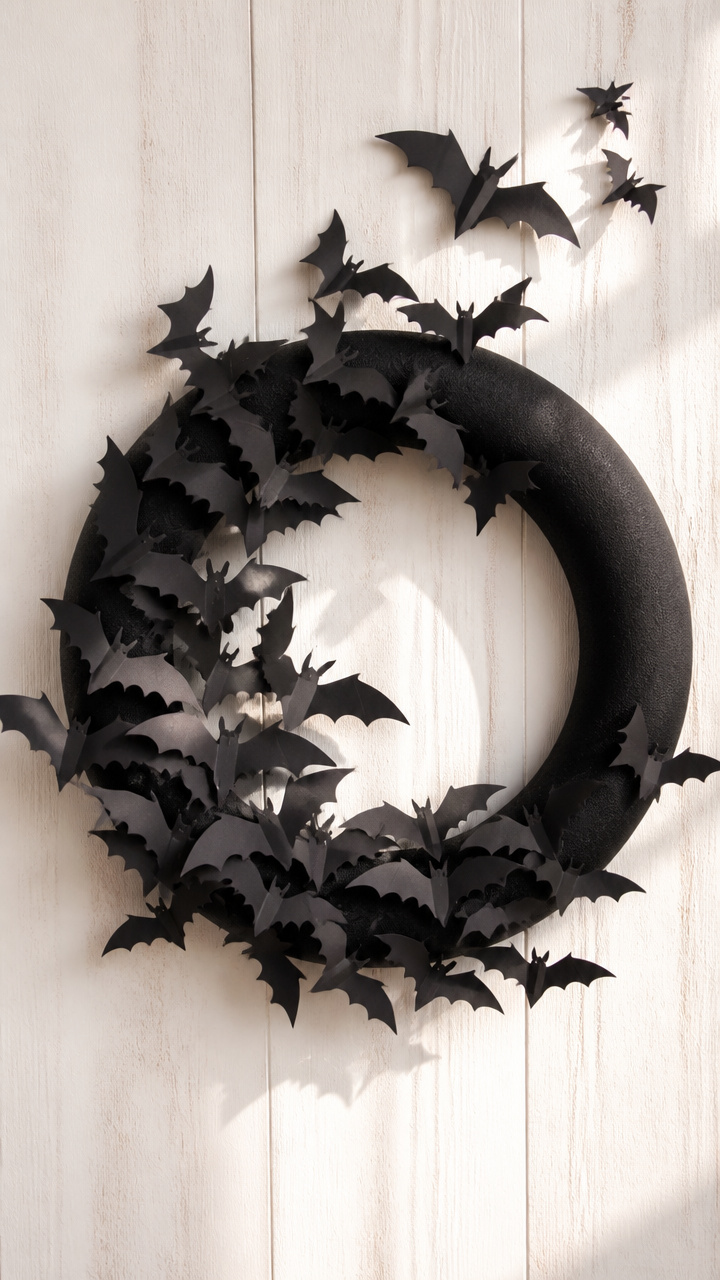
Dozens of hand-cut bats in flight swirl around a black ring, forming a swirling cloud. The layered silhouettes cast neat shadows in the afternoon light.
Materials Needed
- 10-inch black foam ring
- Black construction paper, 8 sheets
- Craft knife
- Metal ruler
- White school glue
How to Make It
- Draw a bat template 2 inches wide with wings spread, then trace it 24 times on black paper.
- Cut out each bat carefully with the craft knife and ruler for sharp edges.
- Fold the wings slightly upward on each bat to give dimension.
- Glue each bat to the foam ring, overlapping some and pointing others in different directions.
- Let dry completely for 2 hours before hanging.


6. Haunted Button Ghosts Wreath

Buttons of all sizes become ghost faces with simple embroidered smiles, stitched onto sheer fabric loops. They sway gently and catch the breeze like floating spirits.
Materials Needed
- 9-inch grapevine wreath
- Assorted white buttons, 25 pieces
- Embroidery floss, black, 1 skein
- Sheer white organza ribbon, 2-inch width, 3 yards
- Needle, size 7
- Scissors
How to Make It
- Cut the organza into 12-inch strips, 25 total.
- Fold each strip in half and slide the loop through the back of a button, pulling the tails through to secure.
- Use the needle and black floss to stitch a simple curved smile onto each button face.
- Tie each button-loop to the grapevine wreath, spacing them evenly.
- Adjust so ghosts hang at different heights for a floating effect.

7. Candy Corn Fan Wreath
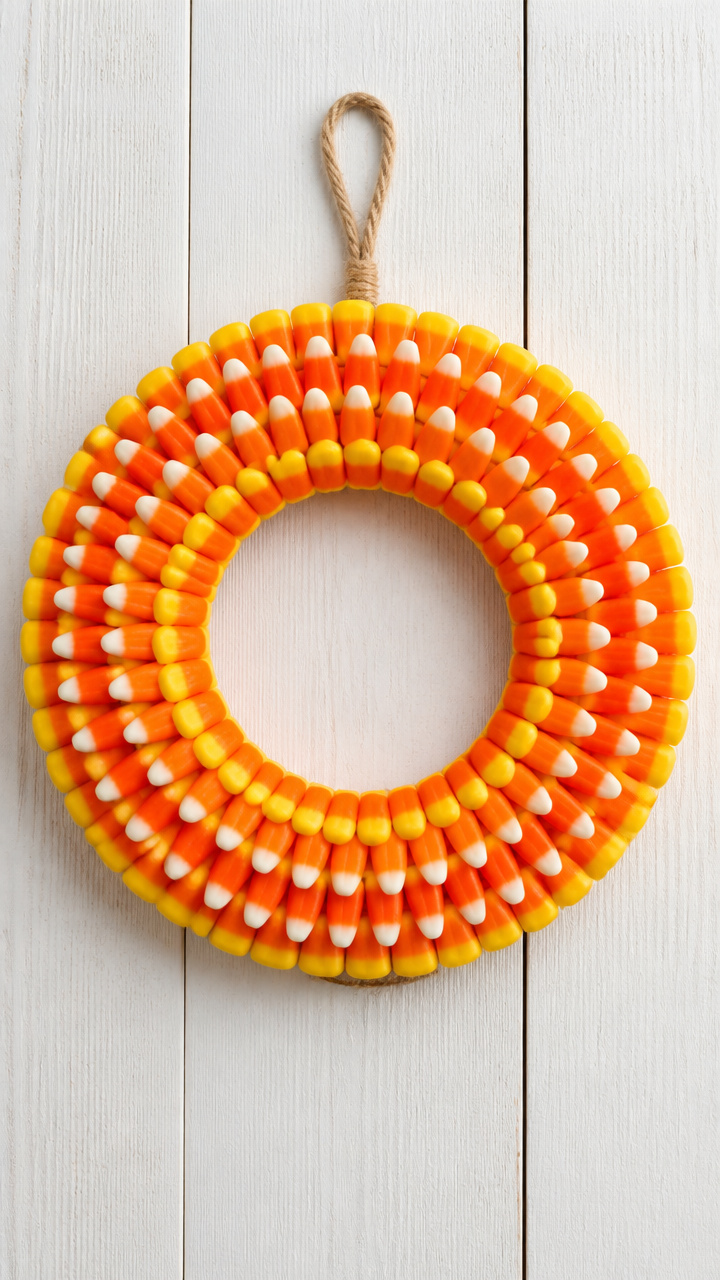
Bright candy corns glued in concentric circles make a bold, cheerful design that pops against any door. It’s festive without needing carving or batteries.
Materials Needed
- 10-inch foam wreath
- Orange, yellow, and white acrylic paint
- Foam brush, 1-inch
- Hot glue gun
- 100 plastic candy corns
How to Make It
- Paint the entire foam wreath orange and let dry for 1 hour.
- Starting at the outer edge, glue candy corns point-outward in a circle, yellow tips facing up.
- Begin the next row slightly offset so points nest between gaps above.
- Alternate colors in trios—orange, yellow, white—as you spiral inward.
- Fill the center with three candy corns in a triangle and let glue cure for 2 hours.


8. Witch Hat String Wreath
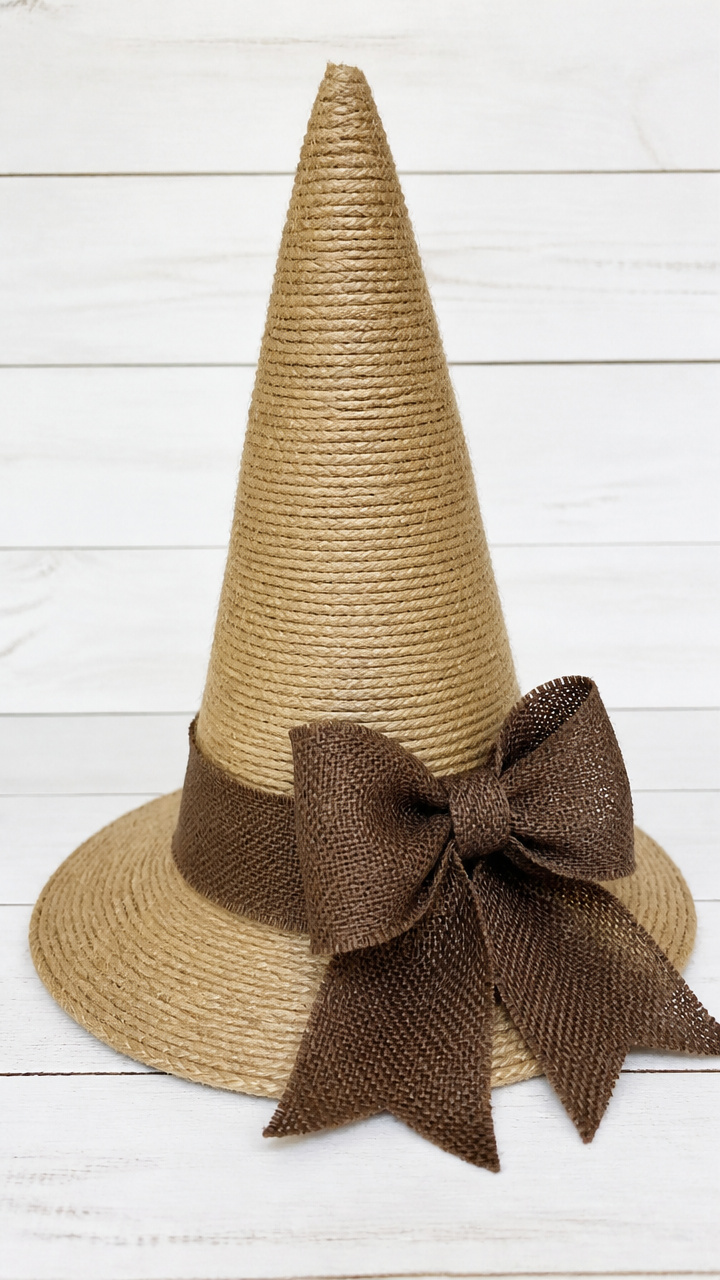
Twine wrapped tightly around a cone shape forms a rustic witch hat with a burlap bow. It looks like it fell off a broom mid-flight.
Materials Needed
- Cardboard cone, 12 inches tall
- Natural jute twine, 100-foot roll
- Brown acrylic paint
- Paintbrush
- Burlap ribbon, 3-inch width, 1 yard
- Hot glue gun
How to Make It
- Paint the cardboard cone with brown paint and let dry completely.
- Start at the base and wrap twine around the cone, gluing every inch with hot glue to hold.
- Keep wraps tight and side by side until you reach the tip.
- Cut a 12-inch piece of burlap and fold into a bow shape with two loops and a center tie.
- Glue the bow to the lower side of the hat where it meets the brim.


9. Glowing Jar Lid Eyes
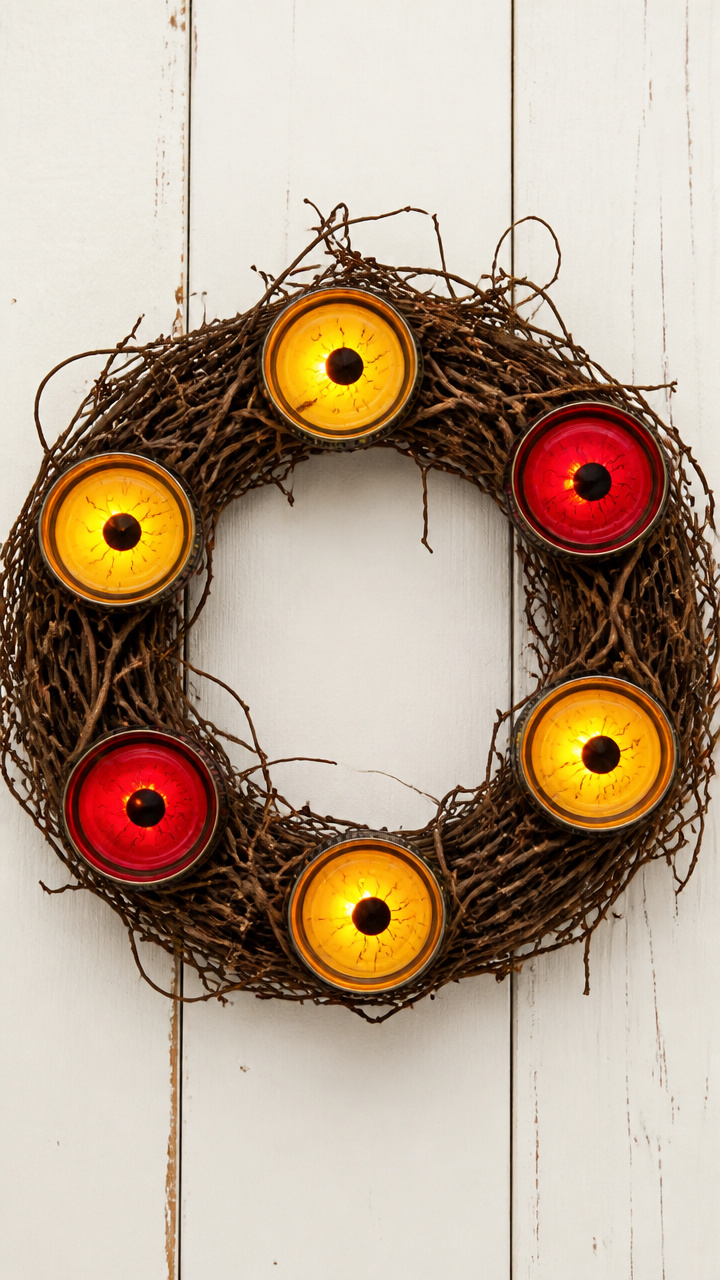
Repurposed mason jar lids become glowing eyes with yellow paint and battery lights inside. They stare out from a tangled vine base.
Materials Needed
- 12-inch willow wreath
- 6 wide-mouth mason jar lids
- Yellow and red acrylic paint
- Paintbrush
- 6 LED tea lights
- Black permanent marker
How to Make It
- Paint the inside of each lid yellow and let dry for 30 minutes.
- Add a red iris ring near the center and let dry another 30 minutes.
- Use the marker to draw jagged black pupils in each eye.
- Place one tea light in each lid and turn on.
- Weave the lids into the willow wreath using thin branches to hold them in place from behind.


10. Felt Tombstone Wreath
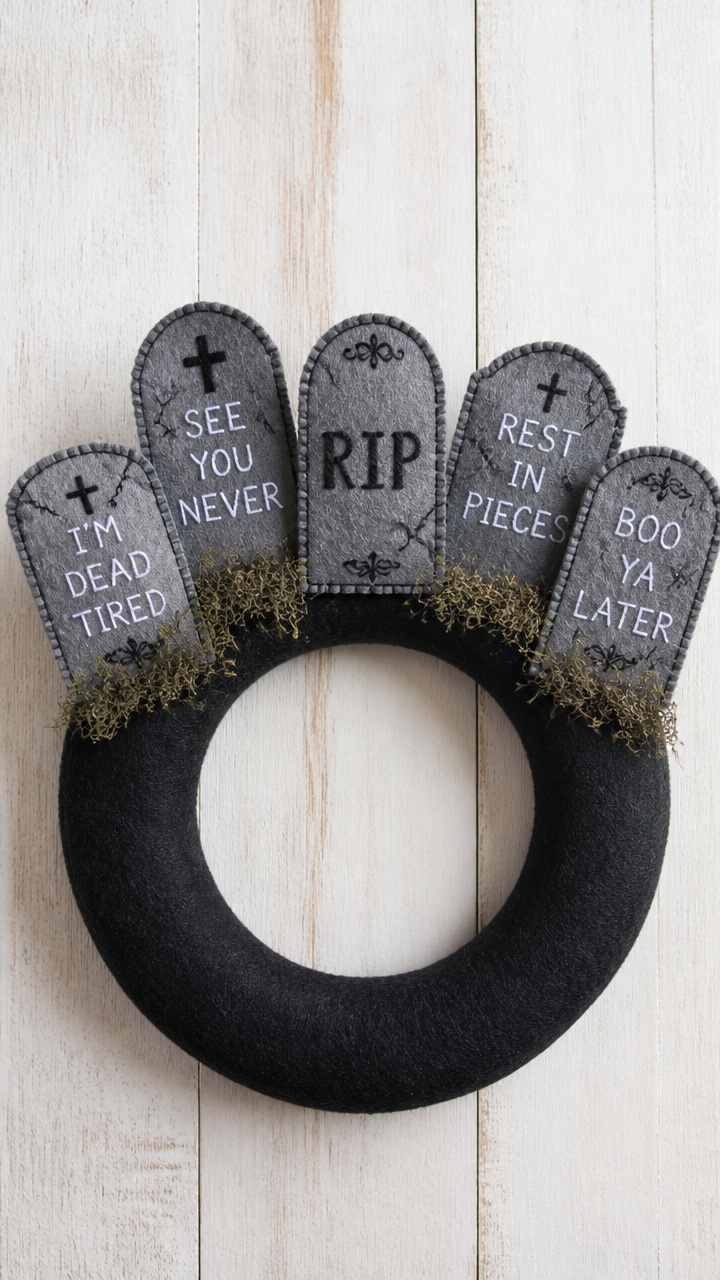
Gray felt tombstones with silly epitaphs stand upright on a black base. Each one has a stitched crack and a tiny cross.
Materials Needed
- 10-inch black foam wreath
- Gray craft felt sheet, 12×18 inches
- White embroidery floss
- Needle
- Scissors
- Black fabric paint
- Pencil
How to Make It
- Draw 8 tombstone shapes 3 inches tall with rounded tops on the felt and cut out.
- Use black fabric paint to write phrases like 'Here Lies Candy' or 'RIP Sleep'.
- Once dry, stitch a crooked crack line down each stone with white floss.
- Cut tiny crosses from leftover felt and glue one to the top of each.
- Insert the bottom edge of each tombstone into slits cut in the foam wreath, spacing evenly.


11. Plastic Snake Vine Wreath
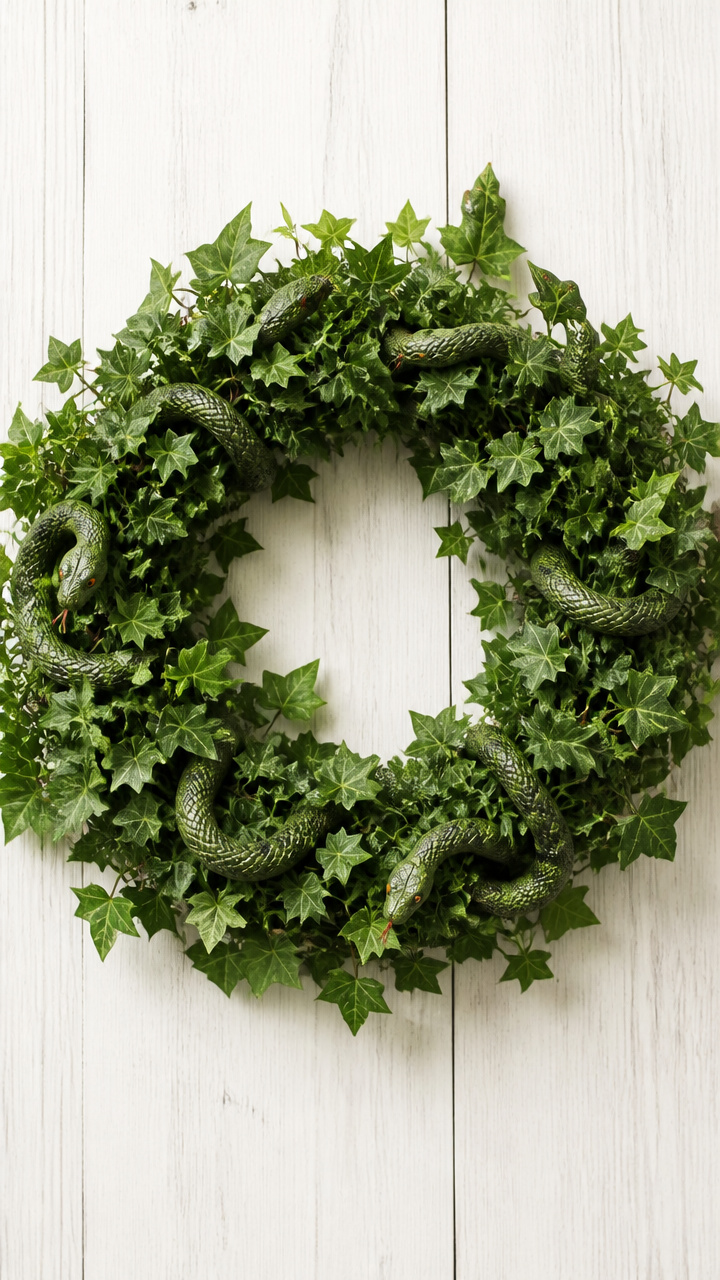
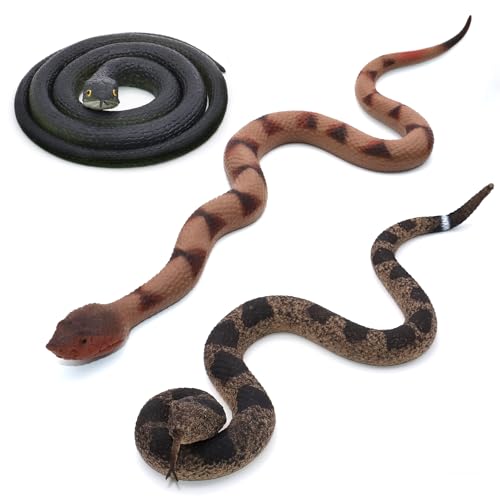
Realistic plastic snakes coil through artificial ivy on a wire frame, heads peeking out like they’re crawling toward your doorstep. It surprises every visitor.
Materials Needed
- 18-inch metal wreath frame
- Artificial ivy garland, 10 feet
- 4 plastic garden snakes, 12 inches long
- Green floral tape
- Wire cutters
How to Make It
- Wrap the ivy garland around the metal frame, securing with floral tape every 6 inches.
- Tuck and layer leaves to cover the frame completely.
- Position one snake at the bottom with its head lifted, taping the body under the ivy.
- Place the other snakes at varied points, letting tails trail off the edge.
- Use floral tape to bind each snake at two points so it stays in place.


12. Chalkboard Sign Wreath
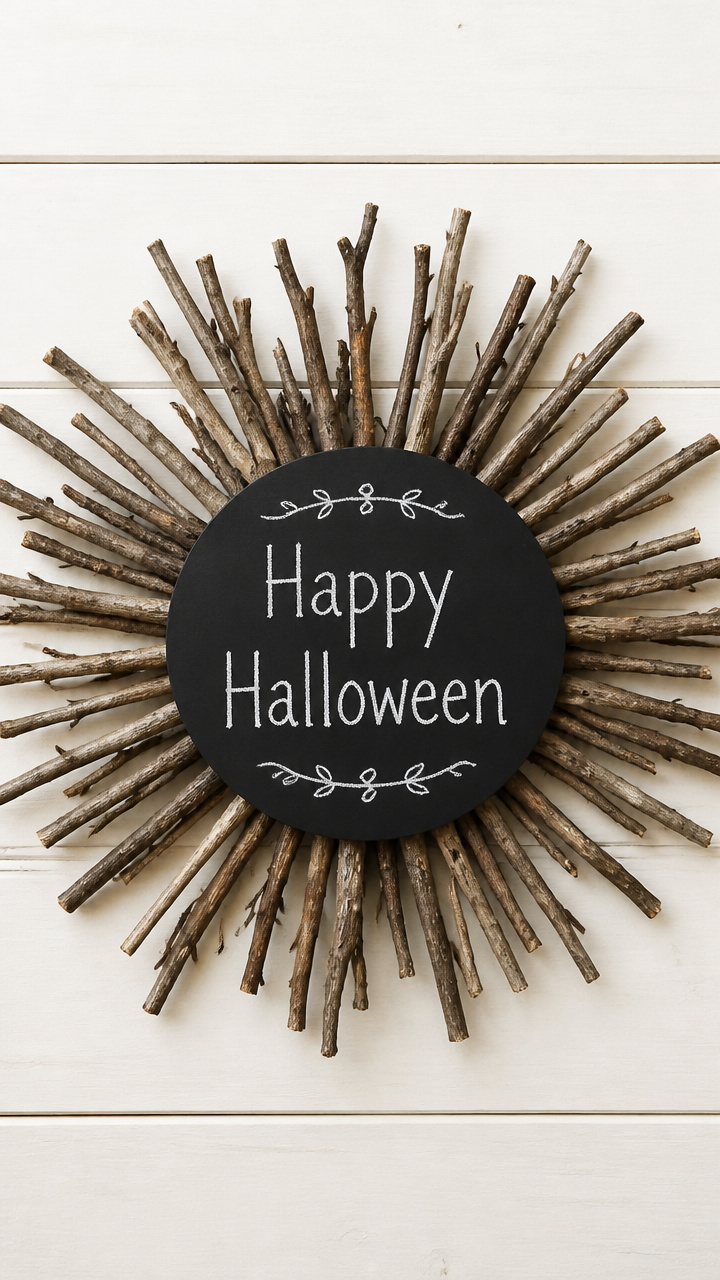
A circular chalkboard holds a hand-drawn spooky message surrounded by twig arms. You can change the quote whenever you want.
Materials Needed
- 10-inch round chalkboard
- Dried twigs, 12 pieces, 6–8 inches long
- Wood glue
- Hot glue gun
- Chalk, white
How to Make It
- Arrange twigs around the edge of the chalkboard like spindly fingers gripping it.
- Glue each twig to the board with wood glue, holding for 10 seconds to set.
- Let the glue dry for 3 hours.
- Use hot glue to attach a loop of twine to the back for hanging.
- Write 'Enter If You Dare' or another phrase in cursive with white chalk.


13. Yarn Wrapped Skull Wreath
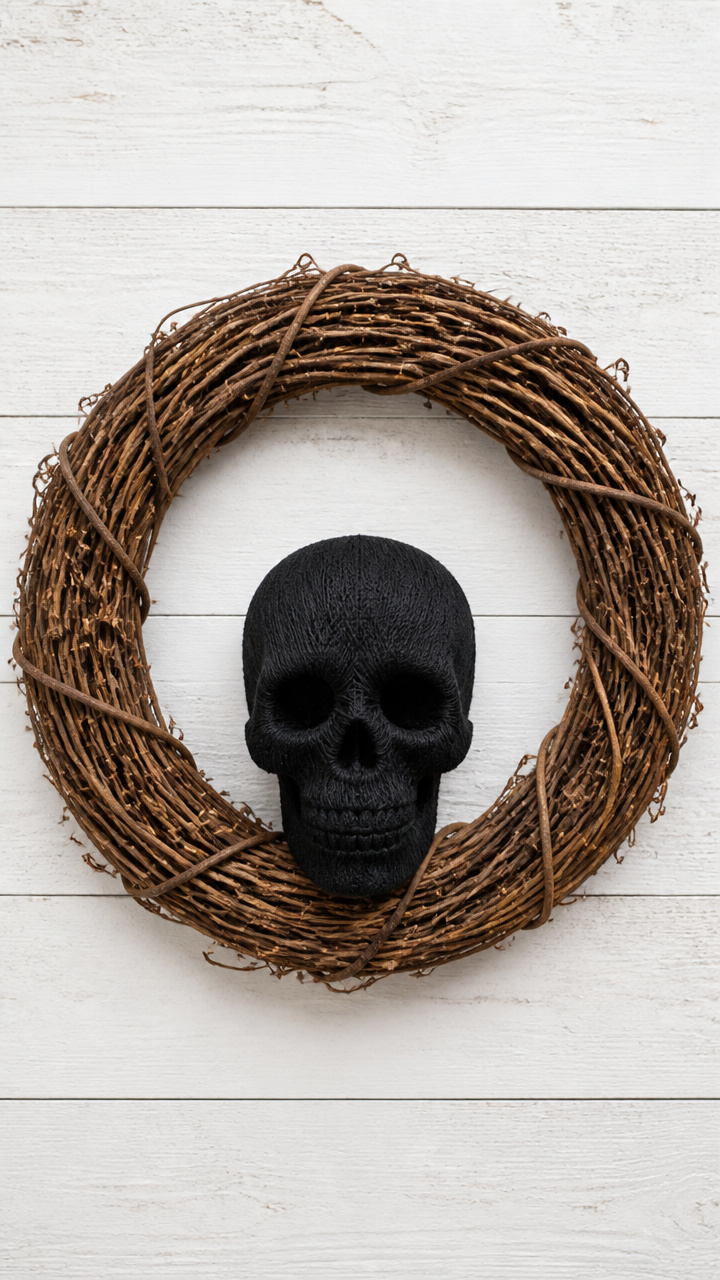
A foam skull gets wrapped in thick black yarn, leaving the eye sockets empty and haunting. It sits at the center of a bare branch circle.
Materials Needed
- Foam skull, 5 inches tall
- Black bulky yarn, 50-yard skein
- 12-inch dried grapevine branch ring
- Hot glue gun
- Floral wire
How to Make It
- Start at the jawline and wrap yarn tightly around the skull, covering all white foam.
- Use a dab of hot glue at the start and end to secure the yarn.
- Twist the yarn into spirals inside the eye sockets for texture.
- Wrap floral wire around the base of the skull and twist the ends to the grapevine ring at the bottom.
- Make sure the skull hangs forward slightly so the face is fully visible.


14. Popsicle Stick Fence Wreath
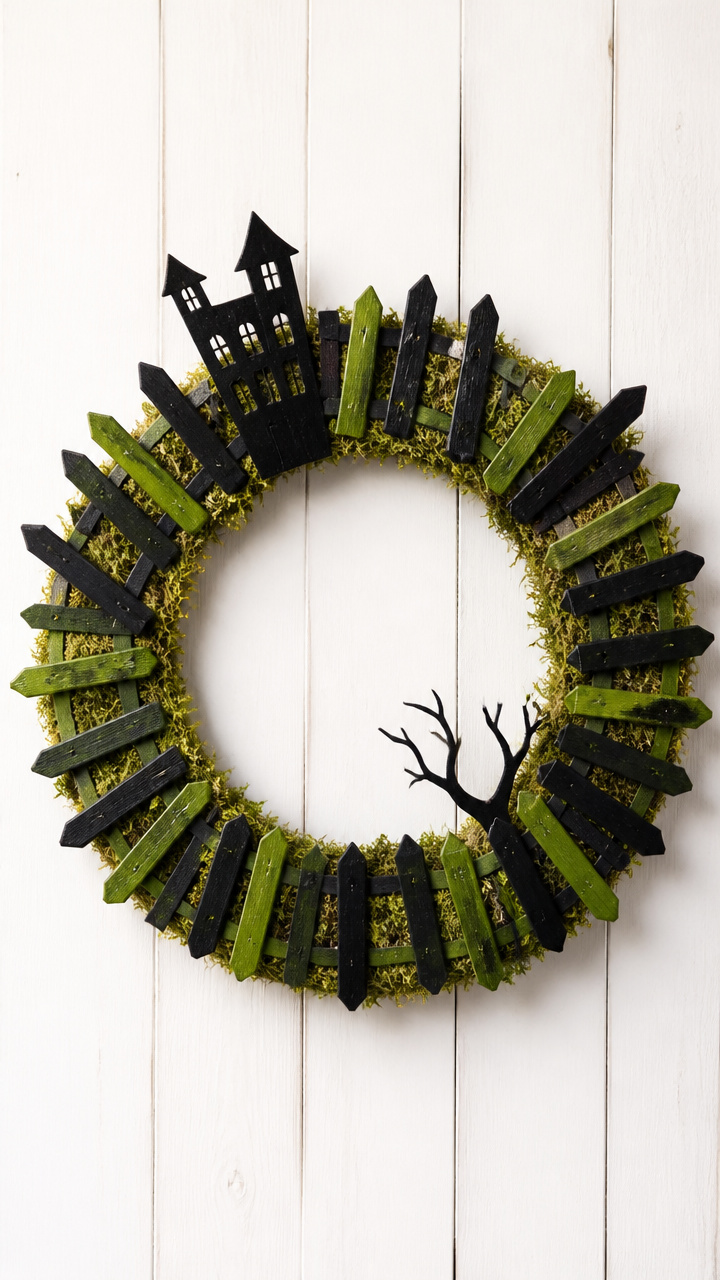
Miniature fence panels made from painted popsicle sticks form a witchy picket around a moss center. It looks like a tiny haunted yard.
Materials Needed
- 100 wooden popsicle sticks
- Green acrylic paint
- Black acrylic paint
- Paintbrush
- Hot glue gun
- 9-inch moss wreath base
How to Make It
- Paint 80 sticks green for grass and let dry for 1 hour.
- Paint 20 sticks black for fence posts and let dry.
- Glue four black sticks vertically 2 inches apart on a flat surface.
- Glue two horizontal green sticks across the posts, one at top and one at bottom, to make a panel.
- Make five panels and glue them standing upright around the outer edge of the moss base.



15. Cellophane Flame Wreath
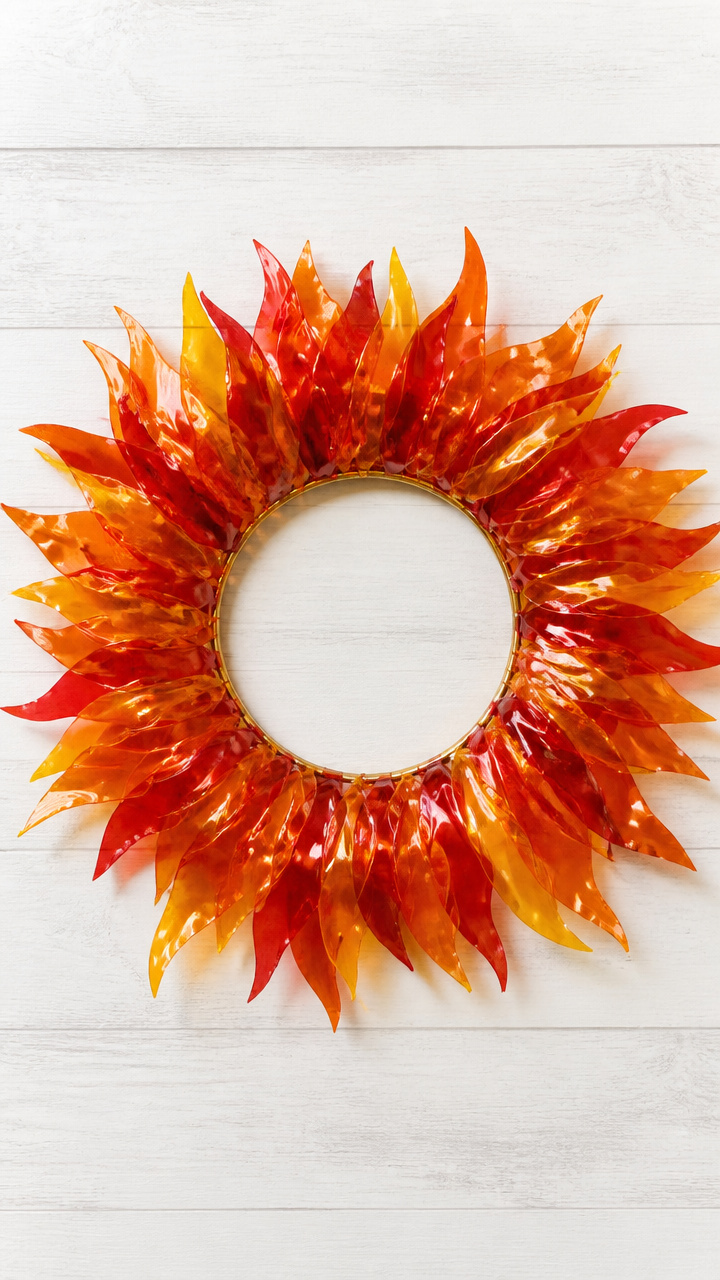
Red, orange, and yellow cellophane strips flutter from a metal ring like dancing fire. It looks warm and dangerous at the same time.
Materials Needed
- 14-inch gold metal wreath frame
- Red cellophane sheet
- Orange cellophane sheet
- Yellow cellophane sheet
- Scissors
- Hot glue gun
How to Make It
- Cut each cellophane sheet into 1-inch-wide vertical strips, 6 inches long, about 30 per color.
- Group one red, one orange, and one yellow strip together to form a flame bundle.
- Apply hot glue to the ends and press onto the outer curve of the metal frame.
- Space bundles every 2 inches around the ring.
- Fluff the strips outward and upward so they resemble rising flames.


16. Button Witch Brooch Wreath
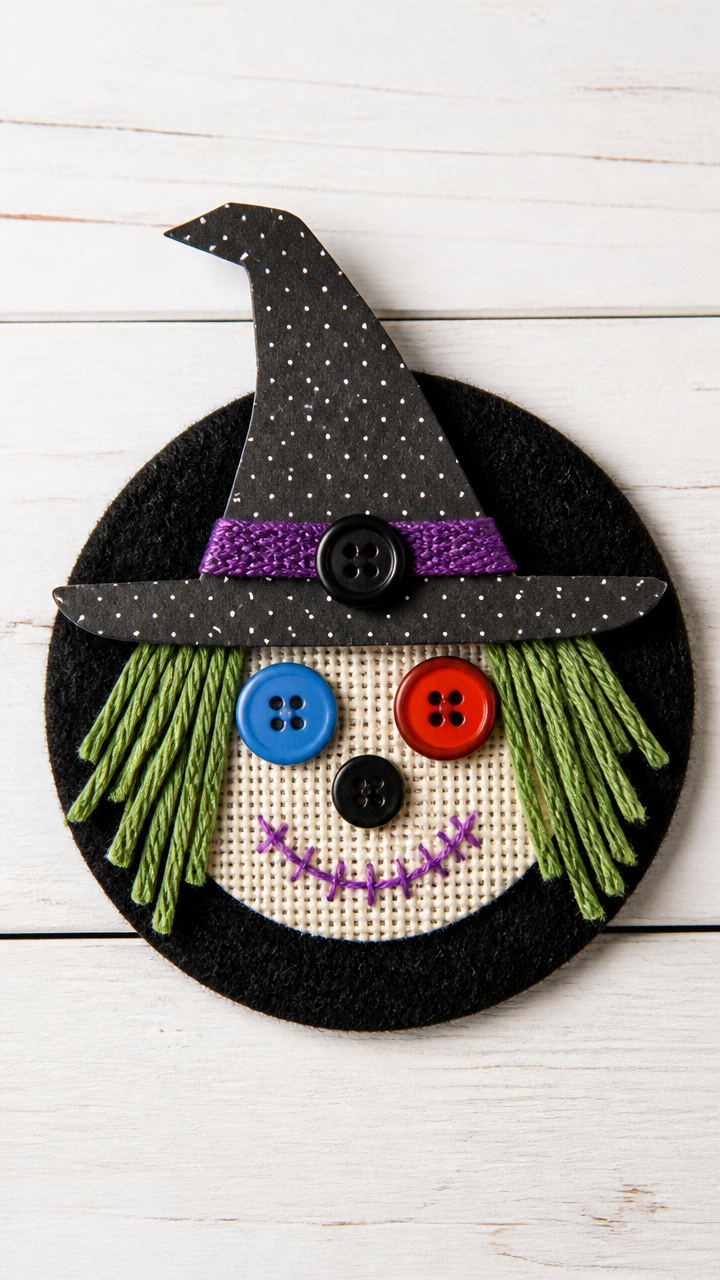
Mismatched buttons form a witch’s face with a pointed hat and stitched features. She watches over your porch with a sassy grin.
Materials Needed
- 8-inch black felt circle
- Assorted buttons: 1 large black, 2 medium blue, 1 red, 10 small black
- Embroidery floss in black, green, purple
- Needle
- Cardboard witch hat, 6 inches tall
- Hot glue gun
How to Make It
- Glue the large black button in the center for the nose.
- Position blue buttons above for eyes and red below for the mouth.
- Stitch a warty texture around the nose with black floss using small dots.
- Sew zigzag green lines across the forehead for wild eyebrows.
- Glue the hat to the top edge of the felt circle and attach the whole piece to a plain wreath base with hot glue.


17. Toilet Paper Mummy Wreath

Unrolled toilet paper strips coated in glue wrap a foam wreath like ancient bandages. Goofy button eyes peek through the layers.
Materials Needed
- 12-inch foam wreath
- 1 roll toilet paper
- White school glue
- Water
- Small bowl
- 2 black buttons, 1 inch
- Hot glue gun
How to Make It
- Mix equal parts glue and water in the bowl.
- Unroll the toilet paper and cut into 2-inch-wide strips.
- Dip each strip into the glue mixture, run fingers along to coat, then wrap around the foam wreath.
- Overlap layers randomly, leaving two small gaps at the front for eyes.
- Glue buttons into the eye holes and let dry upright for 6 hours.


18. Pinecone Bats Wreath
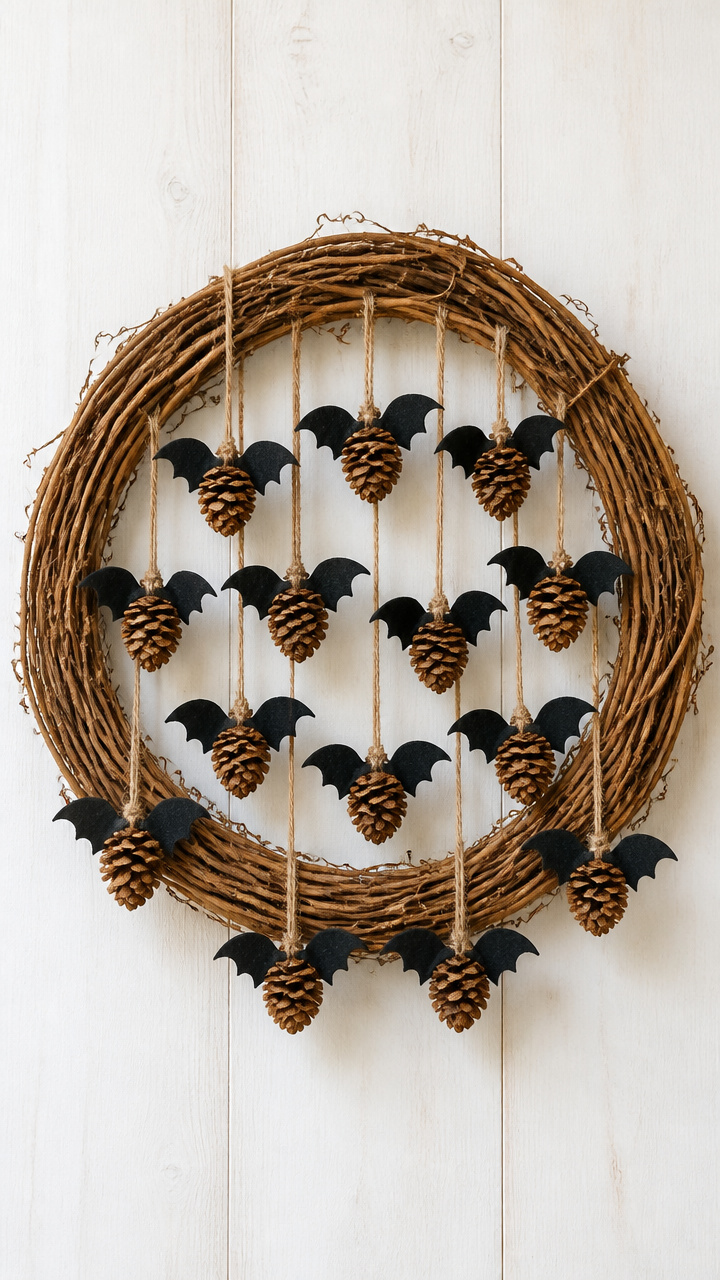
Pinecones become bat bodies when paired with felt wings and hanging upside down from twine. Their natural texture makes them look like they belong in the woods.
Materials Needed
- 12 pinecones, medium size
- Black felt sheet
- Scissors
- Hot glue gun
- Twine, 5-foot length
- 9-inch grapevine wreath
How to Make It
- Cut 24 bat wings from black felt, each 3 inches long with a curved tip.
- Glue two wings to the back of each pinecone near the top.
- Tie a 6-inch piece of twine to the top of each pinecone.
- Knot the other end to the grapevine wreath, arranging them in clusters of three.
- Hang with the pinecones pointing downward to mimic roosting bats.


19. Egg Carton Cauldron Wreath

Cut-up egg cartons form a bubbling cauldron with painted foam balls as steam. It sits in the middle of a twig wheel.
Materials Needed
- Cardboard egg carton, 12-cup
- Black acrylic paint
- Paintbrush
- 5 white foam balls, 1 inch
- Gray spray paint
- Hot glue gun
- 10-inch stick wreath
How to Make It
- Cut out four connected cups from the carton and trim edges smooth.
- Paint the outside black and let dry for 1 hour.
- Spray the foam balls with gray paint and let dry completely.
- Glue the egg cup unit to the bottom front of the stick wreath.
- Arrange foam balls above the cauldron and glue them in place to look like rising smoke.


20. Flashlight Jack-O-Lantern
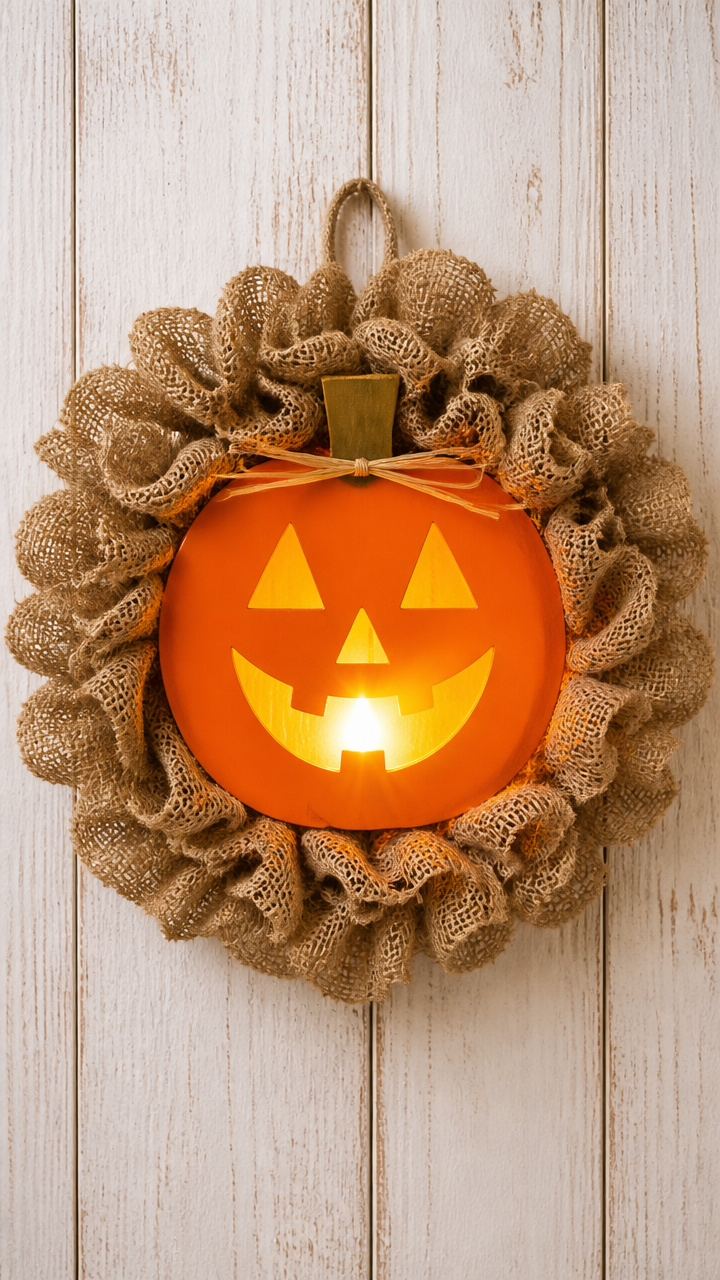
A real flashlight shines through a carved foam pumpkin face mounted on a burlap wreath. It casts a flickering glow like a real candle.
Materials Needed
- Small handheld flashlight
- Orange foam ball, 6 inches
- Carving tool
- Black permanent marker
- Burlap wreath, 10 inches
- Hot glue gun
How to Make It
- Draw triangle eyes, nose, and jagged mouth on the foam ball with the marker.
- Carefully cut out the shapes with the carving tool.
- Place the flashlight inside the foam ball, testing that light shines through the openings.
- Glue the pumpkin to the front of the burlap wreath with the flashlight handle sticking out.
- Turn it on at dusk to project a spooky face onto your door.


Each of these wreaths brings something different to your doorstep, from playful to eerie. Pick one that matches your mood and start gathering what you need. You’ll have it done before the first trick-or-treater arrives.