15 DIY Christmas Card Crafts for a Handmade Holiday
There’s something special about opening an envelope and finding a card made by hand. The care in each brushstroke, the texture of pressed paper, the tiny details only you could add — these cards carry more than holiday cheer, they carry connection.
This collection brings together fifteen distinct handmade Christmas cards you can create with everyday supplies and simple techniques. Each one is designed to feel personal, look beautiful, and arrive with warmth.
1. Foil-Pressed Gold Pine Cards
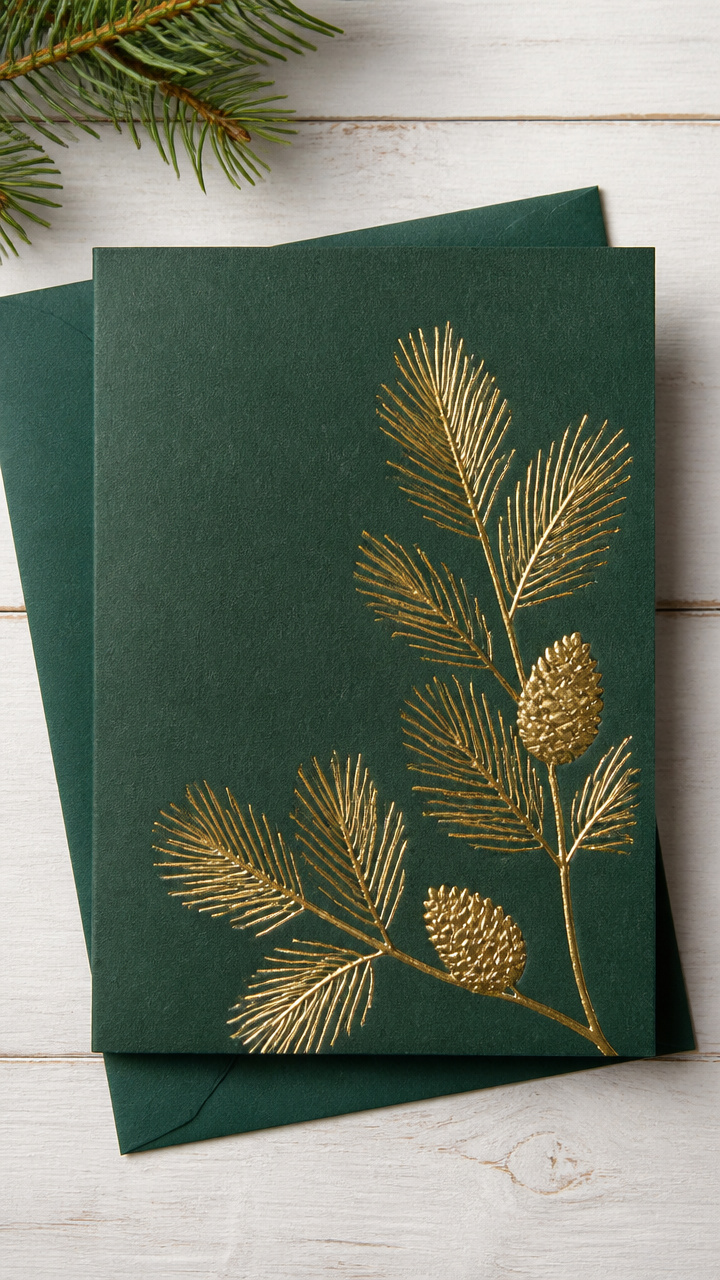
Smooth metallic pine branches glow against deep green card fronts. This method uses real foil sheets and adhesive ink for a professional shimmer that catches the light just right.
Materials Needed
- A6 kraft cardstock, 4 oz weight, 10 sheets
- Gold transfer foil sheet, 8.5 x 11 inches
- Clear pigment ink pad
- Pine branch rubber stamp
- Craft tape
- Bone folder
- Scissors
How to Make It
- Fold each kraft cardstock sheet in half using the bone folder to make a sharp crease, creating 10 card bases.
- Press the pine branch stamp firmly into the clear pigment ink pad, then stamp once onto the front center of a card.
- Wait 30 seconds for the ink to become tacky, then lay the gold foil sheet over the stamped area, shiny side up.
- Rub gently with your fingertip in small circles for 15 seconds, then peel the foil sheet away slowly.
- Trim excess foil with scissors if needed and repeat for all 10 cards.


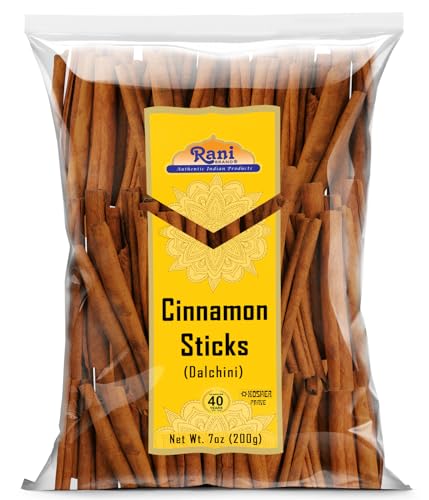
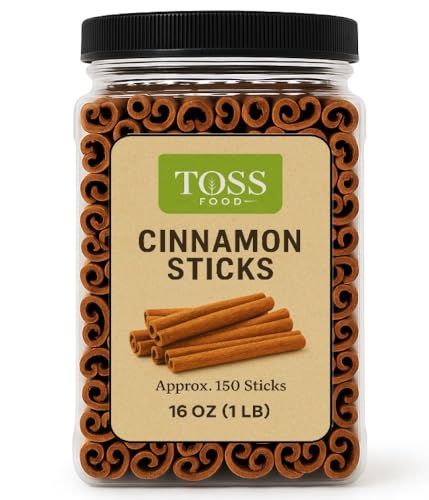
2. Cinnamon Stick Accent Cards
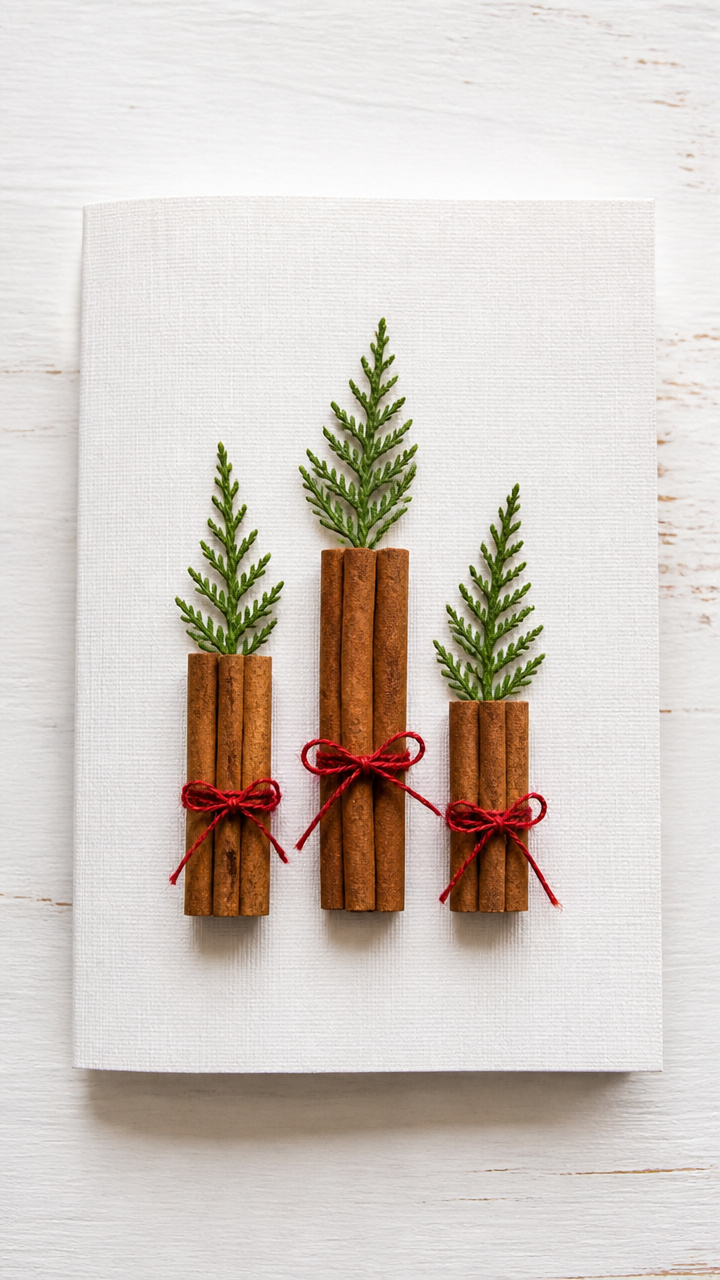
Mini cinnamon sticks stand upright on the card front like tiny trees, giving off a warm spice scent with every opening.
Materials Needed
- A6 white linen cardstock, 10 sheets
- Small cinnamon sticks, 2 inches long, 20 pieces
- Hot glue gun
- Glue sticks
- Red twine, 1 mm thickness, 10 feet
- Scissors
- Fine-tip black marker
How to Make It
- Fold each linen cardstock sheet in half with a bone folder to form 10 card bases.
- Cut 10 lengths of twine, each 4 inches long.
- Glue two cinnamon sticks parallel to each other on the front of a card using hot glue, 1 inch apart.
- Wrap a piece of twine around the sticks near the top and secure it with a dot of glue at the back.
- Write 'Warm Wishes' with the black marker above the sticks and repeat for all cards.

3. Watercolor Holly Berry Splatter
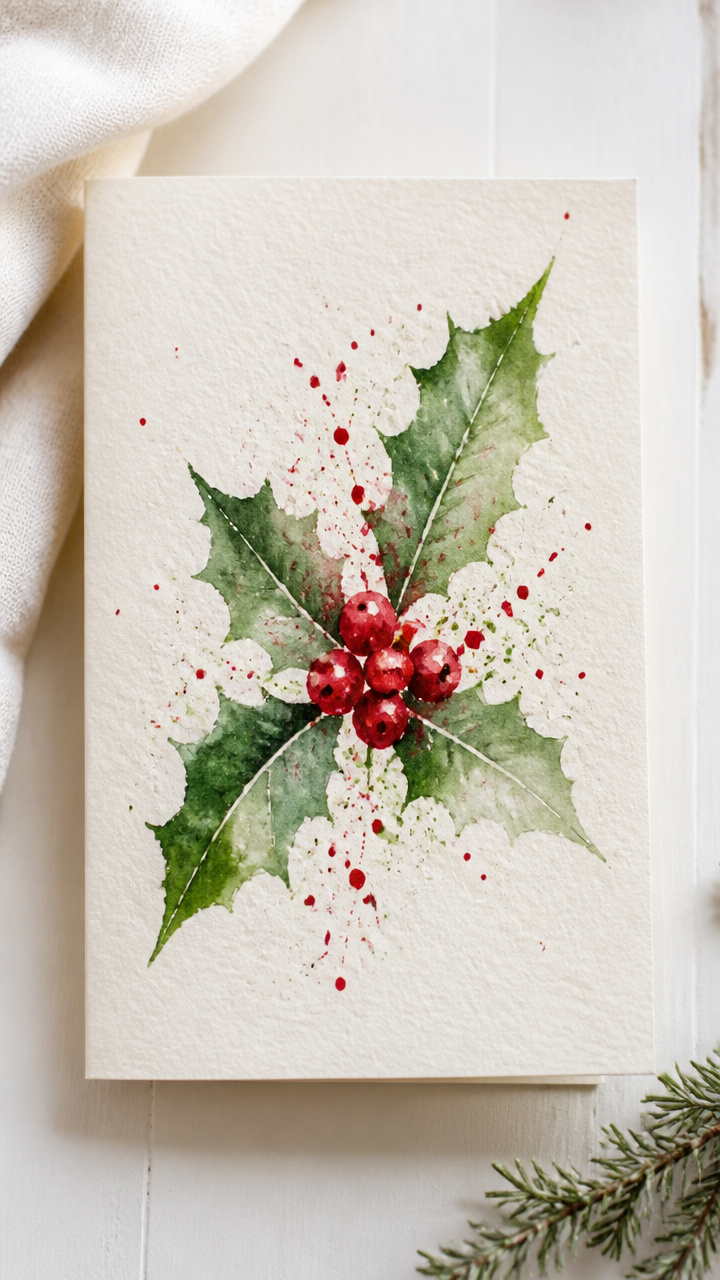
Loose red watercolor dots mimic berries flung across a soft green holly leaf painting. The splatter effect feels lively and artistic without needing skill.
Materials Needed
- A6 cold press watercolor paper cards, 10 sheets
- Round size 4 watercolor brush
- Cadmium red watercolor paint
- Hooker's green watercolor paint
- Small water container
- Paper towel
- Pencil
- Ruler
How to Make It
- Sketch a simple holly leaf lightly in pencil near the bottom right corner of each card.
- Mix a small pool of hooker's green paint with water to a creamy consistency and fill the leaf with color using the brush.
- Let leaves dry completely, about 10 minutes.
- Dip the brush in cadmium red paint, flick the bristles gently with your finger to create berry-like splatters around the leaf.
- Allow cards to dry flat overnight before writing messages inside.


4. Button Tree Silhouette Cards
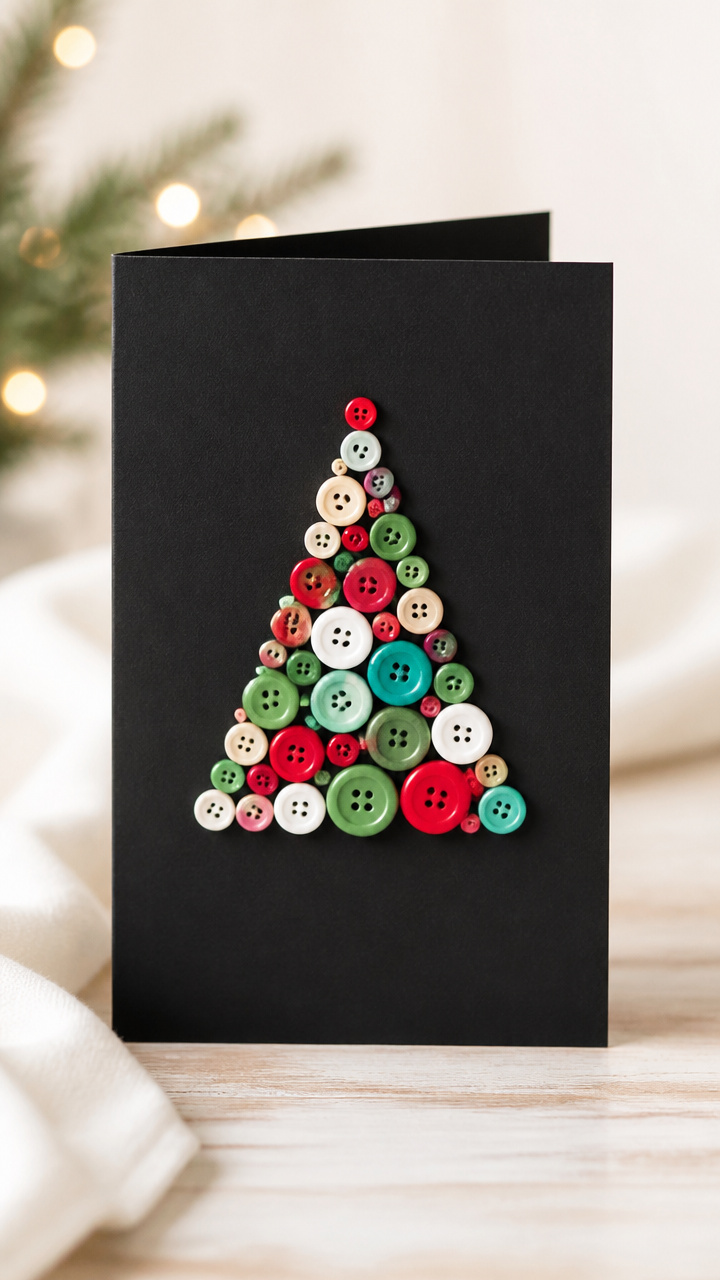
A triangle of mismatched buttons forms a whimsical Christmas tree, outlined with black cardstock for contrast and charm.
Materials Needed
- A6 black cardstock, 10 sheets
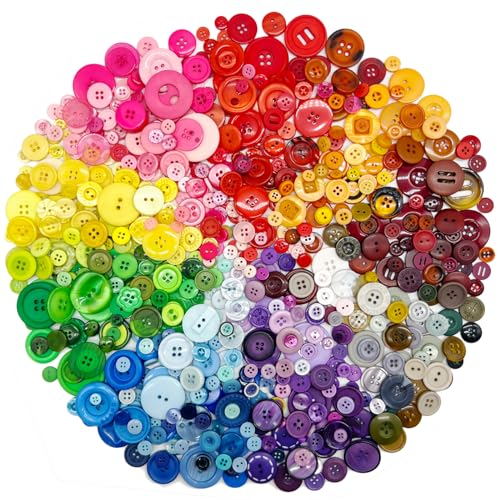
- Assorted buttons, various sizes and colors, 50 total
- White craft glue
- Toothpicks
- Scissors
- Cardboard template (cut to triangle, 3 inches tall)
- Pencil
How to Make It
- Fold each black cardstock sheet in half to create 10 card bases.
- Trace the cardboard triangle lightly on the front of each card, point facing up.
- Use a toothpick to apply a small dot of white craft glue to the back of each button.
- Place buttons inside the triangle shape, starting from the bottom with larger ones and layering smaller toward the top.
- Let glue dry completely for 2 hours before handling.


5. Salt Painted Snowflake Backgrounds
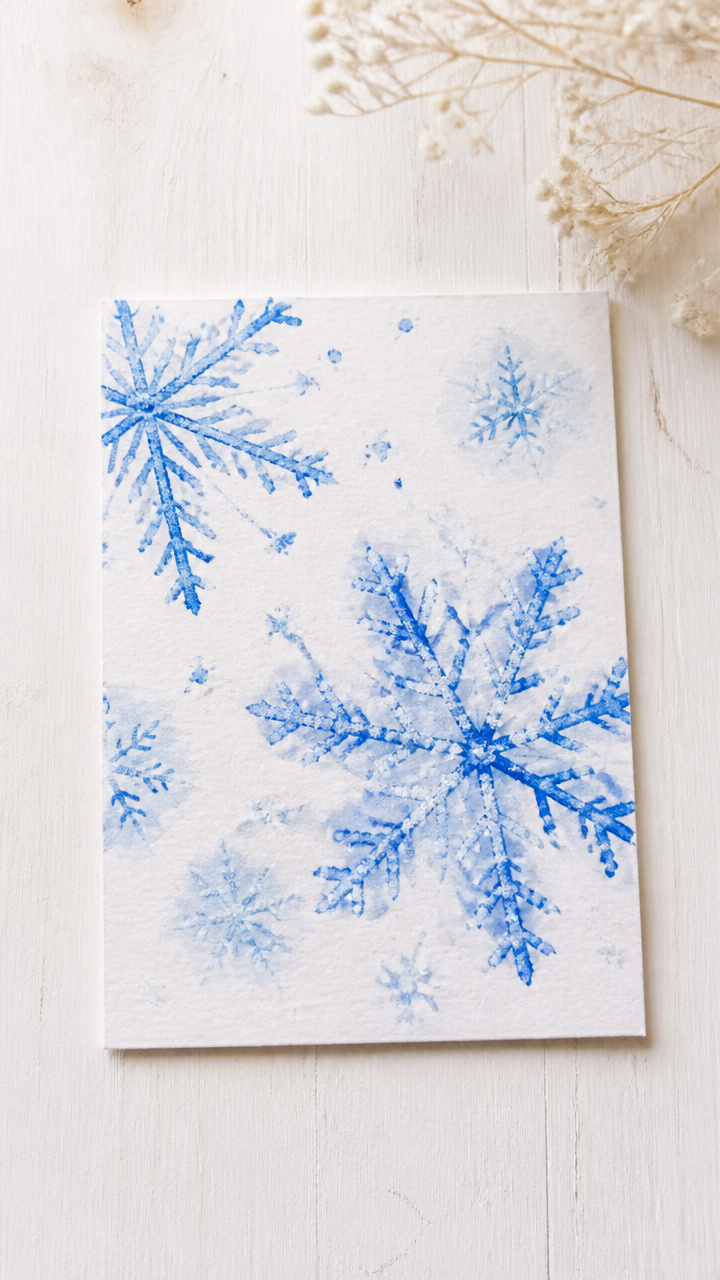
A mix of glue, salt, and watercolor creates delicate snowflake patterns with a subtle raised texture that sparkles in the light.
Materials Needed
- A6 watercolor paper cards, 10 sheets
- White school glue
- Table salt, fine grain, 1/2 cup
- Small paintbrush
- Cobalt blue watercolor paint
- Spray bottle with water
- Paper plate
How to Make It
- Draw loose snowflake shapes with white school glue on each card using the paintbrush, let dry 20 minutes.
- While glue is still wet, sprinkle salt evenly over each design, covering all glued areas.
- Shake off excess salt over the paper plate and let cards sit for 10 minutes.
- Lightly mist cobalt blue paint over the salted areas using the spray bottle, letting color bloom naturally.
- Let dry completely for 3 hours before brushing off any loose salt with fingers.



6. Yarn-Wrapped Ornament Fronts
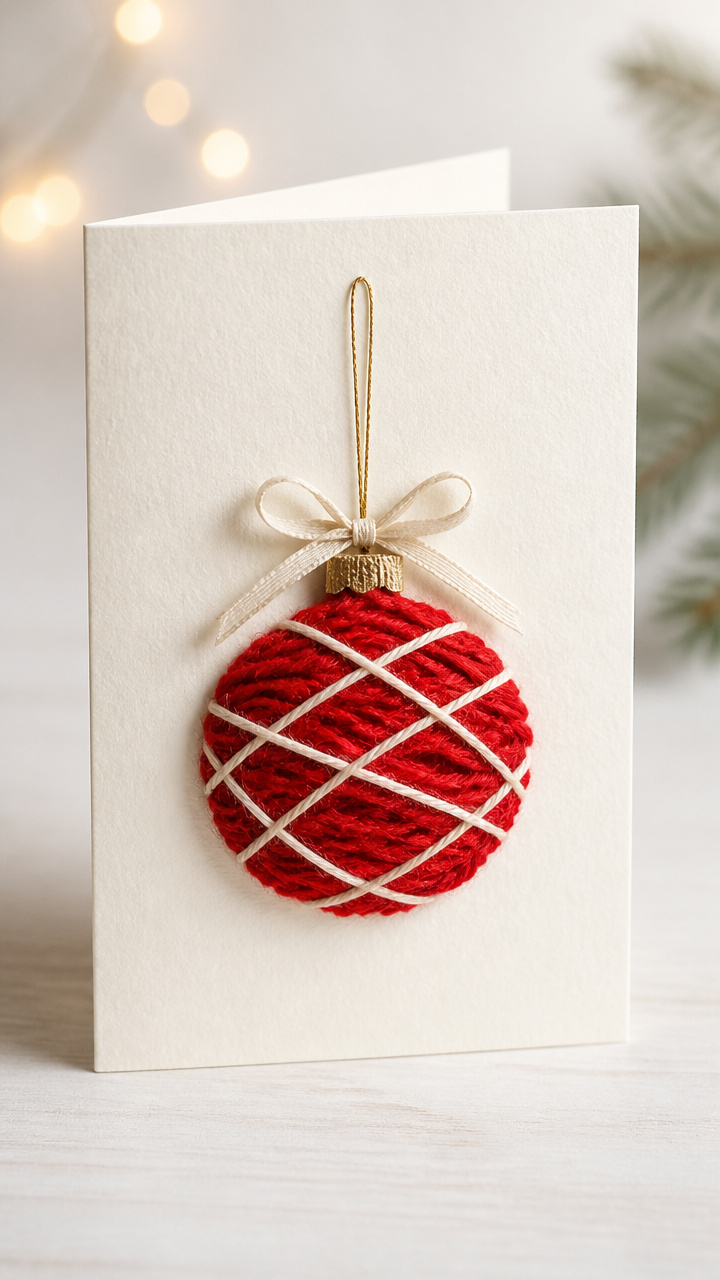
Tiny balls of red yarn sit on the card like ornaments, wrapped neatly with thin string to mimic ribbon details.
Materials Needed
- A6 cream cardstock, 10 sheets
- Red embroidery yarn, 10 meters
- White sewing thread
- Craft glue
- Scissors
- Pencil
- Circle stencil, 1.5 inch diameter
How to Make It
- Fold each cream cardstock sheet in half to make 10 card bases.
- Trace the circle stencil twice on the front of each card using pencil.
- Wrap red yarn tightly around four fingers 20 times, slide off and tie center with a short piece of yarn to form a pom-pom.
- Fluff pom-pom gently and trim uneven strands, then glue one pom-pom inside each traced circle.
- Wrap white thread around the middle of each pom-pom twice and knot at the back for a ribbon effect.


7. Puffy Paint Doodle Trees
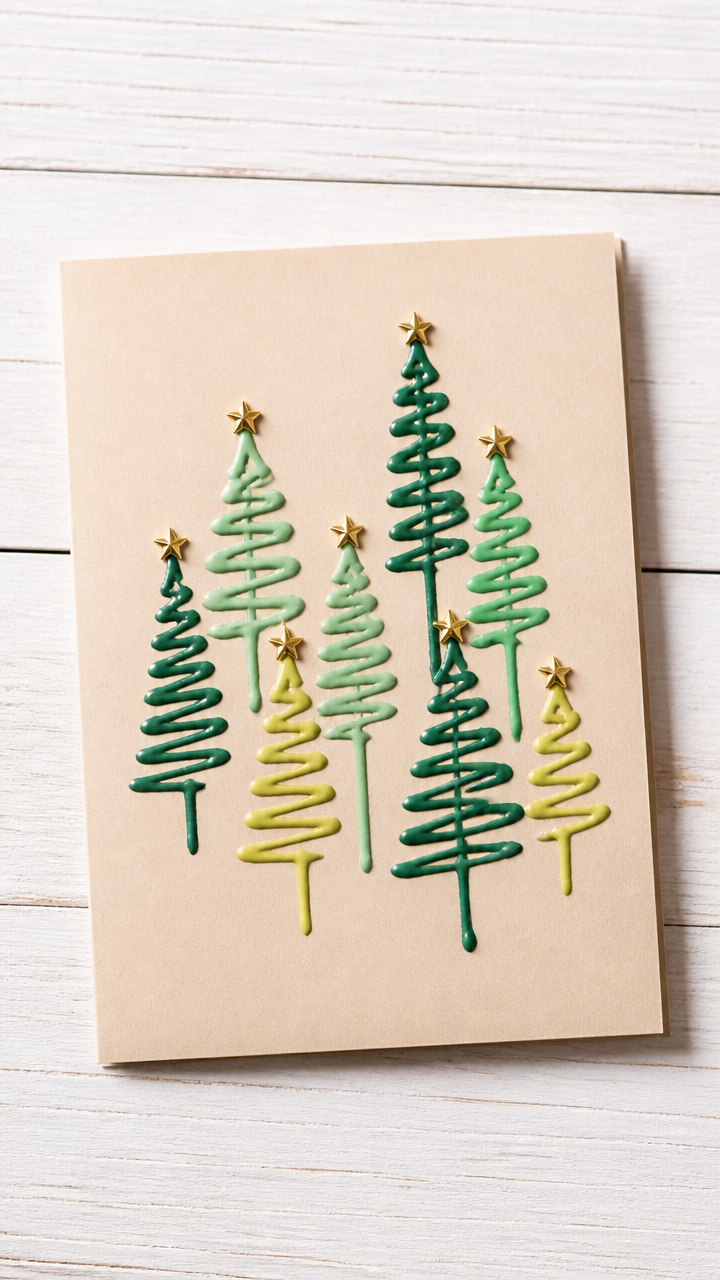
Lines of puffy fabric paint rise slightly from the card, forming abstract evergreens topped with tiny star beads.
Materials Needed
- A6 manila cardstock, 10 sheets
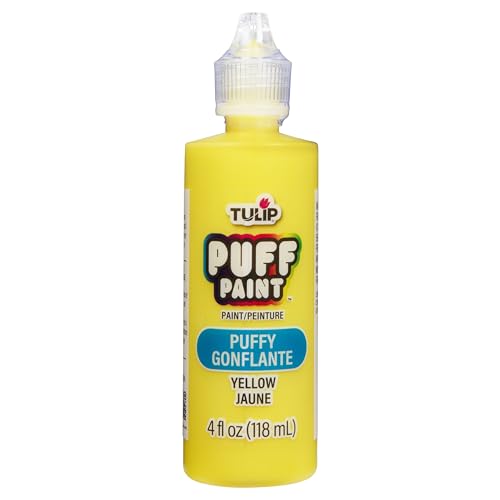
- Green puffy fabric paint tube
- Yellow puffy fabric paint tube
- Mini gold star beads, 20 pieces
- Tweezers
- Ruler
- Pencil
How to Make It
- Fold each manila cardstock sheet in half to create 10 card bases.
- Use pencil to mark three triangle points on the front of each card, staggered in height.
- Squeeze green puffy paint along each triangle outline to form tree shapes, do not fill in.
- Place one star bead at the top of each tree using tweezers and a dot of green puffy paint to secure.
- Let paint dry undisturbed for 6 hours until fully puffed and firm.


8. Pressed Fir Sprig Cards
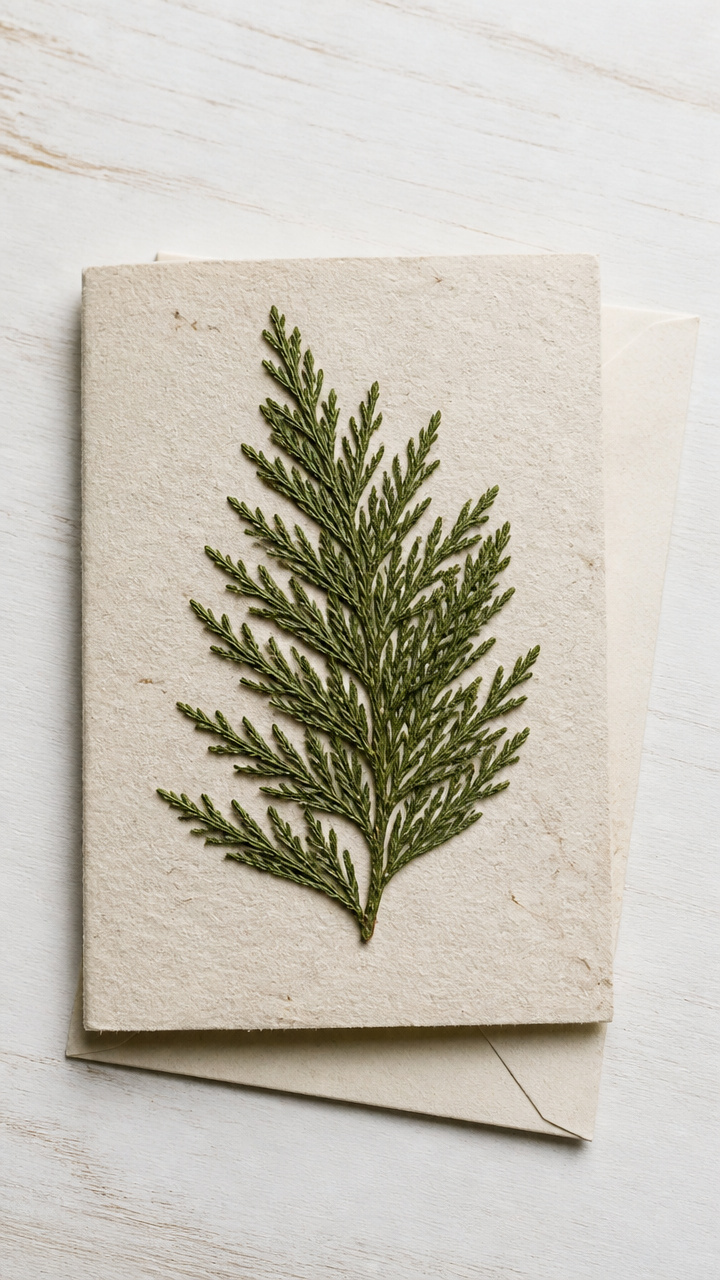
Real fir sprigs flattened and sealed with glue give a woodsy authenticity and faint pine scent when opened.
Materials Needed
- A6 recycled cotton paper cards, 10 sheets
- Fresh fir sprigs, 10 pieces, 2 inches long
- Mod Podge matte finish, 4 oz
- Foam brush, 1 inch wide
- Parchment paper
- Heavy book
- Scissors
How to Make It
- Lay each fir sprig face down on parchment paper and place another sheet on top, then press under a heavy book for 2 hours.
- Fold each cotton paper sheet in half to make 10 card bases.
- Brush a thin layer of Mod Podge on the front center of a card.
- Place a pressed sprig on the glue, stem pointing down, and press gently.
- Seal the sprig with another layer of Mod Podge and let dry for 4 hours.

9. Glitter-Dipped Evergreen Tips
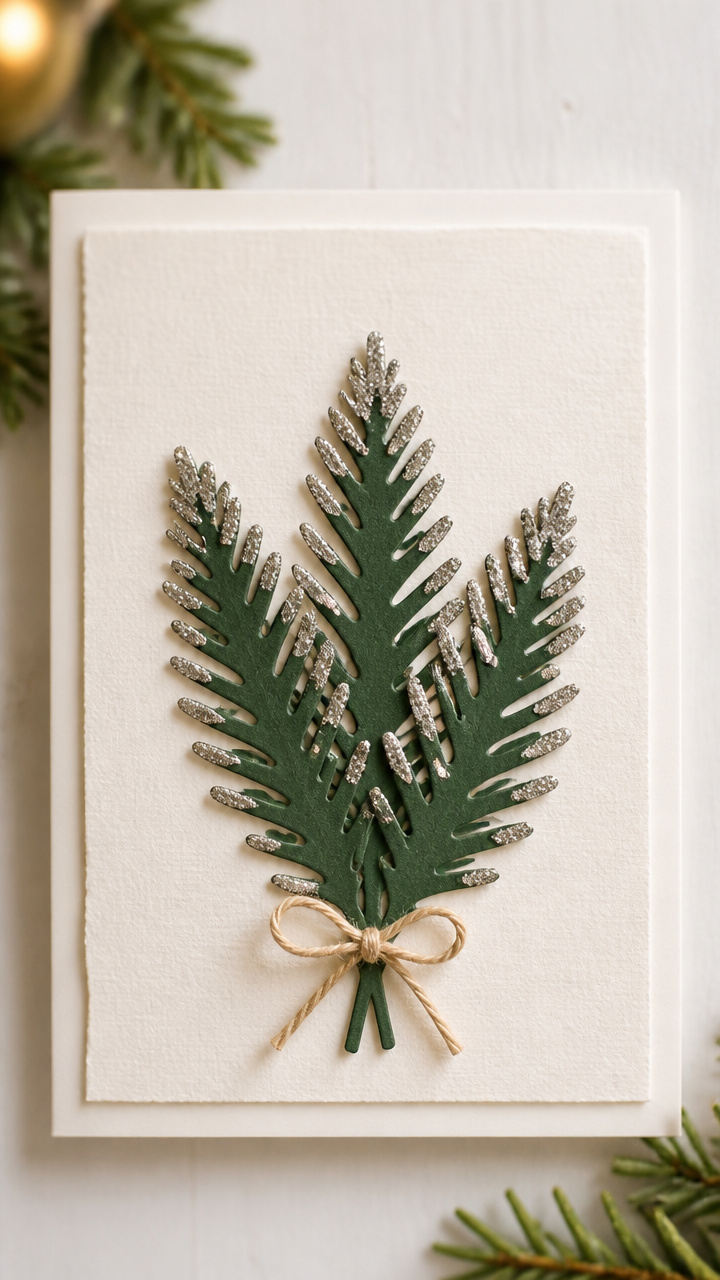
The tips of hand-cut evergreen shapes are dipped in glue and fine silver glitter, mimicking frost on winter branches.
Materials Needed
- A6 forest green cardstock, 10 sheets
- Silver fine glitter
- Clear drying craft glue
- Small bowl
- Scissors
- Paintbrush, 1/2 inch
- Newspaper
How to Make It
- Fold each forest green cardstock sheet in half to form 10 card bases.
- Cut out 10 evergreen tree shapes from leftover green cardstock, each 3 inches tall.
- Pour glitter into the bowl and spread glue along the top 1/2 inch of each tree with the brush.
- Dip the glued tip into the glitter, shake off excess, and lay flat on newspaper to dry for 30 minutes.
- Glue each glittered tree to the front of a card near the center and let set for 1 hour.


10. Crayon Rubbing Wreath Cards
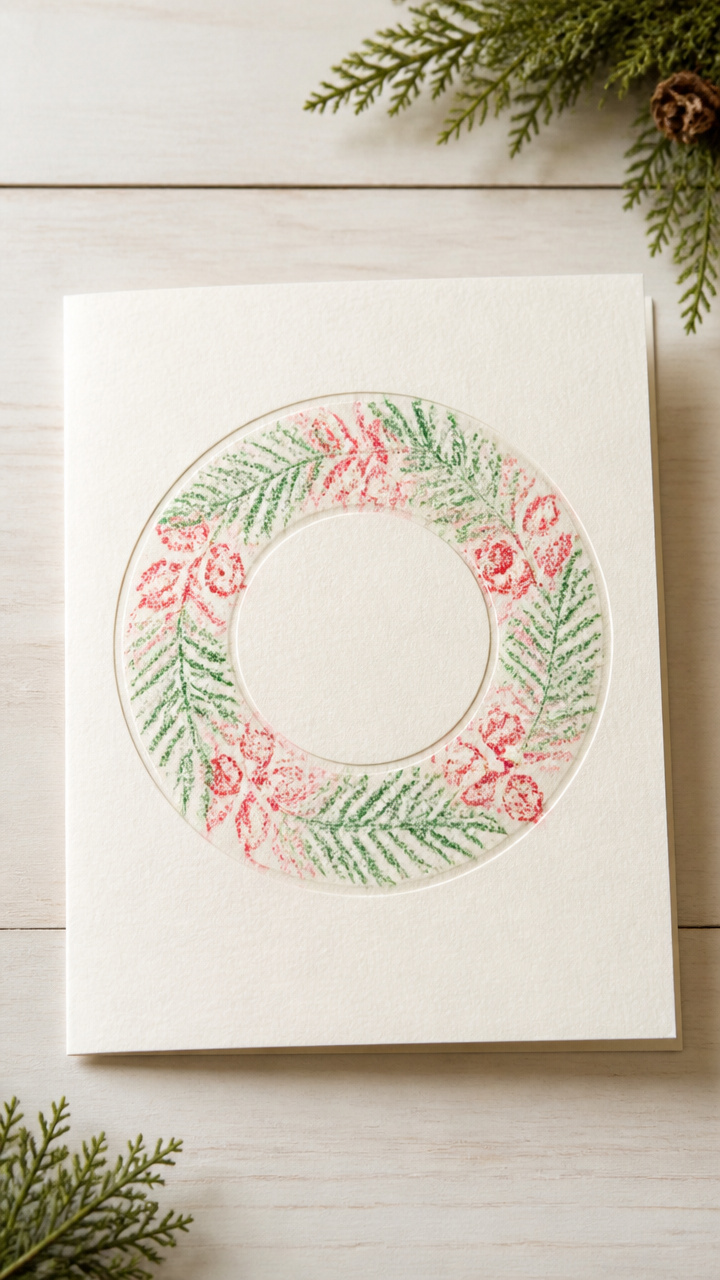
A textured wreath emerges from a hidden embossed ring through a soft crayon rub, creating a surprise reveal.
Materials Needed
- A6 off-white cardstock, 10 sheets
- Green and red short crayons, no paper
- Embossing mat, 3×3 inches
- Brayer or spoon
- Pencil
- Scissors
- Wreath stencil
How to Make It
- Fold each off-white cardstock sheet in half to make 10 card bases.
- Place the embossing mat under the front of a card where the wreath will go.
- Position the wreath stencil on top and roll the brayer firmly over it 5 times to imprint the design.
- Remove stencil and mat, then rub the side of a green crayon over the imprinted area until the wreath appears.
- Add small red rubbings for berries and repeat for all cards.


11. Mini Clothespin Reindeer Cards
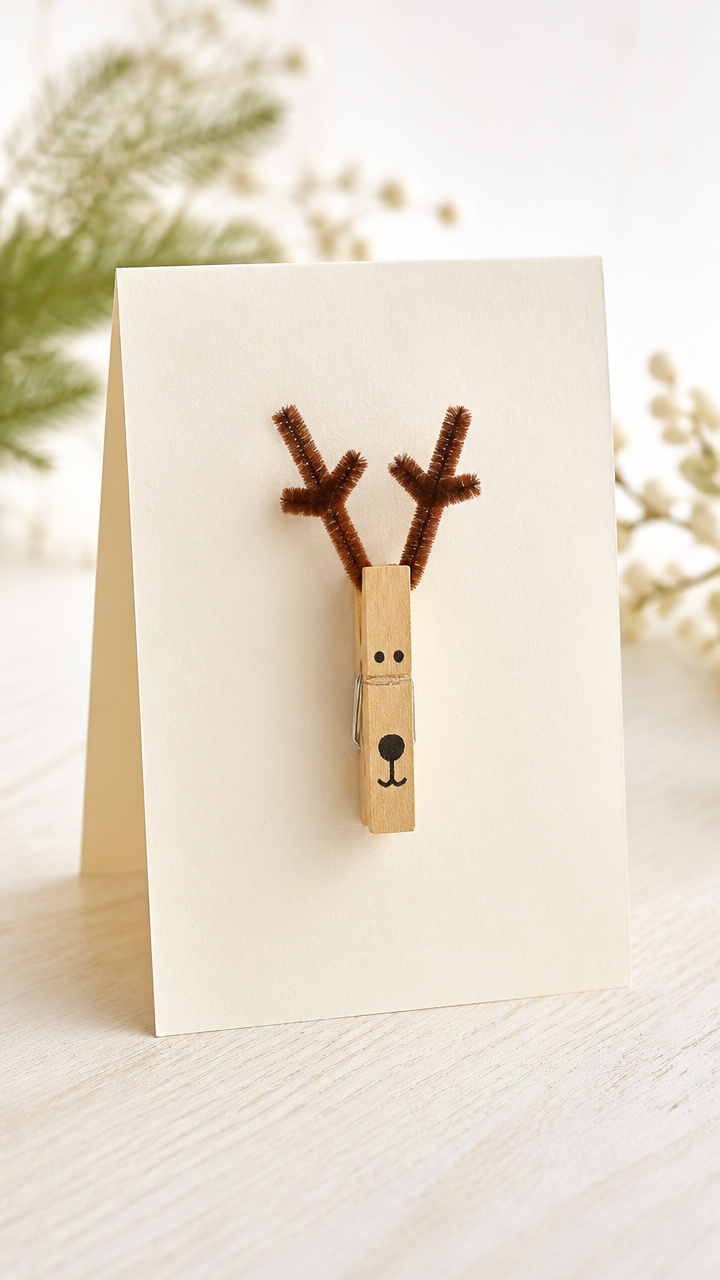
Wooden clothespins become playful reindeer with drawn faces and twisted pipe cleaner antlers.
Materials Needed
- A6 ivory cardstock, 10 sheets
- Mini wooden clothespins, 10 pieces
- Brown pipe cleaners, 10 inches long, 20 pieces
- Black fine-tip marker
- Hot glue gun
- Wire cutters
- Scissors
How to Make It
- Fold each ivory cardstock sheet in half to create 10 card bases.
- Cut each pipe cleaner in half using wire cutters.
- Bend two pipe cleaner halves into antler shapes and insert each pair into the top of a clothespin.
- Draw eyes, nose, and mouth on the flat end of each clothespin with the black marker.
- Glue the bottom of each clothespin to the front of a card, narrow end facing down, and let dry 10 minutes.


12. Quilled Paper Holly Scrolls
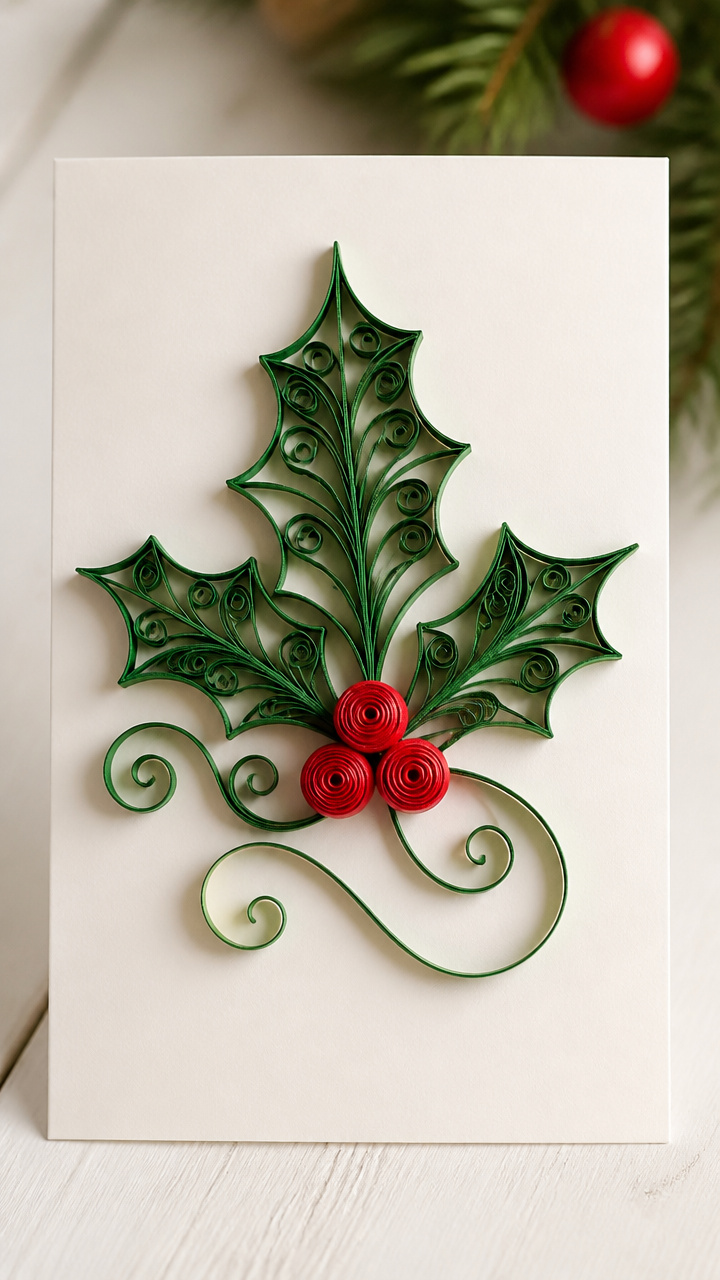
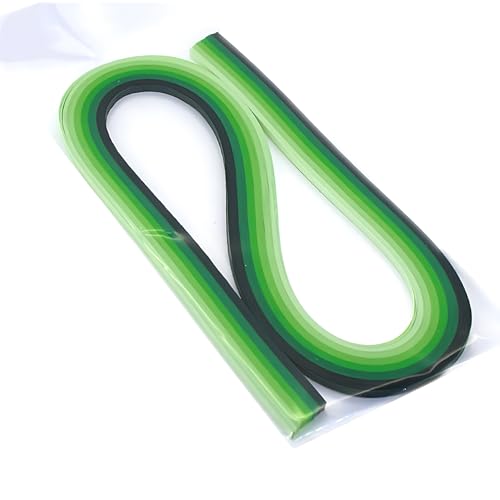
Tightly rolled strips of red and green paper form glossy holly leaves and berries with a classic paper art elegance.
Materials Needed
- A6 pearl finish cardstock, 10 sheets
- Green quilling paper strips, 1/4 inch wide, 12 inches long, 30 pieces
- Red quilling paper strips, same size, 10 pieces
- Quilling tool
- White craft glue
- Tweezers
- Scissors
How to Make It
- Fold each pearl cardstock sheet in half to make 10 card bases.
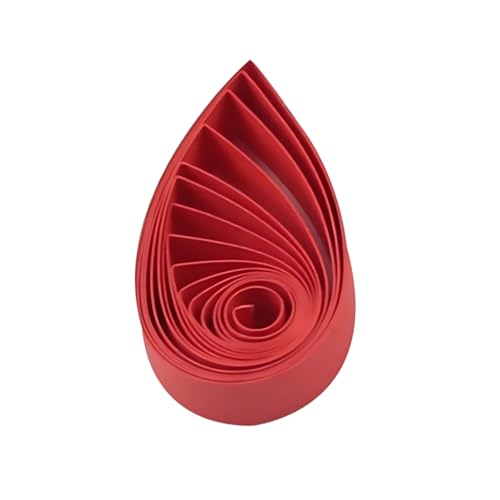
- Roll one green strip tightly around the quilling tool, glue end to secure, then pinch into a teardrop shape.
- Repeat to make 3 green leaves per card, arranging them in a fan shape.
- Roll a red strip into a tight circle, glue to close, and flatten slightly to make a berry cluster.
- Glue leaves and berry cluster together, then attach the group to the front of each card with craft glue and tweezers.

13. Chalkboard Paint Star Tags
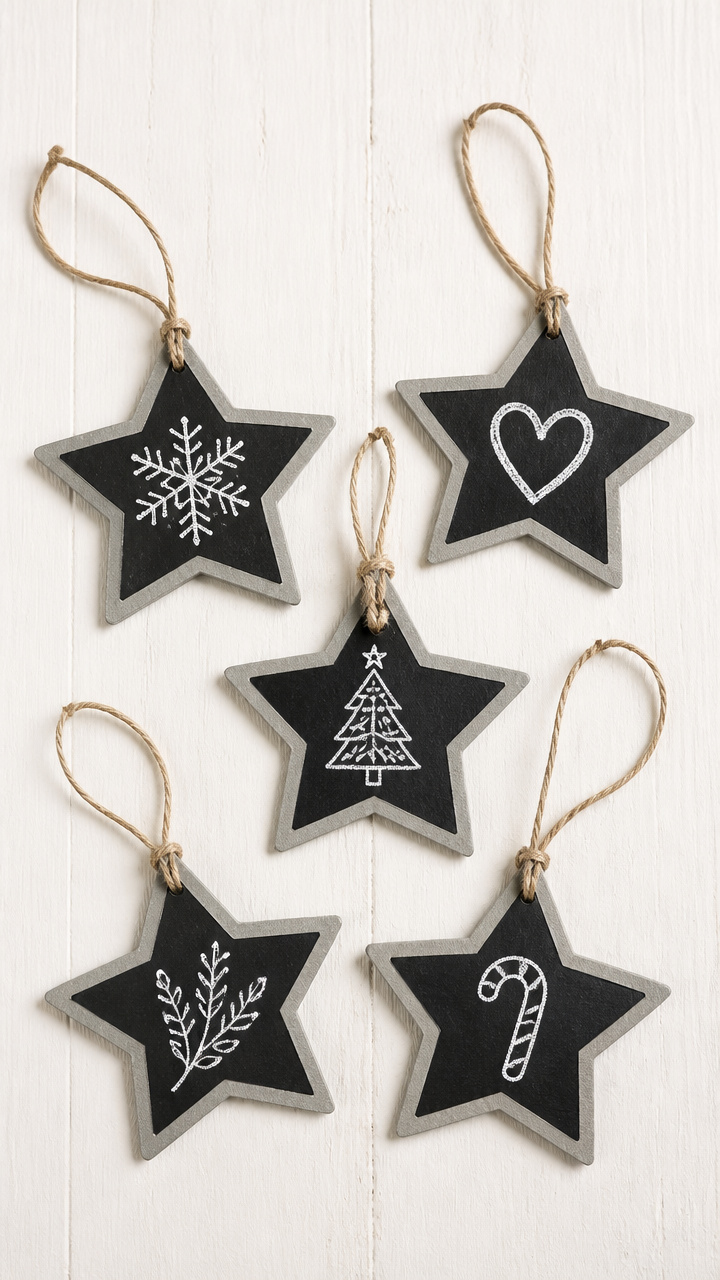
Small chalkboard stars with handwritten messages stick to the card front with twine, offering a rustic, personal touch.
Materials Needed
- A6 gray cardstock, 10 sheets
- Black chalkboard paint, 2 oz
- Star-shaped punch, 2 inch
- White chalk
- Twine, 1 mm, 5 feet
- Hole punch
- Paintbrush, 1/2 inch
How to Make It
- Fold each gray cardstock sheet in half to make 10 card bases.
- Paint one side of each star cutout with black chalkboard paint using the brush, let dry 30 minutes.
- Paint a second coat and let dry another 30 minutes.
- Use hole punch to make a top hole in each star, then write 'Joy' or 'Noel' with white chalk.
- Thread twine through the hole and tie ends, then glue the knot to the front of each card.


14. Stitched Fabric Patch Cards
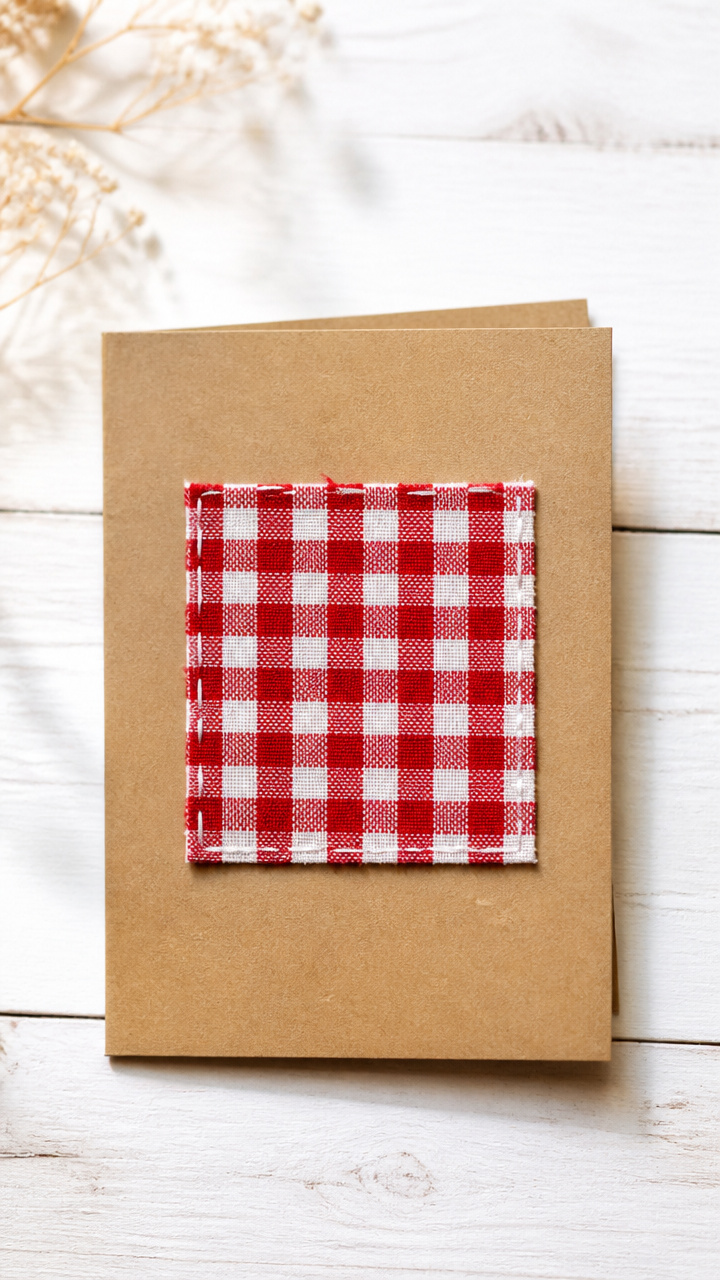
A square of red gingham fabric is hand-stitched to the front with visible running stitches, adding cozy cottage charm.
Materials Needed
- A6 natural kraft cardstock, 10 sheets
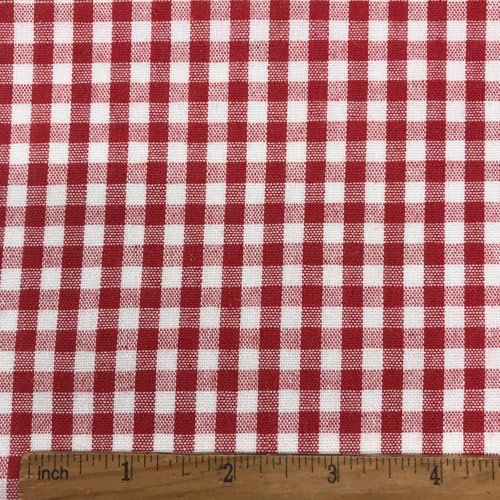
- Red gingham cotton fabric, 6×6 inches
- Embroidery needle
- White embroidery floss
- Scissors
- Ruler
- Fabric glue
How to Make It
- Fold each kraft cardstock sheet in half to make 10 card bases.
- Cut the fabric into 10 squares, each 2 inches by 2 inches.
- Glue one fabric square centered on the front of each card with a dab of fabric glue at each corner.
- Thread the needle with 18 inches of floss, knot the end.
- Stitch around the edge of each square using a running stitch, 1/8 inch from the border, knotting at the back.

15. Peppermint Candy Slice Cards
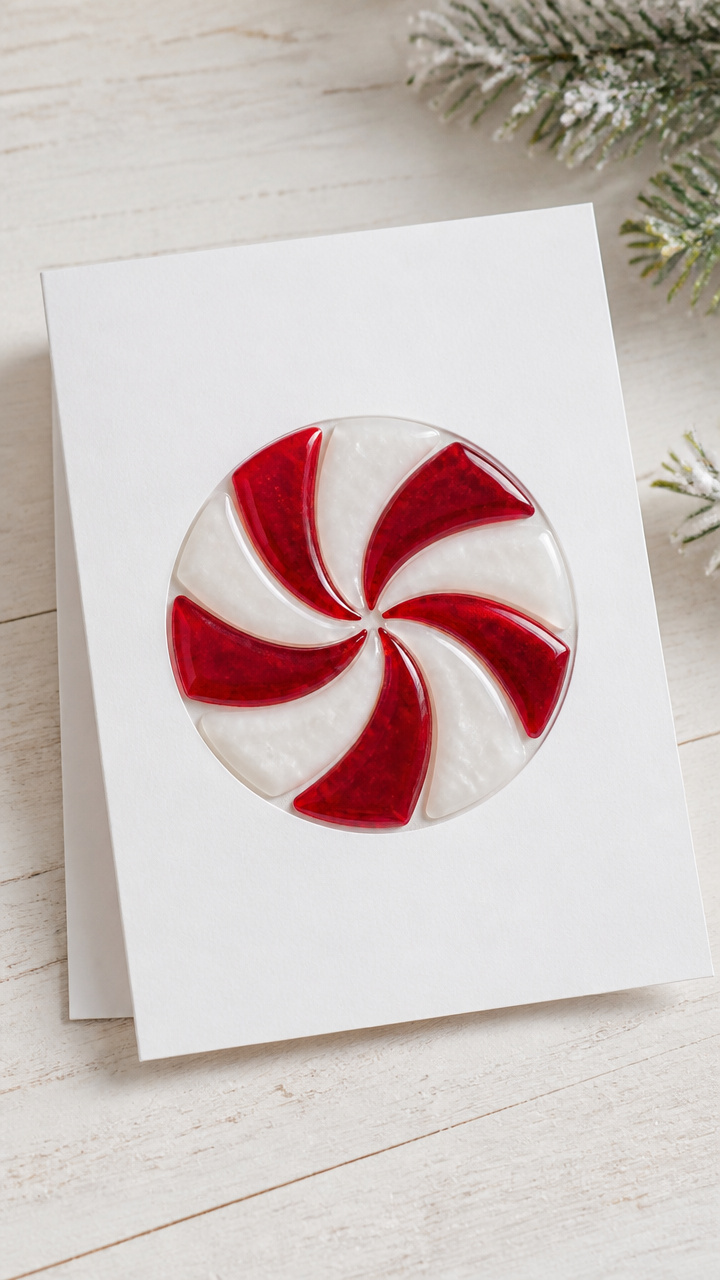
Thin slices of real peppermint candy melt slightly in the oven to form glossy, tinted domes that smell like the holidays.
Materials Needed
- A6 white cardstock, 10 sheets
- Peppermint hard candies, red and white, 10 pieces
- Muffin tin, mini size
- Parchment paper
- Oven
- Silicone spatula
- Glue dots
How to Make It
- Fold each white cardstock sheet in half to make 10 card bases.
- Line the mini muffin tin cups with parchment paper squares.
- Place one candy in each cup and bake at 300°F for 4 minutes until melted but not browned.
- Let cool 10 minutes, then pop out each candy disc with the spatula.
- Stick one disc to the front of each card with a glue dot and let set 15 minutes.


Each of these cards carries a bit of your time and attention, and that’s what makes them unforgettable. Pick one that matches your mood and start creating — your hands are ready.