15 Fun Letter Q Crafts for Preschool Queen and Quail Themes
Little hands love making things that start with Q, and these crafts turn letter learning into joyful play. From soft quail nests to glittery queen crowns, each project uses simple supplies you likely have at home.
These ideas blend fine motor practice with storytelling fun, perfect for classroom centers or cozy afternoons at home. Every craft builds confidence while celebrating the quirky sound of Q.
1. Quilted Paper Queen Crown
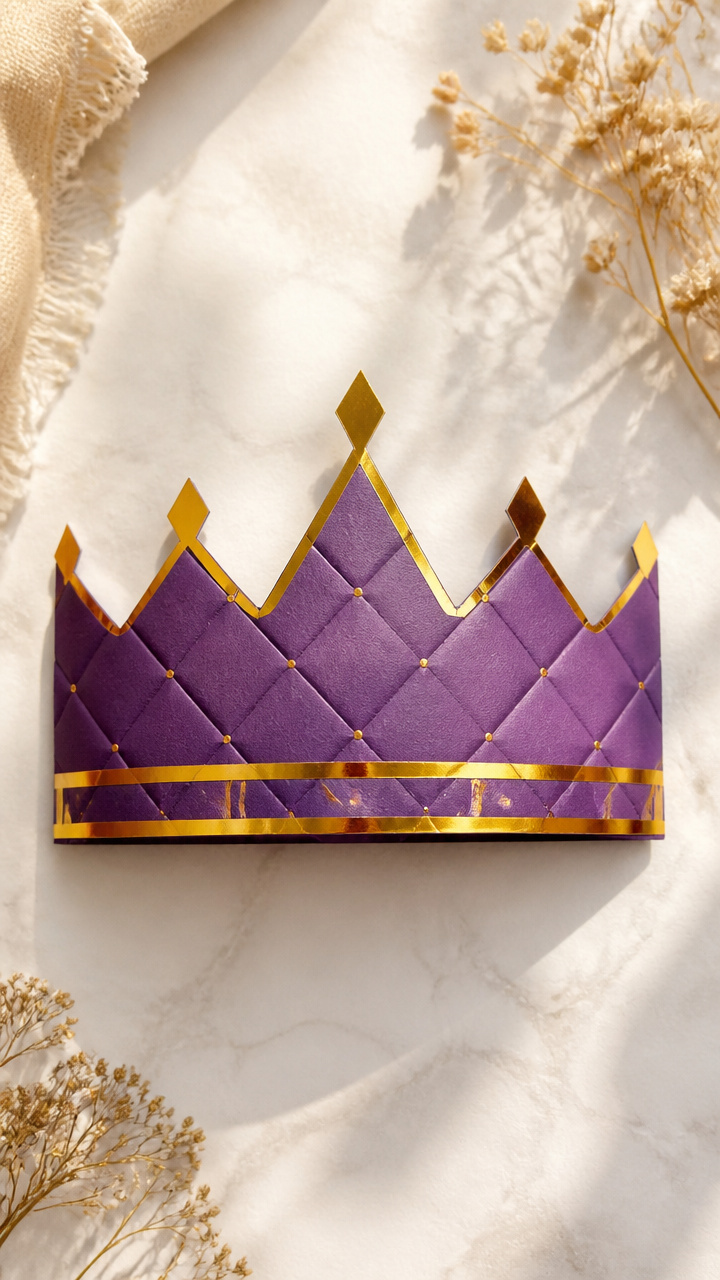
Smooth foil tape adds royal shine to this sturdy crown every preschooler will want to wear. The quilt pattern gives little fingers a chance to trace squares while they learn about symmetry.
Materials Needed
- One sheet of 9 x 12 inch purple construction paper
- Black fine-tip marker
- Gold foil tape (1/4 inch wide), 3 yards
- Scissors
- Stapler
How to Make It
- Cut the construction paper in half lengthwise to make a 4.5 x 12 inch strip.
- Draw a row of 1 inch squares along both long edges using the black marker.
- Use short pieces of gold foil tape to outline each square, pressing gently to avoid wrinkles.
- Staple the ends of the strip around your child’s head to fit.


2. Quail Nest with Cotton Eggs
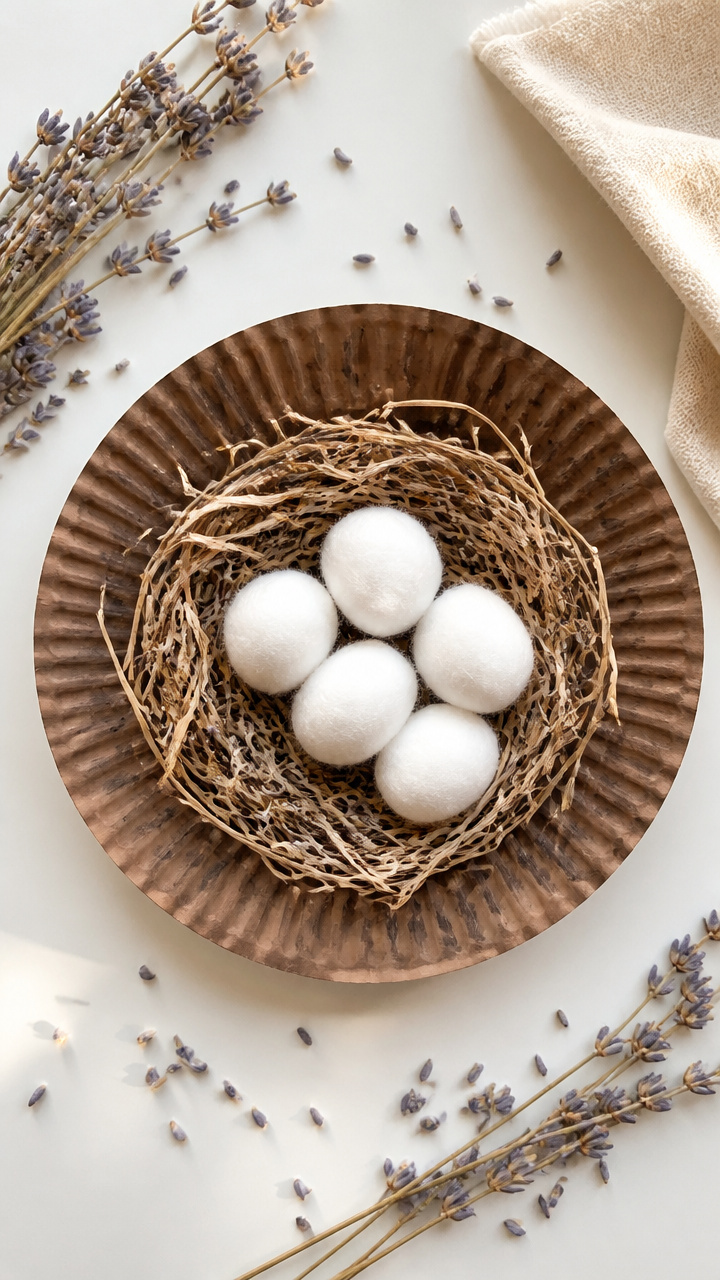
This soft nest fits in the palm and invites gentle play. Realistic cotton eggs teach size comparison while building pretend-play scenes.
Materials Needed
- One 6 inch paper plate
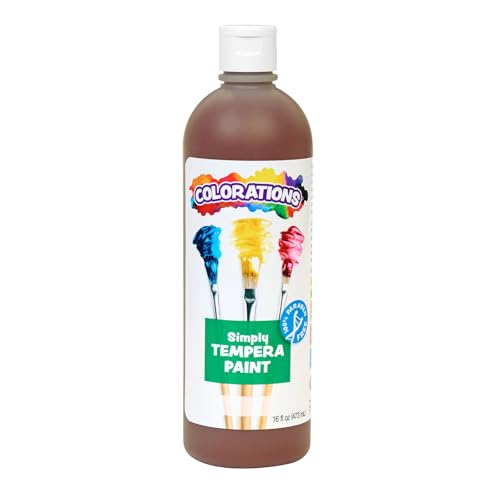
- Brown tempera paint
- Paintbrush
- Glue stick
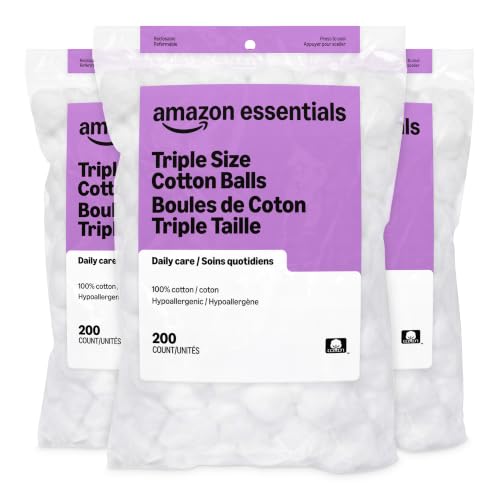
- Five large cotton balls
- One tablespoon dried lavender (optional)


3. Q is for Quail Handprint Art
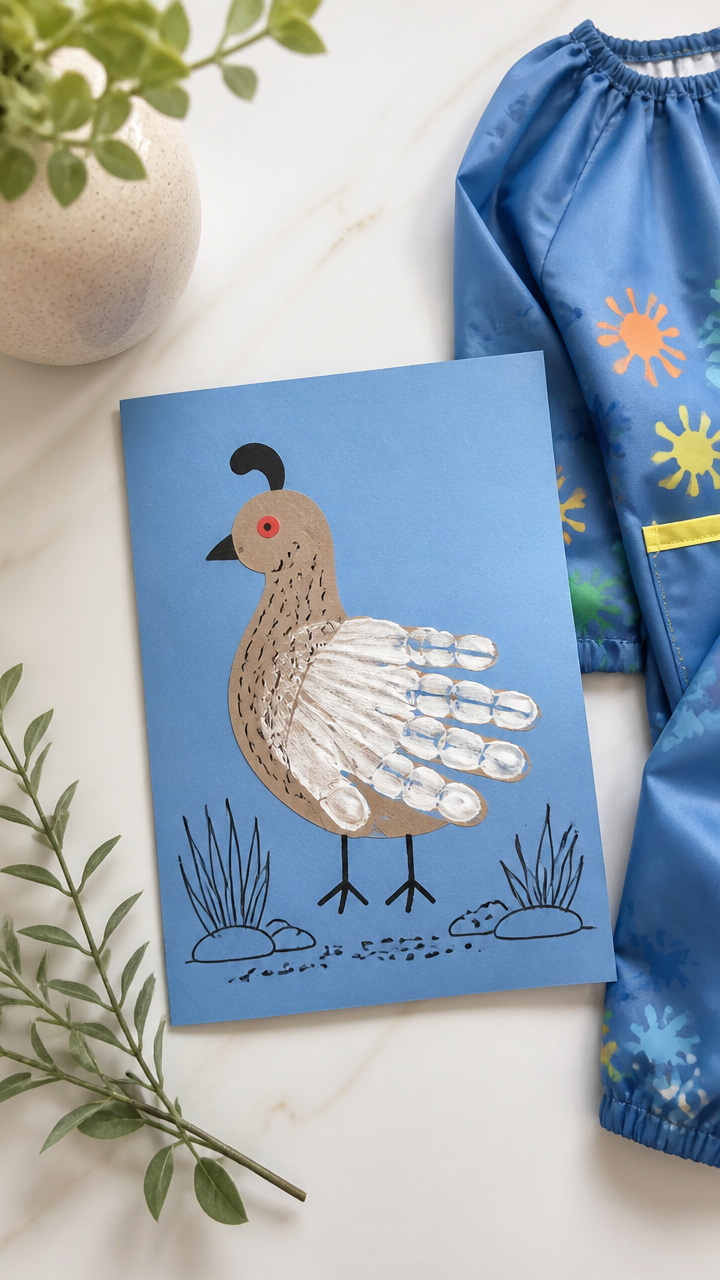
A keepsake painting where five finger marks become feathers. The contrast between skin tone and background makes this one stand out on the fridge.
Materials Needed
- White finger paint in brown
- Blue construction paper, 8.5 x 11 inch
- Red dot sticker, 1/2 inch
- Black fine-tip marker
- Smock
How to Make It
- Have your child press their right hand firmly into white finger paint, spreading fingers wide.
- Press the painted hand onto the left side of the blue paper, wrist edge aligned with the border.
- Let dry face up on a rack for 30 minutes.
- Add a red sticker for the eye and use the marker to draw a small beak and leg lines.


4. Quiet Corners Q Banner
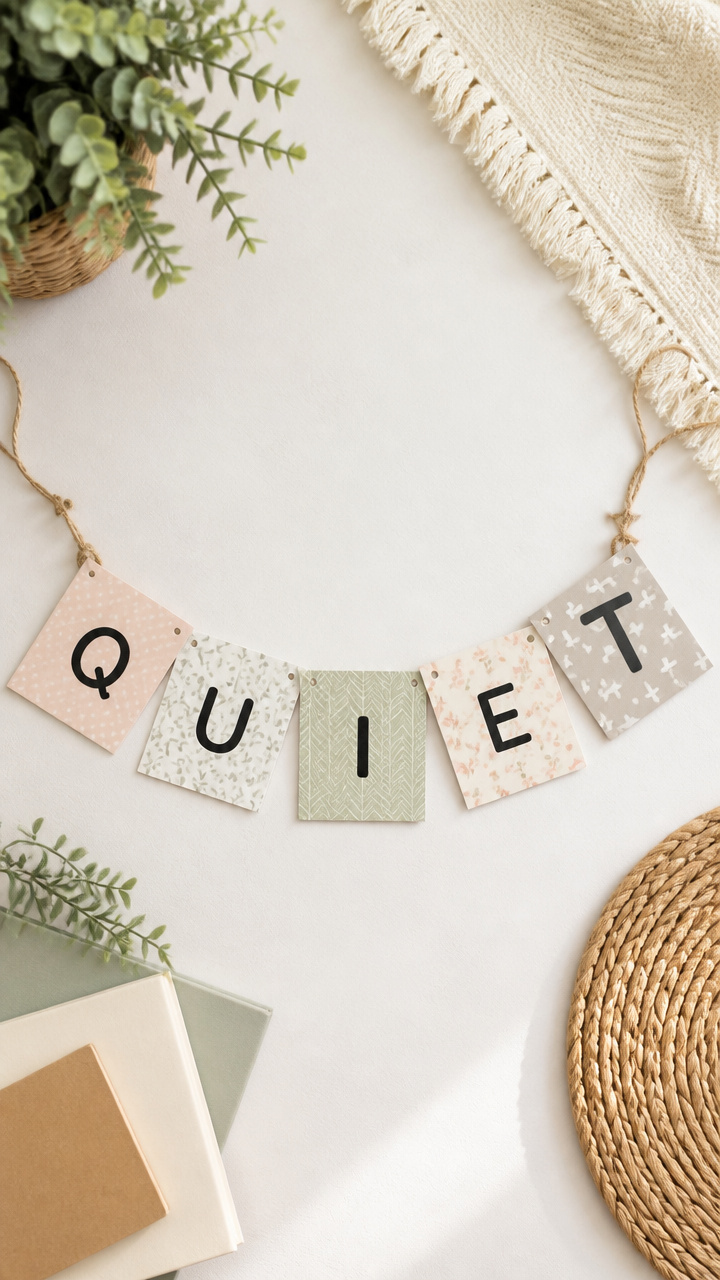
Tiny flags strung across the room help signal calm time. Each triangle shows a different texture starting with Q.
Materials Needed
- Seven 6 x 6 inch squares of patterned scrapbook paper
- One 3 foot piece of jute twine
- Hole punch
- Glue dots
- Alphabet stickers: Q, U, I, E, T
How to Make It
- Fold each paper square diagonally into a triangle and crease sharply.
- Punch a hole in the top corner of each triangle.
- Thread the twine through the holes, spacing them evenly.
- Use glue dots to attach one letter per flag in order spelling 'QUIET'.

5. Queen's Quilt Square Collage
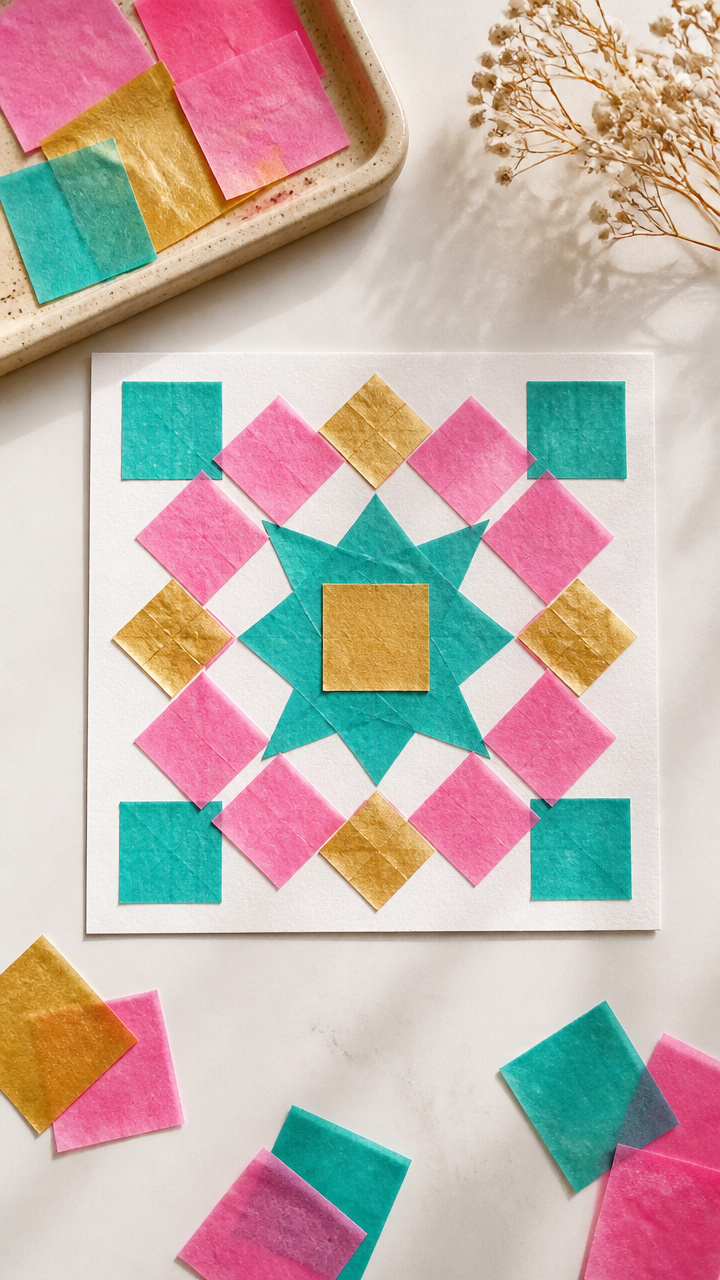
Colorful tissue bits stick to glue outlines to form a mosaic-style block. This teaches color sorting and builds patience in small doses.
Materials Needed
- One 5 inch square of white cardstock
- Clear school glue
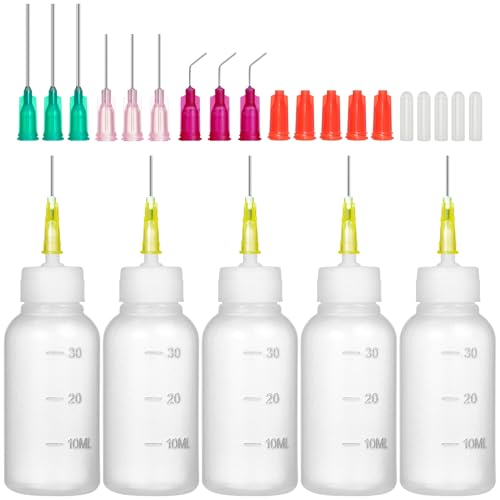
- Fine-tip glue bottle
- Assorted tissue paper squares in pink, gold, and teal (each 1 inch)
- Small tray
How to Make It
- Draw a 4 inch square frame on the cardstock using the fine-tip glue bottle.
- Fill the glue line just inside the border so it forms a solid path.
- Tear tissue paper into 1 inch pieces and sort by color into the tray.
- Press each piece into the glue, covering the line completely without going outside.


6. Quail Beak Pasta Craft
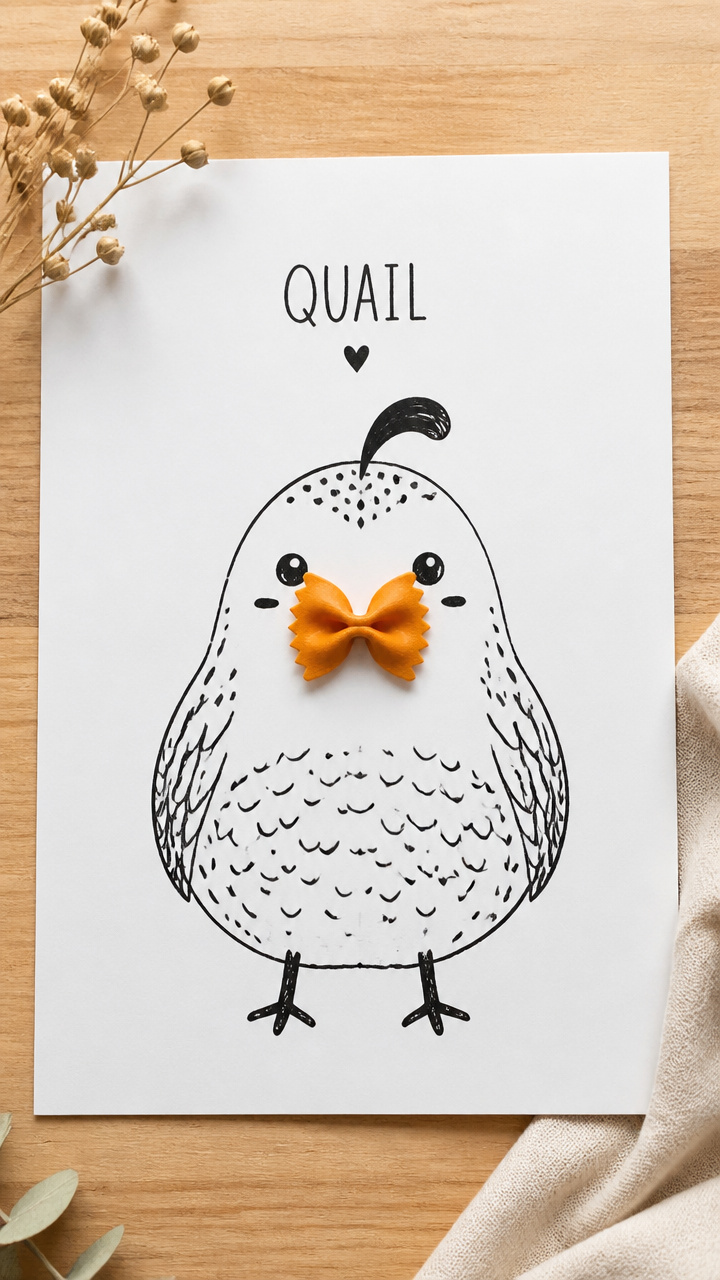
Bow tie pasta turns into a beak when painted and glued. The 3D effect pops off the page and encourages close observation of bird parts.
Materials Needed
- One uncooked bow tie pasta
- Orange acrylic paint
- Paintbrush
- White drawing paper, 8.5 x 11 inch
- Glue
- Black marker
How to Make It
- Paint the curved end of the bow tie orange and let dry on wax paper for 15 minutes.
- Draw a large quail body in pencil on the paper using soft gray strokes.
- Glue the painted pasta piece near the front of the body with the curve pointing forward.
- Add eyes and feather lines with the black marker.


7. Quiver of Arrows Drawing
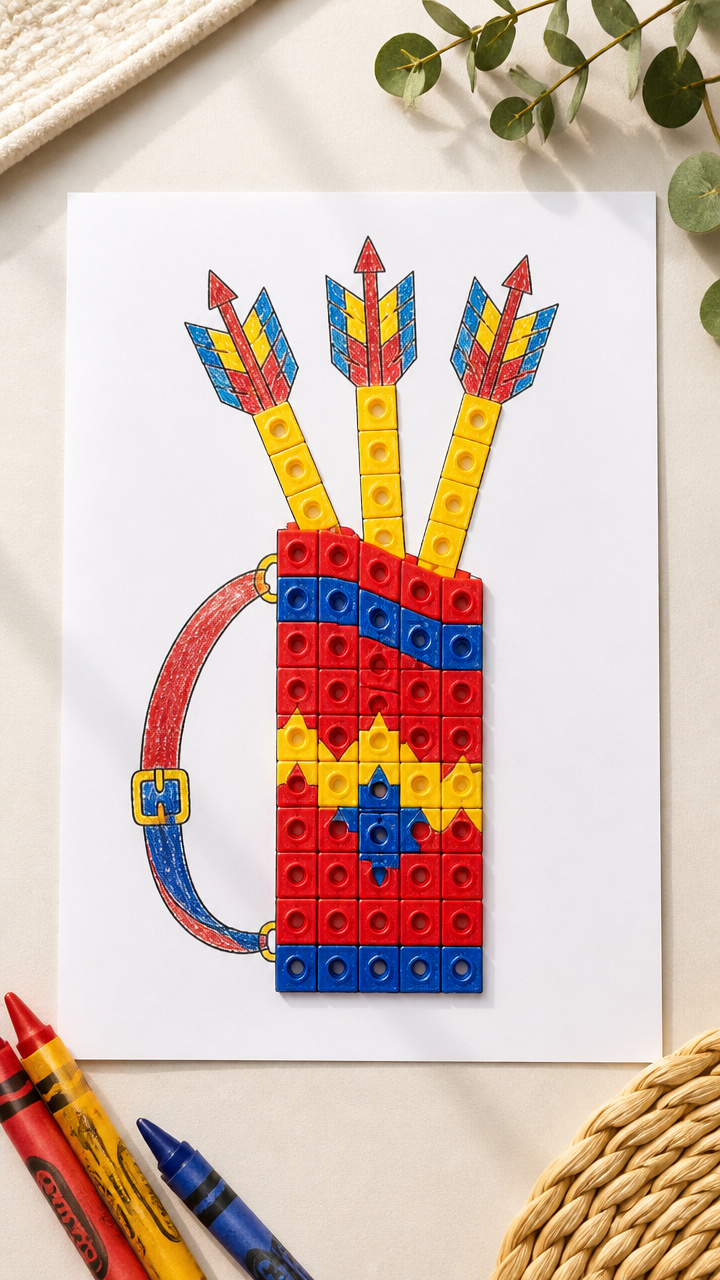
Chunky crayon strokes build grip strength while coloring bold arrows. A dotted guide helps kids stay on track without frustration.
Materials Needed
- Unifix cubes, 10 pieces
- Crayola crayons in red, yellow, blue
- Heavyweight white paper, 8.5 x 11 inch
- Pencil
- Ruler
How to Make It
- Use the ruler and pencil to draw five diagonal arrow shapes from bottom left to top right.
- Mark dots along each line every inch to guide tracing.
- Trace over each line with firm crayon pressure, stacking color layers.
- Place Unifix cubes at the base of each arrow like a quiver stack.


8. Quilt Pattern Block Stamps
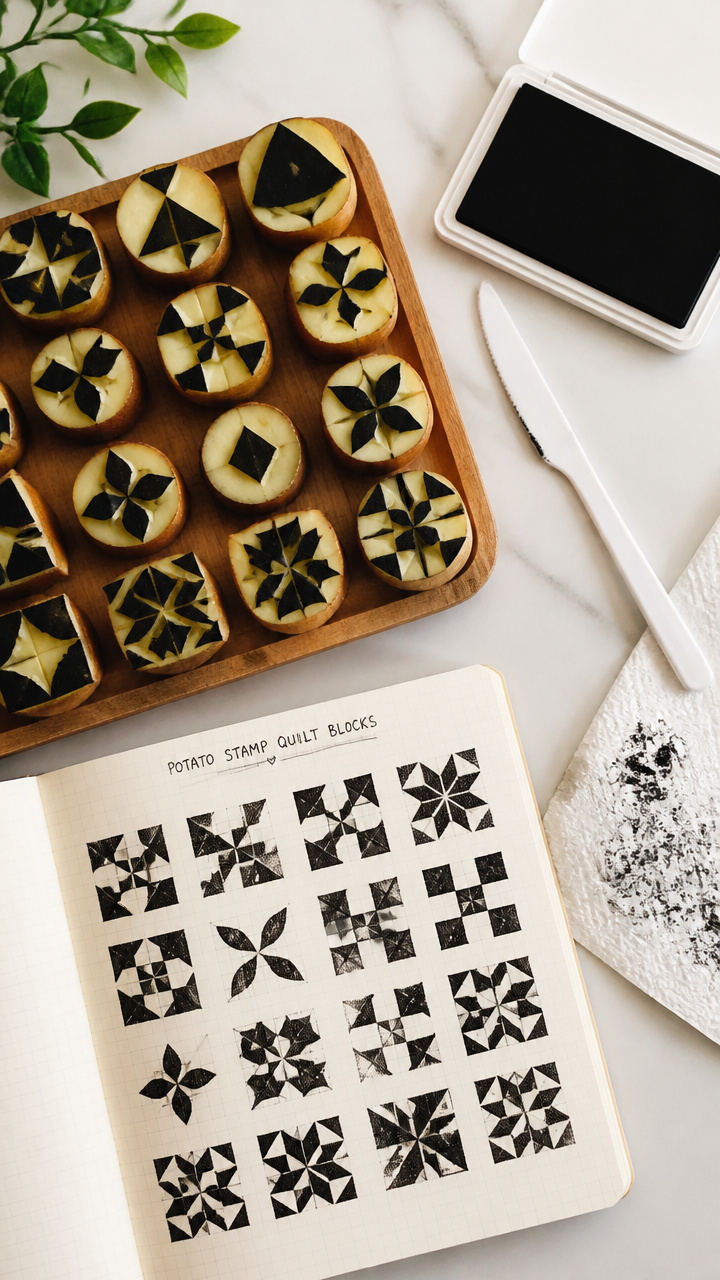
Potato halves carved with rulers become stamping tools. Dip-and-print rhythm reinforces shape recognition and letter links.
Materials Needed
- One medium raw potato, halved crosswise
- Plastic knife
- Ruler
- Black stamp pad ink
- Grid notebook paper
- Paper towel
How to Make It
- Press the plastic knife along the potato edge to carve a 1 inch grid pattern.
- Let dry for 5 minutes so moisture settles.
- Press the potato stamp into the ink pad until fully coated.
- Stamp rows across the grid paper, cleaning the stamp with paper towel between prints.


9. Quacking Duck Puppet
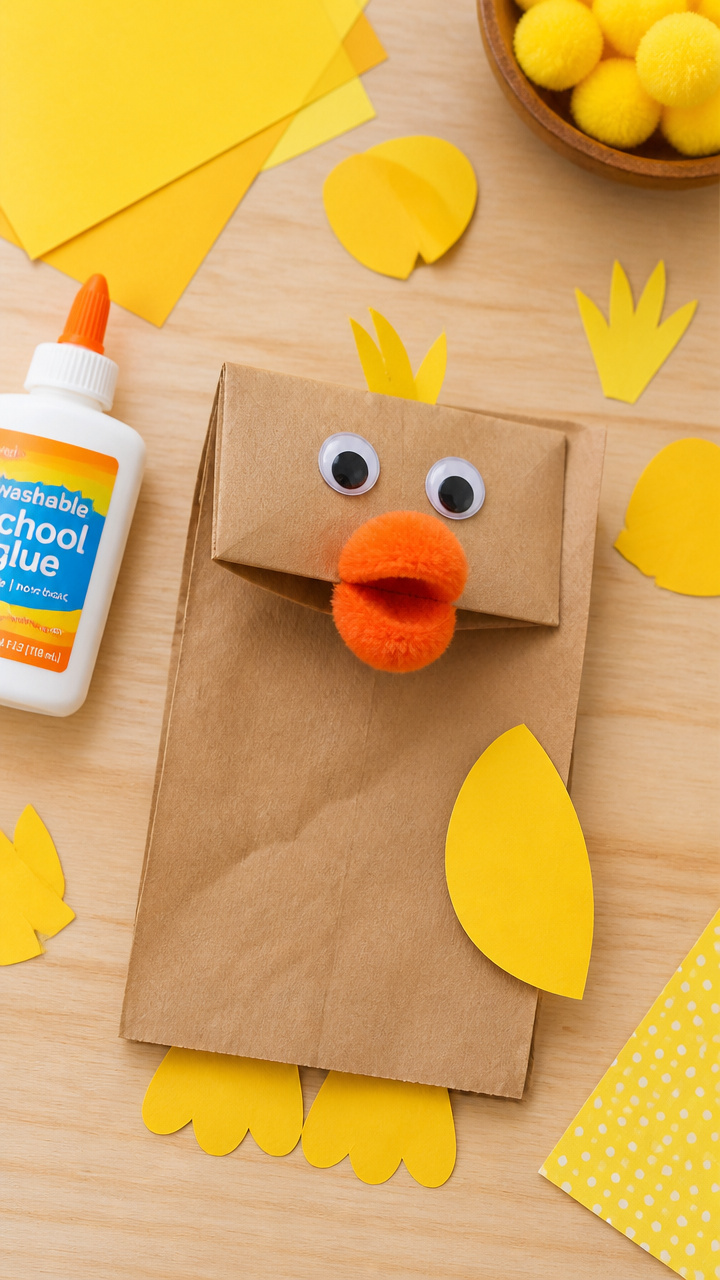
A paper bag waddles when opened and closed. Wiggling the mouth builds speech muscle awareness alongside imagination.
Materials Needed
- One lunch-sized paper bag
- Orange pom-pom, 1 inch
- Googly eyes, 2, 1/2 inch
- Craft glue
- Yellow construction paper
- Scissors
How to Make It
- Glue the pom-pom under the flap fold for the beak.
- Attach googly eyes above the beak with dots of glue.
- Cut webbed feet from yellow paper and glue them to the bottom corners.
- Let dry for 20 minutes before sliding your hand inside to make it quack.


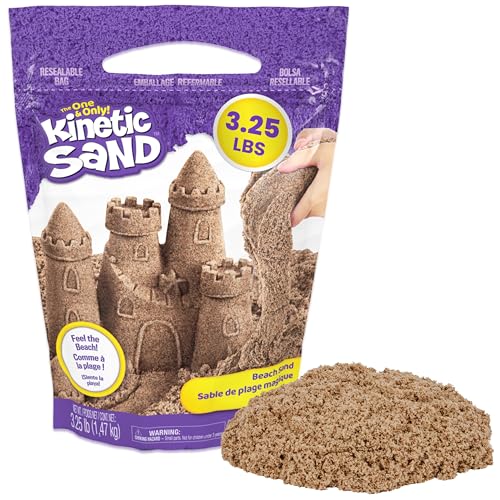
10. Quicksand Sensory Bin
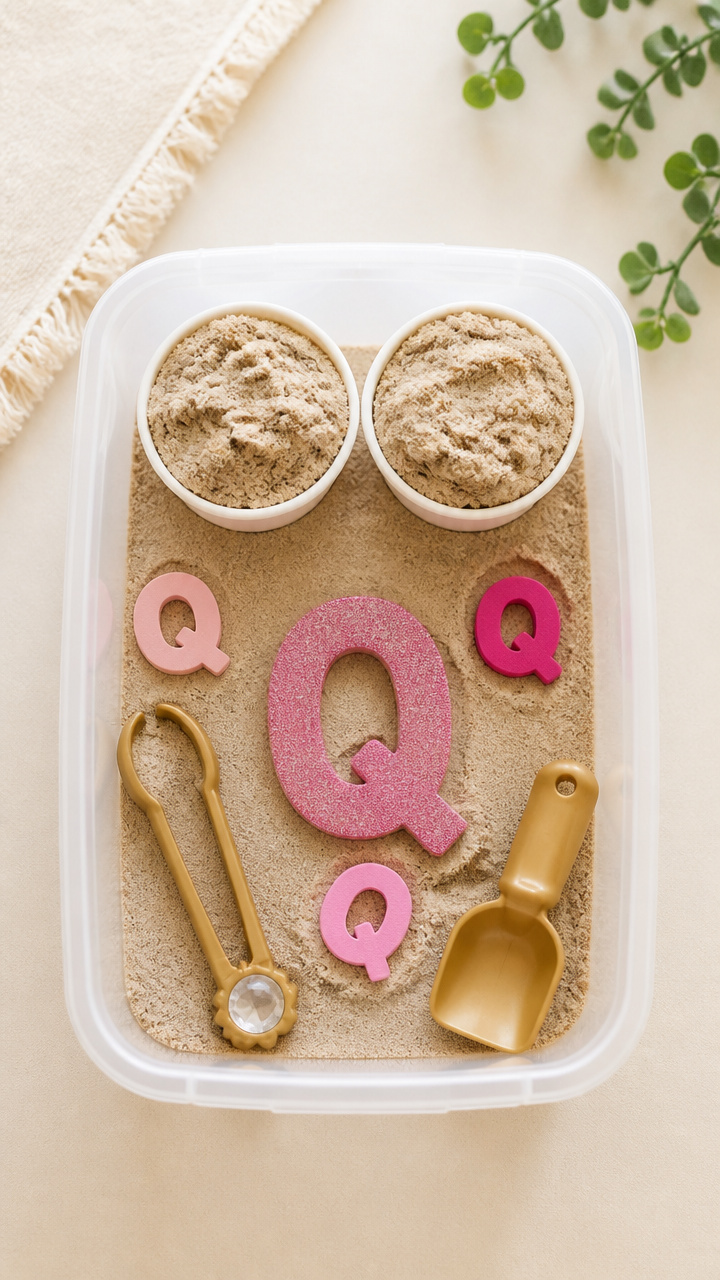
Kinetic sand pours like real desert flow. Hidden Q letters invite digging and letter matching with zero mess.
Materials Needed
- Two cups kinetic sand
- Plastic treasure tongs
- Three foam letter Qs
- Plastic bin, 10 x 6 inches
- Scoop
How to Make It
- Pour kinetic sand into the bin until it fills halfway.
- Bury the foam Qs at different depths.
- Give your child the scoop and tongs to dig and retrieve letters.
- Sort found letters in a row on the table edge.


11. Quilted Yarn Frame
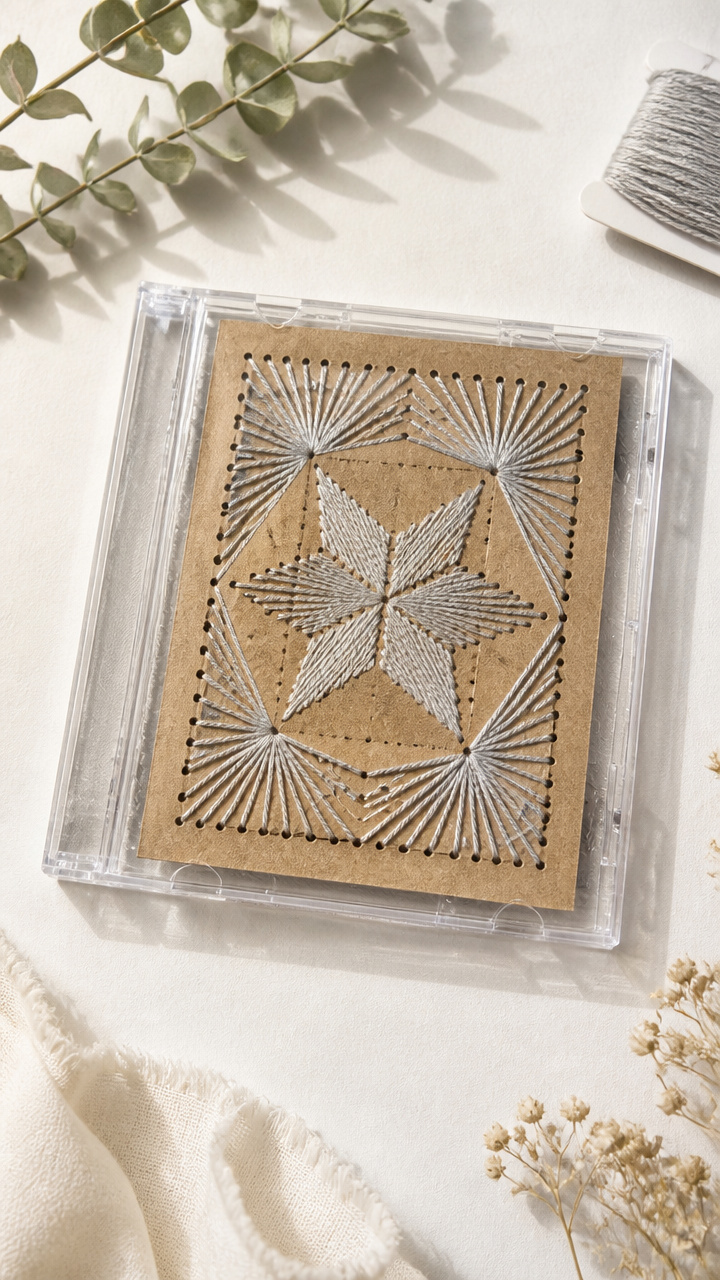
Yarn strands cross a cardboard window to mimic stitching. The tactile weave boosts focus during quiet time.
Materials Needed
- Empty CD case
- Cardboard rectangle, 4 x 5 inches
- Hole punch
- Embroidery floss in silver, 3 strands
- Tape
How to Make It
- Punch holes 1/2 inch apart around the cardboard edge.
- Tape one end of the floss to the back center.
- Weave the floss in and out of the holes horizontally, pulling snug.
- Knot the end on the back and trim excess.


12. Queen’s Quill Feather Pen
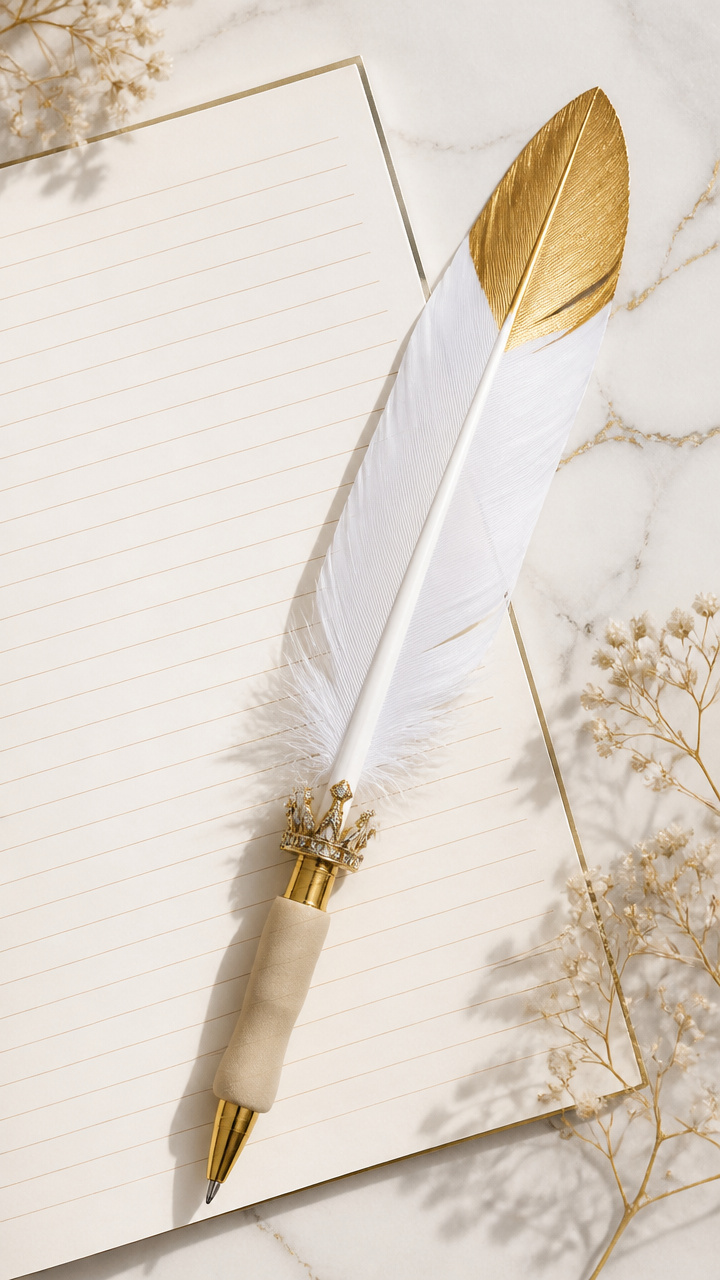
A real feather becomes a writing tool with a twist. Holding it builds pre-writing posture naturally.
Materials Needed
- One large white craft feather
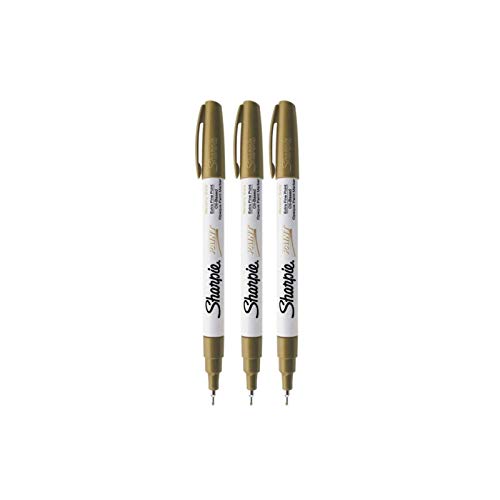
- Gold metallic sharpie
- Pencil grip
- Blank lined paper
How to Make It
- Wrap the gold Sharpie around the feather shaft, spiraling from base to tip.
- Let dry for 10 minutes on its side.
- Slide the pencil grip over the lower third for comfort.
- Use the feather tip to trace letters on lined paper.


13. Quail Egg Matching Game
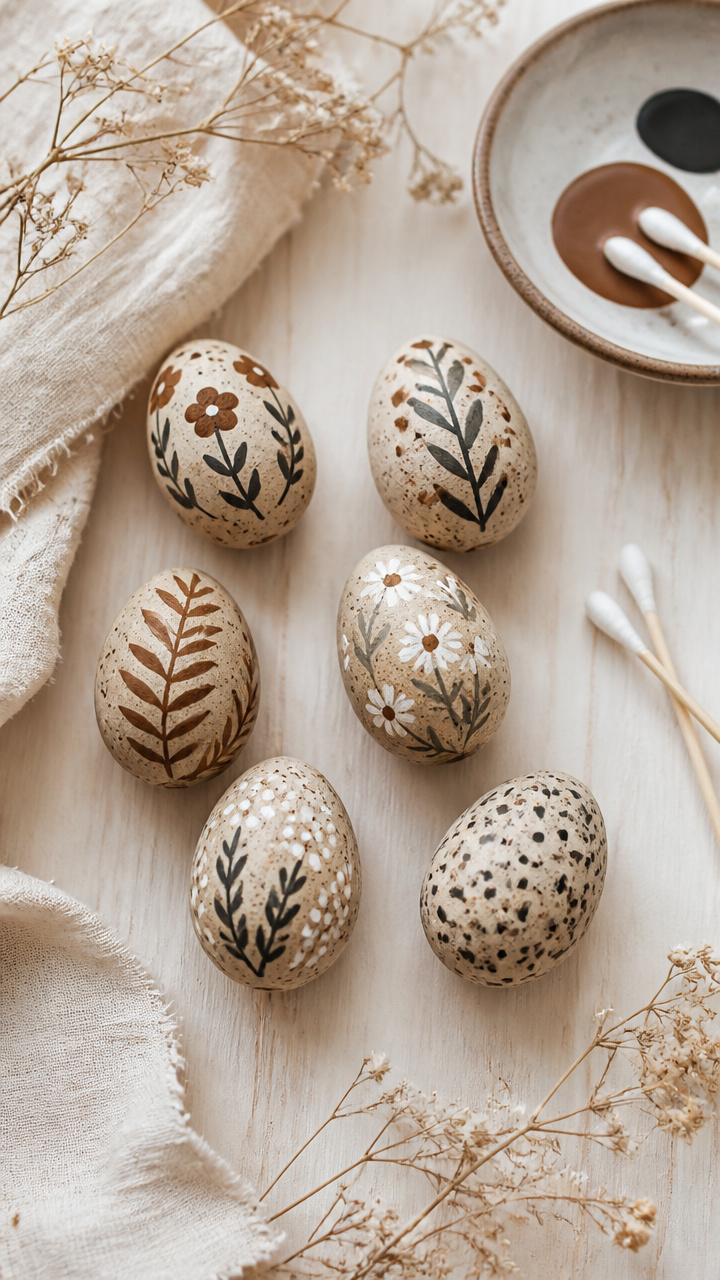
Hard-boiled eggs get dyed in speckled patterns for memory play. Cradling each egg builds gentle touch.
Materials Needed
- Six hard-boiled eggs
- Food coloring in brown and gray
- Cotton swabs
- Medium bowl
- Teaspoon vinegar
How to Make It
- Mix food coloring with vinegar and a splash of water in the bowl.
- Dip each egg for 30 seconds, then set on a rack to dry.
- Use cotton swabs to dab darker spots while wet.
- Pair identical eggs face down for a flip-and-match game.


14. Quilt Square Name Tags
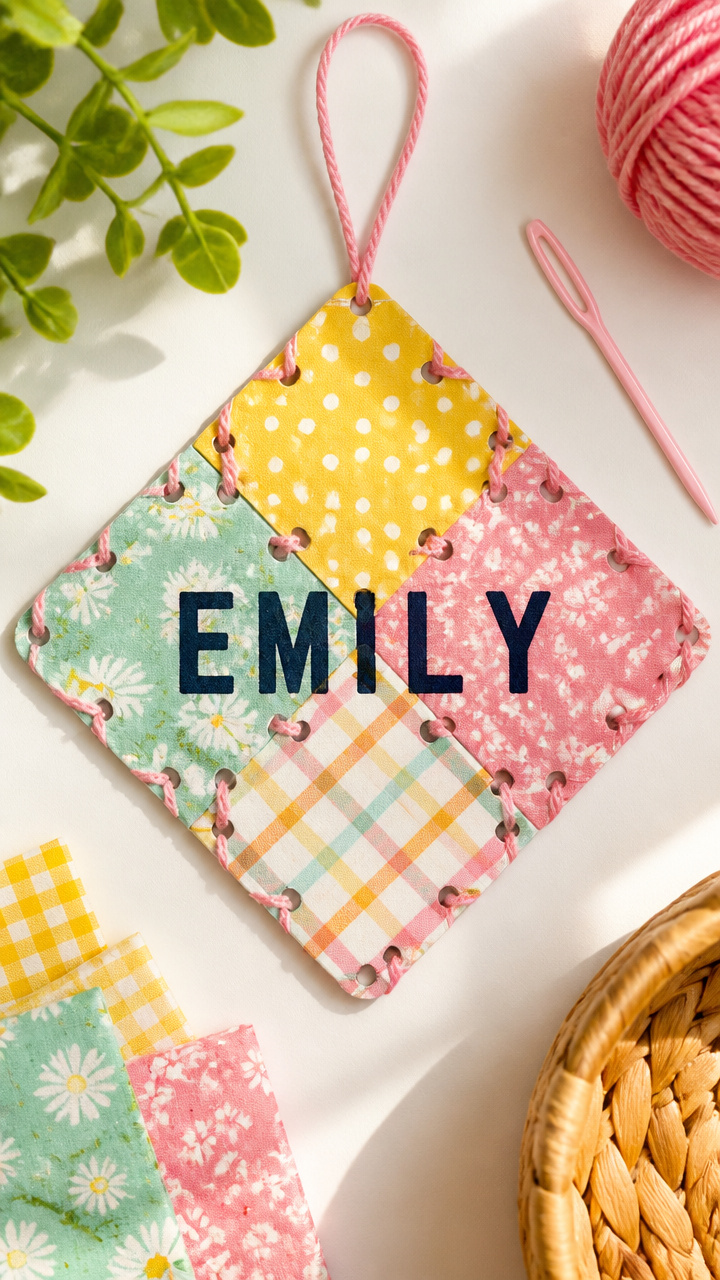
Personalized tags hang on cubbies with pride. Fabric squares stitched by hand last longer than paper.
Materials Needed
- Four 3 inch fabric squares in coordinating prints
- Fabric glue
- Plastic needle
- Washable yarn, 12 inches
- Name stencil in uppercase
How to Make It
- Glue the fabric squares in a pinwheel layout on a flat surface.
- Let dry 30 minutes under a heavy book.
- Use the stencil to trace your child’s name in pencil.
- Stitch around each letter with the yarn and needle using small running stitches.


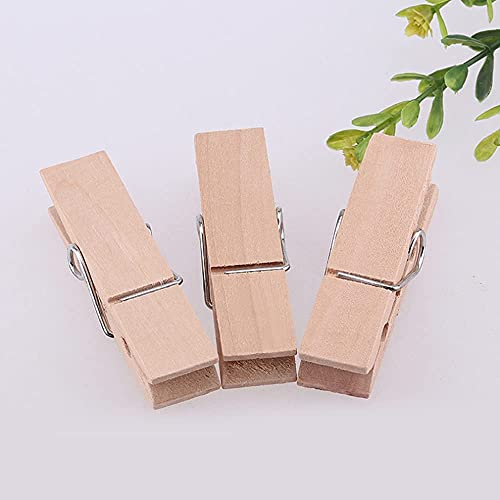
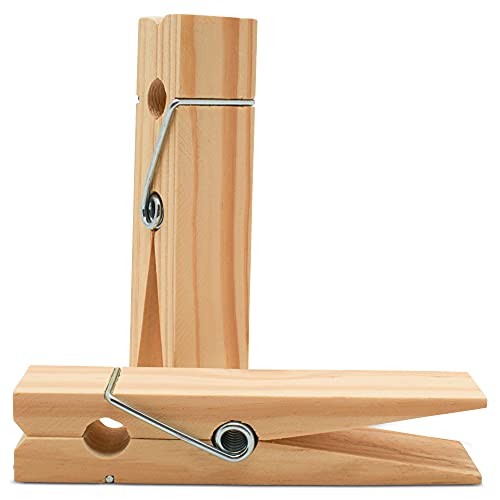
15. Quick-Clip Clothespin Crown
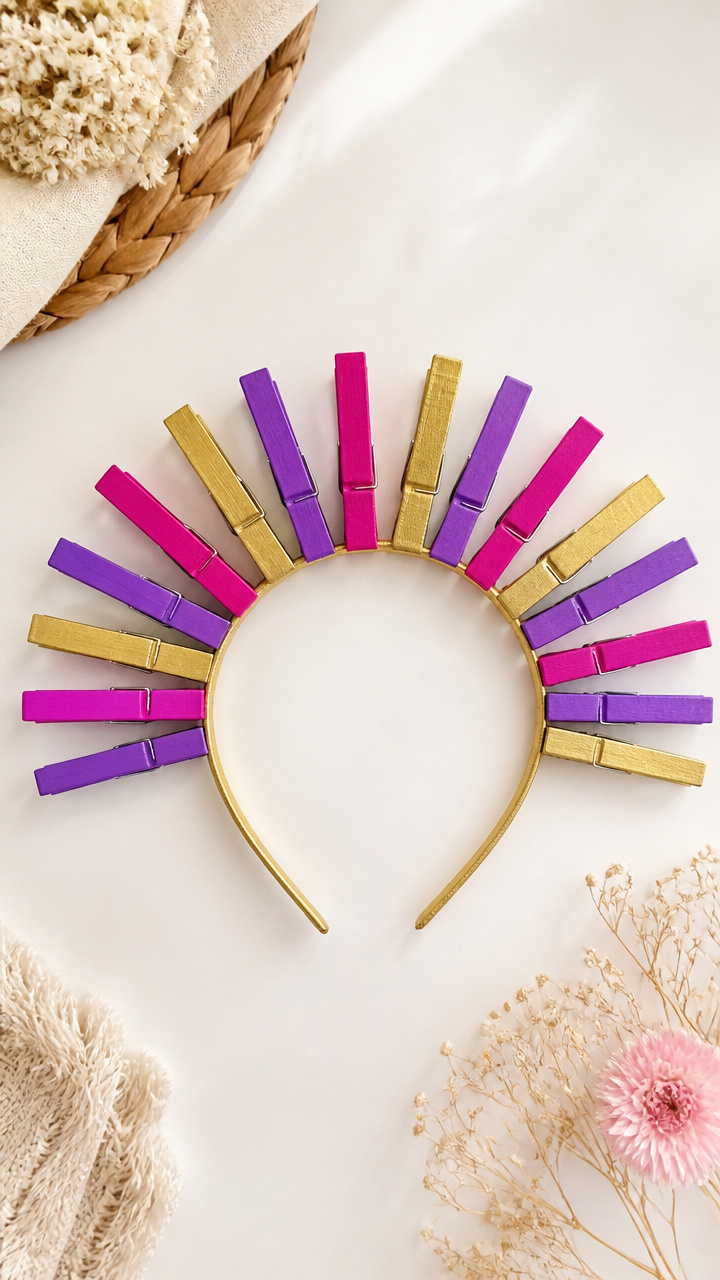
Bright clothespins fan out like rays when clipped to a band. It stays on through dance breaks and story time.
Materials Needed
- Eighteen jumbo craft clothespins
- Acrylic paint in magenta, gold, violet
- Paintbrush
- One 14 inch foam headband
- Hot glue gun and glue sticks
How to Make It
- Paint each clothespin in one color and let dry on its side for 20 minutes.
- Open each pin and slide the spring part over the headband.
- Glue the base of each pin to the foam to secure in place.
- Let cool completely before wearing.

Each of these crafts turns a simple letter into something memorable and full of discovery. Grab a few basics like paper and glue and let your child’s curiosity lead the way.