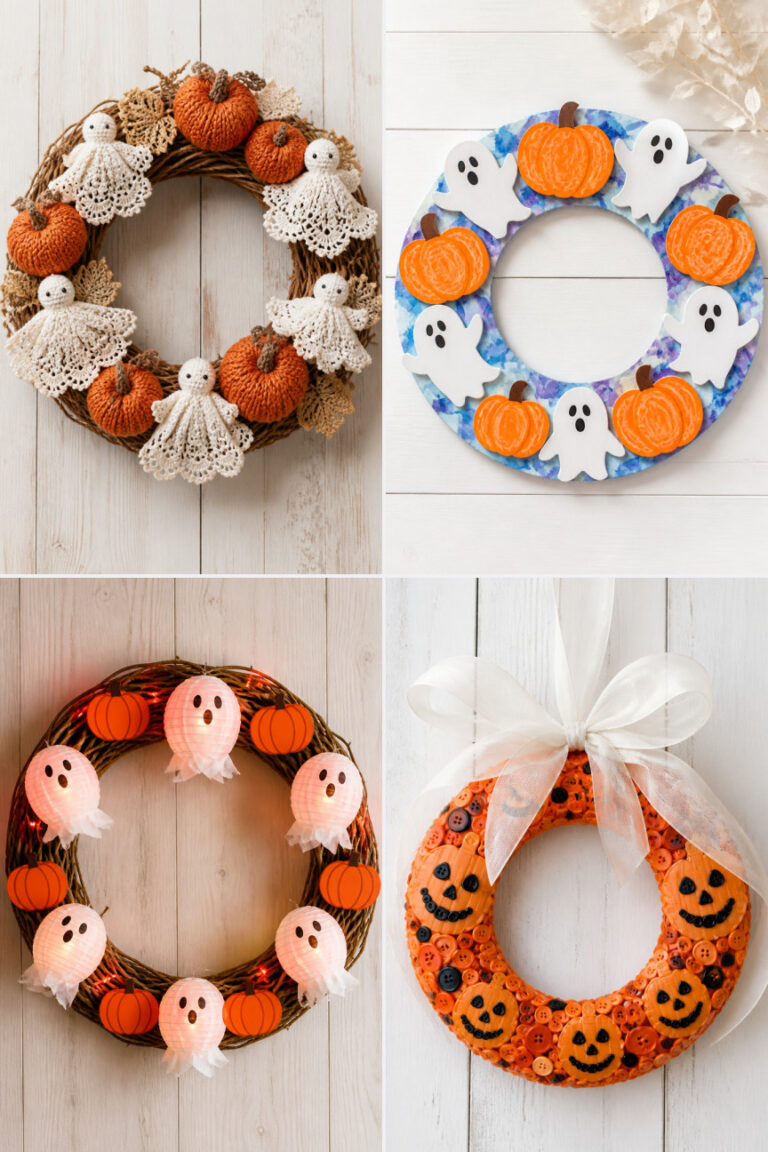
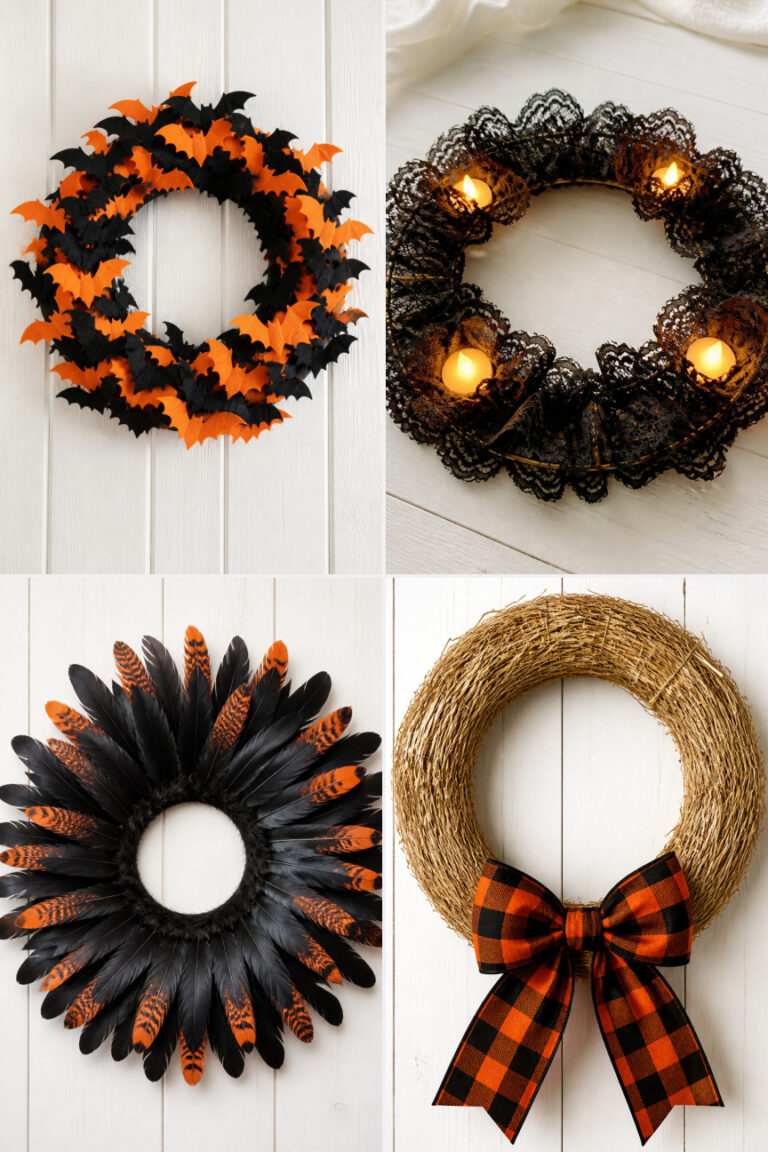
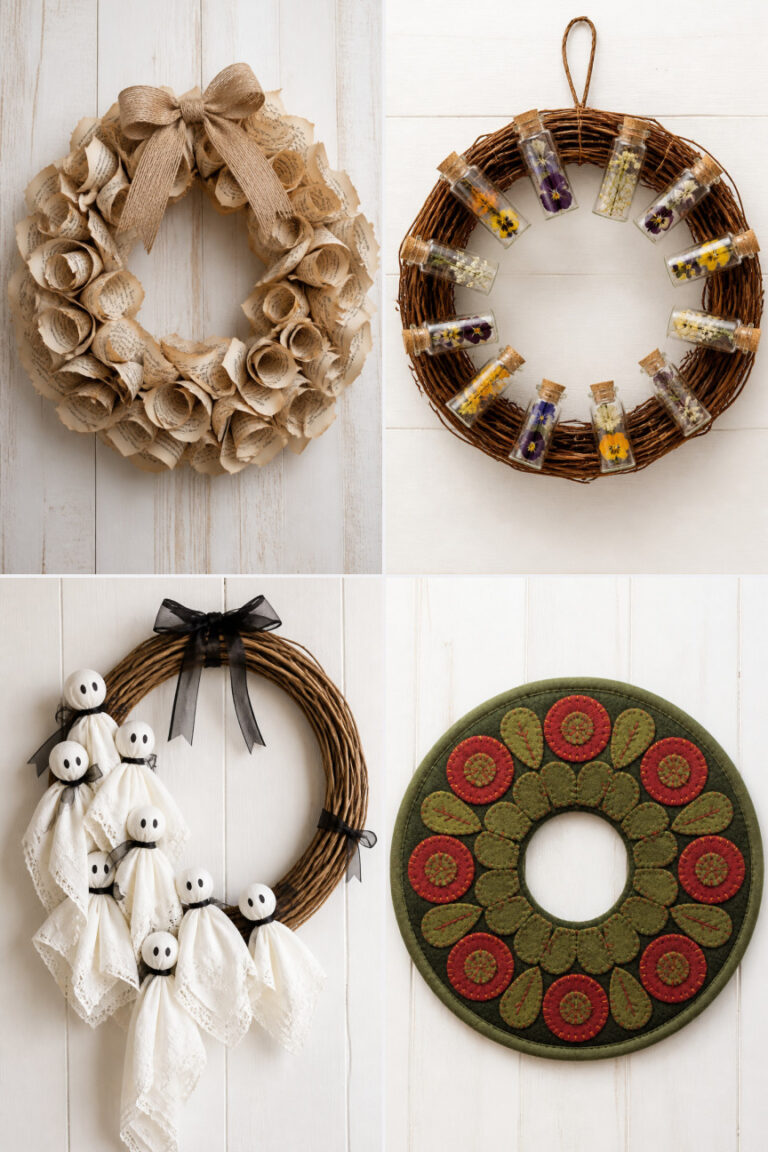
15 Easy Halloween Wreath Ideas for Beginners
Halloween is the perfect time to welcome a little spook into your home, and a front door wreath sets the mood before anyone steps inside. You don’t need years of crafting experience to make something memorable — just a few simple materials and a willingness to have fun with color, texture, and theme.
These beginner-friendly wreaths use affordable supplies you can find at craft stores or already have on hand. Each one delivers charm without complexity, so you can finish in an afternoon and still feel proud.
1. Burlap Ribbon Bat Wreath
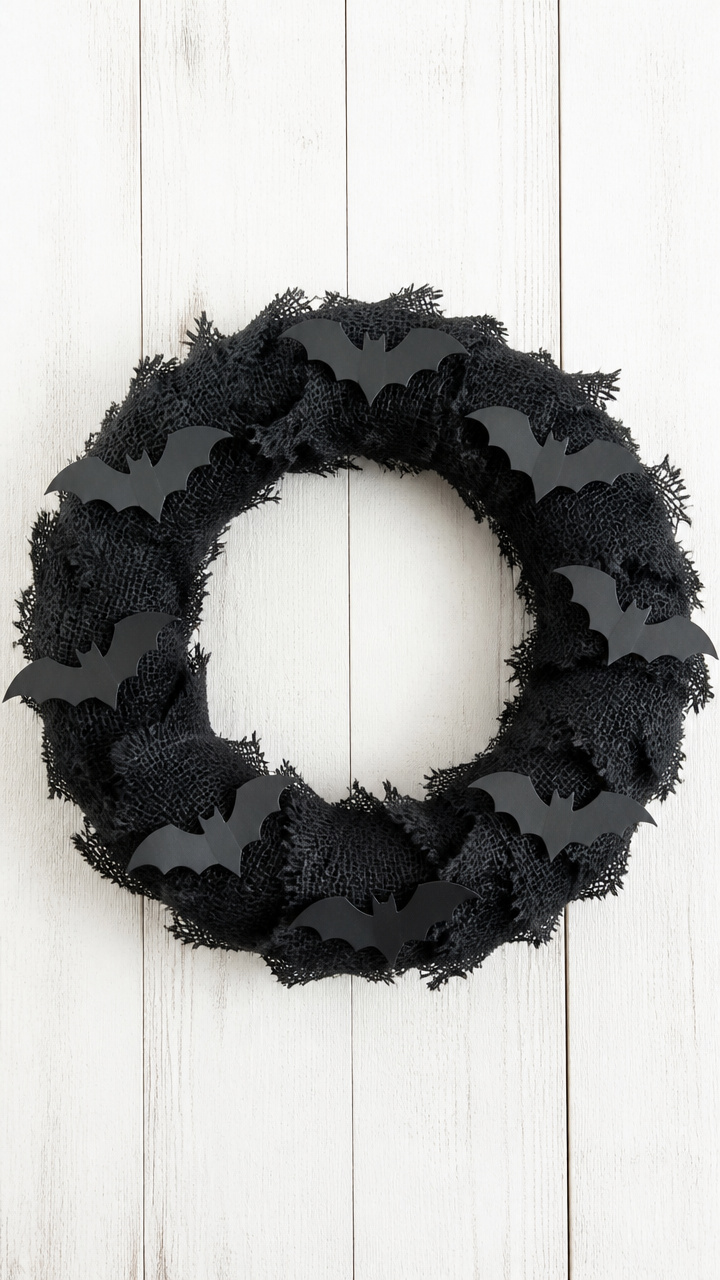
Soft frayed edges and silhouette bats give this wreath a rustic charm that lasts through October. The burlap holds its shape well and doesn’t require sewing.
Materials Needed
- 18-inch wire burlap ribbon (black)
- Foam wreath form (12-inch)
- Black cardstock
- Scissors
- Hot glue gun with glue sticks
- Bat template (printable, 4 inches wide)
- Pencil
How to Make It
- Wrap the burlap ribbon tightly around the foam form, overlapping slightly with each turn. Secure the end with hot glue where it meets the starting point.
- Trace the bat template onto black cardstock and cut out six bats using scissors. Vary their wing angles for visual interest.
- Glue each bat onto the wrapped form with hot glue, spacing them evenly around the outer edge. Let dry completely before hanging.



2. Plastic Spider Web Wreath
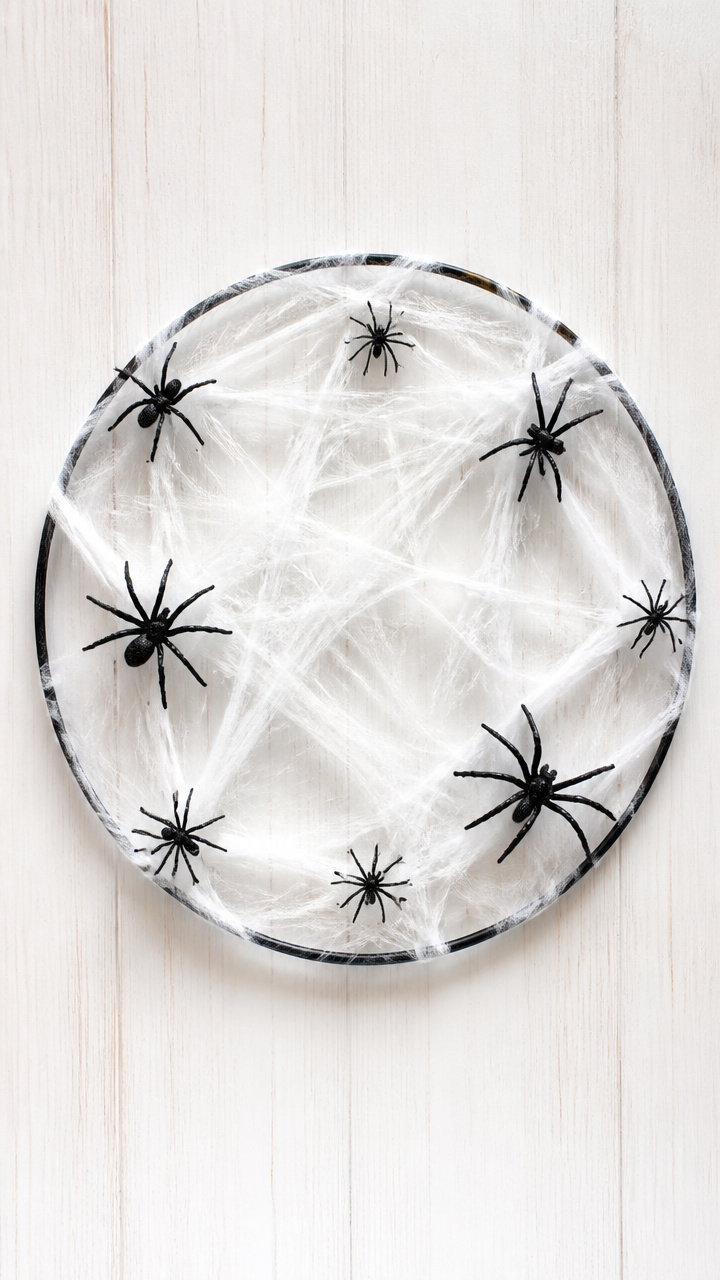
Stretchy white webbing drapes naturally over a hoop for instant eerie effect. This version uses minimal materials and hangs light as air.
Materials Needed
- 14-inch metal embroidery hoop
- White plastic spider web (store-bought, 12-inch stretch)
- Plastic spiders (assorted sizes, 8 total)
- Floral wire (white, 22-gauge, 3 feet)
- Wire cutters
How to Make It
- Separate the inner and outer rings of the embroidery hoop. Place the web over the inner ring and gently pull the outer ring down to secure it taut.
- Use small pieces of floral wire to attach plastic spiders across the web. Twist the ends tightly at the back of the hoop.
- Trim any excess web strands with wire cutters for a clean edge. Hang using the wire loop left at the top.


3. Mini Pumpkin Cluster Wreath
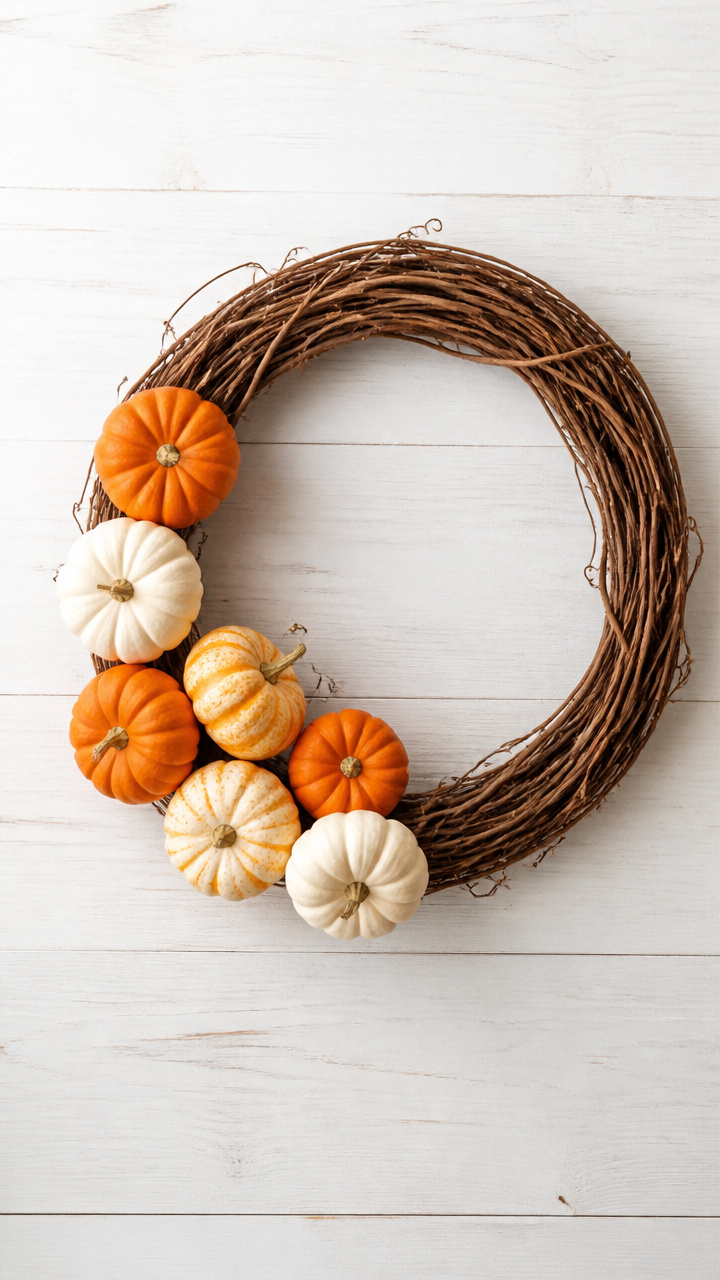
Tiny real pumpkins add seasonal weight and scent to your door. They last weeks when preserved properly and look naturally festive.
Materials Needed
- Artificial grapevine wreath (10-inch)
- Mini real pumpkins (7, about 2 inches wide)
- Acrylic sealer spray (matte finish)
- Florist picks (14 gauge, 3 inches, 7 needed)
- Hot glue gun
- Spray bottle with water
How to Make It
- Wipe each mini pumpkin with a damp cloth from the spray bottle. Let dry completely, then coat with acrylic sealer. Let cure 2 hours.
- Insert a florist pick into the base of each pumpkin using hot glue to secure it. Hold for 30 seconds until set.
- Push each pick into the grapevine wreath, clustering them toward the bottom third. Adjust spacing so they touch lightly.


4. Glow-in-the-Dark Ghost Wreath
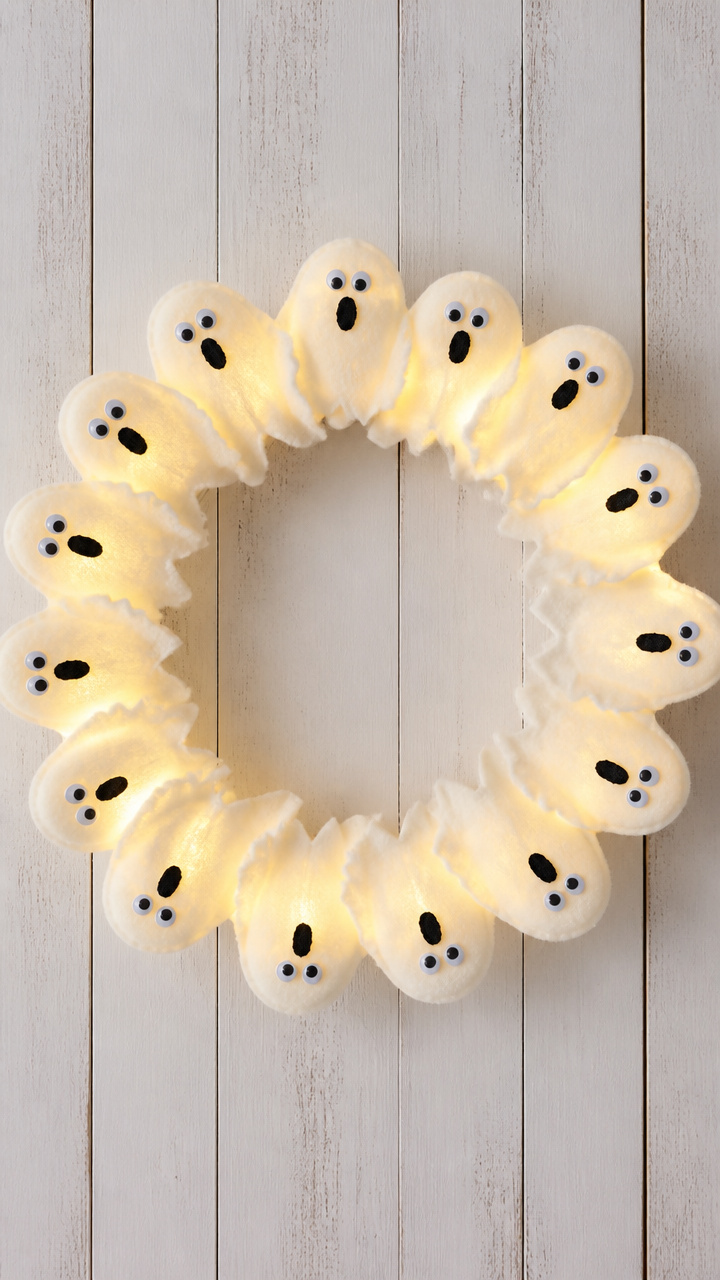
Felt ghosts filled with glow fiber illuminate softly at night. Kids love spotting them from the porch, and they’re safe for outdoor use.
Materials Needed
- White craft felt (9 x 12 inches)
- Glow-in-the-dark fiberfill (1/2 cup)
- Embellishment eyes (self-adhesive, 12 mm, 6 pairs)
- Embroidery floss (black, 2 yards)
- Needle
- Wire wreath frame (12-inch)
- Floral tape (green)
How to Make It
- Cut six ghost shapes from felt, each 4 inches tall with rounded arms and pointed hems. Sew two sides shut with backstitch, leaving the top open.
- Fill each ghost loosely with glow fiberfill. Add two eyes, then sew the top closed with small stitches.
- Attach each ghost to the wire frame using floral tape. Wrap the stem of each ghost securely every inch until anchored.


5. Construction Paper Candy Corn Wreath
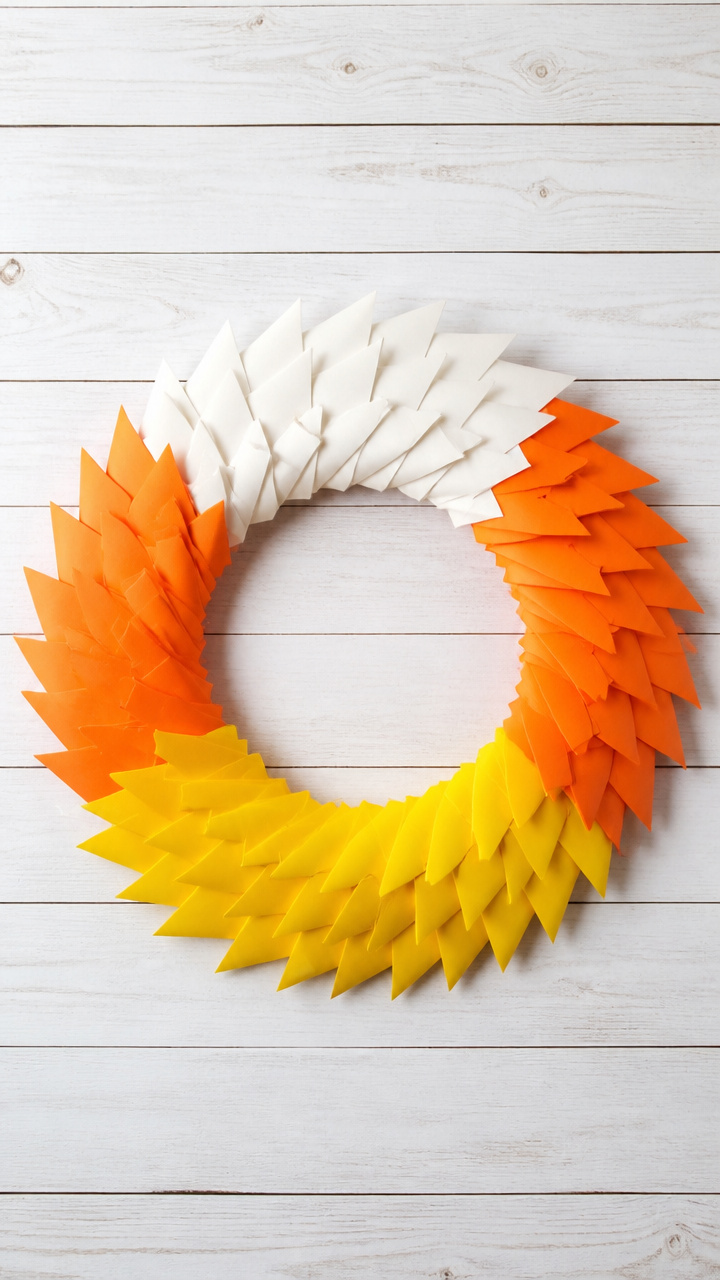
Bright triangles stacked in spiral formation mimic candy corn with cheerful accuracy. This lightweight version won’t fade fast in sun.
Materials Needed
- Orange, yellow, and white construction paper (standard 9 x 12, 2 sheets each)
- Cardboard circle (10-inch diameter, cut from shipping box)
- Ruler
- Pencil
- Scissors
- White school glue
- Paintbrush (1/2 inch)
How to Make It
- Draw and cut 30 equilateral triangles (3 inches per side) — 10 orange, 10 yellow, 10 white. Use ruler and pencil for straight edges.
- Arrange them in a spiral from center outward on the cardboard, alternating colors: orange, yellow, white. Glue each in place with brush-applied school glue.
- Let dry flat overnight. Trim any overhang with scissors. Use yarn tied through a corner hole to hang.


6. Twine and Button Skeleton Wreath
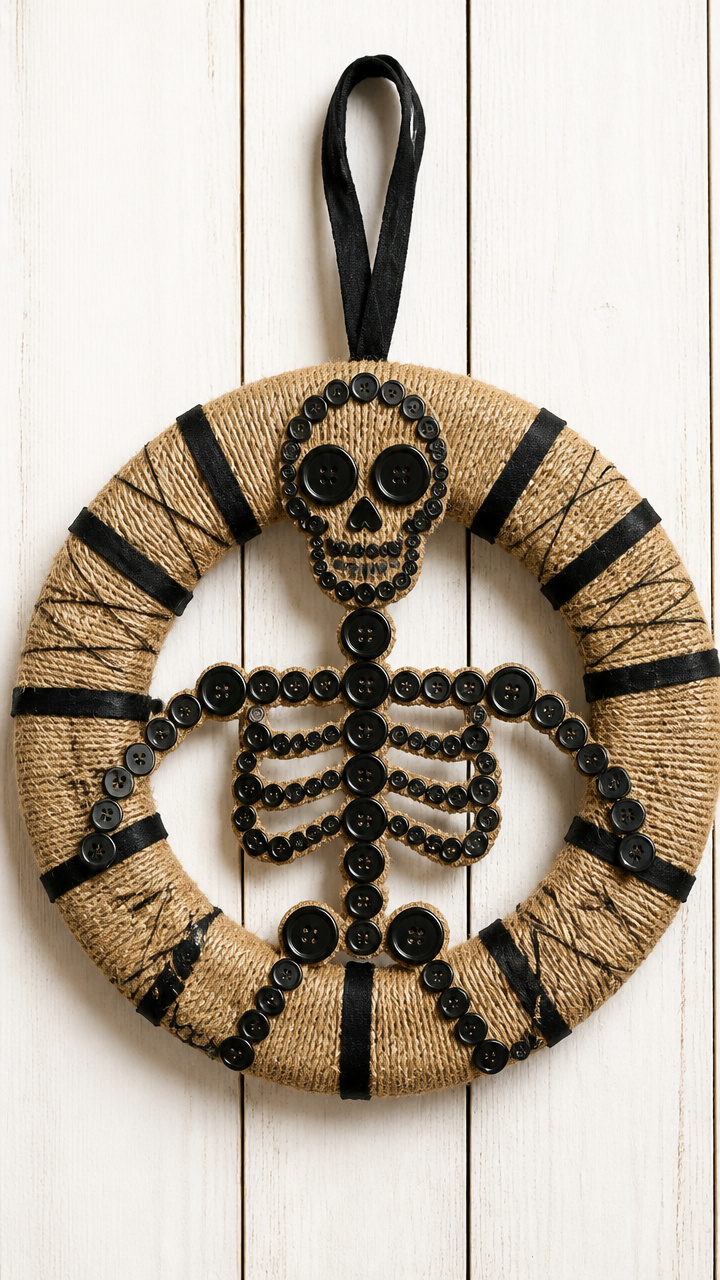
Buttons form bones against a woven twine background for a clever textile design. It’s washable, reusable, and quietly spooky.
Materials Needed
- Natural jute twine (size 3, 100 feet)
- Wood embroidery hoop (10-inch)
- Black buttons (various sizes: 4 large, 8 medium, 12 small)
- Fabric strips (cotton, black, 1/2 inch wide, 3 feet)
- Needle
- Tapestry thread (black, 3 yards)
How to Make It
- Lace twine vertically across the hoop like a loom, tying knots at the back every inch. Then weave horizontally to create a grid.
- Thread tapestry needle and sew buttons onto the grid to resemble a skeleton. Use large for joints, small for fingers and spine.
- Weave fabric strips around the hoop edge to hide raw ends. Tie off and trim excess thread at the back.


7. Paper Plate Crescent Moon Wreath
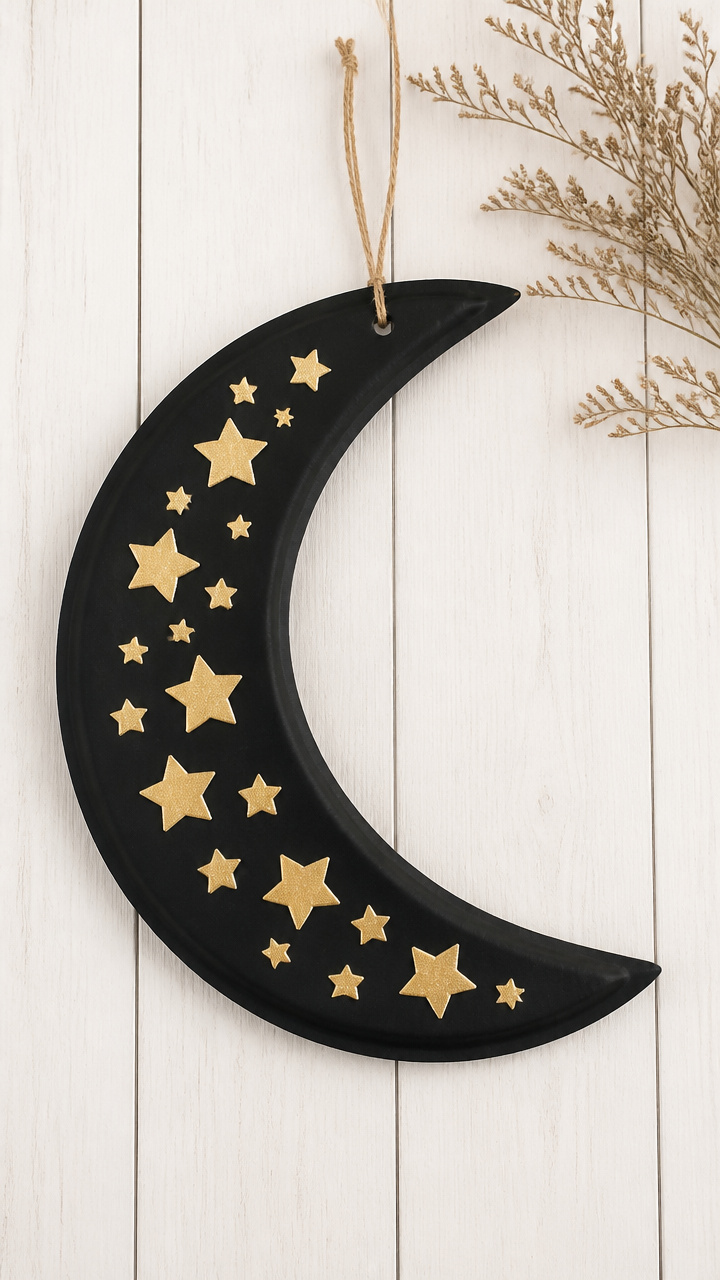
A single painted plate becomes a dreamy night sky backdrop for tiny stars. It’s sturdy enough for covered porches.
Materials Needed
- White paper plate (9-inch)
- Black acrylic paint
- Foam brush (1 inch)
- Star stickers (gold, assorted sizes, 15 total)
- Scissors
- Hole punch
- Ribbon (satin black, 1/4 inch, 12 inches)
How to Make It
- Cut out the center of the plate, leaving a crescent moon ring. Paint the entire surface black using smooth strokes with the foam brush.
- Let dry for 30 minutes. Arrange star stickers along the outer curve, clustering more near the tips.
- Punch two holes at the top back edge. Thread ribbon through and knot to create a hanger.


8. Clothespin Mummy Wreath
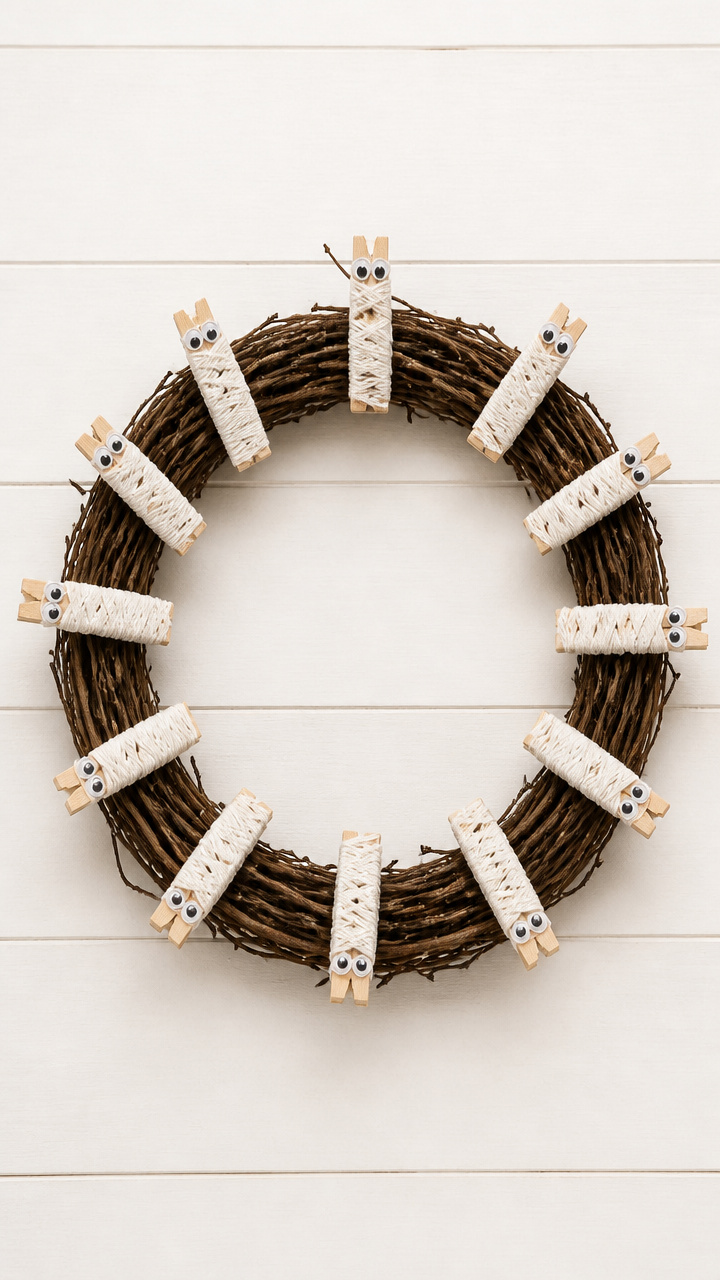
Wooden clothespins wrapped in bandages become mummies clinging to a twig base. Their tilted heads add playful motion.
Materials Needed
- Twig wreath (natural, 10-inch)
- Wooden clothespins (12, unpainted)
- White cotton string (embroidery, 3 skeins)
- Brown acrylic paint
- Small paintbrush
- Hot glue gun
How to Make It
- Paint two dots on each clothespin for eyes using brown paint. Let dry 20 minutes on wax paper.
- Wrap each clothespin tightly with cotton string from tip to base, covering all but the eyes. Secure ends with a dot of hot glue.
- Glue each wrapped clothespin upright around the twig wreath, spacing evenly. Angle some slightly forward or back for variety.


9. Pipe Cleaner Witch Hat Wreath
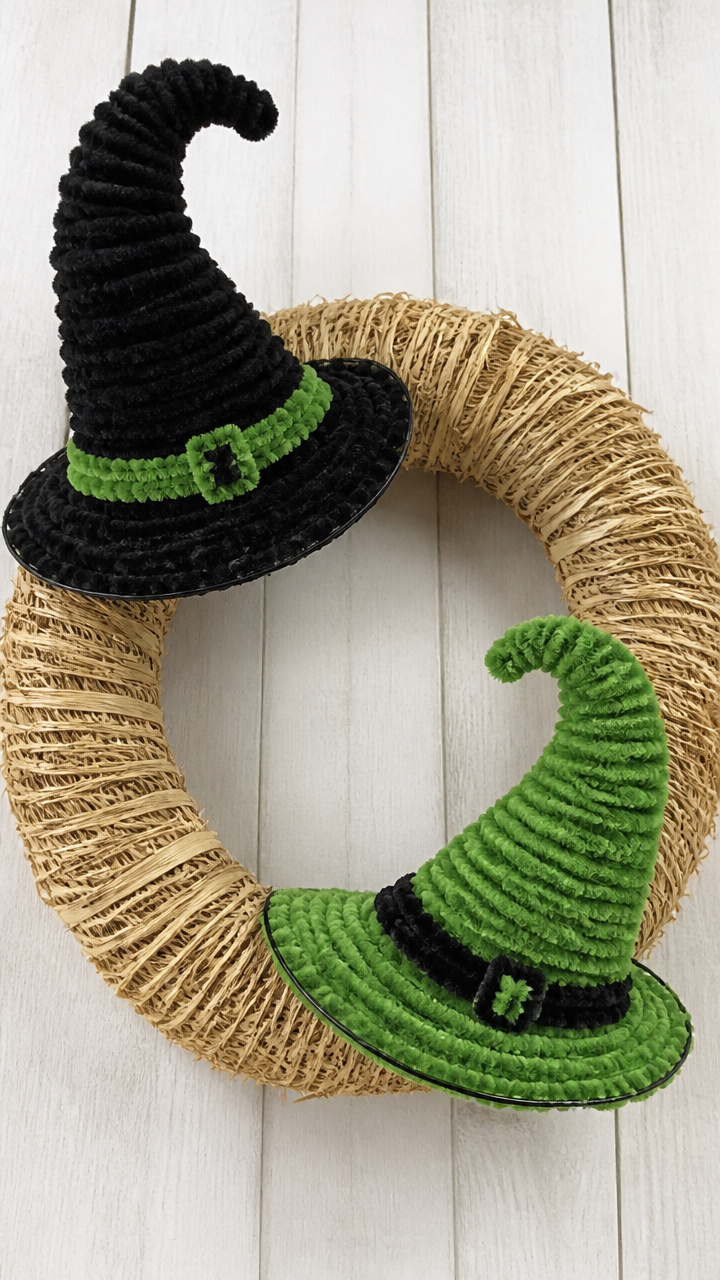
Twisted green and black pipes form tiny hats with wired brims. They hold their tilt perfectly and catch wind gently.
Materials Needed
- Black pipe cleaners (12 count)
- Green pipe cleaners (6 count)
- Straw wreath (10-inch)
- Pliers (needle-nose)
- Scissors
How to Make It
- Take one black and one green pipe cleaner. Twist them together at the center to form a cross. Bend the black vertical into a cone for the hat.
- Loop the green horizontal ends into a circle for the brim. Use pliers to close the twist neatly underneath.
- Repeat to make six hats. Push the base of each into the straw wreath, spacing evenly. Flatten brims to slight tilt.


10. Cereal Box Haunted House Wreath
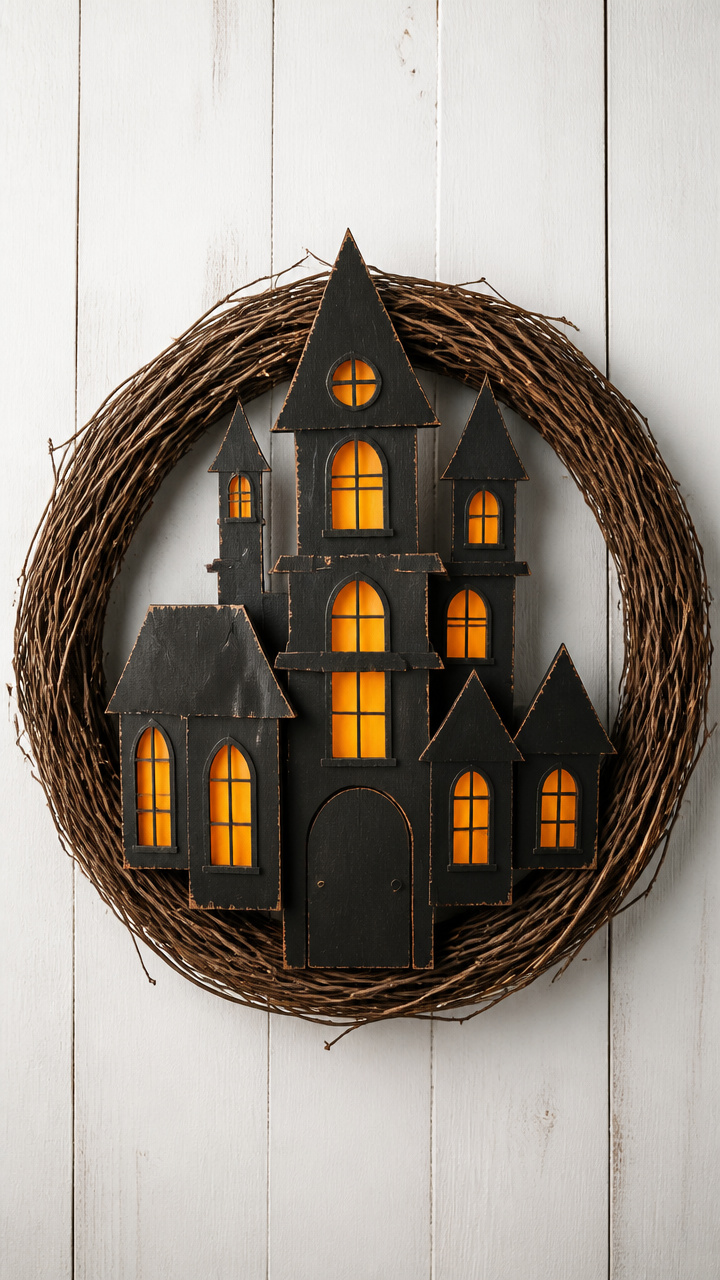
Recycled cardboard shaped into a gothic mansion creates a 3D centerpiece. Windows lit from behind cast dramatic shadows.
Materials Needed
- Empty cereal box (flattened)
- Craft knife
- Ruler
- Pencil
- Black acrylic paint
- Foam brush
- LED tea light (battery-powered)
- Glue stick
- Clear tape
How to Make It
- Draw a haunted house outline on the cardboard: tall roof, arched door, narrow windows. Cut out with craft knife using the ruler as guide.
- Paint both sides black and let dry 45 minutes. Use knife to poke out window and door openings.
- Fold the base tabs and glue to the back of a plain wreath base. Tape the LED light inside facing forward. Turn on before hanging.


11. Yarn Tassel Jack-O-Lantern Wreath
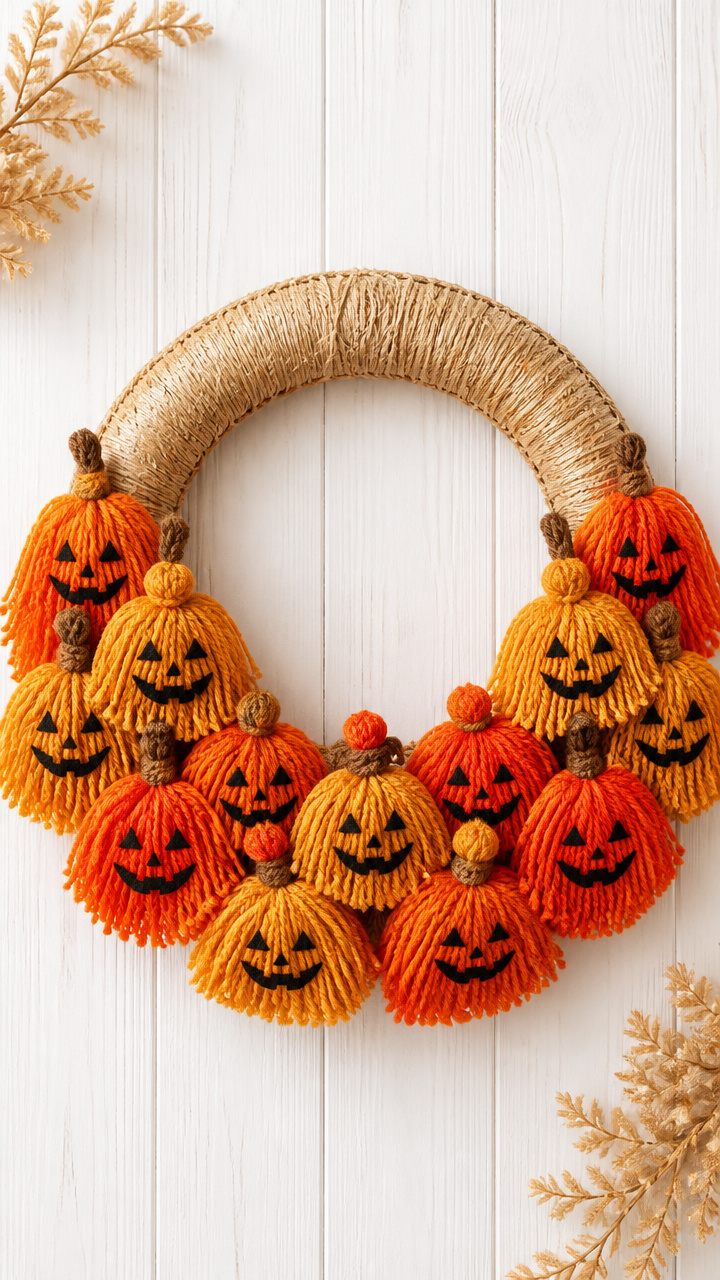
Fluffy orange tassels become glowing pumpkin faces with sharpie details. Yarn resists weather and stays bright.
Materials Needed
- Orange yarn (worsted weight, 3 balls)
- Cardboard scraps (2-inch squares, 6)
- Black permanent marker
- Scissors
- Gold yarn (1 ball)
- Straw wreath (10-inch)
- Hot glue gun
How to Make It
- Wrap orange yarn around a cardboard square 50 times. Slide off and tie tightly in the middle with extra yarn. Cut both ends to form a tassel.
- Use black marker to draw triangle eyes, nose, and jagged mouth on each tassel face. Work quickly before fibers fluff too much.
- Wrap gold yarn around the top knot to mimic a stem. Glue each tassel upright onto the straw wreath, grouping near the bottom.


12. Egg Carton Flower Wreath
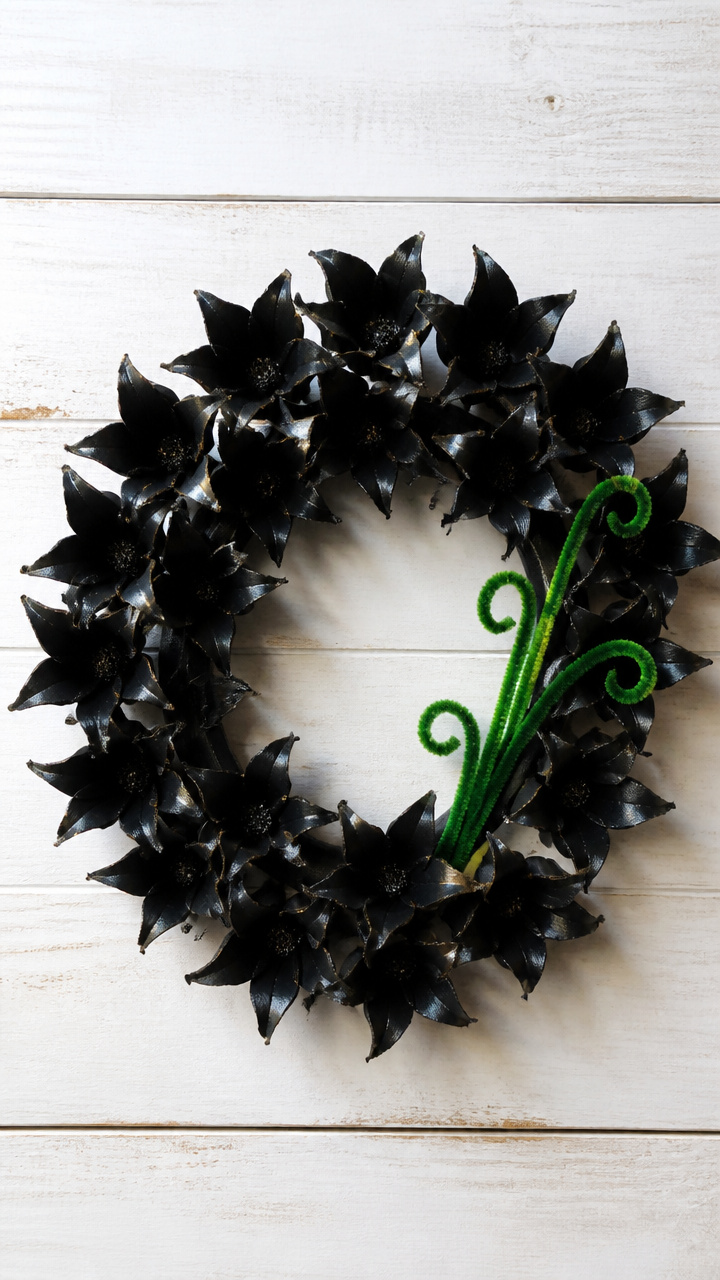
Cup sections painted black bloom into eerie blossoms with curled petals. The texture looks complex but takes under an hour.
Materials Needed
- Cardboard egg carton (12-cup)
- Scissors
- Black acrylic paint
- Paintbrush (medium)
- Green pipe cleaner (3 count)
- Hot glue gun
- Styrofoam wreath (8-inch)
How to Make It
- Cut out six cups from the carton. Snip each edge into 6 even slits, then curl outward with scissors to form petals.
- Paint both sides black and let dry 30 minutes. Pinch the base of each cup to flatten for gluing.
- Glue each flower to the foam wreath. Twist a green pipe cleaner around the base of three flowers to act as stems.
13. Popsicle Stick Fence Wreath
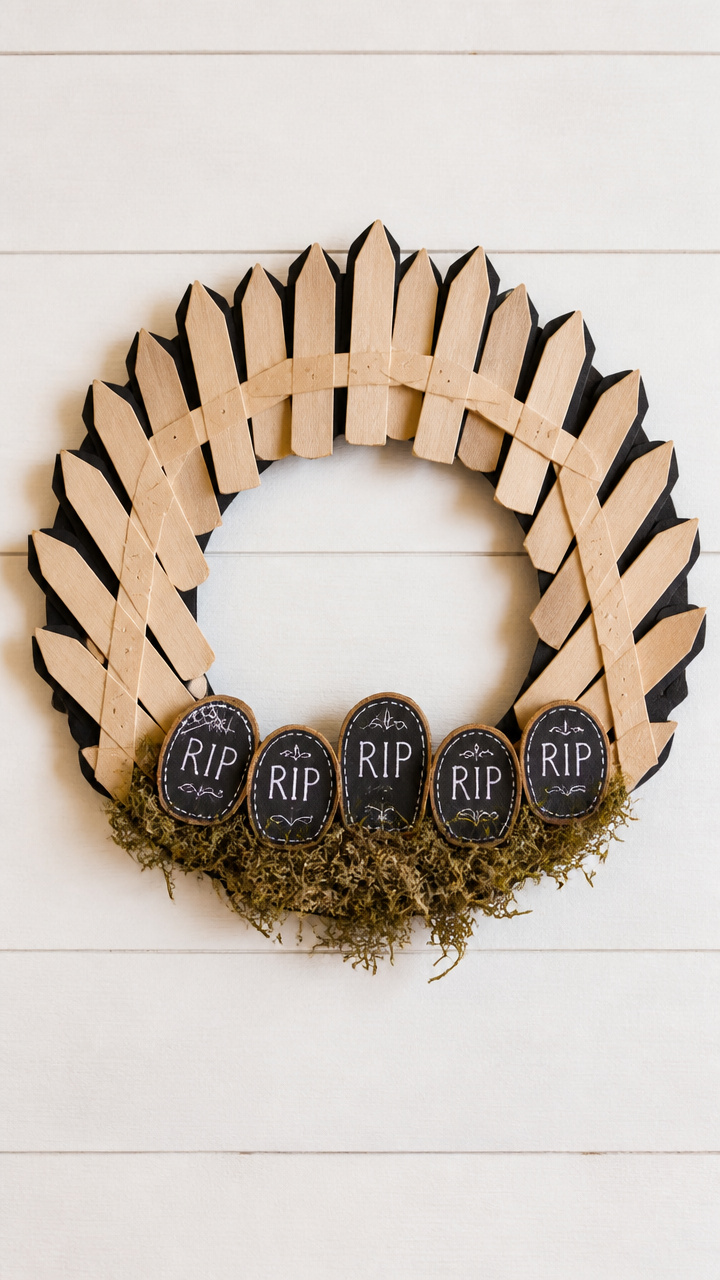
Flat sticks glued in zigzag pattern mimic a crooked cemetery fence. Add mini signs for graveyard humor.
Materials Needed
- Unpainted popsicle sticks (25 count)
- Craft glue
- Paintbrush
- Black acrylic paint
- Small wooden discs (1 inch, 5 count)
- White gel pen
- Foam wreath base (10-inch)
How to Make It
- Paint all sticks black and let dry on wax paper for 20 minutes. Lay them side by side on the foam base in a continuous V-pattern.
- Glue each stick at both ends and center. Let dry 1 hour before adding more rows outward.
- Write funny names like 'Here Lies Hallow' on discs with gel pen. Glue them upright between sticks like tiny headstones.



14. Flashlight Ghost Light Wreath
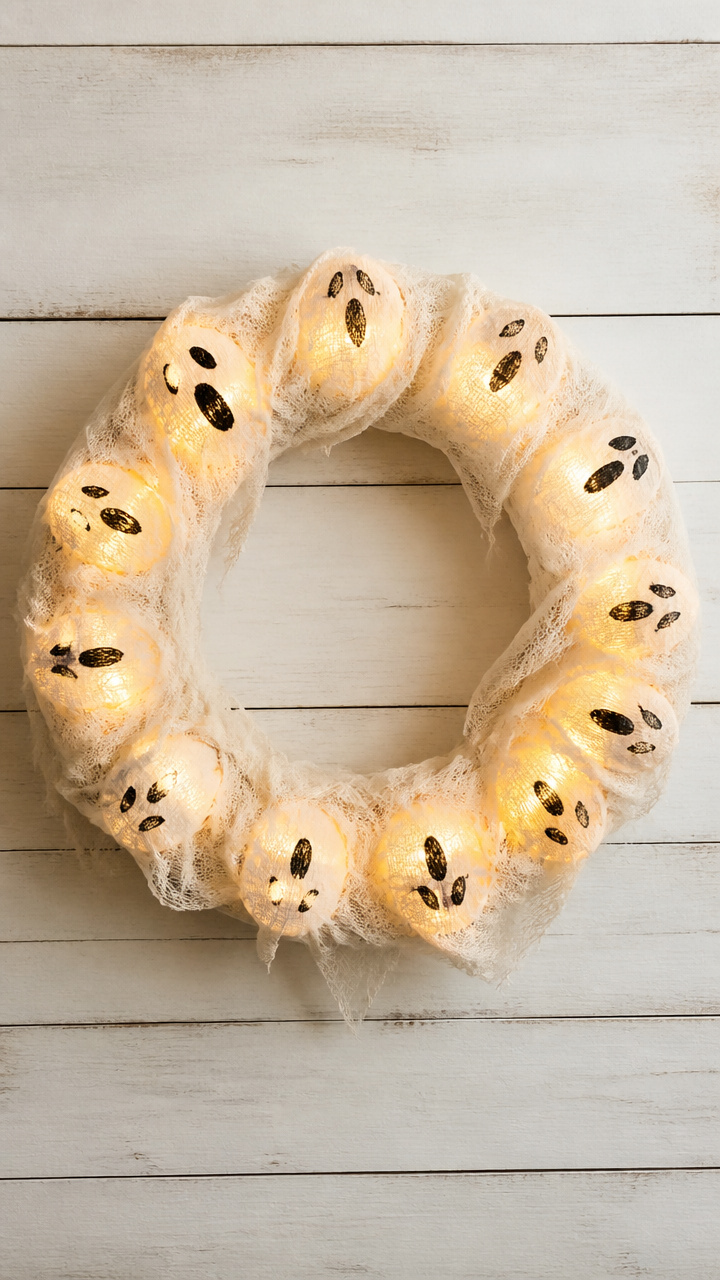
Battery lights wrapped in cheesecloth glow through painted faces. This one actually illuminates your entryway.
Materials Needed
- LED string lights (battery pack, 10 bulbs)
- White cheesecloth (1 yard)
- Rubber bands (small, 10 count)
- Black permanent marker
- Scissors
- Plastic wreath frame (12-inch)
- Clothespins (mini, 10 count)
How to Make It
- Cut cheesecloth into 10 squares (6 inches). Wrap each light bulb with a square and secure below the bulb with a rubber band.
- Draw ghost faces with marker on each cloth cover. Use different expressions — one grinning, one shocked, one winking.
- Clip each light to the frame using mini clothespins. Space evenly. Turn on and hang near your door.


15. Chalkboard Paint Tombstone Wreath
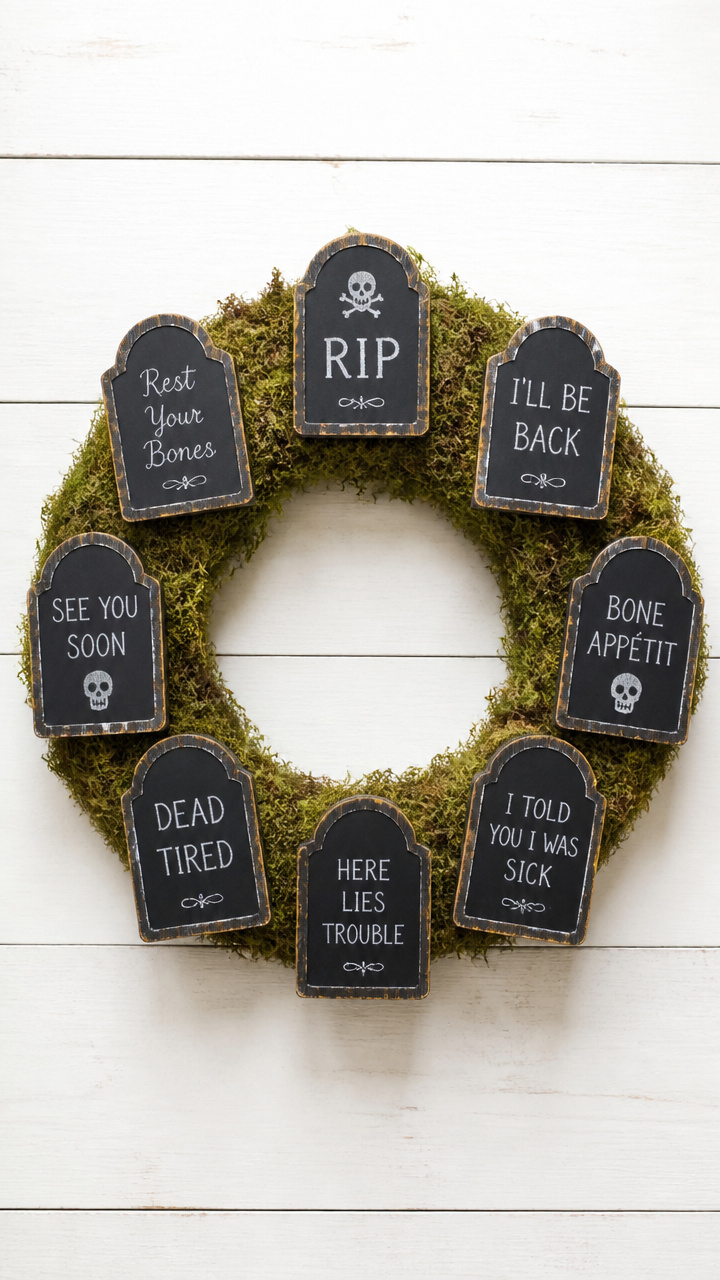
Mini tombstones with handwritten epitaphs stand in a ring on a moss base. You can change the messages next year.
Materials Needed
- Cork trivet (round, 10-inch)
- Artificial moss sheet (9 x 12 inches)
- Craft sticks (popsicle size, 8 count)
- Chalkboard paint (2 oz)
- Foam brush
- White chalk
- Craft glue
- Sandpaper (fine grit)
How to Make It
- Cut craft sticks in half diagonally to form eight tombstones. Lightly sand edges. Paint both sides with chalkboard paint. Dry 1 hour.
- Glue moss over the cork trivet, trimming edges neatly. Press firmly to avoid bubbles.
- Once dry, write silly messages like 'RIP Candy Supply' on each stone with chalk. Glue them upright into the moss, clustered at the bottom.


You’ve got everything you need to start crafting a Halloween welcome that matches your style. Grab a pair of scissors and pick the idea that makes you smile — the rest will follow.