17 DIY Thanksgiving Place Card Crafts for the Dinner Table
Gathering around the table on Thanksgiving means more than just sharing a meal. It’s about making everyone feel seen and welcomed, down to the little details. A handmade place card does exactly that, adding warmth and intention to each setting.
These ideas are simple but special, using materials you might already have or can grab easily. Each one stands on its own, so mix and match or go all in on your favorite.
1. Mini Maple Leaf Wood Slice Cards
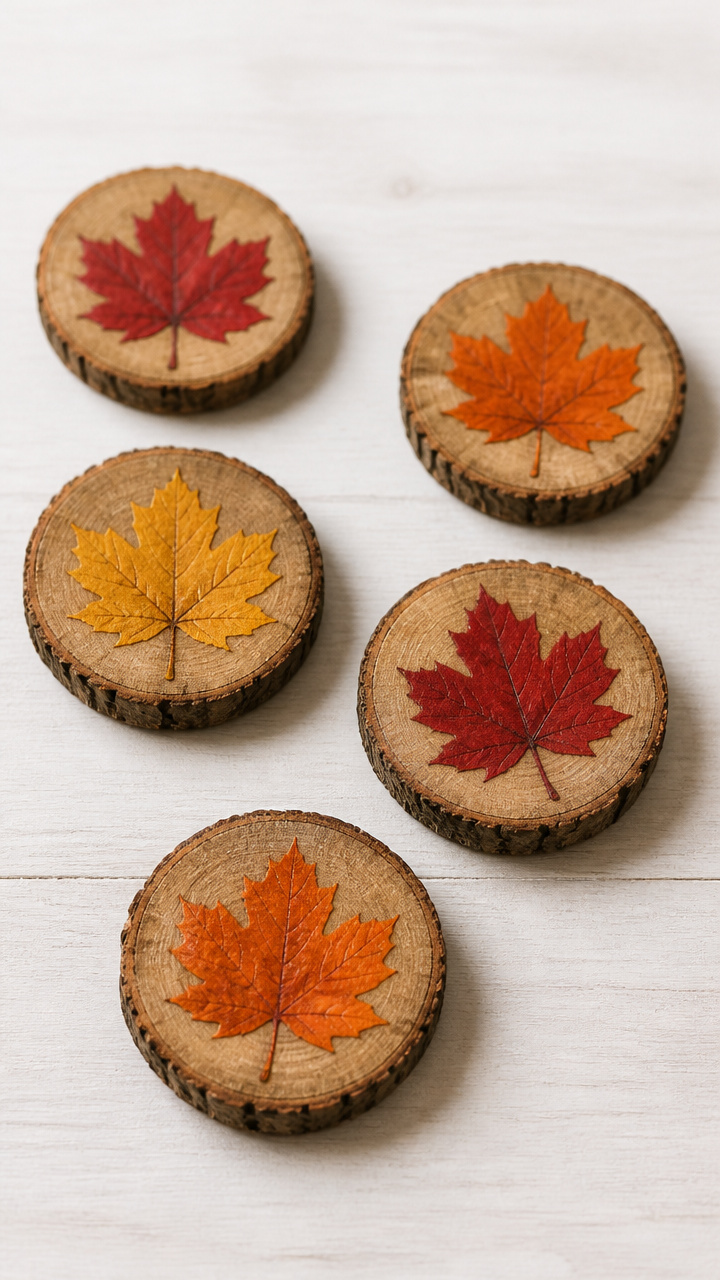
Rough-cut wood slices with painted maple leaves give a rustic forest feel to each seat. They’re small enough to tuck beside a plate but sturdy enough to reuse year after year.
Materials Needed
- 12 unfinished wood slices, 2 inches diameter
- Brown acrylic paint
- Red-orange-yellow autumn acrylic paint set
- Fine-tip paintbrush
- Pencil
- Clear matte sealant spray
How to Make It
- Wipe each wood slice with a dry cloth to remove dust. Let them sit flat on a clean surface.
- Use the pencil to lightly sketch a five-pointed maple leaf near the edge of each slice.
- Paint the leaf shape using red, orange, and yellow, blending slightly at the edges for a gradient effect.
- Let the paint dry completely, about 20 minutes. Then spray lightly with sealant on both sides.
- Once dry, write each guest's name in brown paint along the bottom curve of the leaf.


2. Cinnamon Stick Name Holders
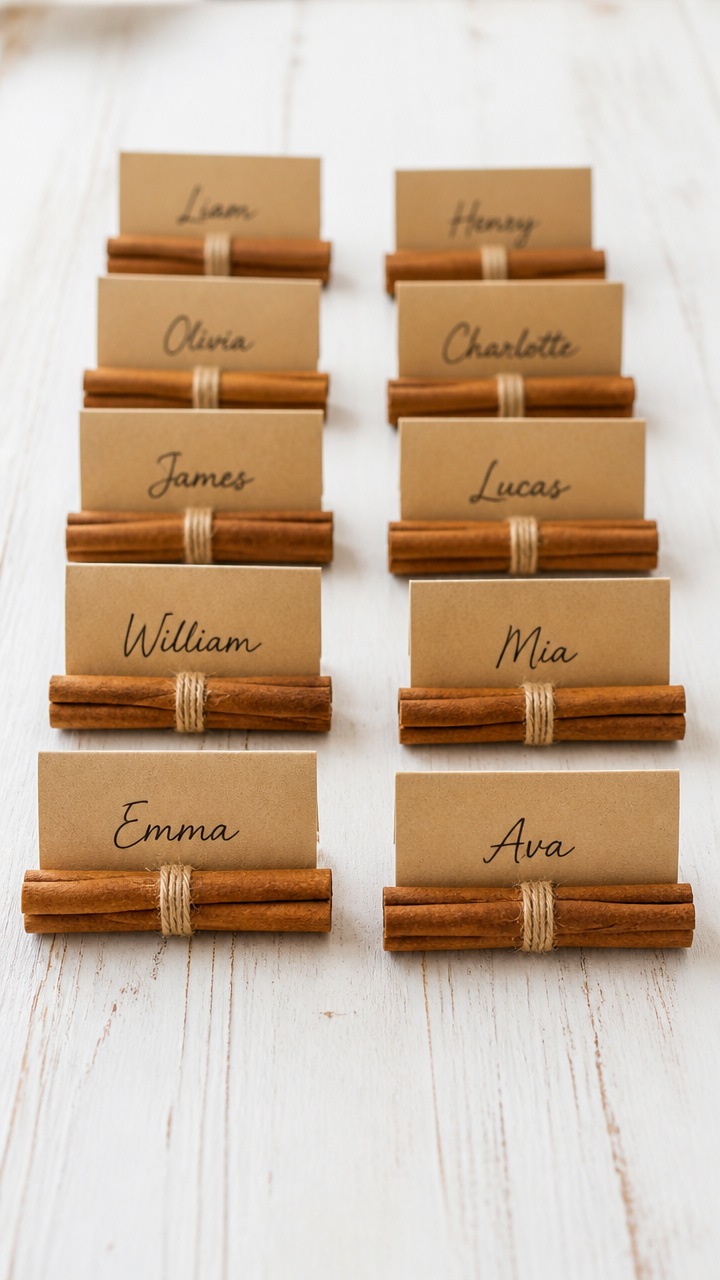
Tall cinnamon sticks wrapped with twine hold folded cards and fill the air with a sweet spice scent. These double as favors guests can take home.
Materials Needed
- 12 whole cinnamon sticks, 6 inches long
- Natural jute twine, 1 yard
- Small kraft paper cards, 2×3 inches, 12 pcs
- Black fine-liner pen
- Glue dot, 12 pcs
How to Make It
- Write each guest's name on a kraft card using the black pen. Center the text.
- Fold each card in half widthwise so it stands like a tent.
- Press a glue dot on the inside fold and attach it firmly to the back of a cinnamon stick.
- Wrap twine twice around the top third of the cinnamon stick and tie a small bow.
- Place one at each plate with the card facing outward.
3. Pressed Autumn Leaf Encased Cards
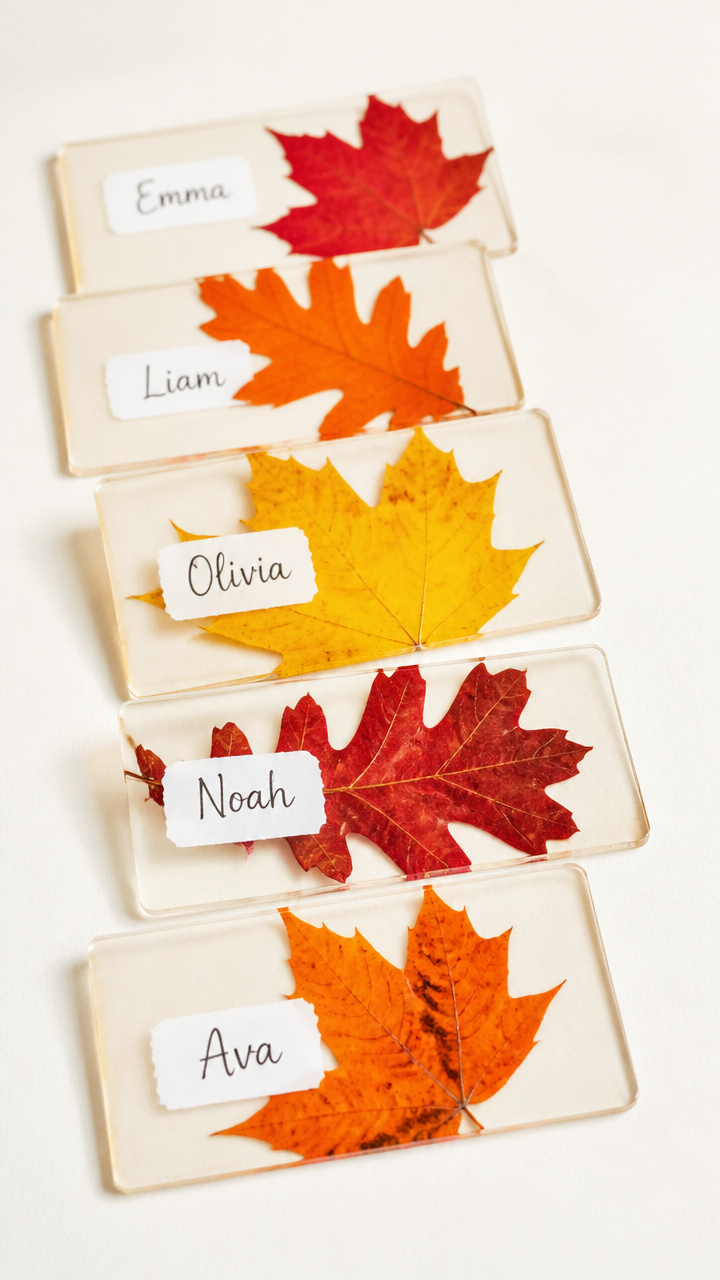
Real leaves gathered from your yard are sealed between clear laminating sheets with names handwritten beneath. The colors stay vibrant and feel like fall captured in plastic.
Materials Needed
- 12 real maple or oak leaves, fully dried
- Letter-sized self-adhesive laminating sheets, 2 sheets
- White gel pen
- Scissors
- Ruler
How to Make It
- Cut each laminating sheet into 3×4 inch rectangles. You need 12 pieces.
- Peel the backing off one piece and center a pressed leaf on the sticky side.
- Use the gel pen to write a guest's name below the leaf, pressing lightly to avoid smudging.
- Carefully lay the second laminate piece over the first, sealing the leaf and name inside.
- Trim any excess with scissors and place one on each plate.


4. Mini Chalkboard Slate Tags
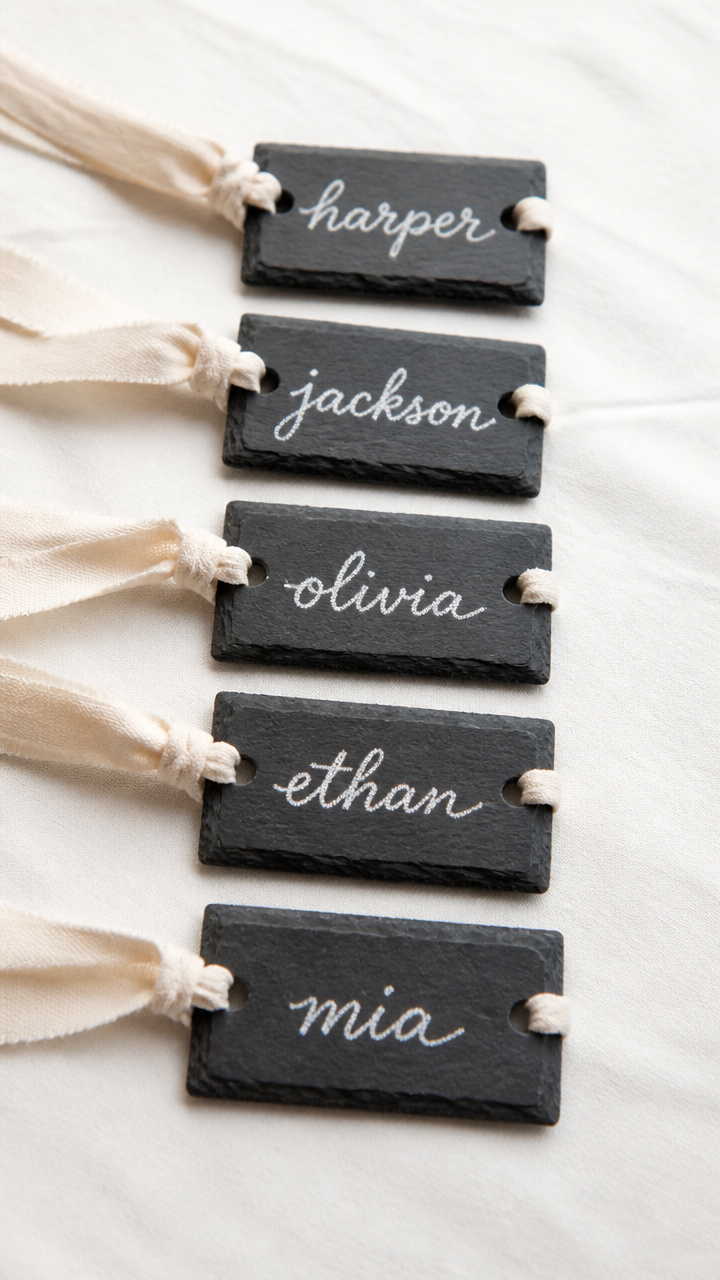
Tiny slate tiles with white chalk names look elegant and modern. They’re easy to update if seating changes and add a soft contrast to linen napkins.
Materials Needed
- 12 small slate tiles, 2×3 inches with pre-drilled holes
- White chalk
- Chalk holder pencil
- Cream cotton ribbon, 12 inches per tag
- Eraser cloth
How to Make It
- Wipe each slate with the eraser cloth to remove dust and old marks.
- Use the chalk holder pencil to write each guest's name neatly across the center.
- Cut 12 pieces of ribbon, each 12 inches long.
- Thread one end through the hole and tie a secure knot at the back.
- Lay one slate tag atop each napkin roll before setting the table.


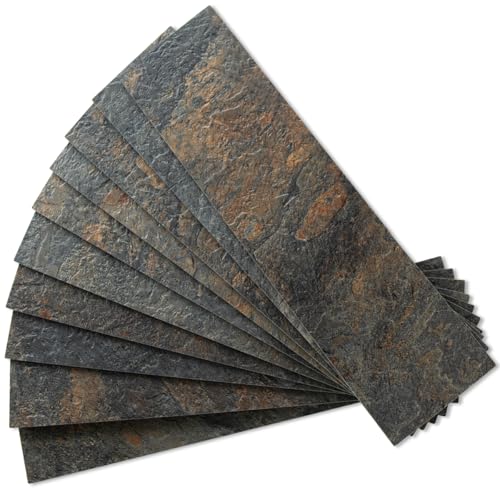
5. Burlap and Twine Folded Tents
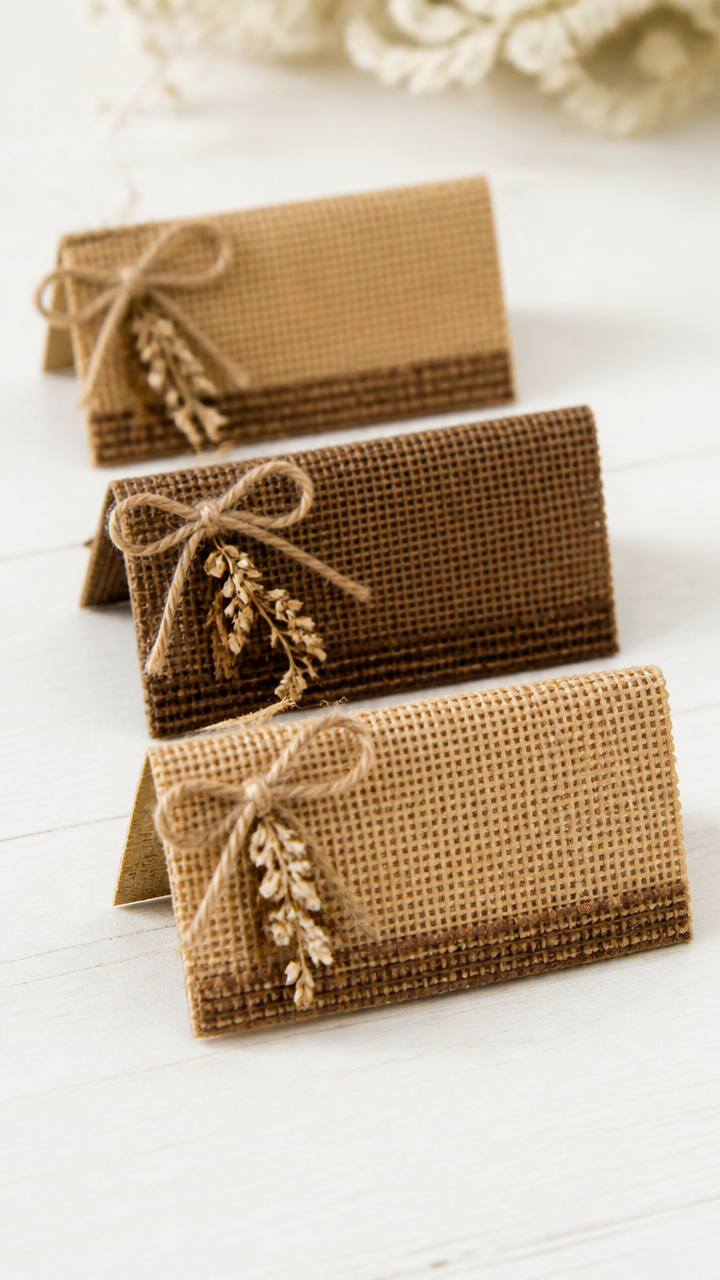
Scrappy burlap rectangles folded into tents and tied with twine hold names in earthy ink. Their texture adds depth without overpowering the table.
Materials Needed
- Burlap fabric by the yard, cut into 12 pieces 3×5 inches
- Tan embroidery floss, 1 yard
- Brown fabric marker
- Scissors
- Clothespin
How to Make It
- Lay one burlap rectangle flat and fold it in half widthwise to form a tent shape.
- Clamp the fold shut with a clothespin to hold it in place.
- Use the fabric marker to write a guest's name across the front, about one-third from the top.
- Cut a 6-inch piece of embroidery floss and tie it around the peak of the tent, securing the fold.
- Remove the clothespin and place the tent card in front of each dinner plate.


6. Acorn Cap Name Markers
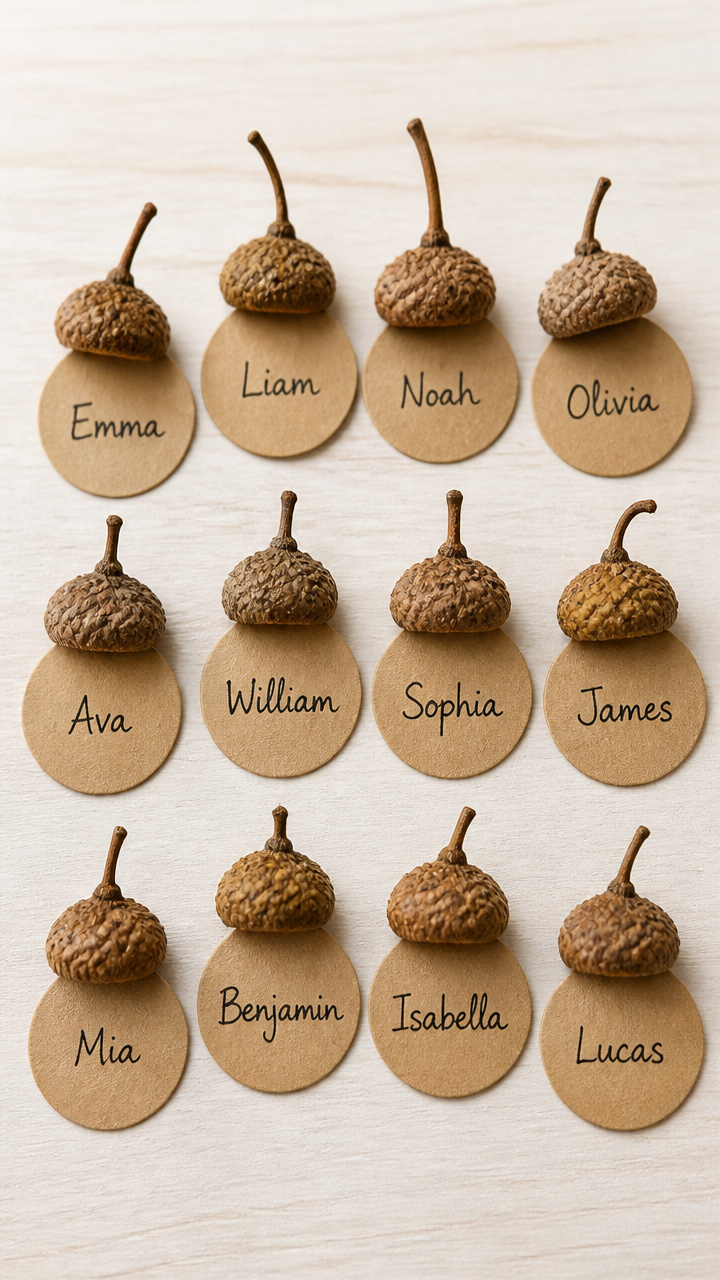
Real acorn caps glued to card bases create tiny natural sculptures. When you write names on the flat base, they become whimsical yet refined accents.
Materials Needed
- 12 large acorn caps with stems
- Round kraft paper tags, 1.5 inch diameter, 12 pcs
- Strong craft glue
- Fine black pen
- Toothpick
How to Make It
- Lay each kraft tag flat and write a guest's name in the center using the black pen.
- Put a small drop of craft glue on the bottom of an acorn cap using the toothpick.
- Press the cap glue-side down onto the tag, stem pointing up, just above the name.
- Hold for 10 seconds to set. Let the glue cure for 30 minutes.
- Arrange one on each napkin or beside the fork.

7. Hand-Stamped Kraft Paper Flags
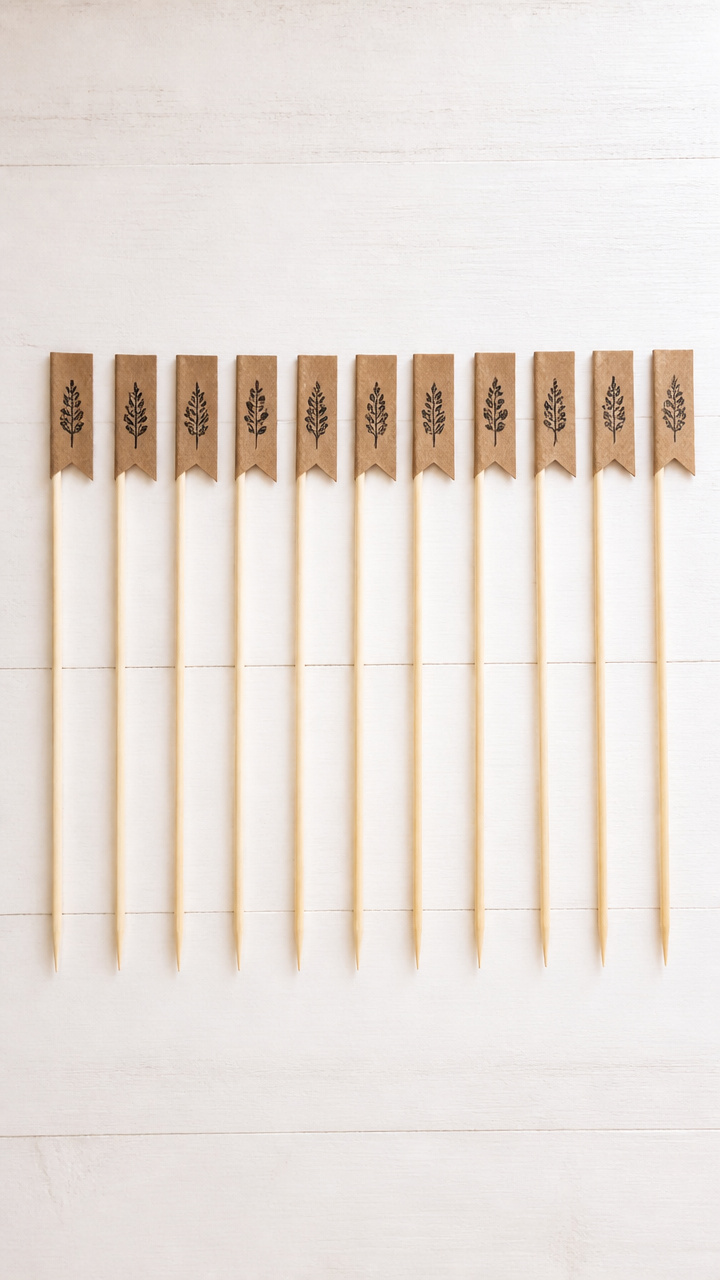
Wooden skewers fly small kraft flags stamped with names using letter stamps and ink. These stand upright in mashed potatoes or next to glasses.
Materials Needed
- 12 round wooden skewers, 8 inches long
- Kraft paper, cut into 12 flags 2×1 inches
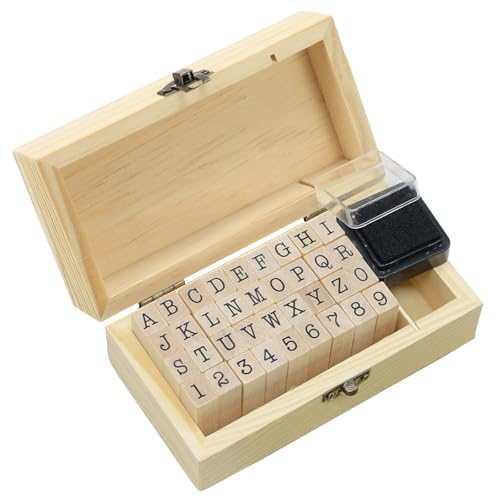
- Alphabet rubber stamp set
- Black ink pad
- Glue stick
How to Make It
- Apply glue to the back of one short edge of a kraft flag.
- Roll that edge around the tip of a skewer and press to seal. Let dry flat for 5 minutes.
- Press the alphabet stamps firmly into the ink pad, then stamp a guest's name across the flag.
- Repeat for all 12 flags, letting ink dry for 2 minutes between each.
- Stick one into the side of a butter dish or lean against a water glass.


8. Pumpkin-Shaped Clothespin Cards
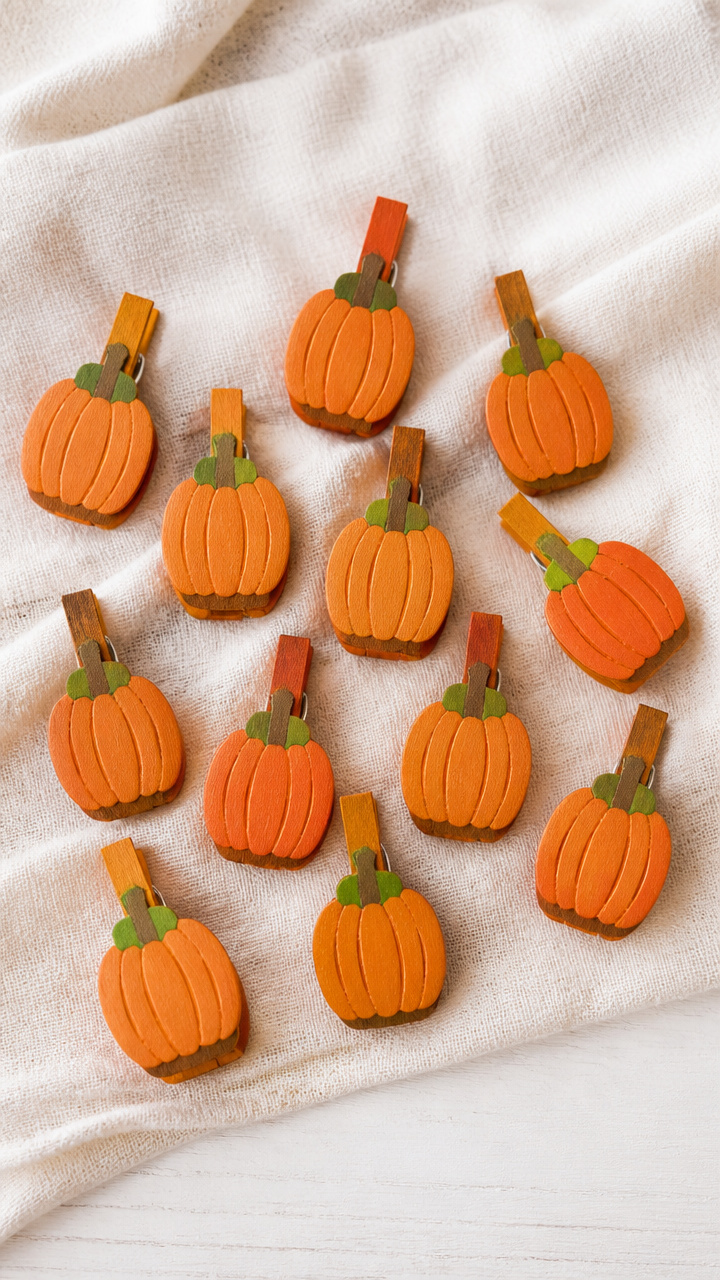
Plain wooden clothespins turn into mini pumpkins with orange paint and brown stems. Clip them to napkin folds for a pop of seasonal charm.
Materials Needed
- 12 unpainted wooden clothespins
- Orange acrylic paint
- Green acrylic paint
- Paintbrush
- Black marker
How to Make It
- Paint each clothespin entirely with orange acrylic paint. Let dry for 15 minutes.
- Paint a thin green line across the top tip of each to represent a pumpkin stem.
- Use the black marker to write a guest's name vertically down the flat side of the pin.
- Let everything dry completely, about 20 minutes.
- Clip one onto the fold of each napkin, name facing forward.


9. Thankful Tree Mini Envelopes
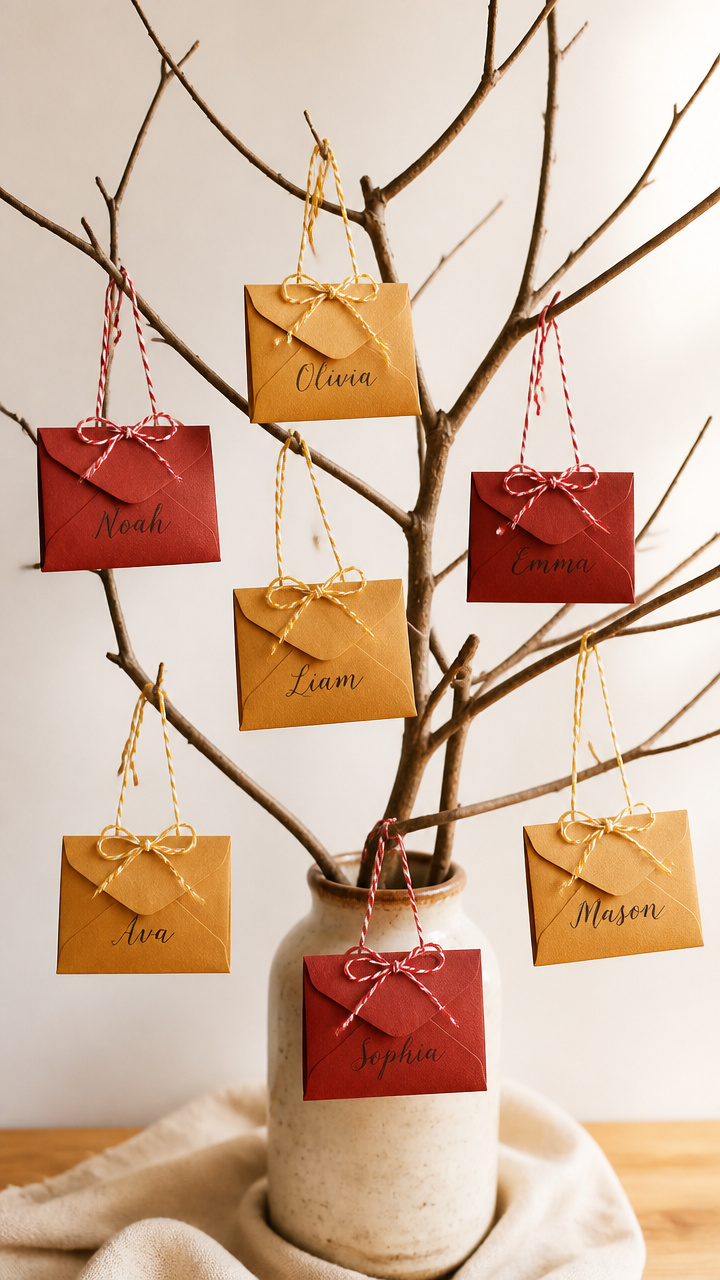
Tiny envelopes hang from a small branch centerpiece, each holding a guest's name. They look like fruit on a gratitude tree and spark conversation.
Materials Needed
- 12 miniature manila envelopes, 2×3 inches
- Small bare tree branch, 12 inches long
- Red and gold baker’s twine, 2 yards total
- Calligraphy pen
- Hole punch
How to Make It
- Write each guest's name on an envelope front using the calligraphy pen.
- Punch a hole in the top center of each envelope flap.
- Cut 12 pieces of twine, each 8 inches long, alternating red and gold.
- Thread one piece through each hole and tie the ends together to form a loop.
- Drape the loops over the branch and place the branch in a low vase on the table.


10. Salt Dough Handprint Tags
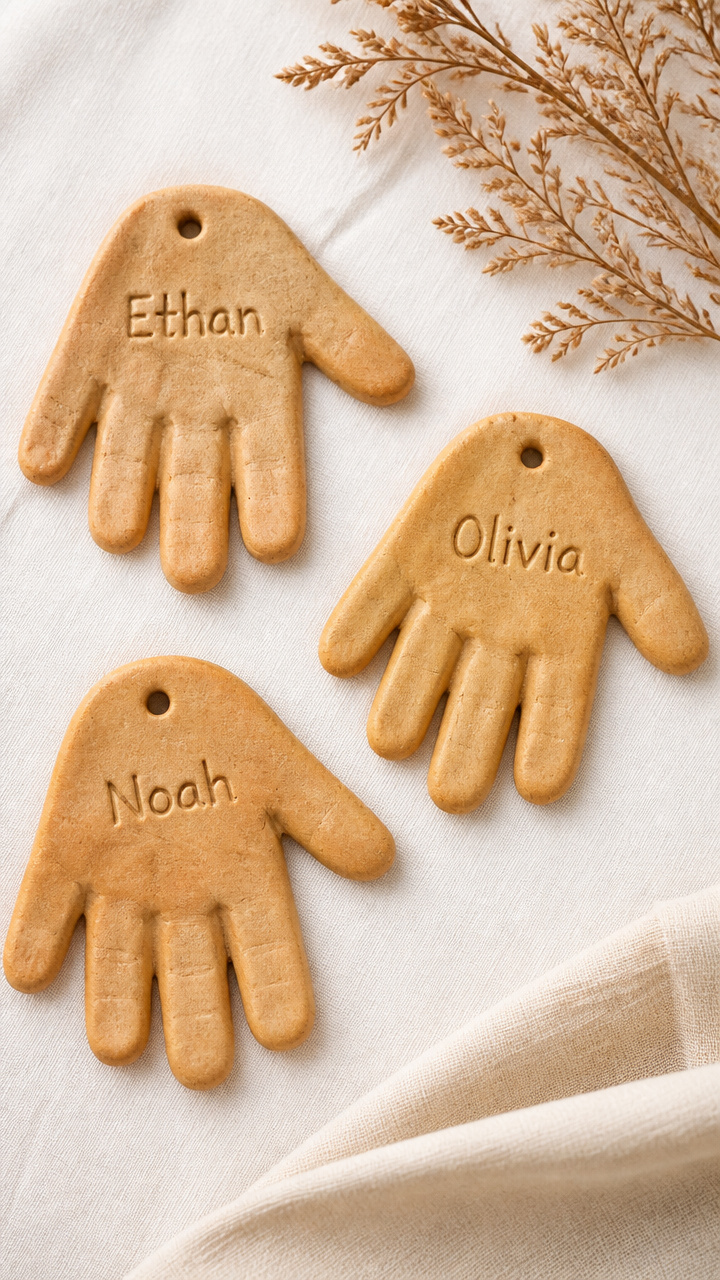
Salt dough impressions of your hand with a carved name add a deeply personal touch. Bake them golden and leave them out as keepsakes.
Materials Needed
- Salt dough (mix 1 cup flour, 1/2 cup salt, 1/2 cup water)
- Rolling pin
- Straw
- Pencil
- Acrylic sealer spray
How to Make It
- Roll the dough to 1/4 inch thickness on a floured surface.
- Press your palm firmly into the dough to make a print. Lift slowly.
- Use the pencil to carve a guest's name beside the print, pressing letters deep.
- Use the straw to poke a hole at the top for hanging. Cut around the tag with a knife.
- Bake at 200°F for 3 hours until hard, then spray with sealer and tie with thread.


11. Feather and Calligraphy Pops
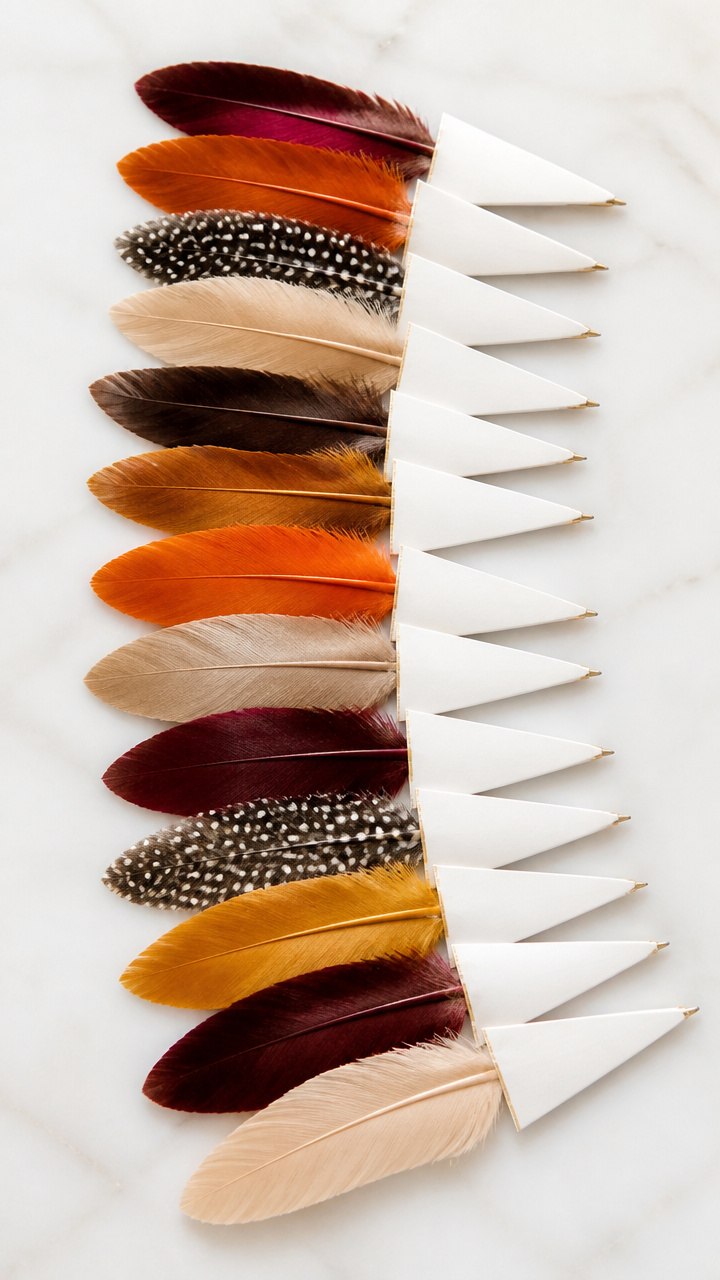
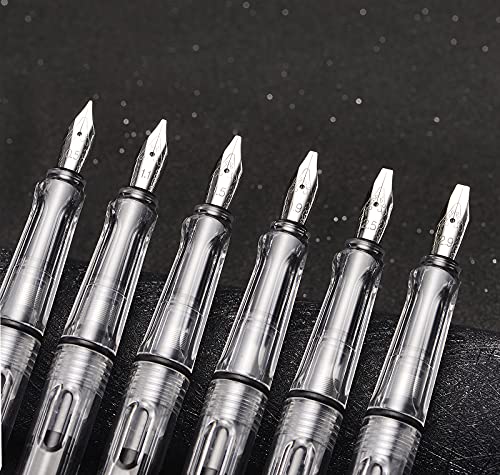
Turkey feather quills taped to cardstock triangles stand like elegant pens. Names are written in flowing script that feels timeless.
Materials Needed
- 12 dyed turkey feathers, 5 inches long
- White cardstock, cut into 12 triangles 3 inches tall
- Double-sided tape
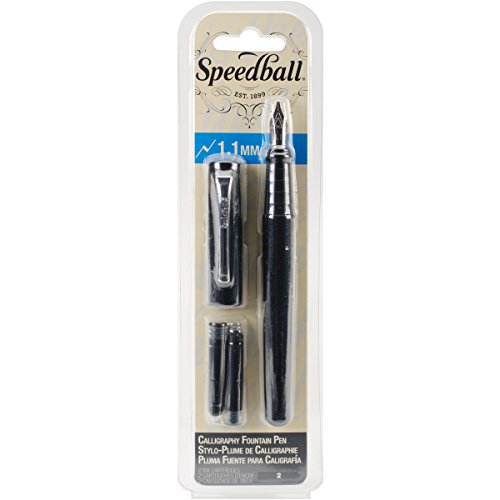
- Calligraphy fountain pen
- Ruler
How to Make It
- Measure 1 inch from the base of each feather and apply a small strip of double-sided tape.
- Align the straight edge of a cardstock triangle with the tape and press firmly.
- Use the fountain pen to write a guest's name in cursive down the center of each triangle.
- Let ink dry for 3 minutes to prevent smearing.
- Slide one into each wine glass so the feather points upward.

12. Corn Husk Wrapped Scrolls
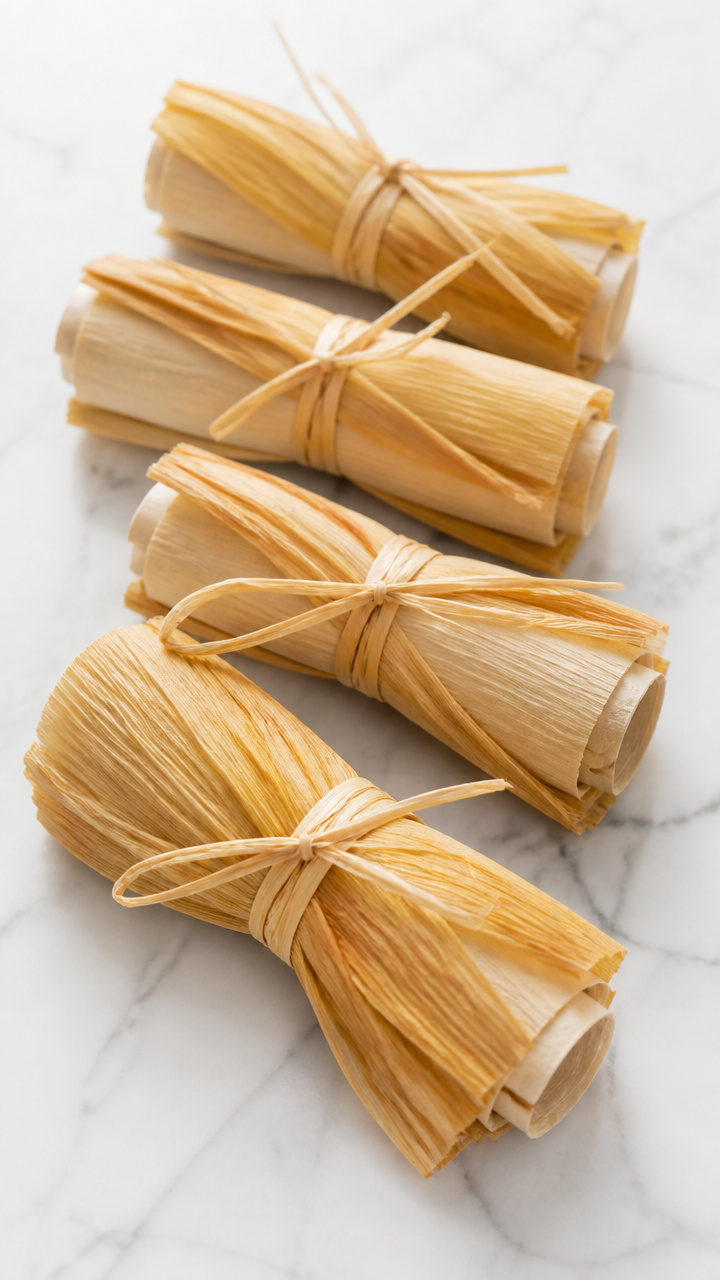
Dried corn husks spiral around rolled paper names tied with raffia. Their golden layers echo harvest baskets and smell faintly sweet.
Materials Needed
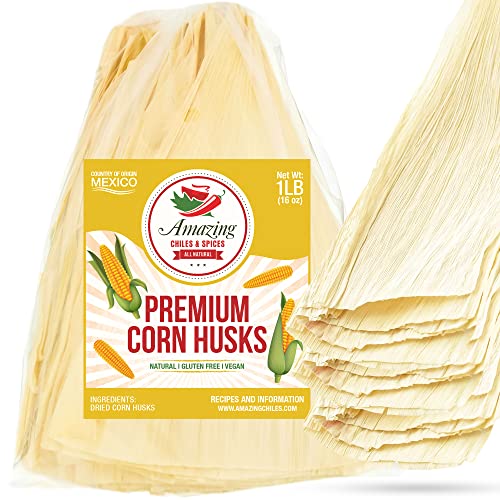
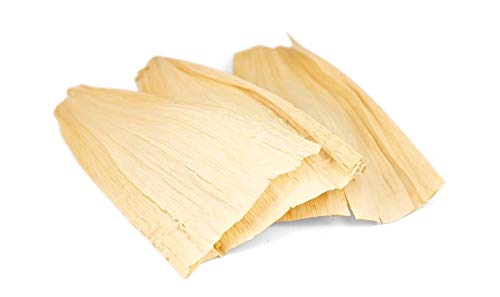
- 12 dried corn husks, softened in warm water
- Scrolls of parchment paper, 2×4 inches, 12 pcs
- Raffia, 1 yard
- Brown ink pen
- Bowl of warm water
How to Make It
- Soak each corn husk in warm water for 2 minutes to make it pliable.
- Write a guest's name on a parchment scroll using the brown ink pen.
- Roll the scroll tightly and place it at the wide end of a husk.
- Wrap the husk around the scroll like a burrito and tie closed with a 6-inch raffia piece.
- Place one on each plate with the tied end facing left.

13. Apple Slice Dried Name Rings
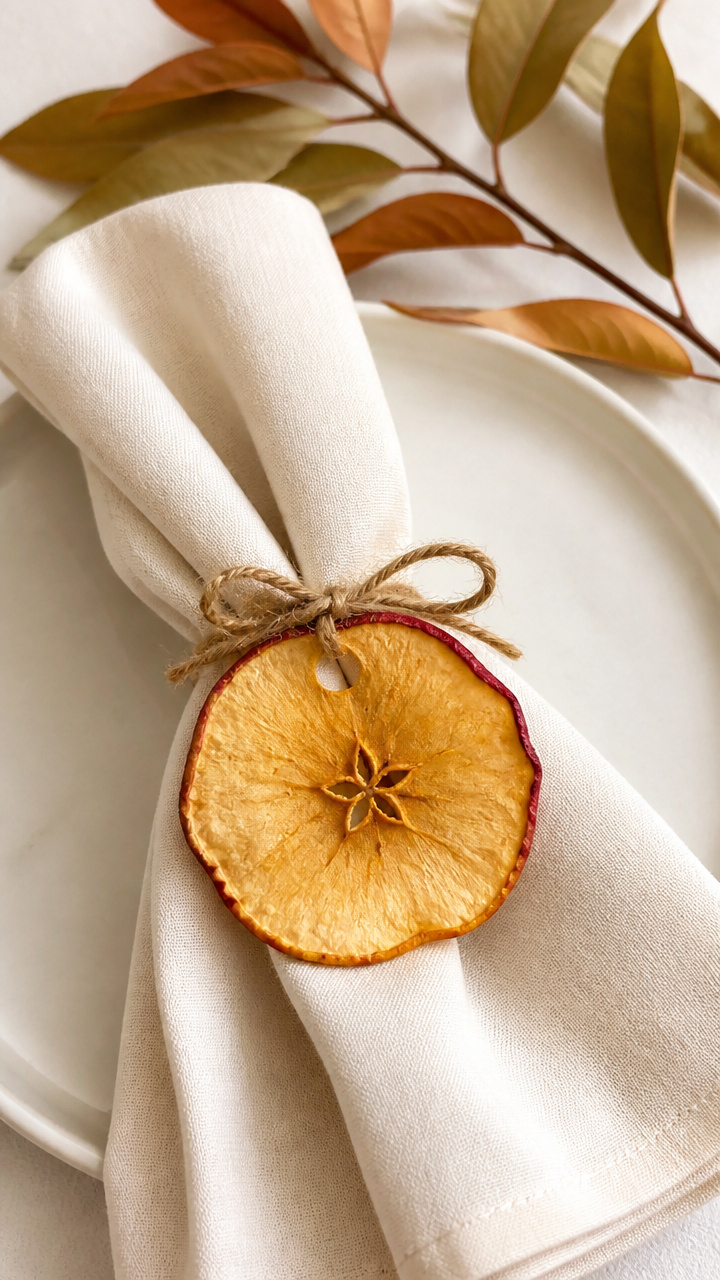
Thin apple rounds dried until crisp hold names written in edible ink. They’re fragrant, light, and look like little stained-glass windows.
Materials Needed
- 6 apples, sliced into 12 rings 1/4 inch thick
- Lemon juice, 2 tablespoons
- Edible food marker
- Baking sheet
- Parchment paper
How to Make It
- Brush both sides of each apple ring with lemon juice to prevent browning.
- Lay them flat on a parchment-lined baking sheet.
- Dry in oven at 200°F for 2 hours, flipping halfway.
- Use the edible marker to write a guest's name across the center of each dried ring.
- Set one beside each dessert plate or tuck into a napkin loop.


14. Quilt-Pattern Paper Tents
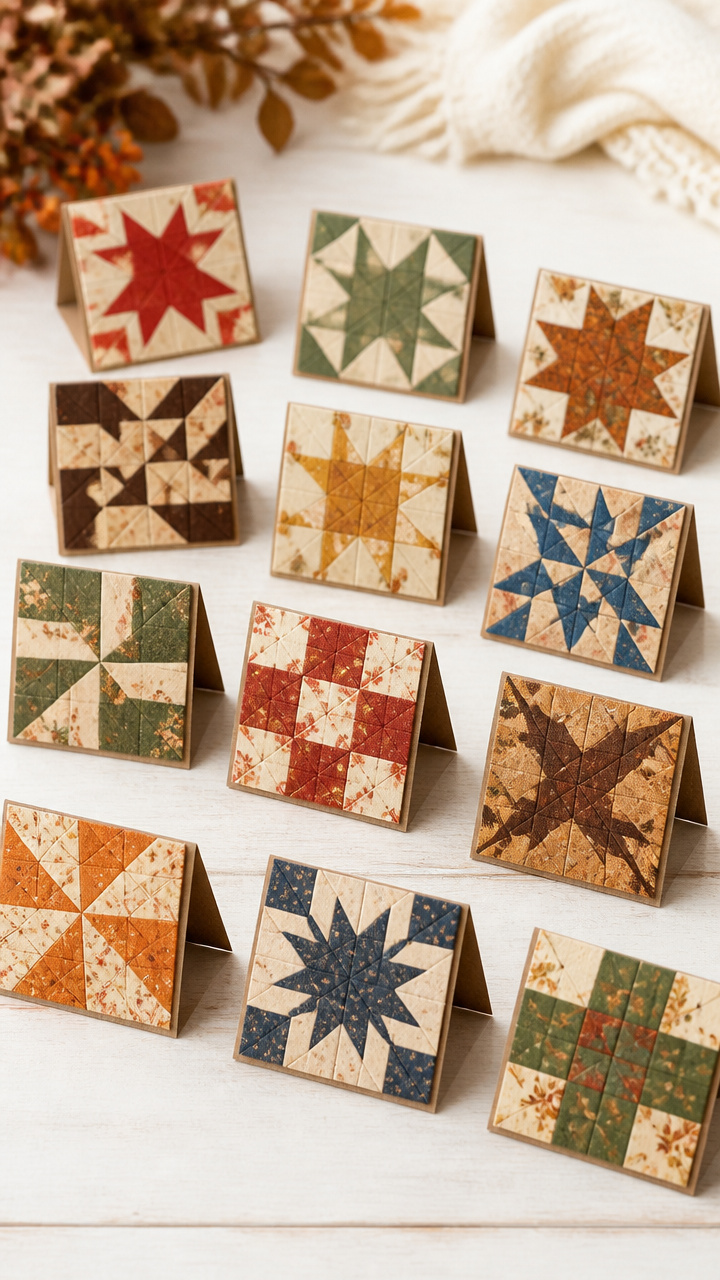
Scrapbook paper with tiny quilt prints folds into neat tents and brings cozy cabin energy to the table. The patterns vary so no two are alike.
Materials Needed
- Quilt-pattern scrapbook paper, 12 different prints
- Paper cutter
- Ruler
- Fine-tip black pen
- Glue stick
How to Make It
- Cut each paper into a 3×4 inch rectangle using the ruler and paper cutter.
- Fold each in half widthwise to make a tent shape.
- Use the glue stick to dab the inside corners and reinforce the fold.
- Write a guest's name in the center of the front panel with the black pen.
- Place one in front of each water glass.


15. Walnut Shell Tiny Boats
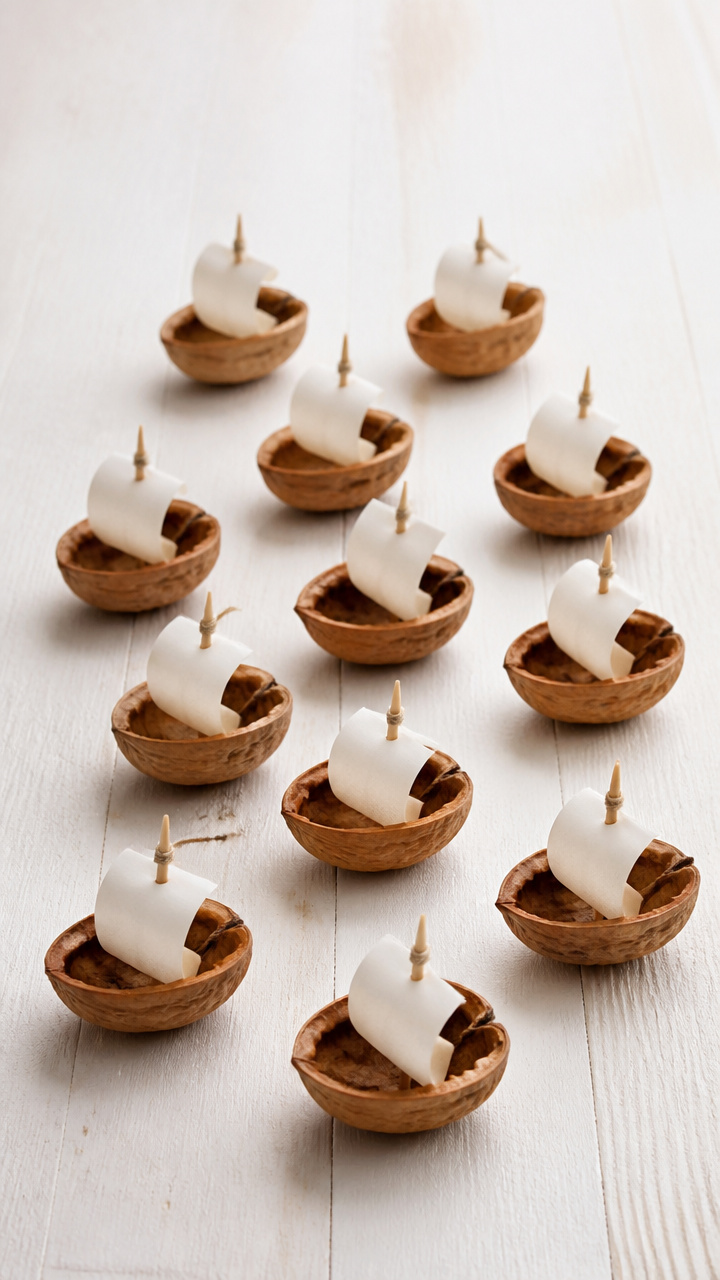
Halved walnut shells act as tiny boats holding rolled name scrolls. Their rich brown curves look like they floated in from a woodland stream.
Materials Needed
- 12 walnut halves, cleaned and dried
- Tiny paper scrolls, 1×2 inches, 12 pcs
- Brown micro pen
- Toothpicks
- Small paintbrush
How to Make It
- Write each guest's name on a paper scroll using the micro pen.
- Roll each scroll tightly and slide it into a walnut half.
- Use the paintbrush to wipe any dust from the shell’s surface.
- Place each shell name-side up on a folded napkin.
- Tuck one under each salad fork.


16. Felt Pumpkin Stack Cards
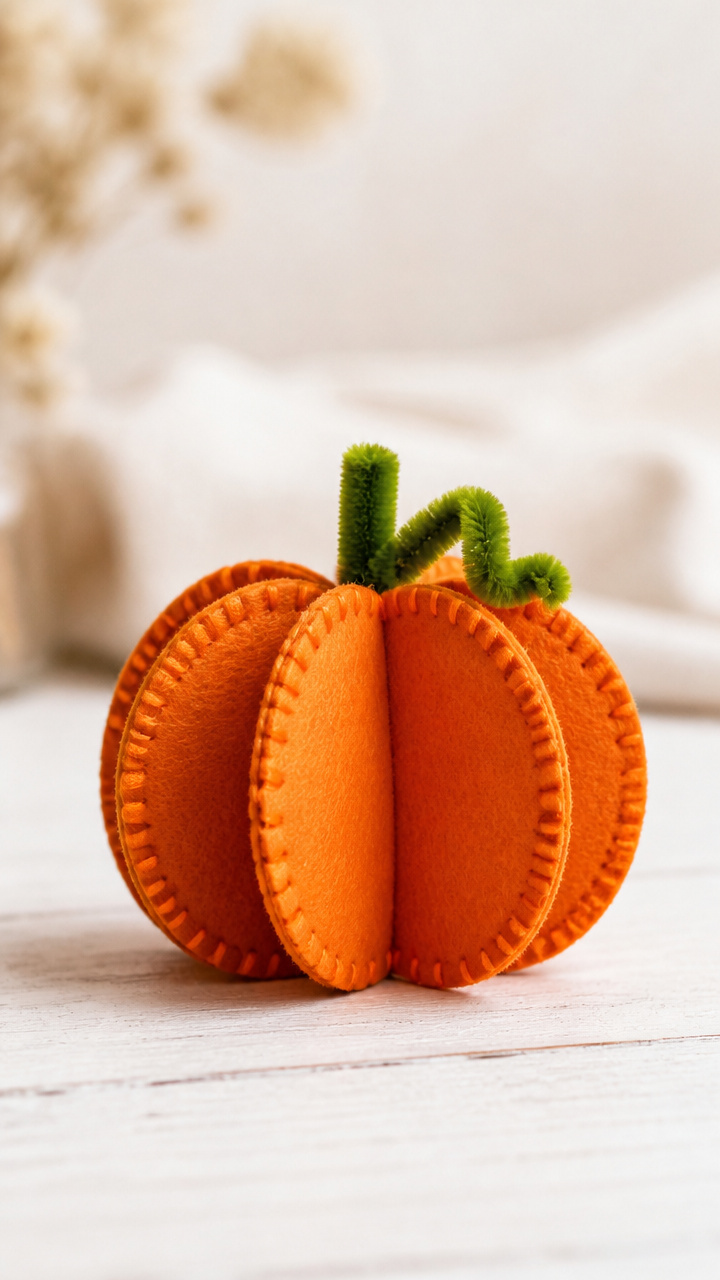
Layered orange felt circles with stitched names mimic real pumpkins. A green pipe cleaner stem finishes each one for a soft 3D effect.
Materials Needed
- Orange felt sheet, cut into 12 circles 2 inches diameter
- Green pipe cleaners, 12 pcs
- Embroidery needle and thread
- Fabric pen
- Scissors
How to Make It
- Stack three orange felt circles per guest and pin them together.
- Use the fabric pen to write a name on the top circle.
- Stitch around the edge with blanket stitch using green thread, leaving a 1/8 inch border.
- Twist one end of a pipe cleaner around the top center to make a stem.
- Place one on each bread plate.


17. Maple Syrup Bottle Labels
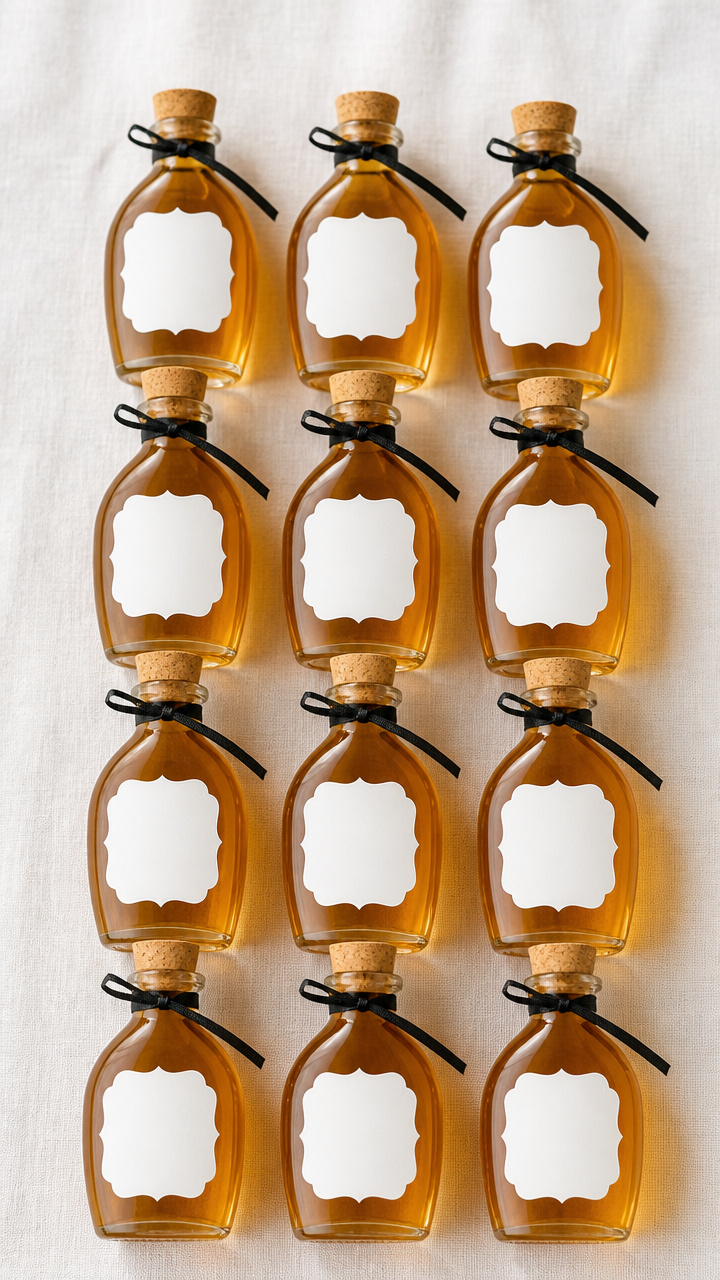
Mini glass bottles filled with amber syrup get custom paper labels with names. They serve as both place markers and sweet party favors.
Materials Needed
- 12 mini glass bottles with corks, 3 oz
- Maple syrup, 16 oz bottle
- White sticker paper, 8.5×11 inch sheet
- Black printer
- Ribbon, 1/8 inch wide, 2 yards
How to Make It
- Print guest names centered on the sticker sheet using the black printer.
- Cut each label into a 1×3 inch rectangle and peel off the backing.
- Stick one label on the front of each bottle.
- Fill each bottle with 2 oz of maple syrup and cork securely.
- Tie a 6-inch ribbon around the neck and place one in front of each guest.

Each of these place cards carries a bit of your time and care. Your guests will notice, and it’ll make the table feel truly theirs.