13 Easy Thanksgiving Crafts Using Dollar Store Supplies
Thanksgiving is a time for warmth, gathering, and a little handmade charm on the table. You don’t need fancy supplies to create something special, just a few thoughtful touches that say you cared enough to make it yourself.
Every one of these crafts uses simple materials you can find at the dollar store. They’re quick to make, full of heart, and perfect for setting the mood without stretching your budget.
1. Mini Cornucopia Centerpieces
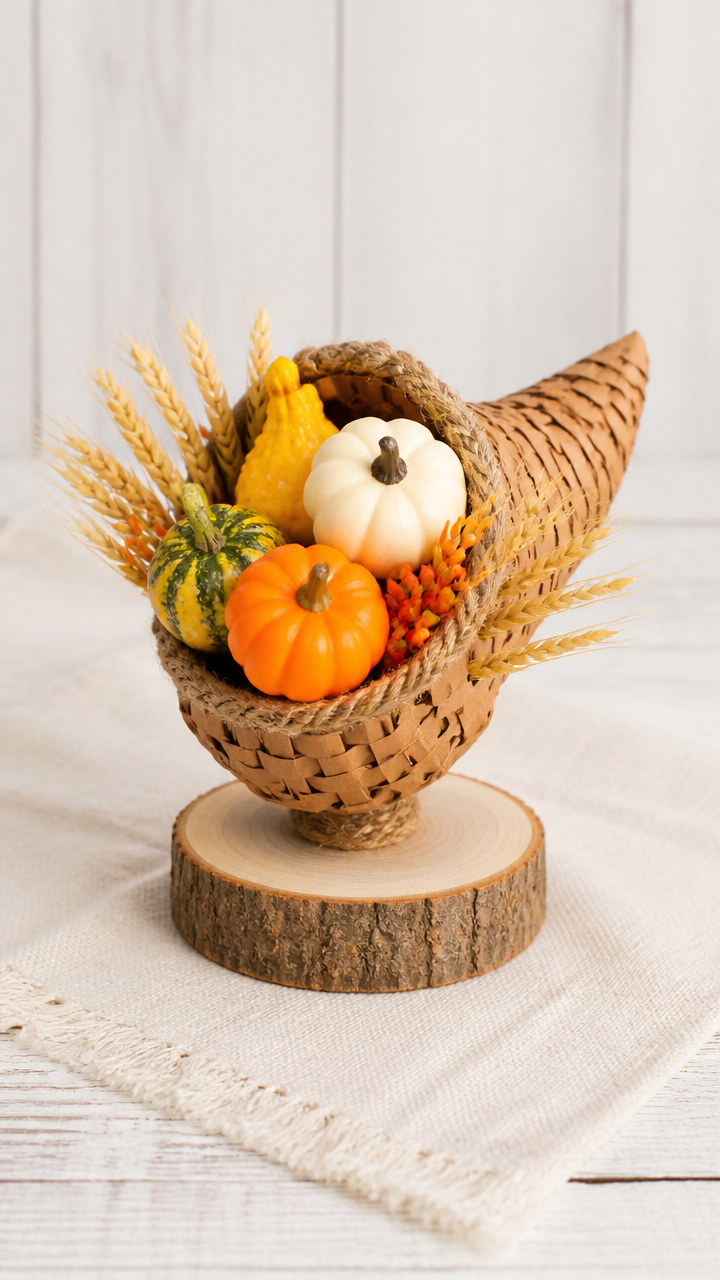
Tiny woven baskets filled with faux harvest fruits make cheerful table accents that guests will admire. These mini versions take up little space but pack in plenty of seasonal color.
Materials Needed
- 4 small brown paper lunch bags
- 12 wooden craft sticks
- 6 feet of jute twine
- hot glue gun and glue sticks
- assorted faux mini pumpkins and gourds (6 total)
- small artificial wheat stems (3)
How to Make It
- Lay a paper bag flat and fold the bottom edge up 2 inches to form a base. Secure with hot glue along the seam.
- Glue one craft stick vertically along each side of the bag to act as support ribs.
- Weave jute twine horizontally around the sticks and bag, starting from the bottom and working up. Tie off and glue the end at the top.
- Flip the basket upright and place two mini pumpkins and a wheat stem inside each.


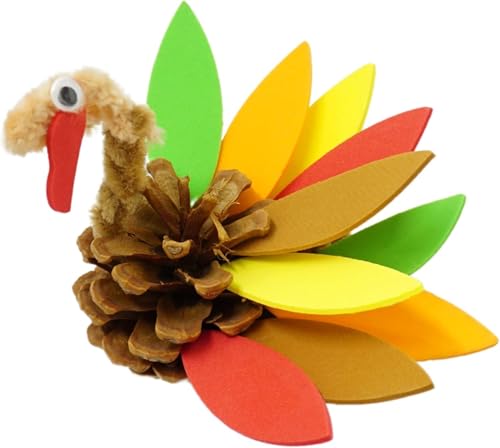
2. Pinecone Turkey Napkin Holders
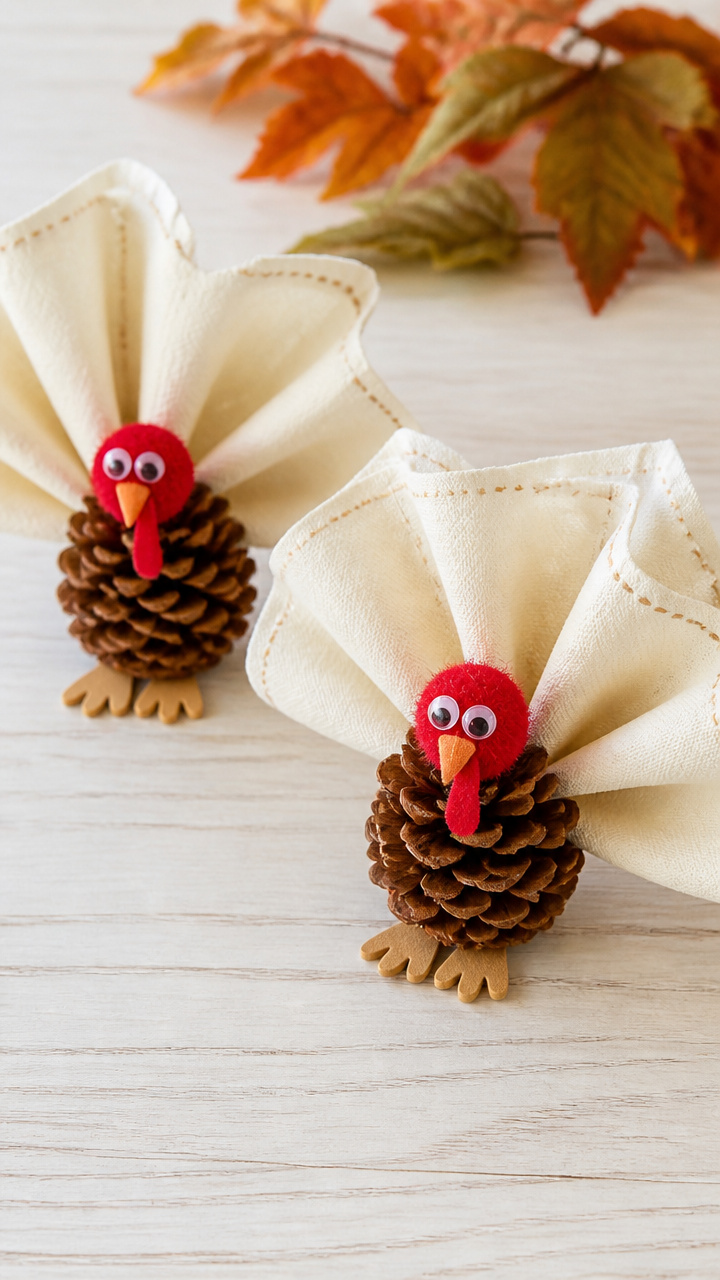
Adorable turkeys made from pinecones add whimsy to each place setting. They hold cloth napkins securely while bringing a touch of forest charm to the meal.
Materials Needed
- 5 medium pinecones
- 10 small red pom poms
- 5 brown pipe cleaners
- 5 tan craft foam circles (2 inch diameter)
- googly eyes (10 mm, 5 pairs)
- black fine-tip marker
- scissors
- hot glue gun and glue sticks
- cloth napkins (5)
How to Make It
- Cut each pipe cleaner into two equal pieces. Bend one end of each piece into a small spiral to resemble a turkey foot.
- Glue two feet to the front base of each pinecone. Let dry for 2 minutes.
- Glue a red pom pom just above the feet for the wattle. Glue the tan foam circle behind the pom pom for the head.
- Add googly eyes to the foam head and use the marker to draw a small beak between them. Slide a napkin under the pinecone before serving.

3. Thankful Banner with Clothespins
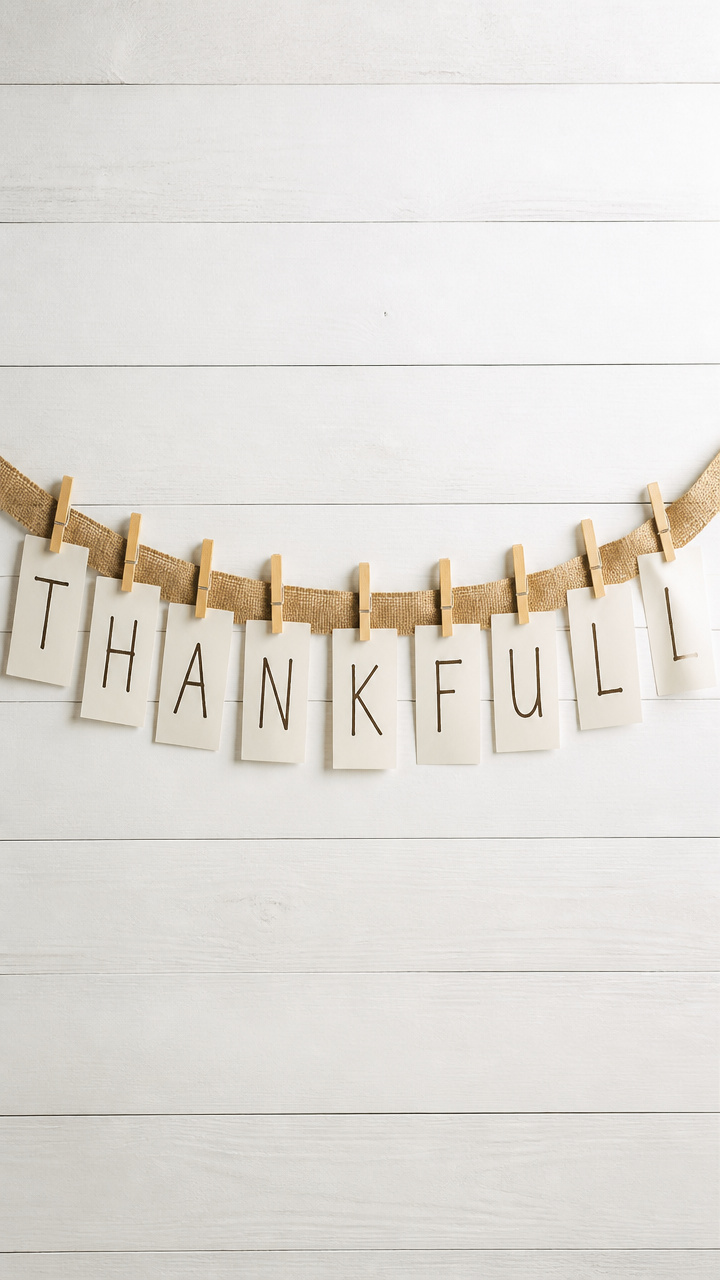
A rustic banner where guests write what they're grateful for makes a heartfelt conversation starter. The clothespin design lets you swap notes year after year.
Materials Needed
- 10 wooden clothespins
- 10 index cards (3×5 inches)
- 12 feet of burlap ribbon
- brown marker
- hole punch
- scissors
- pencil
How to Make It
- Fold each index card in half crosswise. Use the pencil to write one letter of THANKFUL on each card, one per card.
- Use the hole punch to make one hole through both sides of the folded edge. String the burlap ribbon through all cards in order and tie ends.
- Clip each clothespin below a card using the flat side. Leave blank paper strips nearby so guests can write and hang their notes.
4. Acorn Place Card Holders
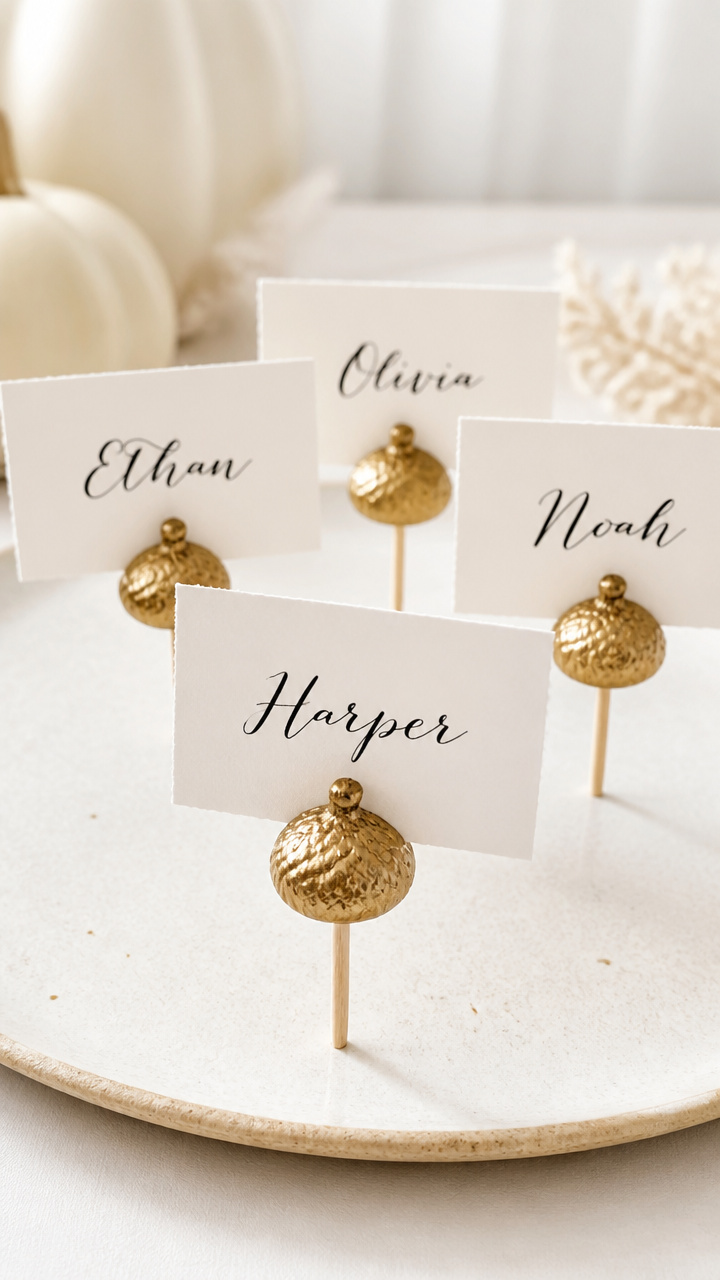
Simple acorn caps cradle name cards with natural elegance. These tiny holders blend into any tablescape while adding a polished personal touch.
Materials Needed
- 10 plastic acorns with separate caps
- 10 toothpicks
- gold acrylic paint
- small paintbrush
- white cardstock
- black calligraphy pen
- scissors
How to Make It
- Separate each acorn cap from its base. Paint the inside rim of the cap with gold paint. Let dry for 10 minutes.
- Cut cardstock into 1.5 x 3 inch rectangles. Write a guest’s name on each with the calligraphy pen.
- Push a toothpick vertically into the back of each cap. Insert the other end into the name card at a slight angle so it stands.


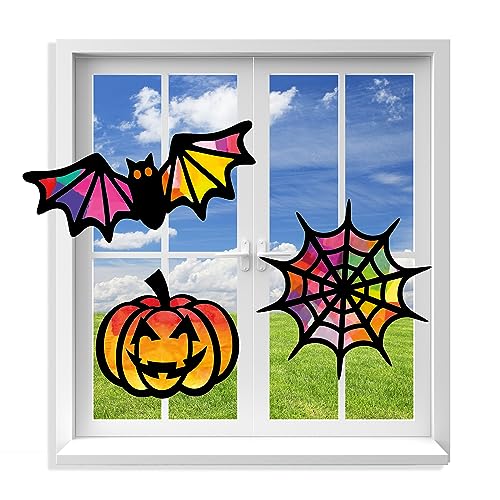
5. Waxed Paper Leaf Suncatchers
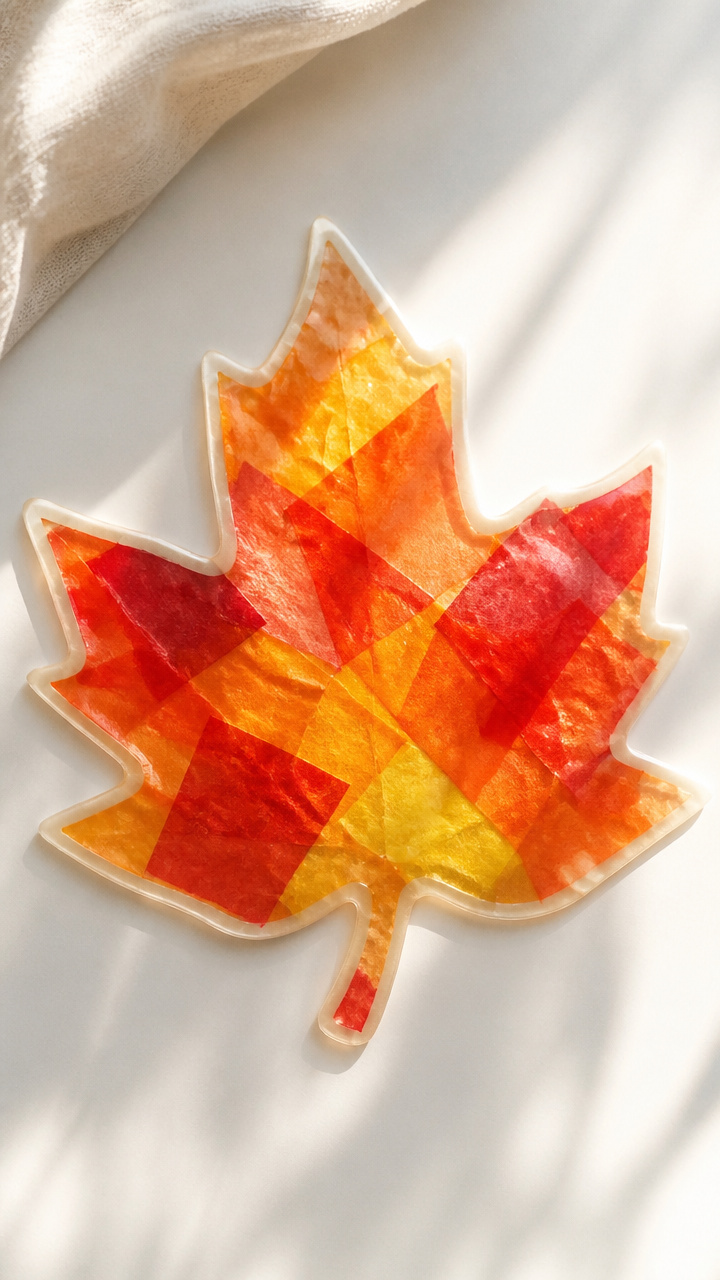
Colorful leaves made from waxed paper glow beautifully in window light. Kids can help assemble them, and they last through multiple seasons.
Materials Needed
- 10 sheets orange, yellow, and red tissue paper (8.5×11 inches each)
- 5 sheets white waxed paper (8.5×11 inches)
- iron
- parchment paper
- leaf stencil (hand-drawn or printed)
- scissors
- double-sided tape
- ribbon (2 feet)
How to Make It
- Cut waxed paper and tissue paper to 8.5×11 inches. Arrange tissue paper pieces in leaf colors on one waxed sheet, slightly overlapping.
- Place parchment paper over the stack, then press with a warm iron for 10 seconds in each area until layers fuse. Let cool.
- Trace and cut out leaf shapes from the fused sheet. Attach double-sided tape to the back and stick to windows. Thread ribbon through one leaf to hang.


6. Burlap Table Runner with Stamped Edges
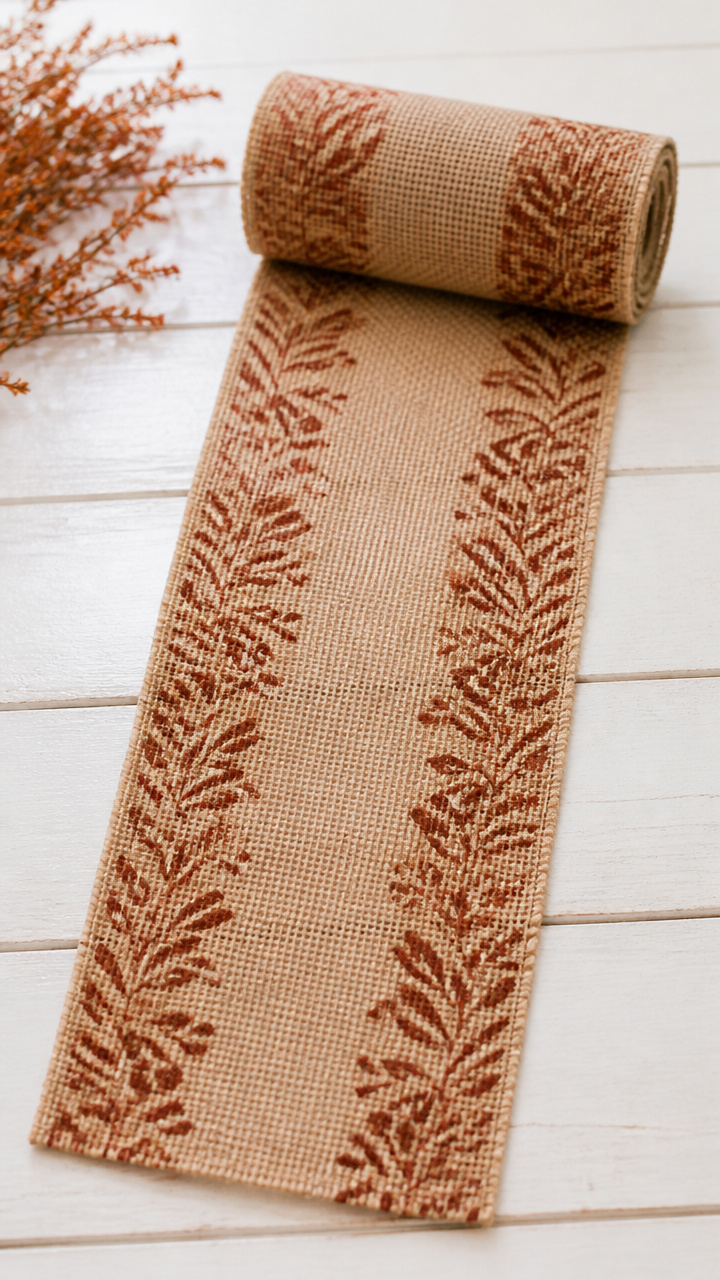
A homespun runner gives instant warmth to your table. Stamping the edges with simple shapes adds detail without complexity.
Materials Needed
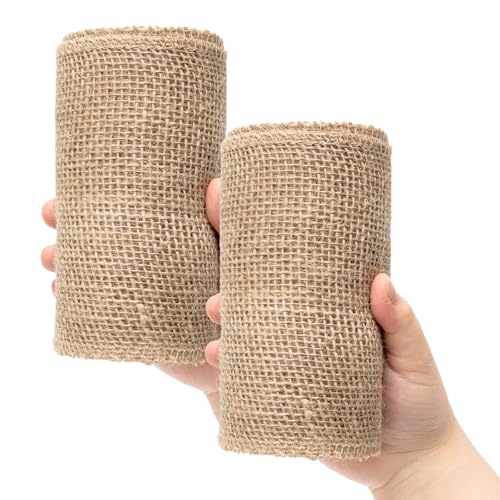
- 1 roll of burlap ribbon (6 inches wide, 3 yards long)
- acrylic paint in rust brown
- foam stamp block
- carving tool
- ruler
- scissors
- paper plate
How to Make It
- Cut the burlap to 72 inches long using scissors. Smooth flat on a protected surface.
- Carve a simple leaf shape into the foam stamp using the tool. Pour paint onto the plate.
- Dip the stamp into paint and press evenly along both long edges of the burlap every 4 inches. Let dry for 30 minutes before placing on table.

7. Pumpkin Salt Dough Ornaments
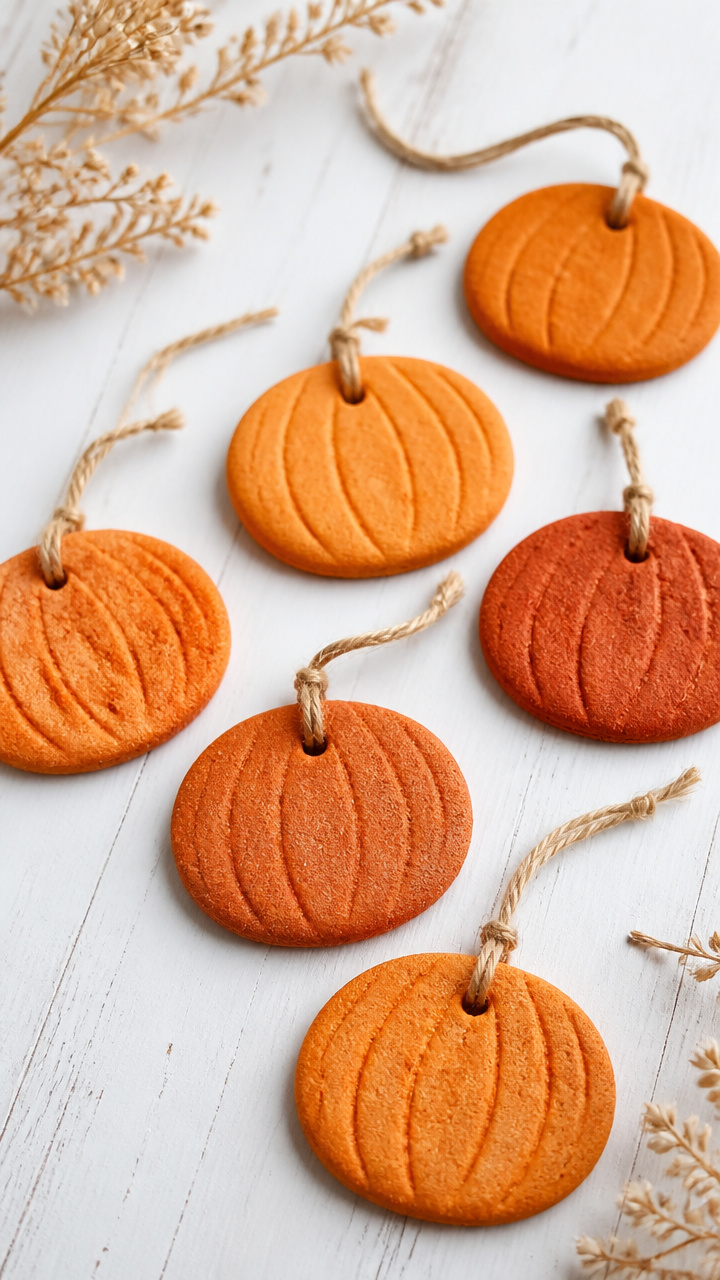
Scented ornaments shaped like pumpkins double as decor and take-home gifts. They harden overnight and carry a soft spice aroma.
Materials Needed
- 2 cups all-purpose flour
- 1 cup salt
- 1 cup water
- 1 tablespoon ground cinnamon
- 1 teaspoon ground cloves
- plastic pumpkin cookie cutter
- baking sheet
- parchment paper
- thin ribbon (5 feet)
- straw
How to Make It
- Mix flour, salt, water, cinnamon, and cloves in a bowl until a smooth dough forms. Roll to 1/4 inch thick on a floured surface.
- Cut out shapes with the pumpkin cutter. Push a straw through the top edge to make a hanging hole.
- Place on a parchment-lined baking sheet and bake at 200°F for 3 hours. Cool completely, then thread ribbon through for hanging.



8. Crayon Leaf Window Art
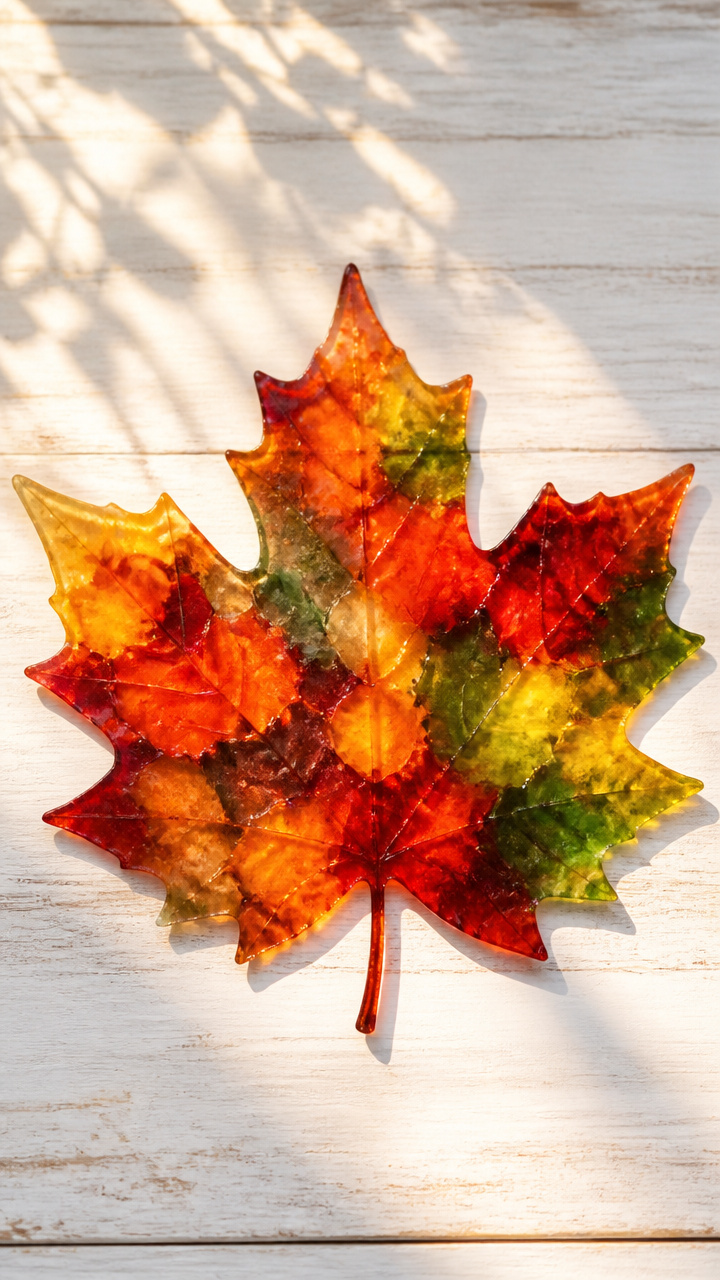
Melted crayon shavings create stained-glass effects on glass surfaces. This craft turns plain windows into vibrant autumn displays.
Materials Needed
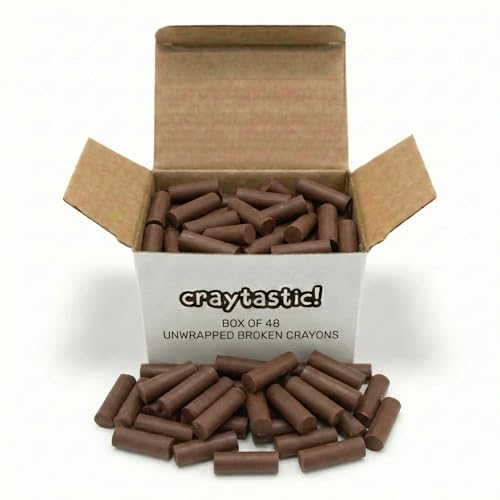
- 10 brown crayons
- cheese grater
- wax paper (two 9×12 inch sheets)
- iron
- parchment paper
- leaf templates (printed or hand-cut)
- scissors
- clear contact paper (12×18 inches)
How to Make It
- Peel crayons and grate into fine shavings. Sort by color into small piles.
- Place one wax paper sheet on a flat surface. Lay contact paper sticky-side up on top.
- Arrange shavings inside leaf shapes on the contact paper. Cover with second wax paper sheet.
- Press with warm iron over parchment paper for 15 seconds until melted. Let cool, peel off wax paper, and stick leaves to windows.


9. Twine-Wrapped Candles
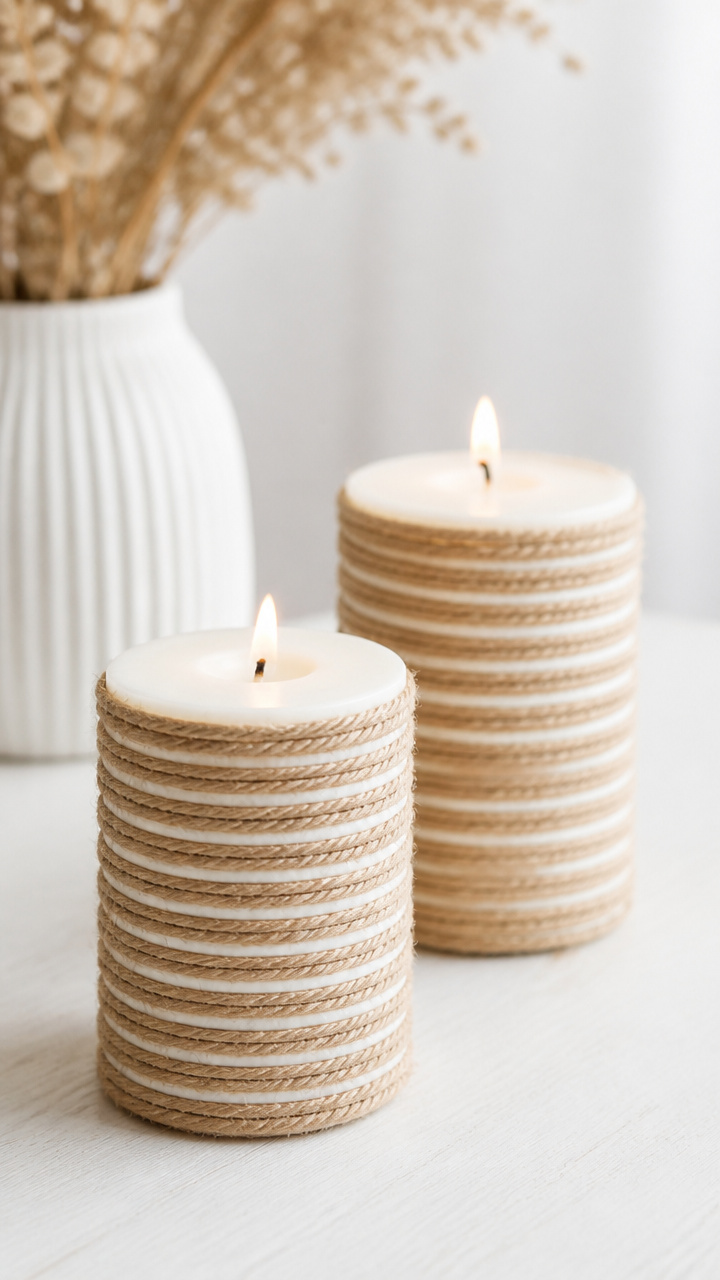
Plain candles become cozy accents with a wrap of natural twine. A dab of glue keeps everything secure without mess.
Materials Needed
- 5 unscented pillar candles (3 inch tall)
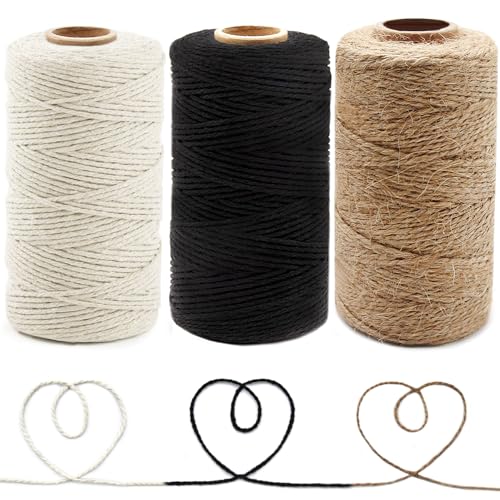
- 10 feet of natural cotton twine
- hot glue gun and glue sticks
- scissors
How to Make It
- Place a dot of hot glue on the base of the candle. Press one end of the twine into the glue and hold for 10 seconds.
- Wrap the twine tightly around the candle, adding a new glue dot every inch to keep layers from shifting.
- When you reach the top, clip the twine and glue the end down. Let sit for 5 minutes before moving.


10. Paper Bag Pilgrim Hats
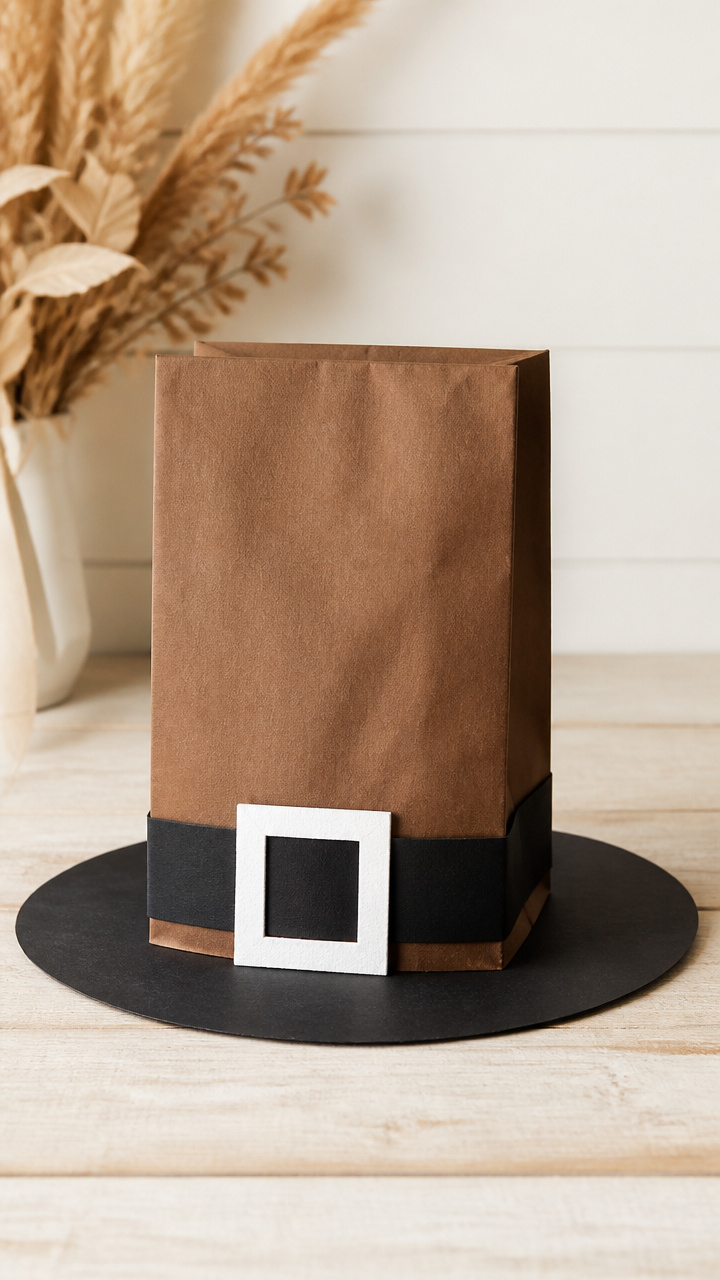
Kids love wearing these sturdy hats during dinner or school events. Made from lunch bags, they stand tall and stay put.
Materials Needed
- 5 brown paper lunch bags
- black construction paper
- white craft foam
- scissors
- glue stick
- ruler
- pencil
- elastic cord (10 inches per hat)
How to Make It
- Cut a 3×4 inch rectangle from black paper for the hat brim. Cut a 2×3 inch rectangle from foam for the buckle.
- Glue the brim to the bottom edge of the bag’s front. Center the foam buckle on the front of the bag above the brim.
- Punch holes on both sides of the bag near the bottom. Thread elastic through and tie knots to fit the child’s head.


11. Gratitude Jar with Beads
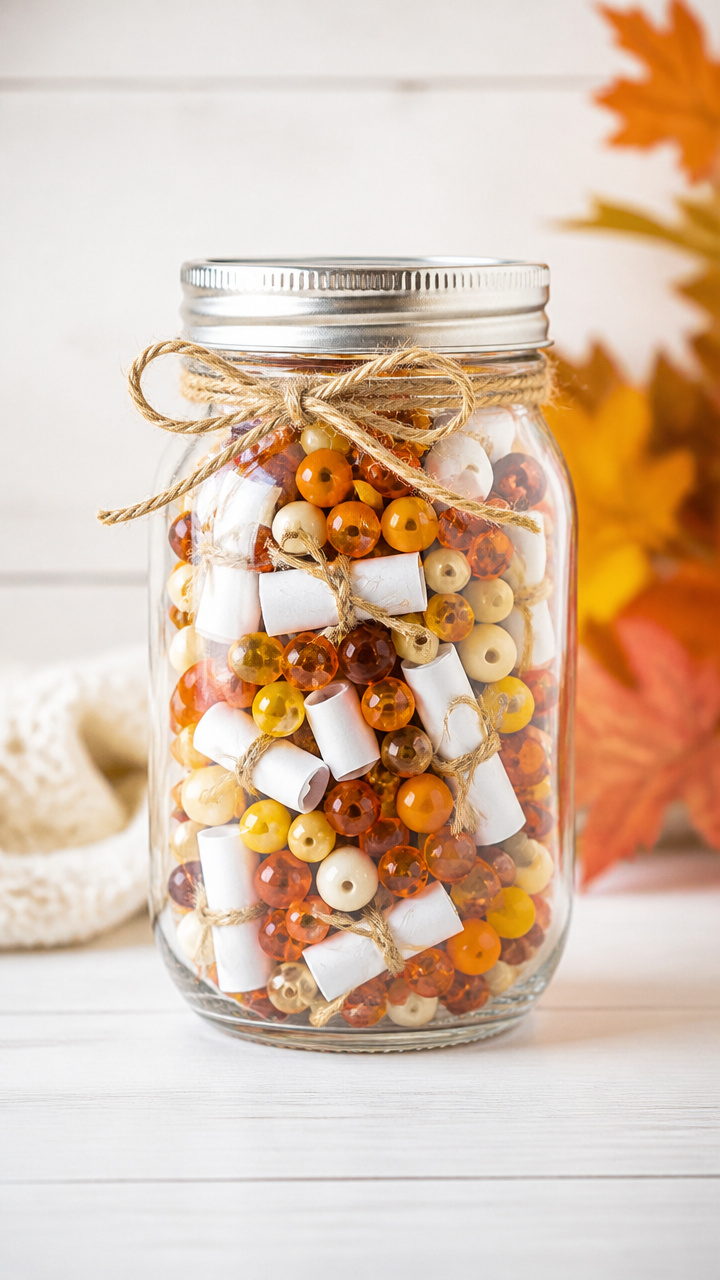
A clear jar collects written thanks throughout the day. Colored beads mark each note, making the gratitude visible and growing.
Materials Needed
- 1 large glass mason jar with lid
- 50 plastic beads in autumn colors
- small slips of white paper (2×3 inches, 30 pcs)
- fine-tip pens (3 colors)
- jute twine (18 inches)
- glue gun
How to Make It
- Write 'Gratitude Jar' on the jar lid with permanent pen. Tie jute twine around the neck and knot it.
- Set out the paper slips and pens where guests can reach them. Encourage everyone to write one thing they’re thankful for.
- Drop each note into the jar with one bead. By evening, the mix of paper and color shows how much was shared.


12. Foil-Print Turkey Placemats
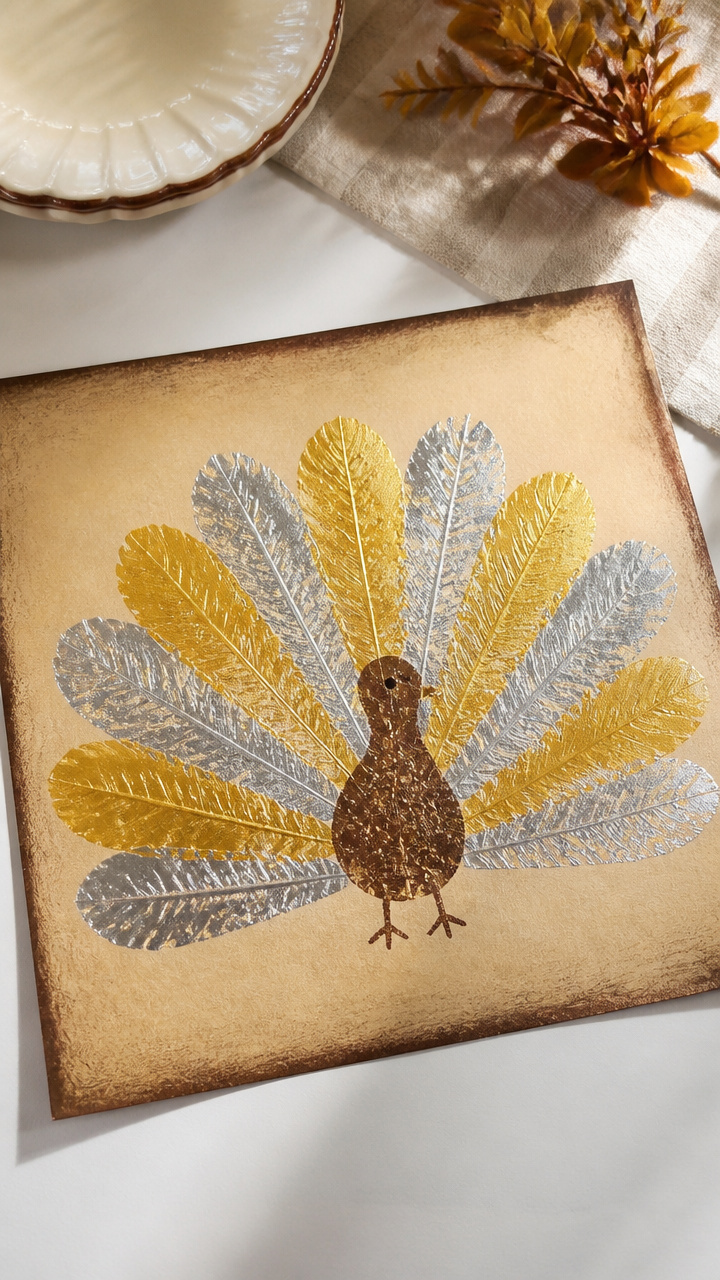
Shiny foil prints give placemats a festive look without cost. Each print captures the shape of a turkey fan in bold metallics.
Materials Needed
- 5 manila folders
- silver and gold acrylic paint
- paint trays
- foam brushes
- cardboard toilet paper tubes
- scissors
- pencil
- tracing paper
How to Make It
- Cut each folder open and lay flat. Draw a large turkey feather shape on cardboard and cut out with scissors.
- Dip the curved edge of the feather stencil into paint. Stamp along the top of each mat in staggered rows.
- Let dry for 15 minutes between colors. Use silver and gold alternately for contrast. Set aside to dry fully before use.


13. Button Pumpkin Vase Toppers
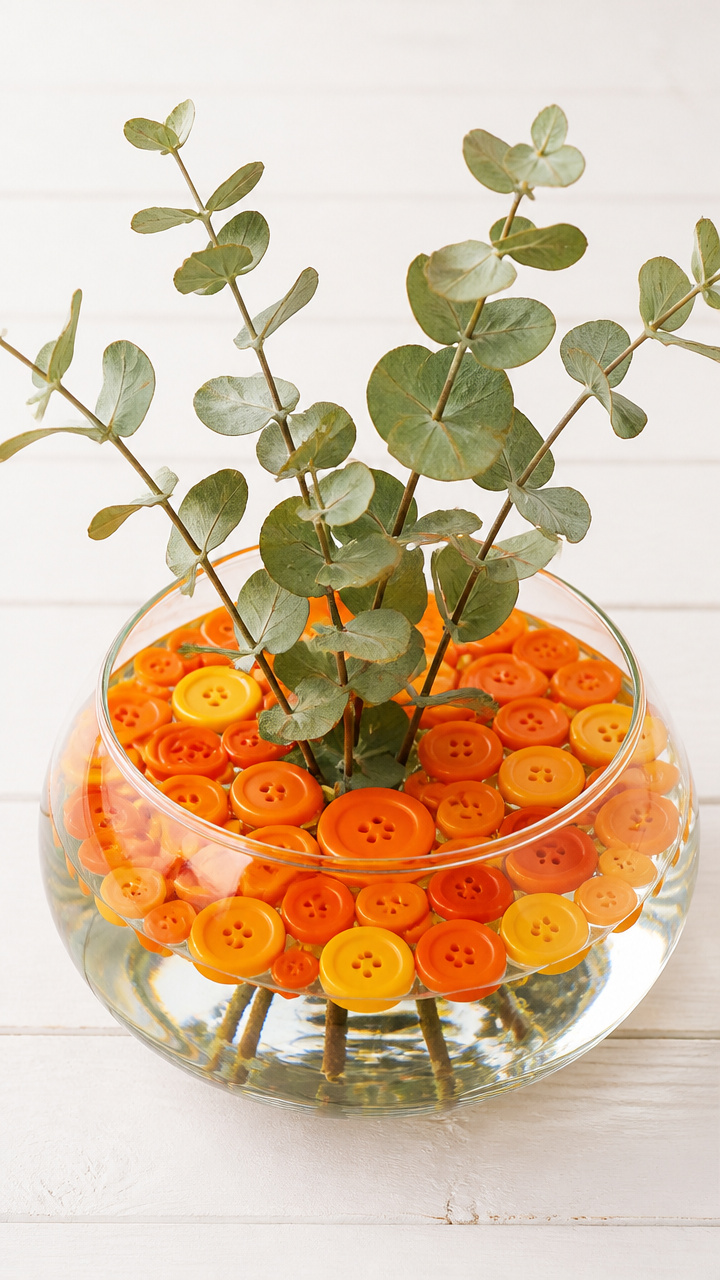
Clusters of orange buttons turn plain vases into cheerful fall decor. They float on top and stay put without adhesives.
Materials Needed
- 5 glass vases (short, wide mouth)
- 50 orange buttons (varied sizes)
- 10 yellow buttons
- dried eucalyptus sprigs (5)
- water
- shallow tray
How to Make It
- Fill each vase halfway with water. Place a eucalyptus sprig inside to float.
- Arrange 10 orange buttons in a circular cluster around the stem base. Add one yellow button in the center to mimic a stem nub.
- Gently set the button top on the water. Buttons will stay clustered due to surface tension. Display on a tray to catch drips.


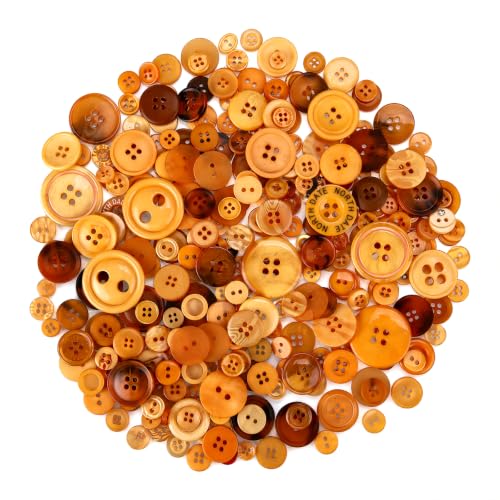
You’ve got everything you need right at the dollar store to make this Thanksgiving feel handmade and heartfelt. Pick one or try them all, and watch how small creations bring big joy.