15 Fun Crafts for Kids to Make at Home With Simple Supplies
Rainy days, quiet afternoons, or just a need for creative play, these moments are perfect for simple crafts that spark joy and keep little hands busy. You don’t need fancy kits or specialty stores to make something wonderful.
Every craft on this list uses supplies you likely already have. Each one teaches a new skill, from cutting and gluing to painting and weaving, all while feeling like pure play.
1. Paper Plate Animal Masks
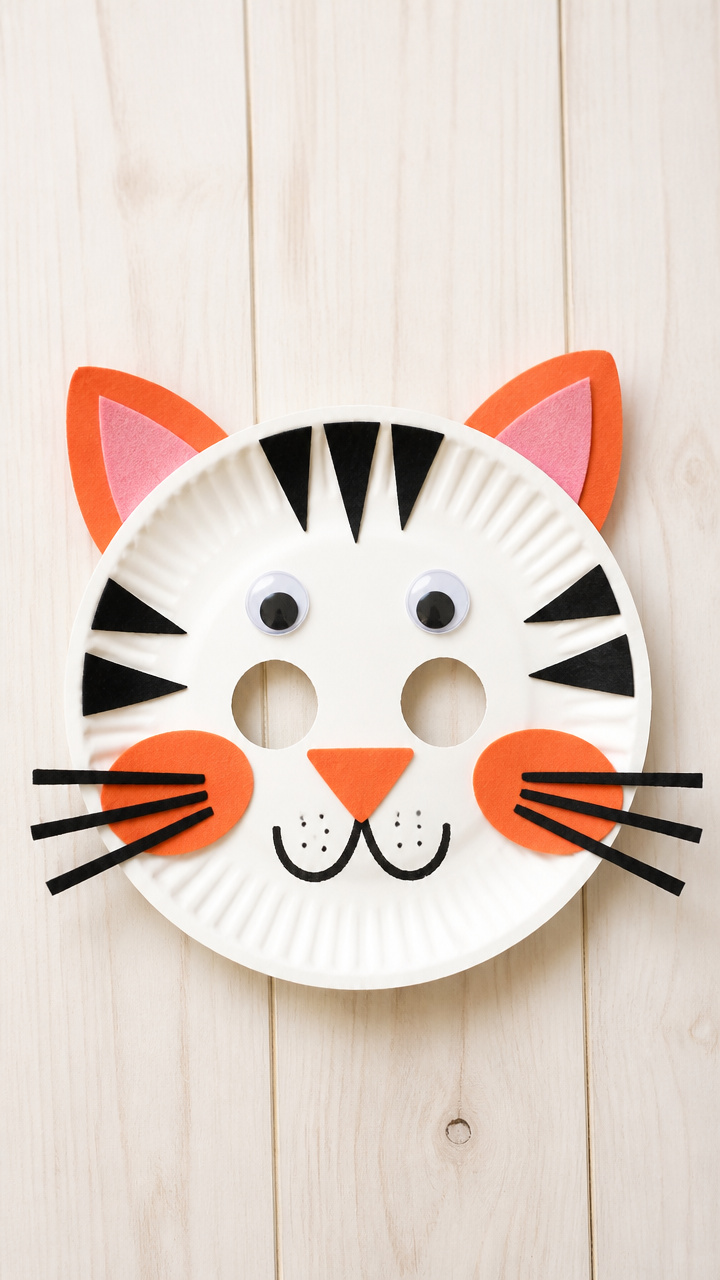
Soft white paper plates become bold animal faces with just a few snips and splashes of color. These masks inspire storytelling and dress-up adventures long after the glue dries.
Materials Needed
- White paper plates, 1 per mask
- Colored construction paper, 2–3 sheets
- Googly eyes, 2 per mask
- Black marker
- Scissors
- Glue stick
- Elastic string, 30 cm per mask
- Crayons or washable markers
How to Make It
- Draw animal features like ears, snout, or beak on construction paper and cut them out.
- Glue the animal parts onto the plate, then add googly eyes and draw details with the marker.
- Poke two small holes on each side of the plate near the edges, thread elastic through, and knot tightly.
- Let your child decorate the mask with crayons before wearing it for a pretend safari.


2. Toilet Paper Roll Binoculars
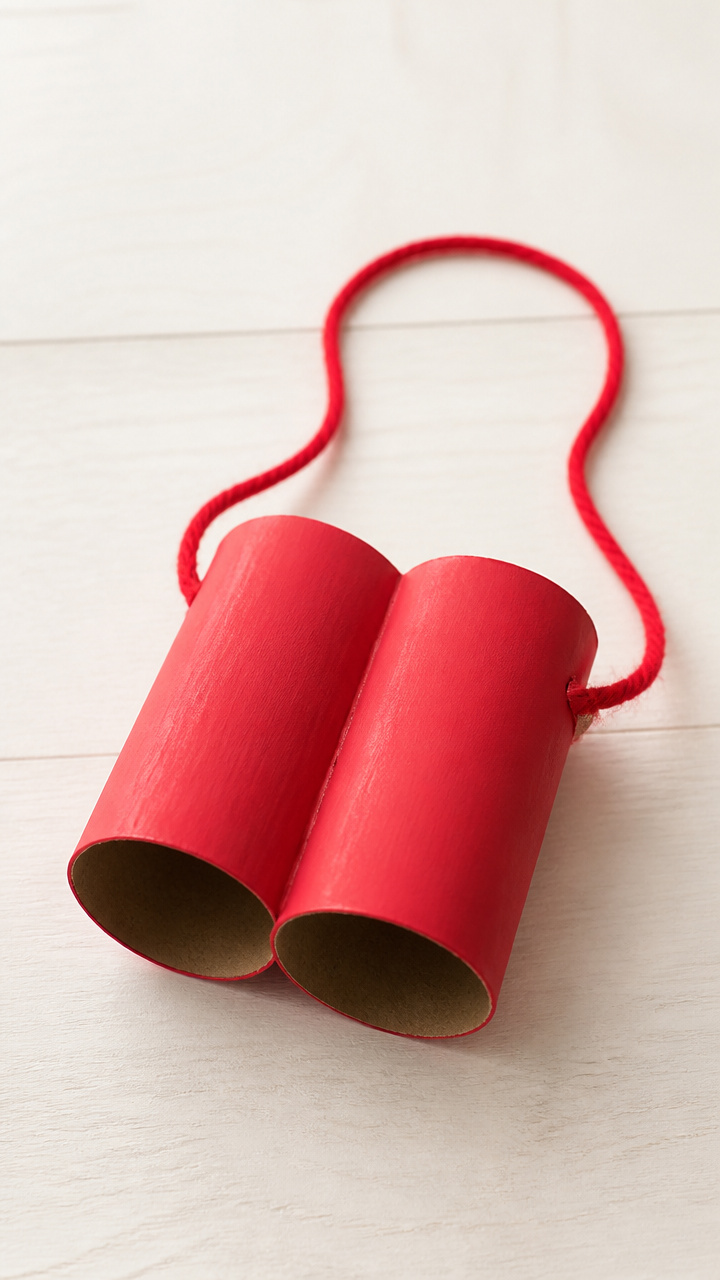
Two empty rolls turn into backyard explorer gear with a lick of paint and some string. These encourage outdoor observation and imaginative nature hunts.
Materials Needed
- Empty toilet paper rolls, 2
- White school glue
- String or yarn, 40 cm
- Paintbrush
- Red acrylic paint
- Hole punch
- Craft stick, 1
How to Make It
- Lay the two rolls side by side and glue them together along the touching edge using white school glue, then let dry for 20 minutes.
- Paint both rolls red using the paintbrush and let dry completely on a scrap paper.
- Glue the craft stick between the rolls underneath as a handle and let sit for 15 minutes.
- Punch a hole on each side of the outer roll, thread the string through, and tie knots to secure.


3. Cotton Swab Painting Kit
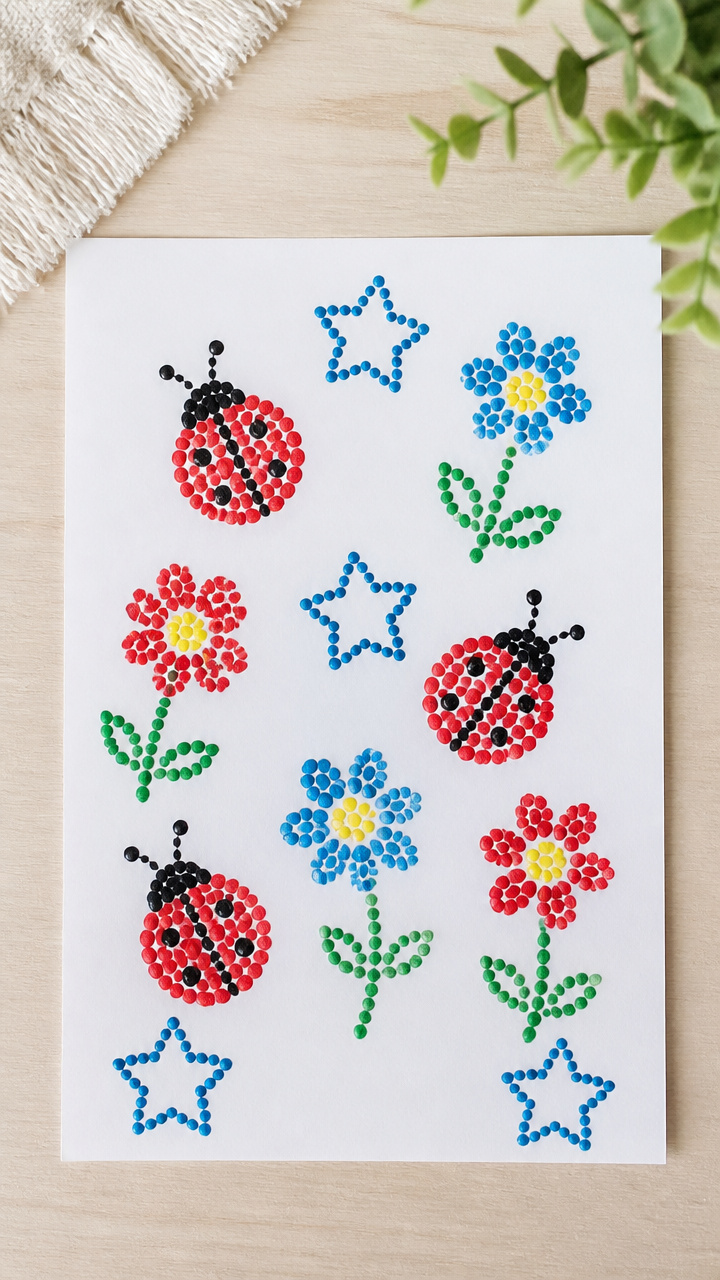
Tiny dots of color bloom into ladybugs, stars, or flowers when kids use cotton swabs as stamping tools. This activity builds fine motor control in a playful way.
Materials Needed
- Cotton swabs, 10
- A4 white drawing paper, 1 sheet
- Green acrylic paint
- Red acrylic paint
- Blue acrylic paint
- Plastic paint palette or bottle caps, 3
- Paper plate
How to Make It
- Pour a small amount of each paint color into separate bottle caps or palette sections.
- Dip one end of a swab into red paint and stamp small circles to form a ladybug's body on the paper.
- Use green paint with a fresh swab end to stamp grass lines at the bottom of the page.
- Add black dots and legs using a dry swab dipped lightly in water and touched to a black crayon, then drawn on paper.


4. Pasta Necklaces with Yarn
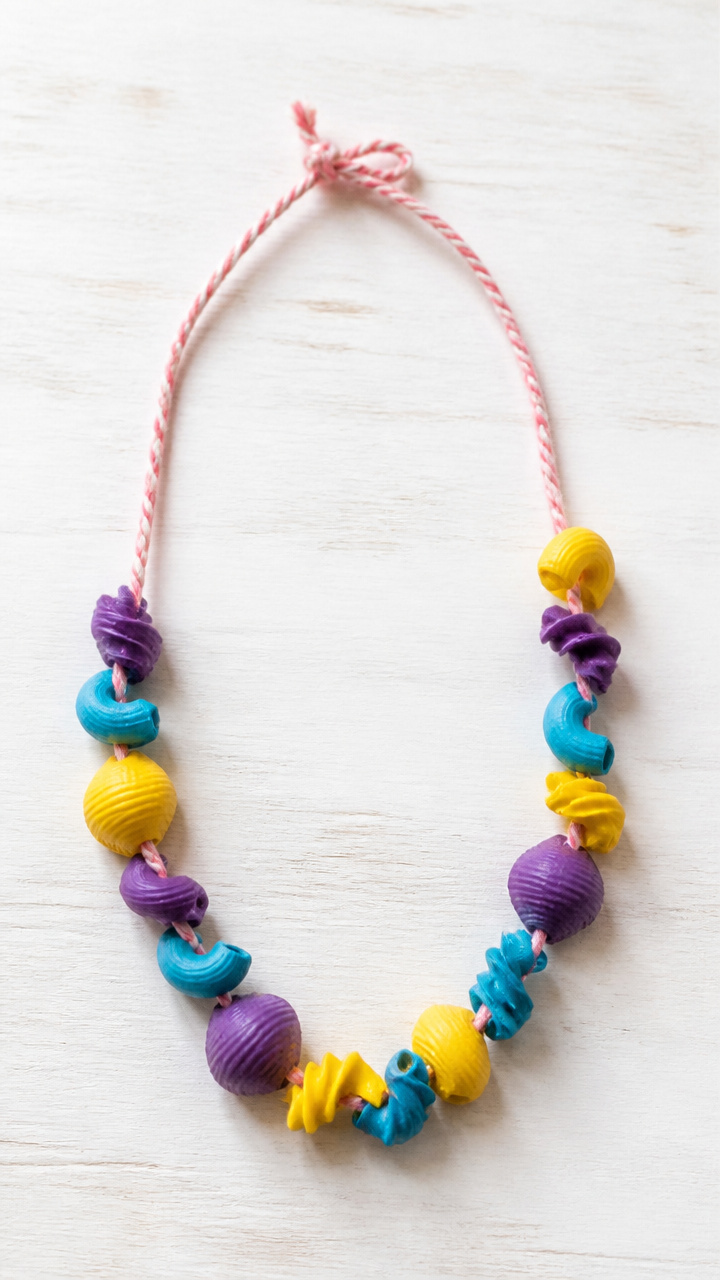
Shells, elbows, and spirals strung on yarn make colorful, clacking jewelry. The threading builds hand strength and pattern recognition.
Materials Needed
- Uncooked pasta shapes (shells, elbows, rotini), 30 pieces
- Acrylic paint in yellow, purple, and blue
- Yarn, 60 cm length
- Tape, 5 cm piece
- Paintbrush
- Plastic tray
How to Make It
- Lay pasta on a plastic tray and paint each piece with bright colors using the brush, then set aside to dry for 30 minutes.
- Tie a knot at one end of the yarn and tape the other end to the table to stabilize it.
- Slide painted pasta onto the yarn one by one, creating a repeating color or shape pattern.
- When full, tie the ends together to form a loop necklace that fits over the head.


5. Cardboard Tube Stamp Garden
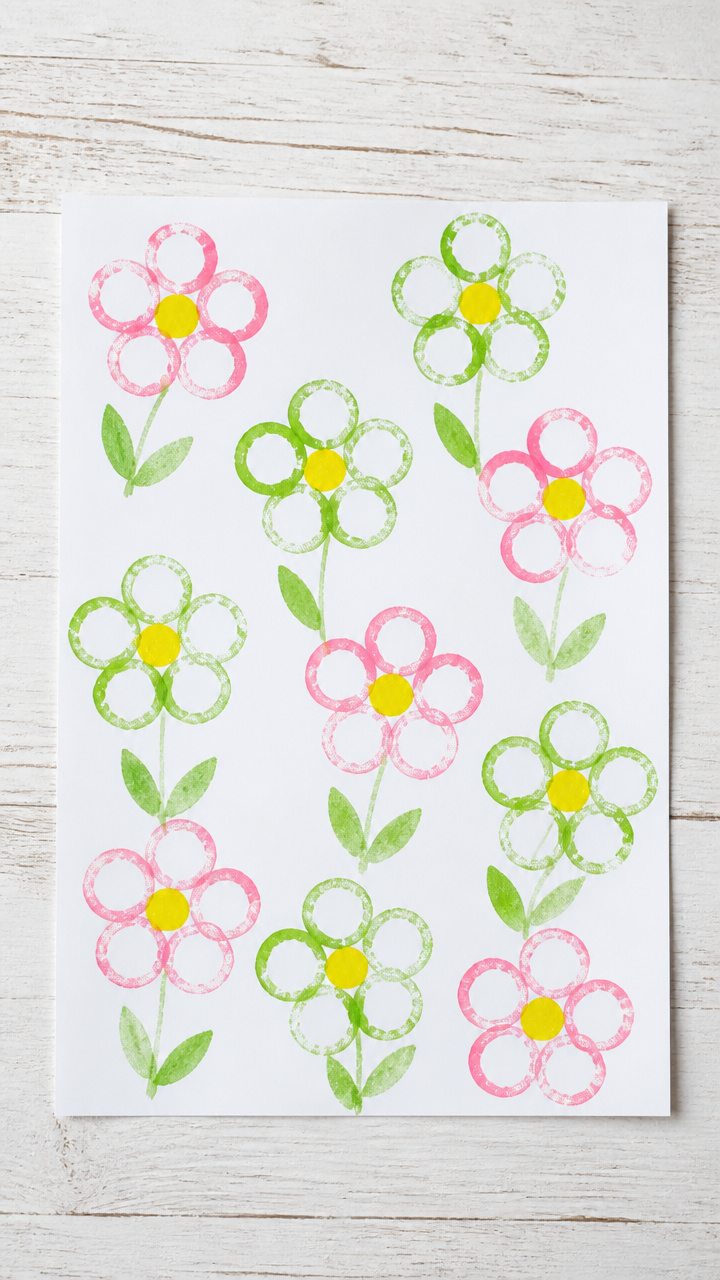
Cut tubes create flower shapes when dipped in paint and pressed onto paper. This craft blends gardening fun with art in a mess-friendly way.
Materials Needed
- Empty paper towel tube, 1
- Scissors
- Green acrylic paint
- Pink acrylic paint
- Yellow acrylic paint
- A4 white cardstock, 1 sheet
- Paint tray
How to Make It
- Cut the tube into 3 equal rings about 3 cm wide using scissors.
- Slice each ring vertically from the outer edge toward the center every 1 cm to create petal-like flaps.
- Press the flaps into pink paint on the tray, then firmly stamp onto the cardstock to form flower shapes.
- Use a green tube end dipped in green paint to stamp stems, then dot yellow paint in centers with a fingertip.


6. Sock Puppet Theater Stars
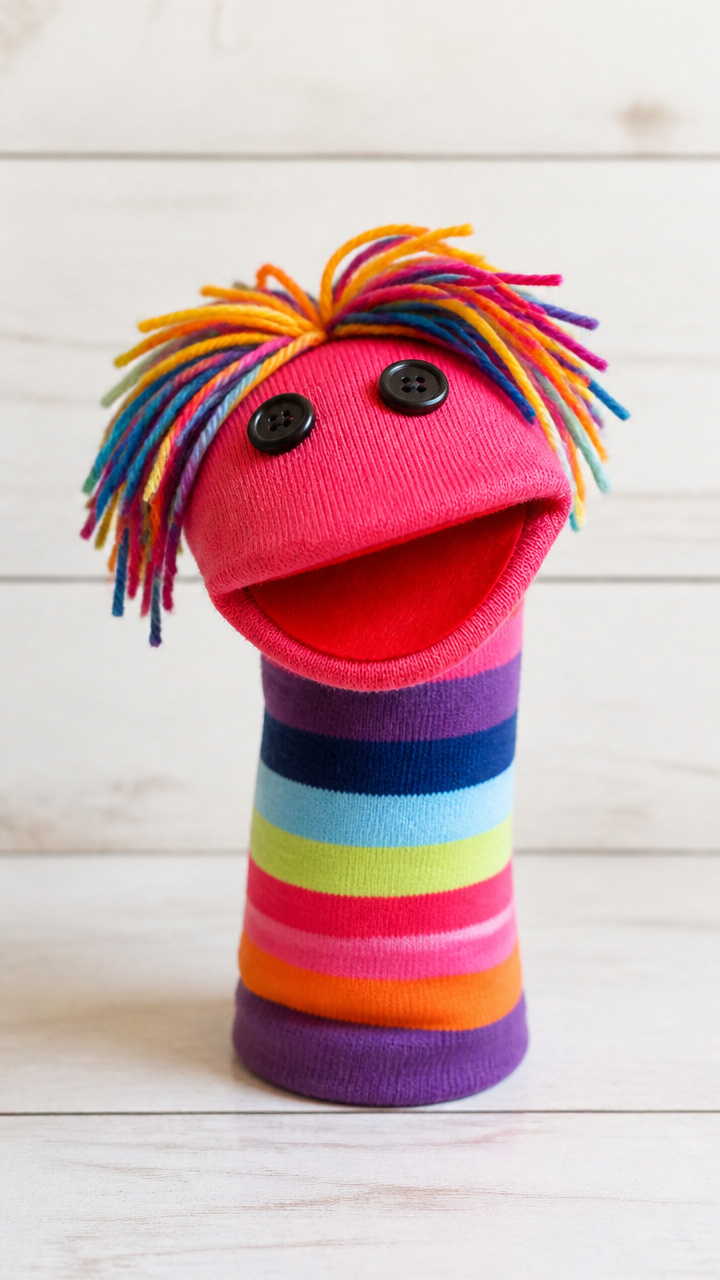
An old sock becomes a character with button eyes and yarn hair. Puppets invite conversation, storytelling, and hours of stage play.
Materials Needed
- Clean mismatched sock, 1
- Black buttons, 2
- White glue
- Yarn scraps, 15 cm
- Felt sheet in red, 10×10 cm
- Scissors
- Needle and thread (adult use)
How to Make It
- Position buttons where the eyes should go on the sock’s heel and sew them securely with needle and thread.
- Cut a small rectangle from red felt and glue it below the eyes for a mouth.
- Apply a line of white glue along the top edge of the sock and press yarn into it for hair, letting dry 20 minutes.
- Slide your hand inside to test the mouth movement and name your puppet before putting on a show.


7. Nature Collage in a Frame
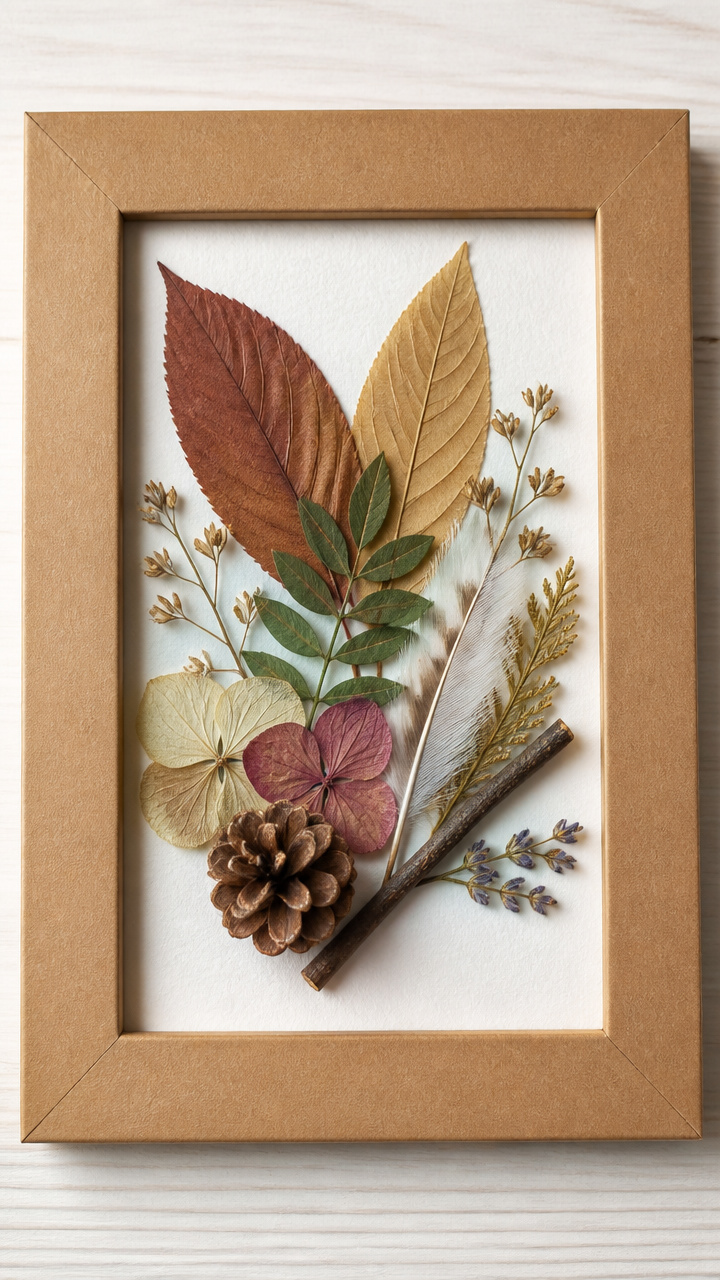
Leaves, twigs, and petals arranged in a box frame tell a story of a walk outside. This craft connects kids to seasons and textures.
Materials Needed
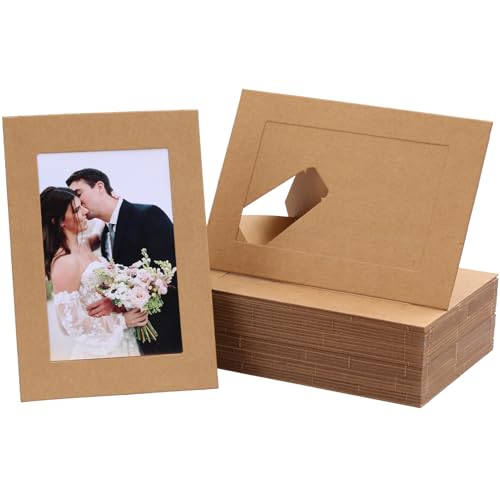
- Small cardboard picture frame with backing, 1
- Clear school glue
- Paintbrush
- Collection of dried leaves, 5
- Small pinecone, 1
- Feather, 1
- Pressed flower, 1
How to Make It
- Remove the glass and backing from the frame and set aside.
- Lay the backing board flat and brush a thin layer of glue on one half.
- Arrange leaves, pinecone, and feather on the glued area, pressing gently to adhere.
- Let dry for 30 minutes, then reassemble the frame with the collage inside.


8. Egg Carton Caterpillars
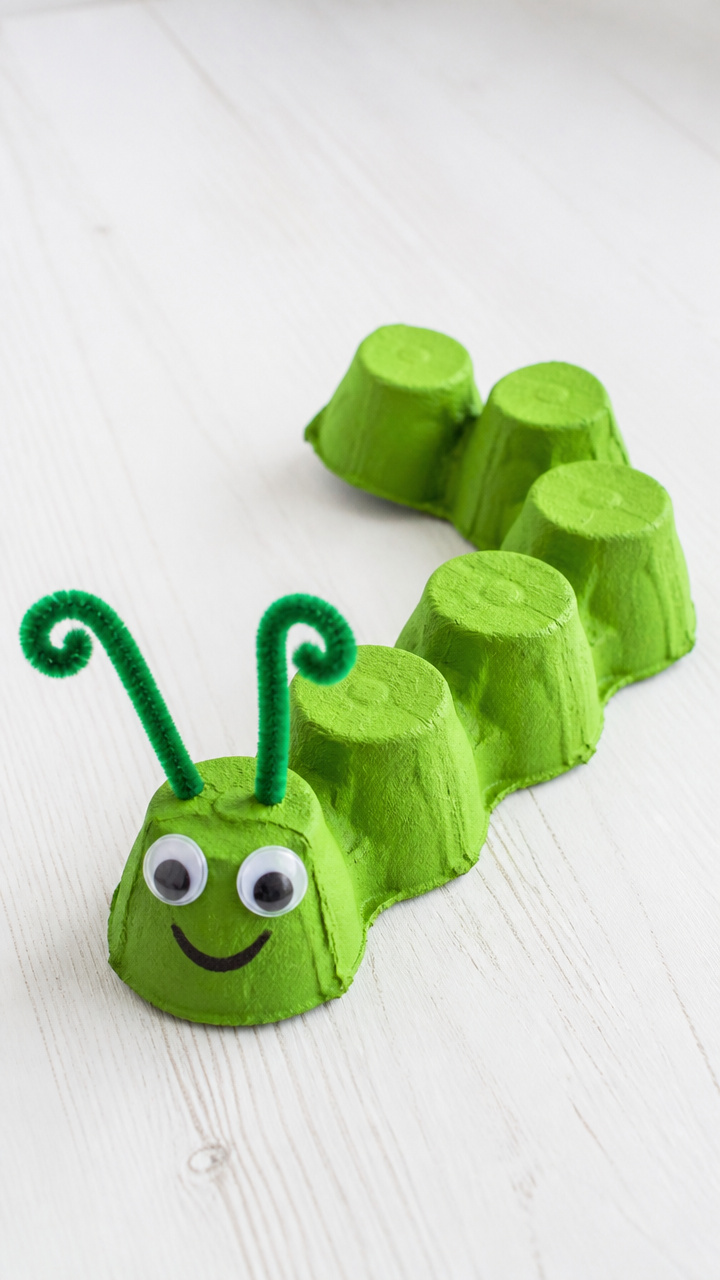
A section of egg carton transforms into a wiggly bug with paint and pipe cleaners. The segmented body teaches counting and bending skills.
Materials Needed
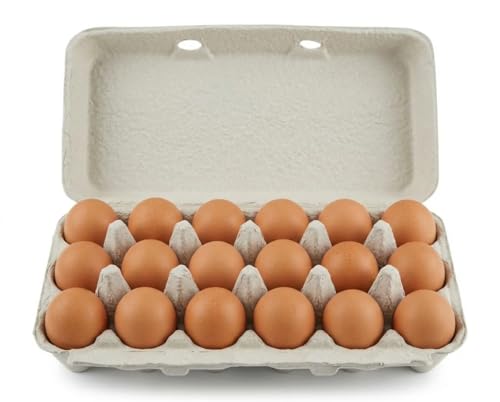
- Cardboard egg carton, 1
- Scissors
- Green acrylic paint
- Paintbrush
- Pipe cleaners, 2
- Googly eyes, 2
- White glue
How to Make It
- Cut out 6 connected cups from the egg carton using scissors.
- Paint the entire piece green with the brush and let dry on a paper towel for 25 minutes.
- Glue one googly eye to each end cup for the head and tail.
- Bend a pipe cleaner in half and glue each end to the head cup to form antennae.


9. Homemade Playdough Shapes
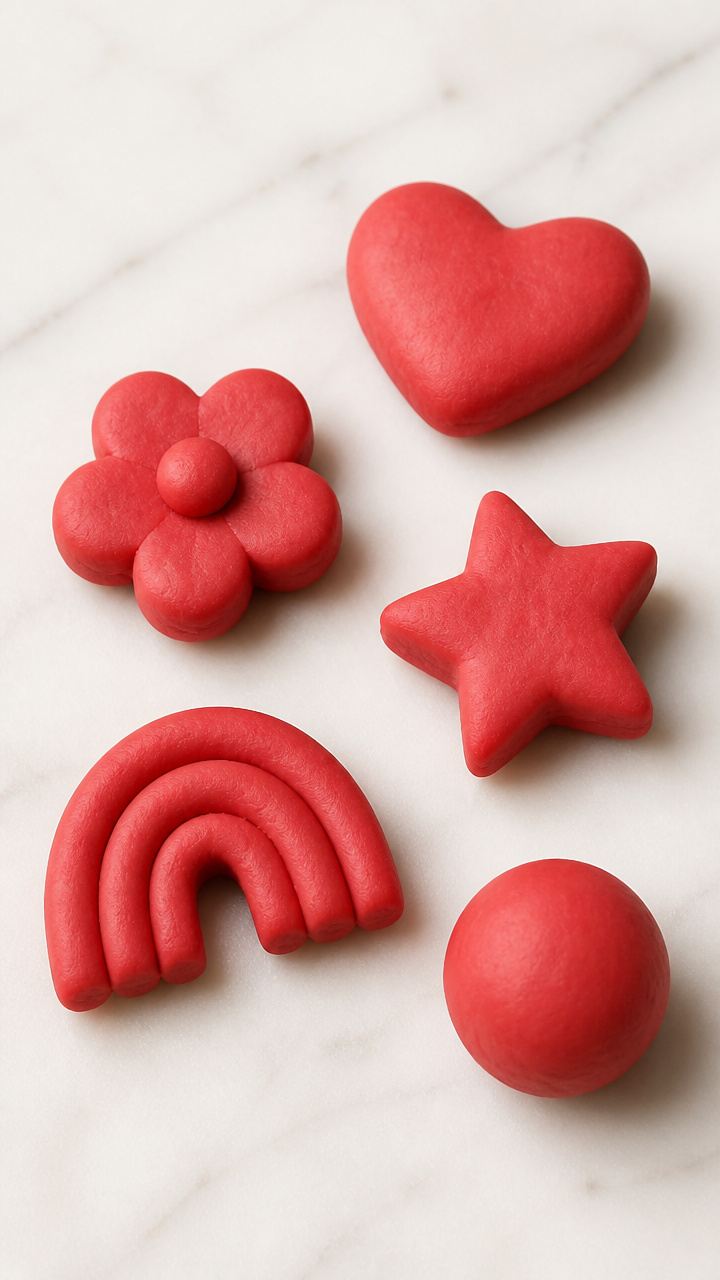
Warm, soft dough you make together invites rolling, squishing, and shaping. This recipe is safe to taste and lasts for weeks.
Materials Needed
- Flour, 1 cup
- Salt, 1/2 cup
- Cream of tartar, 1 teaspoon
- Water, 1/2 cup
- Vegetable oil, 1 tablespoon
- Red food coloring, 5 drops
- Saucepan
- Wooden spoon
- Mixing bowl
How to Make It
- Combine flour, salt, cream of tartar, water, and oil in a saucepan and stir with the wooden spoon over medium heat.
- Cook for 3–4 minutes until the mixture forms a soft ball, stirring constantly.
- Transfer to a bowl and knead in red food coloring until evenly tinted, cooling for 10 minutes.
- Roll into snakes or use cookie cutters to make shapes, storing in an airtight container.


10. Button Mosaic Butterflies
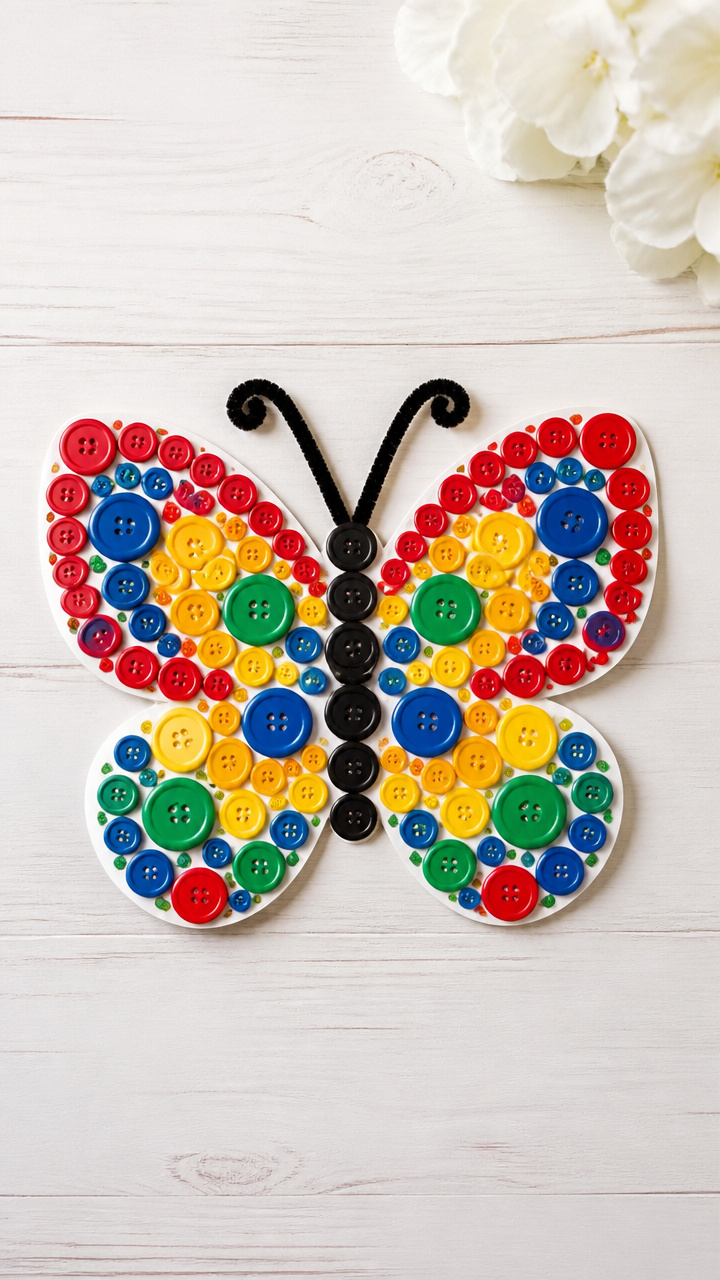
Colorful buttons cluster on paper wings to make shimmering insects. This mosaic-style craft teaches symmetry and sorting.
Materials Needed
- Butterfly template printed on A4 white cardstock, 1
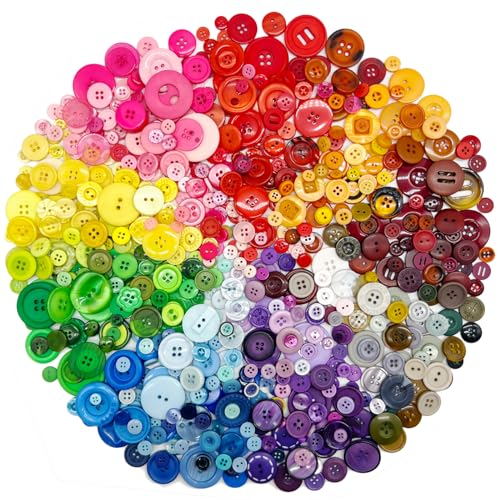
- Assorted buttons (red, blue, yellow, green), 20 total
- White glue
- Paintbrush
- Black pipe cleaner, 1
- Tweezers
How to Make It
- Brush a thin layer of glue onto one wing section of the butterfly template.
- Use tweezers to place buttons close together without overlapping, forming a mosaic pattern.
- Repeat for the other wing, mirroring the button layout for symmetry.
- Twist the pipe cleaner in half to form antennae and glue the center to the butterfly’s head.


11. Tissue Paper Stained Glass
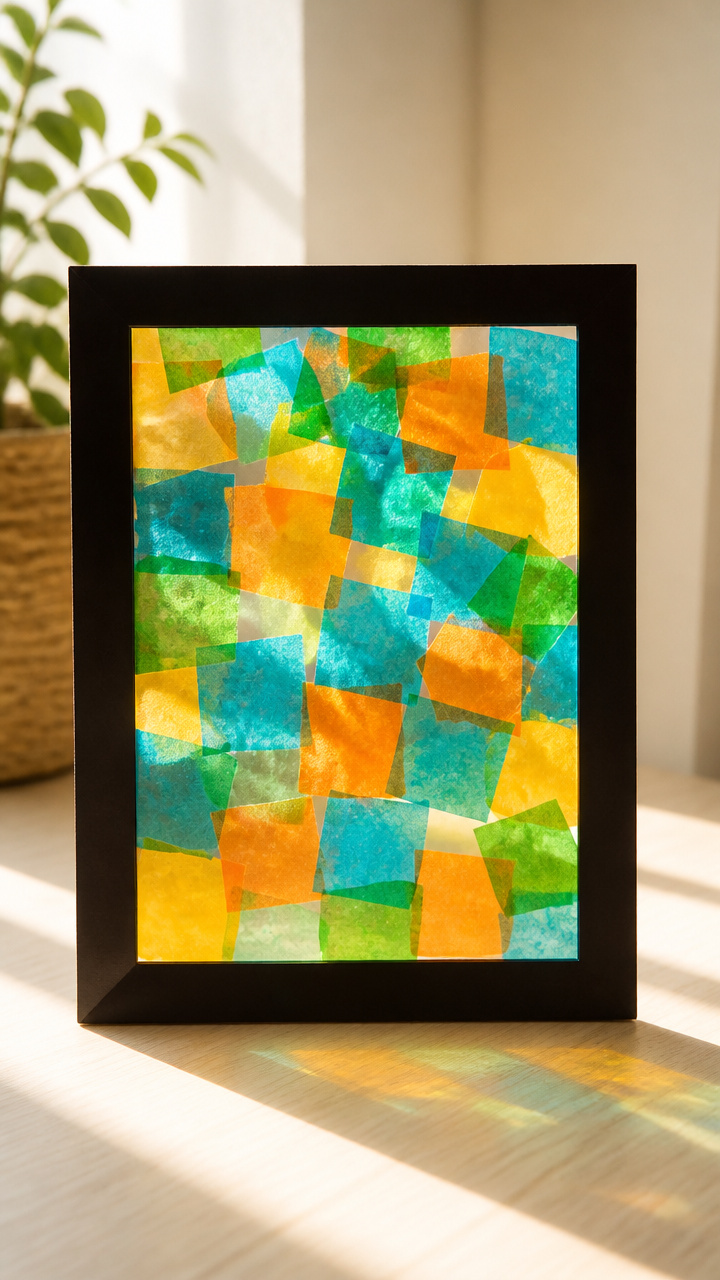
Bright tissue squares stick to contact paper to mimic sunlit windows. The translucent result glows when hung in a sunny spot.
Materials Needed
- Clear contact paper, 20×30 cm sheet
- Rolling pin
- Tissue paper in orange, blue, green, 6 squares (10×10 cm each)
- Scissors
- Black construction paper, 25×35 cm
How to Make It
- Peel the backing off the contact paper and lay it sticky side up on a flat surface.
- Cut tissue paper into 5 cm squares and arrange them on the sticky surface in any pattern.
- Cover with the second contact paper sheet and roll gently with the pin to seal.
- Trim the edges and glue the finished piece onto black paper to frame it like a window.


12. Popsicle Stick Picture Frames
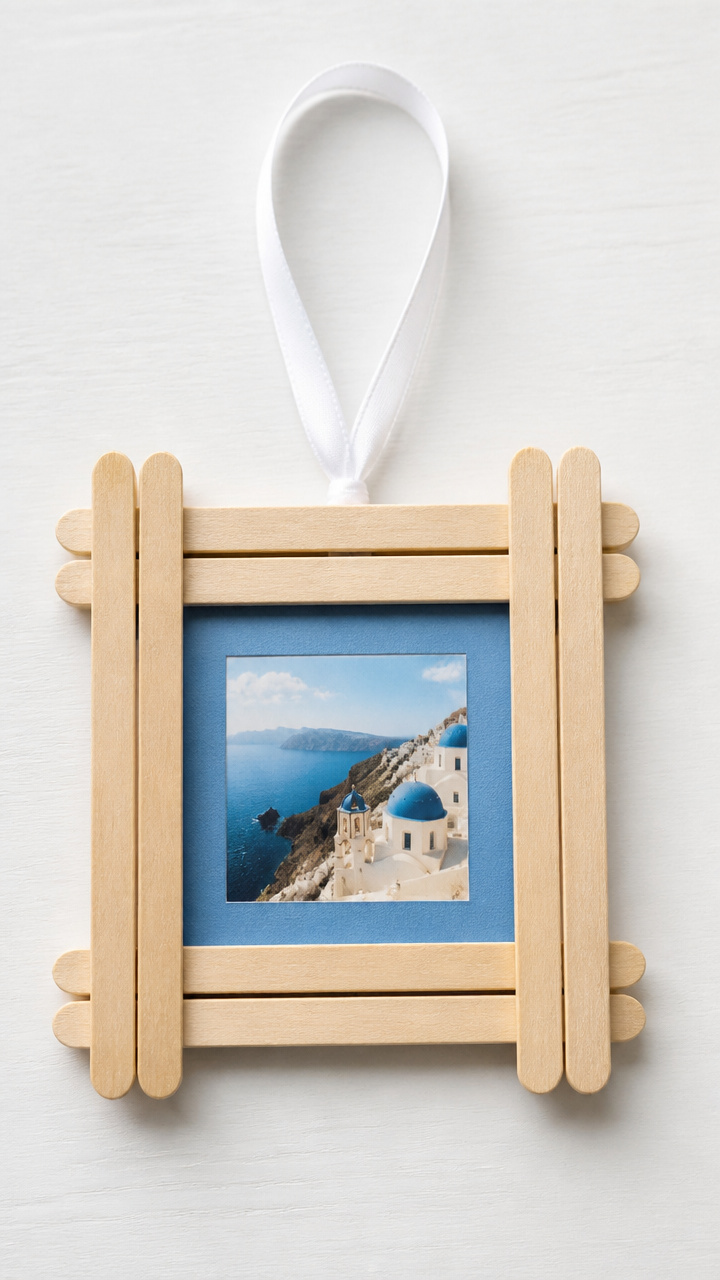
Flat sticks layered and glued hold a tiny photo or drawing. Personalizing these makes them perfect keepsakes or gifts.
Materials Needed
- Wooden popsicle sticks, 8
- White glue
- Paintbrush
- Small photo, 5×5 cm
- Construction paper in blue, 10×10 cm
- Ribbon, 20 cm
How to Make It
- Lay four sticks side by side and glue them together at the ends to form a square frame outline.
- Let dry for 15 minutes, then glue the remaining four sticks behind as a backing layer.
- Cut a blue paper mat slightly larger than the photo and glue it to the back panel.
- Slide the photo in front and tie ribbon at the top corners for hanging.


13. Cereal Box Marble Maze
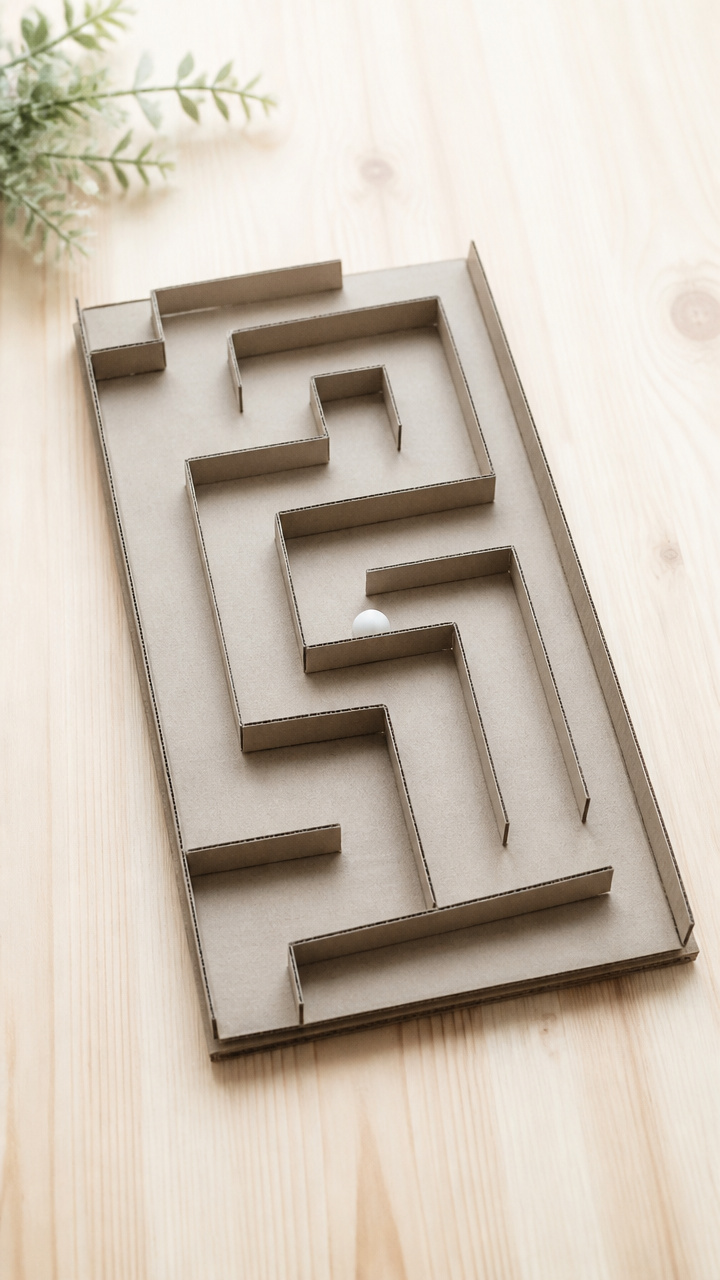
A cardboard box becomes a twisty path for a rolling marble. Drawing and taping the track builds planning and spatial thinking.
Materials Needed
- Empty cereal box, flattened
- Marble, 1
- Hot glue gun and glue sticks
- Ruler
- Pencil
- Scissors
- Straws, 4
How to Make It
- Use the ruler and pencil to draw a winding maze path on the inside of the flattened box.
- Cut straws into 3 cm lengths and hot glue them along the maze lines to form walls.
- Let the glue cool for 2 minutes, then tilt the box to guide the marble through the path.
- Add dead ends or loops to increase challenge on a second try.


14. Clothespin Critters
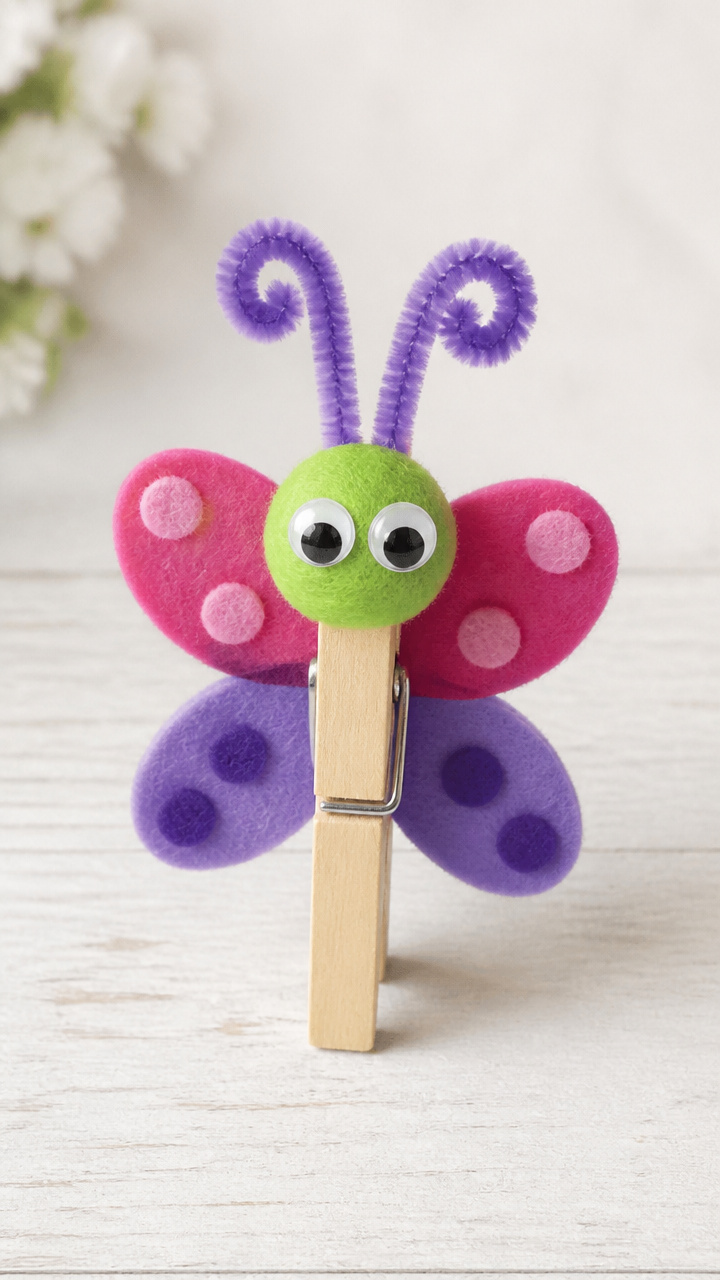
Wooden clothespins grow heads, wings, and legs with simple additions. These little creatures stand upright and can clip onto things.
Materials Needed
- Wooden clothespins, 1
- Googly eyes, 2
- Orange felt, 5×5 cm
- White glue
- Pipe cleaner, 1
- Scissors
- Blue acrylic paint
How to Make It
- Paint the clothespin body blue and let dry for 20 minutes on wax paper.
- Cut a small triangle from orange felt for a beak and glue it between the jaws.
- Glue googly eyes just above the beak.
- Cut the pipe cleaner into two 4 cm pieces and glue them to the back for wings.
15. Aluminum Foil Boats
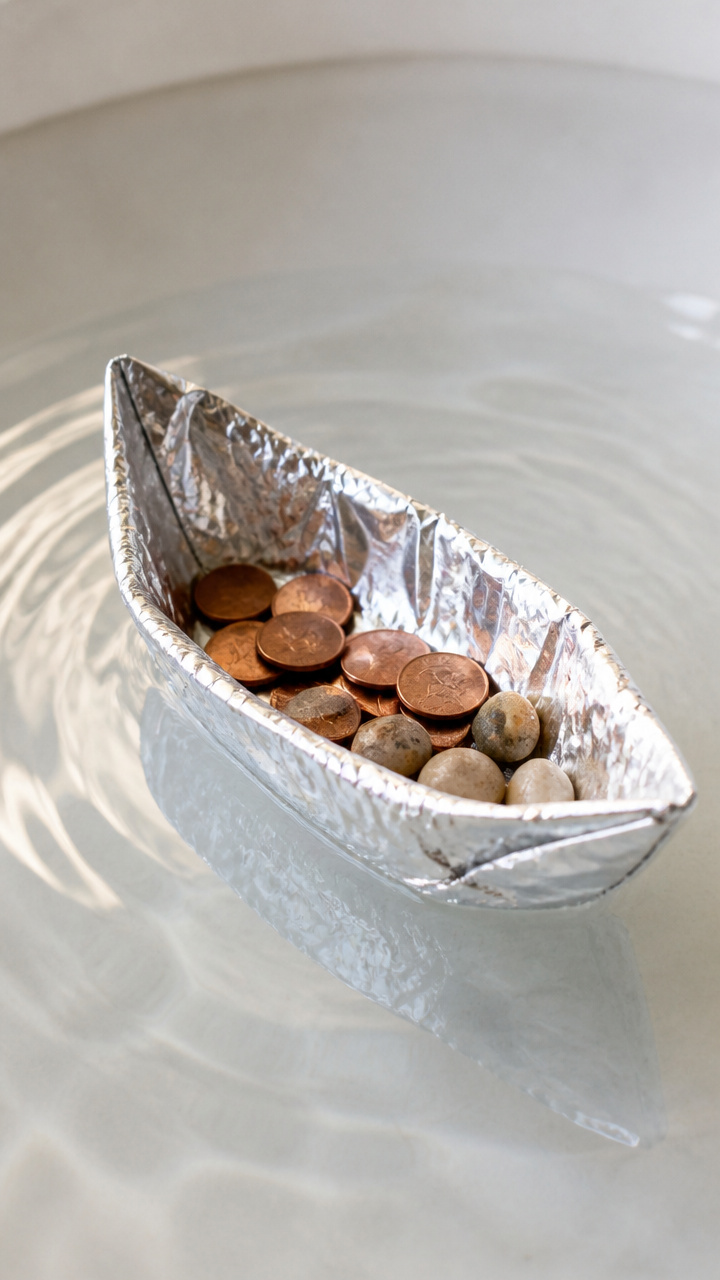
Smooth foil shaped into a hull floats in the sink with cargo. Testing buoyancy turns bath time into science play.
Materials Needed
- Aluminum foil, 30×30 cm sheet
- Pennies or small stones, 10
- Plastic bin or sink
- Water
How to Make It
- Crumple the foil into a ball, then flatten it and fold up the edges to form a shallow boat shape.
- Press the seams firmly to prevent leaks and ensure the base is flat.
- Fill the bin with 5 cm of water and float the boat gently on the surface.
- Add one penny at a time to test how many it can carry before sinking.


You’ve got everything you need right in your home to start crafting today. Pick one idea, gather the supplies, and watch what happens when creativity takes over.