15 Easy Letter P Crafts for Preschoolers Using Paint and Paper
Paint and paper are the perfect pair for little hands learning their letters. These playful projects make the letter P come alive with color, texture, and imagination.
Each idea uses simple supplies you likely have at home and focuses on one clear skill like stamping, brushing, or tearing. Your preschooler will build fine motor control while having fun creating something they’re proud to show off.
1. P is for Pineapple Print
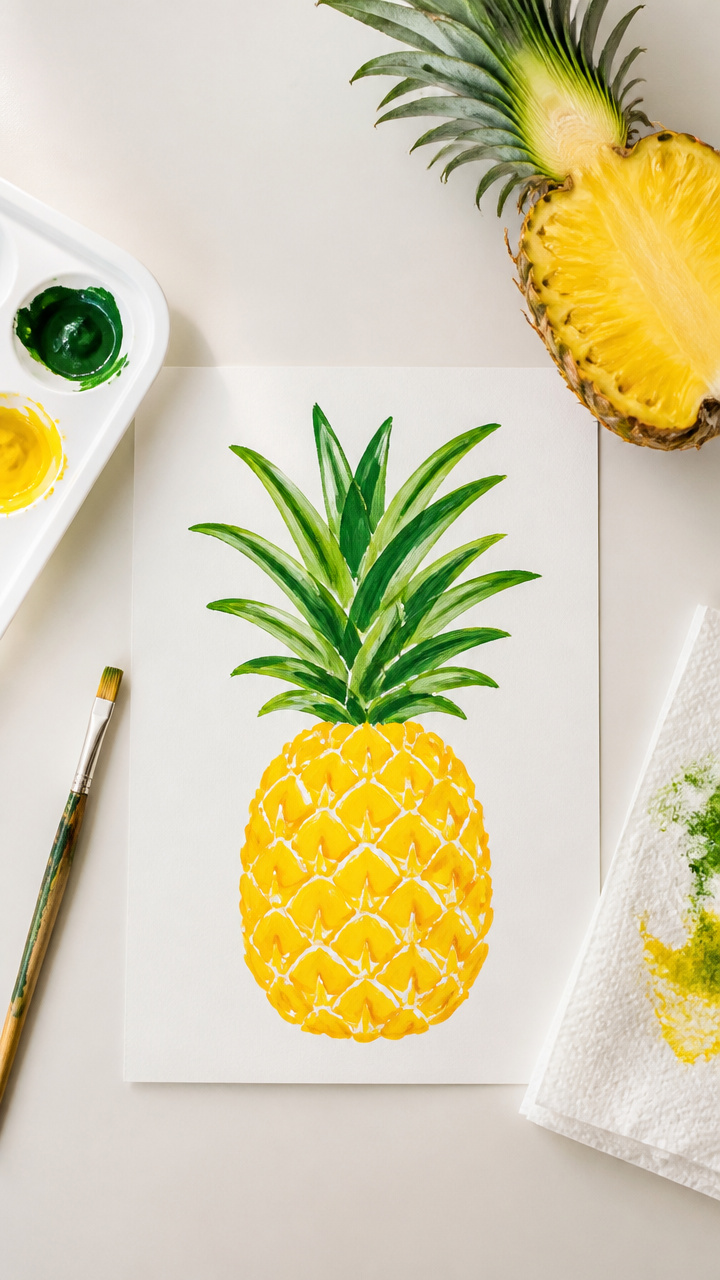
Bright yellow spikes and a leafy crown make this tropical fruit a joyful paint project. Kids love rolling the bottom of a pineapple to create real texture.
Materials Needed
- Half a fresh pineapple
- Yellow tempera paint
- Green tempera paint
- A4 white drawing paper
- Small paint tray
- Paper towels
How to Make It
- Pour yellow paint into the tray and set the pineapple half cut side down into it, pressing gently.
- Lift the pineapple and press the cut side firmly onto the paper to make a textured circle print.
- Dip only the top rind edge into green paint, then stamp above the yellow circle to make leaf shapes.
- Let dry for 10 minutes before adding a black marker stem if desired.


2. Penguin Footprint Art
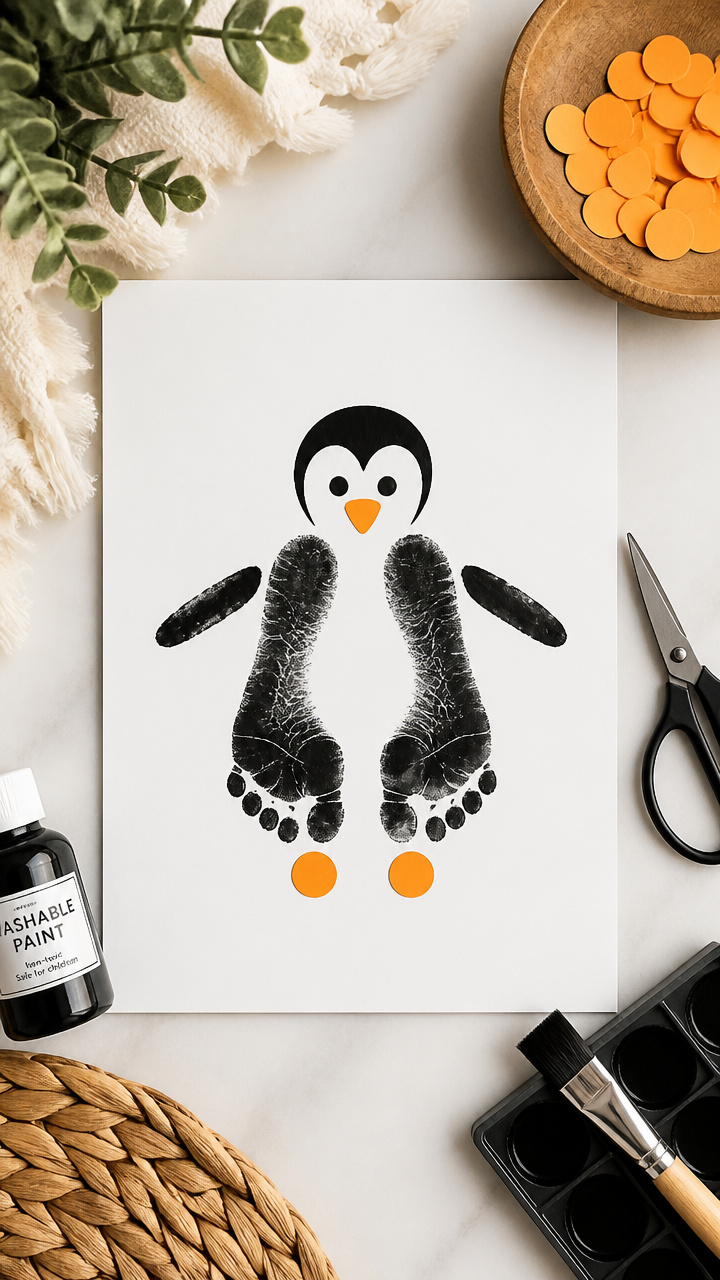
Cute waddling feet made from painted toes bring a penguin family to life. This sensory craft uses non-toxic paint and washable ink.
Materials Needed
- Black washable paint
- White A4 cardstock
- Orange dot stickers (1/2 inch)
- Small paintbrush
- Baby wipe
- Plastic plate
How to Make It
- Pour a small amount of black paint onto the plate and use the brush to coat the soles of both feet lightly.
- Have your child step carefully onto the paper, heel first, to leave two footprints side by side.
- Rinse feet immediately with the baby wipe and let dry under supervision.
- Glue orange dot stickers for beaks and eyes above the prints to complete each penguin.


3. Popsicle Stick Palette Painting
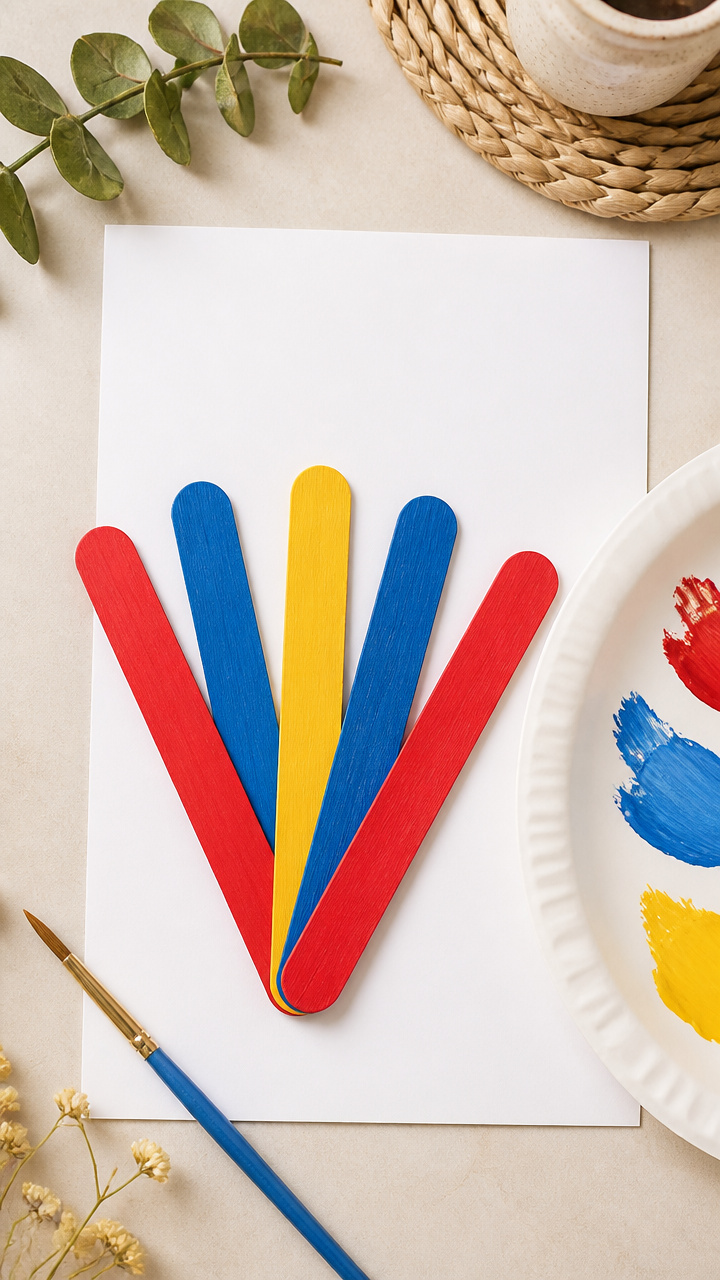
Mini wooden sticks become tiny paint tools for dabbing color in soft layers. This method builds hand strength and color mixing skills.
Materials Needed
- 5 flat wooden craft sticks
- Red, blue, and yellow tempera paint
- A4 white drawing paper
- Three small bowls
- Paper plate
How to Make It
- Pour a teaspoon of each paint color into separate bowls.
- Give your child one stick per color and dip just the tip into the paint.
- Use the sticks to dab overlapping dots on the paper, blending colors where they touch.
- Set aside to dry completely before handling.


4. Puffy Paint P Letters
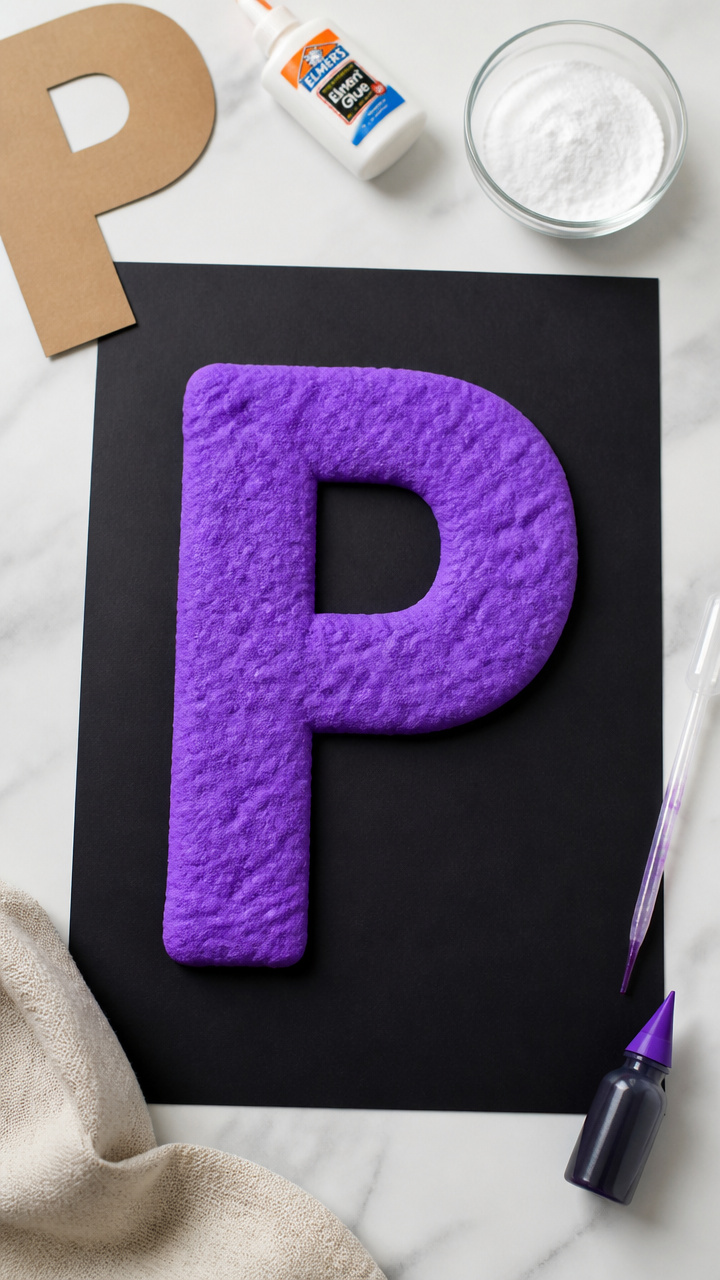
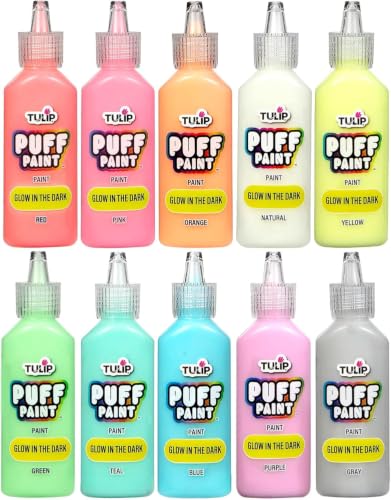
Thick, raised letters invite touch and exploration. Baking soda and glue create a bubbly texture that holds its shape.
Materials Needed
- White school glue
- Baking soda (3 tablespoons)
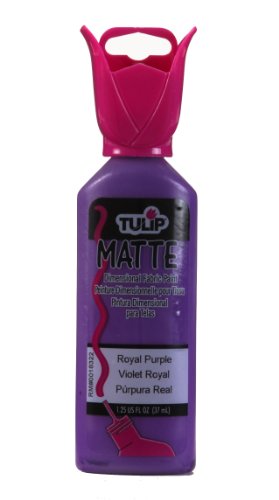
- Purple food coloring (5 drops)
- Pipette
- Cardboard letter P template (3 inches tall)
- A4 black construction paper
How to Make It
- Mix glue and baking soda in a bowl until smooth, then add purple food coloring and stir well.
- Place the cardboard P on the black paper and pipe the mixture along the outline using the pipette.
- Squeeze slowly to keep the line even and avoid blobs.
- Let sit overnight to harden fully before touching.

5. Paint Tube Squeeze Trails
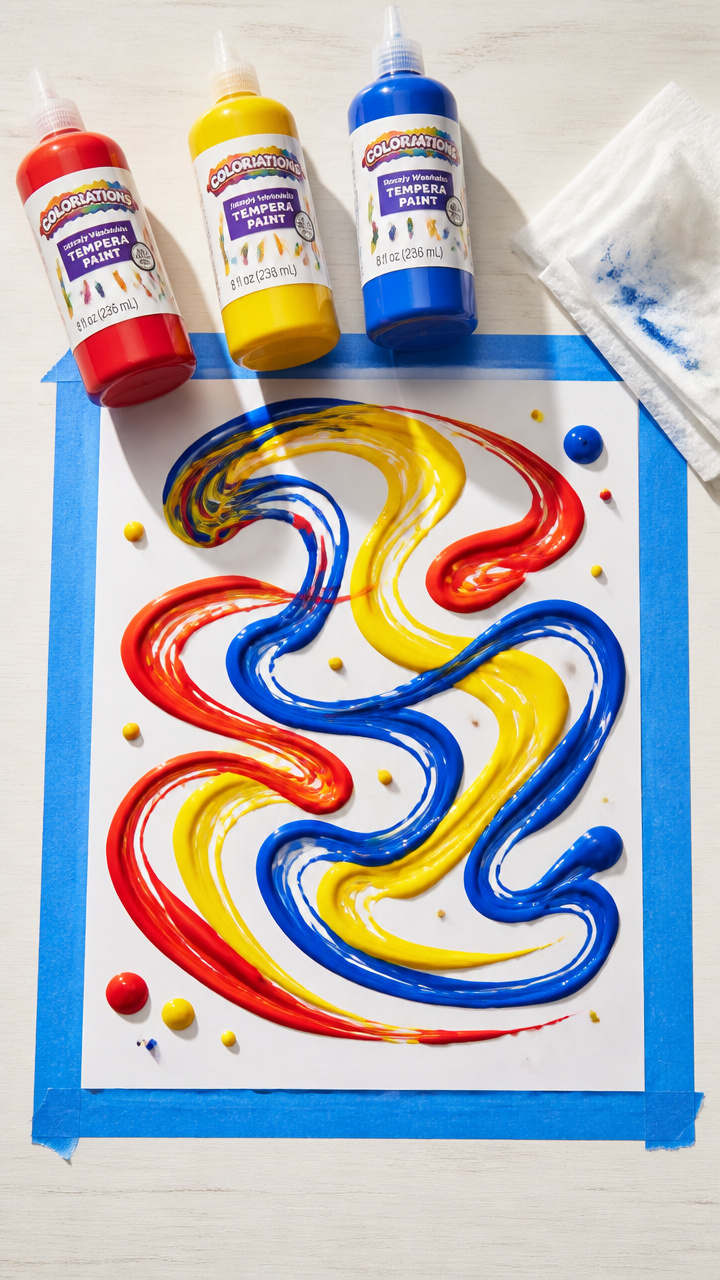
Squeezing paint from pastry bags builds grip control and lets kids draw freeform P swirls. It’s messy in the best way.
Materials Needed
- 3 plastic condiment squeeze bottles
- Red, yellow, and blue liquid tempera paint
- A4 white finger painting paper
- Painter’s tape
- Wet wipes
How to Make It
- Fill each bottle with one color of paint and screw caps on tight.
- Tape the paper to the table and show your child how to gently squeeze while moving the tip.
- Encourage looping lines that start with a curve and add a straight line down to form P shapes.
- Wipe hands with wet wipes when finished.

6. Paisley Pattern Dipping
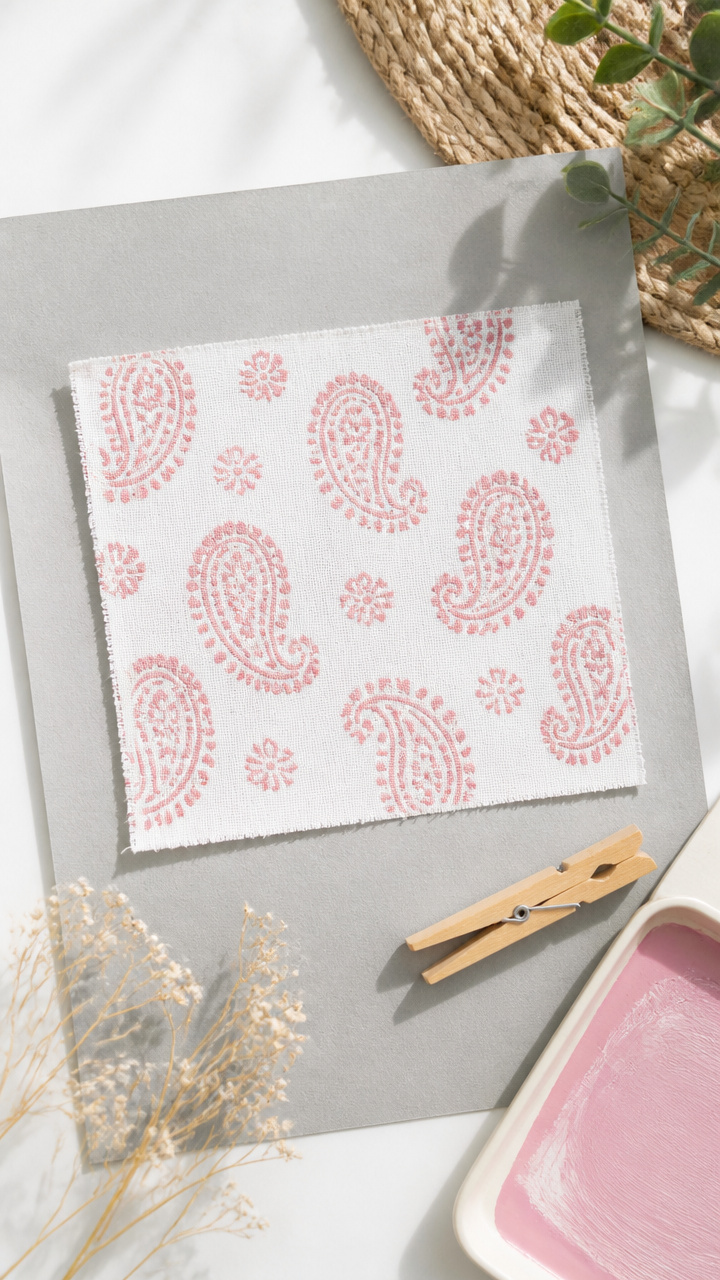
Soft fabric swabs dipped in paint make flowing paisley loops that resemble the shape of P. Great for rhythm and repetition.
Materials Needed
- Pink fabric paint
- White cotton scrap (3×3 inch square)
- A4 light gray drawing paper
- Shallow tray
- Clothespin
How to Make It
- Pour a dime-sized pool of pink paint into the tray.
- Clip the fabric square in the clothespin and dip one corner into the paint.
- Swirl the fabric on the paper in a teardrop motion, starting wide and tapering to a tail.
- Repeat 4–5 times to fill the page with overlapping paisleys.


7. Puddle Painting Pals
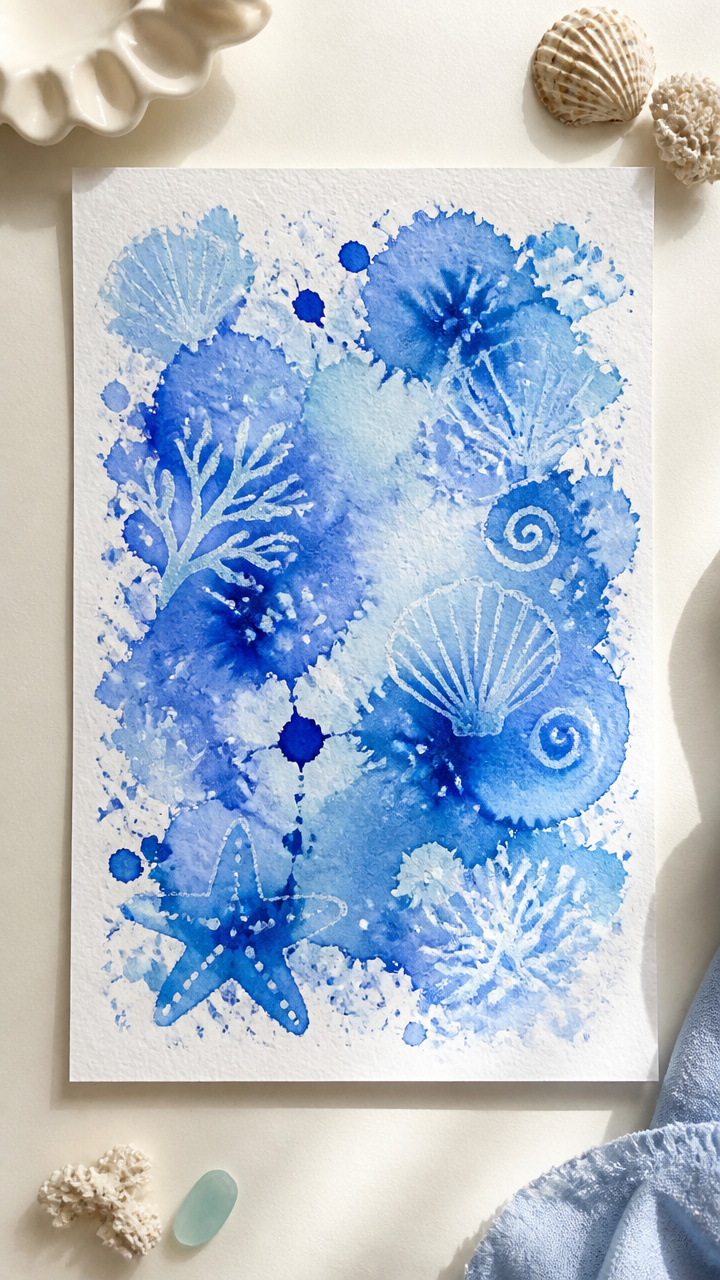
Big splashes of color spread into organic shapes that turn into friendly P animals. Water control is part of the fun.
Materials Needed
- Blue liquid watercolor
- A4 watercolor paper
- Pipette
- White crayon
- Hairdryer
How to Make It
- Draw a large letter P on the dry paper with the white crayon using firm pressure.
- Use the pipette to drop blue watercolor around the P, letting it bleed and puddle.
- Blow gently across the wet areas or tilt the paper to guide flow.
- Speed dry with a hairdryer on low heat to reveal the hidden wax outline.


8. Puzzle Piece Portraits
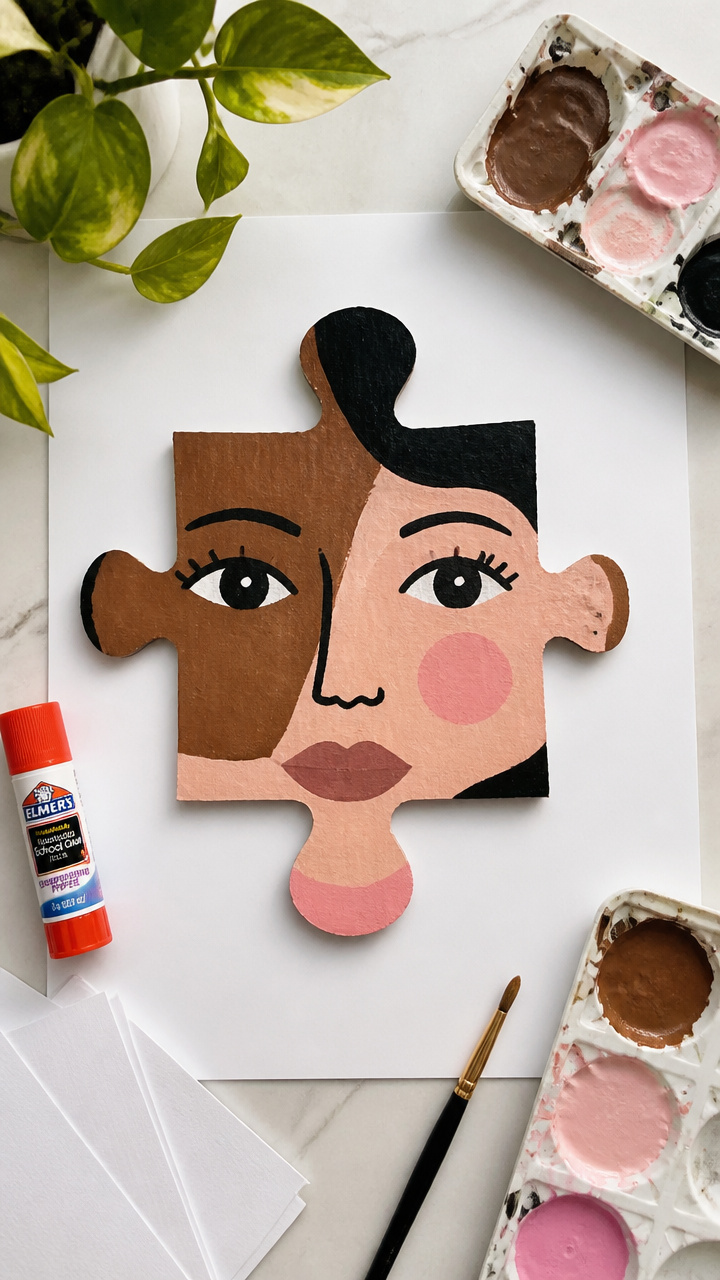
Flat cardboard puzzle pieces become stamps for building a face that starts with P. Each stamp adds a new feature.
Materials Needed
- Clean used cardboard puzzle piece (face-sized)
- Brown, pink, and black acrylic paint
- A4 white cardstock
- Paint trays (3)
- Glue stick
How to Make It
- Paint the back of the puzzle piece brown for hair and press it at the top of the paper.
- Wipe clean, repaint pink for skin, and stamp below for the face.
- Dip edges in black for eyes and nose, pressing lightly to leave partial marks.
- Use glue to attach yarn hair or paper ears after all paint dries.


9. Pinwheel Spin Prints
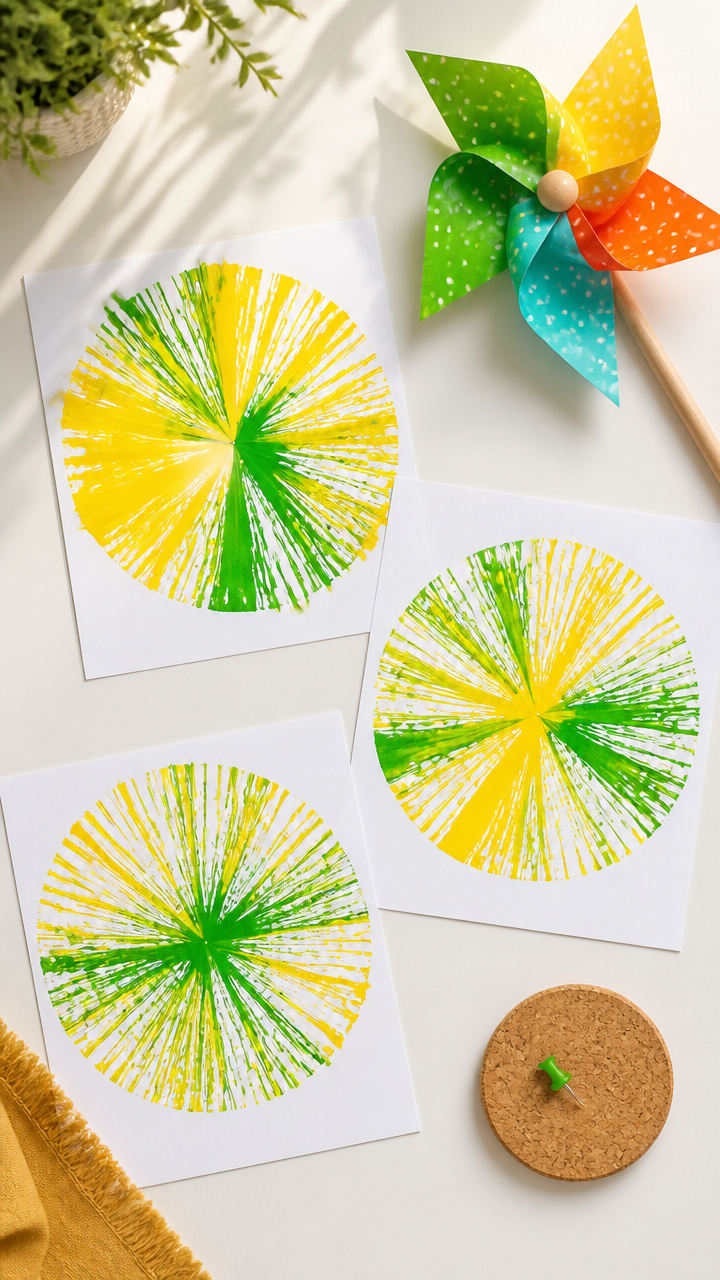
A spinning tool drags paint in radiant lines that mimic the swirl of a P. Motion meets art in this kinetic craft.
Materials Needed
- Cardboard pinwheel (store-bought or handmade)
- Yellow and green tempera paint
- A4 white paper
- Thumbtack
- Cork
How to Make It
- Dip the outer tips of the pinwheel into yellow paint and place the paper over the cork.
- Push the thumbtack through the center into the cork to anchor it.
- Blow on the pinwheel or spin it with your finger to fling paint outward in curved streaks.
- Let dry flat for 15 minutes before adding green centers with fingertips.


10. Pebble Path Letters
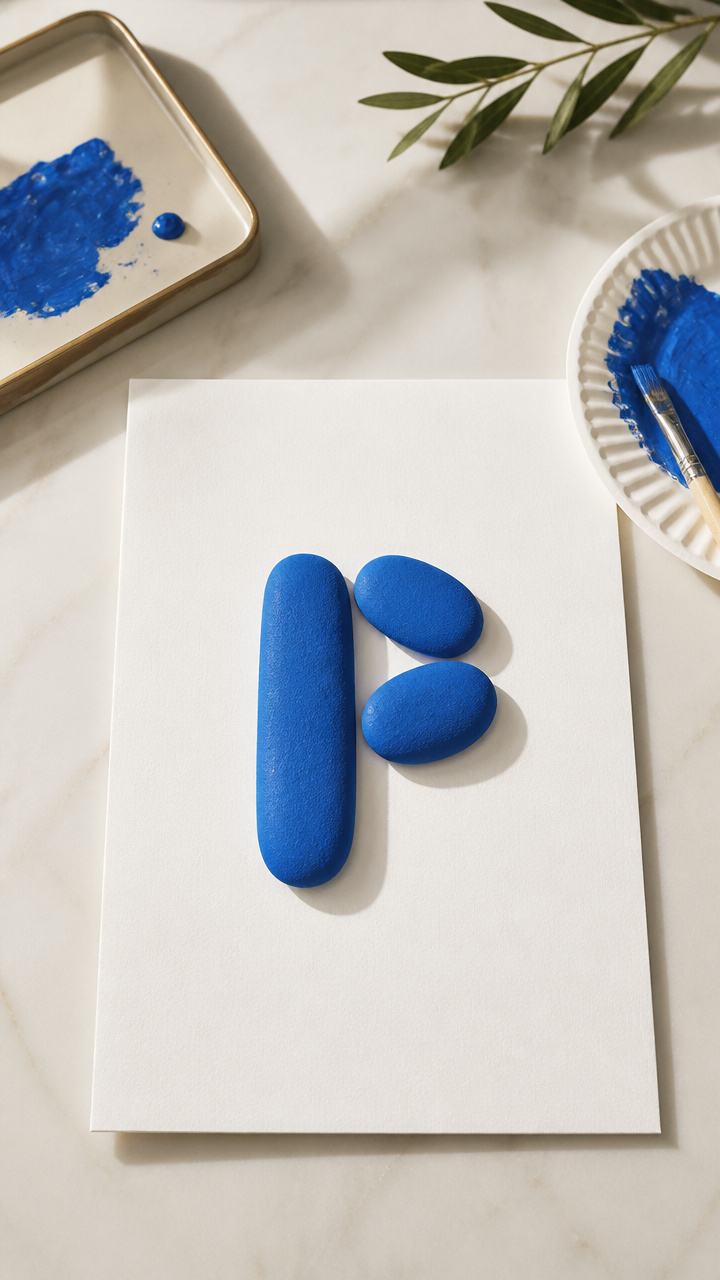
Smooth river stones become rolling tools for tracing thick P outlines. The weight helps steady small hands.
Materials Needed
- 3 smooth pebbles (golf ball size)
- Blue poster paint
- A4 heavy white paper
- Shallow tray
- Paper plate
How to Make It
- Pour blue paint into the tray and roll each pebble through to coat evenly.
- Place the paper on a flat surface and roll one pebble from top to bottom in a straight line.
- Start at the top again and roll a semi-circle connecting to the line to form the P belly.
- Rinse pebbles right after with water and soap.


11. Puddle Sticker Resist
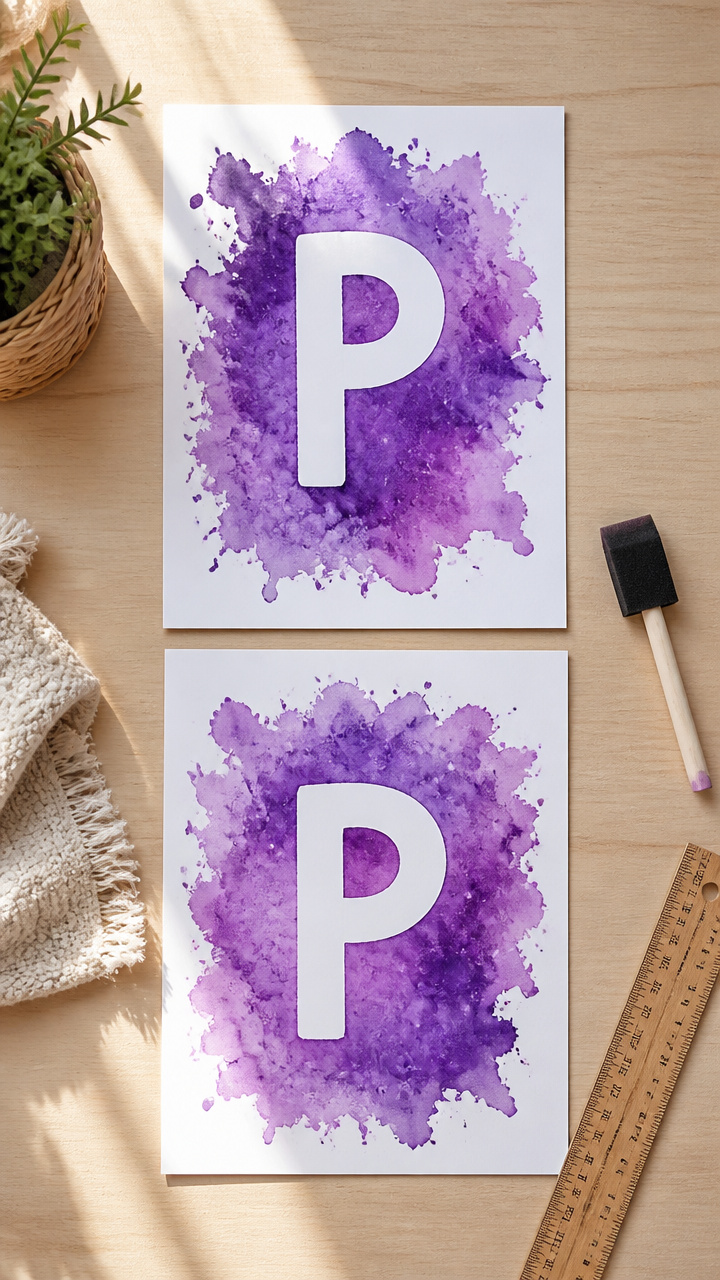
Peel-and-stick letter shapes block paint to reveal crisp Ps underneath. The surprise lift is always a hit.
Materials Needed
- Large P-shaped vinyl stickers (2 per child)
- Purple liquid tempera
- A4 white drawing paper
- Foam brush (2 inch)
- Ruler
How to Make It
- Stick one P firmly in the center of the paper and the second near the top edge.
- Use the foam brush to spread purple paint in wide strokes across the entire page.
- Wait 3 minutes for the paint to set slightly, then peel off both stickers slowly.
- Let dry completely before displaying on a windowsill.

12. Painted Pasta Patterns
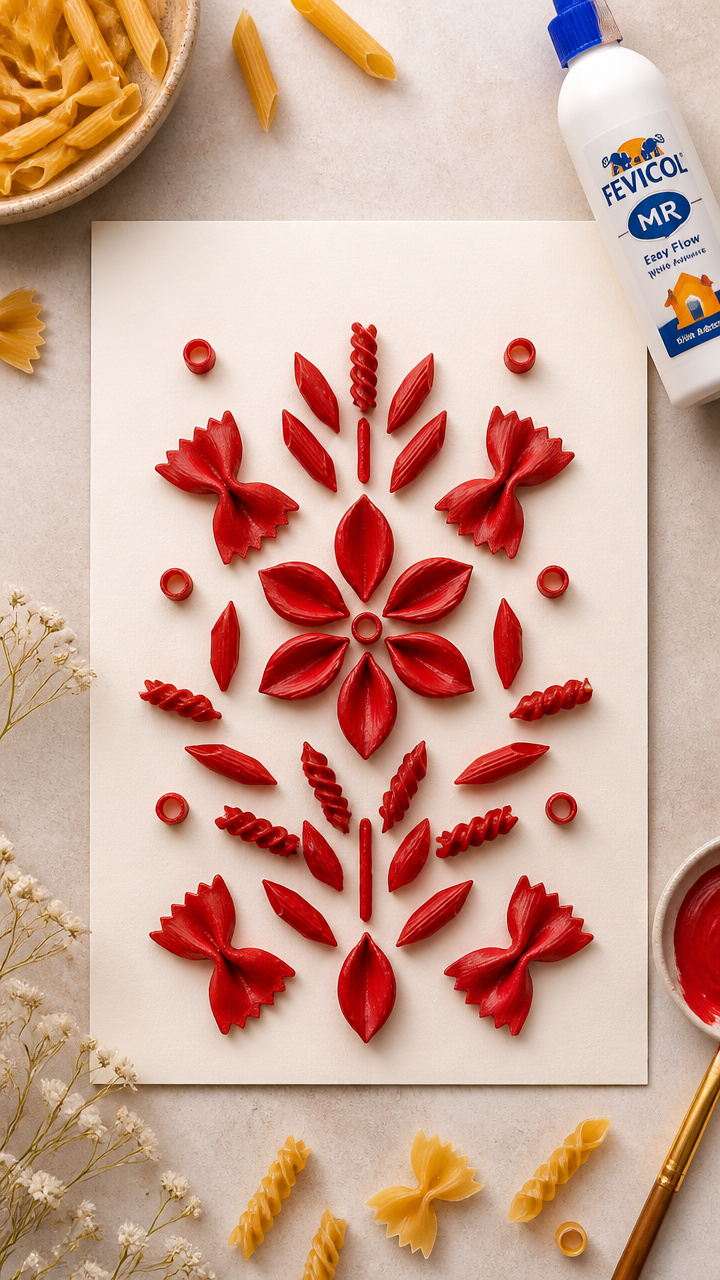
Elbow macaroni soaked in color becomes a stamp for repeating P borders. The pasta clicks satisfyingly as it prints.
Materials Needed
- 20 elbow macaroni noodles
- Red food coloring
- 1 cup warm water
- Slotted spoon
- A4 cream drawing paper
- Glue
How to Make It
- Soak macaroni in red-tinted water for 1 hour, then drain and dry on paper towels for 30 minutes.
- Press one noodle into the pad of red paint and stamp it curved side down to start the P shape.
- Add a vertical noodle beside the curve to complete the letter, repeating across the page.
- Once dry, glue down any loose pieces.


13. Puffy Cotton Ball Puffs
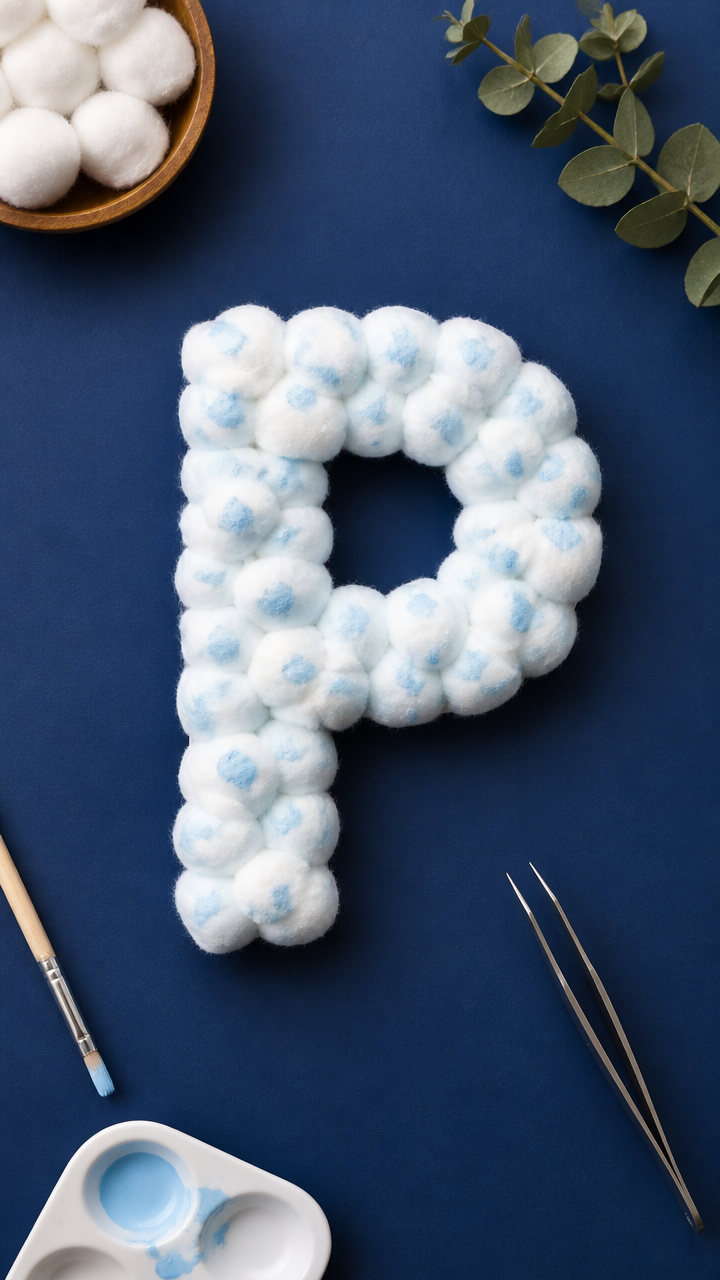
Soft cotton balls dabbed in paint make cloud-like letter bodies. Gentle pressing builds fingertip awareness.
Materials Needed
- White cotton balls (6 per child)
- Light blue paint
- A4 dark blue paper
- Cardboard letter P stencil (4 inches tall)
- Tweezers
How to Make It
- Place the stencil on the dark paper and hold it still with one hand.
- Dip a cotton ball in blue paint using tweezers and dab it inside the P opening.
- Keep pressing and turning the cotton ball until the shape is filled with soft texture.
- Remove the stencil carefully and let dry for 20 minutes.



14. Paint Swirl Pots
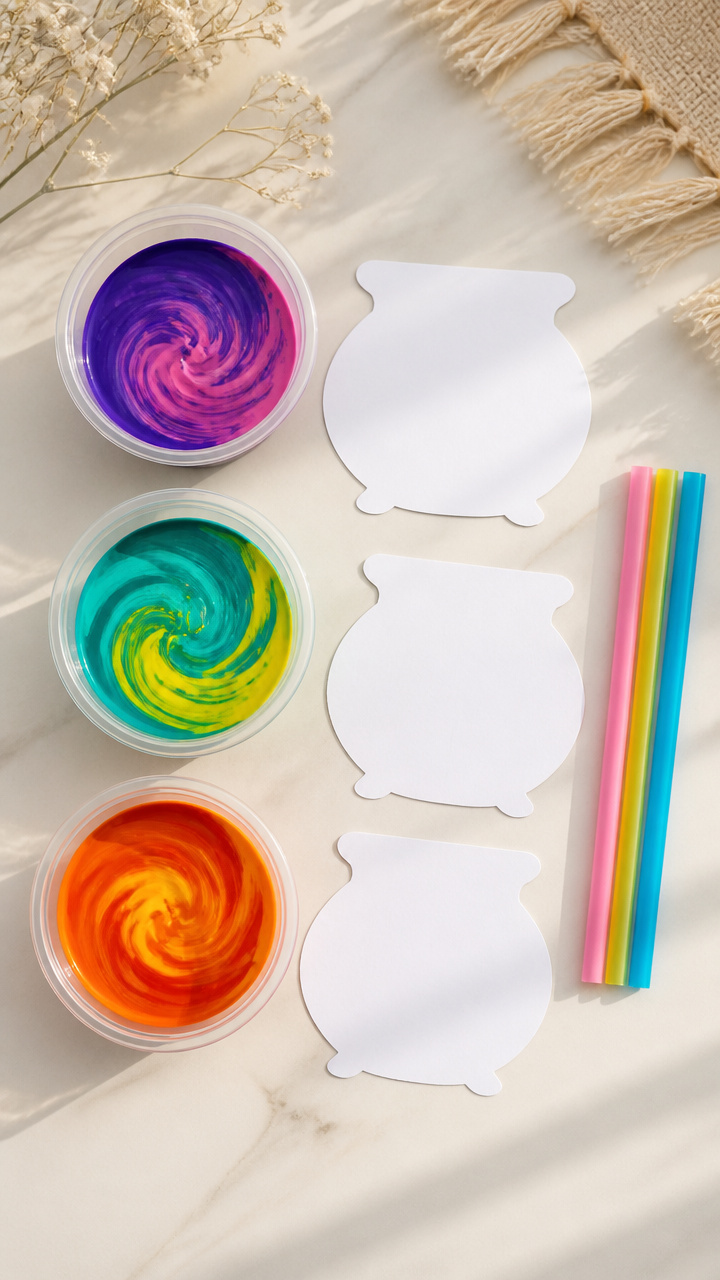
Straws blow liquid color into wild spirals that settle into pot-like forms. Breath control is key.
Materials Needed
- Three colors of liquid tempera
- A4 white paper
- Plastic straws (3 per child)
- Small cups (3 oz, 3 per child)
- Scissors
How to Make It
- Cut each straw in half and pour 2 teaspoons of different paint into each cup.
- Place a drop of each color in the center of the paper.
- Use one straw per color, blowing gently through the end to push paint outward in spirals.
- Stop when the lines form a rounded base with a trail up one side, like a flower pot.
15. Pinecone Paint Rollers
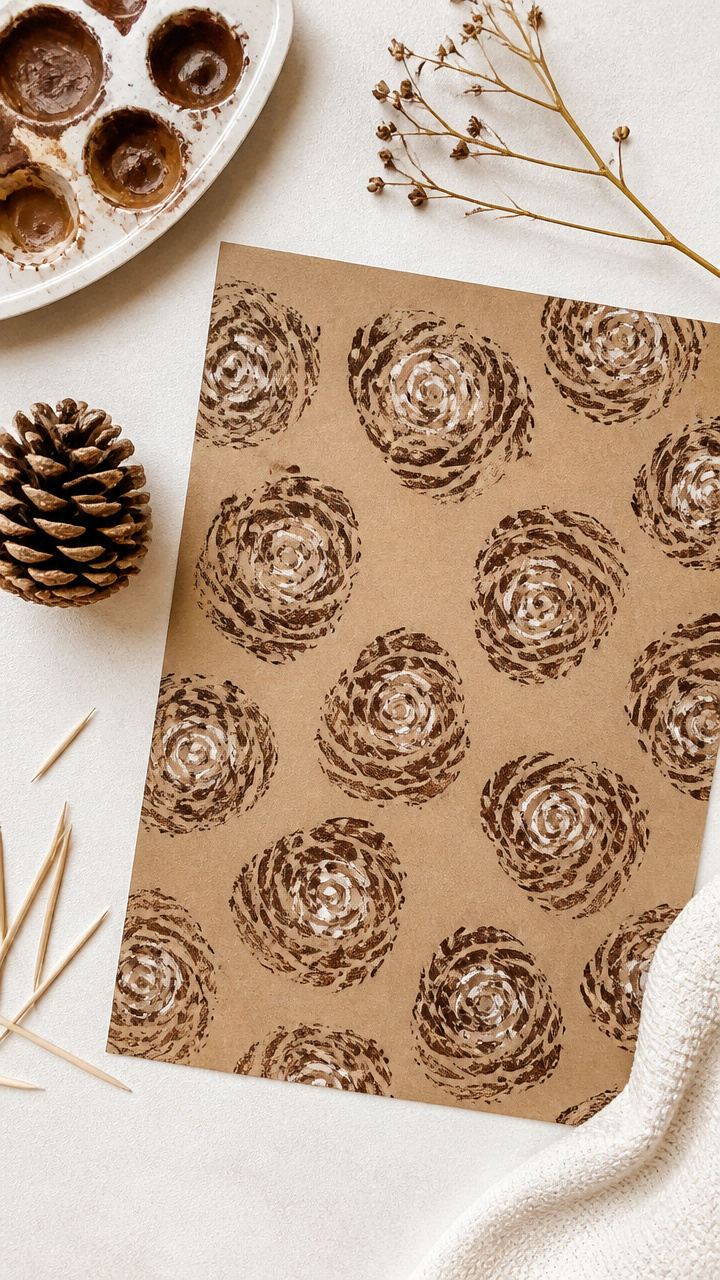
Real pinecones rolled in paint leave scaly tracks that morph into prickly letter legs. Nature meets ABCs.
Materials Needed
- Small pinecone (3–4 inches long)
- Brown acrylic paint
- A4 kraft paper
- Paint tray
- Toothpicks
How to Make It
- Pour brown paint into the tray and roll the pinecone through to coat the scales.
- Place the paper flat and roll the pinecone from top to bottom in a straight line.
- Without reloading paint, roll a curved path starting at the top and arcing into the line to finish the P.
- Use toothpicks to scratch details in wet paint if desired.


You’ve got everything you need to start today with just a few drops of paint and sheets of paper. Watch your child smile as their hands make meaning, one letter at a time.