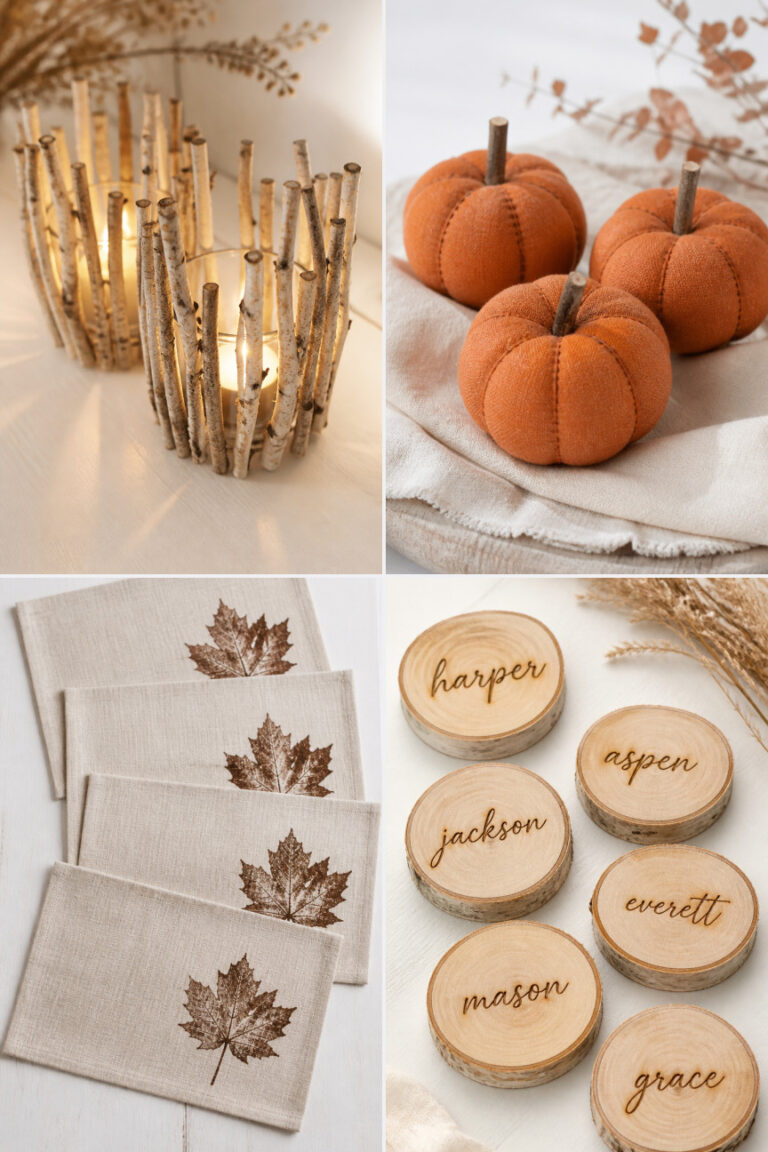
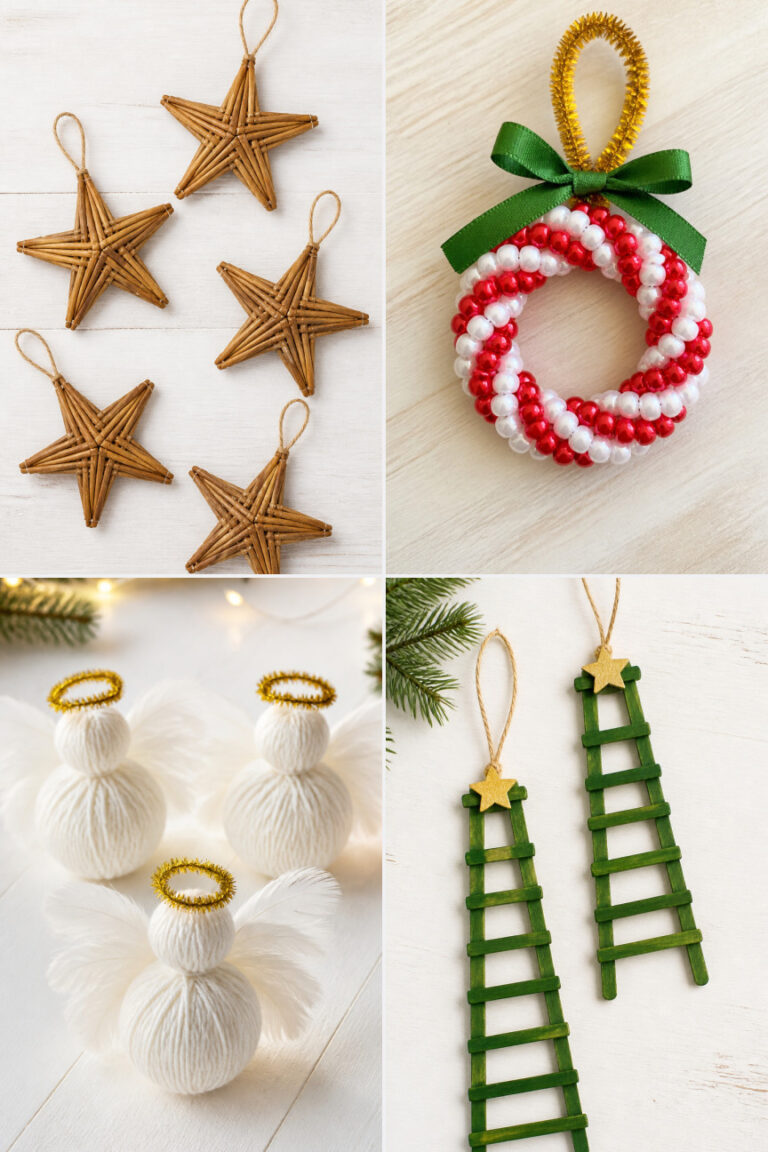
17 Easy Christmas Crafts Using Yarn and String
The soft glow of holiday lights pairs perfectly with handmade touches, and yarn brings warmth in both color and texture. These simple projects use what you likely already have on hand to create cozy decorations and thoughtful gifts.
Each idea is designed to be approachable, even if you're new to crafting. You'll find a mix of quick last-minute makes and satisfying weekend projects that add charm to your home or brighten someone's season.
1. Yarn-Wrapped Ornament Balls
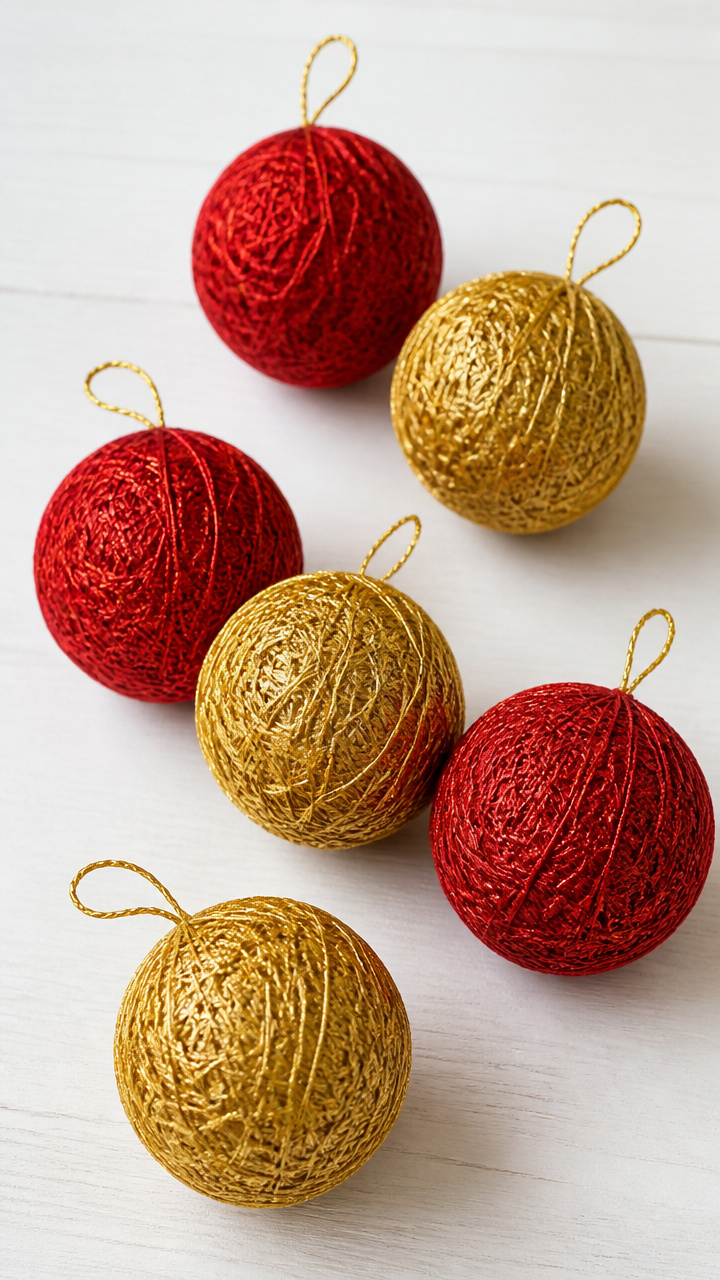
Smooth foam balls become elegant ornaments when wrapped tightly in yarn. Choose festive colors to match your tree theme and finish with a loop for hanging.
Materials Needed
- 3-inch white foam craft balls, 6 units
- Red wool yarn, 50 yards
- Gold metallic yarn, 30 yards
- Scissors
- Hot glue gun with glue sticks
- 24-inch lengths of gold embroidery floss, 6 pieces
How to Make It
- Cut a 6-inch piece of gold embroidery floss and set aside for the hanger.
- Apply a small dot of hot glue to the top of a foam ball and press one end of the red yarn into it.
- Wrap the yarn tightly around the ball, rotating it as you go to cover evenly, leaving no gaps.
- After 3 full wraps, switch to gold metallic yarn by tying a knot and securing with a dab of glue underneath.
- Continue wrapping until the ball is fully covered, then glue the end down and trim excess.
- Thread the reserved floss through the top, tie ends together to form a loop, and secure inside with glue.


2. String-Dipped Paper Stars
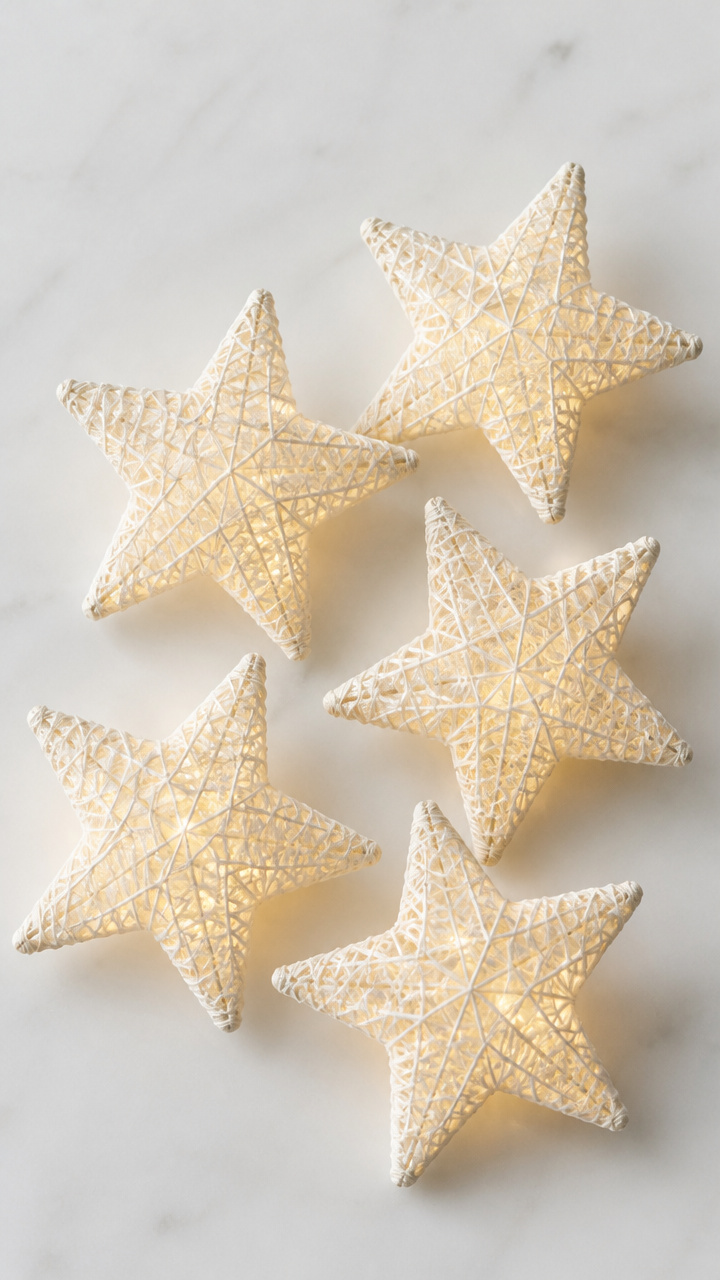
Crisp paper stars gain rustic charm when dipped in starch-soaked string. Once dry, they hold their shape and sparkle under light.
Materials Needed
- White cardstock cut into 5-pointed stars, 8 units
- Cotton kitchen string, 100 feet
- Cornstarch, 1/2 cup
- Water, 1/2 cup
- Small saucepan
- Popsicle stick
- Baking sheet lined with parchment
- Clear spray sealer
How to Make It
- Mix cornstarch and water in a saucepan over medium heat, stirring constantly until thickened like paste.
- Remove from heat and let cool for 10 minutes, then stir with a popsicle stick to keep smooth.
- Cut string into 12-inch lengths and dip each into the starch mixture, running it between fingers to coat evenly.
- Lay soaked strings across each star in crisscross layers, pressing lightly to adhere.
- Let stars dry flat overnight until completely hard to the touch.
- Spray both sides lightly with clear sealer and let dry before hanging.
3. Felted Wool Garland
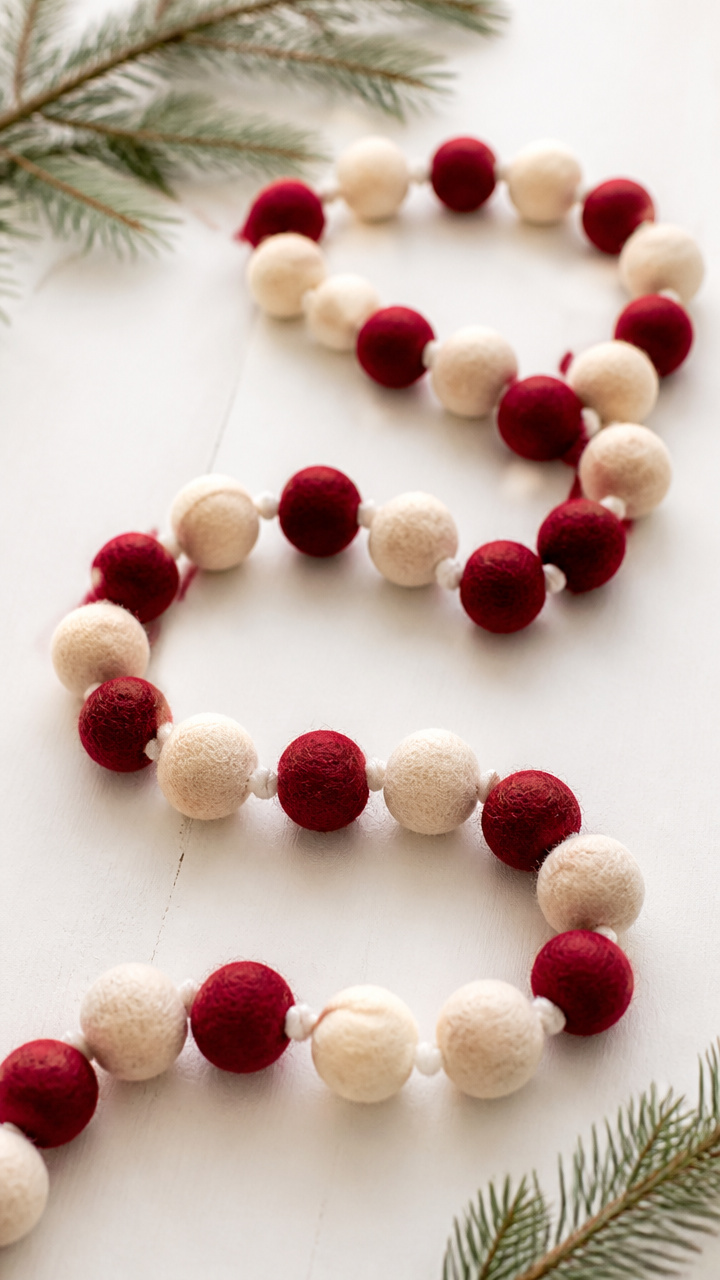
Tiny bundles of raw wool turn into firm felt balls with warm hands and soapy water. String them into a soft garland perfect for mantels.
Materials Needed
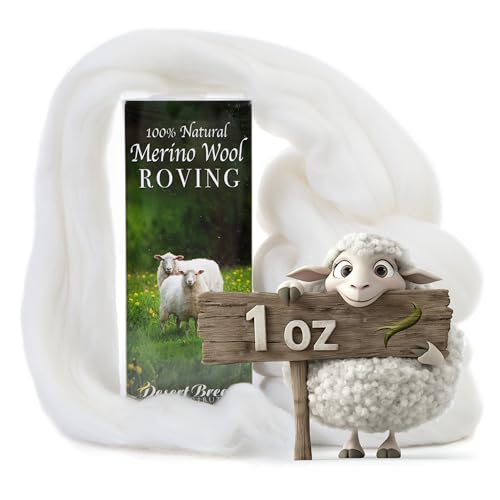
- Raw merino wool roving in cream and cranberry, 1/4 cup total
- Dawn dish soap, 2 tablespoons
- Hot water, 2 cups
- Plastic container with lid
- Nylon pantyhose leg, 1 piece
- Embroidery needle
- Natural jute twine, 6 feet
How to Make It
- Pull off small walnut-sized pieces of wool and roll into loose balls, 10 in cream, 10 in cranberry.
- Fill the container with hot water and add dish soap, stirring gently.
- Place wool balls inside the pantyhose, tie the end shut, and shake in soapy water for 5 minutes until compacted.
- Rinse under cool water, squeeze out excess, then reshape and air dry overnight.
- Thread dried balls onto jute twine using an embroidery needle, spacing evenly.
- Tie knots at both ends to prevent slipping.


4. Twine-Wrapped Cinnamon Sticks
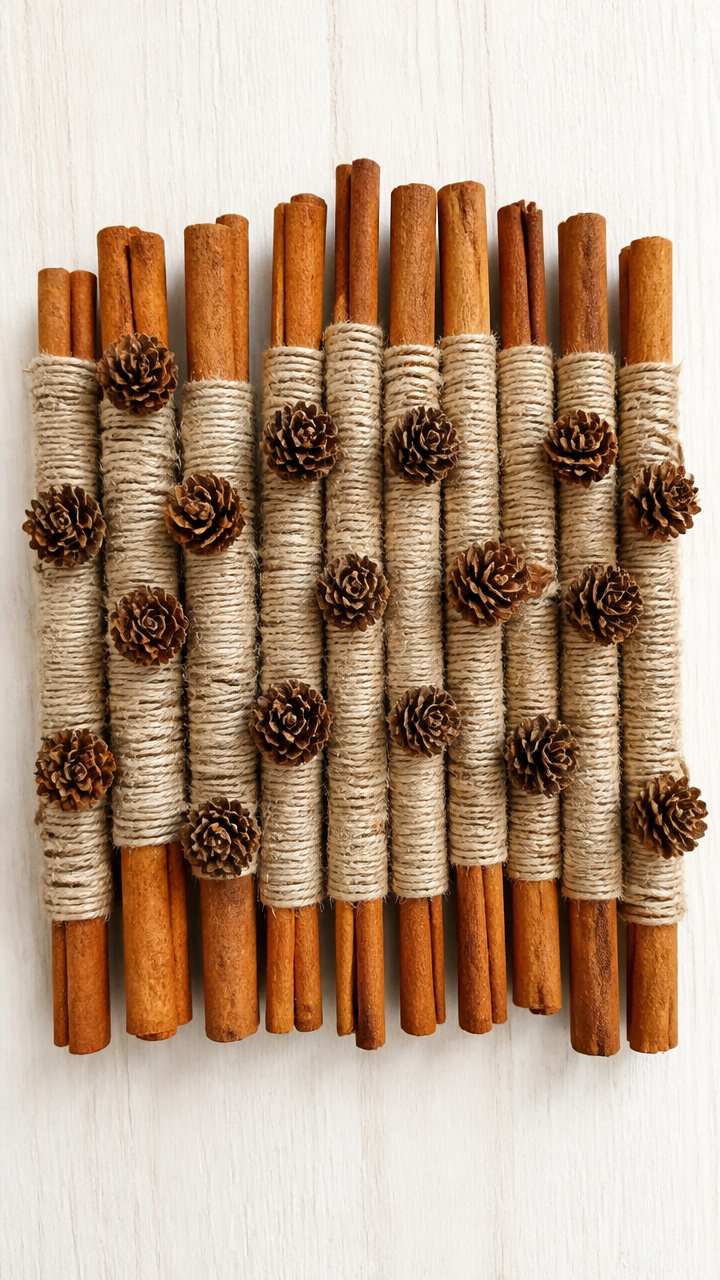
Spicy cinnamon sticks become rustic ornaments when bound with natural twine. They smell amazing and take just minutes to make.
Materials Needed
- Cinnamon sticks, 8 inches long, 12 units
- Natural cotton twine, 120 feet
- Mini pinecones, 12 units
- Glue dots, 12 units
- Scissors
How to Make It
- Cut twine into 10-inch lengths, 12 pieces.
- Starting at the base of a cinnamon stick, wrap twine upward in tight spirals.
- After 5 wraps, press a glue dot to the side and attach a mini pinecone, holding for 10 seconds.
- Continue wrapping past the pinecone to secure it in place.
- Tie a knot at the top and leave a 3-inch tail for hanging.
- Repeat for all 12 sticks.


5. Yarn-Pom Wreath Base
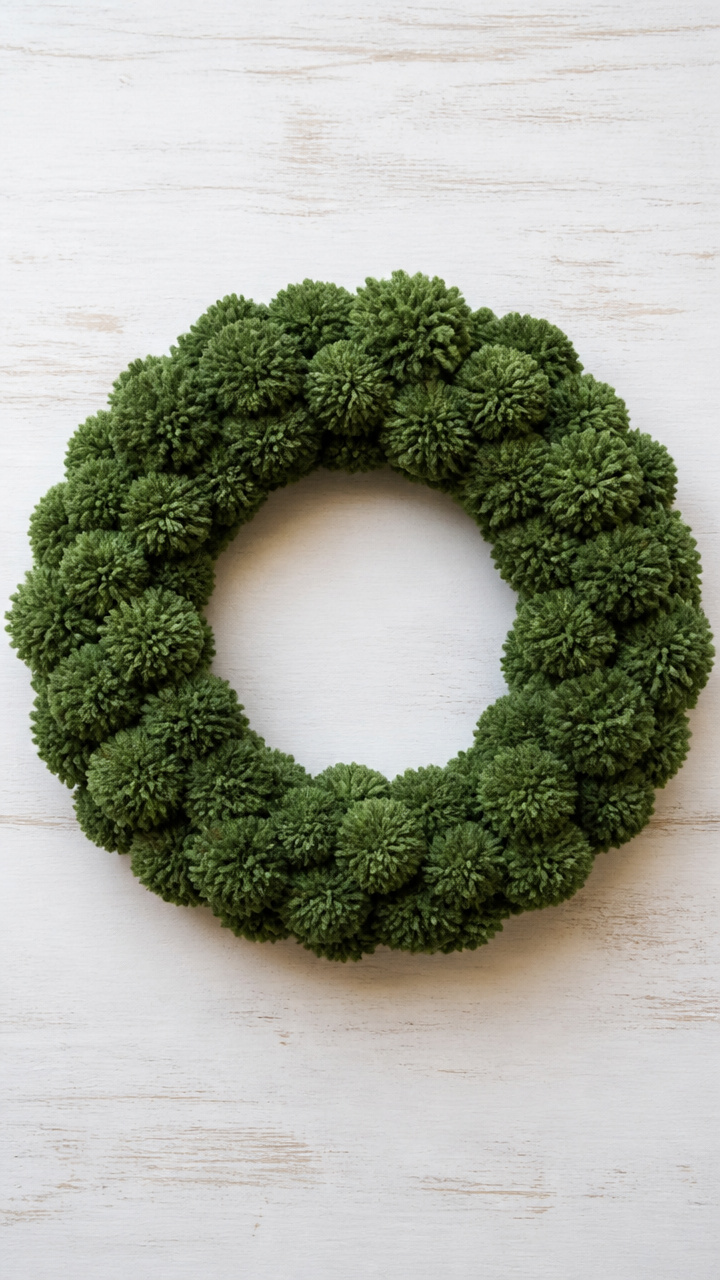
A sturdy wire wreath frame becomes lush with layered yarn pom-poms. This full, fluffy design looks store-bought but costs almost nothing.
Materials Needed
- 12-inch metal wreath frame with wide grid, 1 unit
- Green acrylic yarn, 3 skeins
- Pom-pom maker, large size
- Scissors
- Floral wire, 24-gauge, 3 feet
- Wire cutters
How to Make It
- Use the pom-pom maker to create 40 green pom-poms following the tool’s instructions.
- Trim each pom-pom to a uniform round shape after removing from the maker.
- Cut floral wire into 4-inch pieces, 40 units.
- Slide a pom-pom onto one end of a wire piece and twist the wire tightly around its center.
- Push the twisted end into the wreath frame grid and bend to secure.
- Repeat, packing poms closely until the entire frame is covered.


6. Macramé Tree Skirt Corner Tassels
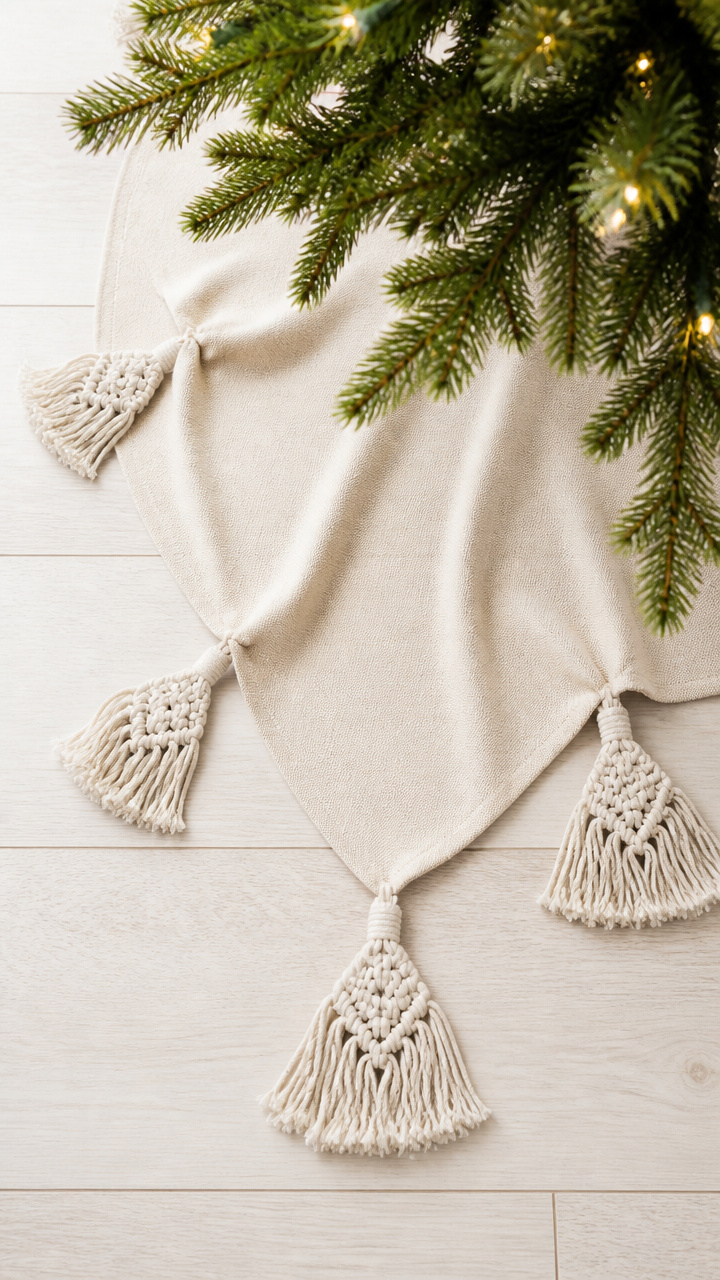
Plain fabric tree skirts shine with handmade macramé tassels at each corner. A little knotting adds big style.
Materials Needed
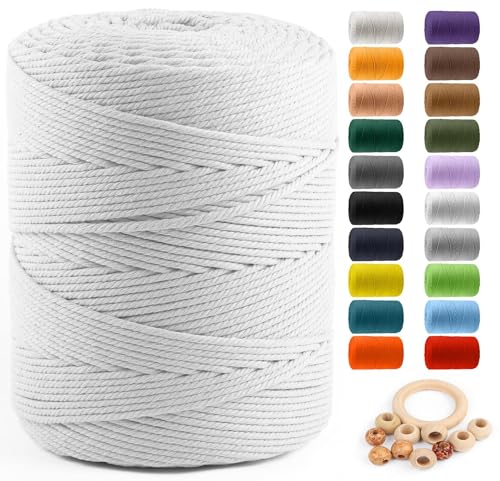
- White cotton cord, 4mm thickness, 80 feet
- Fabric tree skirt with four corners, 1 unit
- Scissors
- Ruler
- Masking tape
How to Make It
- Cut eight 24-inch cords for each tassel, 32 cords total.
- Fold one bundle in half and loop it over the corner seam of the tree skirt.
- Pull the loose ends through the loop and tighten to form a lark’s head knot.
- Repeat three more times around the same corner for fullness.
- Align all strands and wrap a 6-inch cord 1 inch from the top with a square knot.
- Trim ends evenly at 6 inches and secure with tape while cutting for clean lines.


7. Yarn-Covered Clothespin Angels

Wooden clothespins become sweet angel figures when wrapped in white yarn and dressed with tiny details. Hang them on the tree or gift tags.
Materials Needed
- Wooden clothespins with spring, 10 units
- White cotton yarn, 100 yards
- Yellow chenille stems, 10 inches long, 10 units
- Small gold beads, 10 units
- Hot glue gun with glue sticks
- Scissors
How to Make It
- Apply a dot of glue to the rounded end of a clothespin and start wrapping yarn tightly around it.
- Cover the entire clothespin body, adding glue every inch to secure the yarn in place.
- Break a chenille stem in half and twist one piece into a halo, gluing it above the head.
- Press a gold bead into the front of the head for a face and let dry.
- Tie a small loop of yarn at the back for hanging.
- Repeat for all 10 angels.


8. String-Laced Gift Tags
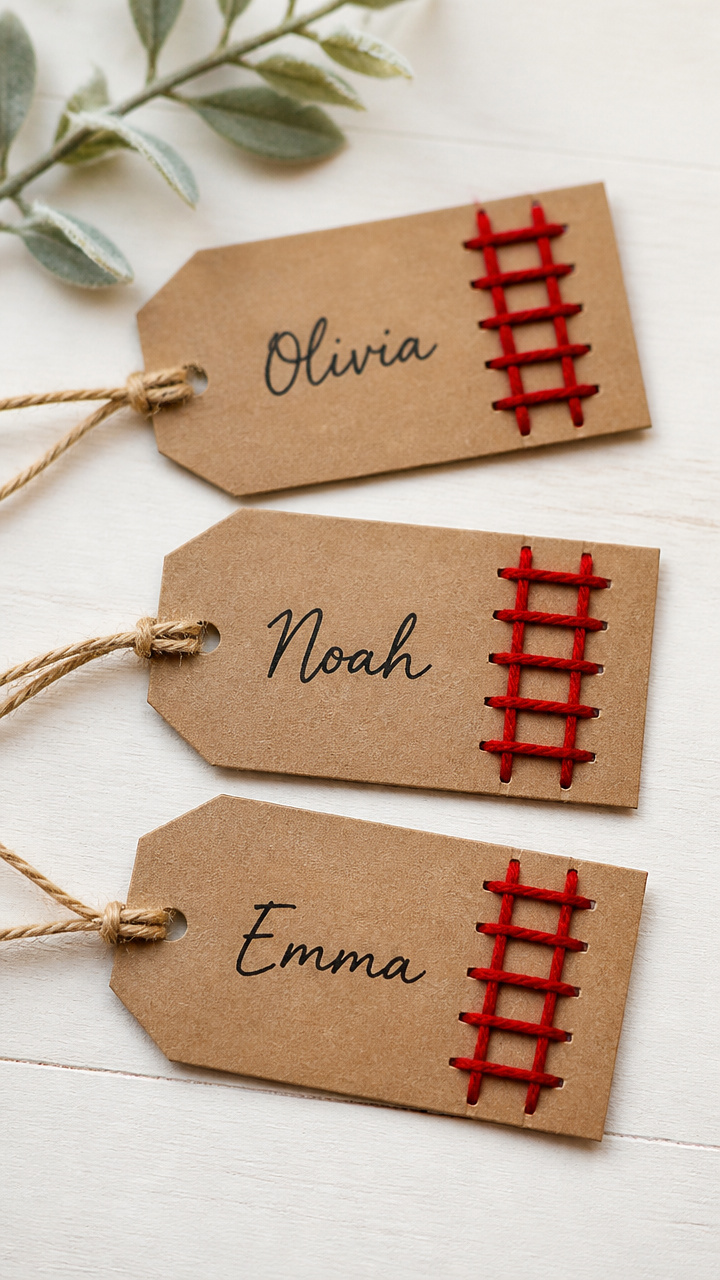
Stiff cardboard tags gain texture with ladder-style string weaving. Personalize with names and pair with wrapped presents.
Materials Needed
- Rectangular kraft cardboard tags, 2×3 inches, 15 units
- Hole punch
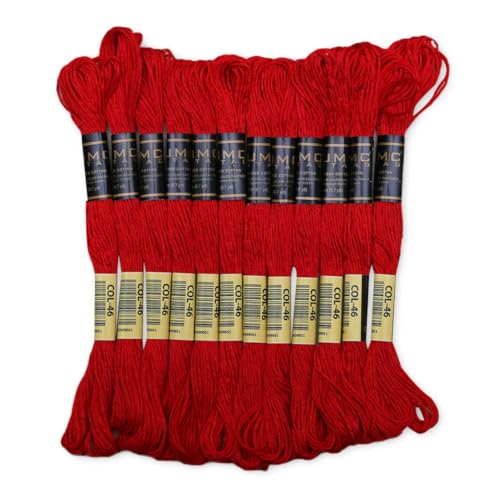
- Red embroidery floss, 30 yards
- Tapestry needle
- Black fine-tip pen
How to Make It
- Punch two holes at the top of each tag, 1/2 inch apart.
- Cut floss into 18-inch lengths, 15 pieces.
- Thread the needle and pass it up through the left hole from the back.
- Weave over and under across the top edge in a ladder pattern for 1 inch.
- Knot the ends at the back and trim to 1/2 inch.
- Write a name on each tag with the black pen.


9. Yarn-Twist Napkin Rings
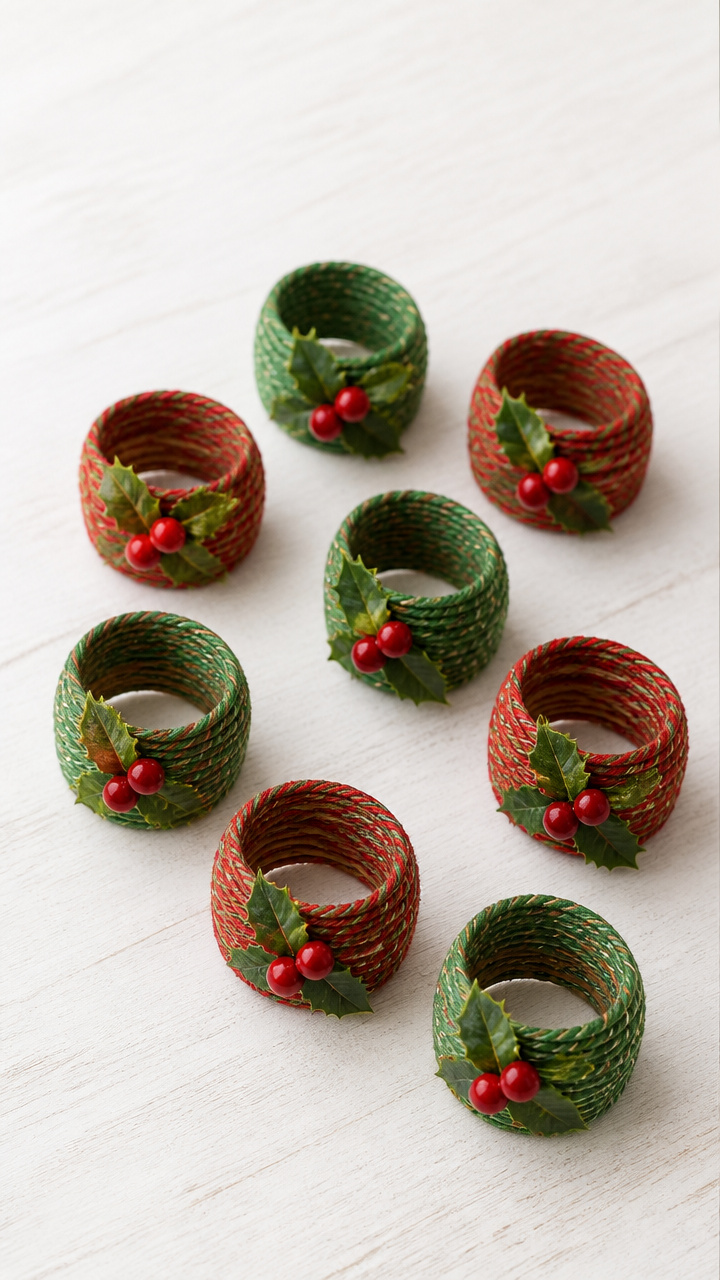
Cardboard rings become festive table accents with colorful yarn wrapping. Add a sprig of faux holly for a seasonal touch.
Materials Needed
- Cardboard tubes from paper towels, cut into 1-inch rings, 8 units
- Green and red yarn, 100 yards total
- Hot glue gun with glue sticks
- Mini holly sprigs, 8 units
- Scissors
How to Make It
- Start wrapping green yarn around one edge of a cardboard ring, securing the end with a dab of glue.
- Continue wrapping tightly, moving across the width until fully covered.
- Switch to red yarn halfway by tying and gluing the join underneath.
- Finish the other half and glue the end down securely.
- Attach a holly sprig to the side with hot glue, holding for 15 seconds.
- Repeat for all 8 rings.


10. Crocheted Coaster Set
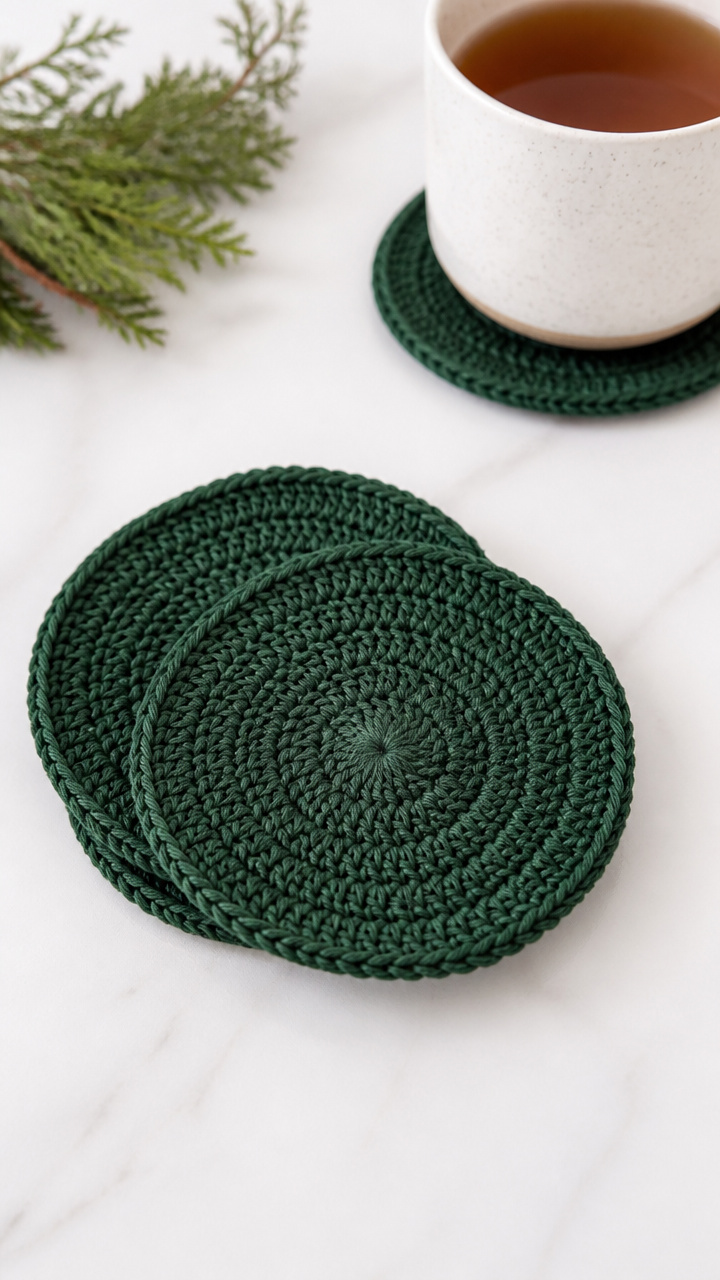
Simple single crochet stitches form absorbent drink coasters. Use worsted weight yarn for quick results and easy cleanup.
Materials Needed
- Worsted weight cotton yarn in forest green, 1 skein
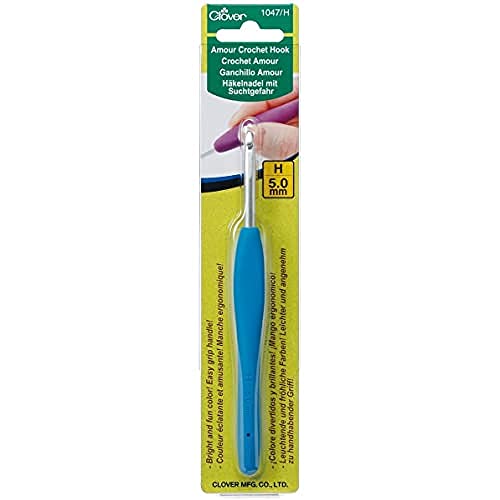
- Size H (5mm) crochet hook
- Scissors
- Yarn needle
How to Make It
- Chain 25 with the green yarn.
- Single crochet in the second chain from hook and in each chain across, 24 stitches.
- Chain 1, turn, single crochet in each stitch across. Repeat for 4 more rows.
- Cut yarn, leaving a 6-inch tail, and pull through the last loop.
- Use the yarn needle to weave in both ends on the back.
- Repeat to make 4 coasters total.


11. Yarn-Wrapped Candle Holders
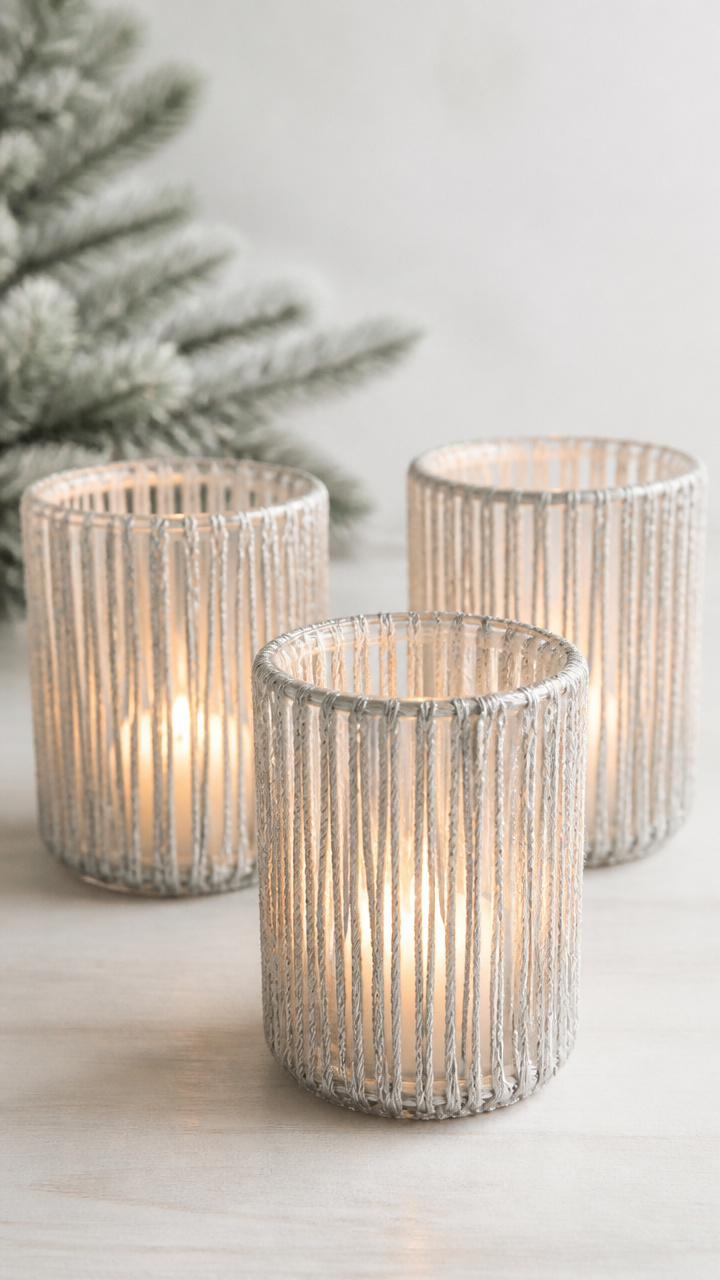
Glass tumblers get a winter upgrade with vertical yarn stripes. The raised texture diffuses candlelight beautifully.
Materials Needed
- Clear glass tumblers, 6 ounces, 6 units
- White glue, 1 bottle
- Brush, 1/2 inch wide
- Silver metallic yarn, 60 yards
- Scissors
- Tealight candles, 6 units
How to Make It
- Wipe each tumbler with a dry cloth to remove dust.
- Brush a thin vertical stripe of white glue from bottom to rim, 1/2 inch wide.
- Press the end of silver yarn into the glue at the base and wrap upward in close turns.
- Keep tension even and cover the glued area completely.
- Trim the top end and press with finger to secure. Let dry for 2 hours.
- Place a tealight inside each finished holder.


12. String Art Snowflake
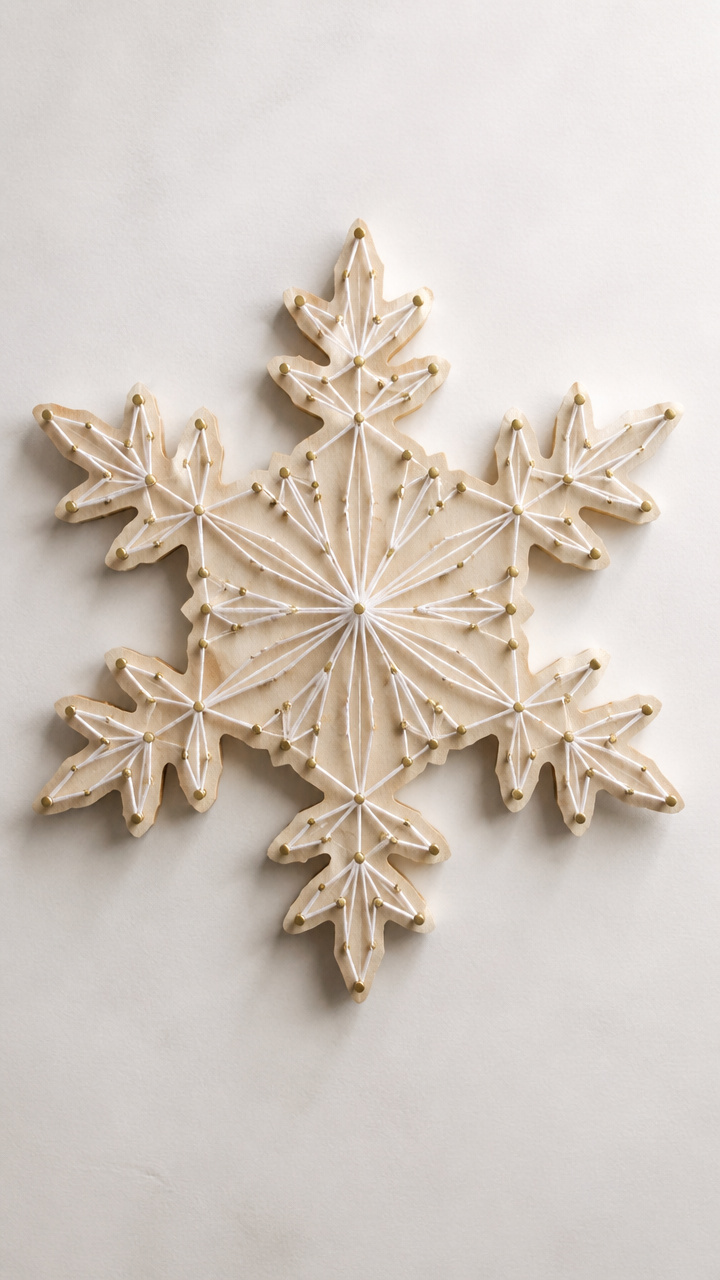
A plywood snowflake outline fills with crisp white string pulled taut between tiny nails. It casts lovely shadows on walls.
Materials Needed
- 1/4-inch birch plywood cut into 8-inch snowflake shape, 1 unit
- Small hammer
- Brass brad nails, 1/2 inch, 60 units
- White button craft thread, 50 yards
- Needle-nose pliers
- Sandpaper
How to Make It
- Lightly sand the edges of the plywood snowflake until smooth.
- Place a brad nail every 1 inch along the outer edge, tapping gently with the hammer.
- Tie the thread end to one nail and pull taut to the opposite side, wrapping around that nail.
- Continue crisscrossing in a random but even pattern until the center is densely filled.
- Use pliers to bend any protruding nail tips flat.
- Tie off the final end and clip excess thread.


13. Braided Yarn Stocking Topper
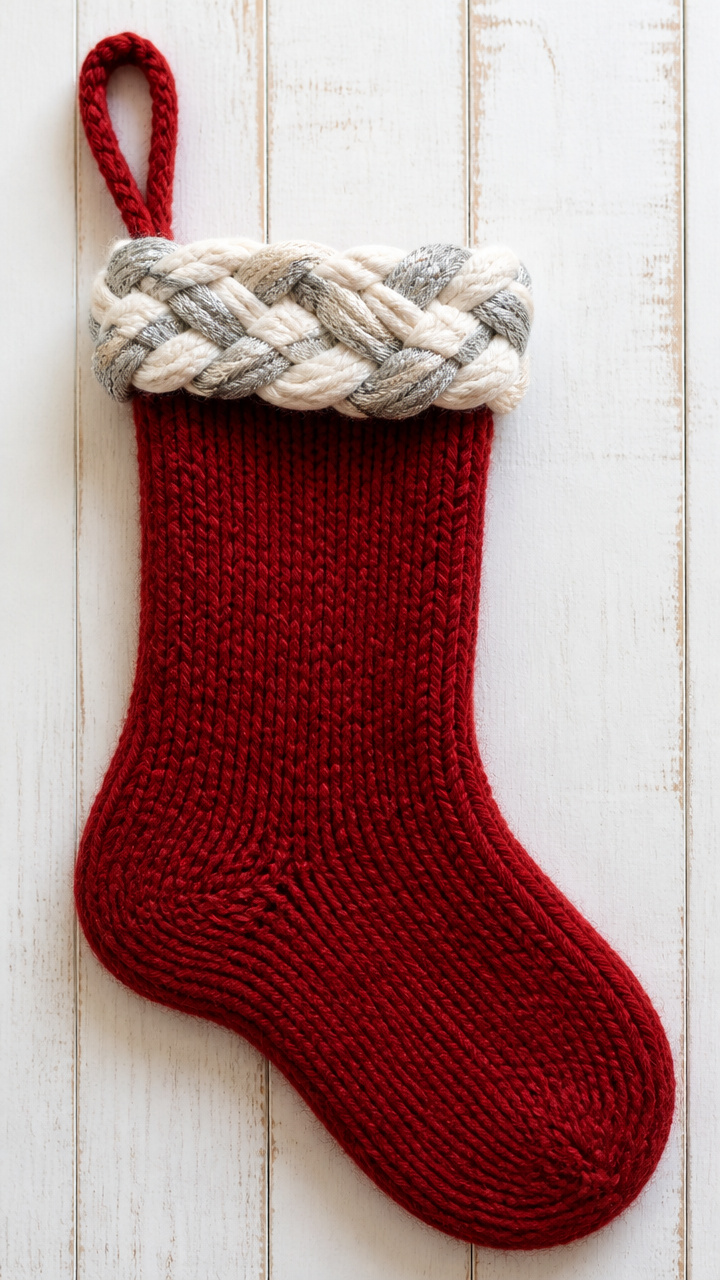
A plain knit stocking gains a custom cuff when you braid three thick yarn strands and sew them across the top.
Materials Needed
- Knit red stocking, 1 unit
- Cream bulky yarn, 30 yards
- White bulky yarn, 30 yards
- Silver bulky yarn, 30 yards
- Scissors
- Yarn needle
How to Make It
- Cut three 36-inch strands, one of each color.
- Line up the ends and tie a knot 2 inches from the top.
- Braid tightly down for 10 inches, keeping even tension.
- Tie another knot at the bottom and trim ends to 1 inch.
- Position the braid across the top edge of the stocking and sew each end securely with the yarn needle.
- Weave in any loose threads on the back.


14. Yarn Bowl Filler Shapes
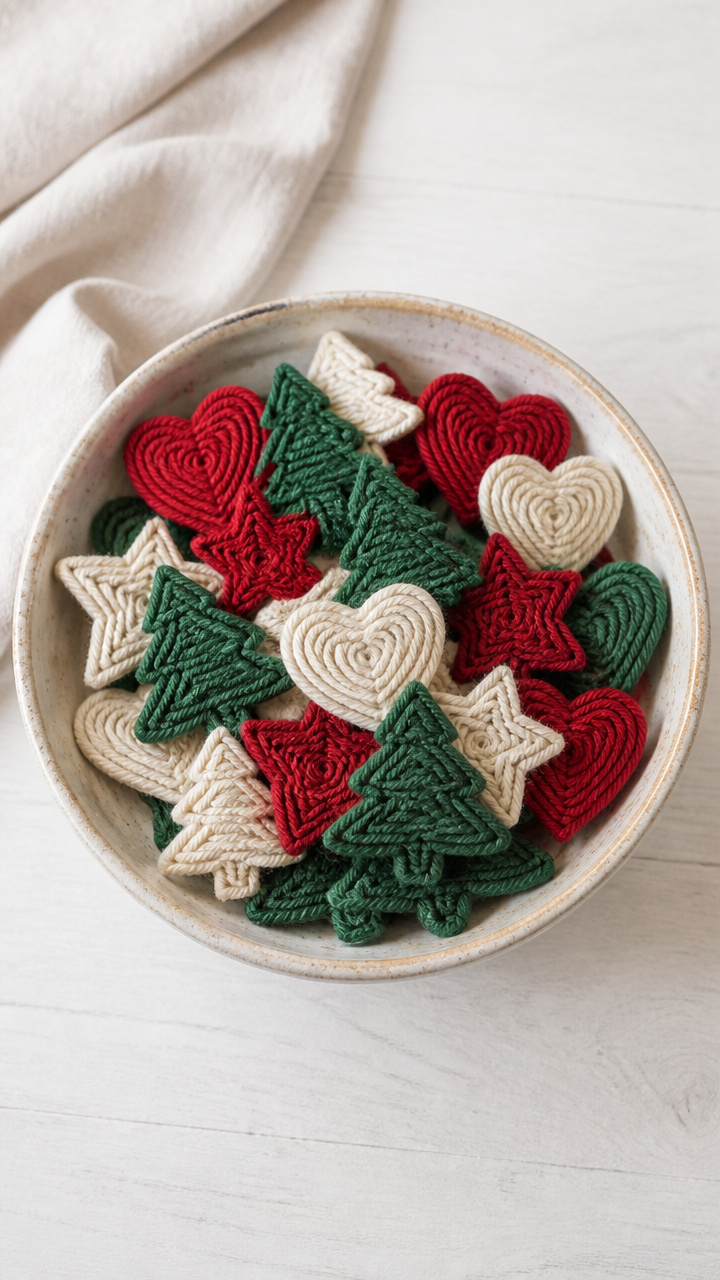
Soft yarn coils into tiny trees, stars, and hearts that nestle in bowls as pretty filler. No tools needed—just your fingers.
Materials Needed
- Assorted scrap yarn in holiday colors, 100 yards total
- Scissors
- Non-stick baking mat or wax paper
How to Make It
- Coat your fingers lightly with wax from the paper to prevent sticking.
- Take a 24-inch strand and begin wrapping it tightly around your index and middle fingers.
- After 10 wraps, slide the coil off and wrap a contrasting 4-inch piece around the center, knotting tightly.
- Adjust the loops evenly to form a star, tree, or heart shape by bending gently.
- Repeat with different colors and shapes until you have 12 pieces.
- Arrange them in a ceramic bowl as a centerpiece.


15. Ladder Stitch Tree Wall Hanging
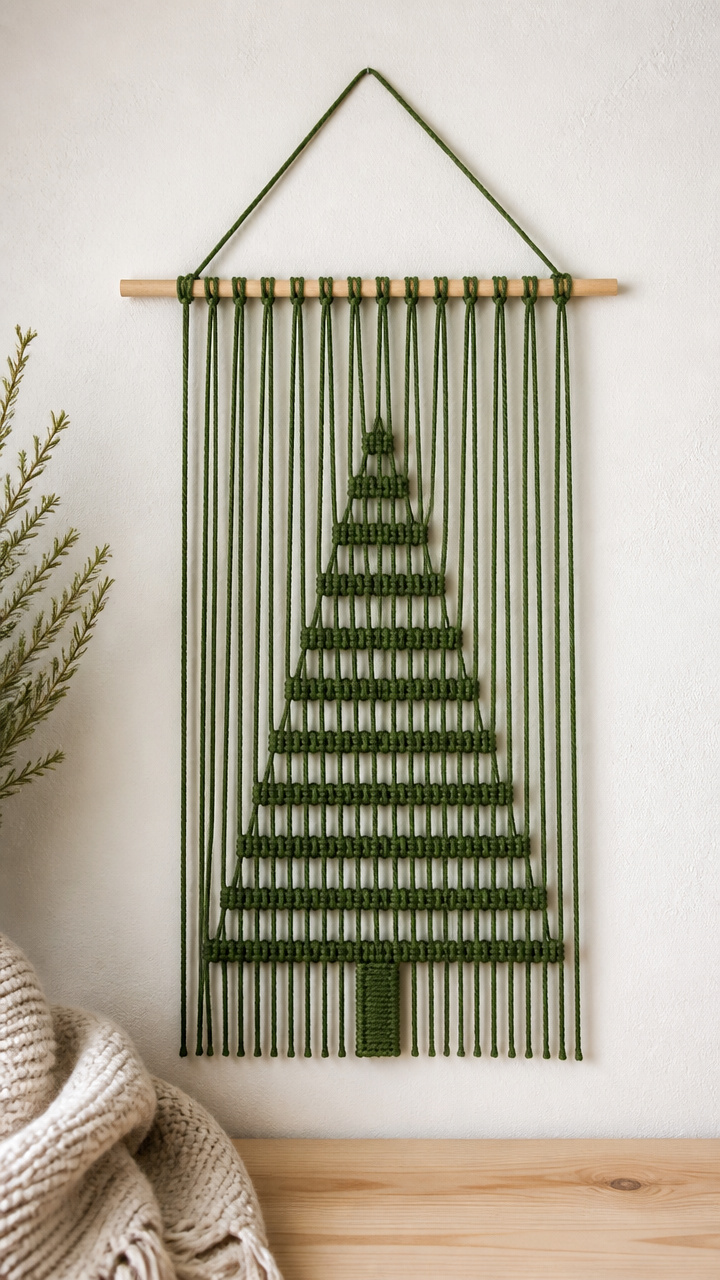
A wooden dowel anchors a vertical yarn piece with ladder-like horizontal bars. It resembles a minimalist evergreen.
Materials Needed
- 12-inch wood dowel, 1/2 inch diameter, 1 unit
- Green yarn, 3 skeins
- Scissors
- Ruler
- Drill with 3/16-inch bit
- S-hook for hanging
How to Make It
- Drill a small hole at each end of the dowel for hanging.
- Cut 15 strands of green yarn, each 24 inches long.
- Fold each strand in half and use the loop to attach to the dowel with a lark’s head knot.
- Space knots evenly across the dowel.
- Starting 2 inches below the dowel, tie a horizontal bar across the front strands using a 12-inch piece of yarn.
- Repeat every 2 inches down, trimming the lowest ends at staggered lengths to form a tree shape.

16. Button-Anchor Yarn Garland
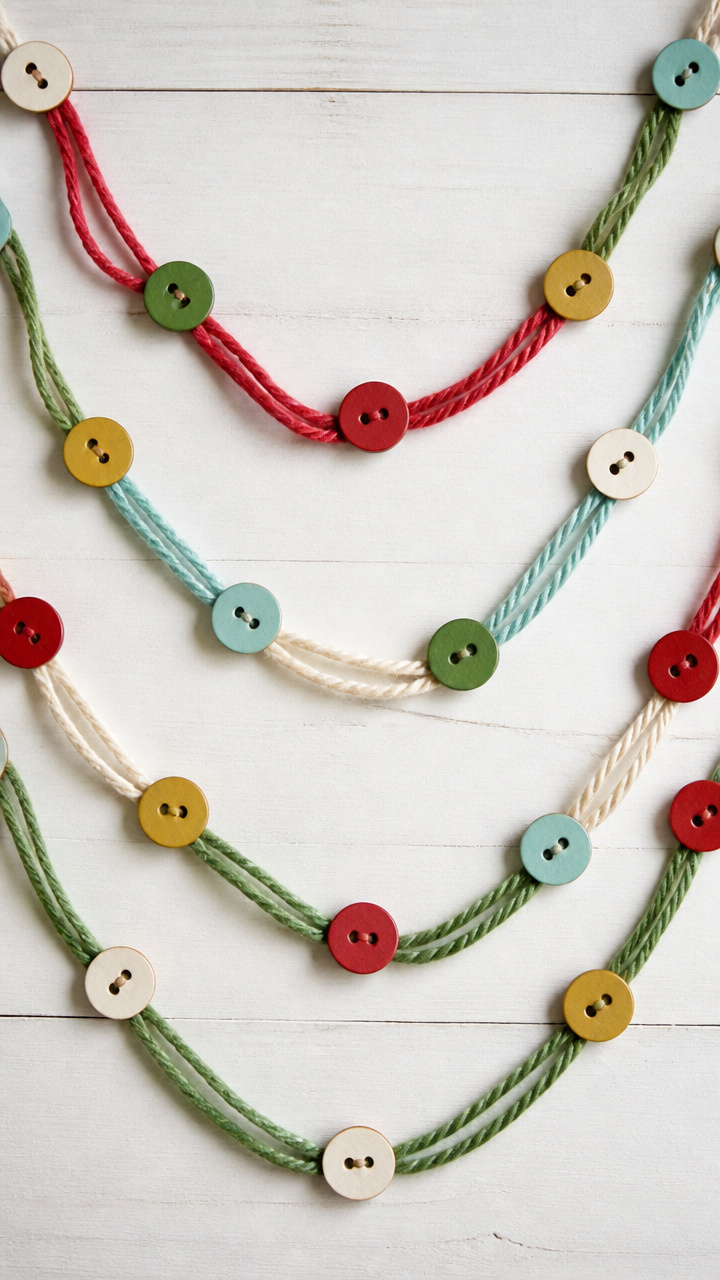
Bright yarn loops connect vintage-style buttons in a cheerful garland. It drapes nicely over shelves or windows.
Materials Needed
- Assorted wooden buttons, 1 inch diameter, 20 units
- Multicolored worsted yarn, 5 skeins
- Tapestry needle
- Scissors
- Ruler
How to Make It
- Cut 20 pieces of yarn, each 12 inches long, mixing colors.
- Thread the needle and pass one piece through the holes of a button, pulling until centered.
- Tie a secure double knot behind the button to hold it in place.
- Repeat for all 20 buttons, varying yarn colors randomly.
- Arrange the finished links in a line and check spacing.
- Drape the garland across a mantel or shelf, letting loops hang freely.


17. Knotted Doorknob Wreath
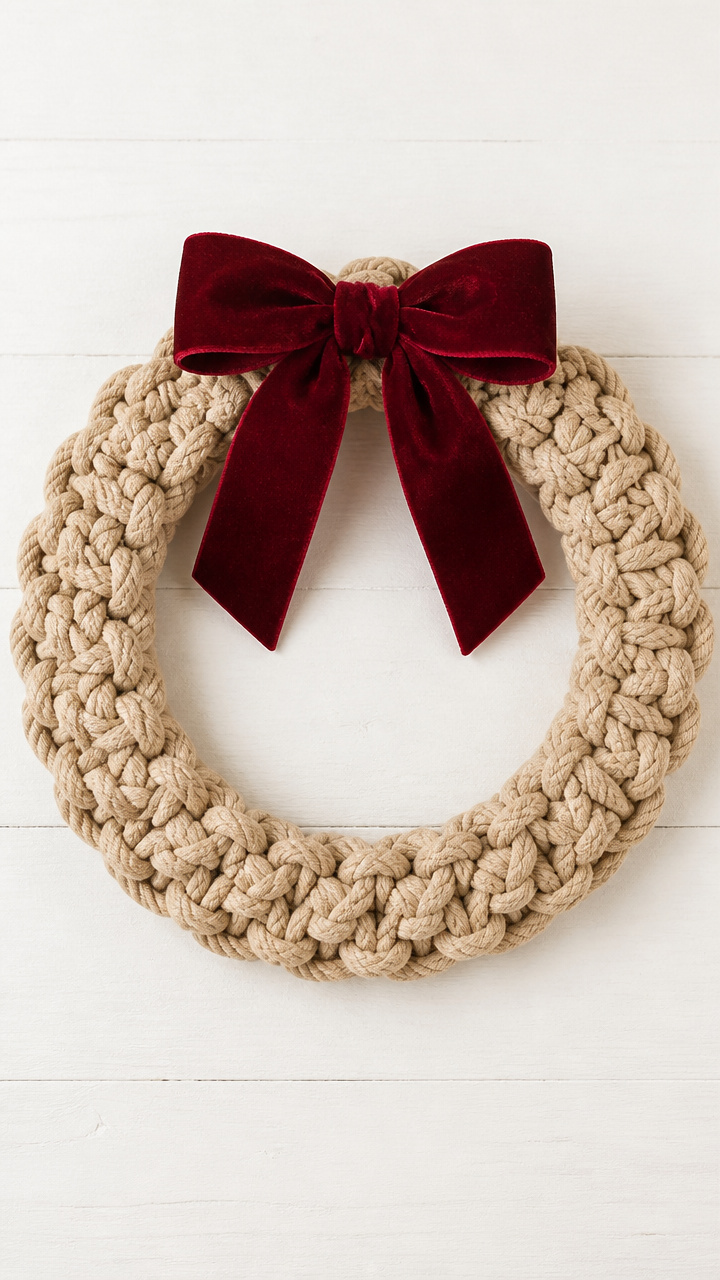
Thick rope knotted around a circular frame makes a bold doorknob decoration. It holds its shape and welcomes guests year after year.
Materials Needed
- 10-inch plastic embroidery hoop, 1 unit
- 3/8-inch thick cotton rope, 20 feet
- Scissors
- Hot glue gun with glue sticks
- Red velvet ribbon, 1/2 inch wide, 18 inches
How to Make It
- Separate the inner and outer hoop and set the outer ring aside.
- Apply a dot of hot glue to the inner ring and press the rope end onto it.
- Wrap the rope tightly around the inner ring, adding glue every 2 inches to prevent slipping.
- Continue until the ring is fully covered, then glue the end down and trim excess.
- Reattach the outer ring to lock the rope in place.
- Tie the ribbon into a bow and glue it to the bottom of the wreath.


You’ve got everything you need to start creating right now. Grab your yarn, pick a project that speaks to you, and enjoy the quiet joy of making something by hand.