15 DIY Christmas Cards for Friends and Family
Nothing matches the warmth of a handmade holiday card. When you make a card with your own hands, you are sharing your time, care, and a little bit of personal magic that store-bought cards simply cannot replicate.
Crafting for friends and family should bring pure joy, not stress. Each of these projects uses different materials and techniques, giving you plenty of fresh ideas to explore without ever repeating yourself.
1. Foil-Stamped Pinecone Trees
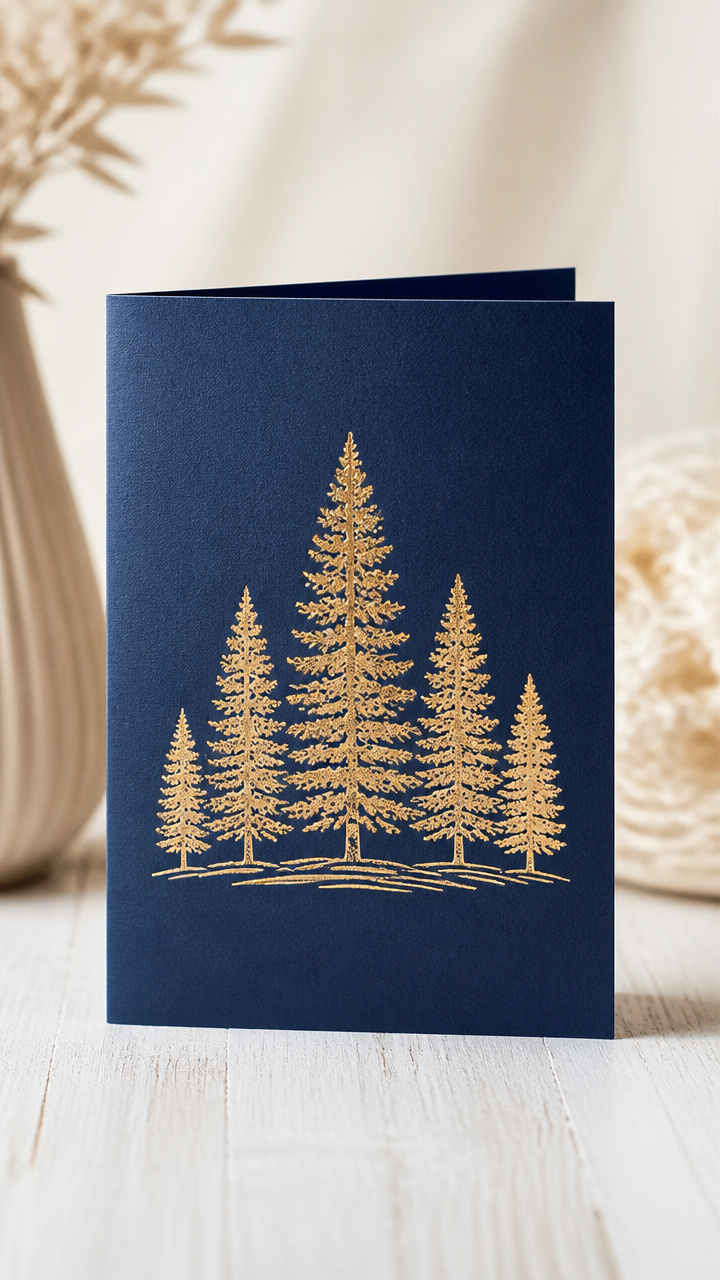
Shimmering pinecone silhouettes stand like tiny forests on rich navy cards. The metallic foil catches the light and adds quiet elegance without being flashy.
Materials Needed
- Navy blue A6 cardstock, 5×7 inches, 4 sheets
- Gold heat-activated foil transfer sheet, 4 pieces
- Pinecone craft stencil, 1
- Fine-tipped glue pen, 1
- Heat tool, 1
- White gel pen, 1
How to Make It
- Place the pinecone stencil in the center of the card front and trace lightly with the glue pen.
- Lay the gold foil sheet over the glued area, shiny side up, and press gently with your fingers.
- Use the heat tool on low setting, moving evenly over the foil for 10 seconds until it adheres.
- Peel back the foil sheet carefully. Add small snow dots on the card with the white gel pen.


2. Cinnamon Stick Mini Wreaths
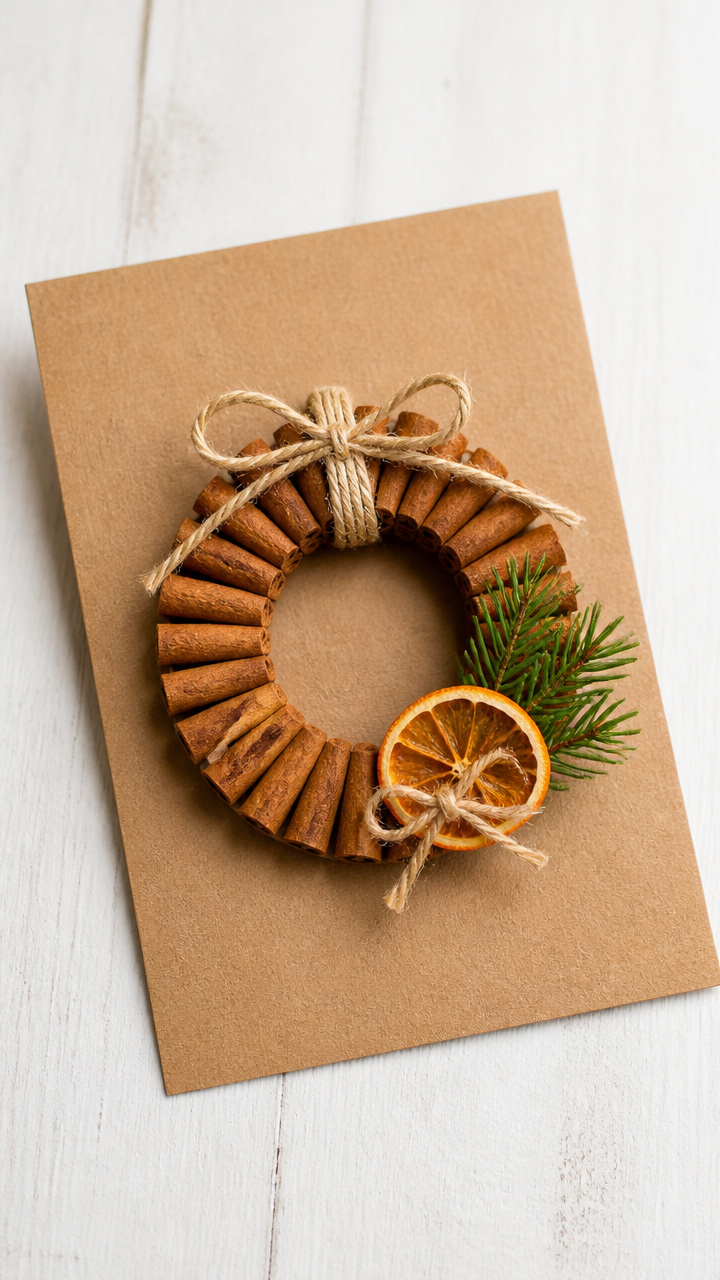
Tiny cinnamon sticks tied into circles smell like holiday warmth and look festive taped to kraft paper cards. These double as mini gifts because they keep smelling great for weeks.
Materials Needed
- Cinnamon sticks, 3-inch length, 15 pieces
- Jute twine, 1mm thickness, 3 yards
- Kraft brown A6 cards, 5×7 inches, 5 sheets
- Hot glue gun and glue sticks, 1 set
- Dried orange slice, 5 pieces
- Small pine sprig, 5 pieces
How to Make It
- Arrange five cinnamon sticks in a circle and bind them at two points with jute twine using tight knots.
- Glue an orange slice and a pine sprig where the twine crosses on the wreath.
- Add a dab of hot glue to the back of the wreath and attach it slightly off-center on the card front.
- Write your message below the wreath in dark brown ink.


3. Watercolor Wash Snowy Hills
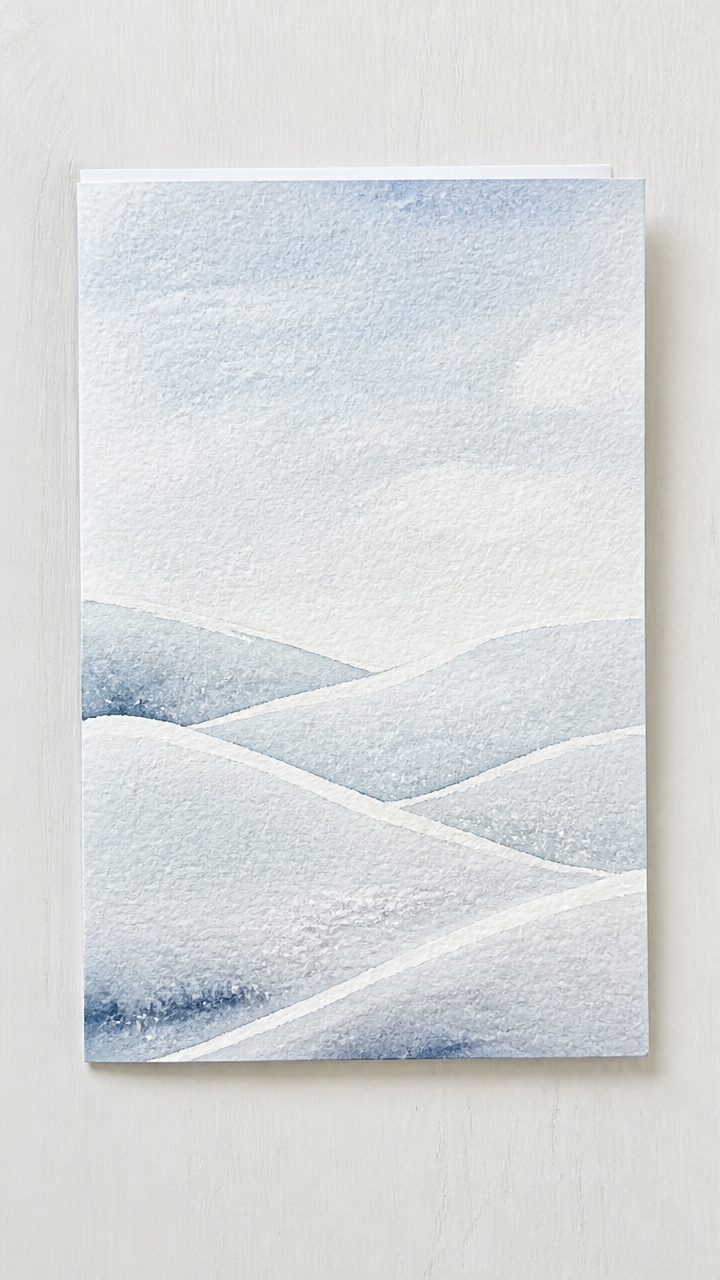
Soft blue and gray washes create distant snowy hills under a pale winter sky. This peaceful scene feels calm and thoughtful, perfect for quiet holiday wishes.
Materials Needed
- Cold press watercolor paper, 5×7 inches, 5 sheets
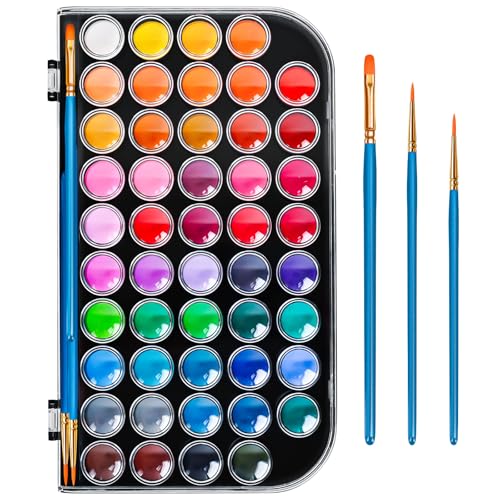
- Round watercolor brush size 6, 1
- Cobalt blue, Payne's gray, and titanium white watercolor paints
- Watercolor palette, 1
- Clean water cup, 1
- Pencil, eraser, ruler
- A6 white cardstock base, 5 sheets
How to Make It
- Lightly sketch two rolling hill lines across the watercolor paper using pencil and ruler.
- Mix cobalt blue with lots of water and paint the top half of the paper for the sky.
- While still damp, add a touch of Payne's gray near the horizon and let it blend naturally.
- Let dry completely, then glue the painting onto the card base. Erase any visible pencil marks.


4. Glitter-Dipped Evergreen Branches
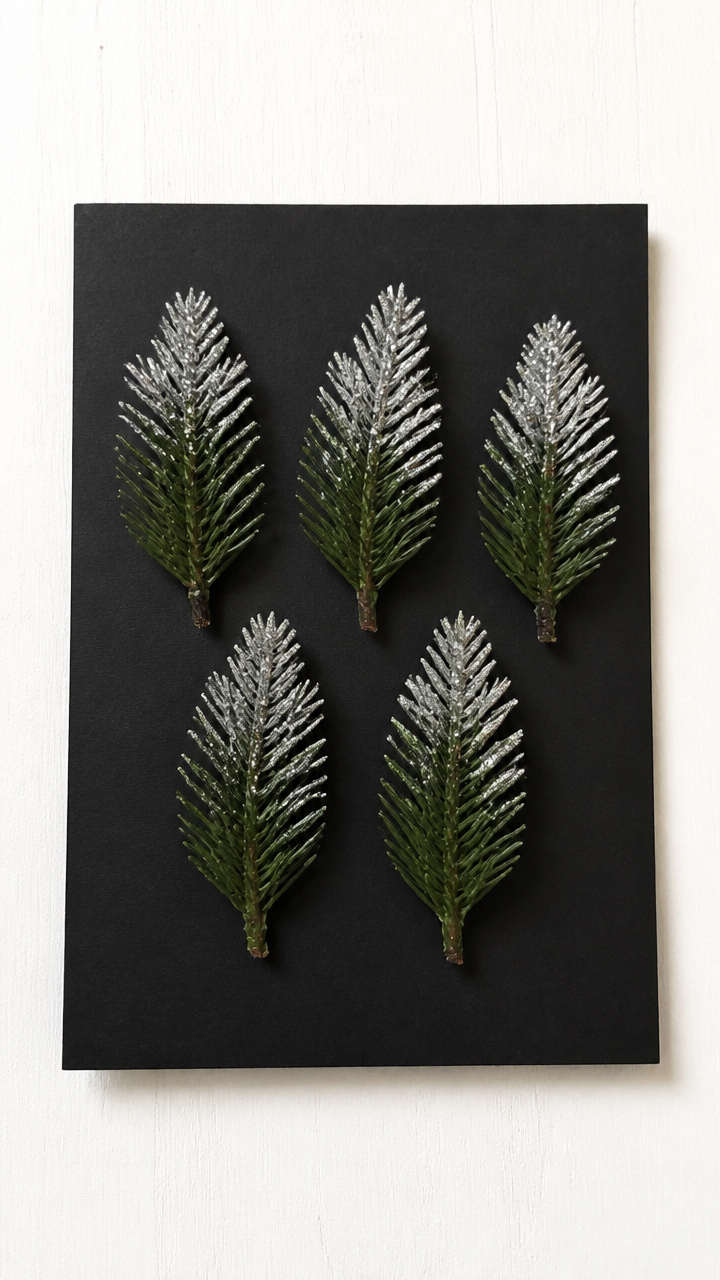
Realistic evergreen clippings dipped in fine glitter sparkle like frost-covered branches. They give a natural, wintry feel with very little mess.
Materials Needed
- Fresh evergreen sprigs, 3 inches long, 5 pieces
- Fine silver glitter, 1 tablespoon
- Clear-drying craft glue, 1 bottle
- Paintbrush, size 2
- Black construction paper, 5×7 inches, 5 sheets
- Double-sided tape, 1 roll
How to Make It
- Brush glue evenly along the outer half of each evergreen sprig using the paintbrush.
- Sprinkle silver glitter over the glued areas, tapping off excess into a tray.
- Let sit for 15 minutes until dry, then gently shake off loose glitter.
- Attach each branch diagonally on the black paper using double-sided tape and write a message in white pen.


5. Pop-Up Paper Fireplace
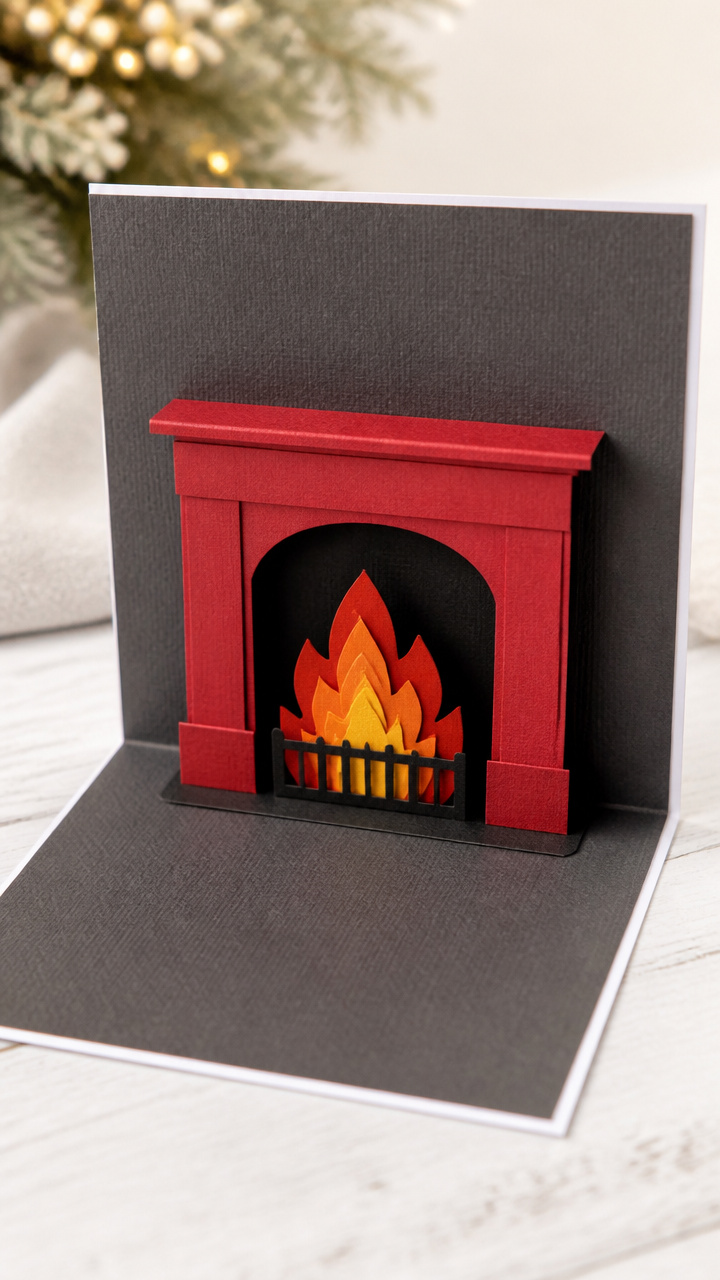
A cozy fireplace with flickering paper flames jumps out when the card opens. The surprise element brings a smile every time.
Materials Needed
- Red, black, yellow, and orange cardstock, 8.5×11 inches, 1 sheet each
- Scissors, sharp pointed tip
- Ruler, 1
- Glue stick, 1
- A6 folded card base, 5 sheets
- Charcoal gray pastel stick, 1
How to Make It
- Cut a 2×3 inch rectangle from black cardstock for the firebox and glue it centered inside the card.
- Fold a 1×2 inch strip of red cardstock in accordion style for flames and glue only the bottom edge inside the firebox.
- Cut jagged flame shapes from yellow and orange paper and layer them on top of the red strip with glue.
- Smudge charcoal gray pastel around the firebox opening for soot and add logs with hand-cut red pieces.

6. Salt Painting Winter Windows
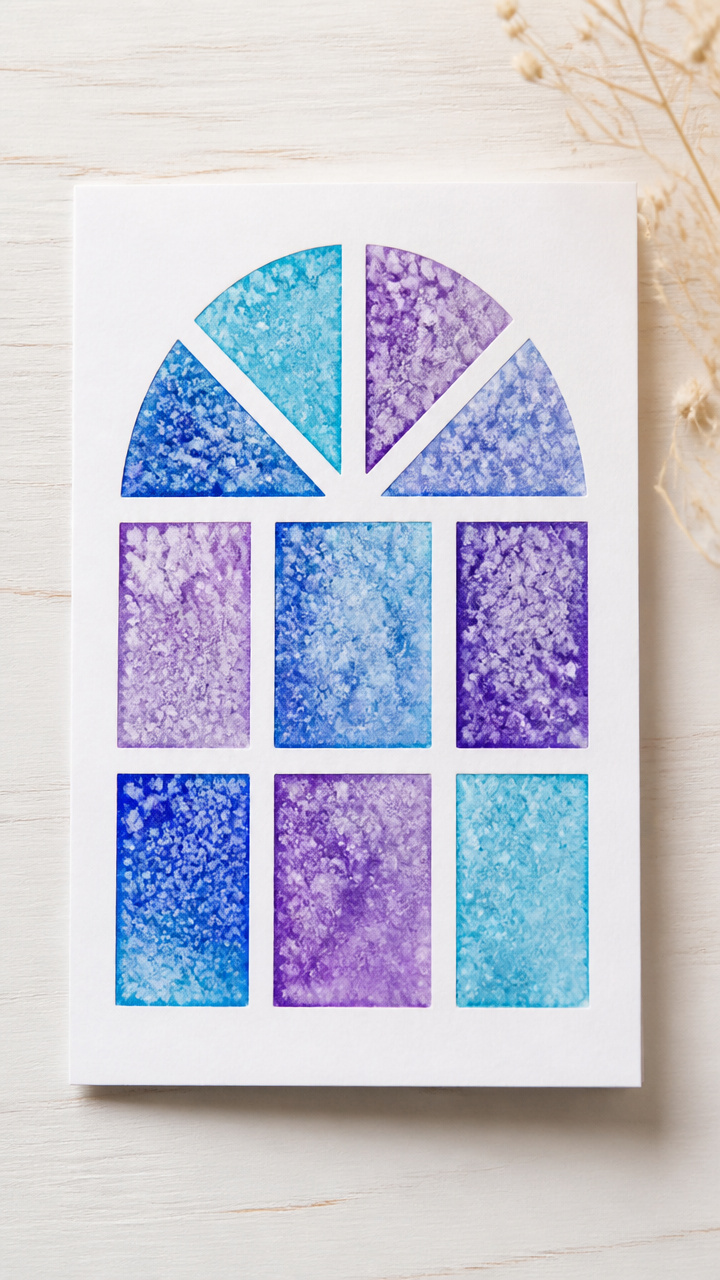
Tiny windowpanes painted with salt and watercolor look like glowing rooms during a snowstorm. The texture sparkles subtly and is fun to make with kids.
Materials Needed
- White cardstock, A6 size, 5 sheets
- Blue and purple liquid watercolors, 2 bottles
- Table salt, 3 tablespoons
- Glue stick, 1
- Small paintbrush, 1
- Pencil, 1
How to Make It
- Draw a simple window frame with four panes using pencil on the card front.
- Outline each pane with glue and immediately sprinkle salt over the glue lines.
- Shake off excess salt after 30 seconds and let dry for 5 minutes.
- Dip the brush in blue watercolor and touch it to the center of each pane to let it spread through the salt.


7. Button Reindeer Line-Up
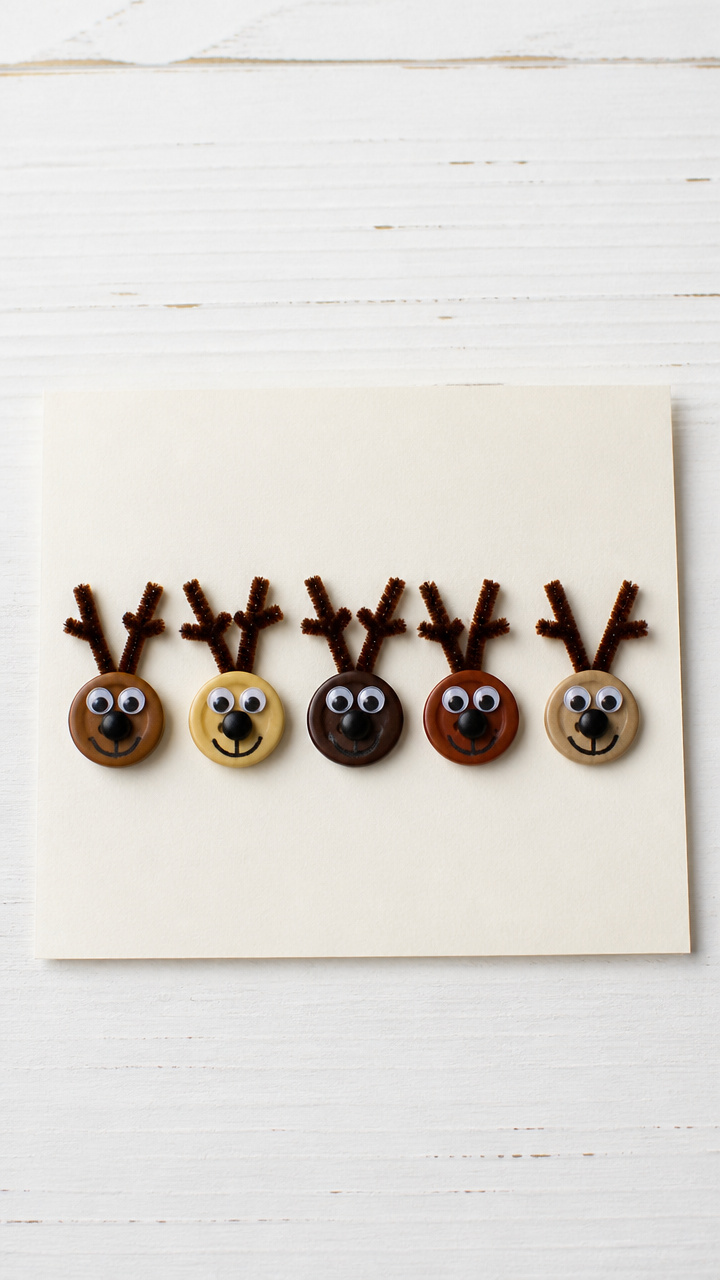
Five mismatched buttons march across the card like a reindeer squad. Their round shapes become faces with simple marker details and pipe cleaner antlers.
Materials Needed
- Assorted round buttons, 5 per card, 25 total
- Brown pipe cleaners, 5 inches long, 5 pieces
- Black fine-line marker, 1
- Googly eyes, 5mm, 10 pieces
- Tacky glue, 1 bottle
- A6 cream cardstock, 5 sheets
- Red pom-pom, 3mm, 5 pieces
How to Make It
- Glue five buttons in a curved line across the lower third of the card.
- Draw small smiles under each button with the marker.
- Cut pipe cleaners in half and bend each piece into antler shapes, then glue two above each button.
- Add googly eyes and a red pom-pom nose to each reindeer with tacky glue.


8. Quilled Holly Ornaments
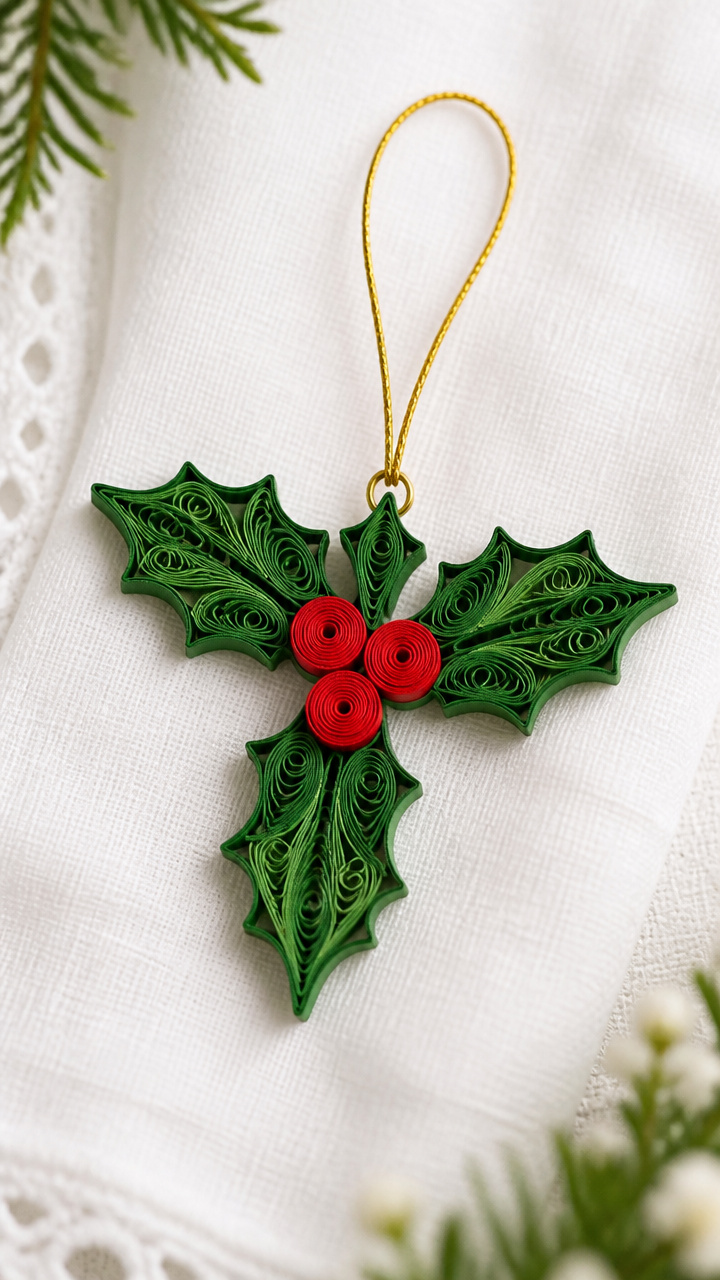
Tight coils of red and green paper form holly berries and leaves hanging from a golden loop. Quilling gives a delicate, vintage charm.
Materials Needed
- Red and green quilling paper strips, 1/4 inch wide, 10 each
- Gold quilling paper strip, 1/4 inch, 1
- Quilling tool, 1
- Tacky glue, 1 bottle
- Tweezers, 1 pair
- A6 white linen card, 5 sheets
How to Make It
- Roll one red strip tightly into a berry coil and glue the end. Let sit flat for 10 seconds.
- Roll two green strips loosely, pinch one into a teardrop leaf and the other into a marquise shape.
- Glue the leaves beside the berry and attach the cluster below a short gold loop for the hanger.
- Mount the ornament near the top corner of the card with glue and let dry 5 minutes.


9. Crayon Melting Snowmen
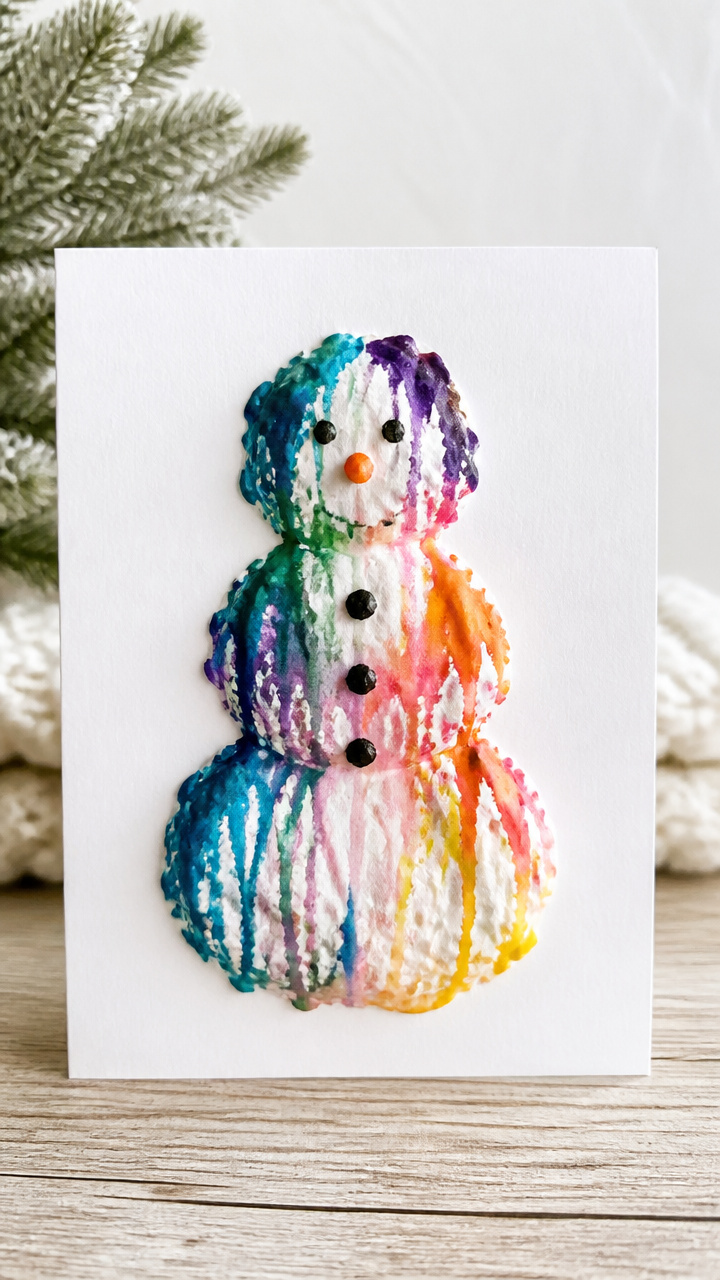
Old crayons melt into lumpy snowman bodies with bold color streaks. This technique turns broken crayons into cheerful art with real dimension.
Materials Needed
- White A6 cardstock, 5 sheets
- Assorted old crayons, peeled, 15 pieces
- Hairdryer, 1
- Cardboard stencil of snowman shape, 1
- Aluminum foil, 5 sheets, 6×8 inches
- Tape, 1 roll
How to Make It
- Line the card with foil and secure edges with tape underneath.
- Place the snowman stencil on top and scatter blue and white crayon pieces inside the body shape.
- Set hairdryer to medium heat and aim downward until wax melts and drips down the foil.
- Remove stencil carefully after 2 minutes and let cool completely before peeling off foil.


10. Stitch-Punched Starry Night
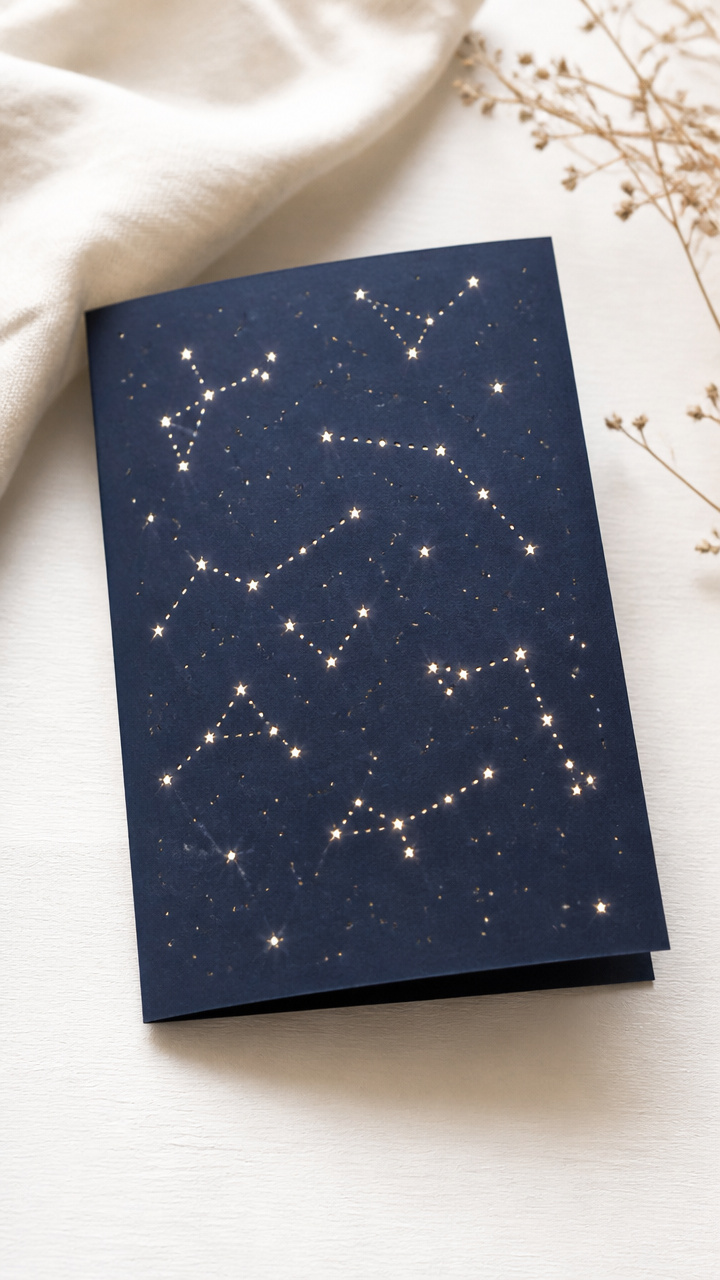
Tiny holes punched in a night sky glow when held near light. The pattern mimics constellations and looks stunning against dark blue paper.
Materials Needed
- Dark blue cardstock, A6 size, 5 sheets
- Leather hole punch, 1mm tip
- Printed star pattern template, 5 copies
- Push pin, 1
- Tape, 1 roll
- White chalk pencil, 1
How to Make It
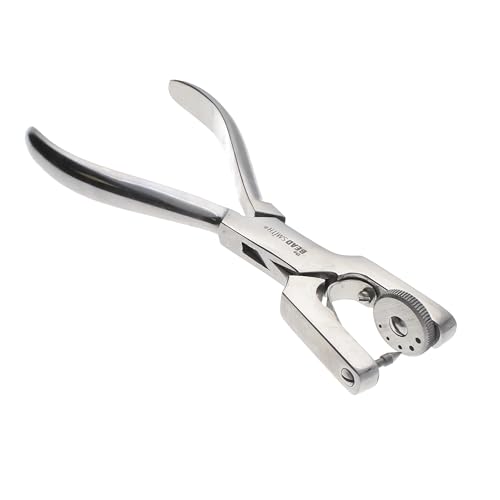
- Tape the star template to the card front and use the push pin to poke through each dot.
- Remove the template and deepen each hole with the leather punch for clean edges.
- Use the chalk pencil to lightly dot larger stars around the constellations.
- Write your message at the bottom so it doesn't cover the punched area.


11. Cookie Cutter Snow Globe
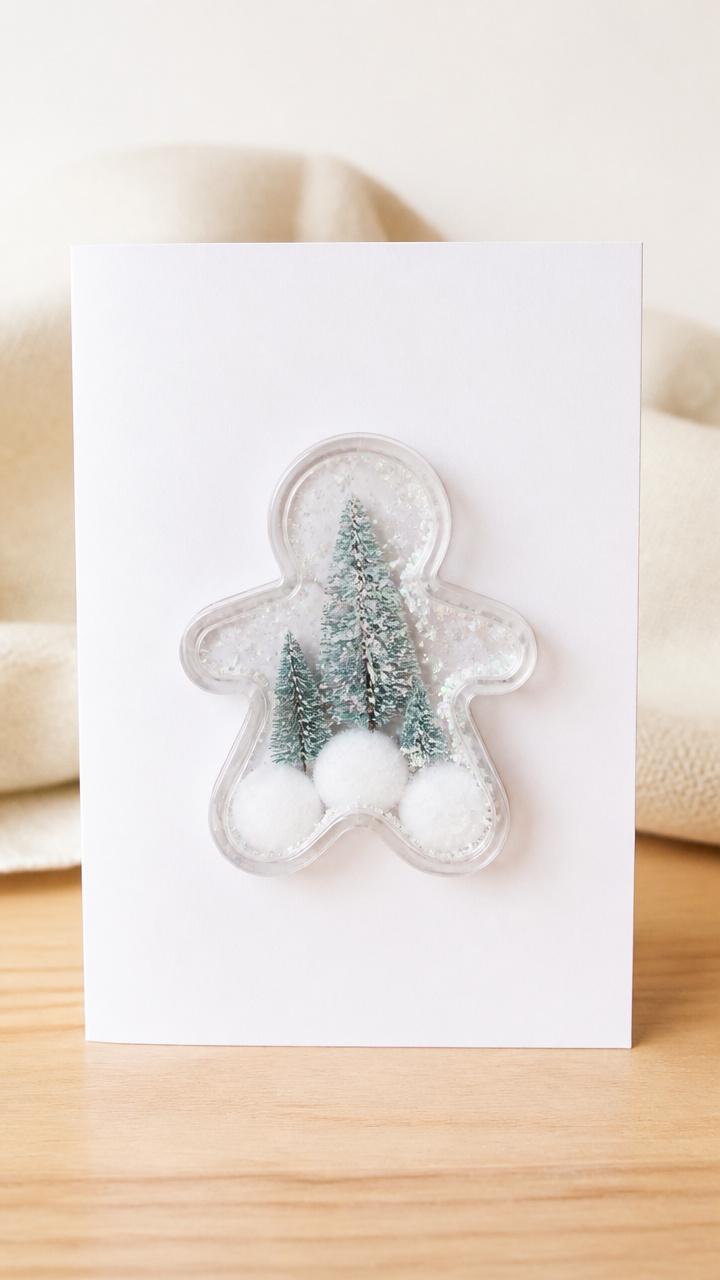
A plastic Christmas cookie cutter becomes the dome of a snow globe filled with cotton and mini figures. It’s playful and dimensional with zero glass involved.
Materials Needed
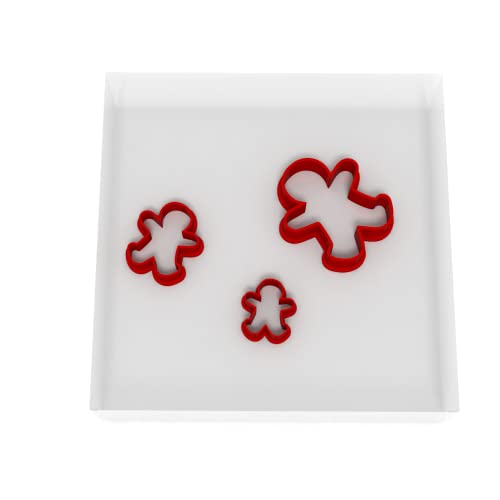
- Plastic gingerbread man cookie cutters, 3 inches tall, 5
- Clear double-sided adhesive discs, 3-inch diameter, 5
- Cotton balls, 10
- Mini paper tree cutouts, 1 inch, 5
- Glitter glue, clear with fine glitter, 1 bottle
- A6 white card, 5 sheets
How to Make It
- Flatten cotton balls and place a small pile in the center of the card.
- Set the paper tree in the middle of the cotton bed.
- Peel backing from the adhesive disc and place it over the cotton and tree, sticky side up.
- Press the cookie cutter into the adhesive so it forms a dome. Squeeze glitter glue around the rim for extra sparkle.


12. Origami Paper Cranes on Gift Stack
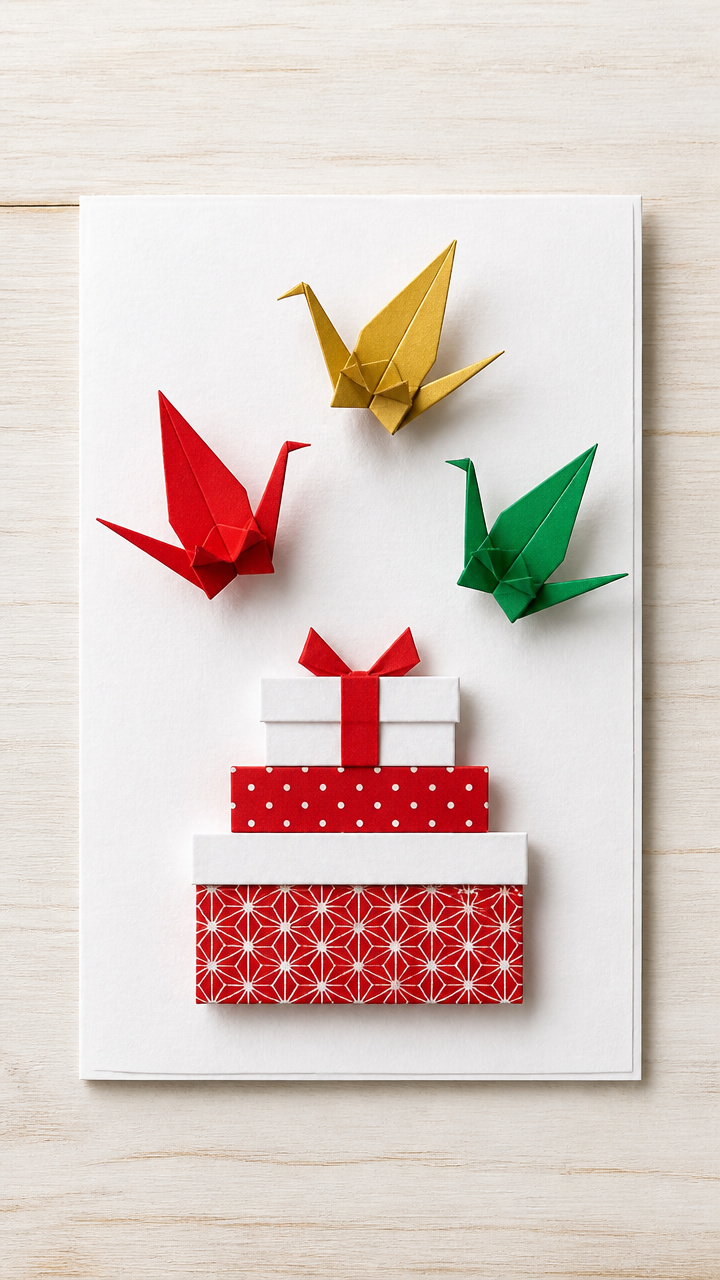
Three folded paper cranes hover above a stack of fake gift boxes made from patterned paper. It’s a peaceful nod to giving and grace.
Materials Needed
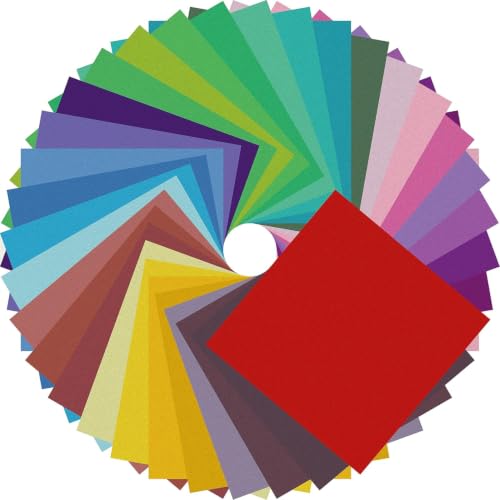
- Red, gold, and green origami paper, 6×6 inches, 1 sheet each
- Scissors, 1 pair
- Craft foam sheets, 1/8 inch thick, red and white, 2 sheets
- Glue dots, 1 pack
- A6 folded card, 5 sheets
- Bone folder, 1
How to Make It
- Fold one crane from each color using classic origami steps, creasing sharply with the bone folder.
- Cut three rectangles from craft foam: 1×1.5, 1.5×2, and 2×2.5 inches. Stack and glue with glue dots.
- Attach each crane above the gift stack using a glue dot on its tail to make it float.
- Place the entire scene on the left side of the card and leave space for writing on the right.


13. Puffy Paint Christmas Lights
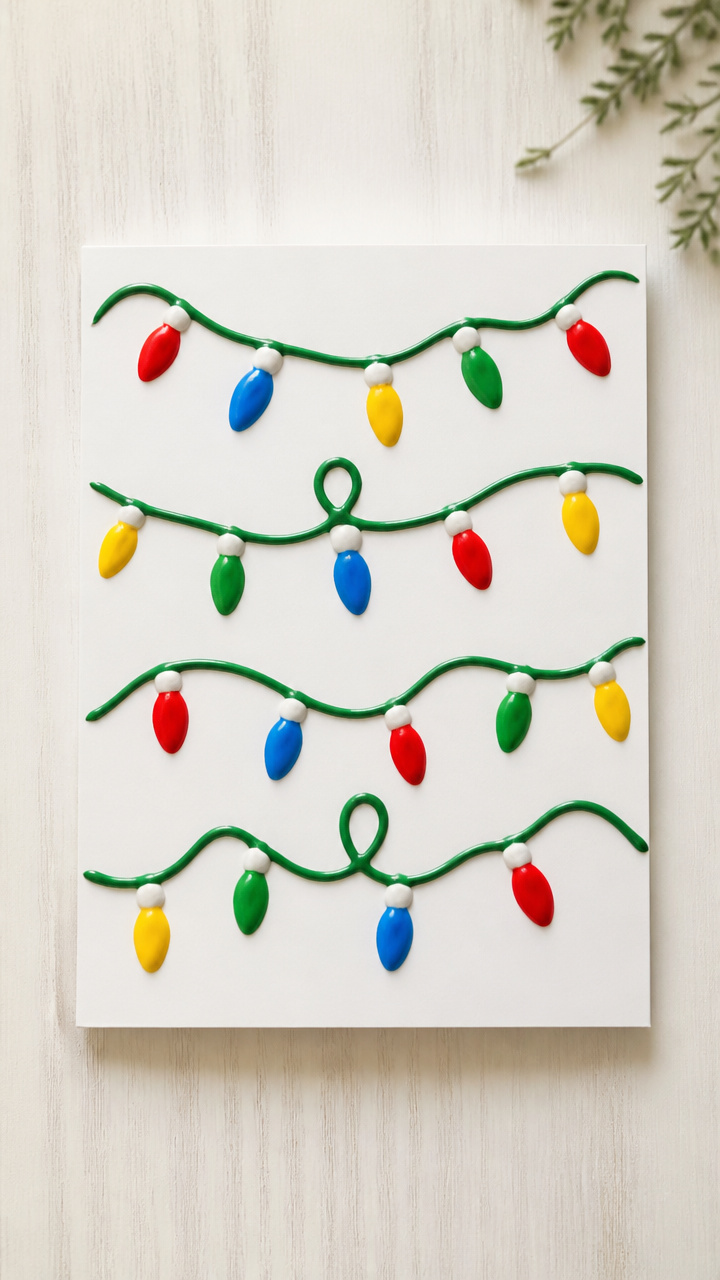
Lines of raised puffy paint mimic strings of multicolored lights. When dry, they have a soft 3D texture that begs to be touched.
Materials Needed
- White cardstock, A6 size, 5 sheets
- Puffy fabric paint in red, green, yellow, blue, white, 1 bottle each
- Black fine-tip marker, 1
- Ruler, 1
- Painter’s tape, 1 roll
How to Make It
- Use the ruler and marker to draw a straight horizontal line across the card 1 inch from the top.
- Tape along the line to protect the area below while you work.
- Squeeze dots of different colored puffy paint above the line, spacing them 0.5 inches apart.
- Let dry overnight with the card lying flat so the paint holds its puff.


14. Pressed Herb Holly Sprigs
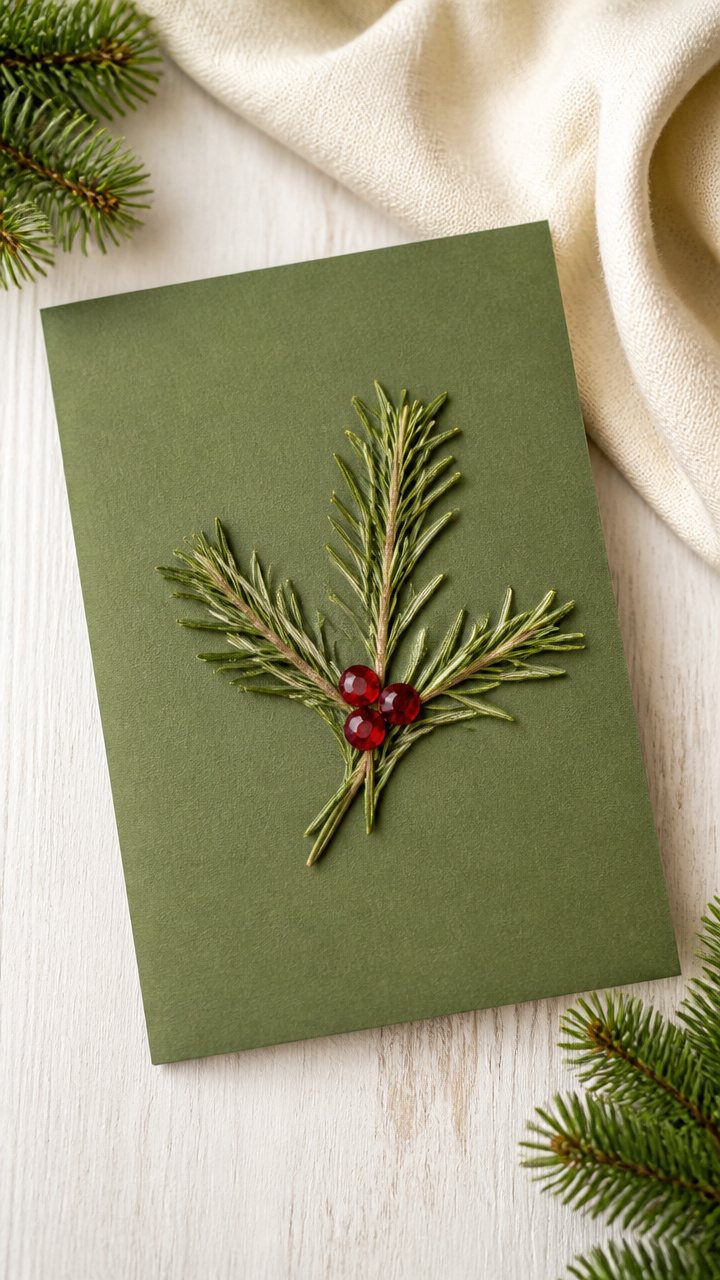
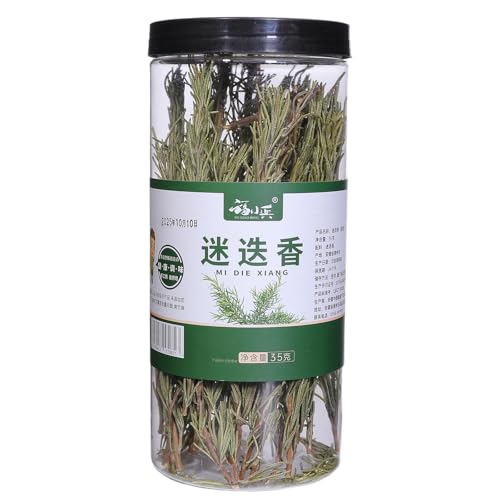
Real dried rosemary sprigs shaped like holly leaves add scent and rustic beauty. They stay fragrant for months tucked inside the card.
Materials Needed
- Fresh rosemary sprigs, 3 inches long, 5
- Heavy books, 2
- Parchment paper, 6×8 inches, 10 sheets
- Glue pen, 1
- Green cardstock, A6 size, 5 sheets
- Red self-adhesive jewels, 3mm, 10
How to Make It
- Place each rosemary sprig between parchment sheets and press under heavy books for 2 days.
- Once flat and dry, arrange one sprig diagonally on the green card.
- Run a thin bead of glue along the stem and reposition the sprig to adhere.
- Stick two red jewels at the tip of each leaf cluster to mimic berries.


15. Yarn-Wrapped Tree Silhouette
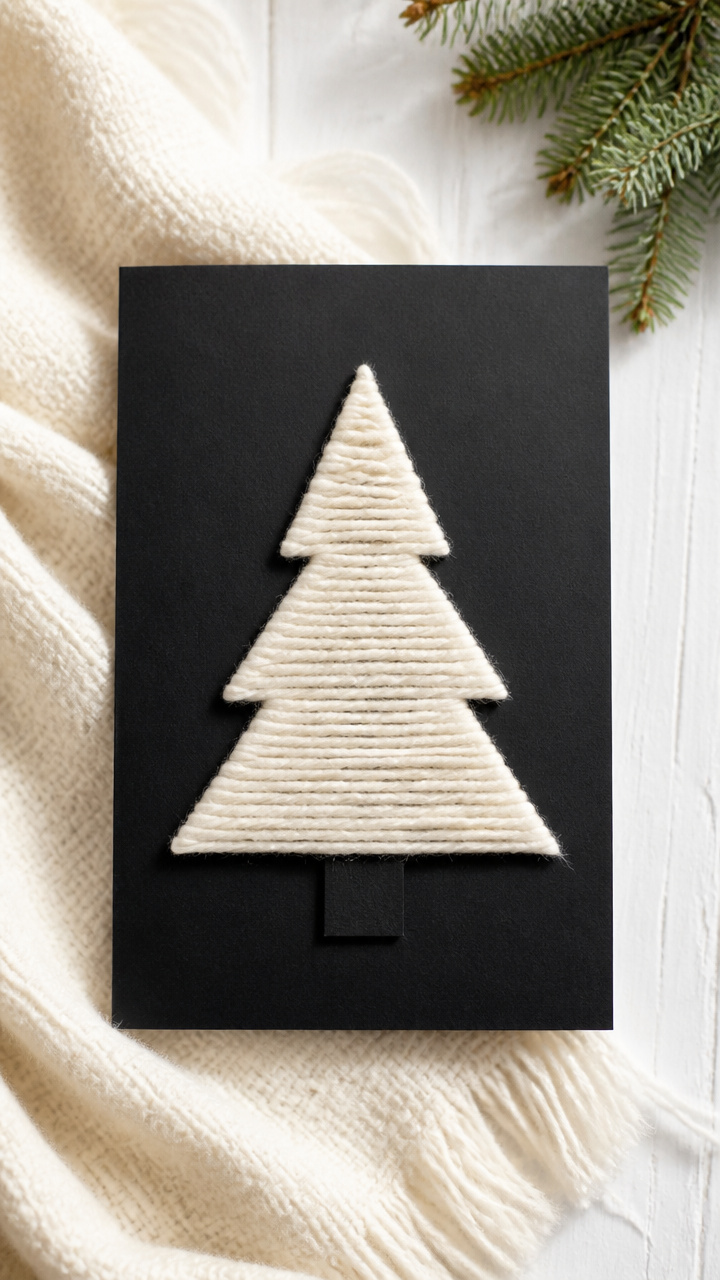
A solid tree shape wrapped tightly with creamy yarn looks like a cozy blanket of snow. The soft texture contrasts beautifully with smooth cardstock.
Materials Needed
- Black cardstock, A6 size, 5 sheets
- Cream acrylic yarn, worsted weight, 10 yards
- Cardboard tree stencil, 4 inches tall, 1
- White school glue, 1 bottle
- Paintbrush, 1
- Scissors, 1 pair
How to Make It
- Trace the tree stencil in the center of the card and fill the outline with a thin layer of glue using the brush.
- Start at the base and wrap the yarn tightly around the glued shape, covering all black surface.
- Overlap slightly as you spiral upward, pressing each wrap into the glue.
- Cut the yarn at the top and glue the end securely. Let dry for 20 minutes before handling.


Each of these cards carries your attention and care in a way no printed version ever could. Pick one that matches your mood and start with what you have on hand.