15 Easy Crafts for Kids That Are Simple Enough for Beginners
Rainy days, quiet afternoons, or just a need for some joyful mess-making, crafting with kids brings big smiles and tiny paint-splattered hands. These projects use simple supplies you likely have at home and guide young makers through real results they’ll want to show off.
Each idea stands on its own with clear steps, exact materials, and zero guesswork. You’ll find paper, glue, pipe cleaners, and imagination all working together in ways that feel doable, not overwhelming.
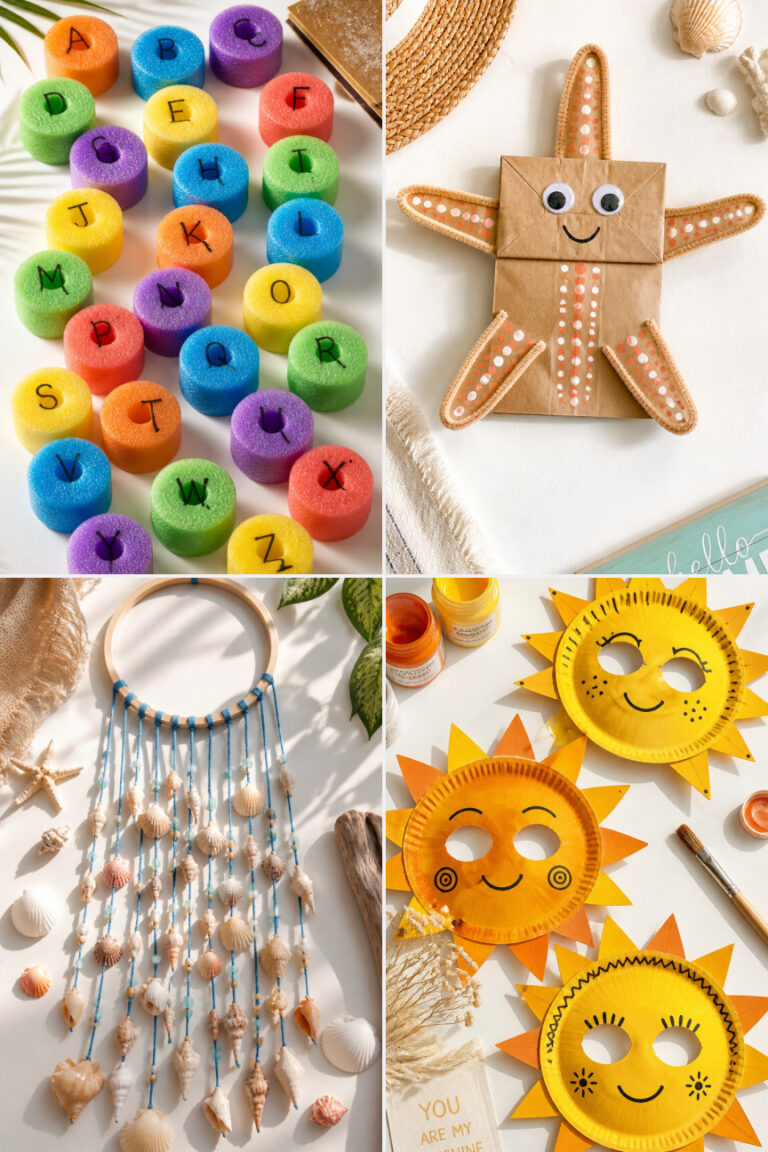
1. Paper Plate Animal Masks
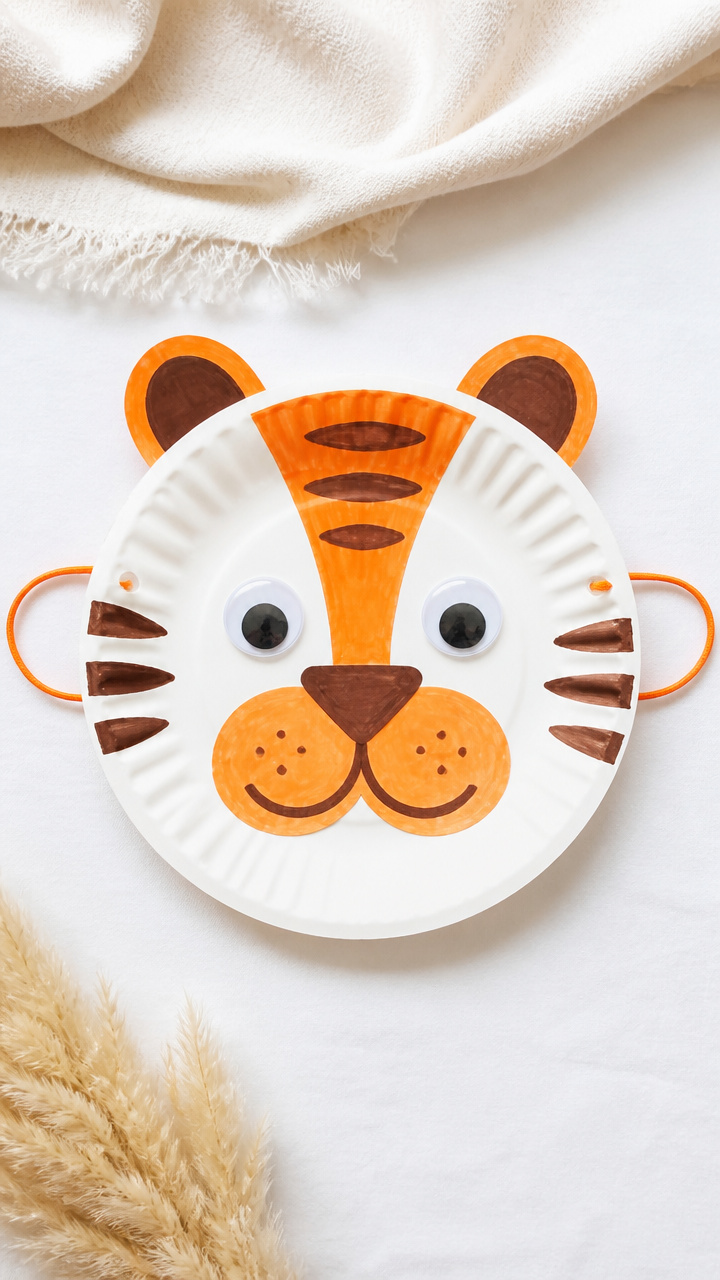
Soft edges and light weight make these masks perfect for little faces to wear during pretend play. Choose a lion, bunny, or fox and watch their personalities come alive.
Materials Needed
- 1 white paper plate per mask
- Crayola washable markers (brown, orange, pink)
- 1 pair child-safe scissors
- White craft glue
- 12-inch piece of elastic string
- Googly eyes (10mm, 2 per mask)
- Craft foam sheets (1 sheet each: orange, pink, black)
How to Make It
- Draw the animal face shape on the paper plate using markers, like round ears for a bunny or spiky mane lines for a lion.
- Cut out eye holes where the animal’s eyes would sit using scissors, then trim foam into nose, ears, and whisker shapes.
- Glue the foam pieces and googly eyes onto the plate, then let dry flat for 20 minutes.
- Poke two small holes on each side of the plate, thread the elastic through, and tie knots to secure.


2. Popsicle Stick Puppets
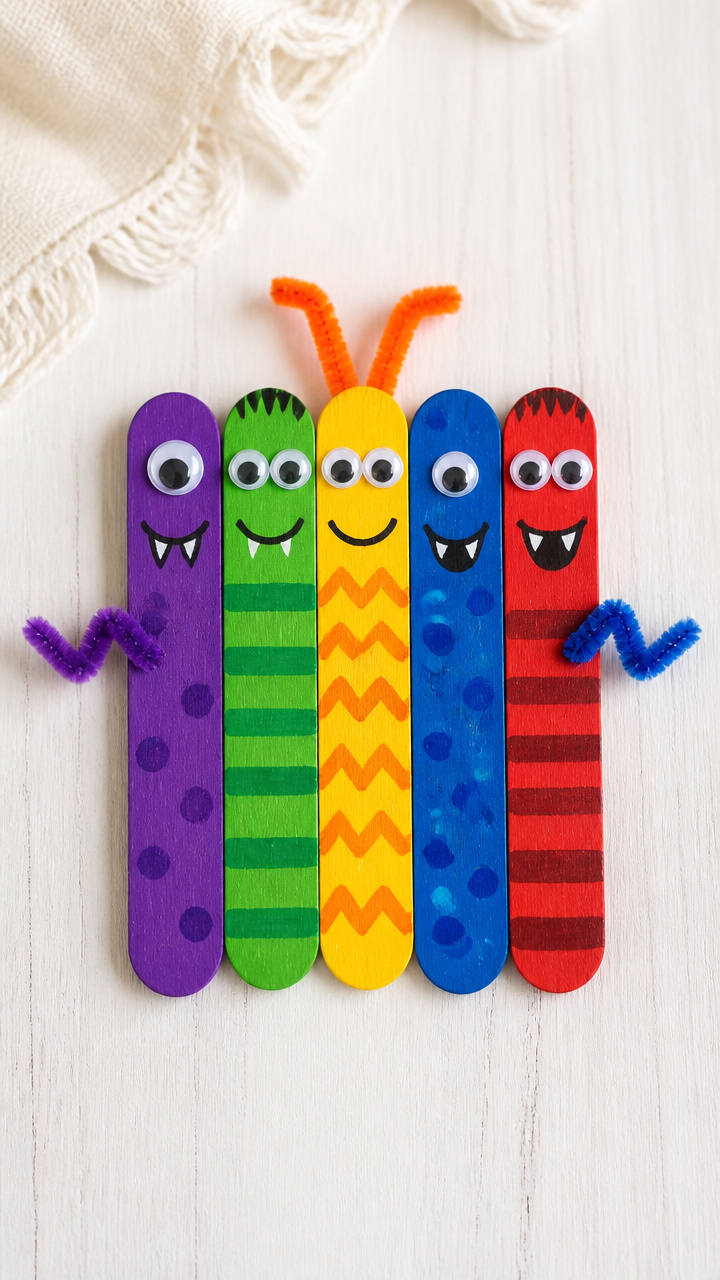
These flat puppets wiggle and talk in small hands, turning story time into a stage show. Each one takes less than 15 minutes to build and customize.
Materials Needed
- 5 flat wooden popsicle sticks per puppet
- Washable liquid watercolors (red, blue, yellow, green)
- Small paintbrush (size 4 round)
- Black fine-tip marker
- Googly eyes (8mm)
- White craft glue
- Colored construction paper (9×12 inch sheets)
How to Make It
- Paint one popsicle stick with watercolor for the puppet’s body, then set aside to dry for 10 minutes on wax paper.
- Cut hair, clothes, and shoes from construction paper, making each piece slightly wider than the stick.
- Glue the paper clothing onto the dried stick, add eyes, then draw facial features with the marker.
- Let dry completely before lifting to use in a hand-held performance.



3. Tissue Paper Stained Glass
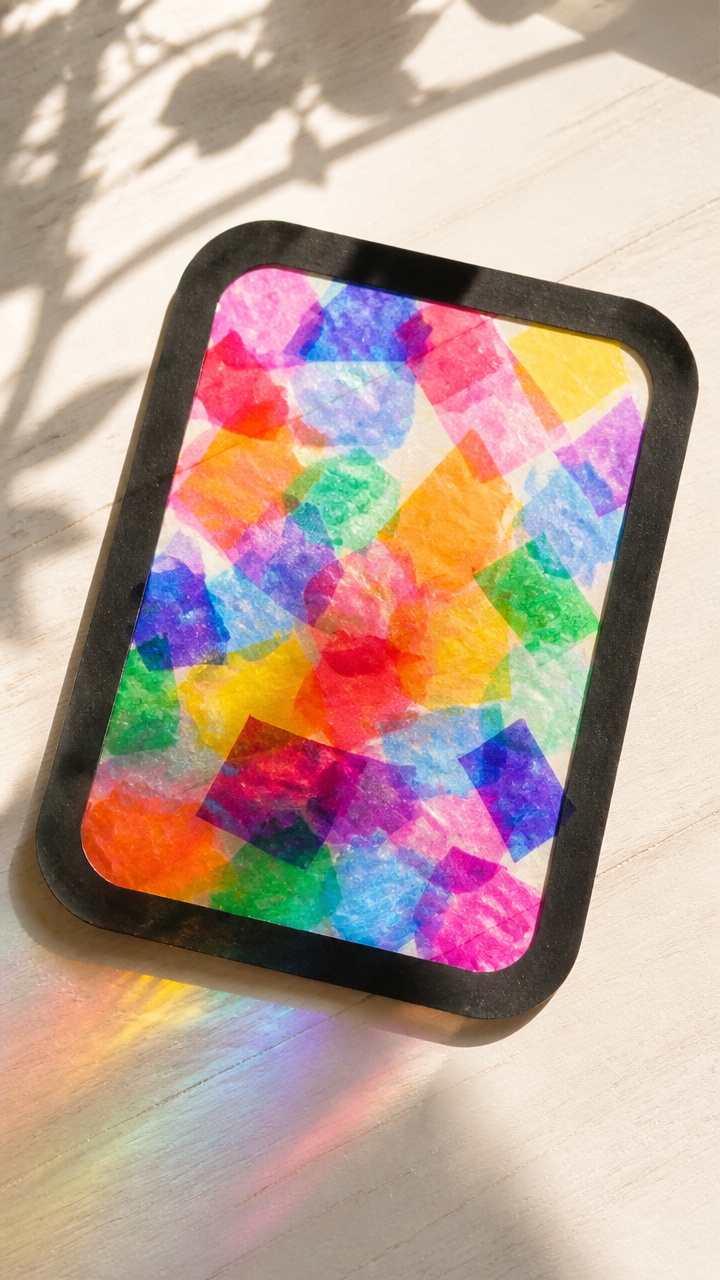
Bright overlapping layers mimic real stained glass when taped to sunny windows. The soft texture of tissue paper makes this safe and satisfying to arrange.
Materials Needed
- Clear contact paper (12×18 inch sheet)
- Tissue paper (assorted colors, 6 sheets total)
- Scissors
- Construction paper frame (black, 9×12 inch)
- Ruler
How to Make It
- Peel the backing off the contact paper and lay it sticky-side up on a flat table.
- Cut tissue paper into 2-inch squares using scissors, then press them onto the sticky surface in any pattern.
- Cover the entire surface with tissue, overlapping pieces slightly for richer color.
- Trim the edges with scissors, then tape the finished piece to a window using masking tape on all four corners.


4. Pipe Cleaner Bracelets
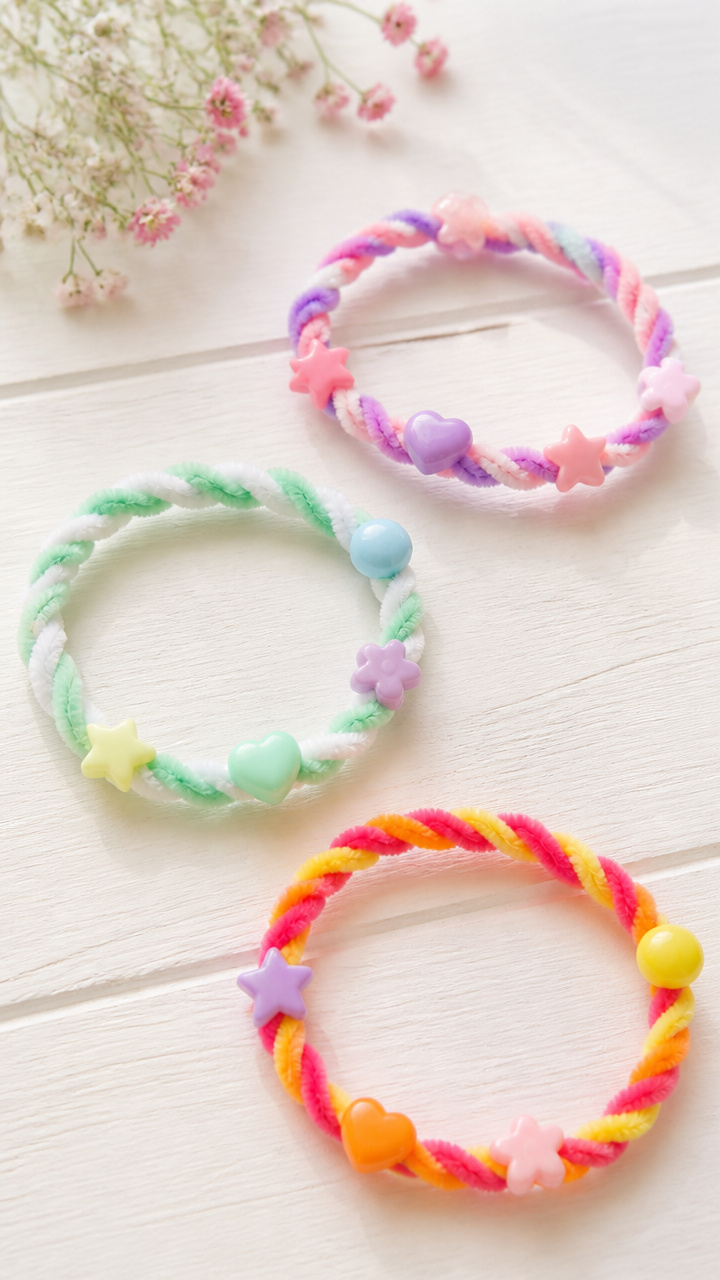
Twisting colorful wires gives kids control over shape and fit while building fine motor skills. These bracelets stretch just enough to slide on and off small wrists.
Materials Needed
- Chenille stems (pipe cleaners), 6 per bracelet (assorted colors)
- Child-safe scissors
- Plastic bead charms (5mm hole, 3 per bracelet)
How to Make It
- Lay three pipe cleaners side by side and twist them together tightly at one end for 1 inch.
- Continue twisting all three along the full length until 1 inch remains at the other end.
- Thread one bead onto each loose end, then bend the ends into small hooks to prevent slipping.
- Slide the bracelet onto the wrist—the twisted center should rest on top of the hand.


5. Cotton Ball Sheep
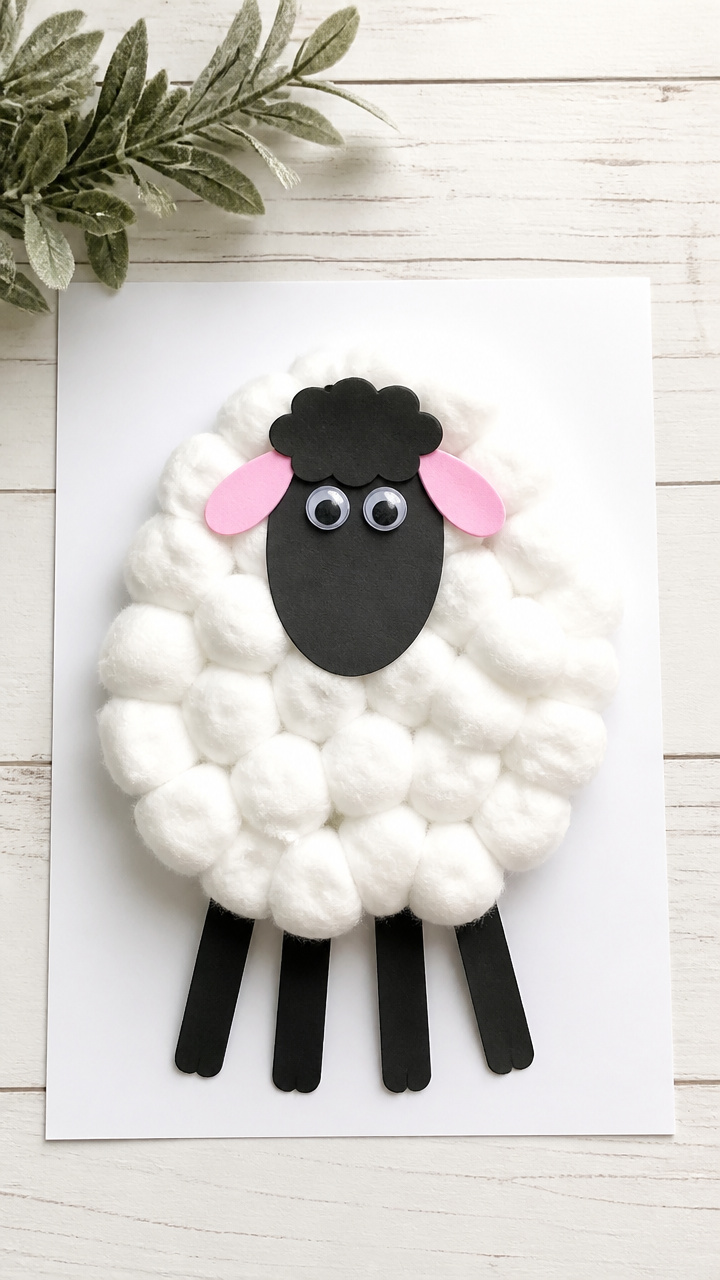
Fluffy clusters shaped into wool give this farm animal instant charm. It’s a tactile favorite that doubles as a soft decoration.
Materials Needed
- 1 sheet black construction paper (9×12 inch)
- White craft glue
- Large cotton balls (20 per sheep)
- Googly eyes (10mm, 2 per sheep)
- Pink craft foam (1 sheet)
- Scissors
How to Make It
- Draw a sheep head and legs lightly in pencil on the black paper, leaving a large open space for the body.
- Apply glue in thick blobs across the body area, covering about half the page.
- Press cotton balls into the glue, layering them until the body looks full and fluffy.
- Cut two small oval feet and a face base from pink foam, glue them in place with eyes on top, then let dry for 30 minutes.



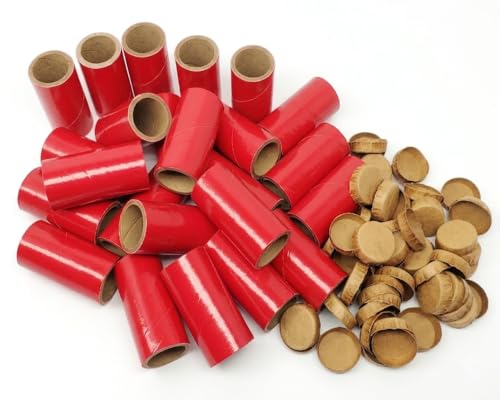
6. Cardboard Tube Rockets
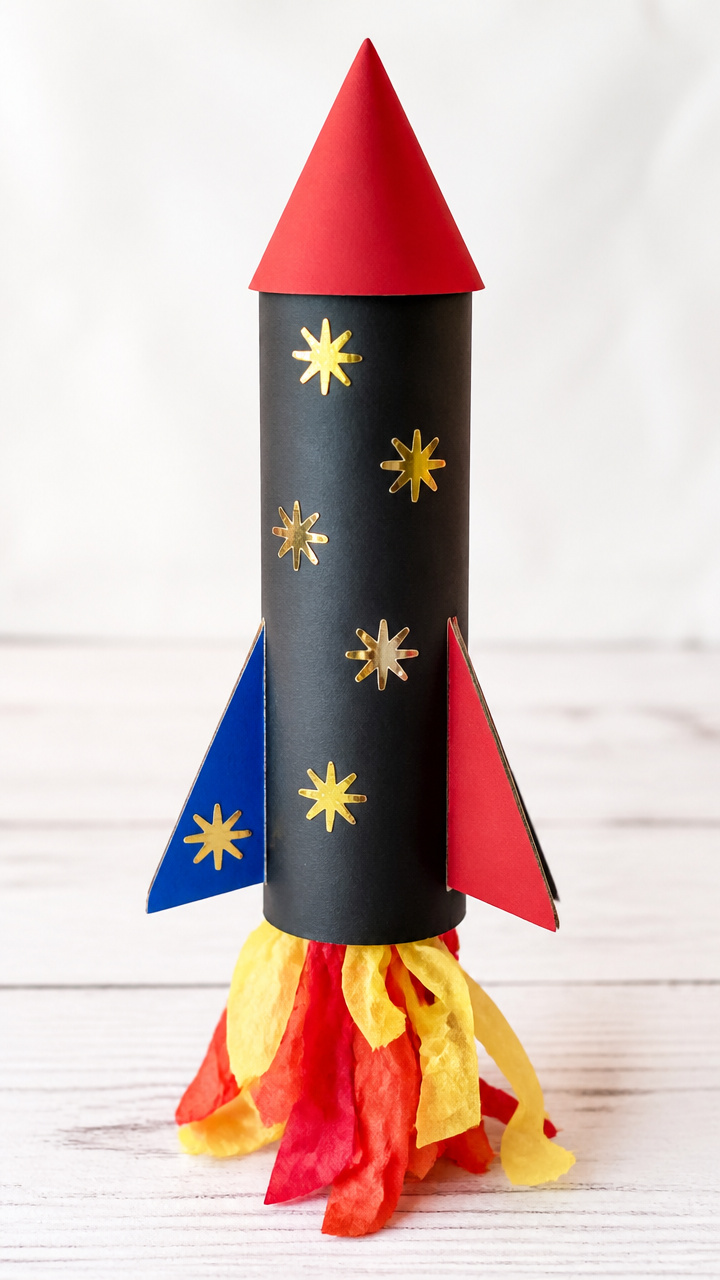
Empty toilet paper rolls soar into space with wings and flames made from paper. These stand upright on shelves or launch into imaginative flight.
Materials Needed
- 1 empty cardboard tube per rocket
- Red and yellow tissue paper (3 sheets each)
- Starburst sequins (gold, 10 per rocket)
- Washable school glue
- Construction paper (blue, red, black)
- Scissors
- Crayons
How to Make It
- Wrap the tube in blue construction paper and glue it in place, trimming excess at the ends.
- Cut flame strips from red and yellow tissue paper, each about 1 inch wide and 3 inches long.
- Glue the flame strips in a fan shape to the bottom edge of the tube, layering colors for effect.
- Cut three triangular fins from black paper, glue them evenly around the bottom third of the rocket, then add stars with sequins.


7. Fingerprint Ladybugs
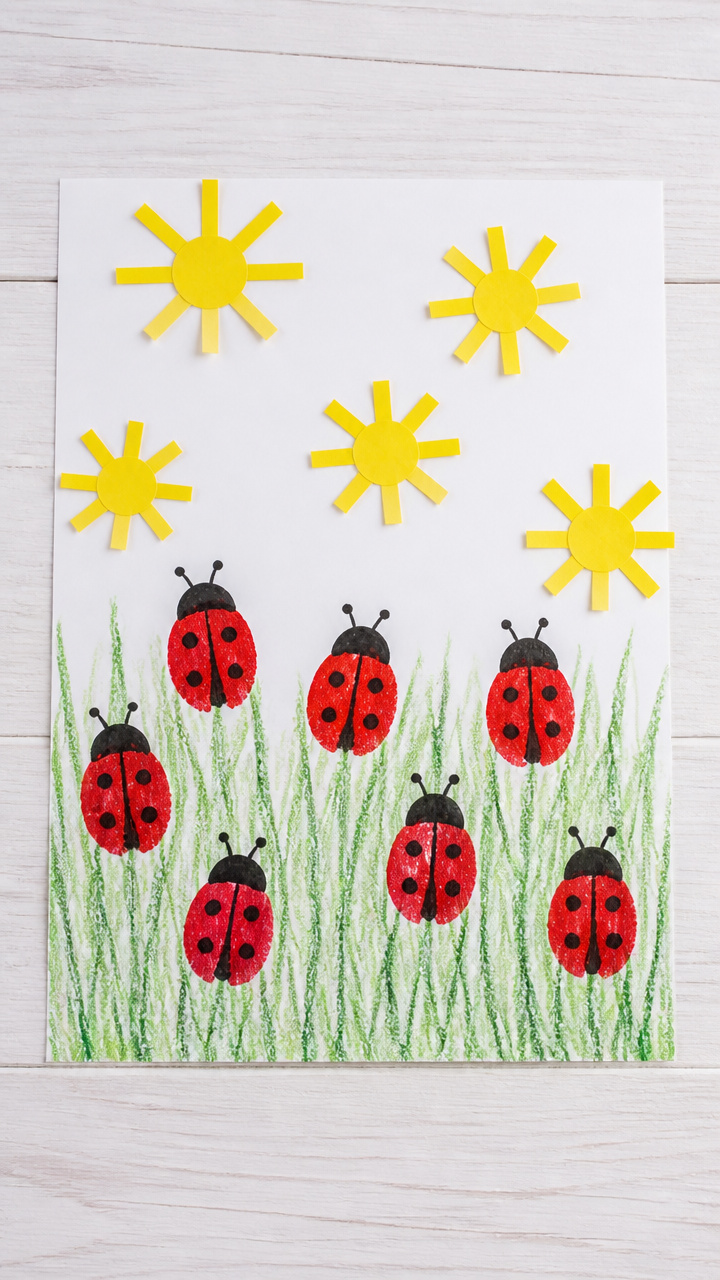
Inky thumbprints grow antennae and spots into cheerful garden bugs. This keepsake craft works well with washable ink pads and dries fast.
Materials Needed
- Washable ink pad (red)
- White drawing paper (8.5×11 inch)
- Black fine-tip marker
- Green washable crayon
- Yellow construction paper scraps
How to Make It
- Press your child’s thumb firmly onto the ink pad, then roll it straight down onto the paper to leave a curved print.
- Let the print dry for 2 minutes, then draw a black line down the center to split the wings.
- Add six black legs, two antennae, and five random spots using the marker.
- Draw a small leaf under the ladybug using the green crayon and cut a stem from yellow paper to glue beneath.


8. Pasta Necklaces
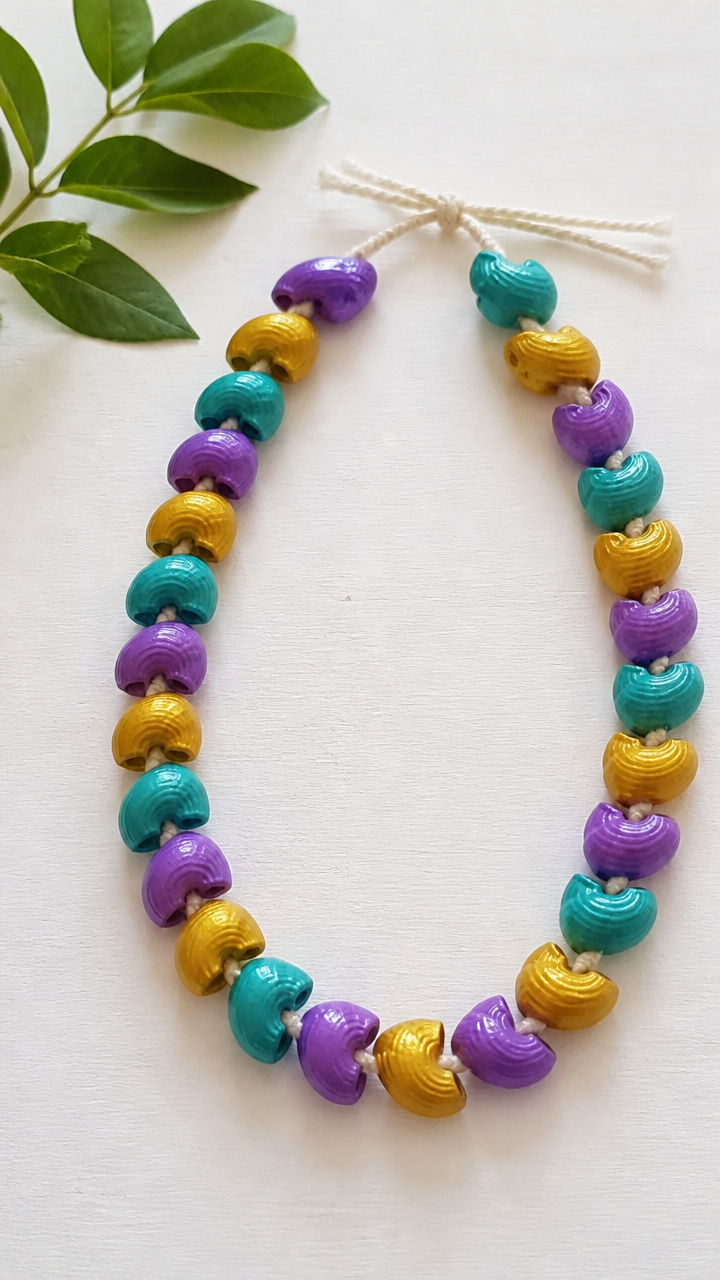
Hollow noodles strung with yarn become wearable art with bright color and rhythm. Threading builds coordination and patience in the sweetest way.
Materials Needed
- Dried elbow macaroni (1 cup)
- Acrylic paint (three colors: purple, teal, gold)
- Paintbrush (size 3)
- Yarn (embroidery floss, 24 inches long, white)
- Tape (masking)
- Bowl for mixing
How to Make It
- Pour macaroni into a bowl, add one drop of paint, and stir gently with the brush until fully coated.
- Spread painted pasta on wax paper and let dry for 1 hour, flipping halfway through.
- Tape one end of the yarn to the table to stabilize it, then begin threading dried pieces one by one.
- Knot the ends together once all pasta is added, leaving a loop big enough to go over the head.


9. Paper Bag Puppets
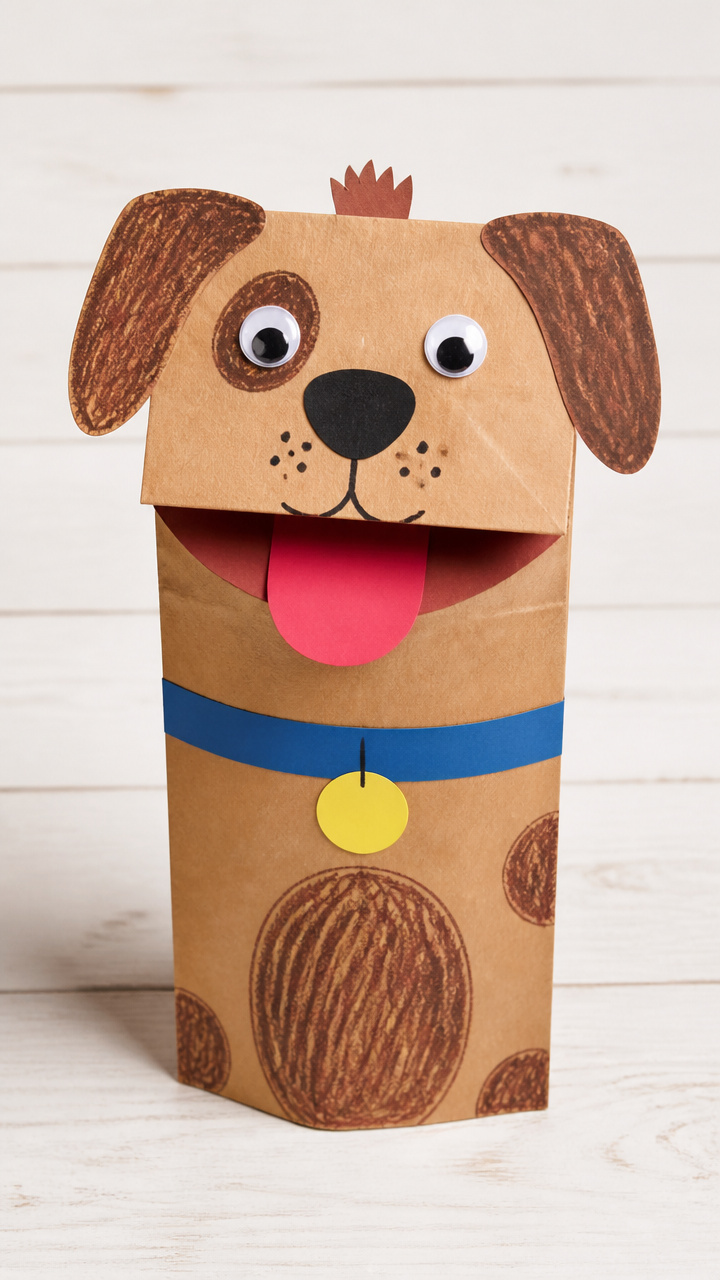
Sturdy lunch bags turn into talking characters with mouths that really move. Open and close the bottom flap to make them chat during storytelling.
Materials Needed
- Brown paper lunch bag (standard size)
- Wiggle eyes (12mm, 2 per puppet)
- White craft glue
- Construction paper (assorted colors)
- Crayons
- Scissors
How to Make It
- Slide your hand into the bag so the flap becomes the mouth and the bottom becomes the head.
- Draw a face on the bottom section with crayons, placing eyes above the fold line.
- Cut ears, hair, and collars from construction paper and glue them in place.
- Attach wiggle eyes with glue and let dry for 20 minutes before using in a puppet show.


10. Sponge Stamp Prints
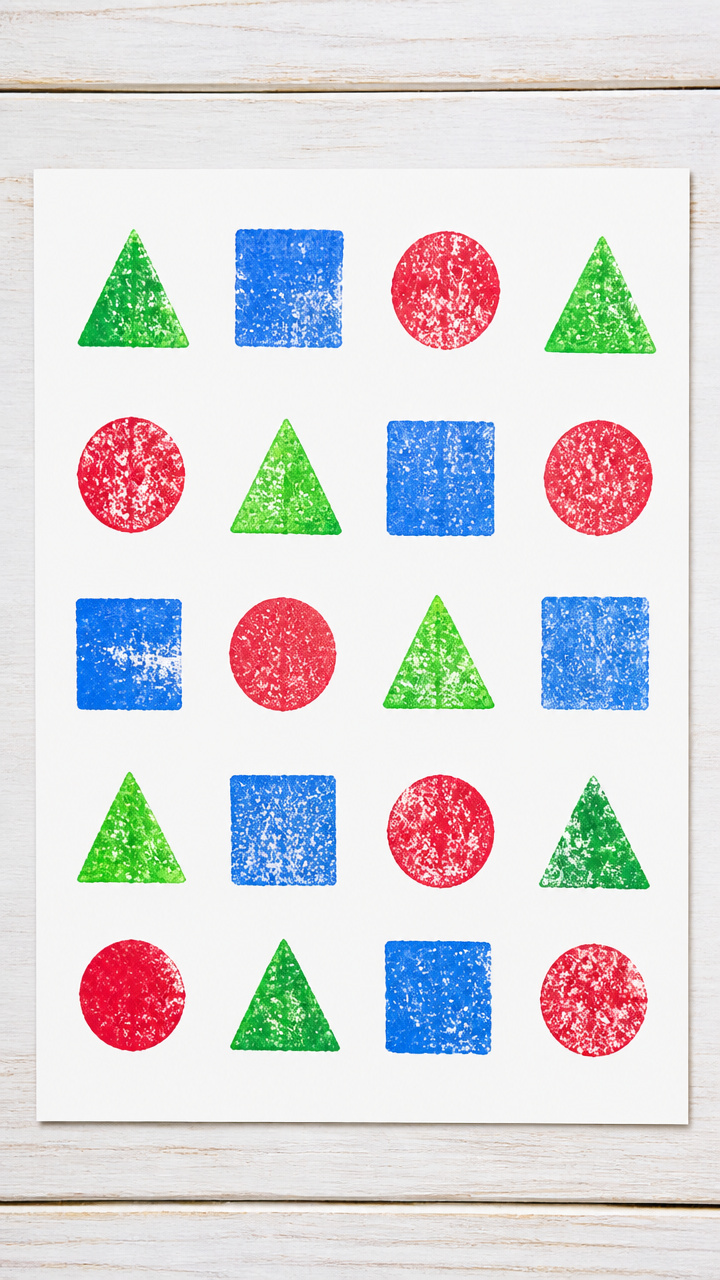
Cut kitchen sponges create crisp patterns that transfer beautifully to paper. Dipping and pressing feels like real printing work.
Materials Needed
- Natural cellulose sponge (1 per design)
- Plastic plates (3)
- Tempera paint (three colors: blue, green, red)
- White drawing paper (8.5×11 inch)
- Scissors
- Paper towels
How to Make It
- Cut the sponge into a simple shape like a star, heart, or square using scissors.
- Pour a dime-sized amount of paint onto a plate and press the sponge shape into it evenly.
- Stamp the shape onto the paper with firm downward pressure, then lift straight up.
- Clean the sponge with a paper towel before switching colors and repeat with new shapes.


11. Clothespin Critters
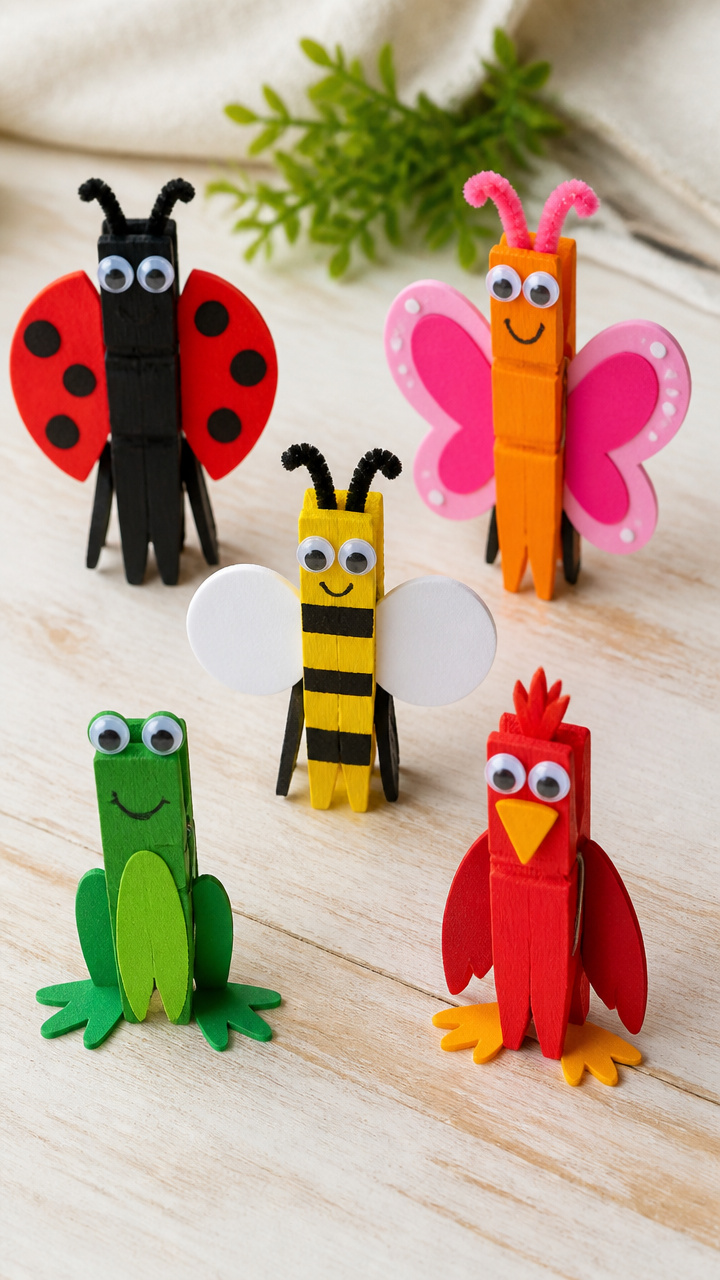
Wooden clips grow heads, wings, and legs into tiny standing animals. The spring action lets them clip onto notebooks or hang on strings.
Materials Needed
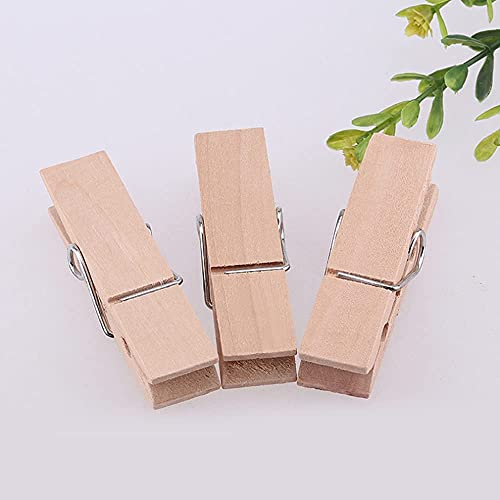
- Wooden clothespins (jumbo size, 1 per critter)
- Acrylic paint (green, yellow, pink)
- Paintbrush (size 2)
- Googly eyes (8mm, 2 per critter)
- Craft foam (red, orange, black)
- White craft glue
- Scissors
How to Make It
- Paint the clothespin head and body sections with acrylic paint, choosing a color for the animal type.
- Let dry for 15 minutes on a paper plate, turning once halfway through.
- Cut small wings, beaks, or ears from foam and glue them to the head end.
- Add eyes and details with paint or markers, then let dry fully before using as a decoration.


12. Egg Carton Flowers
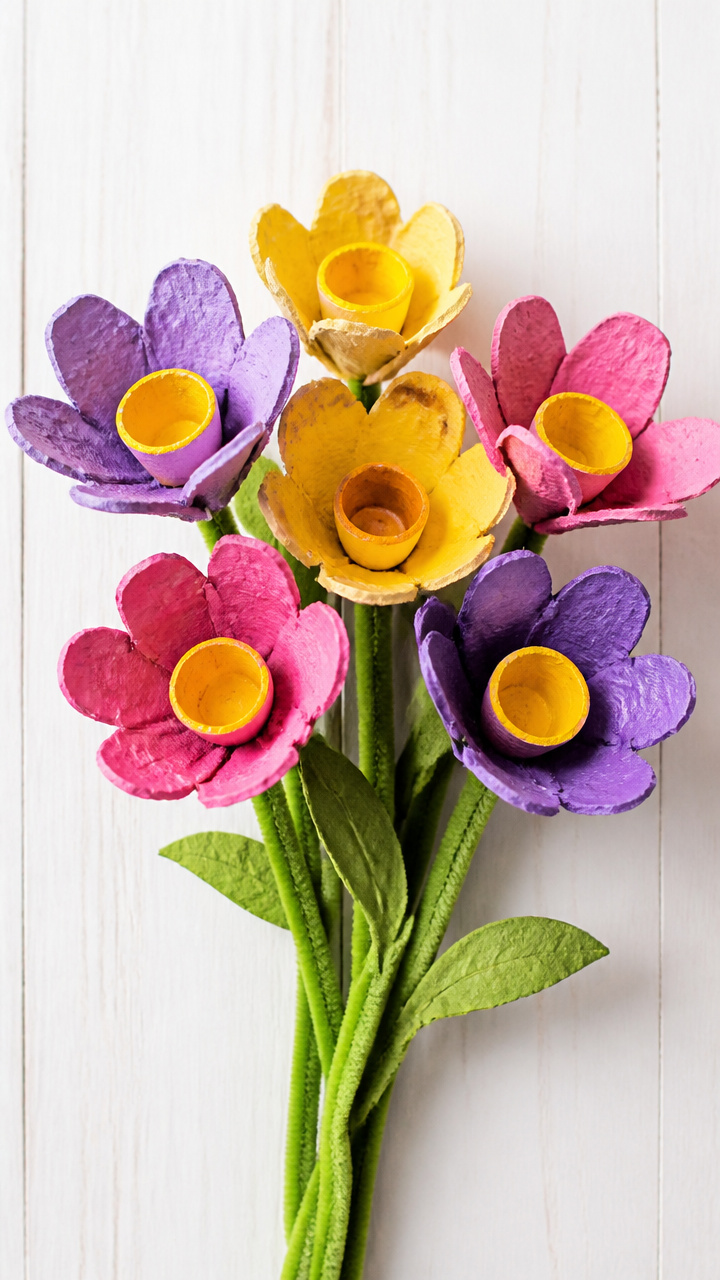
Cup sections snipped from egg cartons bloom into 3D flowers with wire stems. They hold their shape and look lovely in a handmade bouquet.
Materials Needed
- Cardboard egg carton (one dozen size)
- Acrylic paint (bright pink, yellow, purple)
- Green pipe cleaner (1 per flower)
- Paintbrush (size 3)
- Scissors
- White craft glue
How to Make It
- Cut out three individual cups from the egg carton using scissors, keeping the rounded edge intact.
- Paint the outside of each cup with one color and let dry for 20 minutes on wax paper.
- Cut slits in the bottom center of each cup and thread the pipe cleaner through to form a stem.
- Bend the bottom of the pipe cleaner to secure it, then spread the petals outward slightly.

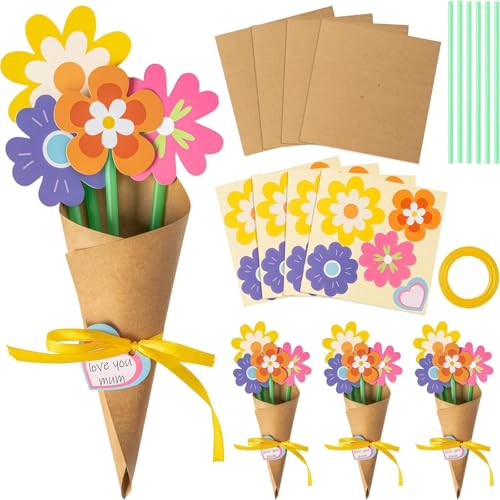

13. Handprint Butterflies
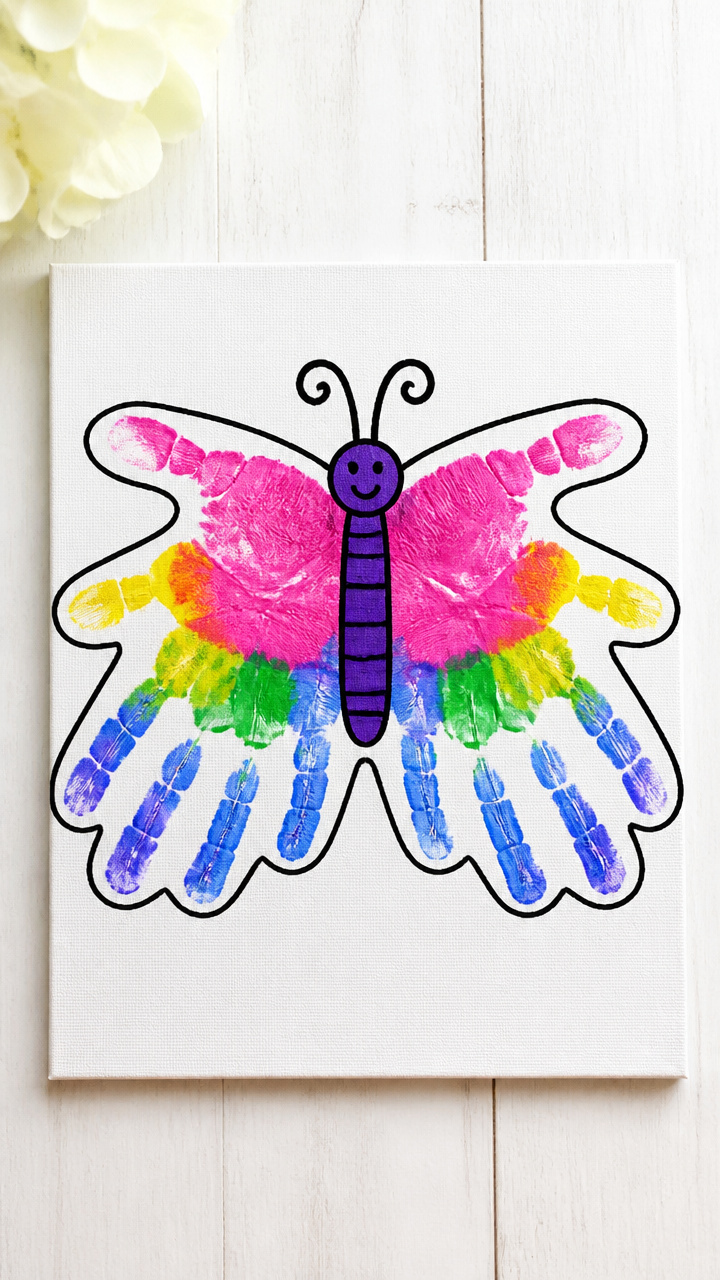
Two mirrored handprints joined at the wrists form butterfly wings that flutter with personality. Outline them in bold markers for extra pop.
Materials Needed
- Washable paint (tempera, assorted bright colors)
- Large white drawing paper (11×14 inch)
- Black fine-tip marker
- Crayons
- Ruler
How to Make It
- Press both hands palm-down into paint, then place them on opposite sides of the paper with fingertips pointing outward and wrists touching center.
- Lift hands straight up to avoid smudging and let the prints dry for 10 minutes.
- Use the marker to draw a vertical body line down the center where wrists meet, then add antennae.
- Outline each finger with a different crayon color to make segmented wings, then label with name and date below.


14. Salt Dough Ornaments
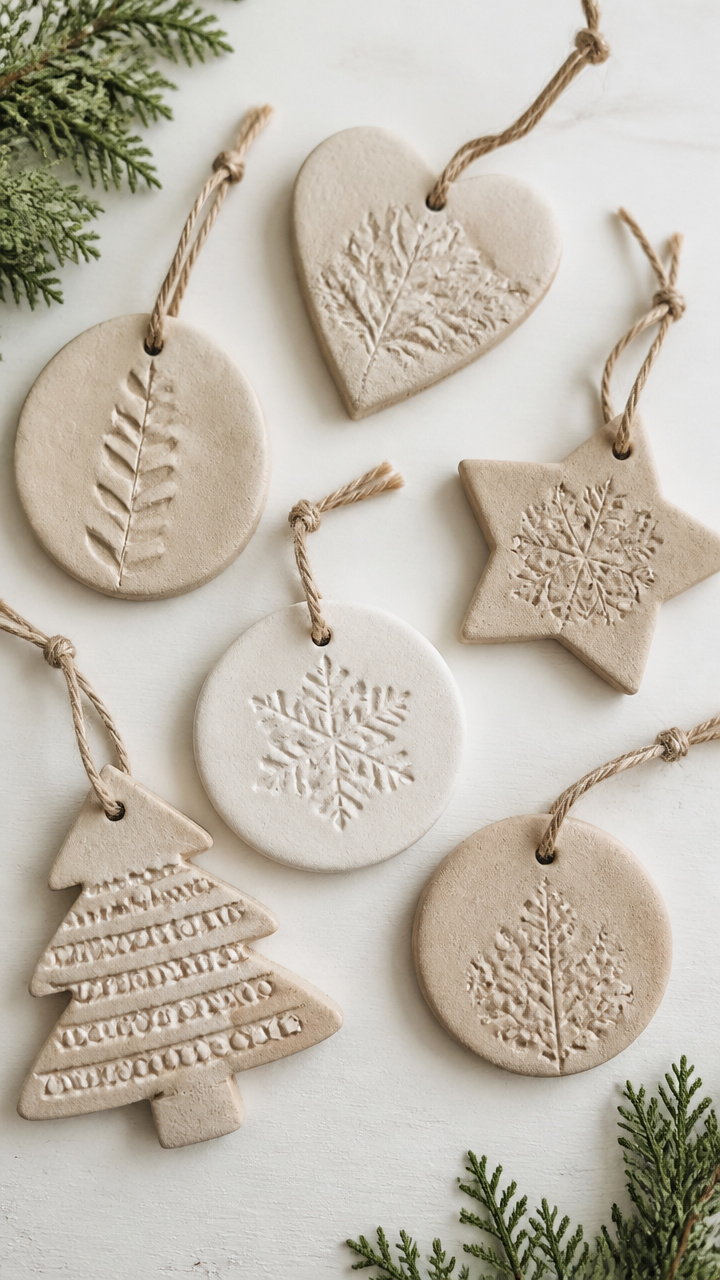
A kitchen mix of flour, salt, and water bakes into durable keepsakes stamped with fingerprints or shapes. These can be painted and hung year after year.
Materials Needed
- All-purpose flour (1 cup)
- Table salt (1/2 cup)
- Water (1/2 cup)
- Mixing bowl
- Rolling pin
- Straw (for hanging hole)
- Cookie cutters (star, heart, circle)
- Baking sheet
- Parchment paper
How to Make It
- Mix flour, salt, and water in a bowl until a smooth dough forms, adding a teaspoon more water if too dry.
- Roll the dough to 1/4 inch thickness on a floured surface, then press cookie cutters into shapes.
- Push a straw through the top edge of each shape to make a hanging hole, then place on a parchment-lined baking sheet.
- Bake at 200°F for 3 hours until hard, then cool and paint with acrylics if desired.


15. Milk Jug Bird Feeders
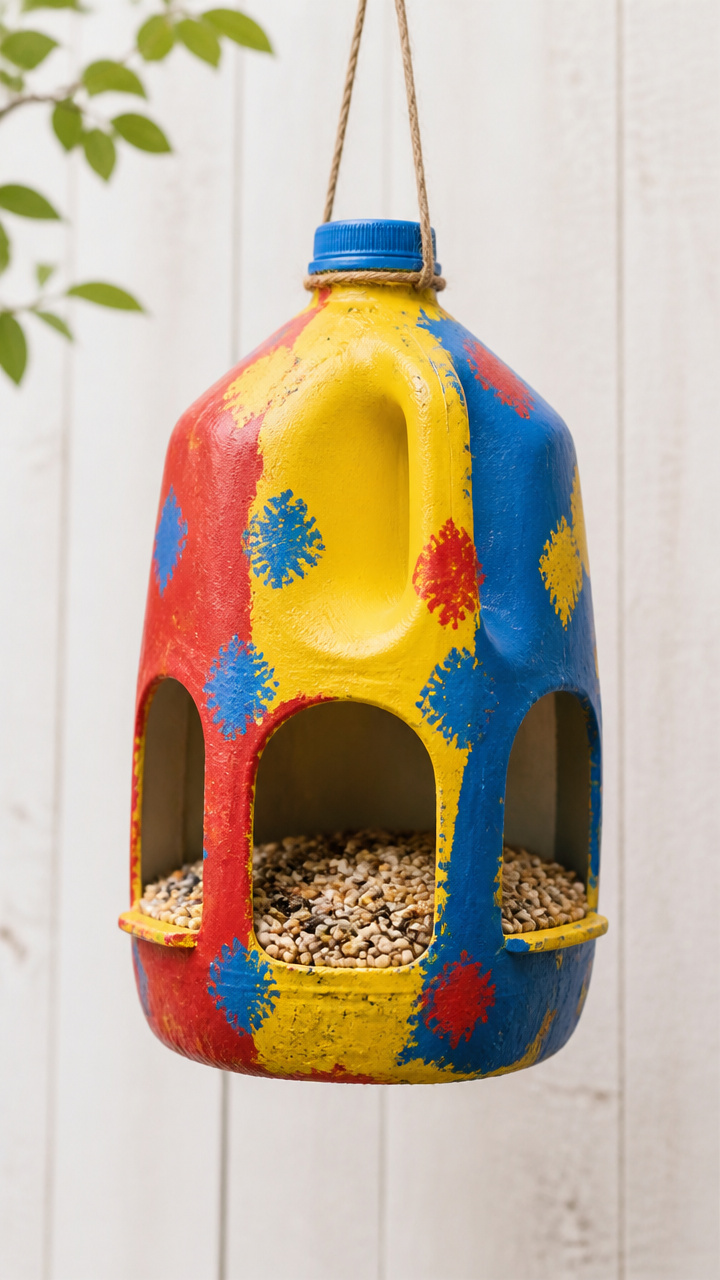
Clean gallon jugs become outdoor stations filled with seeds that attract real birds. Cut openings let small hands help fill and hang them.
Materials Needed
- Empty plastic milk jug (1 gallon, rinsed clean)
- Acrylic paint (red, yellow, blue)
- Paintbrush (size 4)
- String (jute, 24 inches)
- Scissors
- Unsalted birdseed (1 cup)
- Permanent black marker
How to Make It
- Cut a 3-inch square opening on one side of the jug, 4 inches from the bottom, using scissors carefully.
- Paint the entire jug with bright colors and let dry for 1 hour on its side.
- Poke two holes just above the handle, thread the string through, and tie securely for hanging.
- Fill with birdseed through the top, then screw the cap back on and hang from a tree branch.


You’ve got everything you need right now to start crafting with joy and zero pressure. Pick one idea, gather the supplies, and let the making begin.