15 Easy Paper Plate Crafts for Kids Using Simple Materials
Paper plates are more than just partyware. With a few basic supplies and a little imagination, they become masks, animals, wheels, and wonders. These crafts invite little hands to create, glue, paint, and play without mess or stress.
Each idea uses what you likely have at home. No specialty tools, no complicated steps. Just clear instructions and joyful results that spark pride and giggles.
1. Paper Plate Ladybug
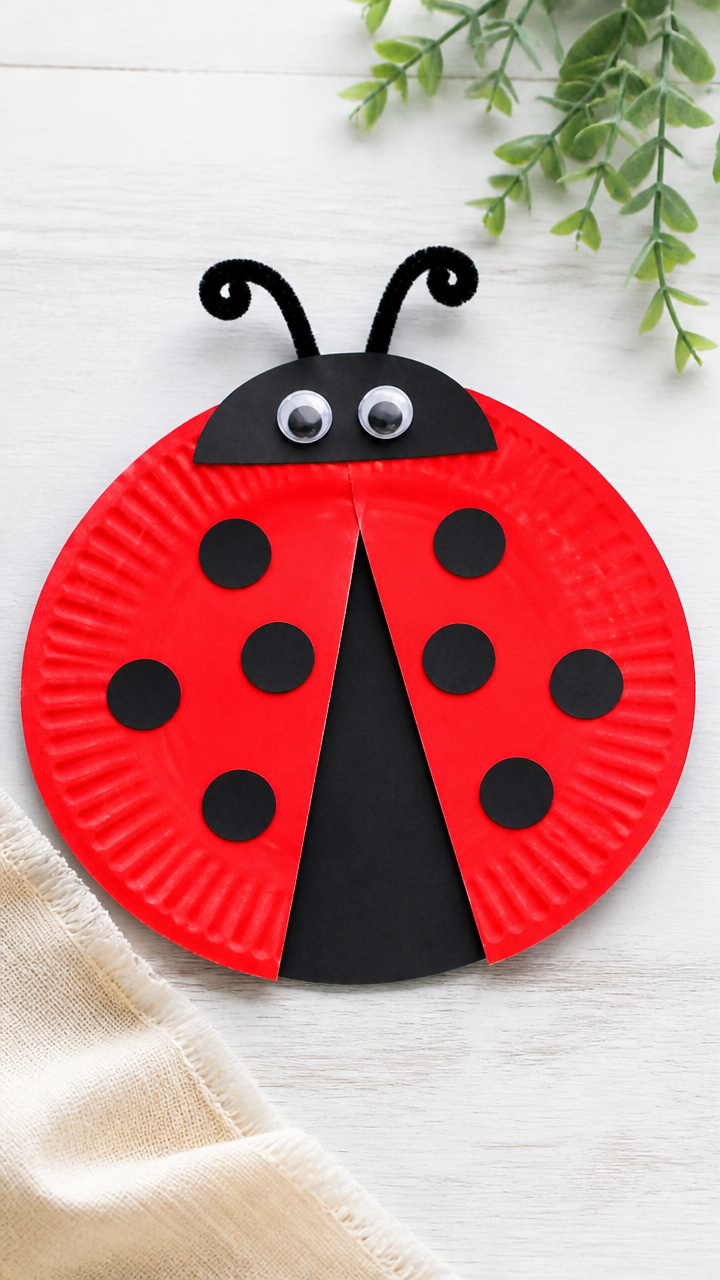
Bright red and dotted, this cheerful bug has a wiggly feel and a friendly face. Kids love giving it googly eyes and counting its spots.
Materials Needed
- 1 red paper plate
- 1 black pipe cleaner
- 2 black pom poms, 1 inch
- 1 black marker
- Red acrylic paint
- White and black craft foam
- Glue stick
- Scissors
- Black construction paper, 6×6 inch
How to Make It
- Paint the back of the paper plate red and let it dry for 20 minutes on a flat surface.
- Cut the black construction paper into six thin legs and two antennae, then glue three on each side of the plate’s edge.
- Cut a small black oval from craft foam for the head and glue it to the front of the plate just below the rim.
- Glue on two white foam circles, then add smaller black circles on top to make eyes.
- Draw a smile with the black marker and glue on two red pom poms for cheeks.
- Twist one end of each pipe cleaner into a small loop, then glue the straight ends to the head for antennae.
- Cut seven circles from black craft foam and arrange them on the plate’s back to make spots, then glue in place.


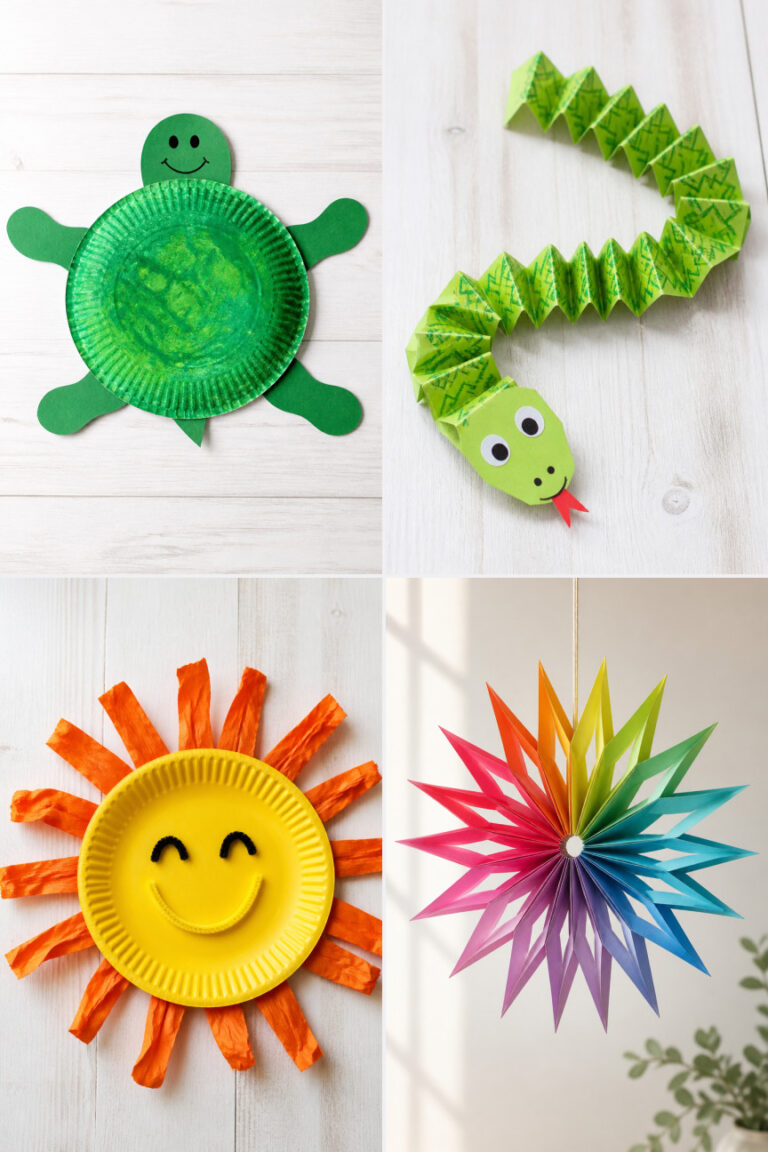
2. Paper Plate Sun
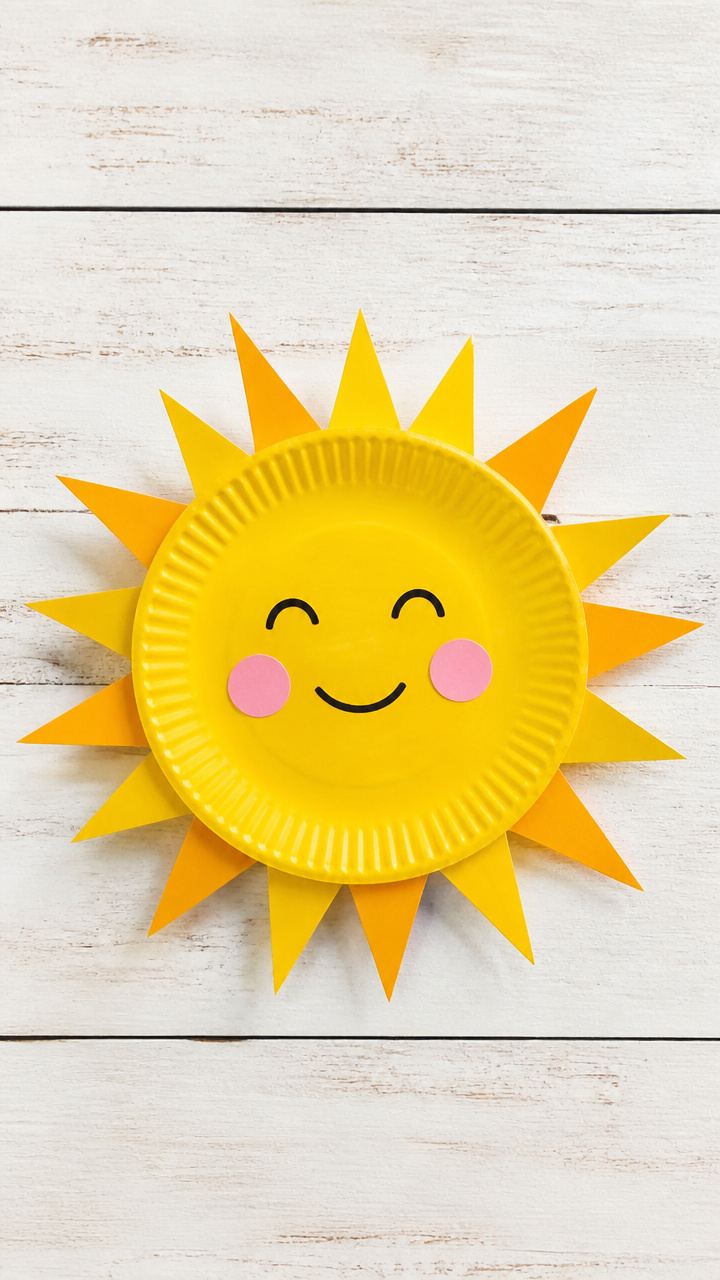
A shining sun with wavy rays that glow on the wall. This craft teaches symmetry and color blending with a bright payoff.
Materials Needed
- 1 white paper plate
- Yellow and orange tempera paint
- Paintbrush, 1 inch flat
- Pencil
- Ruler
- Scissors
- Glue stick
- Yellow construction paper, 8×10 inch
- Brass fastener, 1 inch
How to Make It
- Use the ruler and pencil to draw straight lines from the center to the rim, dividing the plate into 8 equal slices.
- Cut along each line to the center, creating 8 separate rays.
- Bend every other ray upward at a 45-degree angle using your fingers for a 3D effect.
- Paint the flat face of the sun yellow and let it dry for 15 minutes.
- Paint the raised rays with orange, blending slightly into the yellow center.
- Cut a small circle from yellow construction paper and write a happy face on it with black marker.
- Glue the face to the center and attach a brass fastener through the middle for hanging.
3. Paper Plate Owl
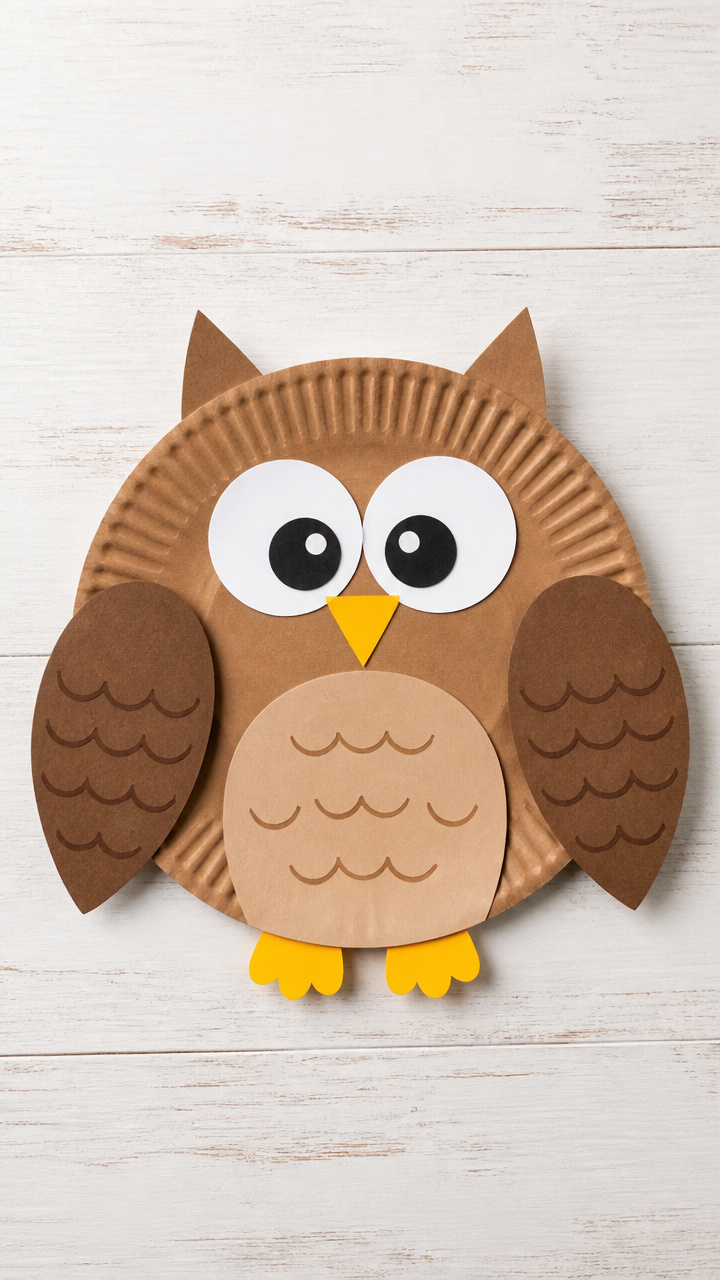
Big-eyed and wise, this owl perches proudly with feathered wings and a speckled belly. It’s a quiet craft with bold results.
Materials Needed
- 1 brown paper plate
- 1 white paper plate
- Brown and white acrylic paint
- Paintbrush, medium round
- Black marker
- Glue stick
- Scissors
- Tan craft foam, 6×6 inch
- 2 black wiggle eyes, 15mm
How to Make It
- Paint the brown plate with streaks of white to mimic feathers and let it dry for 20 minutes.
- Cut the white plate in half and paint each half with brown feather patterns, then let dry.
- Cut two wing shapes from the painted white halves and glue one to each side of the brown plate.
- Cut a small oval from tan foam for the belly and glue it to the center of the brown plate.
- Draw feather lines on the belly with the black marker.
- Glue on the wiggle eyes above the belly and draw a small triangle beak below them.
4. Paper Plate Fish
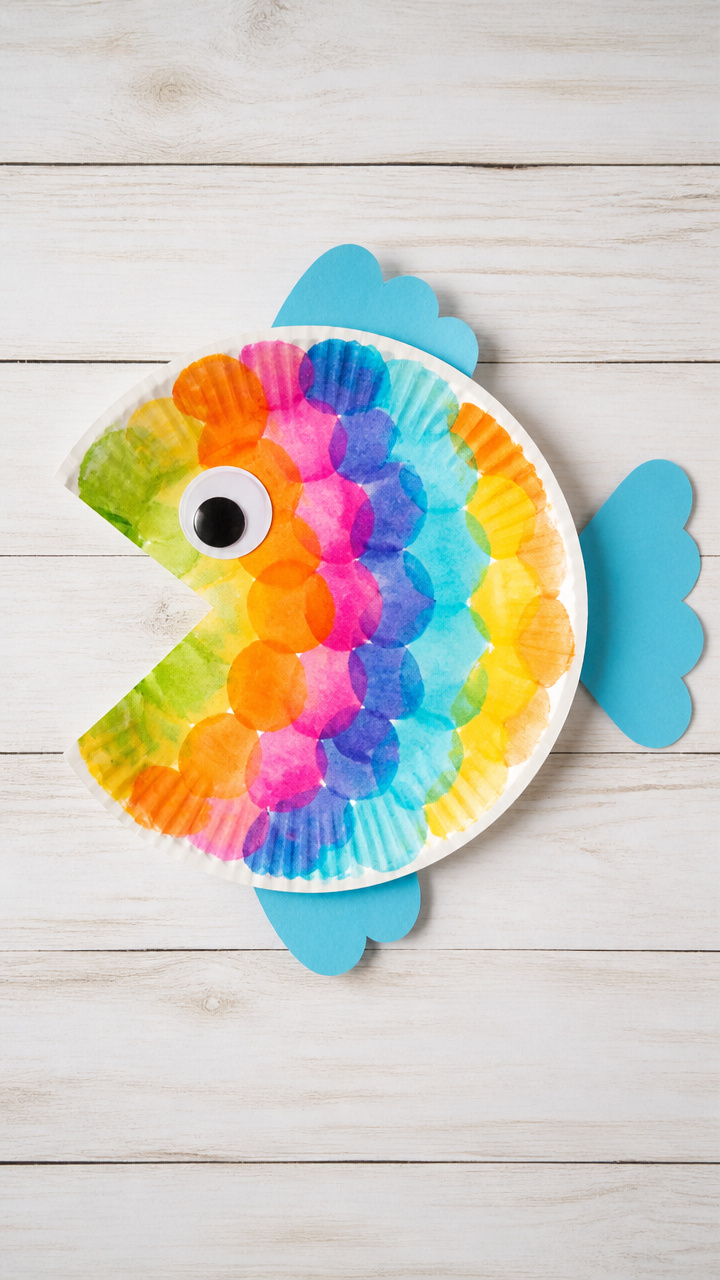
A wiggly underwater swimmer with a scaly tail and bubbly personality. Hang it by a window and watch it dance in the light.
Materials Needed
- 1 white paper plate
- Blue and silver acrylic paint
- Paintbrush, small flat
- Scissors
- Glue stick
- Blue construction paper, 8×10 inch
- White craft foam
- Clear fishing line, 12 inches
- 2 black dot stickers, 10mm
How to Make It
- Cut the rim off the paper plate to create a flat circle.
- Paint the circle blue and let it dry for 15 minutes.
- Cut a triangle from blue construction paper for the tail and paint silver scales on it, then let dry.
- Glue the tail to the back edge of the circle at an angle.
- Cut two small circles from white craft foam for bubbles and glue them near the tail.
- Glue on the dot stickers for eyes and draw a small smile with a blue marker.
- Punch a hole at the top and thread fishing line through to hang.
5. Paper Plate Turtle
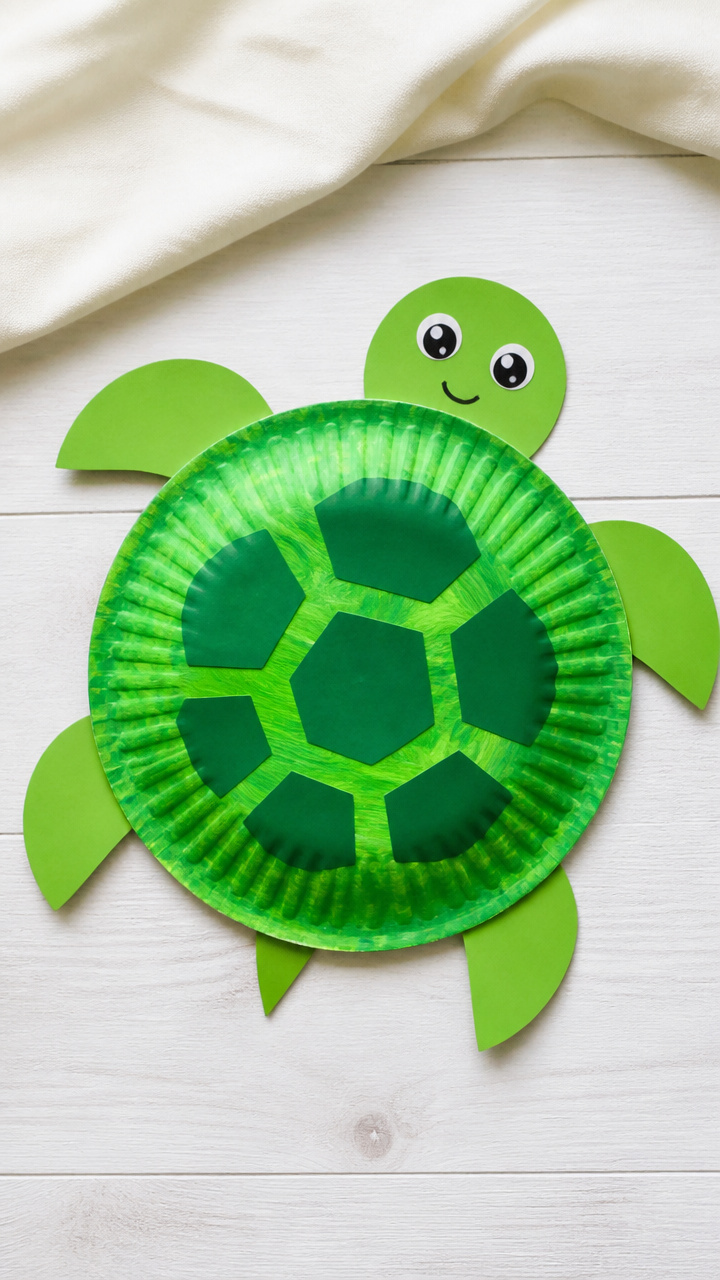
A slow-moving turtle with a patterned shell and tiny feet. This craft builds fine motor skills with tracing and gluing.
Materials Needed
- 1 green paper plate
- 1 white paper plate
- Green acrylic paint
- Paintbrush
- Scissors
- Glue stick
- Green construction paper, 8×10 inch
- Black marker
- 12 green pom poms, 0.5 inch
How to Make It
- Paint the white plate green and let it dry for 20 minutes.
- Cut four small feet and a head from green construction paper.
- Glue the feet to the bottom edge of the green plate and the head to the top edge.
- Cut the rim off the painted white plate to make a flat circle.
- Glue six pom poms in a circle on the green plate to form the shell base.
- Place the painted circle on top of the pom poms to create a raised shell.
- Glue six more pom poms around the edge of the shell circle and draw eyes on the head with the marker.
6. Paper Plate Clock
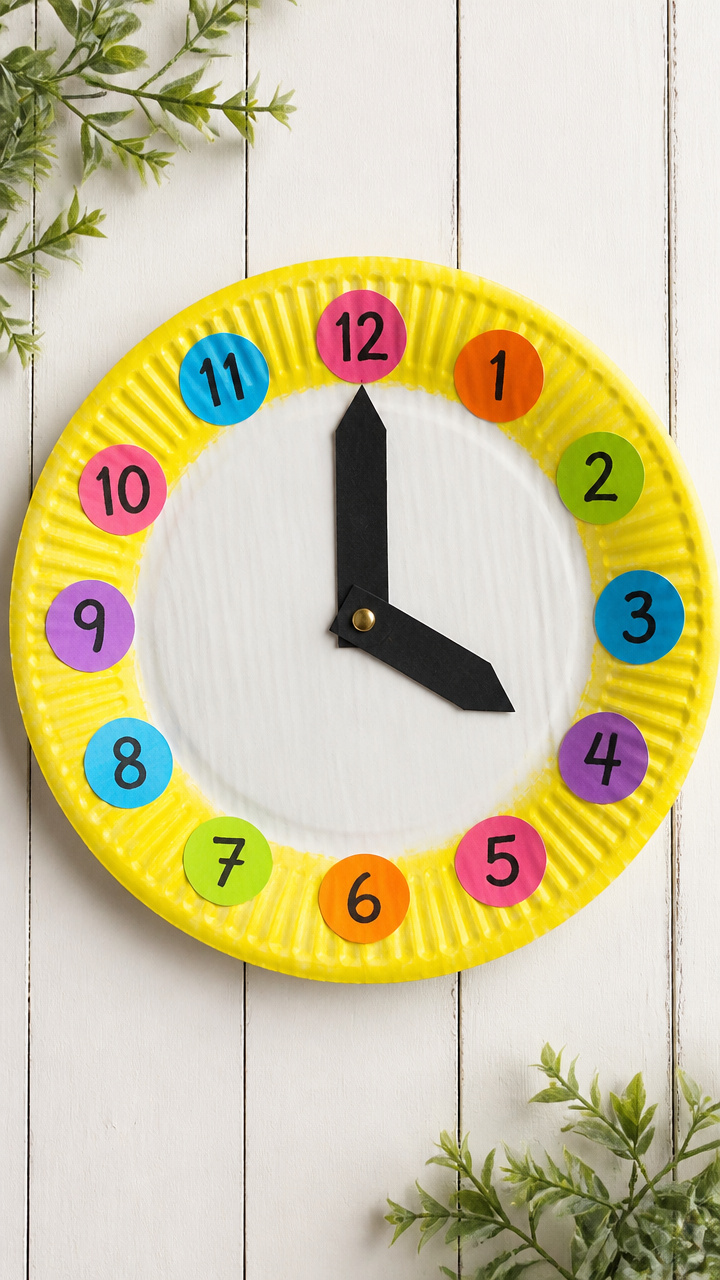
A working clock with movable hands that teaches time in a playful way. Kids love setting it to their favorite hour.
Materials Needed
- 1 white paper plate
- Black marker
- Pencil
- Ruler
- Scissors
- Brass fastener, 1.5 inch
- Cardstock, red and black, 5×5 inch each
- Glue stick
- Sticker numbers 1–12
How to Make It
- Use the ruler to find the center of the plate and mark it with a pencil.
- Write the numbers 1 to 12 evenly around the edge using the marker.
- Alternate placing sticker numbers and hand-drawn ones for variety.
- Cut an hour hand from black cardstock and a longer minute hand from red.
- Poke a hole through the tip of each hand and the center of the plate.
- Attach both hands with the brass fastener, securing it on the back.


7. Paper Plate Caterpillar
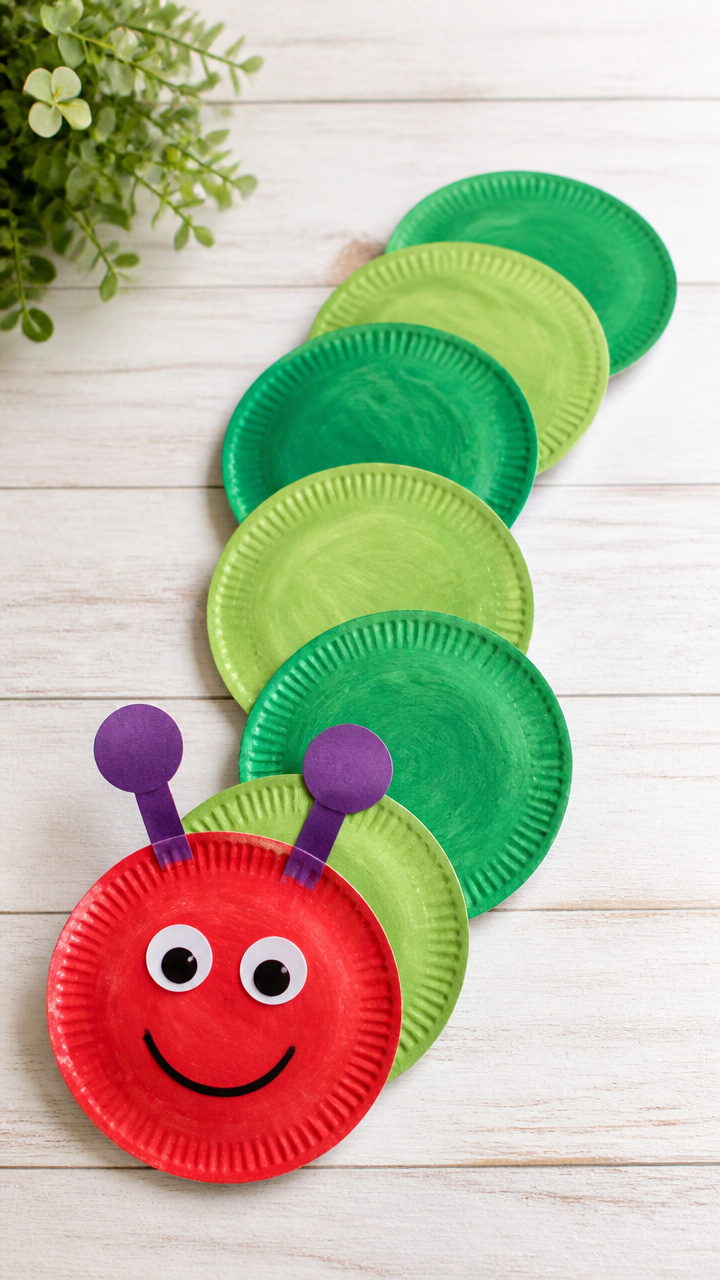
A bumpy, colorful bug made from stacked plates. Rolling and gluing builds coordination and creativity.
Materials Needed
- 5 white paper plates
- Green acrylic paint
- Paintbrush
- Scissors
- Glue stick
- Black marker
- 2 black pipe cleaners
- 12 green pom poms, 0.5 inch
How to Make It
- Paint all five plates green and let them dry for 20 minutes.
- Cut a small rectangle from the bottom edge of each plate except the last one.
- Cut a matching notch from the top edge of each following plate so they stack in a line.
- Glue the plates together, offsetting each slightly downward to form a curve.
- Glue six pom poms on each side of the first plate for legs.
- Draw a face on the front plate with the marker.
- Twist the ends of the pipe cleaners and glue them above the eyes for antennae.


8. Paper Plate Wind Spinner
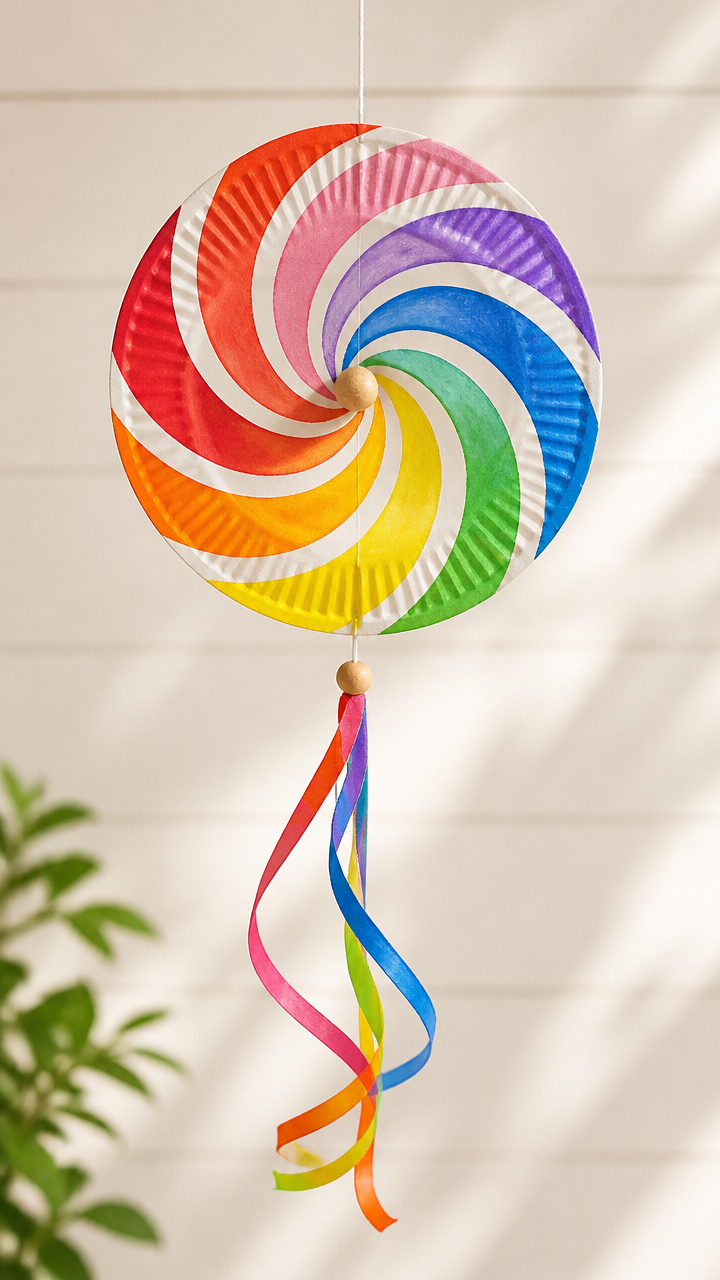
A spinning decoration that twirls in the breeze. Watching it move brings endless fascination and outdoor fun.
Materials Needed
- 1 white paper plate
- Red, yellow, and blue acrylic paint
- Paintbrush
- Pencil
- Ruler
- Scissors
- Glue stick
- Doweling rod, 12 inch
- Hot glue gun
How to Make It
- Paint the plate in rainbow sections using red, yellow, and blue, and let dry for 20 minutes.
- Use the ruler to draw lines from the center to the edge, dividing the plate into 6 equal parts.
- Cut along each line halfway to the center.
- Bend every other triangle upward 90 degrees to form vanes.
- Poke a small hole in the center and slide the plate onto the dowel.
- Secure with a dot of hot glue at the base of the plate on the rod.
9. Paper Plate Snowman
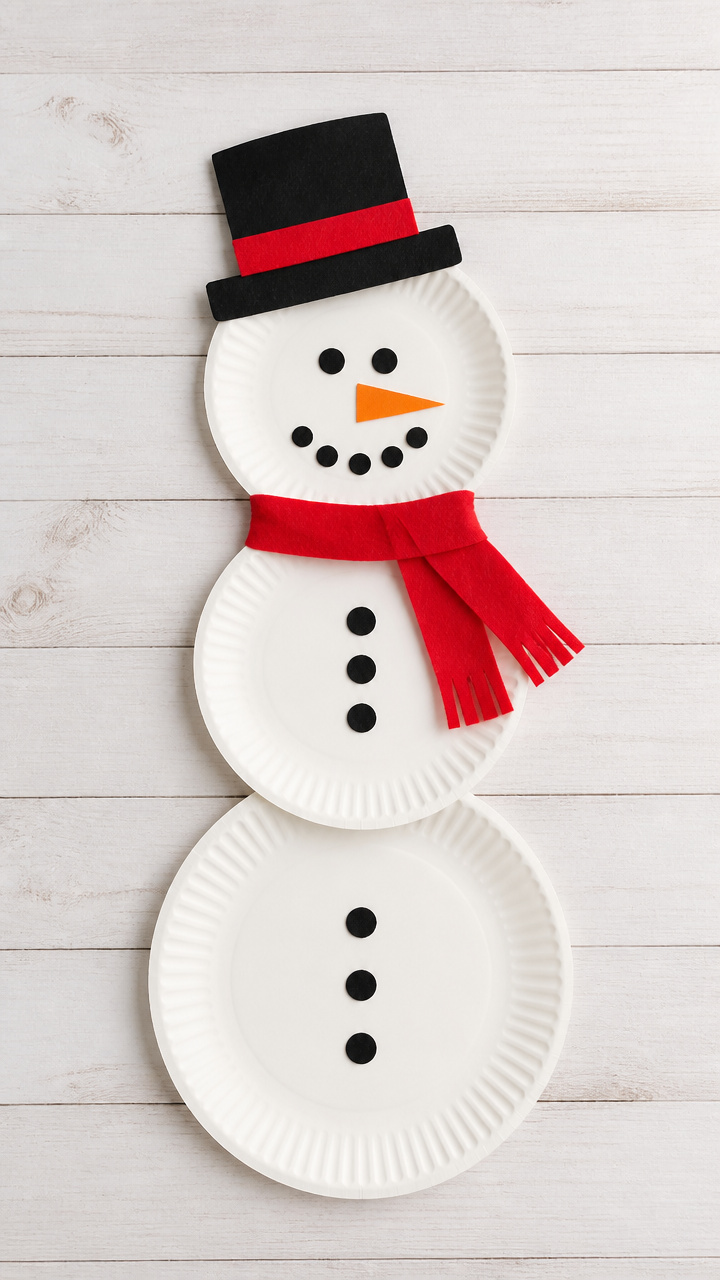
A frosty friend with a scarf and coal buttons. Perfect for winter days when snow stays outside.
Materials Needed
- 3 white paper plates
- Orange acrylic paint
- Black marker
- Scissors
- Glue stick
- Brown construction paper, 6×6 inch
- Red yarn, 12 inches
- 3 black pom poms, 0.75 inch
How to Make It
- Cut the rims off all three plates to make flat circles.
- Stack them in descending size to form a snowman body and glue together.
- Paint an orange triangle on the top circle for the nose and let dry for 10 minutes.
- Draw eyes and a mouth with the black marker.
- Cut two arms from brown paper and glue them to the middle circle.
- Wrap the red yarn around the base circle for a scarf and glue the ends.
- Glue three black pom poms down the front for buttons.


10. Paper Plate Binoculars
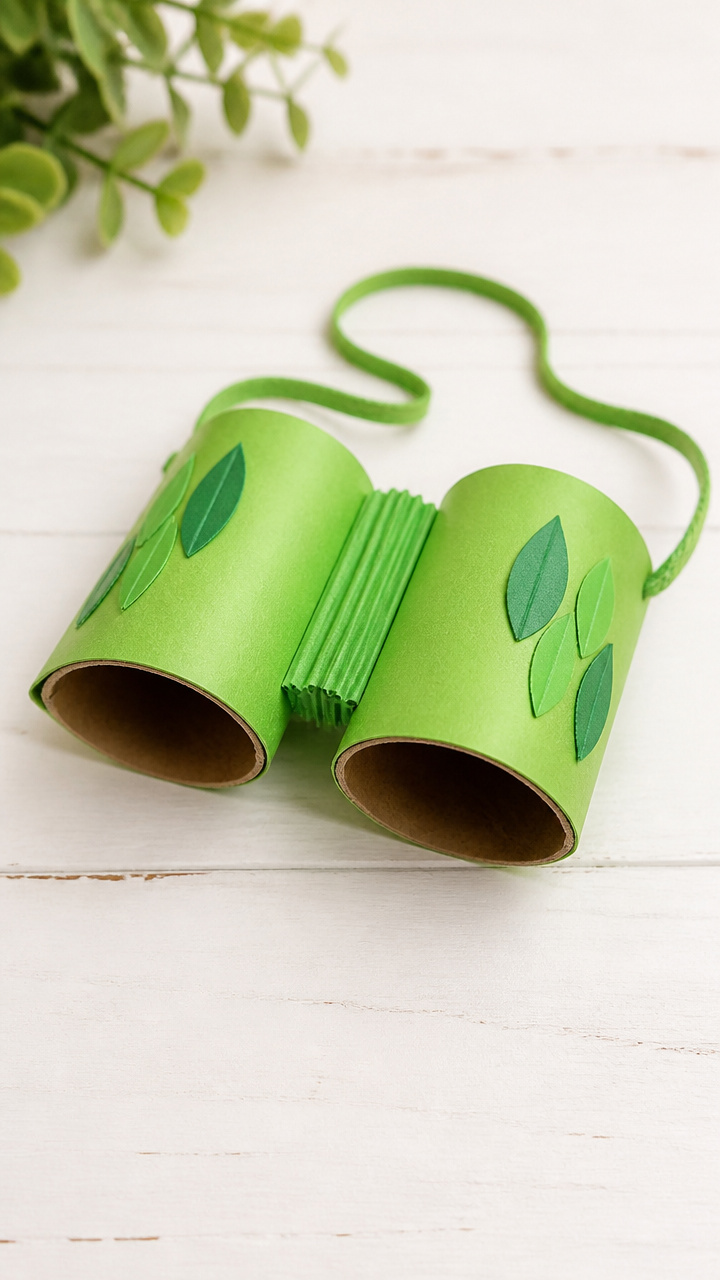
Two-eyed explorers for backyard safaris. Rolling and taping builds strength and imaginative play.
Materials Needed
- 2 white paper plates
- Green acrylic paint
- Paintbrush
- Scissors
- Green duct tape, 1 inch wide
- Hole punch
- Yarn, 24 inches
- Glue stick
How to Make It
- Paint the flat side of both plates green and let dry for 20 minutes.
- Cut a small viewing hole in the center of each plate.
- Place the plates back to back and wrap duct tape around the edges to seal them.
- Punch one hole on each side of the taped seam.
- Thread the yarn through both holes and tie the ends to make straps.
11. Paper Plate Flower
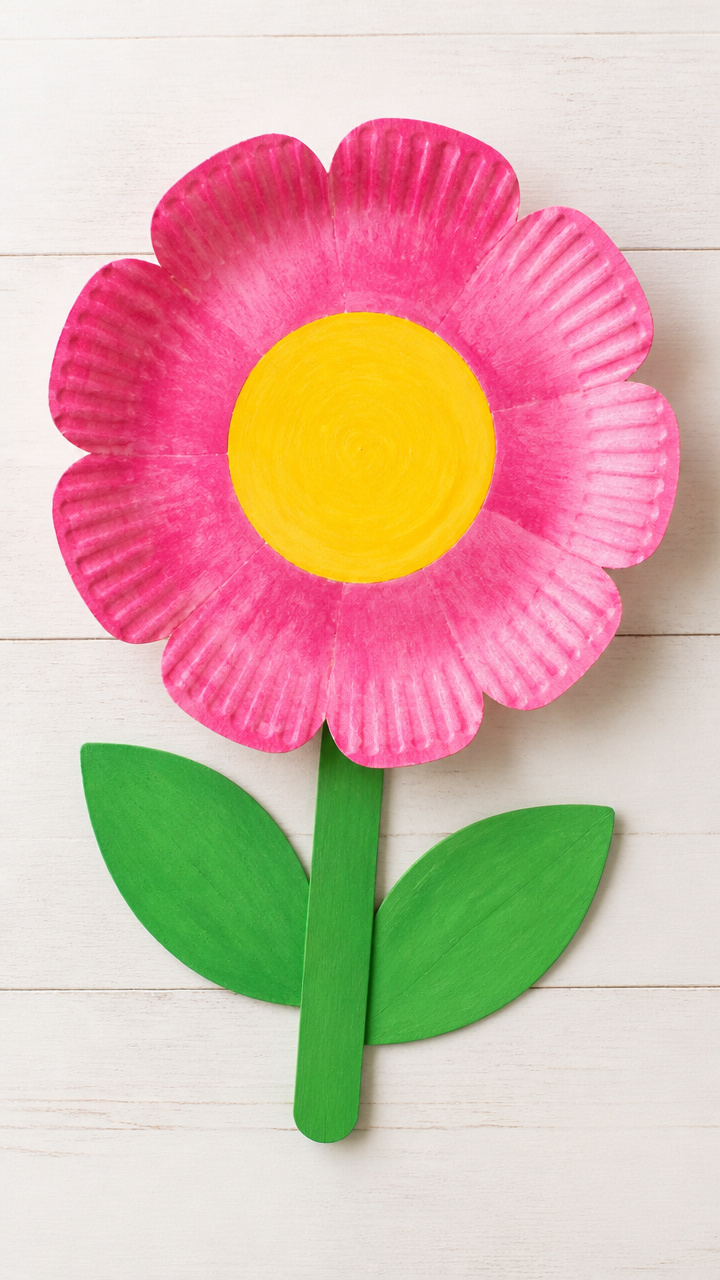
A blooming garden favorite with layered petals and a fuzzy center. It stands tall in a pot or hangs from a string.
Materials Needed
- 1 white paper plate
- Pink acrylic paint
- Paintbrush
- Scissors
- Green construction paper, 6×6 inch
- Yellow pom pom, 1 inch
- Glue stick
- Pencil
How to Make It
- Paint the back of the plate pink and let dry for 15 minutes.
- Use the pencil to mark every other section between the grooves.
- Cut along the lines up to the rim to create petal shapes.
- Bend each cut petal upward gently with your fingers.
- Cut a long strip from green paper and roll it into a stem, gluing the edge.
- Glue the yellow pom pom to the center of the flower.
- Glue the stem to the back of the plate.
12. Paper Plate Frog
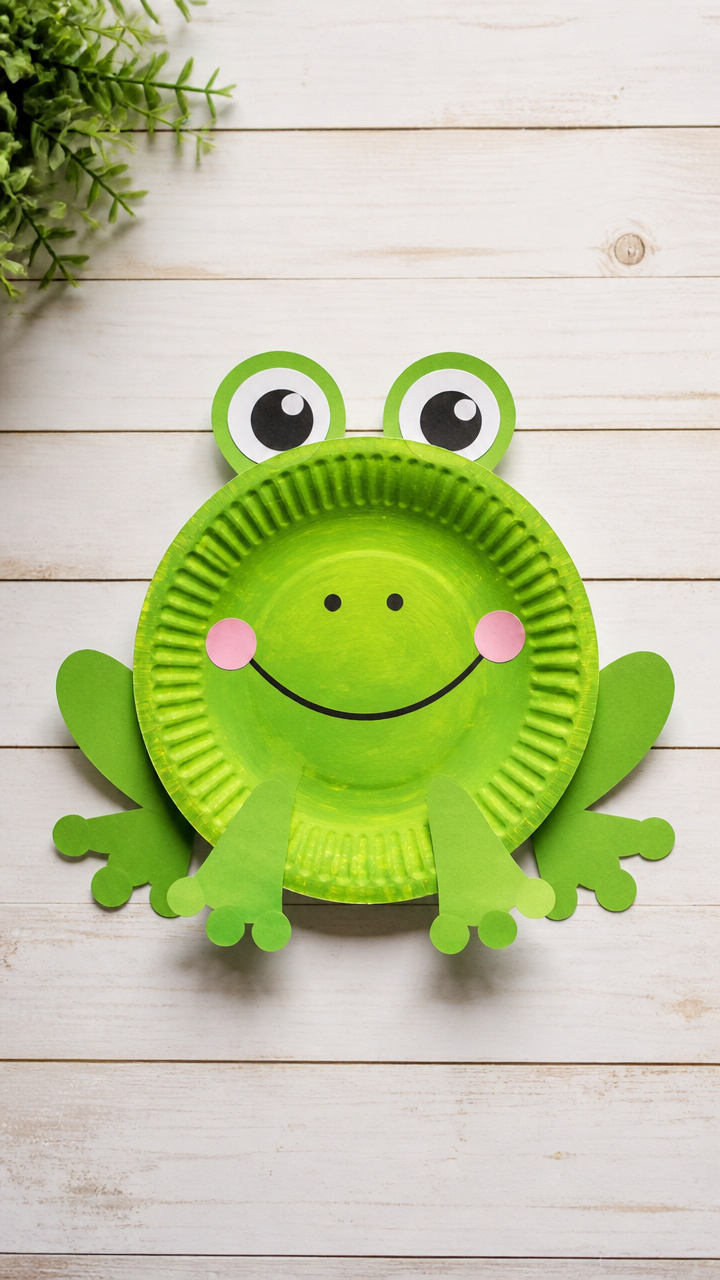
A hopping green friend with wide eyes and spotted skin. It leaps off the page and into storytime.
Materials Needed
- 1 green paper plate
- White paper plate
- Green and black acrylic paint
- Paintbrush
- Scissors
- Glue stick
- 2 white craft foam circles, 1.5 inch
- 2 black craft foam circles, 1 inch
- Black marker
How to Make It
- Paint the green plate with splotches of darker green and let dry for 20 minutes.
- Cut the white plate in half and paint each half green for the eyes, then let dry.
- Glue the eye halves to the top rim of the green plate, curving them outward.
- Glue the white foam circles to the center of each eye.
- Glue the black foam circles on top to make pupils.
- Draw a wide smile below the eyes with the black marker.
13. Paper Plate Pirate Hat
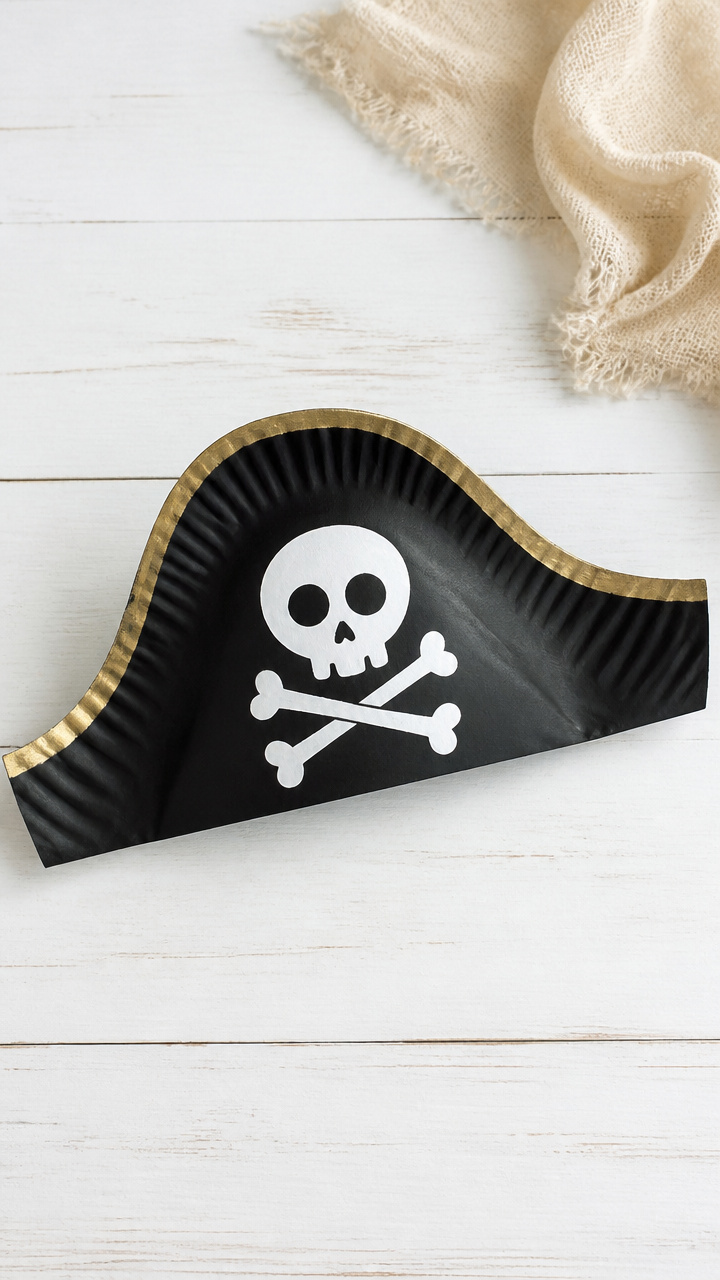
A bold black hat with a skull flag. Wear it for treasure hunts or bedtime tales.
Materials Needed
- 1 white paper plate
- Black acrylic paint
- Paintbrush
- Scissors
- Ruler
- Pencil
- Black construction paper, 8×10 inch
- Glue stick
How to Make It
- Paint the entire plate black and let dry for 20 minutes.
- Cut a straight line across the center to remove half the plate.
- Cut a 1 inch strip from the black paper and glue it around the curved edge to form a band.
- Cut a 3×4 inch rectangle from the remaining paper and fold it in half.
- Draw a skull and crossbones on the folded flap with white chalk or paint.
- Glue the flag to the flat edge of the hat so it stands upright.
14. Paper Plate Seahorse
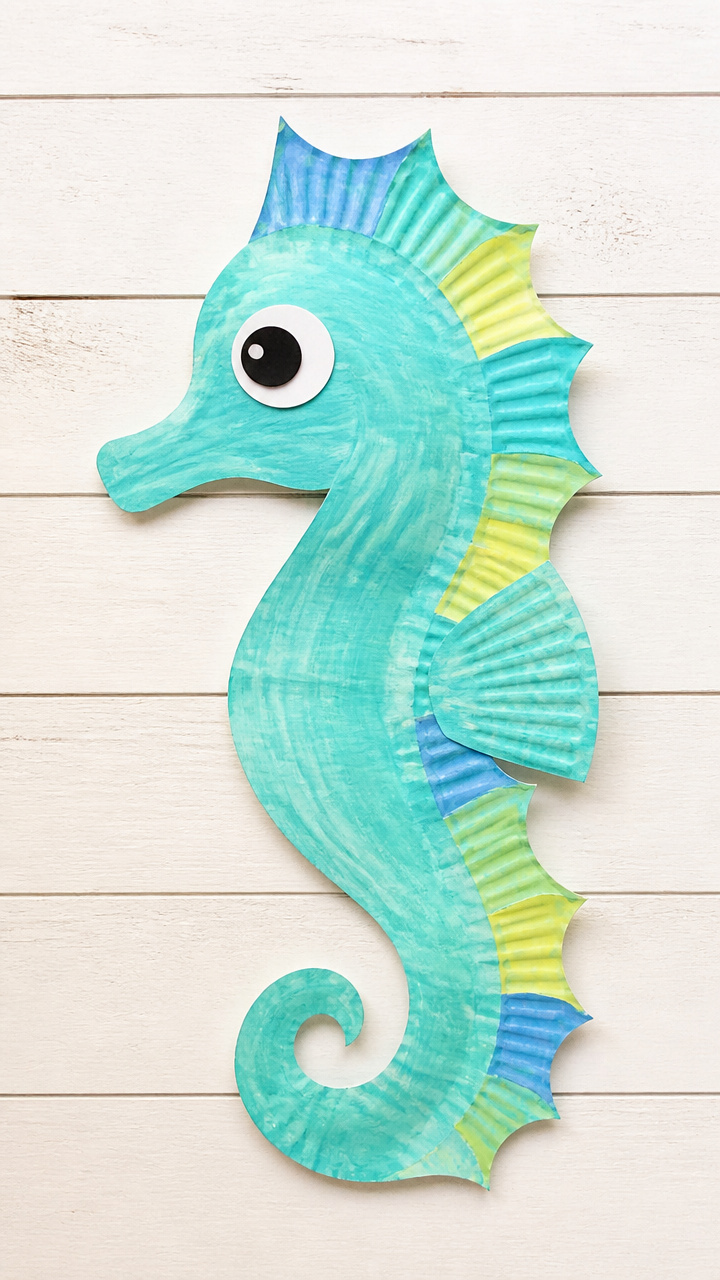
A curly-tailed swimmer with a horse-like head. This craft combines painting and folding for a graceful result.
Materials Needed
- 1 white paper plate
- Teal acrylic paint
- Paintbrush
- Scissors
- Glue stick
- Teal construction paper, 6×6 inch
- White craft foam
- 2 black dot stickers, 6mm
How to Make It
- Paint the plate teal and let dry for 15 minutes.
- Cut a long, curved tail from the plate’s rim and set aside.
- Cut a seahorse head shape from teal paper and glue it to the front edge of the plate.
- Glue the curved tail to the back edge, curling the tip upward.
- Cut a small oval from white foam for the belly and glue it below the head.
- Add dot stickers for eyes and draw gill lines with a black marker.
15. Paper Plate Angel
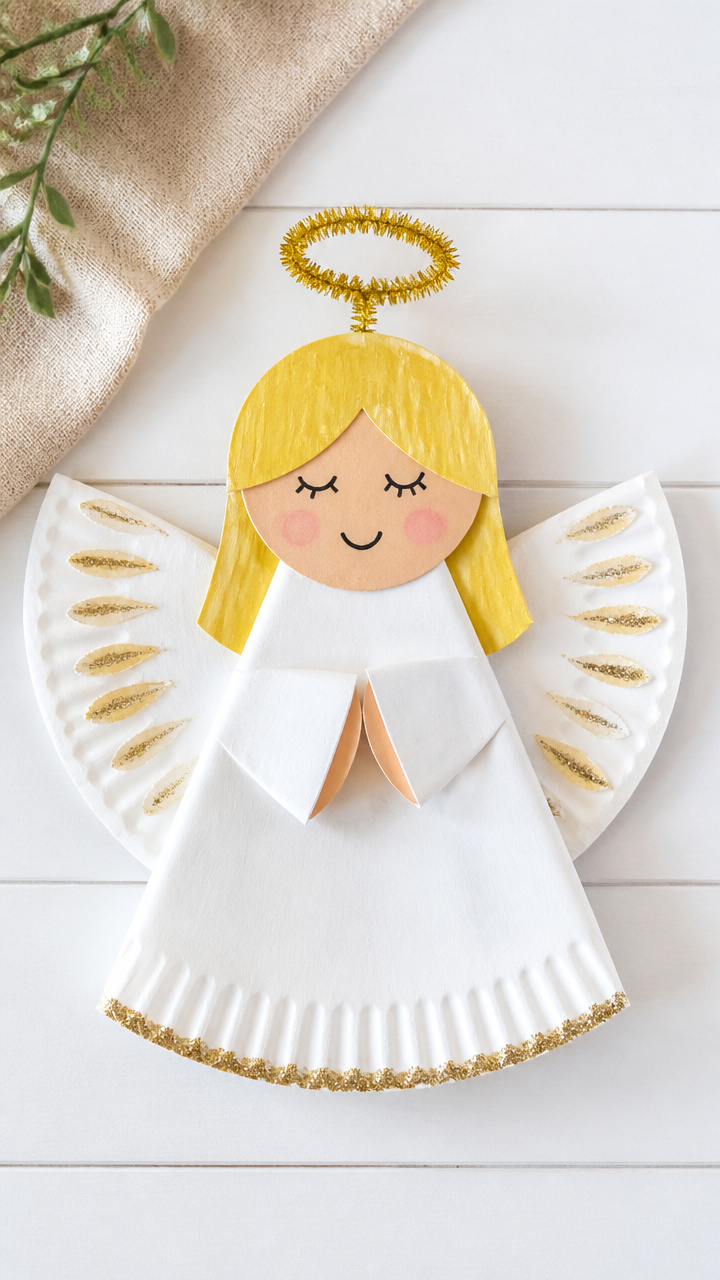
A soft-faced angel with golden wings and a gentle glow. It brings quiet joy to any room.
Materials Needed
- 1 white paper plate
- Gold acrylic paint
- Paintbrush
- Scissors
- Glue stick
- Gold glitter
- Clear glue
- Tan craft foam, 4×4 inch
- White yarn, 6 inches
How to Make It
- Paint the plate gold and let dry for 20 minutes.
- Cut two wing shapes from the sides of the rim and paint them gold, then let dry.
- Sprinkle clear glue on the wings and cover with glitter, shaking off excess.
- Cut a small oval from tan foam for the face and glue it to the center.
- Draw eyes and a smile with a brown marker.
- Glue a small puff of white yarn above the face for hair.
- Glue the wings to the back of the plate at an upward angle.
Grab a stack of paper plates and invite the kids to start creating. Each craft is a chance to laugh, learn, and make something uniquely theirs.