17 Easy Christmas Envelope Crafts for Handmade Holiday Mail
The magic of holiday mail begins before the card is even opened. A hand-decorated envelope shows instant care, turning a simple greeting into a personal keepsake with just a quick brushstroke or a glued sequin.
Whether you are writing to family, teachers, or faraway friends, these creative ideas bring warmth to the holiday season. Best of all, every project is simple, joyful, and made using everyday supplies you likely already have at home.
1. Festive Washi Tape Borders
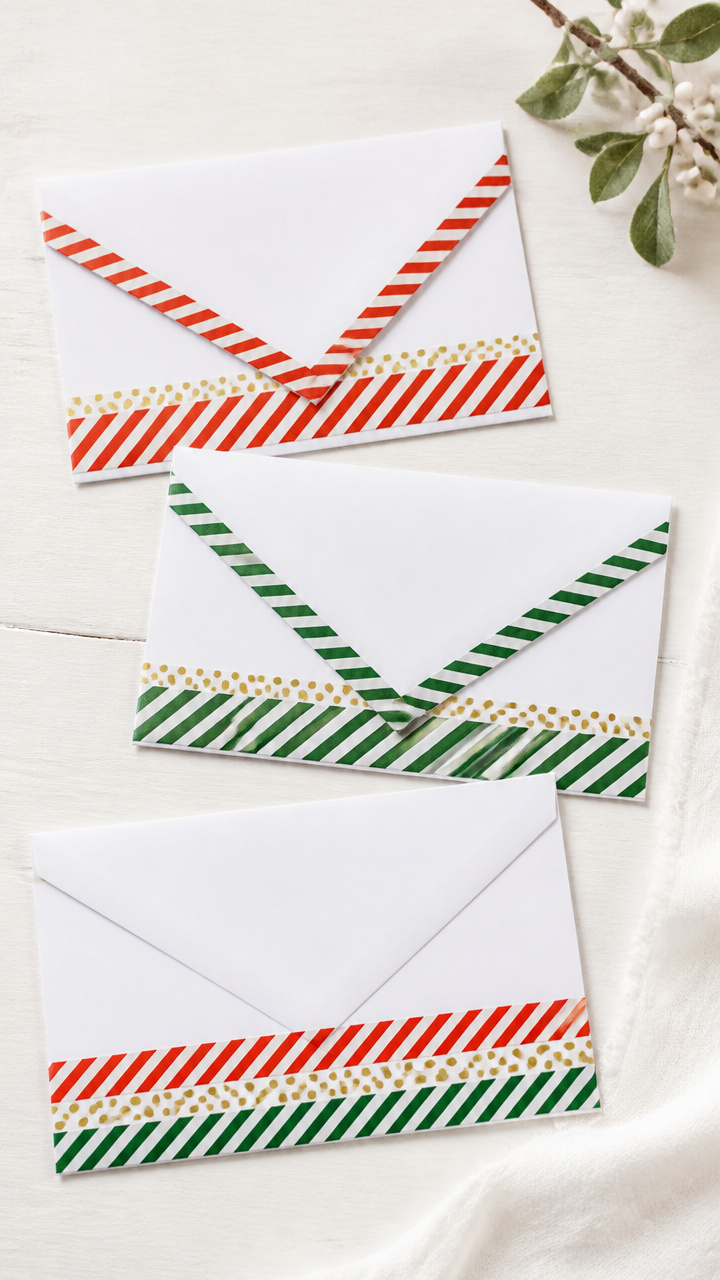
Colorful washi tape adds instant cheer without mess or drying time. This clean-lined design looks store-bought but takes minutes to make.
Materials Needed
- A6 white envelopes (5)
- Red and green striped washi tape (1 roll)
- Gold dotted washi tape (1 roll)
- Precision scissors
How to Make It
- Cut a 4-inch strip of red and green washi tape and align it along the bottom edge of the envelope flap, pressing firmly.
- Place a 3-inch piece of gold dotted tape centered on top of the first strip to create a layered border effect.


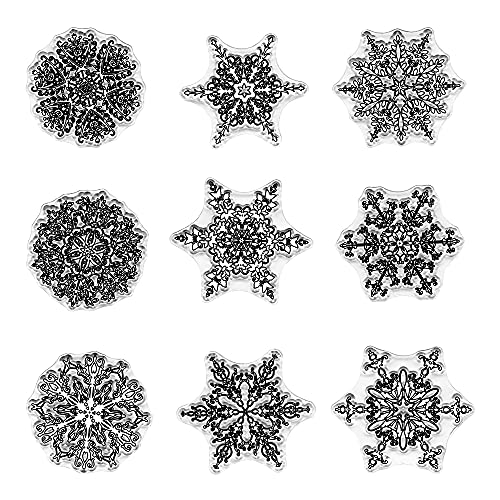
2. Hand-Stamped Snowflake Patterns
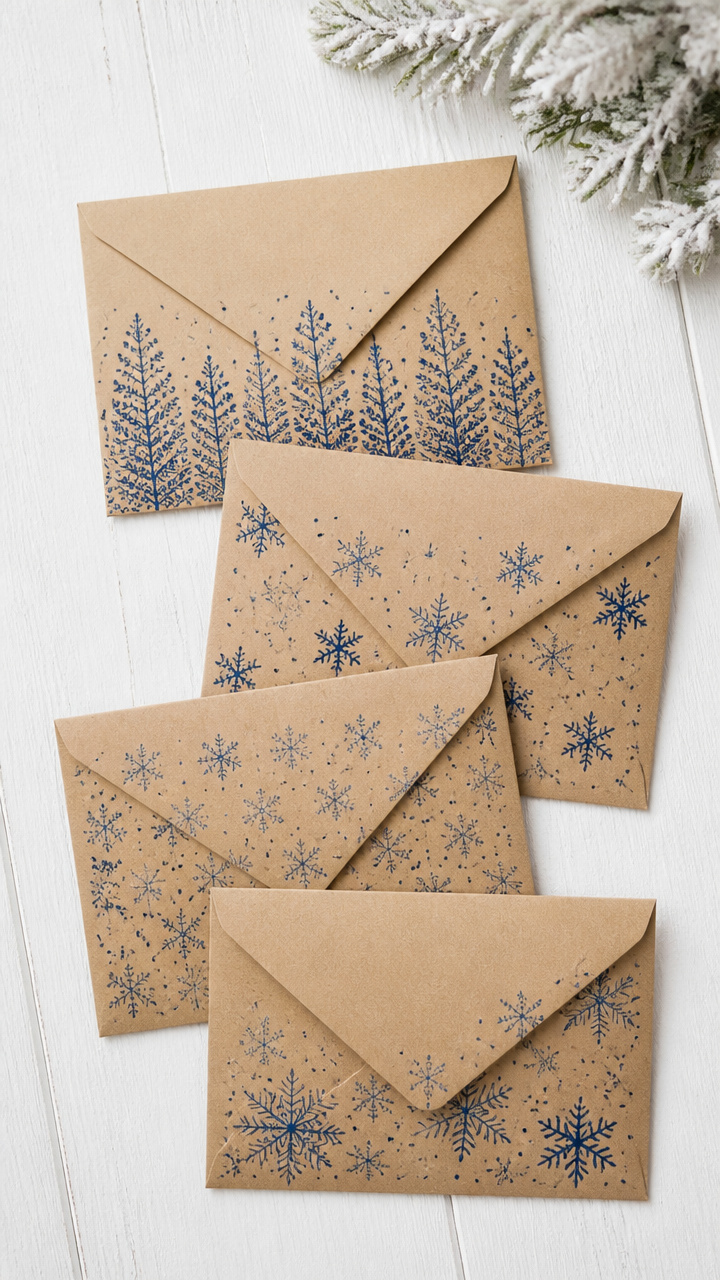
Crisp snowflake stamps give envelopes a winter forest feel. You control the density and layout for a custom look.
Materials Needed
- A6 kraft paper envelopes (6)
- Blue ink pad (pigment, quick-drying)
- Clear snowflake rubber stamp set (3 designs)
- Ruler
How to Make It
- Use the ruler to lightly mark a 0.5-inch grid across the front of the envelope with pencil.
- Press the snowflake stamp into the ink pad, then stamp at each grid point, rotating designs randomly for variety.


3. Glitter Glue Dots Accent
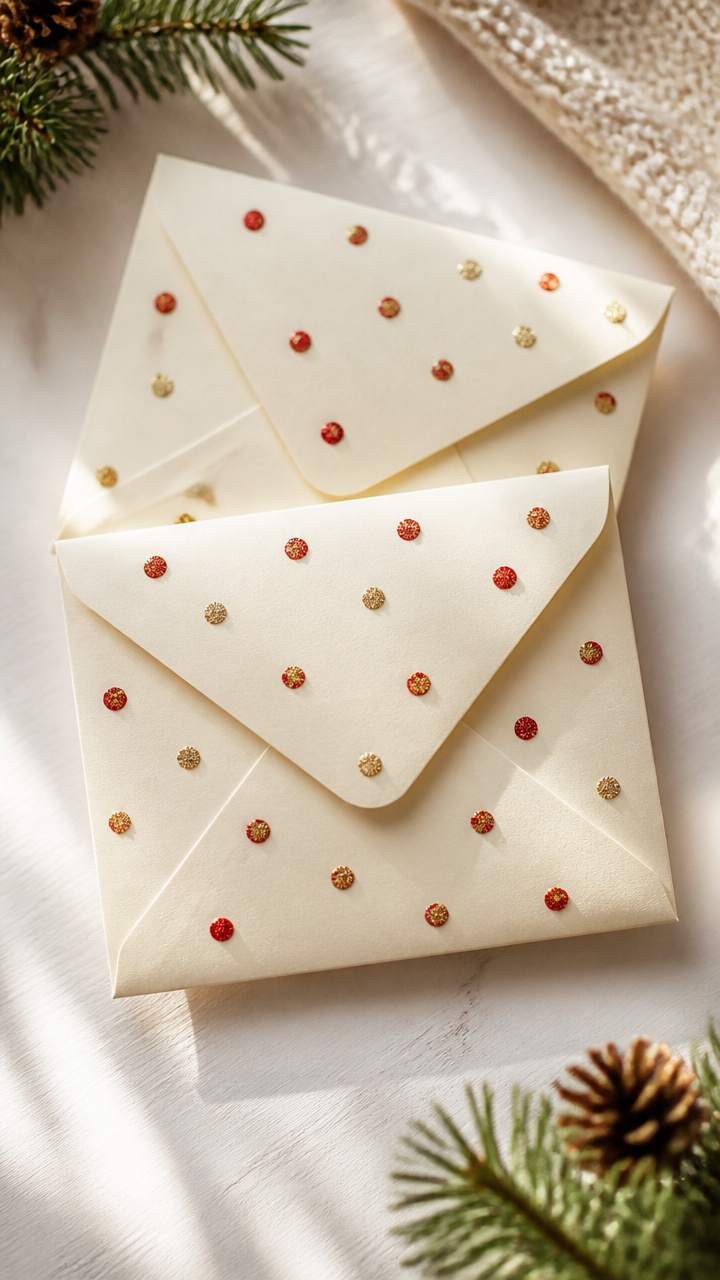
Tiny dots of glitter glue sparkle like fresh snowfall. They dry fast and won’t rub off on other mail.
Materials Needed
- A6 cream envelopes (8)
- Fine-tip red glitter glue pen
- Fine-tip gold glitter glue pen
- Tweezers
How to Make It
- Squeeze small pea-sized dots of red and gold glitter glue in alternating pattern along the flap seal edge, spacing them 0.75 inches apart.
- Let dry flat for 20 minutes, using tweezers to reposition any stray dots before they set.
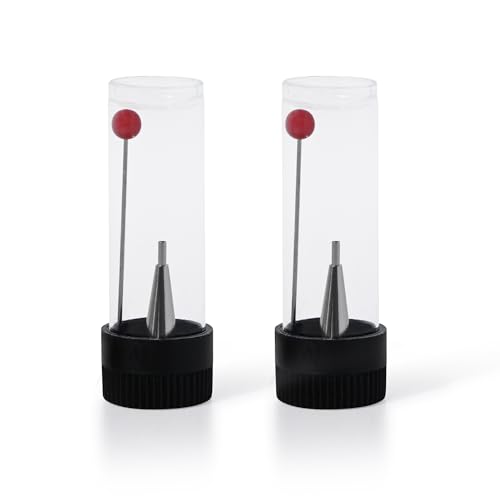


4. Mini Clothespin Reindeer
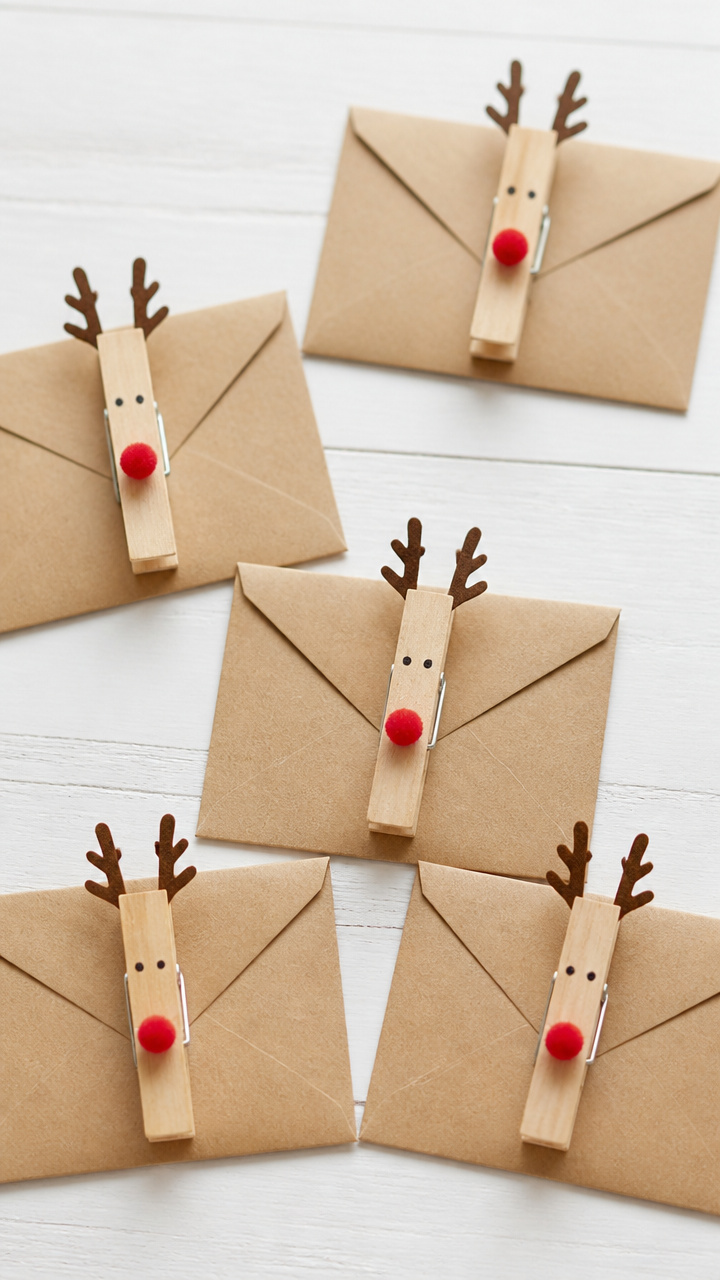
A wooden clothespin clipped to the flap becomes an instant reindeer face. It doubles as a tiny keepsake.
Materials Needed
- Small natural wood clothespins (5)
- Black fine liner marker
- Red pom-pom, 6mm (5)
- Hot glue gun and glue sticks
- A6 envelopes with square flaps (5)
How to Make It
- Draw two eyes and antlers on the rounded end of the clothespin with the marker.
- Glue the red pom-pom centered between the eyes for the nose.
- Clip the clothespin onto the center of the envelope flap so the face shows clearly.


5. Watercolor Wash Background
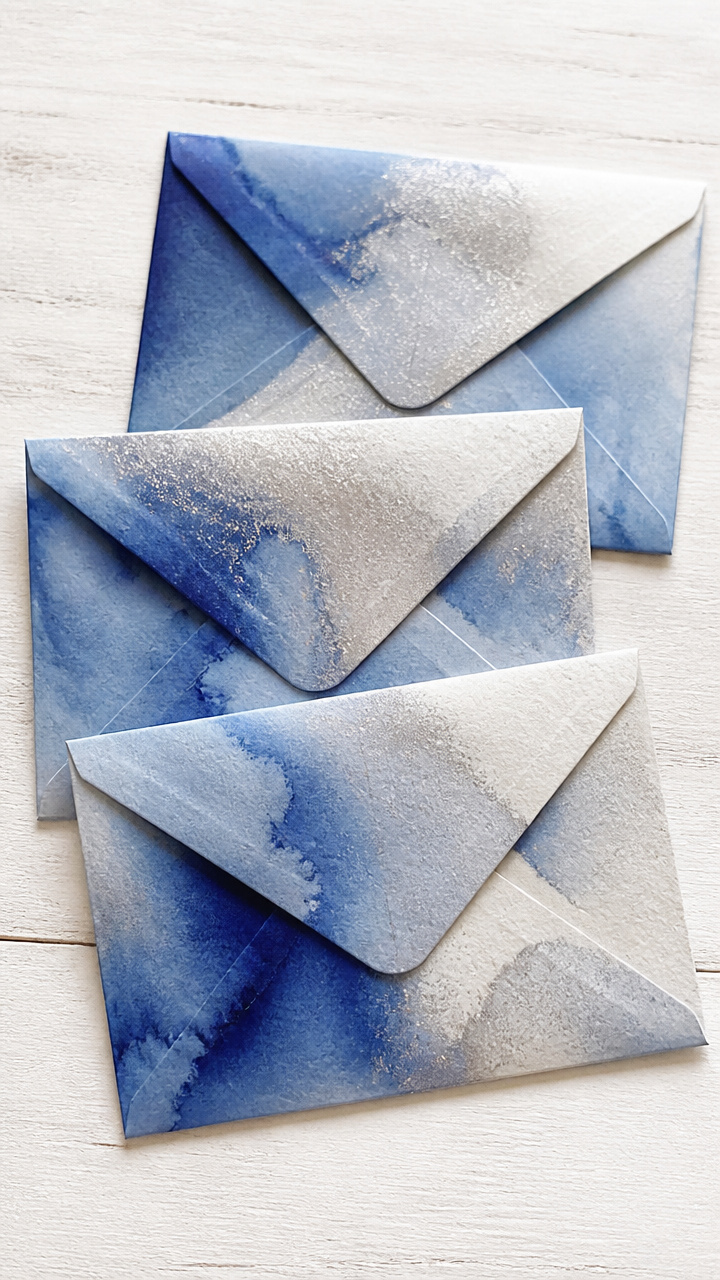
Soft washes of blue and silver mimic northern lights. This technique feels artistic but requires no skill.
Materials Needed
- A6 heavyweight cotton paper envelopes (4)
- Cobalt blue watercolor paint
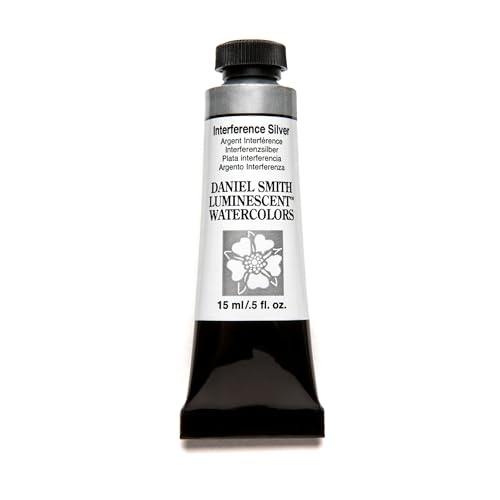
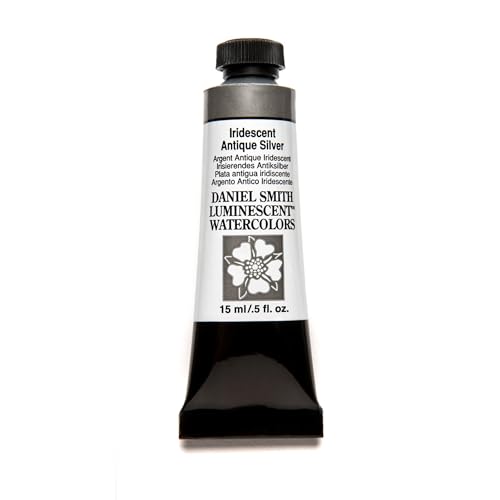
- Iridescent silver watercolor paint
- Size 6 round brush
- Small water container
- Paper towel
How to Make It
- Wet the brush and mix a light pool of cobalt blue paint, then sweep it diagonally across the top half of the envelope front.
- While still damp, add a thin line of iridescent silver where the blue ends, letting it blend naturally. Lay flat to dry for 30 minutes.

6. Pine Sprig Pressed Botanicals
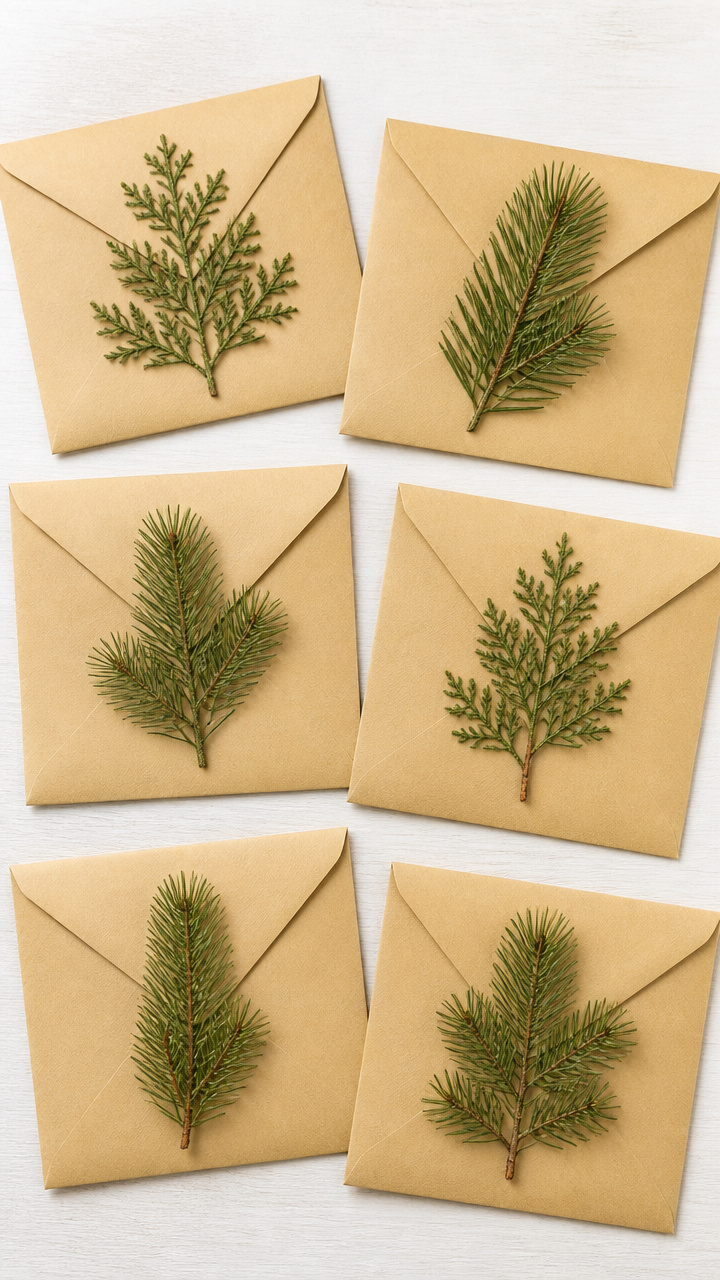
Real pine sprigs flattened and glued down bring forest fragrance and texture. They look delicate but last through delivery.
Materials Needed
- Fresh pine sprigs, 1.5 inches long (6)
- Heavy books (2)
- Matte craft glue
- Tweezers
- A6 manila envelopes (6)
How to Make It
- Place each pine sprig between two sheets of parchment paper, then press under heavy books for 12 hours.
- Use tweezers to lift a pressed sprig and glue it diagonally across the bottom corner of the envelope with a thin line of matte glue.


7. Candy Cane Strip Accents
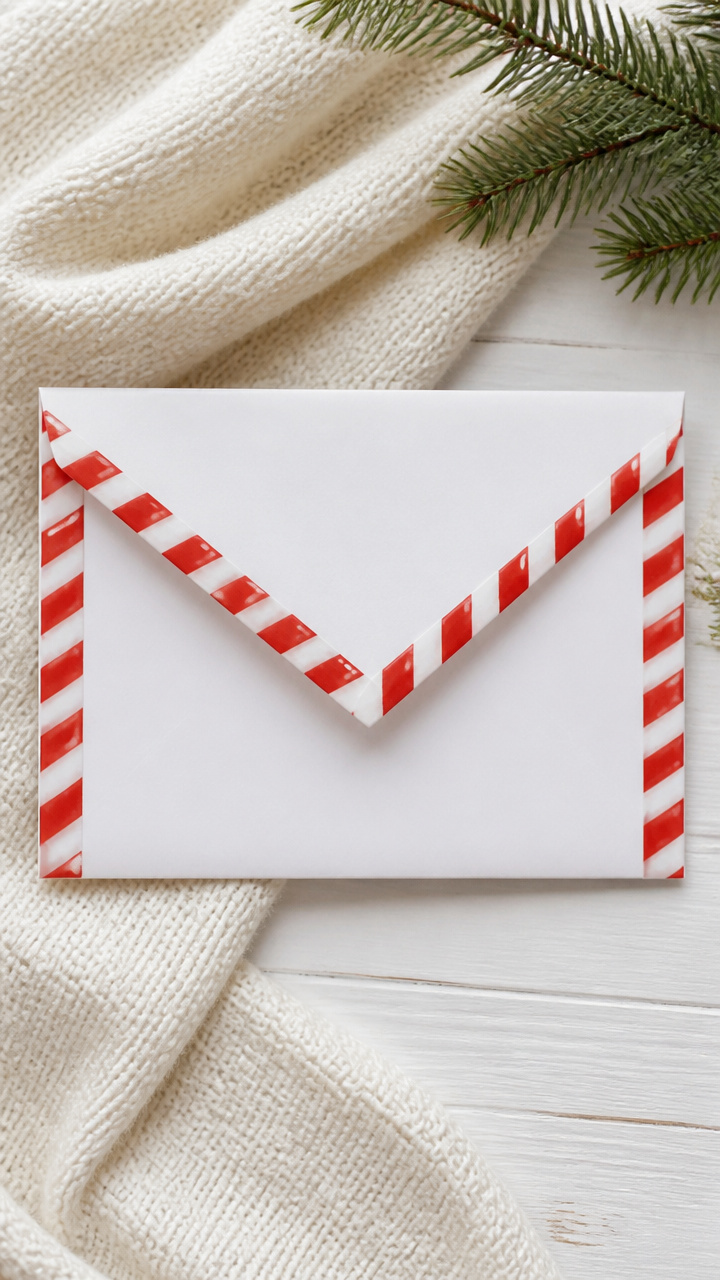
Peppermint stripes drawn with markers mimic candy canes. The bold red-and-white contrast pops on any background.
Materials Needed
- A6 white envelopes (7)
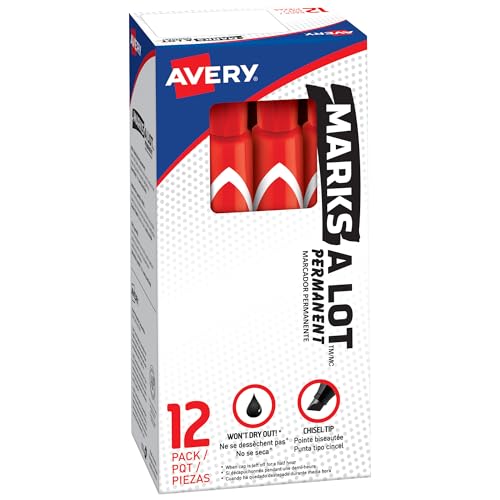
- Red chisel-tip marker
- White gel pen
- Painter’s tape, 0.25 inch width
How to Make It
- Apply a 3-inch strip of painter’s tape diagonally across the envelope flap from corner to corner.
- Color above the tape with the red chisel-tip marker, then remove the tape while wet and fill the exposed stripe with the white gel pen.


8. Mini Pom-Pom Trees
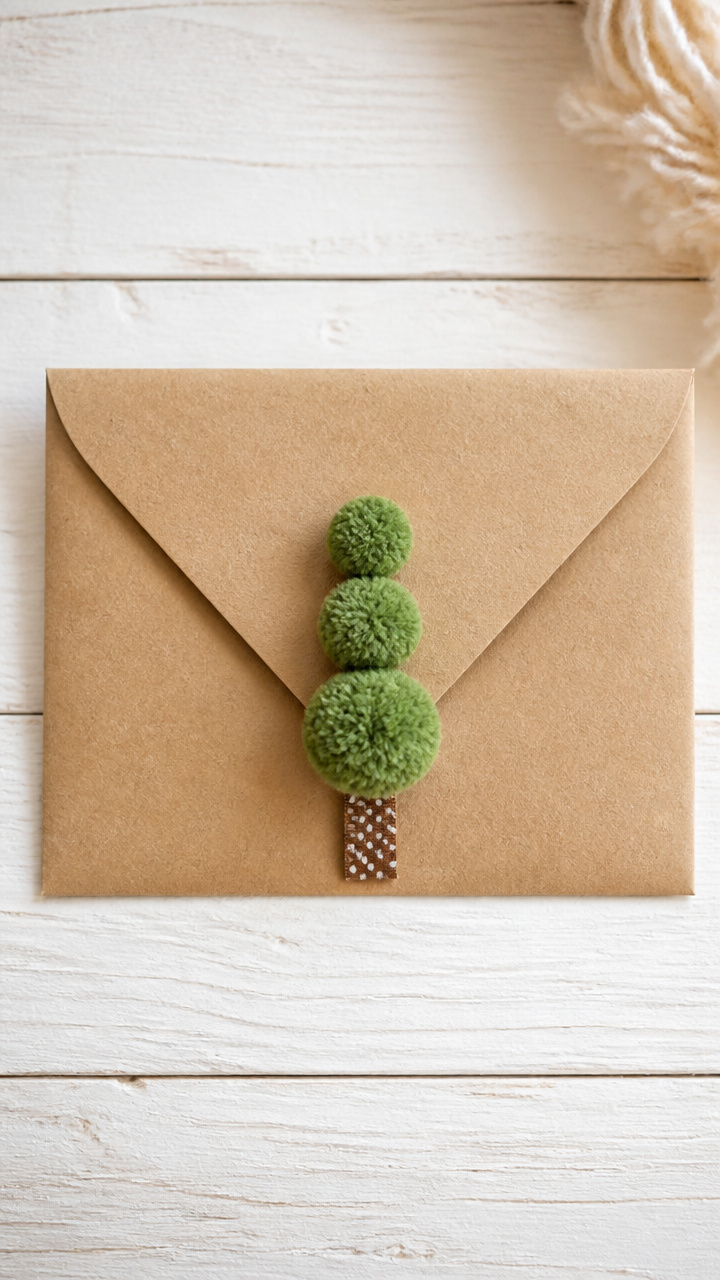
Three stacked pom-poms form a quick evergreen shape. A single dot of glue holds them in place.
Materials Needed
- Green pom-poms: 8mm, 6mm, 4mm (3 sets)
- Brown fine-tip marker
- Craft glue
- Tweezers
- A6 kraft envelopes (3)
How to Make It
- Line up one of each size pom-pom vertically on a flat surface, largest at bottom, smallest on top.
- Glue the stack together at contact points, let dry 10 minutes, then glue the base to the envelope front using tweezers for placement.

9. Calligraphy Address Overlay
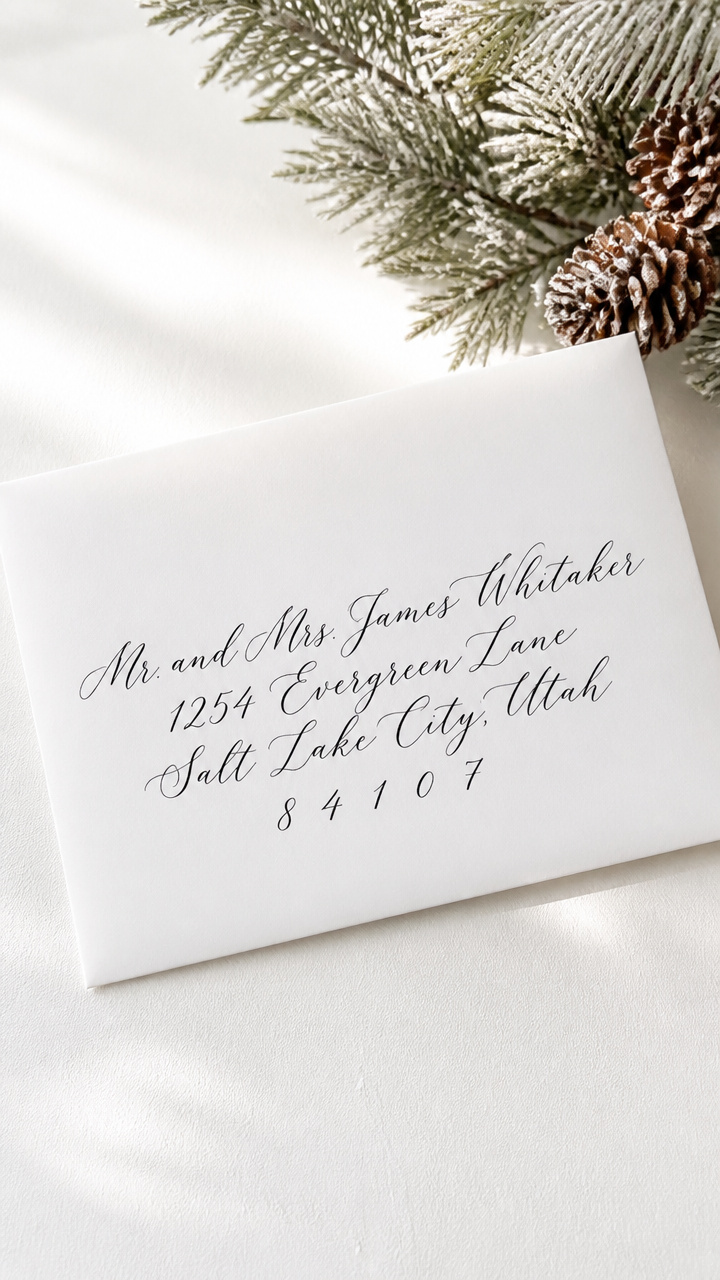
Elegant script turns the address panel into art. Practice once and repeat with confidence.
Materials Needed
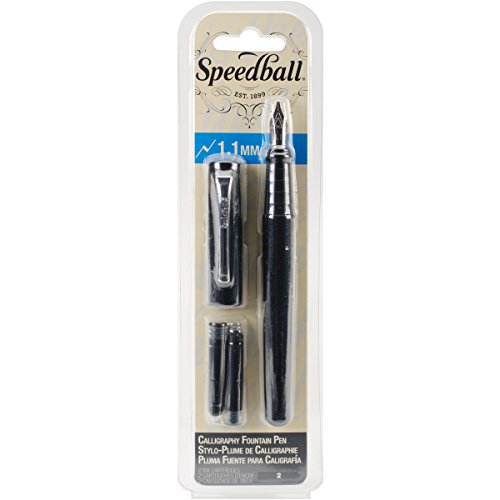
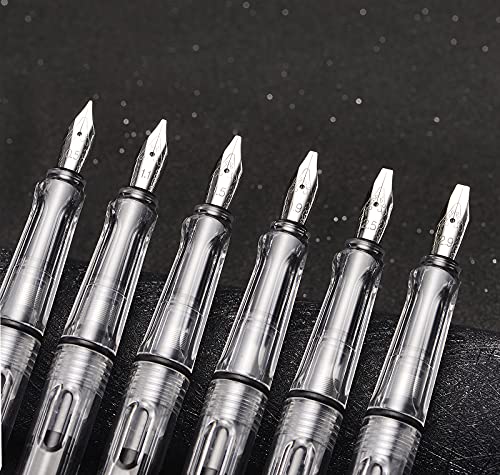
- Black calligraphy fountain pen
- Practice sheet of grid paper
- A6 envelopes with smooth finish (5)
- Ruler
- Light pencil
How to Make It
- Use pencil and ruler to draw light horizontal lines across the address area, spaced 0.3 inches apart.
- Write the address in slow, steady strokes using the fountain pen, following the slant guide on your practice sheet.

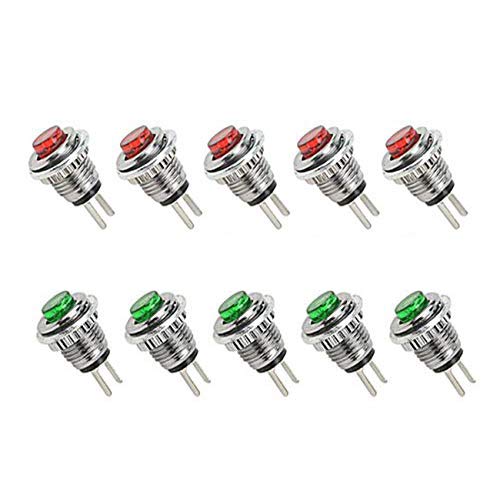
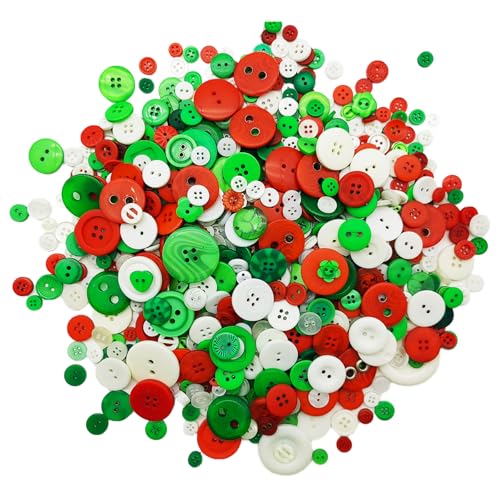
10. Tiny Button Stockings
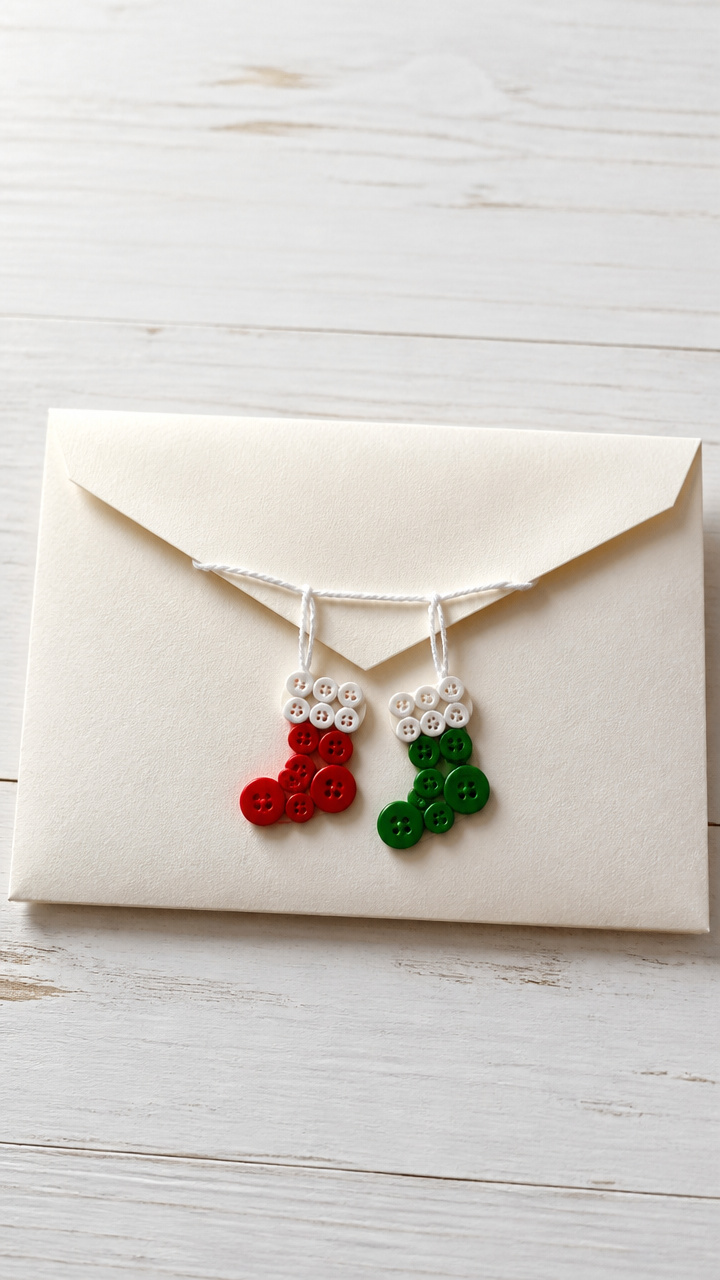
Buttons stitched into stocking shapes dangle from the flap. They catch light and move slightly when handled.
Materials Needed
- Red and green buttons, 8mm (4 each)
- Embroidery floss (white, 1 yard)
- Needle with large eye
- A6 envelopes with thick paper (4)
How to Make It
- Thread the needle and knot the end. Position two red and one green button vertically on the flap tip to form a stocking shape.
- Stitch through each button twice, securing them firmly, and knot the thread underneath the last button.

11. Salt Texture Snow Drifts
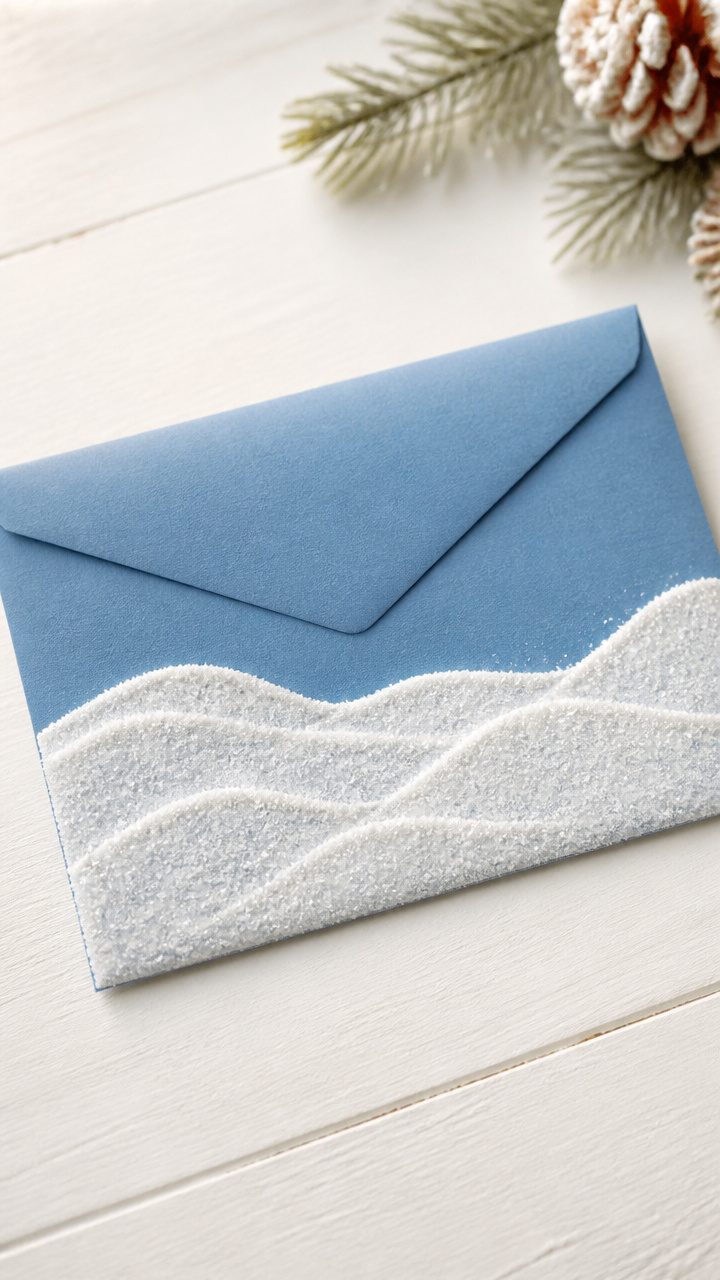
Table salt sprinkled on glue creates realistic snowy mounds. It’s tactile and catches the light beautifully.
Materials Needed
- White school glue
- Table salt
- Small spoon
- A6 blue envelopes (5)
- Shallow tray
How to Make It
- Squeeze small wavy lines of glue along the bottom third of the envelope to resemble drifts.
- Hold the envelope over the tray and sprinkle salt evenly over the glue, then shake off excess after 15 seconds.
- Let dry completely for 25 minutes before handling.


12. Cut Paper Star Window
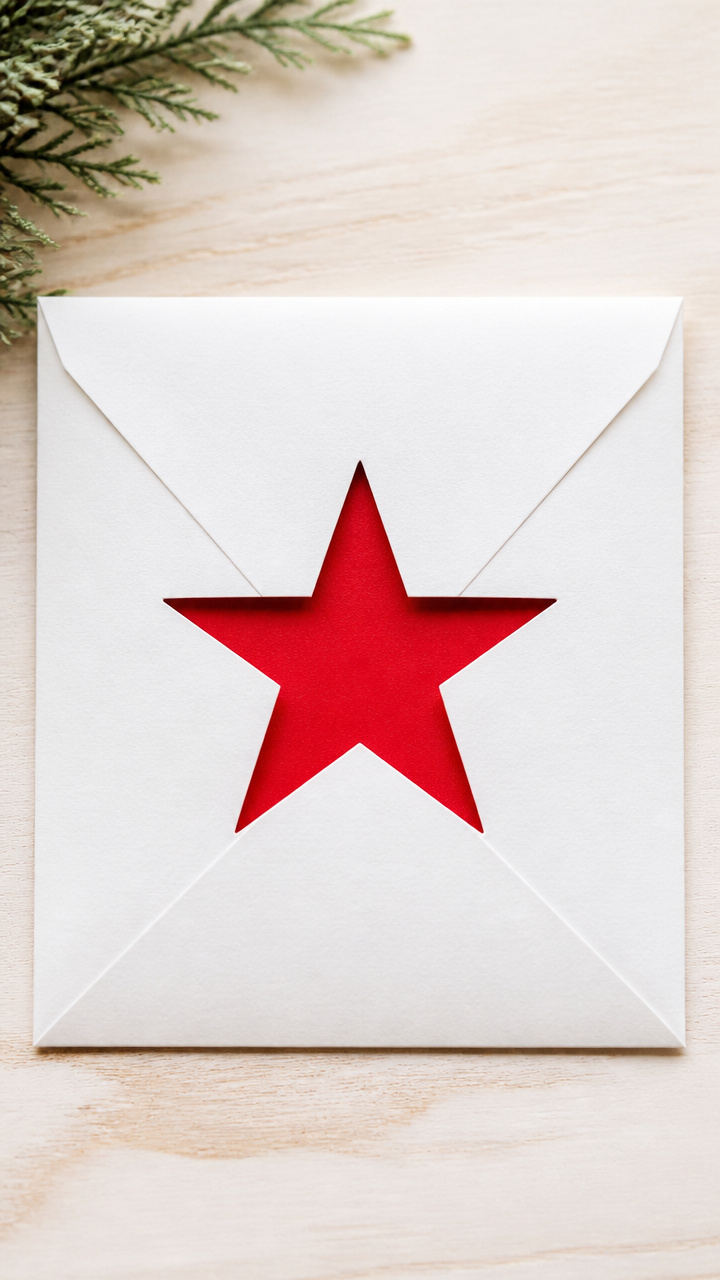
A five-point star cut into the front reveals colored paper beneath. The surprise layer adds depth.
Materials Needed
- A6 white envelopes (6)
- Red A6 cardstock (6 pieces)
- Craft knife with #11 blade
- Cutting mat
- Star stencil, 1.5 inch
How to Make It
- Center the star stencil on the front of the envelope and trace lightly with pencil.
- Place on cutting mat and use the craft knife to cut along the traced lines, then glue a red cardstock piece behind the opening.


13. Twine-Wrapped Flap Closure
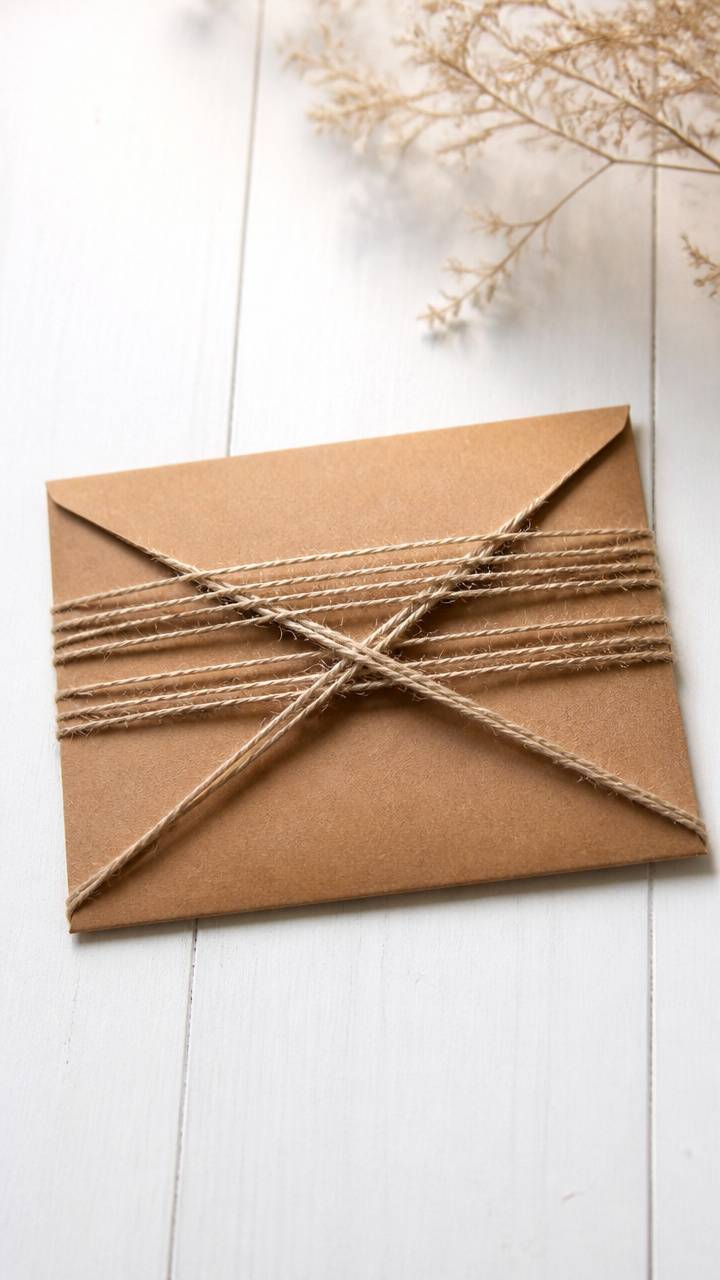
Natural twine tied around the flap replaces a seal. It’s rustic and easy to untie for the recipient.
Materials Needed
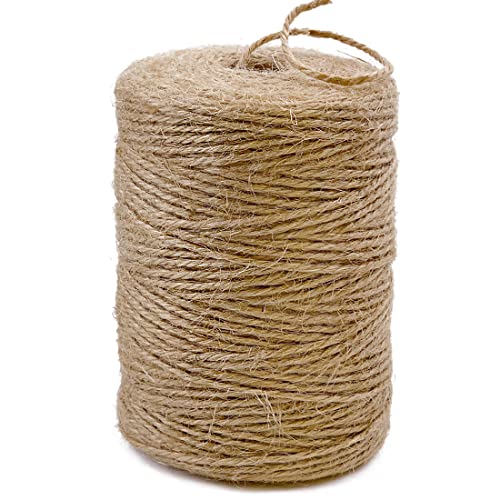
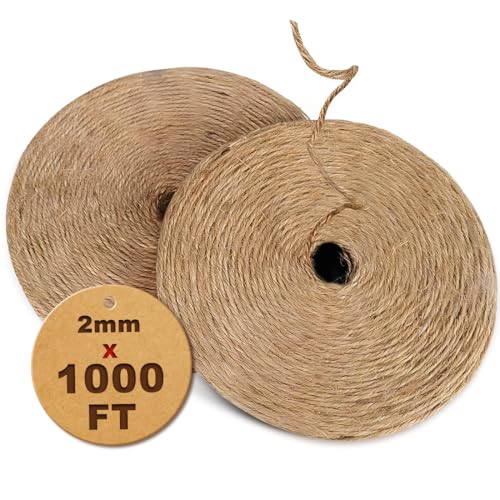
- Natural jute twine (10 feet)
- Scissors
- A6 brown craft envelopes (8)
- Double-sided tape, 0.25 inch
How to Make It
- Cut an 8-inch length of twine. Use small pieces of double-sided tape to secure both ends to the back of the envelope flap.
- Fold the flap down and tie the twine in a simple knot on the front.

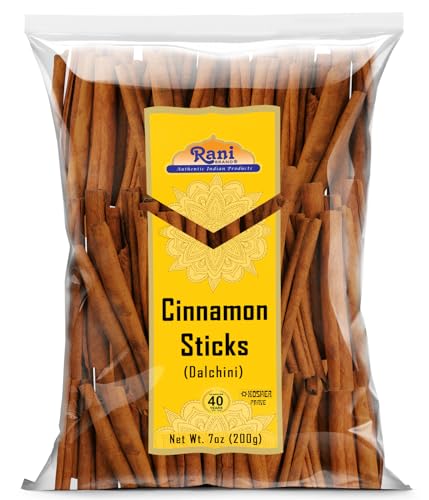
14. Cinnamon Stick Mini Wreath
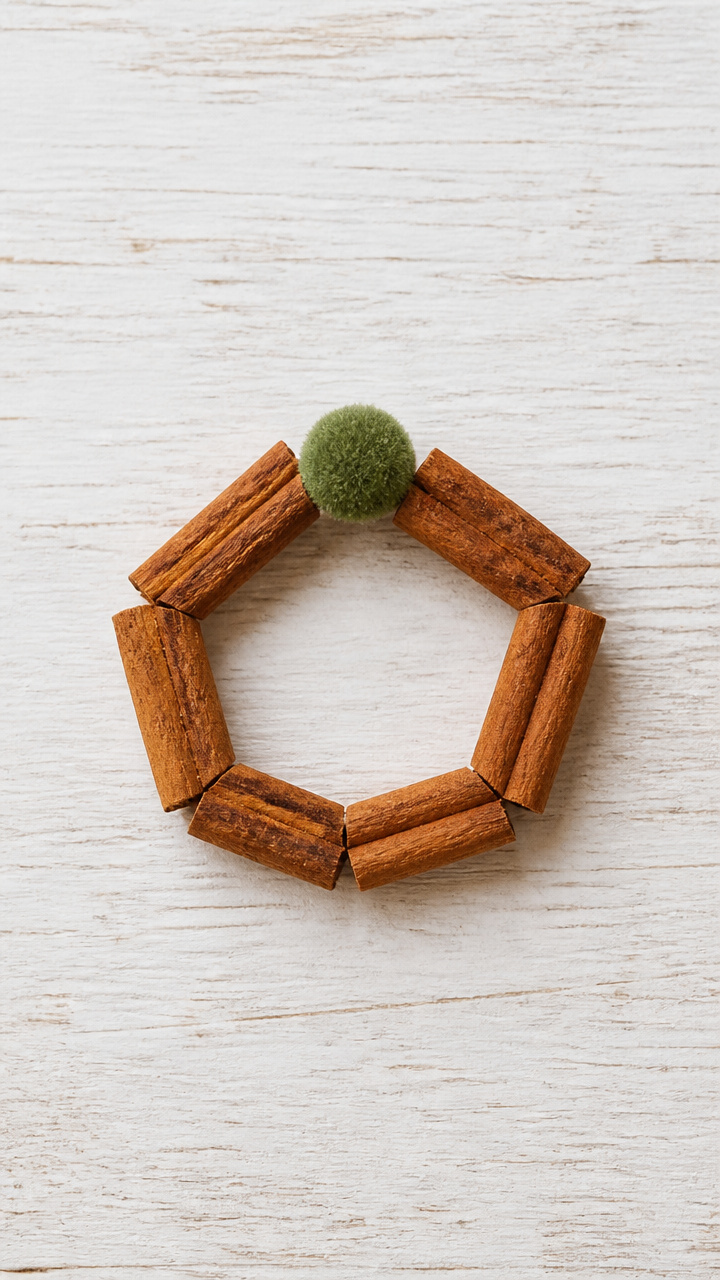
Short cinnamon sticks glued in a circle smell like the holidays. They stay flat enough for mailing.
Materials Needed
- Cinnamon sticks, broken to 1 inch (6 pieces)
- Hot glue gun
- Green mini pom-pom, 4mm (1)
- A6 cream envelopes (1)
- Circular lid stencil, 1.2 inch
How to Make It
- Arrange six cinnamon stick pieces in a circle following the stencil outline on the envelope front.
- Glue each piece in place with hot glue, then add the green pom-pom at the top as a bow accent.


15. Foam Sticker Layering
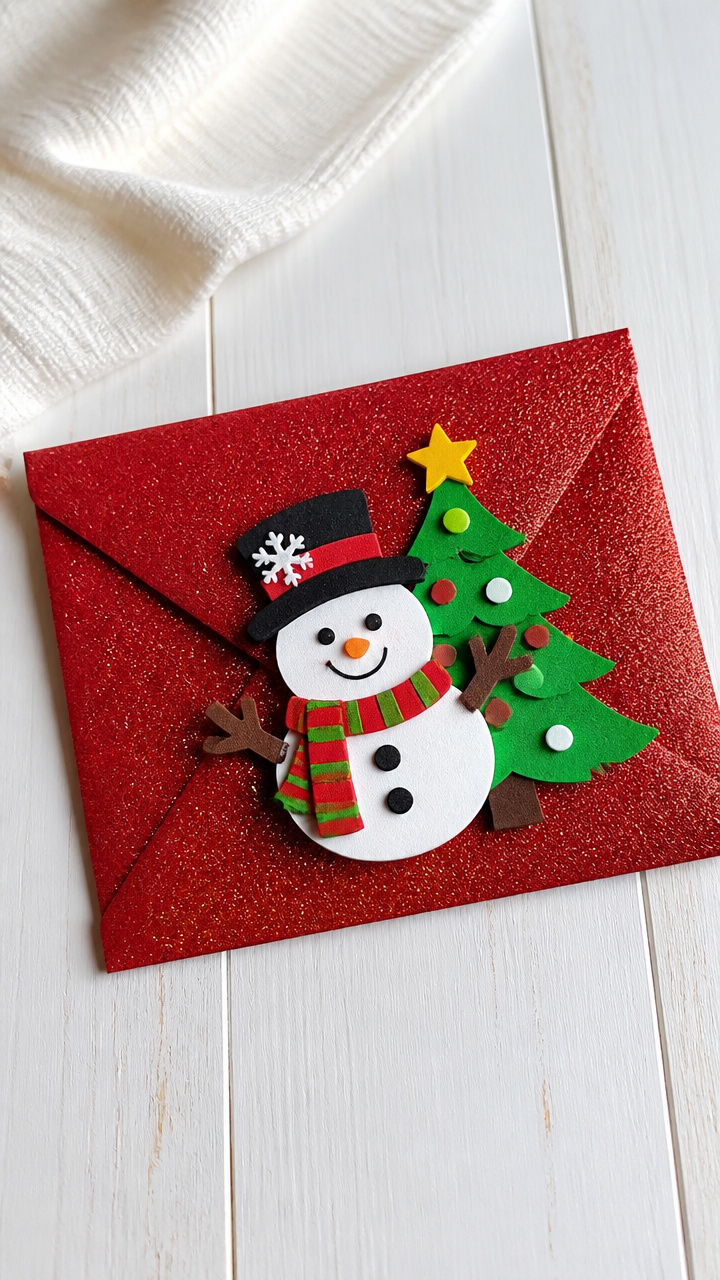
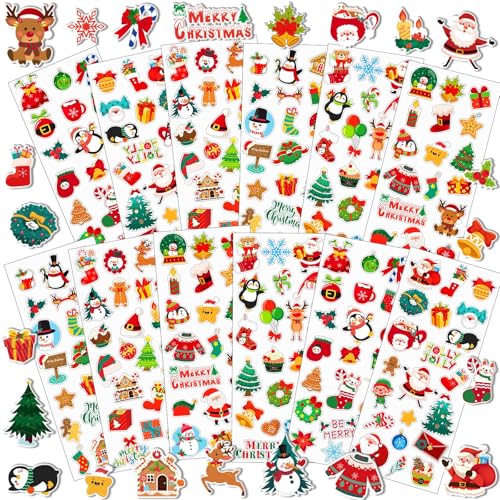
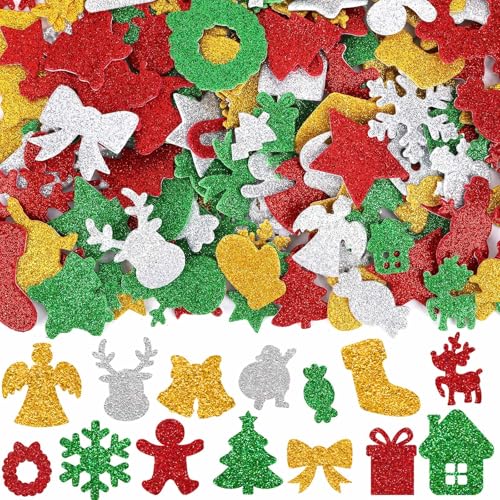
Pre-cut foam stickers build dimension fast. No drying or prep work needed.
Materials Needed
- Holiday-themed foam sticker set (snowman, tree, star – 3 each)
- A6 glitter-finish envelopes (3)
- Tweezers
How to Make It
- Choose one snowman, tree, and star sticker. Use tweezers to peel and position them in a loose triangle on the envelope front.
- Press each sticker firmly for 10 seconds to ensure full adhesion.

16. Hand-Drawn Mitten Silhouettes
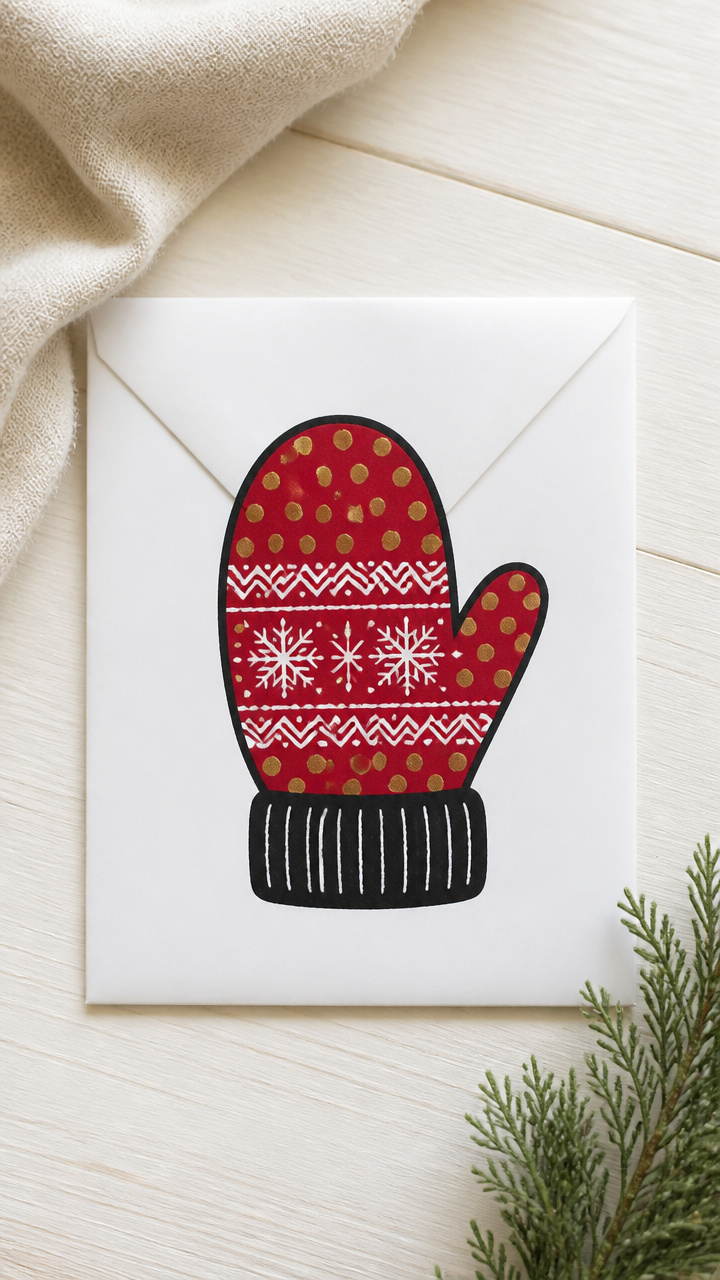
Simple mitten outlines filled with patterned color feel cozy and handmade. Use contrasting ink for visibility.
Materials Needed
- Black fineliner pen
- Red water-based marker
- Polka dot stamp, 0.3 inch (1)
- Ink pad (gold)
- A6 white envelopes (6)
How to Make It
- Draw two mitten shapes facing each other near the top of the envelope using the fineliner.
- Fill each mitten with solid red color, then stamp small gold polka dots inside while the marker is still damp.


17. Mini Fabric Scrap Tree
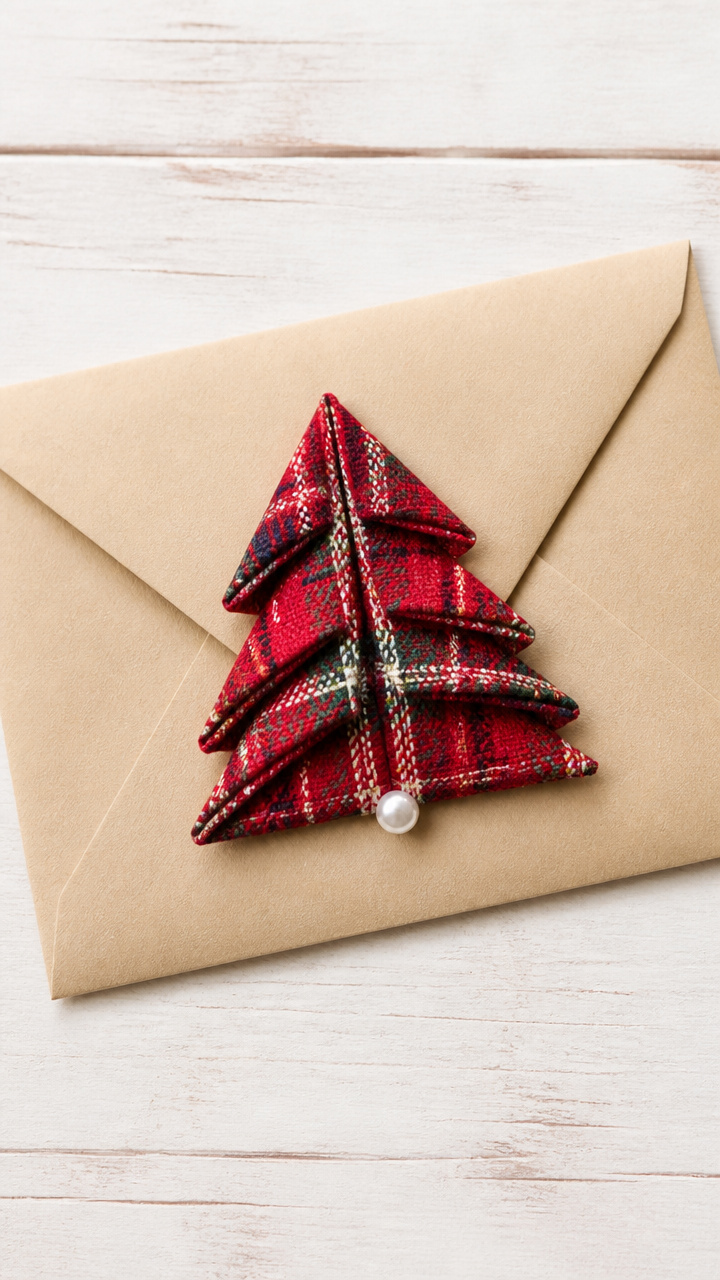
A triangle of plaid fabric pinned to the envelope mimics a cloth-wrapped tree. It adds soft texture and charm.
Materials Needed
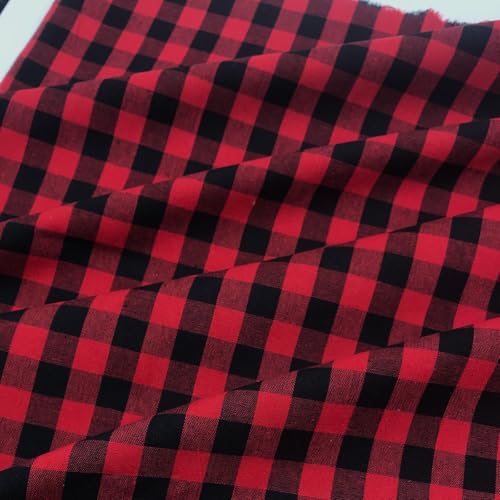
- Red plaid cotton fabric scrap, 2×3 inches (1)
- Pearl-headed straight pin (1)
- Scissors
- A6 manila envelope (1)
How to Make It
- Cut the fabric into a 1.5-inch tall triangle with a flat base.
- Center the base along the bottom edge of the envelope and insert the pin through the top point, securing it to the paper.

Each of these touches turns an ordinary envelope into a little gift on its own. Grab your favorite supplies and start making mail that brings real joy.