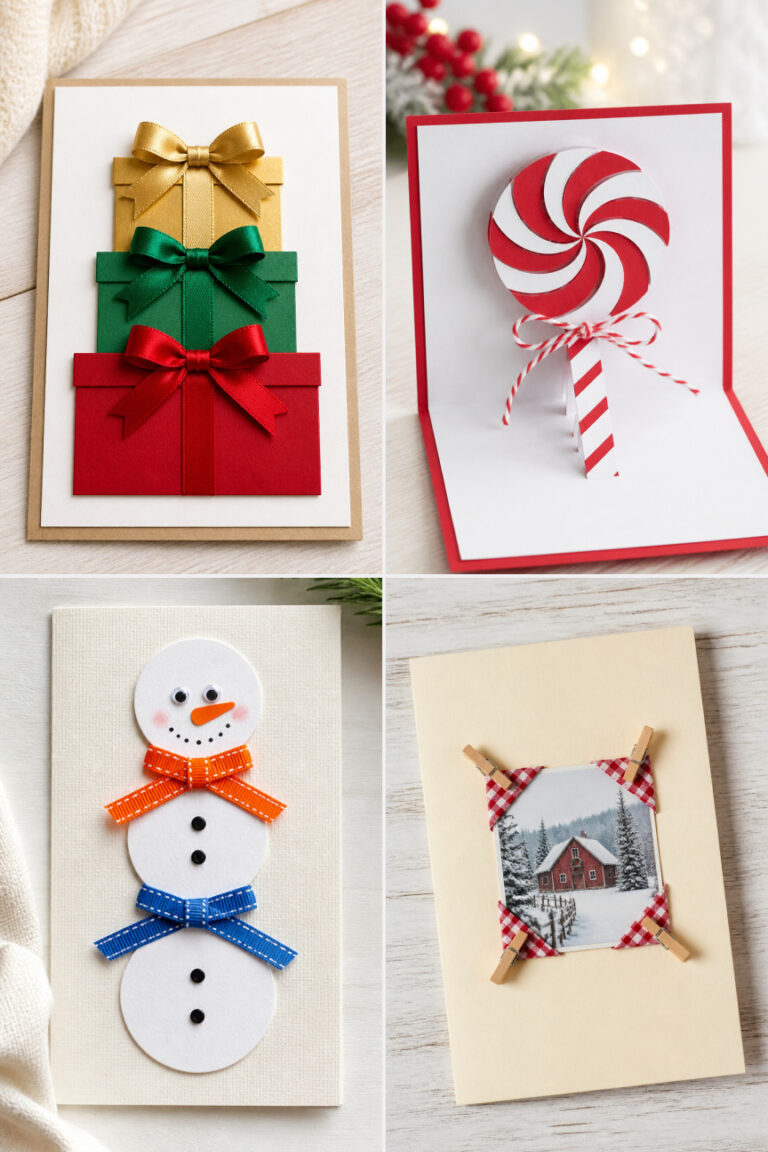
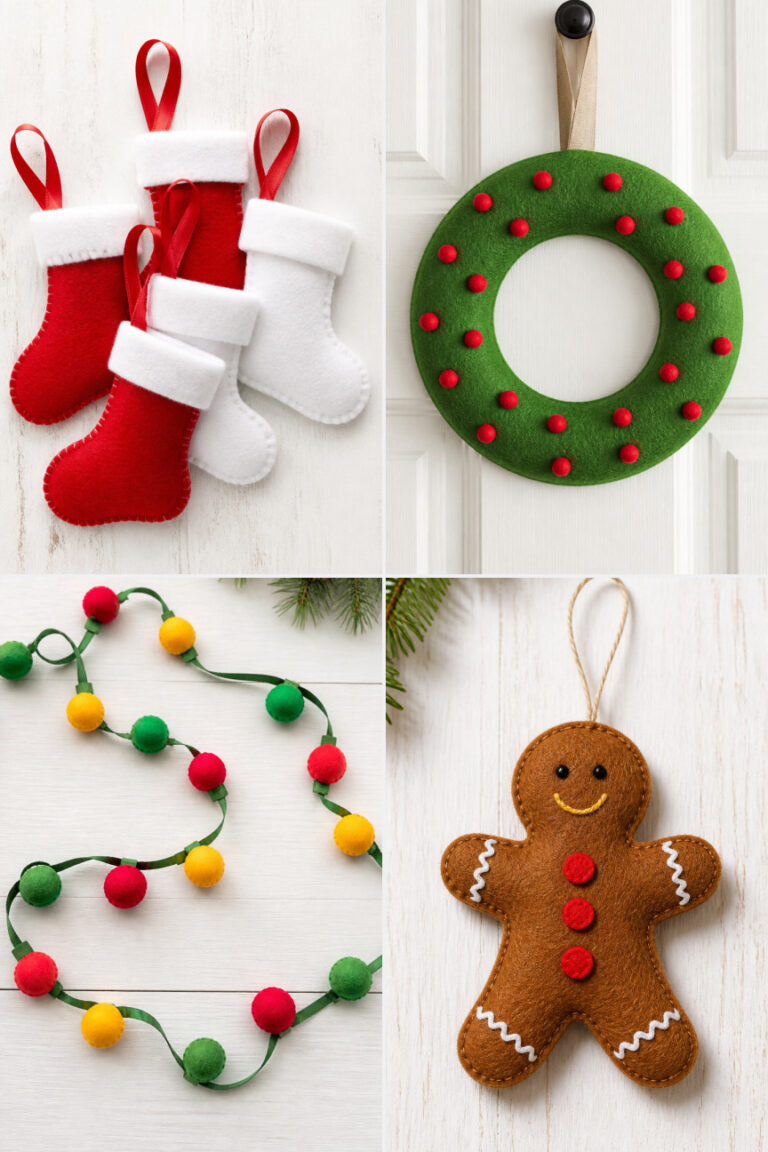
17 DIY Christmas Card Crafts to Make This December
The holiday season is the perfect time to slow down and create something heartfelt. Handmade Christmas cards carry warmth in every fold, stamp, and brushstroke, making them gifts all on their own.
You don’t need fancy tools or years of crafting experience. Just a few simple supplies and a little time are enough to make cards your friends and family will keep for years.
1. Felt Tree Ornaments
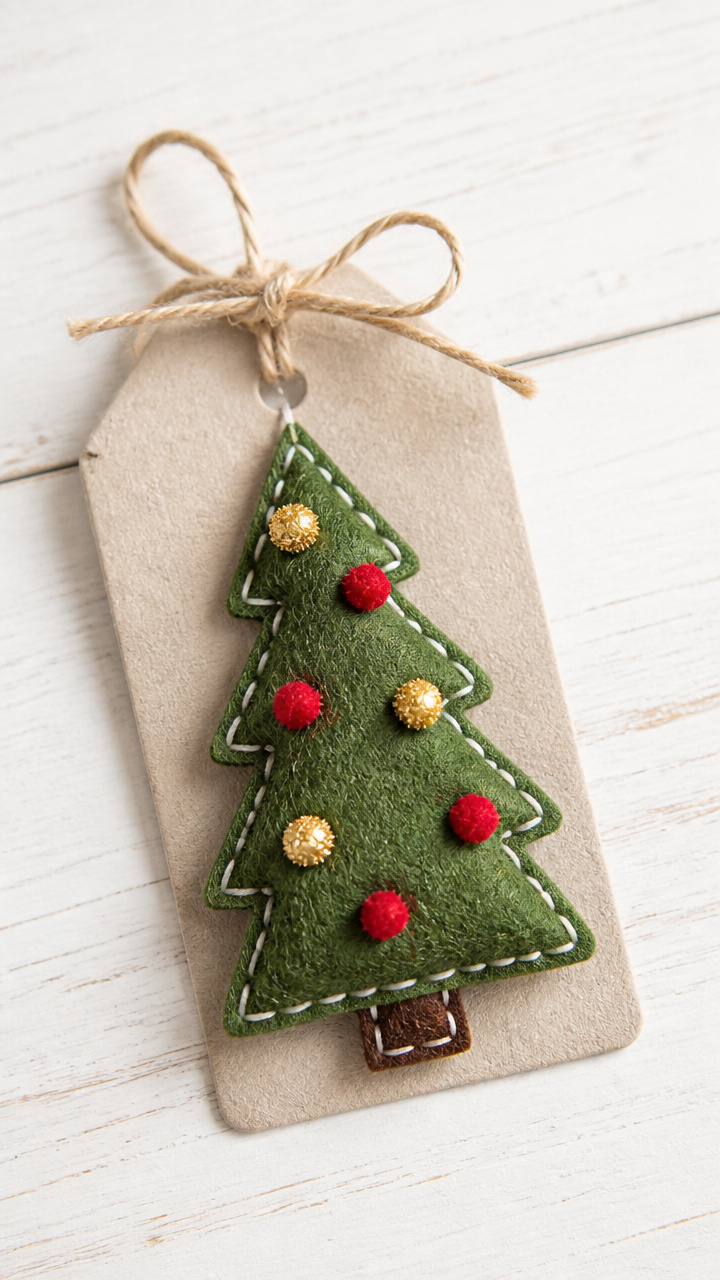
Tiny stitched trees add cozy charm to any card front. These mini ornaments look like they came from a village craft fair but take only minutes to assemble.
Materials Needed
- Green felt sheets, 8×10 inches
- White embroidery floss, 1 skein
- Embroidery needle, size 5
- Scissors
- Glue dots, pack of 50
- Mini pom-poms, red and gold, 6 each
- A6 kraft cardstock, 5 cards
How to Make It
- Cut one small triangle from green felt for each card, about 2 inches tall.
- Thread the embroidery needle and sew three red pom-poms down the center of the triangle like tree lights.
- Glue the finished tree to the lower right corner of each kraft card using a glue dot.
- Tie a tiny loop of floss at the top to mimic a hanger.


2. Watercolor Snow Globes
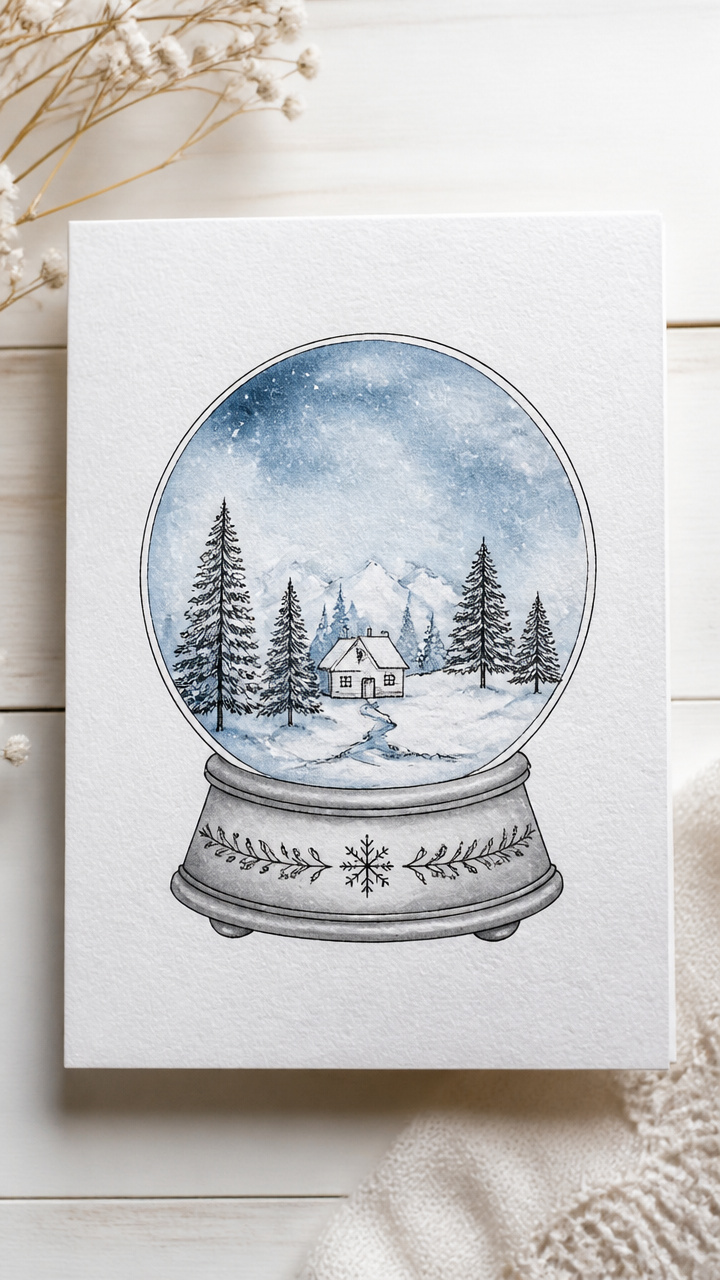
Soft washes of blue and white form dreamy winter scenes inside hand-drawn globes. These cards feel delicate and magical, like snow just started falling.
Materials Needed
- Cold press watercolor paper, 5×7 inches, 5 sheets
- Watercolor paints: cobalt blue, titanium white, Payne's gray
- Round watercolor brush, size 4
- Pencil
- Ruler
- Fine black marker, waterproof
- White gel pen
How to Make It
- Use pencil and ruler to lightly draw a circle 3 inches wide near the center of each sheet.
- Outline the circle and base with the black marker to form a snow globe shape.
- Mix cobalt blue with water and paint the background inside the circle, leaving white spots for snowflakes.
- When dry, use the white gel pen to dot random snowflakes and add a tiny 'Merry Christmas' beneath the globe.


3. Cinnamon Stick Accents
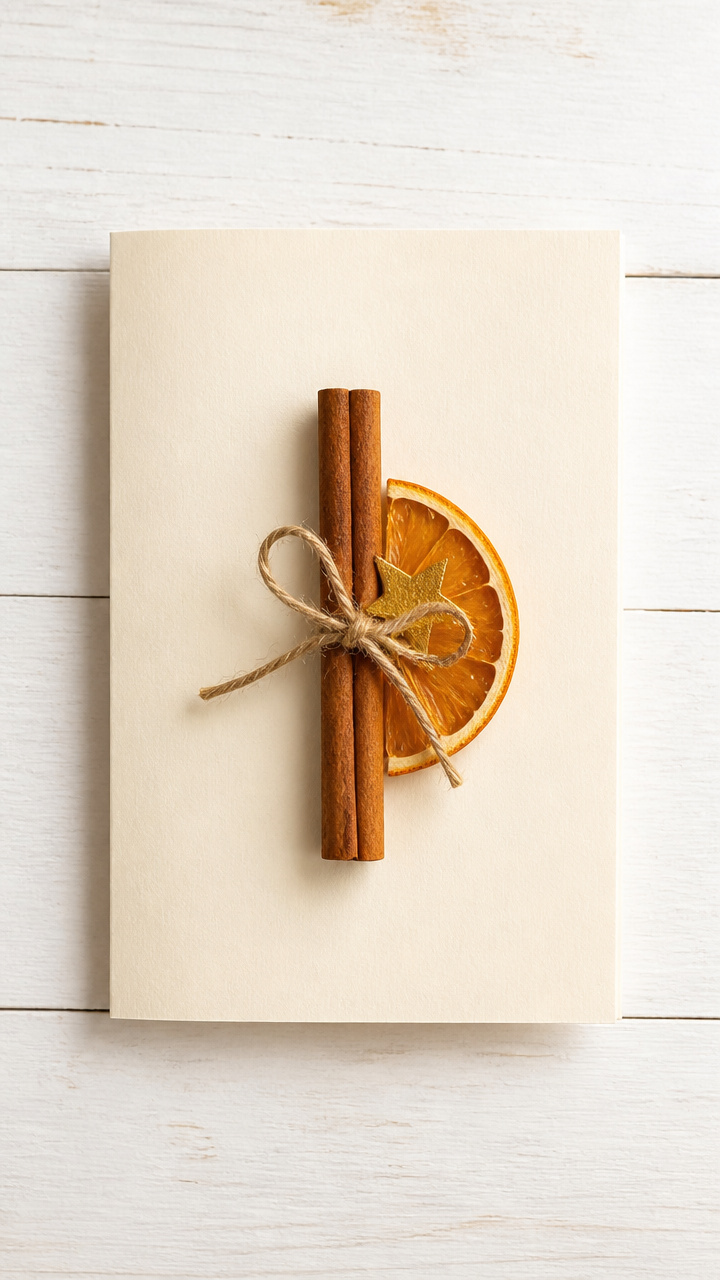
These spicy-sweet cards smell as good as they look. A single cinnamon stick tied to the front brings instant warmth and holiday cheer.
Materials Needed
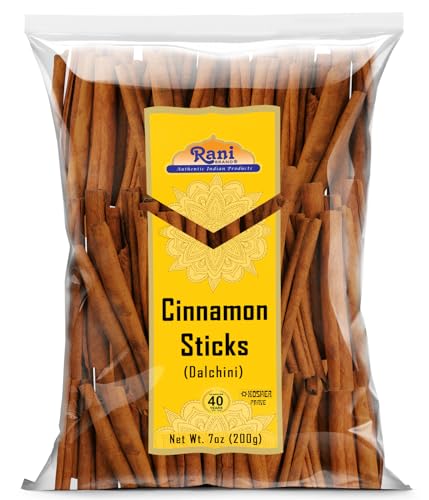
- Cinnamon sticks, 5, each about 4 inches long
- Twine, 5 feet total
- A6 cream cardstock, 5 cards
- Hot glue gun and glue sticks
- Dried orange slices, 5
- Gold star stickers, 5
How to Make It
- Lay each card flat and place a cinnamon stick diagonally across the front left side.
- Wrap twine around the stick twice near the middle and tie a knot at the back.
- Glue a dried orange slice just below the cinnamon stick’s bottom end.
- Add one gold star sticker near the top right corner of the card.


4. Pressed Pine Sprigs
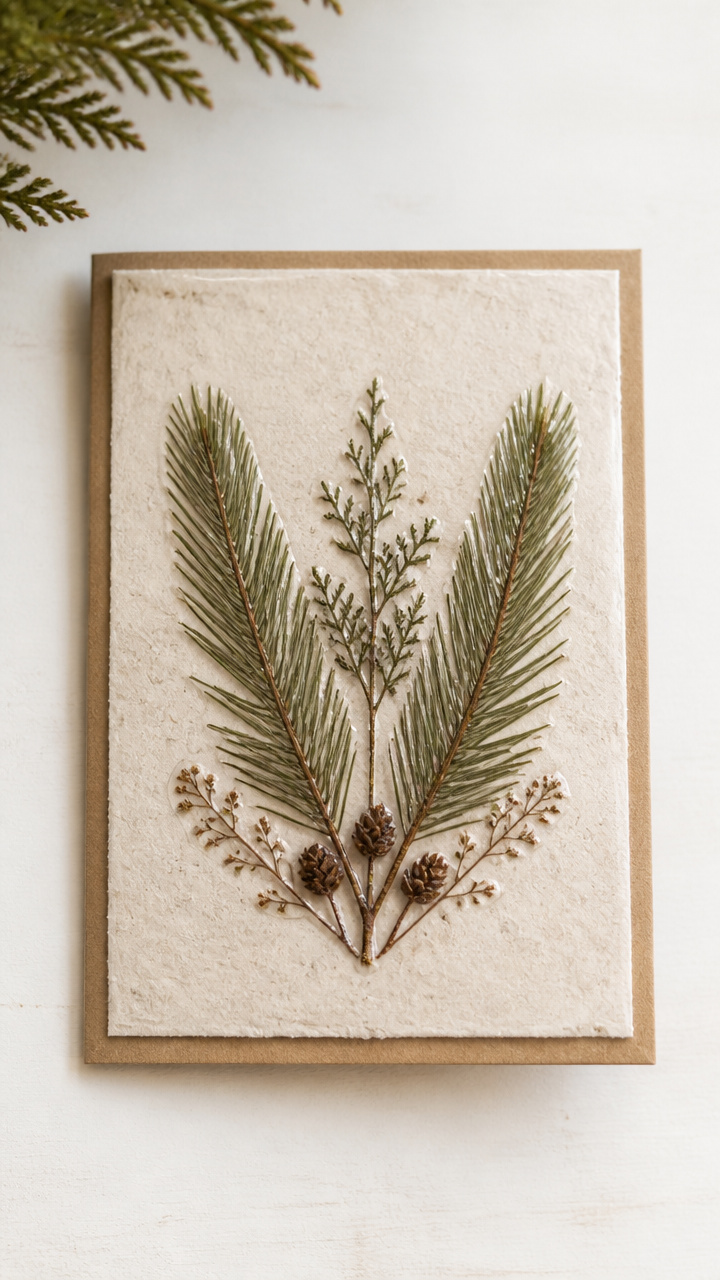
Real pine sprigs flattened and sealed bring forest freshness to your cards. Their natural scent lingers gently when opened.
Materials Needed
- Fresh pine sprigs, 5 small branches
- Heavy books or flower press
- Double-sided tape squares, 5
- A6 recycled cardstock, 5 cards
- Clear self-adhesive pouches, 5, 5×7 inches
How to Make It
- Trim pine sprigs to 3 inches and place between two sheets of parchment paper inside a heavy book.
- Leave for 48 hours until completely flat and dry.
- Peel backing off double-sided tape and attach each sprig diagonally across the top left of a card.
- Slide each finished card into a clear pouch to protect the foliage.


5. Salt Dough Stars
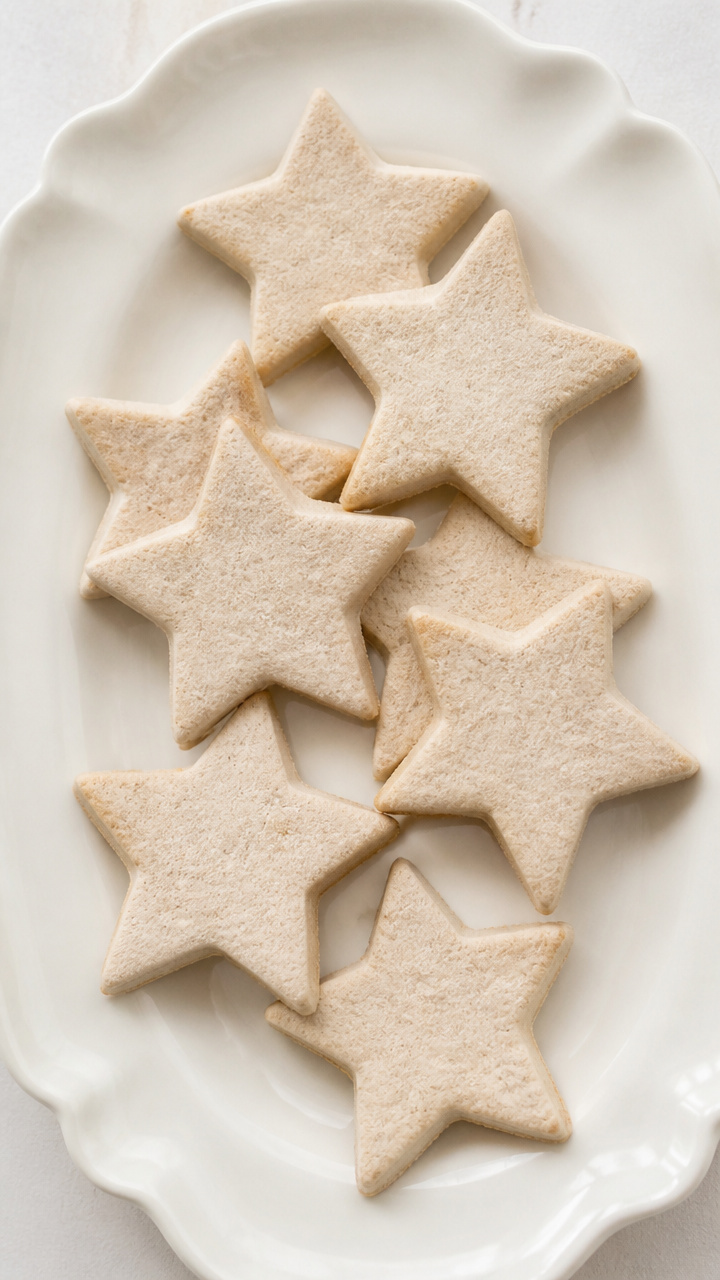
Baked salt dough stars puff up with rustic texture and hold paint beautifully. Each one feels like it was made in a cottage kitchen.
Materials Needed
- Flour, 1 cup
- Salt, 1/2 cup
- Water, 1/2 cup
- Rolling pin
- Star-shaped cookie cutter, 2 inch
- Parchment paper
- Oven
- Red acrylic paint
- White cardstock cards, A6, 5
How to Make It
- Mix flour, salt, and water into a stiff dough and roll flat to 1/4 inch thickness.
- Cut out five stars with the cookie cutter and place on a parchment-lined tray.
- Bake at 200°F for 3 hours until hard, then cool completely.
- Paint each star red and glue to the center of a card with white craft glue.


6. Knit Pattern Cards
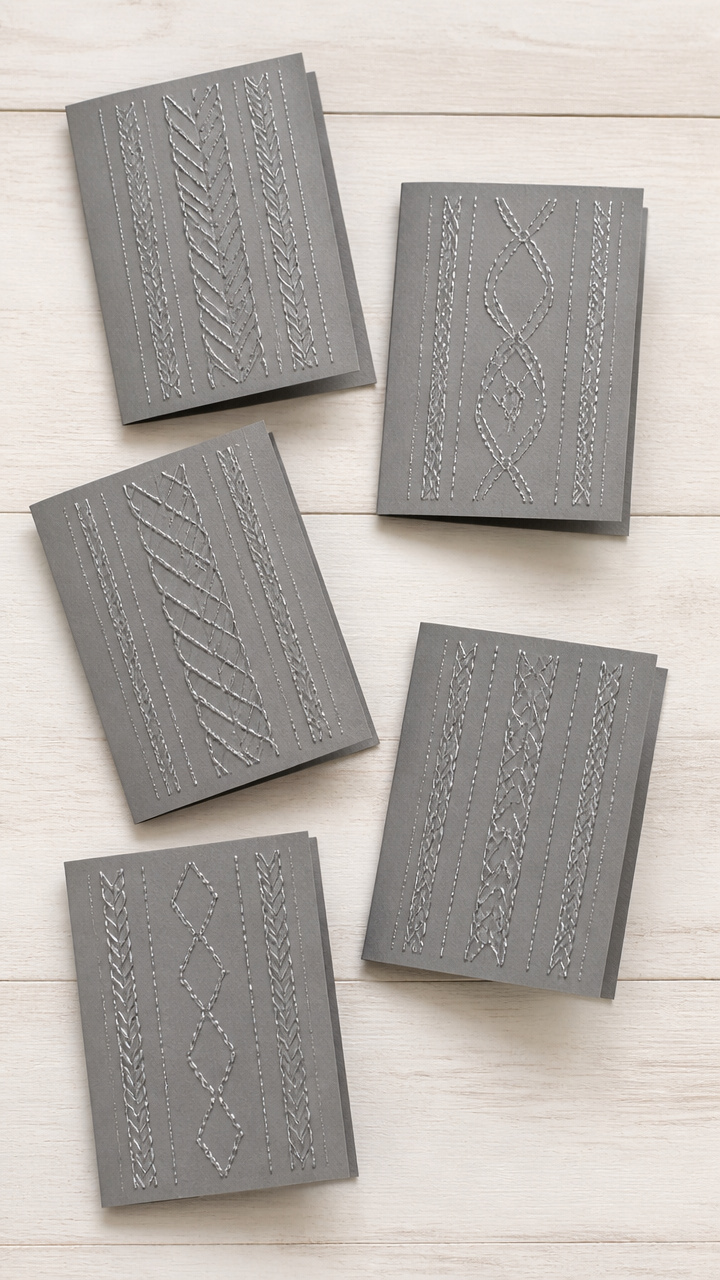
Stitched lines mimic cable knits on these soft-textured cards. They look like tiny scarves folded neatly for gifting.
Materials Needed
- Gray A6 cardstock, 5 cards
- Silver metallic gel pen
- Ruler
- Pencil
- Eraser
How to Make It
- Use pencil and ruler to draw vertical lines spaced 1/2 inch apart across the front of each card.
- Trace over every other line with the silver gel pen in a zigzag pattern to mimic knit stitches.
- Add two small horizontal loops at the top and bottom of each line to suggest yarn ends.
- Erase any visible pencil marks after the ink dries.


7. Candy Cane Message Windows
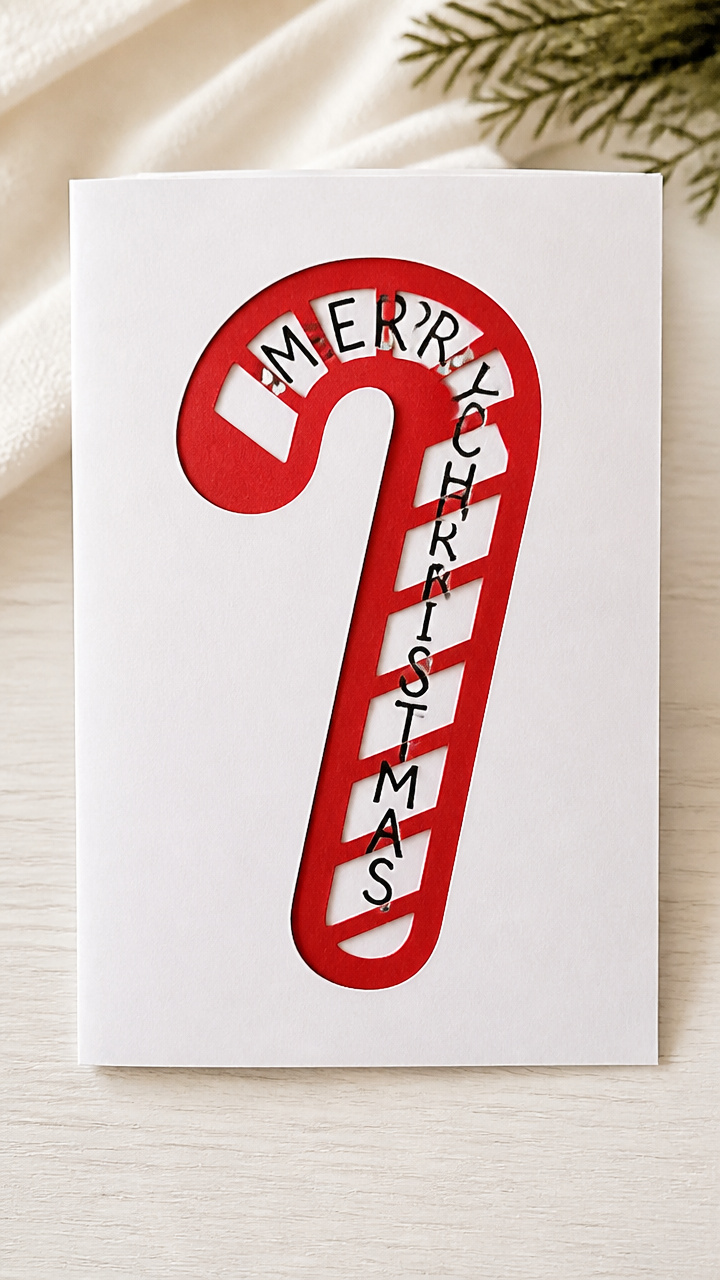
A cut-out window reveals a cheerful message behind a curved candy cane. The pop of red and white feels instantly festive.
Materials Needed
- White A6 cardstock, 5 cards
- Red construction paper, 8×10 sheet
- Craft knife
- Cutting mat
- Glue stick
- Black marker
- Clear acetate sheet, 5×7 inches
How to Make It
- Draw a 2-inch candy cane shape on red paper and cut it out with a craft knife on a cutting mat.
- On the front of each card, cut a 1.5-inch diameter circle near the center with the craft knife.
- Write 'Happy Holidays' on the acetate and tape it to the back of the card so it shows through the hole.
- Glue the red candy cane over the circle so it frames the message.


8. Quilled Holly Wreaths
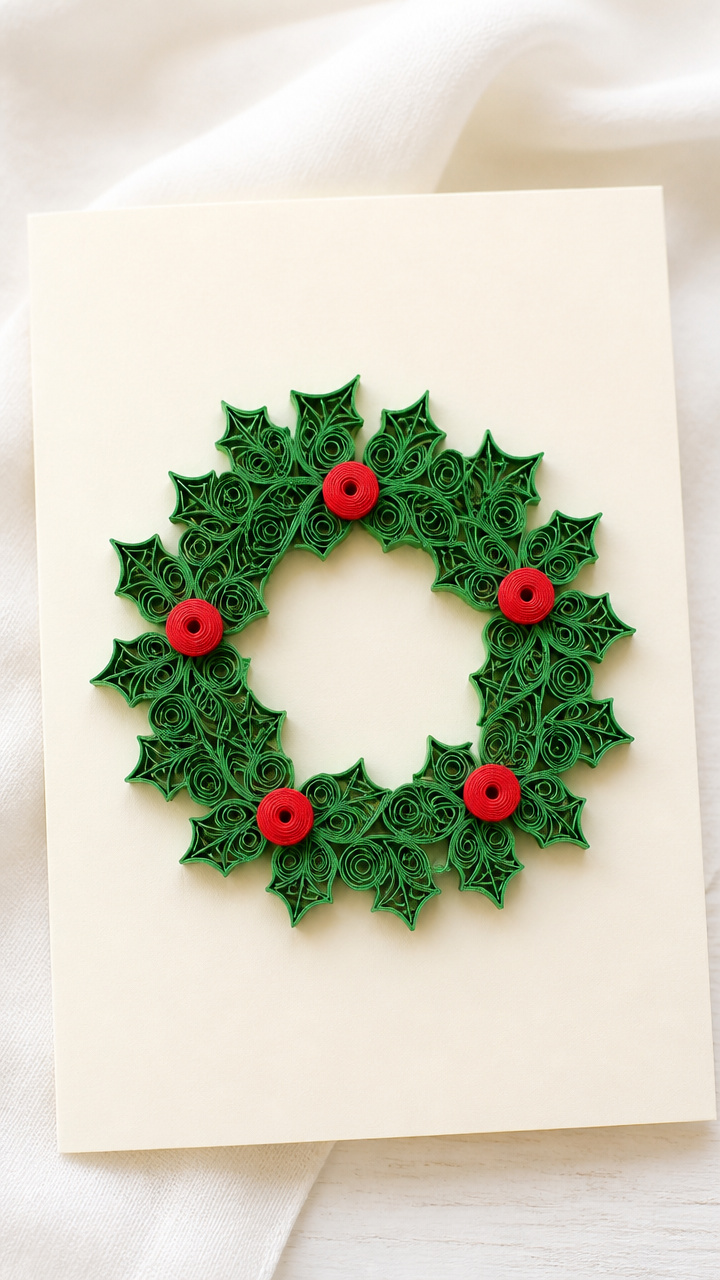
Tight paper coils form glossy green wreaths with bright red centers. These elegant designs take patience but deliver stunning results.
Materials Needed
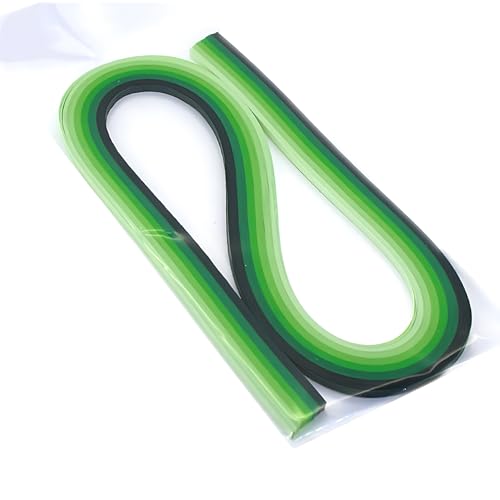
- Green quilling paper strips, 1/4 inch wide, 5 feet
- Red quilling paper dots, 5
- White quilling tool
- Tacky glue
- Round toothpick
- A6 ivory cardstock, 5 cards
How to Make It
- Wrap green paper strip tightly around the quilling tool and secure the end with a dab of glue.
- Let coil expand slightly into a loose circle, about 1.5 inches across.
- Pinch two opposite sides inward to form a cushion shape, then glue to card center.
- Glue one red dot in the middle of each wreath for a berry effect.


9. Crayon Shavings Scene
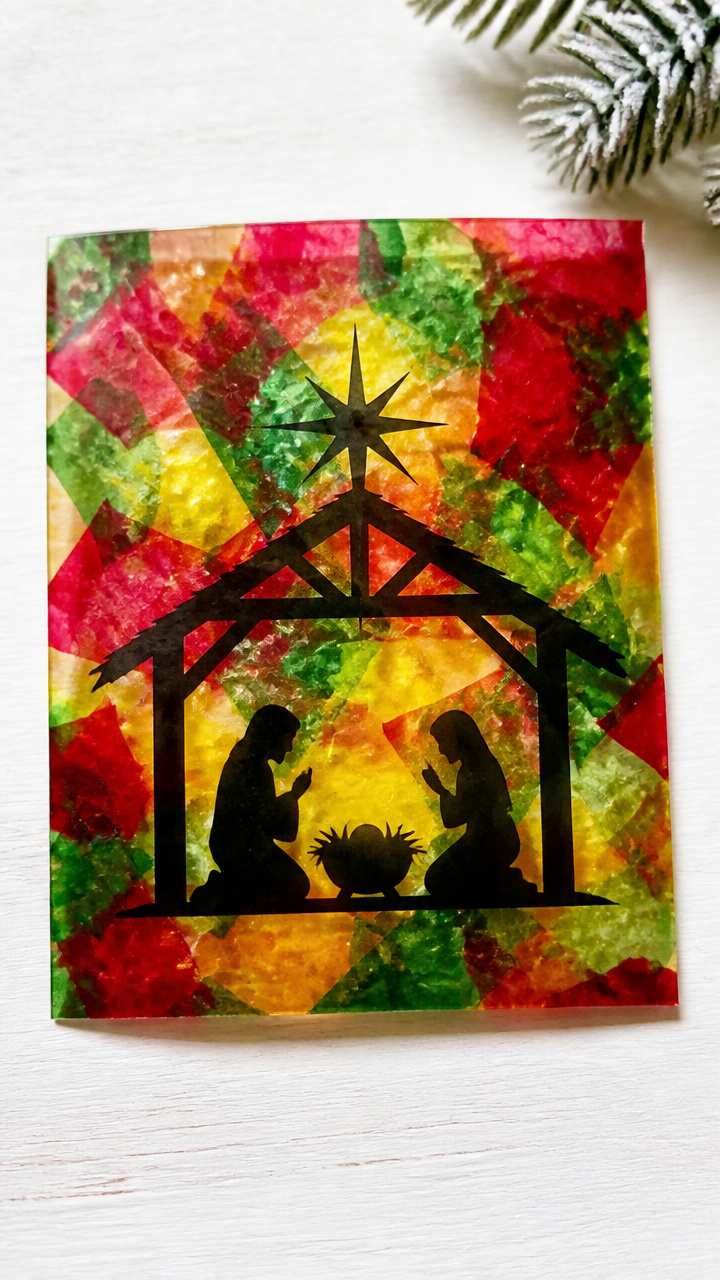
Melting colorful shavings creates a stained-glass effect that glows in the light. These cards surprise people with their vibrant texture.
Materials Needed
- Red, green, and yellow crayons, 1 each
- Vegetable peeler
- Parchment paper, 5 sheets
- Iron
- Cloth
- Scissors
- Glue stick
- White cardstock, A6, 5
How to Make It
- Use the peeler to shave curls from each crayon onto a parchment sheet in a 3-inch pile.
- Cover with another parchment sheet and press with a warm iron for 10 seconds under a cloth.
- Let cool completely, then cut out 2-inch circles of the melted design.
- Glue each circle centered on a card to reveal a translucent mosaic.
![Crayola Inspiration Art Case Coloring Set - Tie-Dye (140ct), Art Supplies Set For Kids, Travel Drawing Kit, Gift for Girls & Boys, Ages 5+ [Amazon Exclusive]](https://m.media-amazon.com/images/I/51wKWtC3NLL._SL500_.jpg)
![Crayola Inspiration Art Case Coloring Set, 140pc Space Theme – Art Kit for Kids, Crayons, Markers, Pencils, Gift for Boys & Girls, Ages 5, 6, 7, 8 [Amazon Exclusive]](https://m.media-amazon.com/images/I/51dczeRGSML._SL500_.jpg)

10. Calligraphy Snowfall
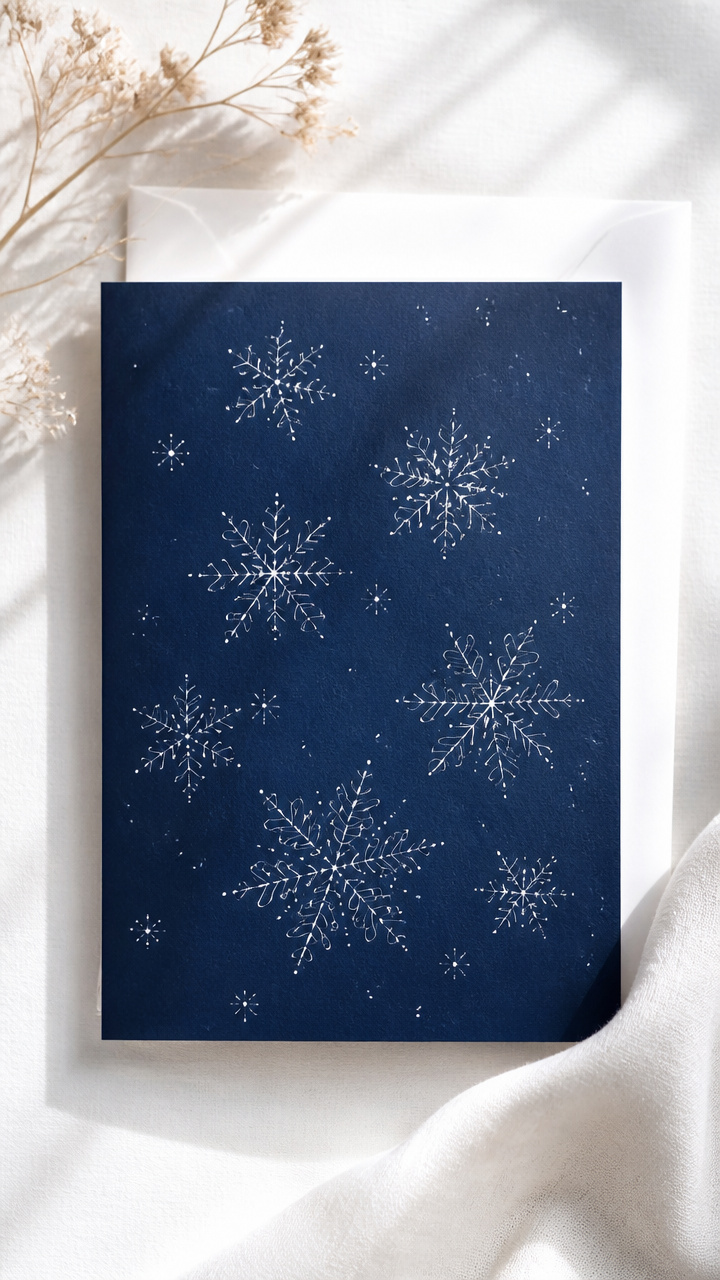
Floating script words drift like snowflakes across deep blue cards. Elegant and serene, these suit minimalist tastes.
Materials Needed
- Deep blue A6 cardstock, 5 cards
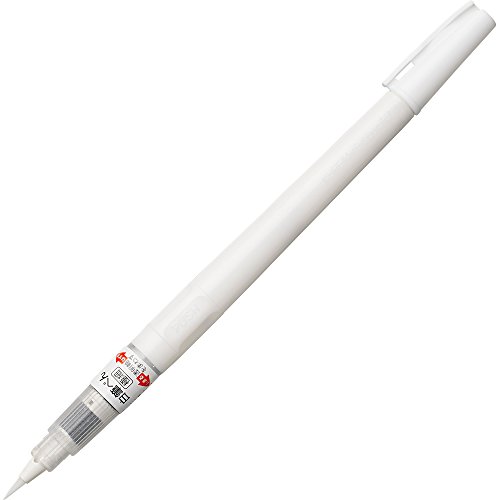
- White calligraphy pen, fine tip
- Ruler
- Lightbox or sunny window
How to Make It
- Place card on lightbox or against a bright window and tape it down.
- Use ruler to faintly mark diagonal lines from top right to bottom left.
- Write 'Joy', 'Peace', 'Noel', 'Hope', and 'Love' along each line in flowing script with the white pen.
- Remove tape and let dry 2 minutes before handling.


11. Pop-Up Paper Peppermints
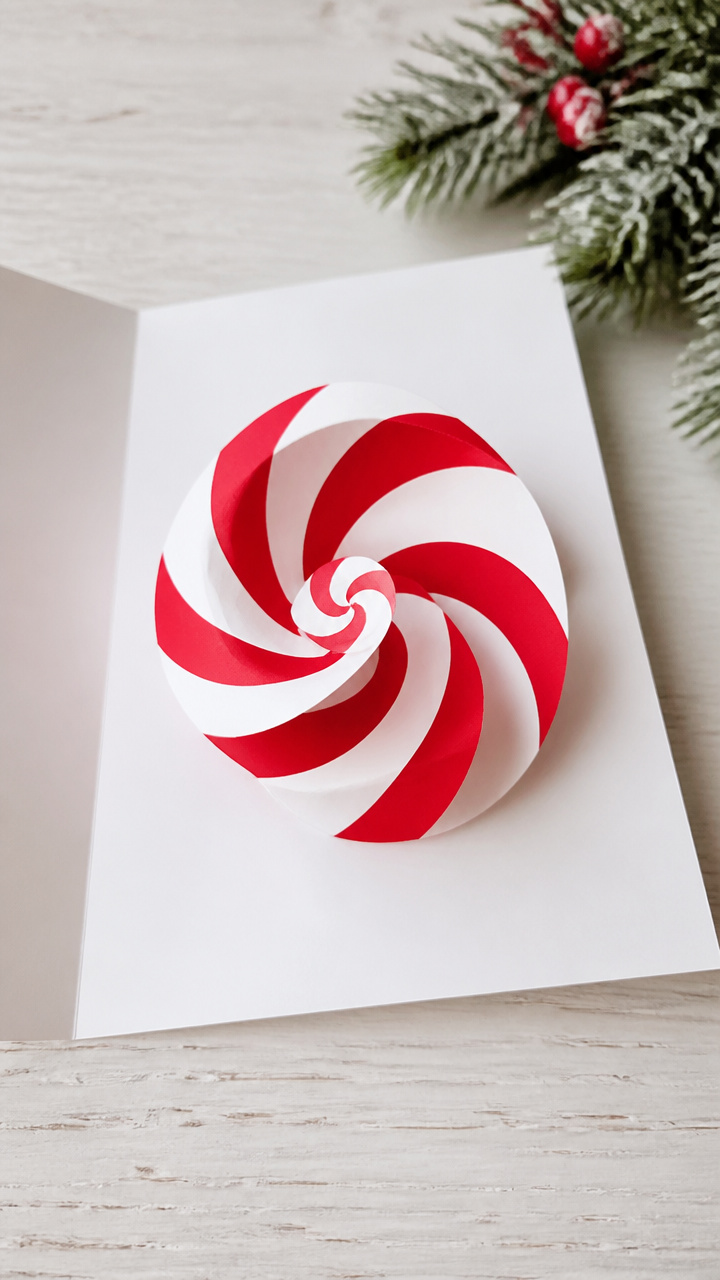
A twist of red and white paper springs up when the card opens. This playful surprise delights kids and grown-ups alike.
Materials Needed
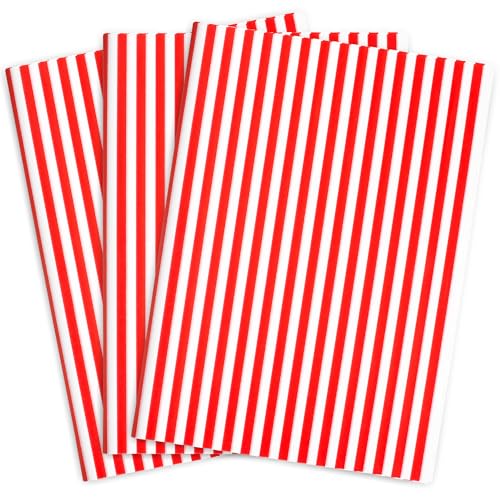
- Red and white striped paper, 5×7 inches, 5 sheets
- Scissors
- Glue stick
- Bone folder
- A6 blank-fold cards, 5
How to Make It
- Cut a 2-inch circle from striped paper for each card.
- Fold circle in half, then apply glue to one half only.
- Insert unglued edge into the center fold of the card and press the glued side flat inside.
- When opened, the circle stands upright like a 3D peppermint.


12. Glittered Pinecone Tips
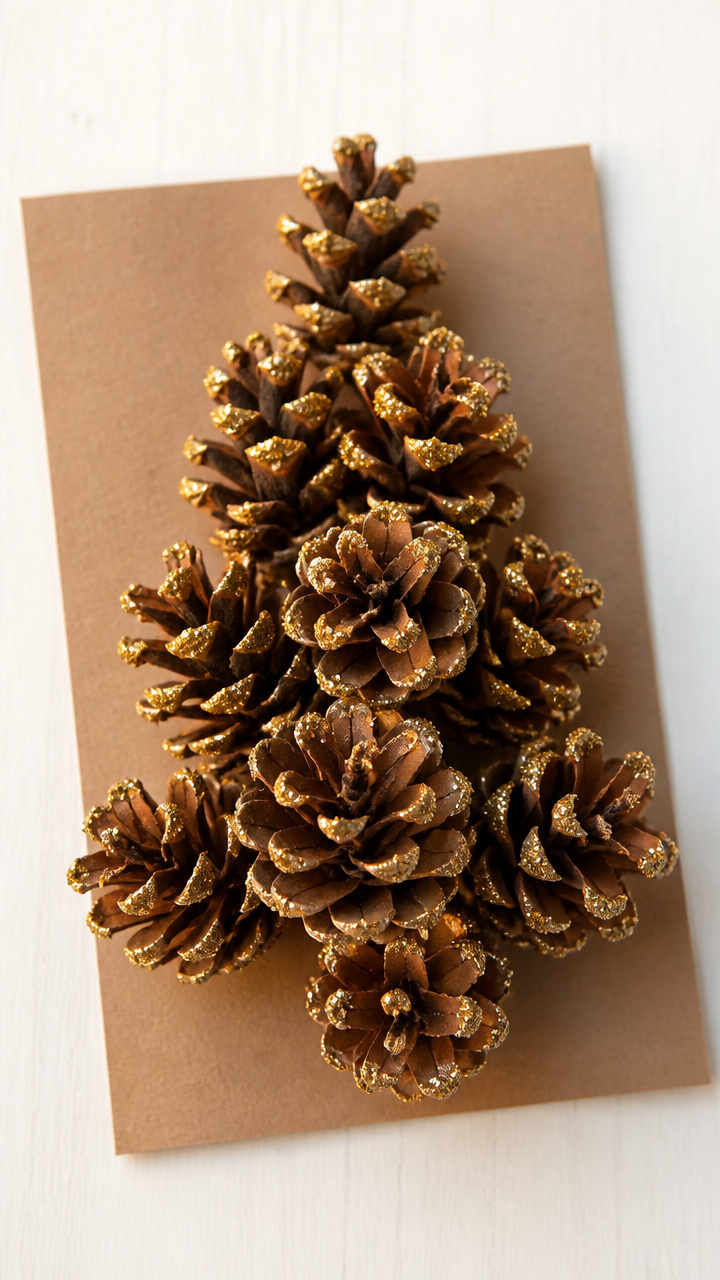
Mini pinecones with golden tips look like they’ve been dusted by winter magic. They add dimension and sparkle without mess.
Materials Needed
- Small pinecones, 5
- Gold glitter glue
- Toothpicks
- Hot glue gun
- A6 brown cardstock, 5 cards
How to Make It
- Use a toothpick to apply gold glitter glue only to the very tips of the topmost scales on each pinecone.
- Set aside for 20 minutes to dry completely.
- Glue each pinecone near the upper left corner of a card with hot glue.
- Hold 10 seconds until secure.


13. Hand-Stamped Jingle Bells
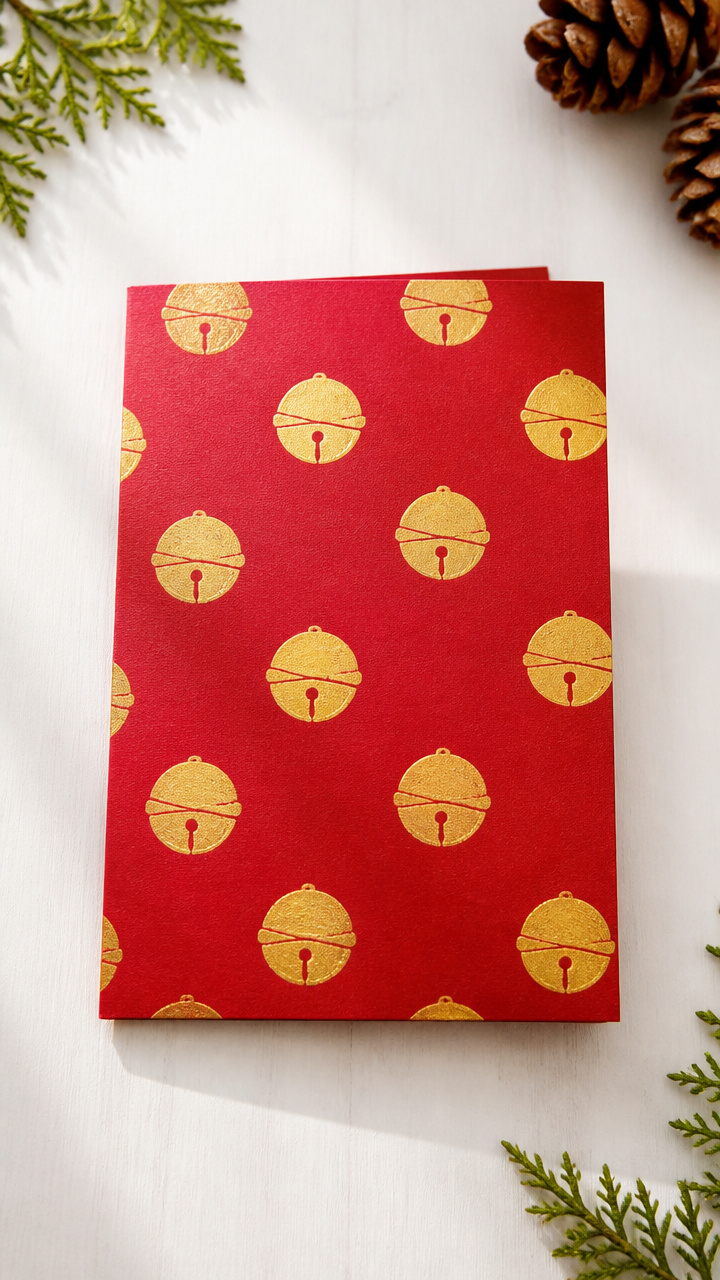
Simple rubber stamps repeat a cheerful bell pattern in shiny ink. These cards feel classic with a handmade touch.
Materials Needed
- Red cardstock, A6, 5 cards
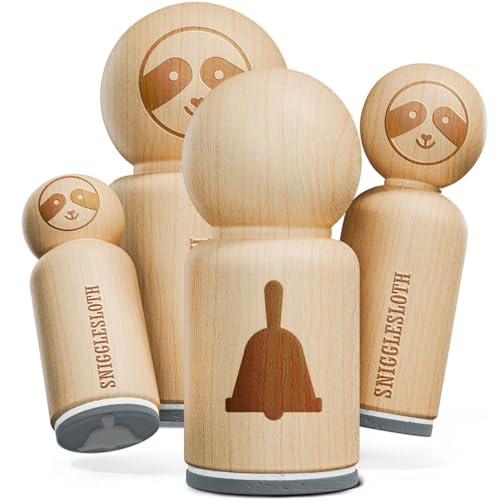
- Jingle bell rubber stamp, 1 inch tall
- Gold pigment ink pad
- Acrylic block
- Ruler
How to Make It
- Place ruler 1 inch from the top edge of the card.
- Press stamp firmly onto ink pad, then align with the ruler and press straight down.
- Repeat stamping every 1.5 inches across the top edge.
- Let ink sit 30 seconds before writing a name inside.


14. Tissue Paper Windows
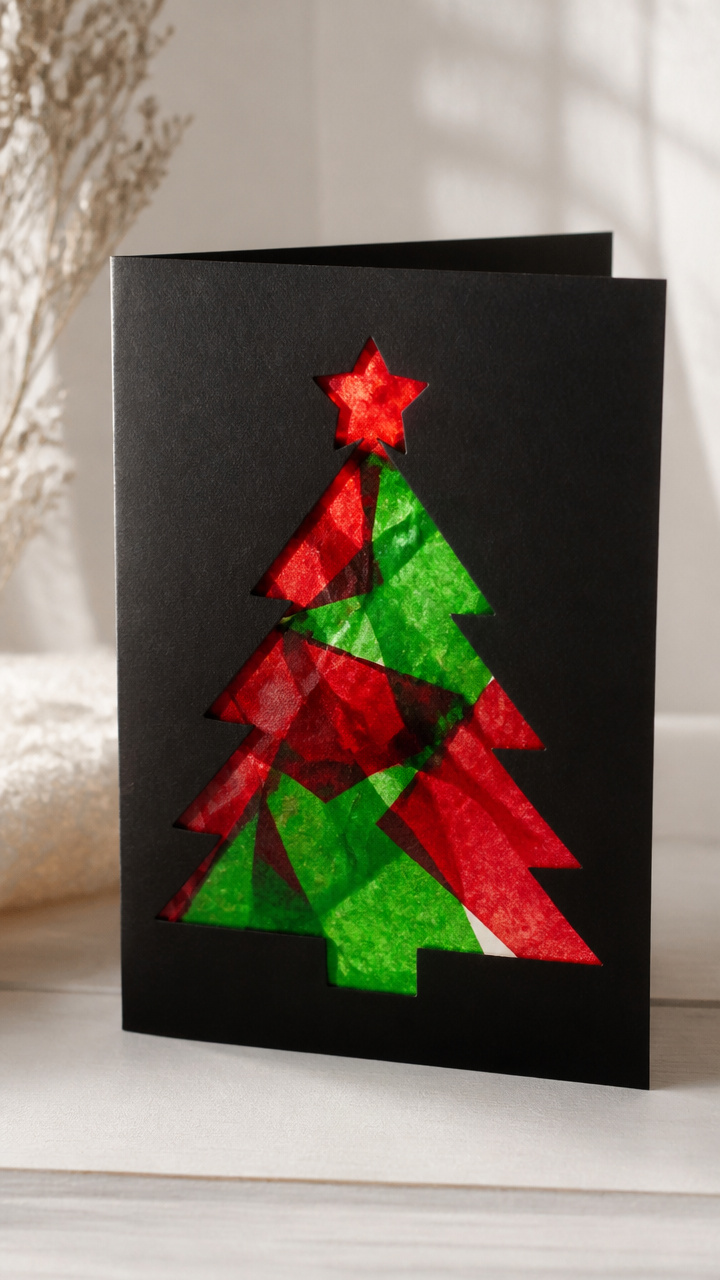
Sheets of crinkled tissue glow like colored glass when held to light. These cards bring brightness to dull winter days.
Materials Needed
- Red and green tissue paper, 5 sheets each
- Scissors
- Clear school glue
- Brush
- Black cardstock, A6, 5 cards
- Craft knife
- Cutting mat
How to Make It
- Cut a 2-inch square in the center of each black card using the craft knife and cutting mat.
- Crinkle red or green tissue paper into a 3-inch ball and gently flatten.
- Brush glue evenly over the back of the tissue and press over the window.
- Smooth edges flat and let dry 10 minutes.

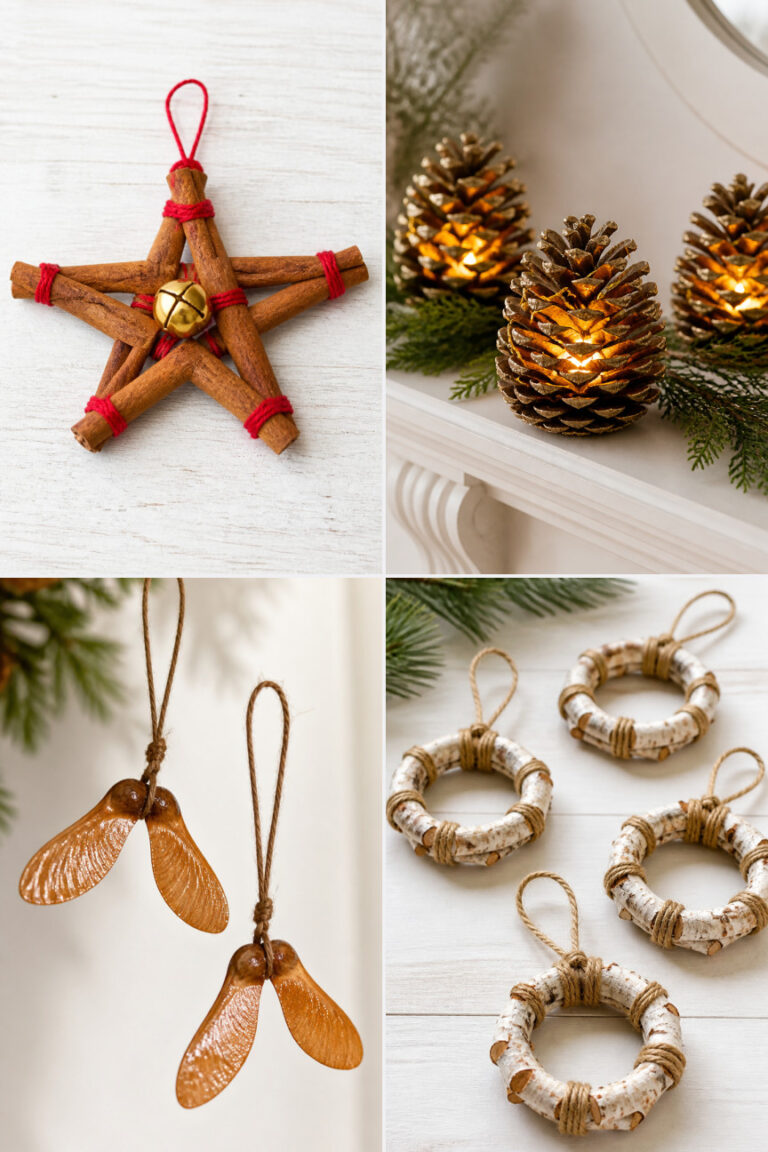
15. Maple Seed Angel Wings
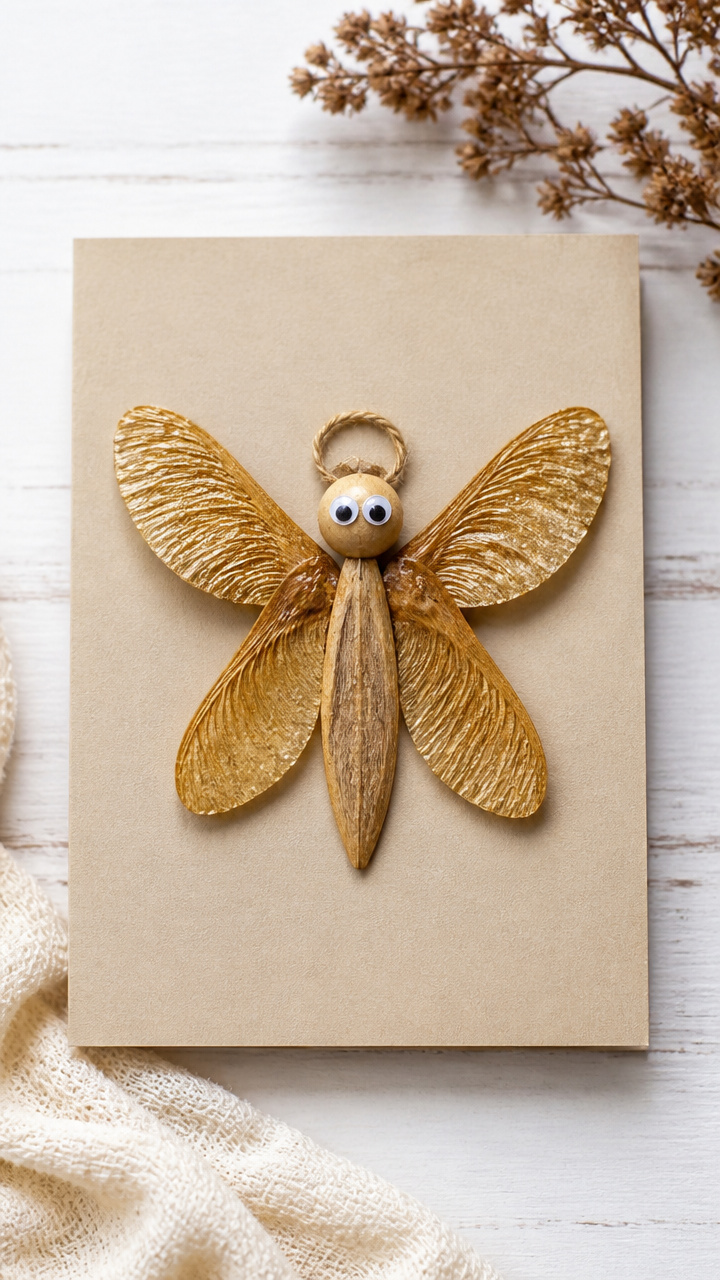
Nature’s helicopter seeds become angel wings with a touch of glue and gold. Whimsical and earthy, these tell a quiet story.
Materials Needed
- Maple seeds (with wings), 10
- Gold acrylic paint
- Paintbrush
- White craft glue
- Small googly eyes, 5
- A6 beige cardstock, 5 cards
How to Make It
- Paint both wings of each maple seed with gold paint and let dry 15 minutes.
- Glue two seeds together in an X shape to form angel wings.
- Add one googly eye to the center where wings meet.
- Glue each angel to the middle of a card.


16. Yarn-Wrapped Cross
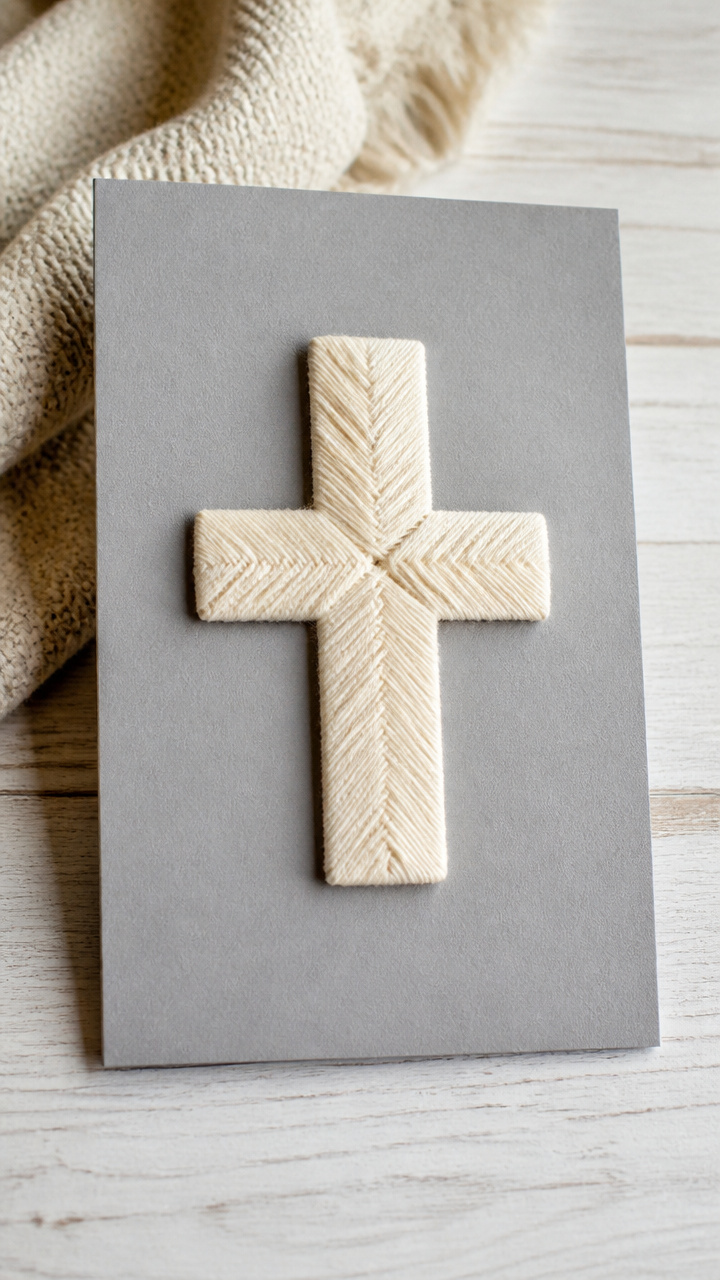
Cream yarn spirals around a cross cut from cardboard, giving a humble, handmade grace. These cards honor tradition with quiet beauty.
Materials Needed
- Cardboard, 2×4 inches, 5 pieces
- Cream yarn, 50 yards
- Scissors
- White glue
- Brush
- A6 gray cardstock, 5 cards
How to Make It
- Cut a simple cross shape from each cardboard piece, about 3 inches tall.
- Apply a thin layer of glue down one arm of the cross.
- Wrap yarn tightly around the arm, covering glue, and move to next arm.
- When fully wrapped, glue the cross vertically to the center of each card.


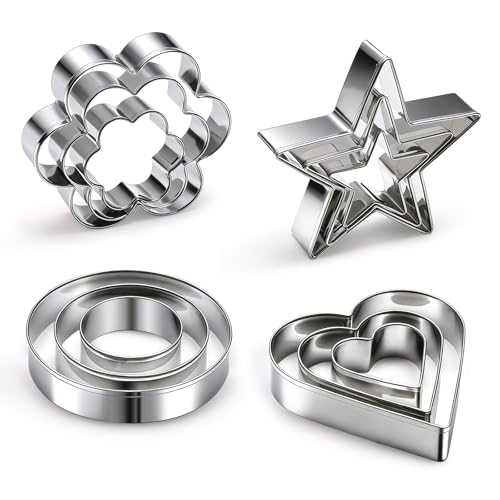
17. Cookie Cutter Stencils
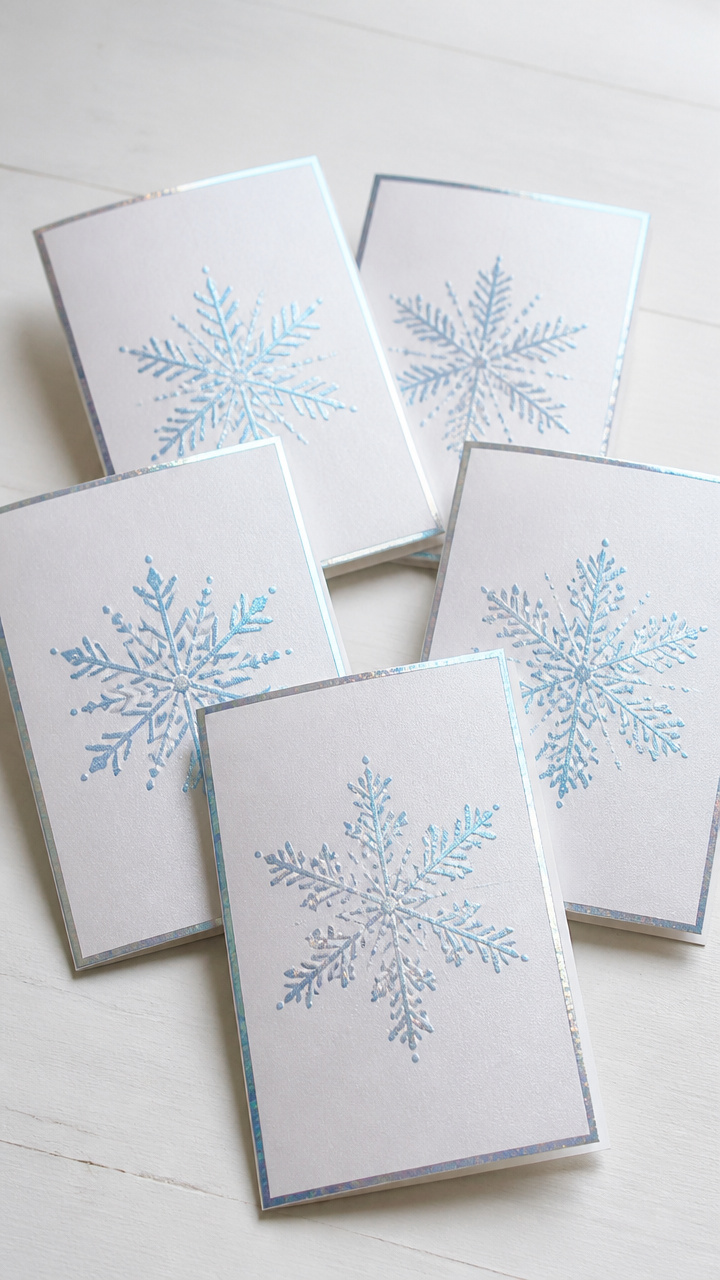
Metal cookie cutters become stencils for crisp snowflake shapes in shimmering blue. These cards look store-bought but are deeply personal.
Materials Needed
- Metal snowflake cookie cutter, 2 inch
- Blue iridescent spray paint
- Cardboard shield
- A6 white cardstock, 5 cards
- Painter's tape
How to Make It
- Tape card to cardboard shield to prevent bleed-through.
- Place snowflake cutter in center of card and press flat.
- Spray lightly from 8 inches away until shape is evenly coated.
- Wait 2 minutes, then lift cutter carefully to reveal crisp stencil.


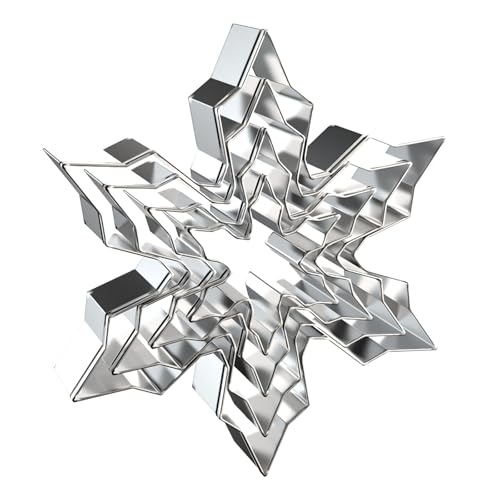
Each of these cards carries your time, care, and creativity. Pick one that sparks joy and let your hands do the rest.