17 Easy Christmas Crafts to Make in November
The air starts to feel a little cozier, the light takes on that soft golden glow, and suddenly you're thinking about handmade ornaments and cheerful gifts. This is the perfect time to gather simple supplies and make something lovely with your own hands.
These crafts are chosen for their charm, ease, and usefulness. Each one fits into real life, whether you have an hour or a weekend, and leaves you with something warm to give or display.
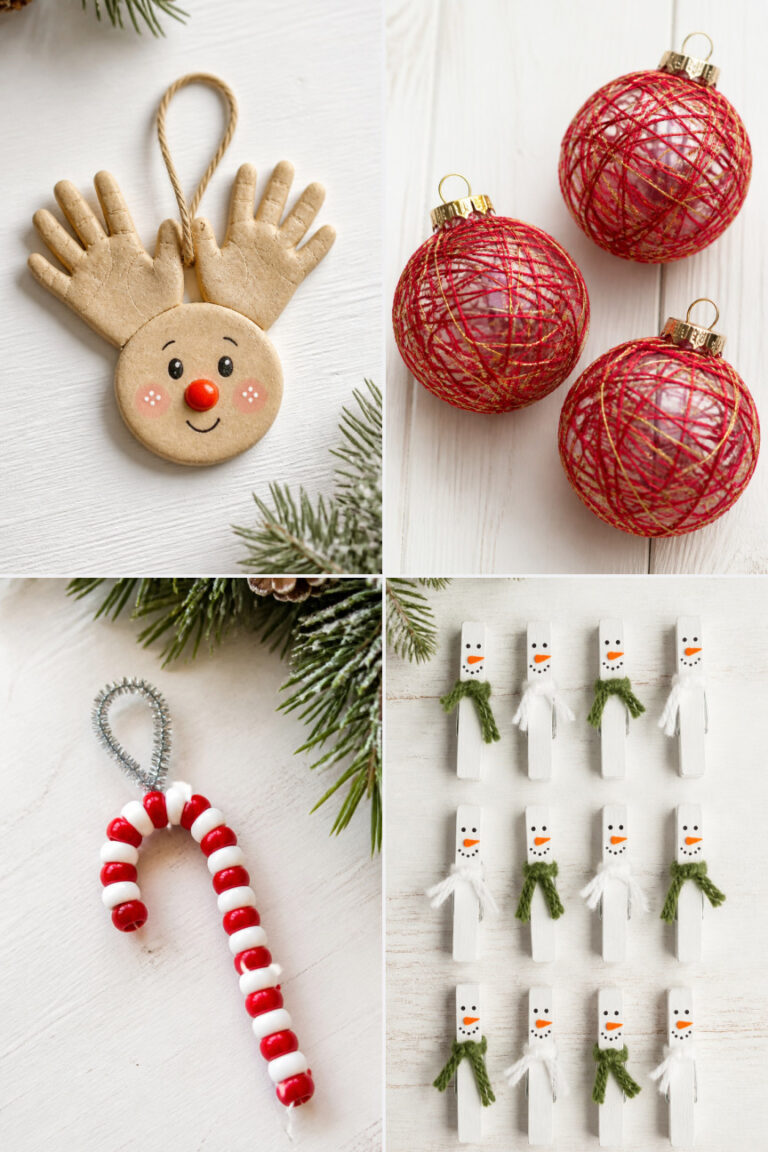
1. Salt Dough Ornaments
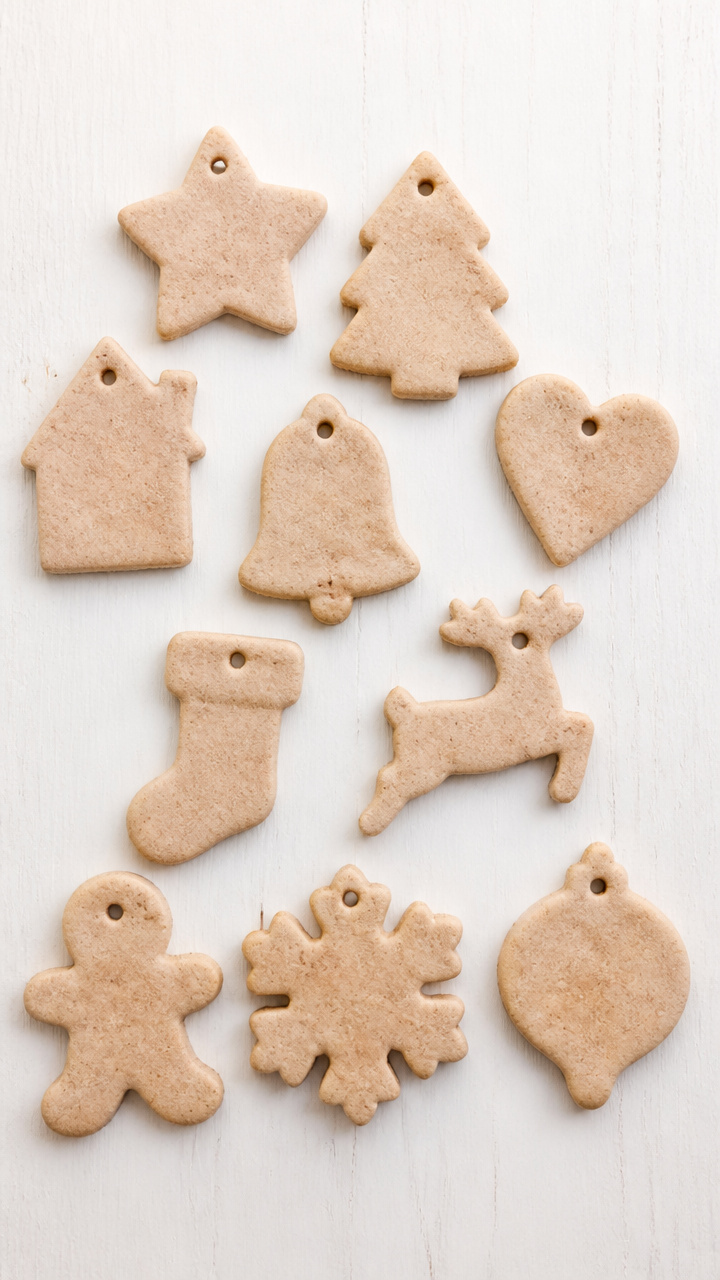
Soft, rustic shapes that smell like childhood and last for years when sealed. Roll out this classic with kids or enjoy the quiet rhythm solo.
Materials Needed
- 2 cups all-purpose flour
- 1 cup table salt
- 1 cup warm water
- Parchment paper
- Straw or skewer
- Baking sheet
- Clear acrylic sealer spray
- Ribbon (1/8-inch width, assorted colors)
- Acrylic paint (red, green, gold)
How to Make It
- Mix flour, salt, and warm water in a bowl until a smooth dough forms, kneading by hand for 3 minutes.
- Roll the dough to 1/4-inch thickness on a floured surface and cut into shapes using cookie cutters.
- Poke a hole near the top edge of each ornament with a straw or skewer for hanging.
- Place ornaments on a parchment-lined baking sheet and bake at 200°F for 3 hours until hard and dry.
- Let cool completely, then paint with acrylics and let dry for 2 hours.
- Spray both sides with acrylic sealer and let cure overnight before threading ribbon through the holes.


2. Mini Pinecone Wreaths
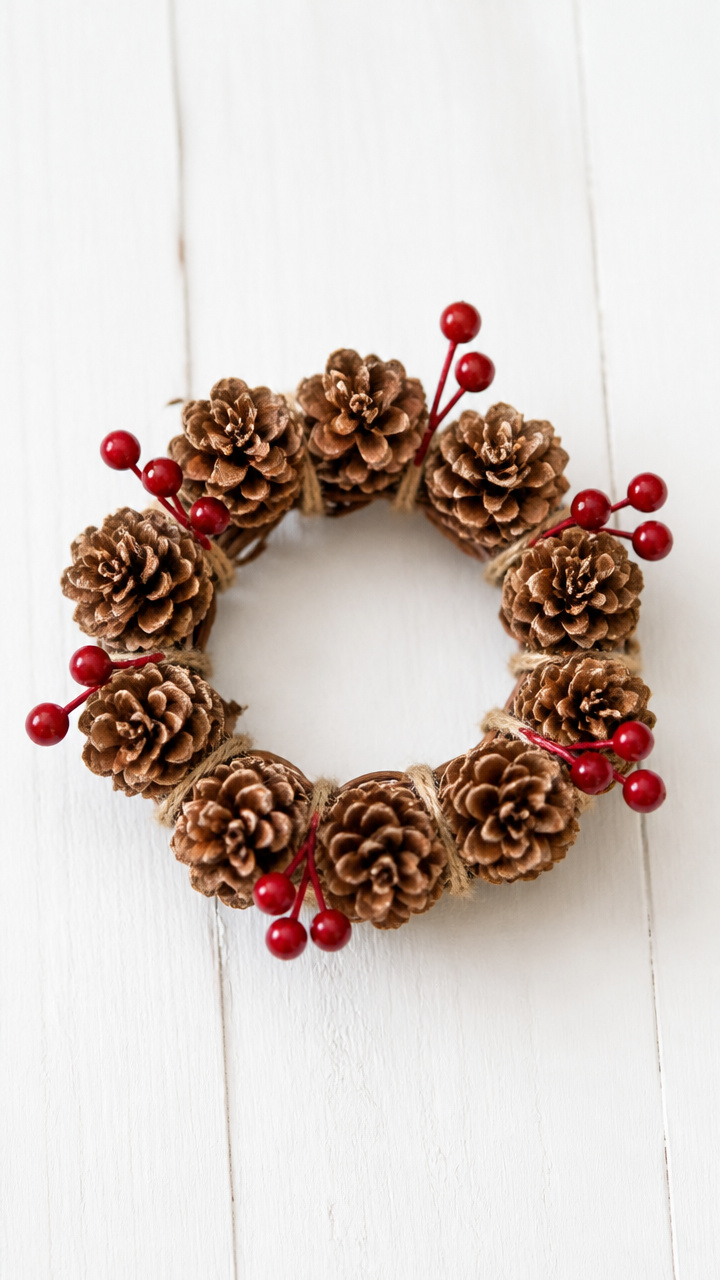
Tiny clusters of pinecones tied with twine make sweet door hangers or gift toppers. They bring the forest indoors with zero mess.
Materials Needed
- 12 small dried pinecones (about 1.5 inches tall)
- 12-inch length of jute twine
- Hot glue gun with glue sticks
- Wire wreath base (3 inches in diameter)
- Small red berry sprigs (artificial, 6 pieces)
How to Make It
- Apply hot glue to the base of a pinecone and press it onto the wire wreath form, spacing evenly.
- Continue gluing pinecones around the entire ring until the base is fully covered, letting glue set 1 minute between each.
- Tuck a berry sprig under two adjacent pinecones and secure with a dot of hot glue.
- Tie the jute twine into a loop at the top for hanging and trim ends at an angle.


3. Cinnamon Stick Bundles
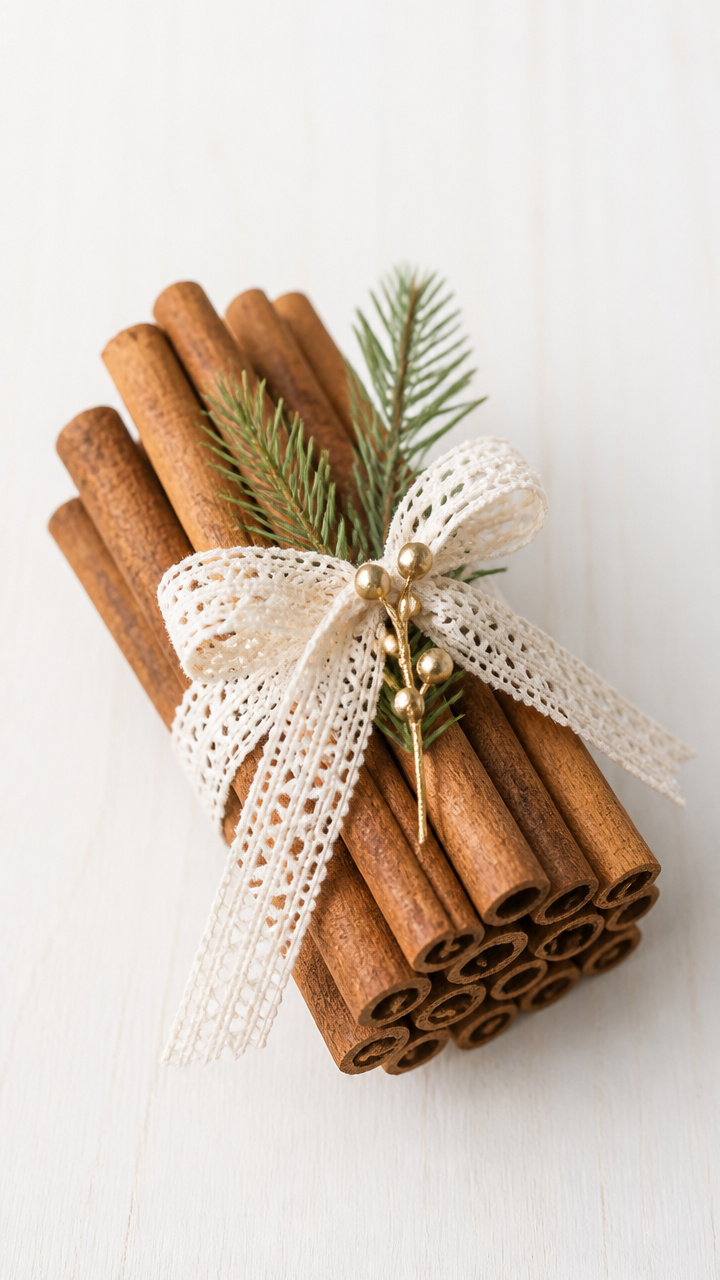
Spicy-sweet bundles wrapped in lace tie look elegant on mantels or as hostess gifts. The scent alone lifts the whole room.
Materials Needed
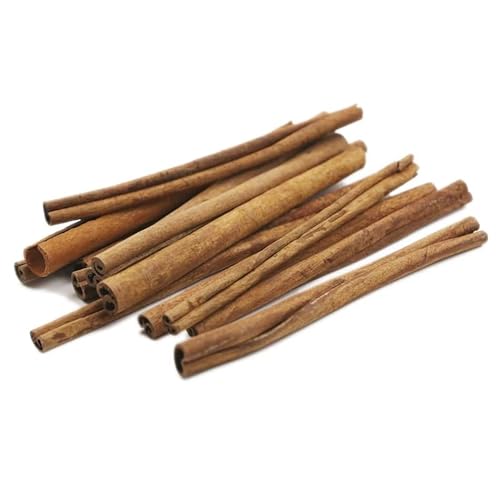
- 15 cinnamon sticks (6 inches long)
- White cotton lace ribbon (1/2 inch wide, 18 inches long)
- Gold calligraphy pen
- Small sprig of artificial evergreen
- Double-sided tape (small piece)
How to Make It
- Lay five cinnamon sticks side by side and wrap the lace ribbon around the center, tying a tight knot.
- Repeat to make three bundles of five sticks each.
- Stack the three bundles together and wrap the same ribbon around the center again, tying a bow.
- Use the gold pen to write a single name or word like 'Joy' on the lace near the knot.
- Tuck the evergreen sprig under the bow and secure with a tiny piece of double-sided tape.


4. Felt Stocking Ornaments
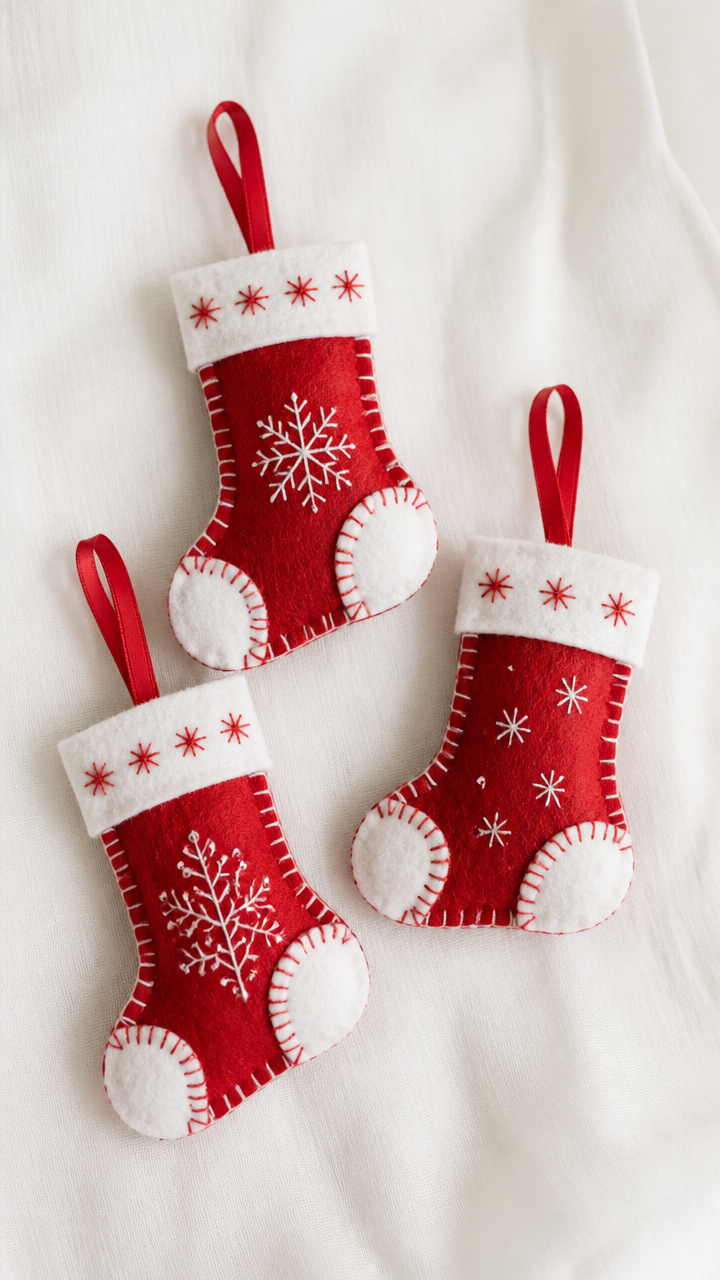
Flat, soft stockings in red and white felt hang lightly on the tree and take just twenty minutes to stitch.
Materials Needed
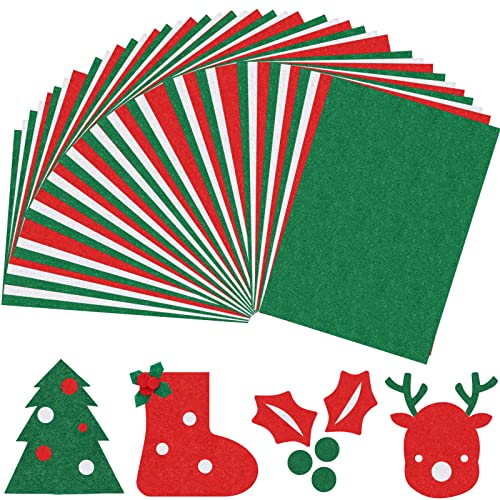
- Red wool-blend felt (one 9×12-inch sheet)
- White wool-blend felt (one 9×12-inch sheet)
- Embroidery floss (white, 1 strand)
- Embroidery needle
- Scissors
- Ribbon (10-inch piece, 1/4 inch wide)
- Paper template (cut to 4 inches tall)
How to Make It
- Trace the stocking template onto the red felt and cut out two identical shapes.
- Cut a 2-inch strip from the white felt for the cuff and glue it to the top edge of one red piece with fabric glue.
- Place the second red piece on top to form a sandwich and pin around the edges.
- Stitch around the perimeter using a backstitch with white embroidery floss, leaving the top open.
- Thread the ribbon through the top opening to form a loop and knot the ends inside.


5. Peppermint Bath Salts
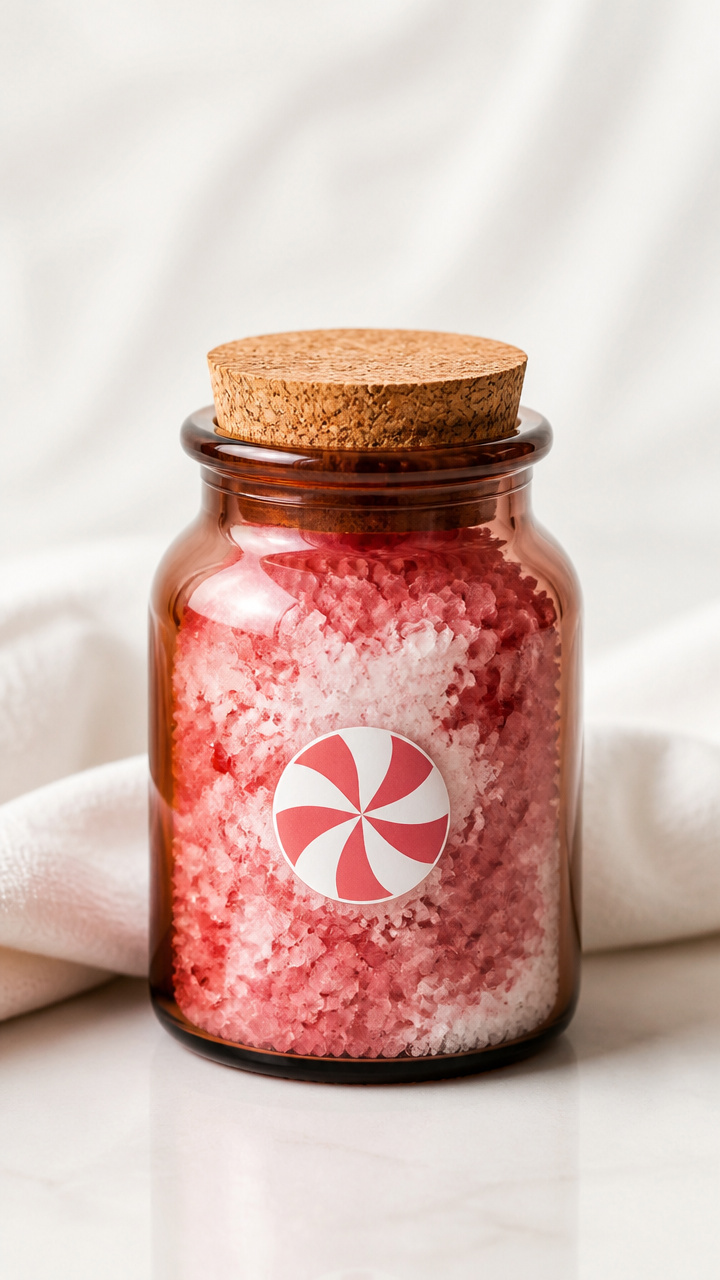
Bright pink salts in glass jars make cheerful gifts that fizz with winter cheer and leave skin soft.
Materials Needed
- 1 cup Epsom salt
- 1/2 cup baking soda
- 10 drops peppermint essential oil
- 2 drops red food coloring
- 4-ounce amber glass jar with lid
- Round sticker label (2 inches)
- White gel pen
How to Make It
- Combine Epsom salt and baking soda in a mixing bowl and stir with a spoon for 30 seconds.
- Add peppermint oil and food coloring, then mix thoroughly until color is evenly distributed.
- Spoon the mixture into the glass jar and tap gently on the counter to settle.
- Write 'Peppermint Soak' on the sticker with the gel pen and stick it centered on the front of the jar.


6. Yarn-Wrapped Gift Tags
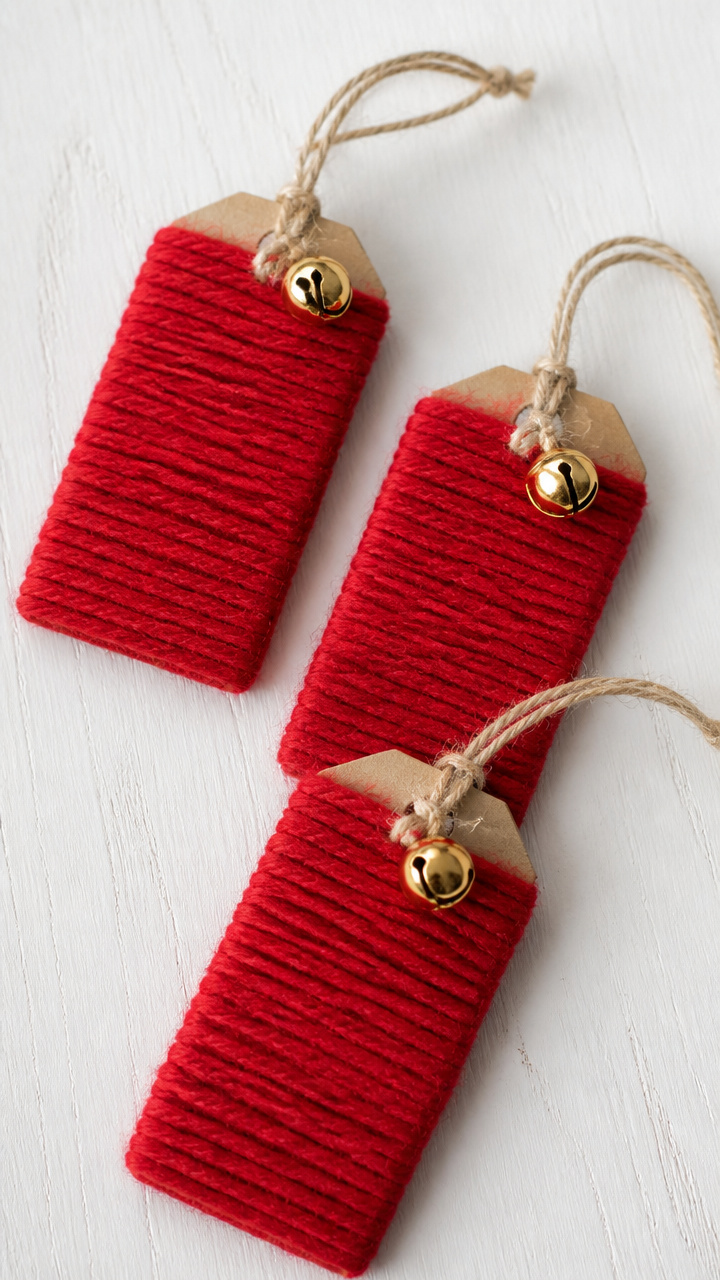
Sturdy cardboard tags wrapped in colorful yarn add texture to presents and take seconds to make.
Materials Needed
- Manila cardstock (A6 size, 10 pieces)
- Red yarn (worsted weight)
- Glue dot (small)
- Hole punch
- Jingle bell (1/4 inch)
How to Make It
- Punch a hole in the top corner of each tag using the hole punch.
- Press a glue dot on the back bottom edge of a tag and start wrapping the yarn around the front.
- Continue wrapping tightly until the entire front is covered, then secure the end with another glue dot on the back.
- Thread the jingle bell onto a short piece of yarn and knot it through the hole for a festive touch.


7. Candy Cane Countdown
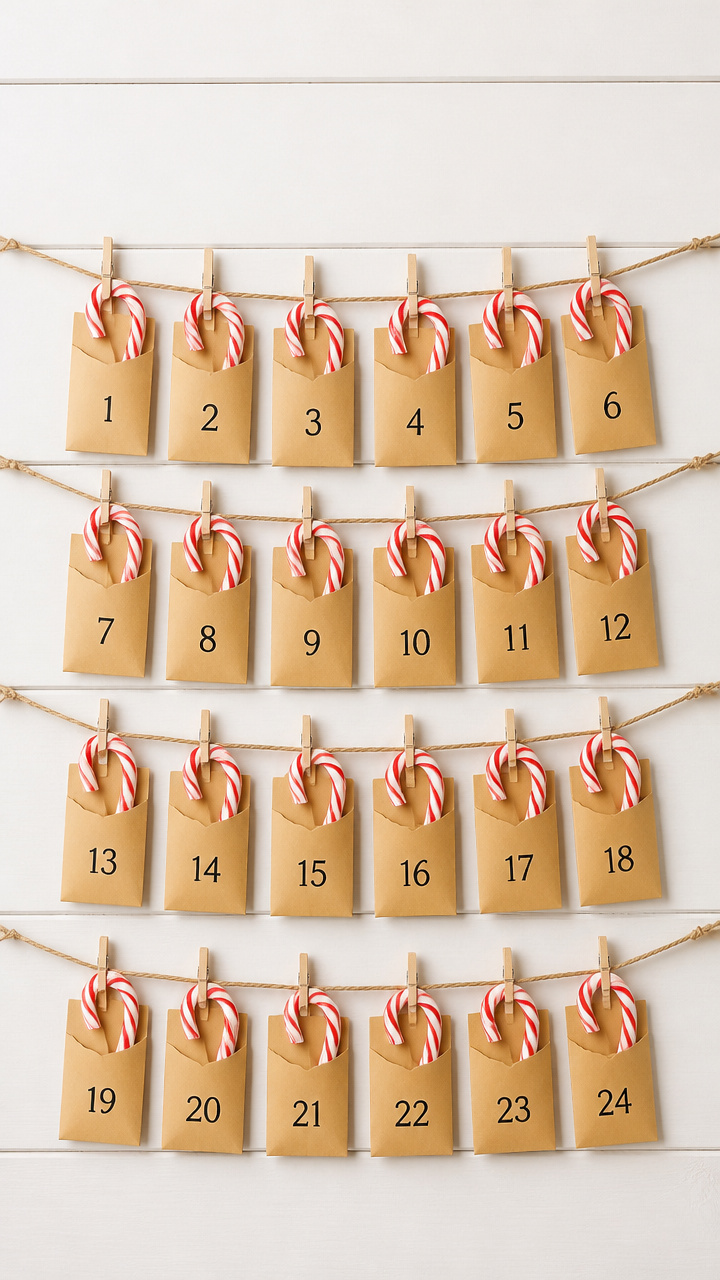
Each day unwrap a mini candy cane from a numbered envelope to taste a bit of holiday magic.
Materials Needed
- 24 mini candy canes (red and white, 3 inches)
- Numbered stickers (1 to 24)
- Small manila envelopes (3×5 inches, 24 pieces)
- Clothesline string (6 feet)
- Mini clothespins (24)
- Scotch tape
How to Make It
- Place one mini candy cane inside each envelope and seal it closed.
- Stick the corresponding numbered sticker on the front of each envelope.
- Tape one end of the string to a wall and stretch it across, securing the other end to create a line.
- Clip each envelope to the string in numerical order using a clothespin, starting from left to right.


8. Button Snowmen
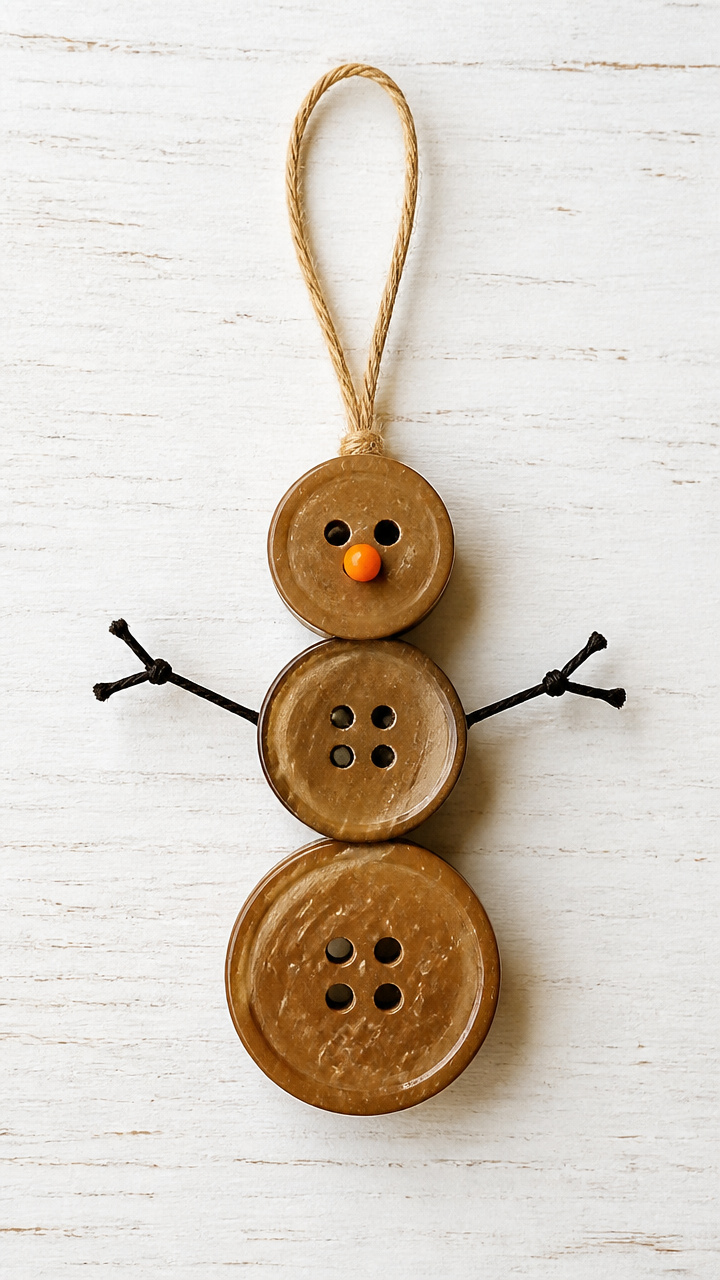
Three mismatched buttons stacked with a carrot nose become whimsical tree decorations full of character.
Materials Needed
- Three brown buttons per snowman (different sizes: 1 large, 1 medium, 1 small)
- Orange seed bead (2mm)
- Black sewing thread (18 inches)
- Needle
- Black marker
- Twine loop (3 inches)
How to Make It
- Thread the needle with 18 inches of black thread and knot one end.
- String the large button first, then the medium, then the small, sliding them down to the knot.
- Sew through the center of each button twice to secure the stack, keeping them aligned.
- Stitch the orange bead just below the top button for the nose and knot securely on the back.
- Draw two eyes with the black marker on the top button above the nose.
- Tie the twine loop to the top button shank for hanging.


9. Map Paper Stars
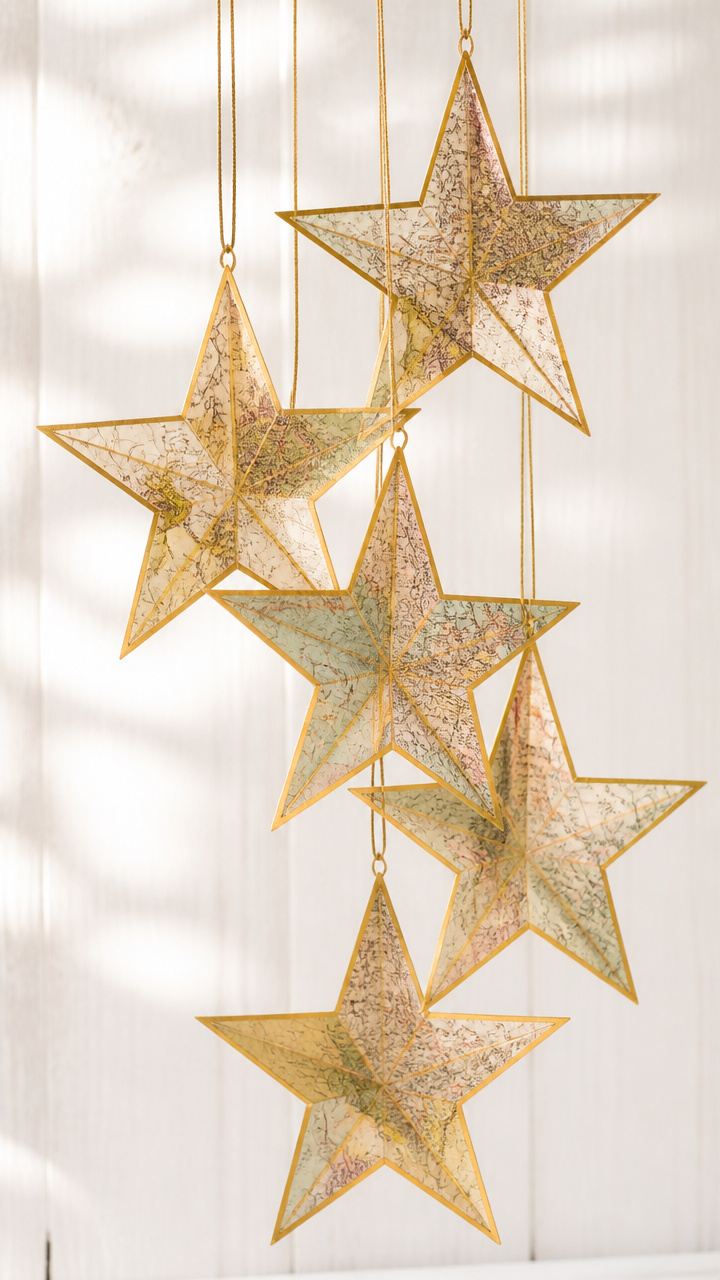
Five-pointed stars made from old atlas pages sparkle with gold-edged tips and dangle from any tree.
Materials Needed
- Old atlas or map pages (8.5×11 inches, 5 sheets)
- Gold metallic paint pen
- Scissors
- Ruler
- Pencil
- Clear glue
- Fine glitter (gold)
How to Make It
- Cut five 1.5-inch wide strips from the map page, each 8 inches long.
- Form a loop with the first strip and glue the ends together, then repeat for all five strips.
- Connect the loops by gluing each end where it crosses the next loop to form a star shape.
- Outline each tip of the star with the gold paint pen and sprinkle glitter while wet.
- Shake off excess glitter after 2 minutes and let dry flat for 1 hour.


10. Cranberry Garland

A bright red garland threaded with dried cranberries and popcorn smells like the season and drapes beautifully on trees.
Materials Needed
- 2 cups fresh cranberries
- 2 cups popped plain popcorn (unsalted)
- Waxed dental floss (3 yards)
- Large-eye needle
- Baking sheet
- Oven
How to Make It
- Preheat oven to 200°F and spread cranberries on a baking sheet in a single layer.
- Bake for 2 hours to dry slightly, then let cool for 30 minutes.
- Thread the needle with waxed floss and knot one end.
- Alternate stringing one cranberry and one popcorn piece, pushing each snugly along the floss.
- Continue until the strand reaches 6 feet, then tie the ends together to form a loop.


11. Mason Jar Snow Globes
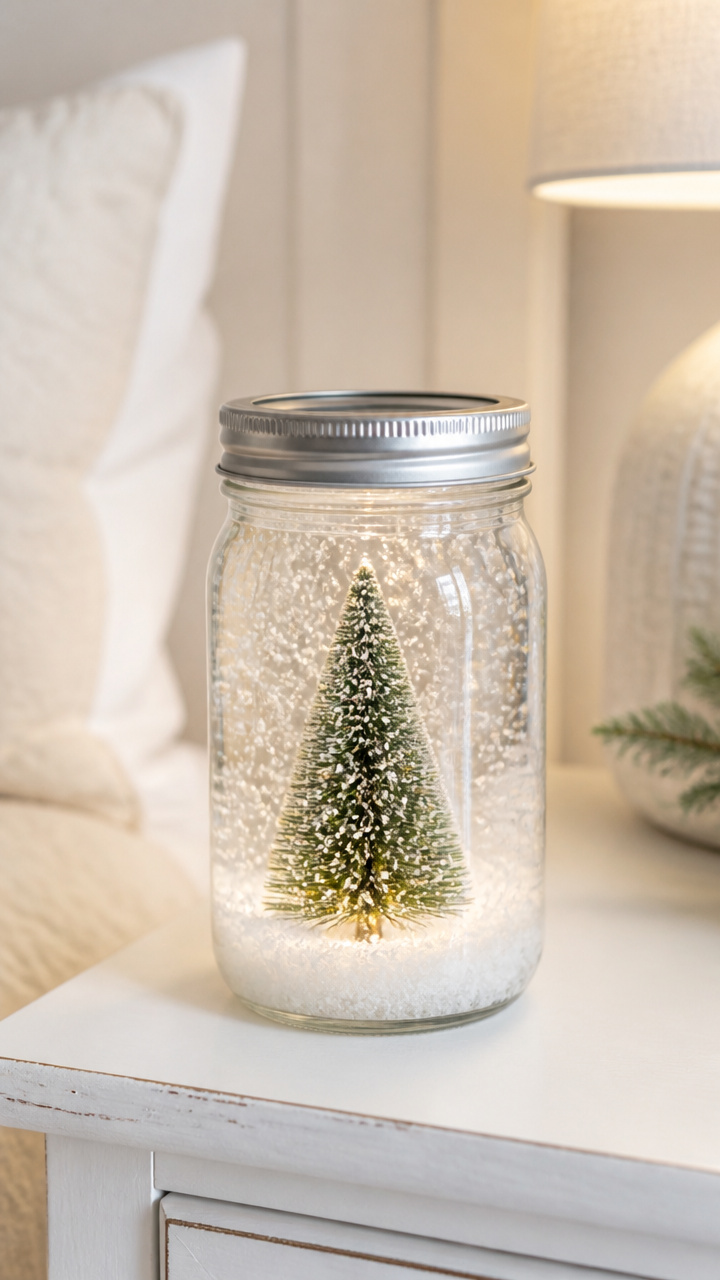
Mini winter scenes in jars with fake snow and figurines twirl when shaken and shine on nightstands.
Materials Needed
- 4-ounce mason jar with lid
- Distilled water (3.5 ounces)
- Clear glue (0.5 ounce)
- Artificial snow (1 tablespoon)
- Mini plastic evergreen tree (1 inch)
- Waterproof craft sealant
How to Make It
- Place the mini tree and artificial snow into the mason jar.
- Pour distilled water and clear glue into the jar and screw the lid on tightly.
- Turn the jar upside down and right side up several times to mix without opening.
- Seal the lid’s edge with waterproof craft sealant and let dry for 4 hours before shaking.


12. Flannel Santa Hats
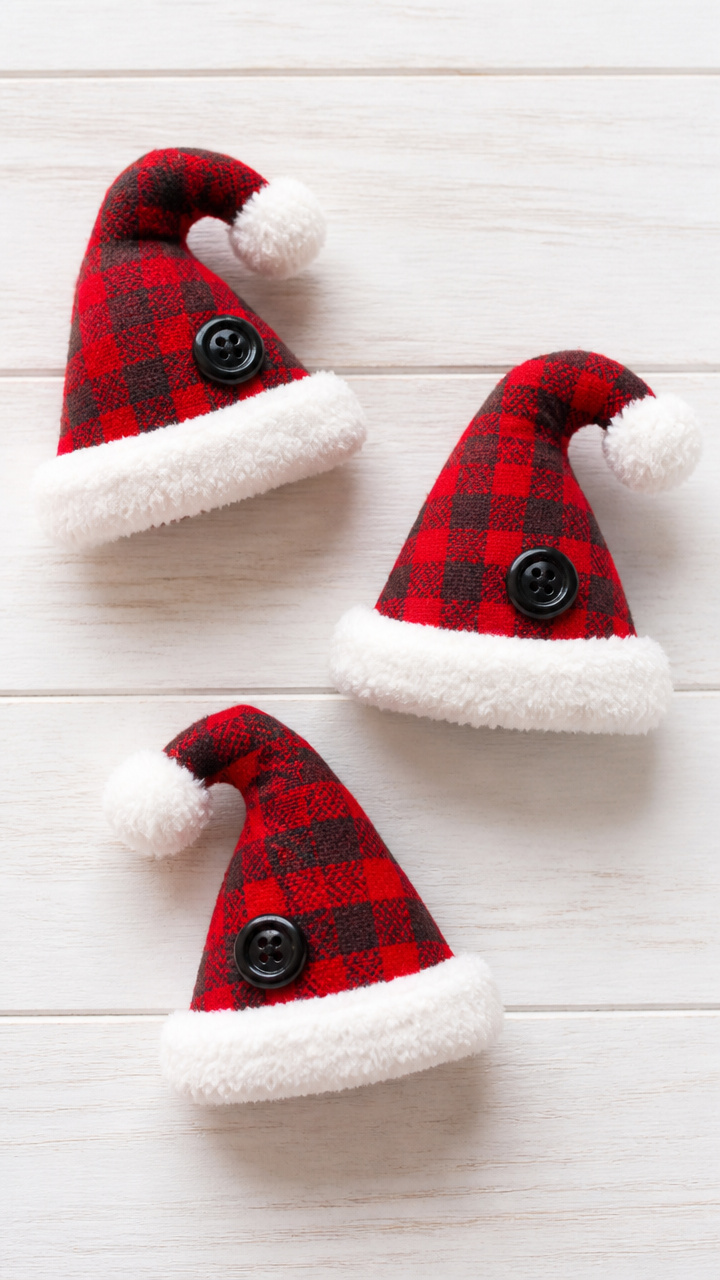
Tiny Santa hats made from red and white flannel perch on doorknobs or wine glasses for instant cheer.
Materials Needed
- Red cotton flannel (6×6 inch square)
- White cotton flannel (3×3 inch square)
- Fabric scissors
- Hot glue gun
- Pipe cleaner (2 inches)
How to Make It
- Cut a circle 4 inches in diameter from the red flannel and a 1.5-inch circle from the white.
- Fold the red circle in half and glue the straight edges together to form a cone.
- Glue the white circle to the tip of the cone for the hat puff.
- Wrap the pipe cleaner around the base of the cone and twist to secure as a band.


13. Dried Orange Slices
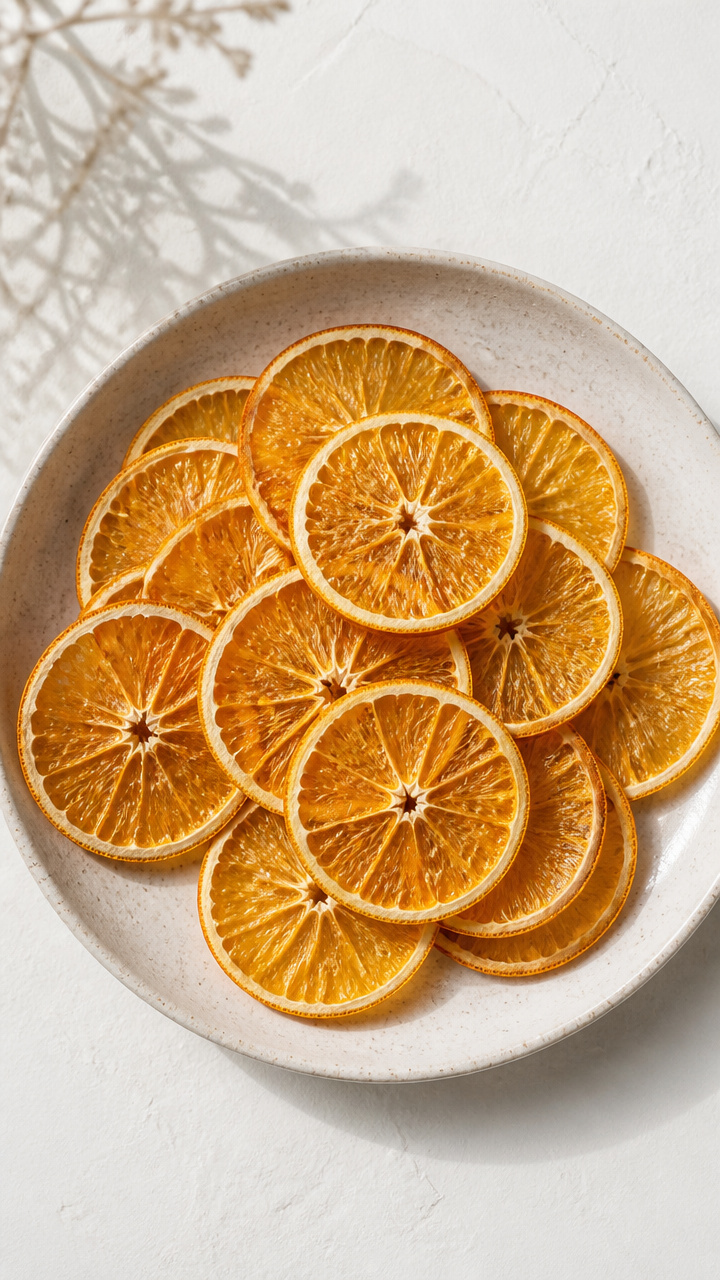
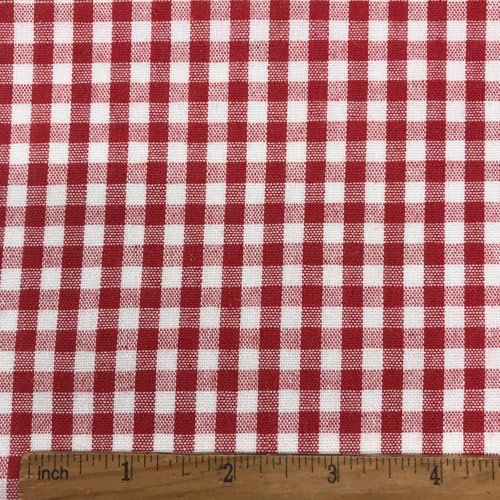
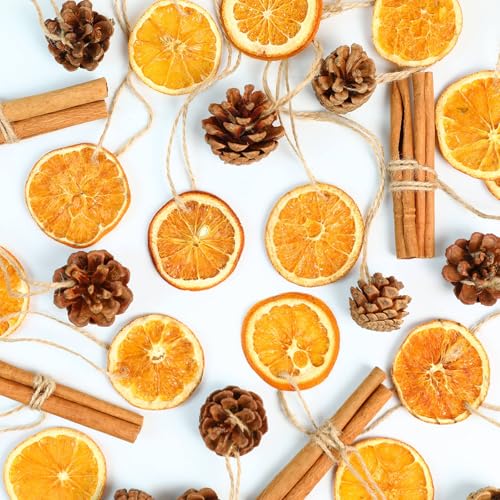
Thin orange rounds baked until crisp become fragrant ornaments or loose decorations for bowls.
Materials Needed
- 4 oranges
- Chef’s knife
- Parchment paper
- Baking sheet
- Oven
How to Make It
- Slice each orange crosswise into 1/4-inch thick rounds using the chef’s knife.
- Arrange slices in a single layer on a parchment-lined baking sheet.
- Bake at 200°F for 4 hours, flipping every hour with tongs.
- Let cool completely before storing or using; they will be firm and leathery.


14. Knit Stitch Coasters
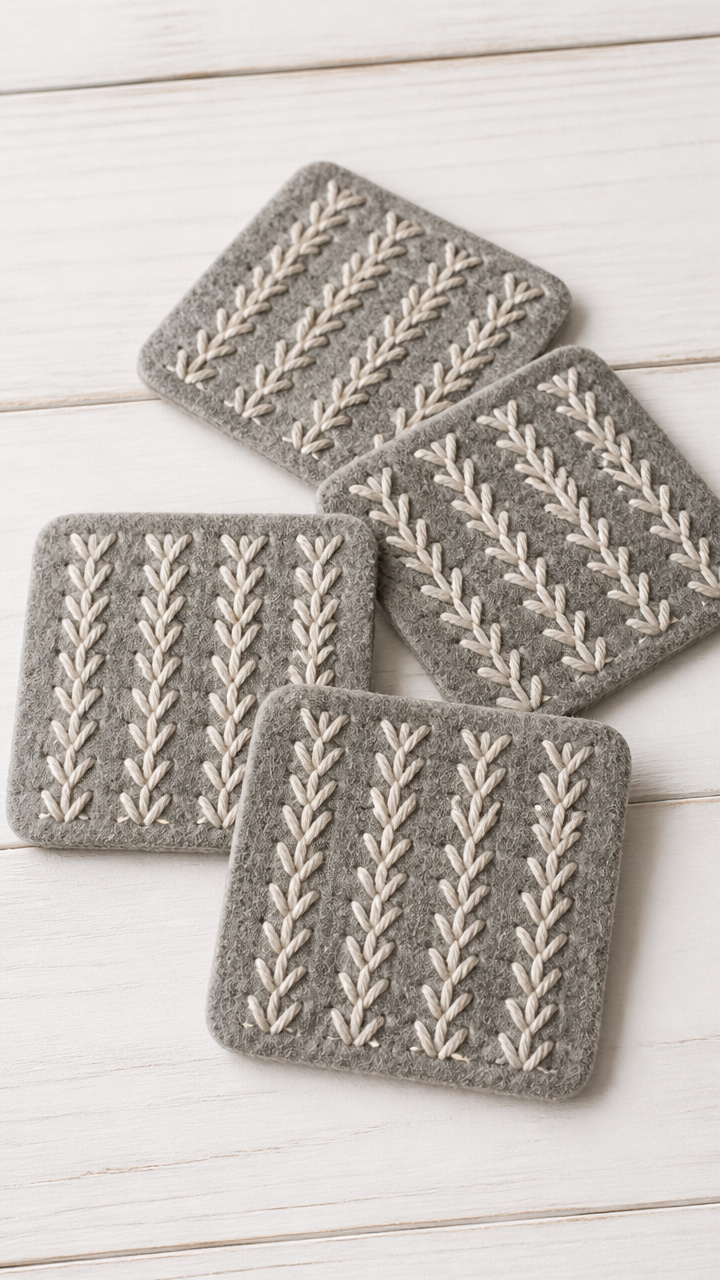
Felt squares with embroidered knit patterns protect surfaces and look like tiny sweaters.
Materials Needed
- Gray wool-blend felt (9×12 inch sheet)
- Contrast yarn (cream, worsted weight)
- Embroidery needle
- Coaster template (4 inches square)
- Scissors
How to Make It
- Trace the coaster template onto the felt and cut out four squares.
- Use the cream yarn and embroidery needle to work a cable stitch pattern across the center of each square.
- Make sure stitches are even and pull snug without puckering the felt.
- Trim yarn ends close to the back side after knotting securely.


15. Gingerbread House Cards
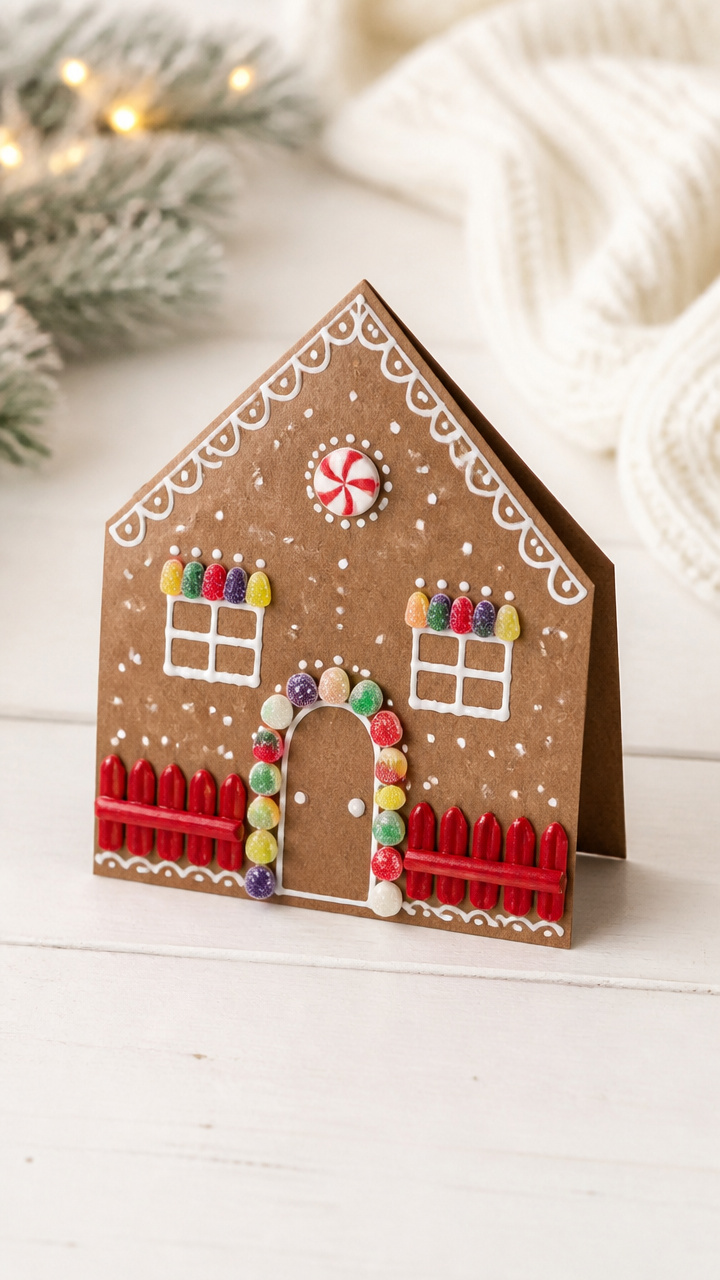
Folded cards shaped like tiny houses come with candy cane fences and gumdrop details.
Materials Needed
- Brown A4 cardstock (5 sheets)
- Red licorice laces (2 pieces, 6 inches each)
- Mini gumdrops (6 per card)
- Glue stick
- Scissors
- White gel pen
How to Make It
- Fold one sheet of brown cardstock in half to form a 5.5×8.5 inch card.
- Cut a triangle from the top edge to create a roof peak, then unfold.
- Glue licorice laces diagonally from the roof peak to the corners as roof lines.
- Arrange three gumdrops along the bottom edge as a fence and glue in place.
- Draw window panes and a door with the white gel pen on the front panel.


16. Cardboard Tube Reindeer
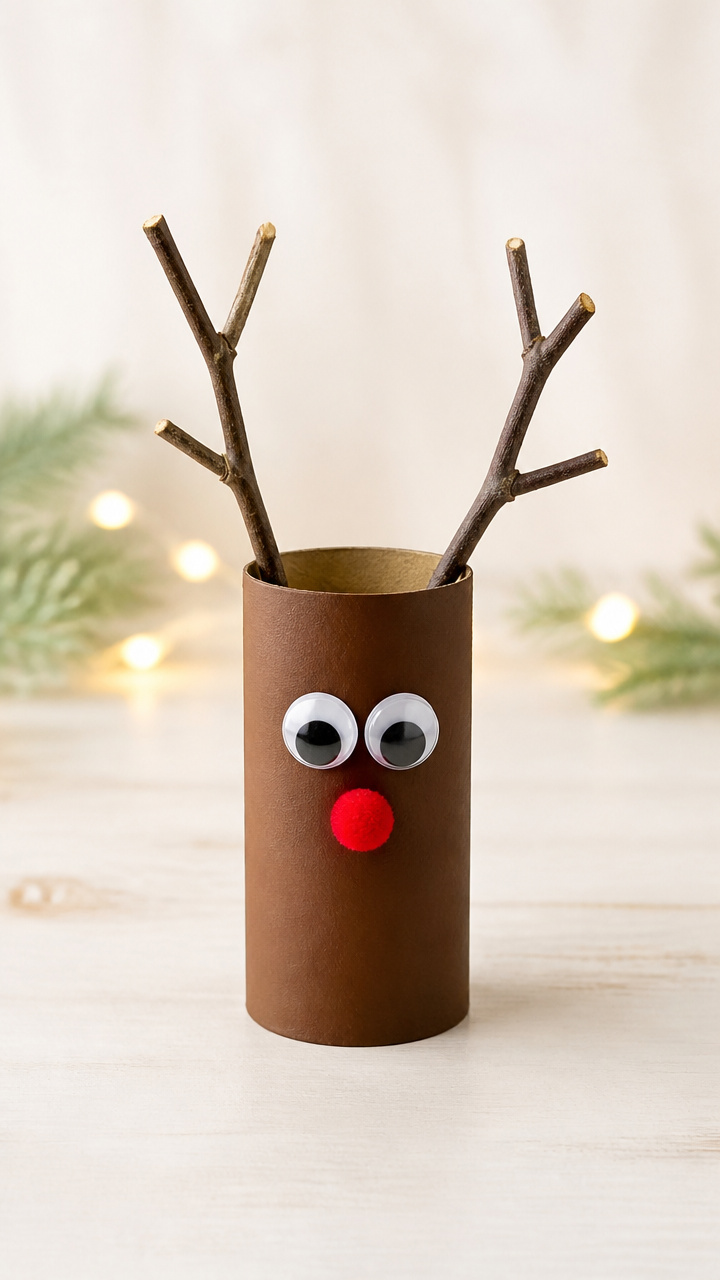
Toilet paper rolls become playful reindeer with googly eyes and antlers made from twigs.
Materials Needed
- Empty toilet paper roll (1)
- Googly eyes (2, 1/2 inch)
- Brown paint (acrylic)
- Paintbrush
- Small twig pieces (2, 2 inches long)
- Hot glue gun
- Red pom-pom (1/2 inch)
- Brown construction paper
How to Make It
- Paint the entire tube with brown acrylic paint and let dry for 1 hour on a flat surface.
- Cut antler shapes from the construction paper and glue them to the inside top edge of the tube.
- Glue the twig pieces behind the paper antlers to give dimension.
- Stick googly eyes near the top front and the red pom-pom below for the nose.

17. Beeswax Candle Wraps
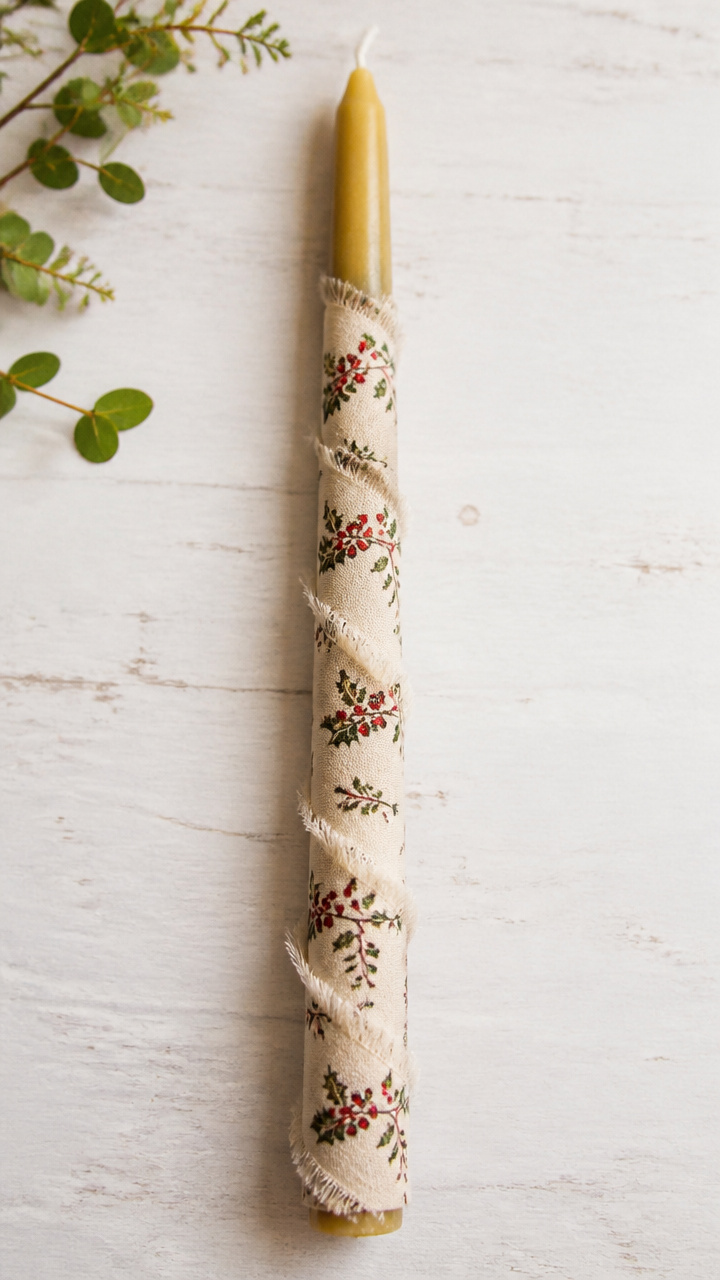
Cotton wraps printed with holly sprigs cozy up plain candles and burn safely away from the wick.
Materials Needed
- Unbleached cotton napkin (12×12 inch)
- Holly rubber stamp
- Red fabric ink pad
- Taper candle (10 inches tall)
- Scissors
- Ruler
How to Make It
- Stamp holly designs across the napkin using the red fabric ink, spacing them 3 inches apart.
- Let the ink dry completely for 20 minutes on a flat surface.
- Cut a strip 3 inches wide and 12 inches long from the printed section.
- Wrap the strip around the lower half of the candle and tuck the end under.


You’ve got everything you need right here to start creating warmth that lasts beyond the season. Pick one that calls to you and begin today — your hands are ready.